
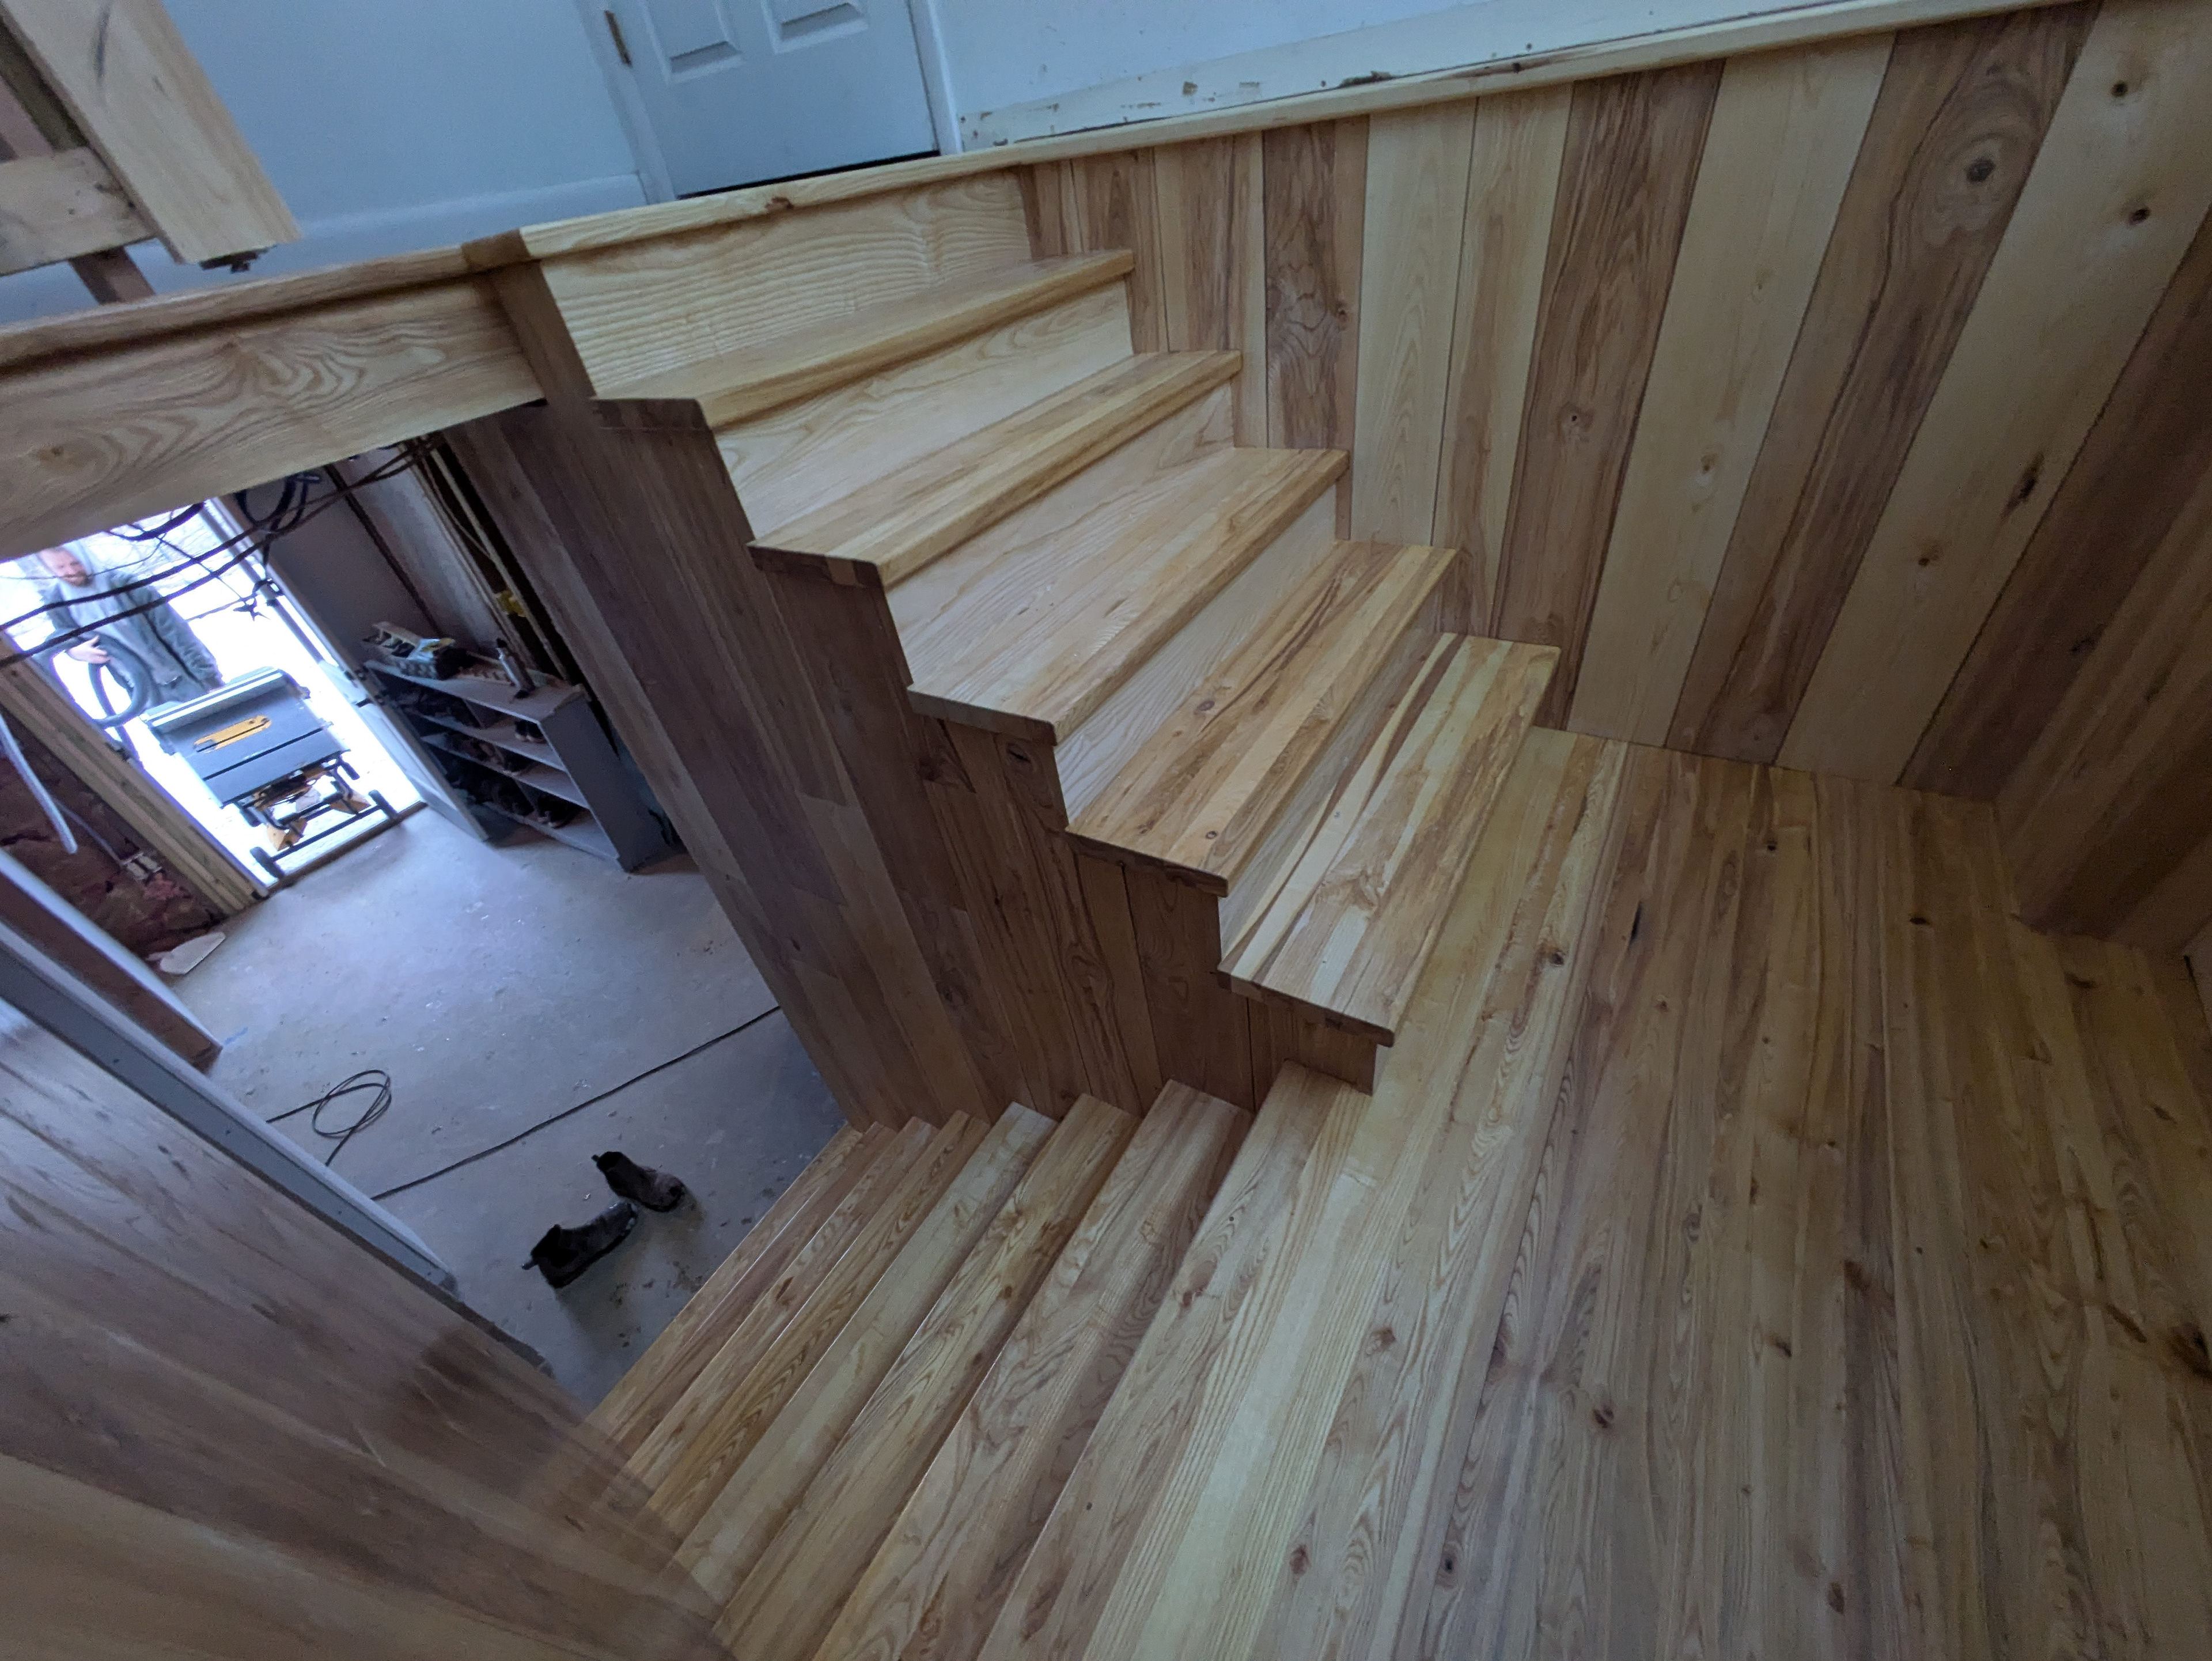
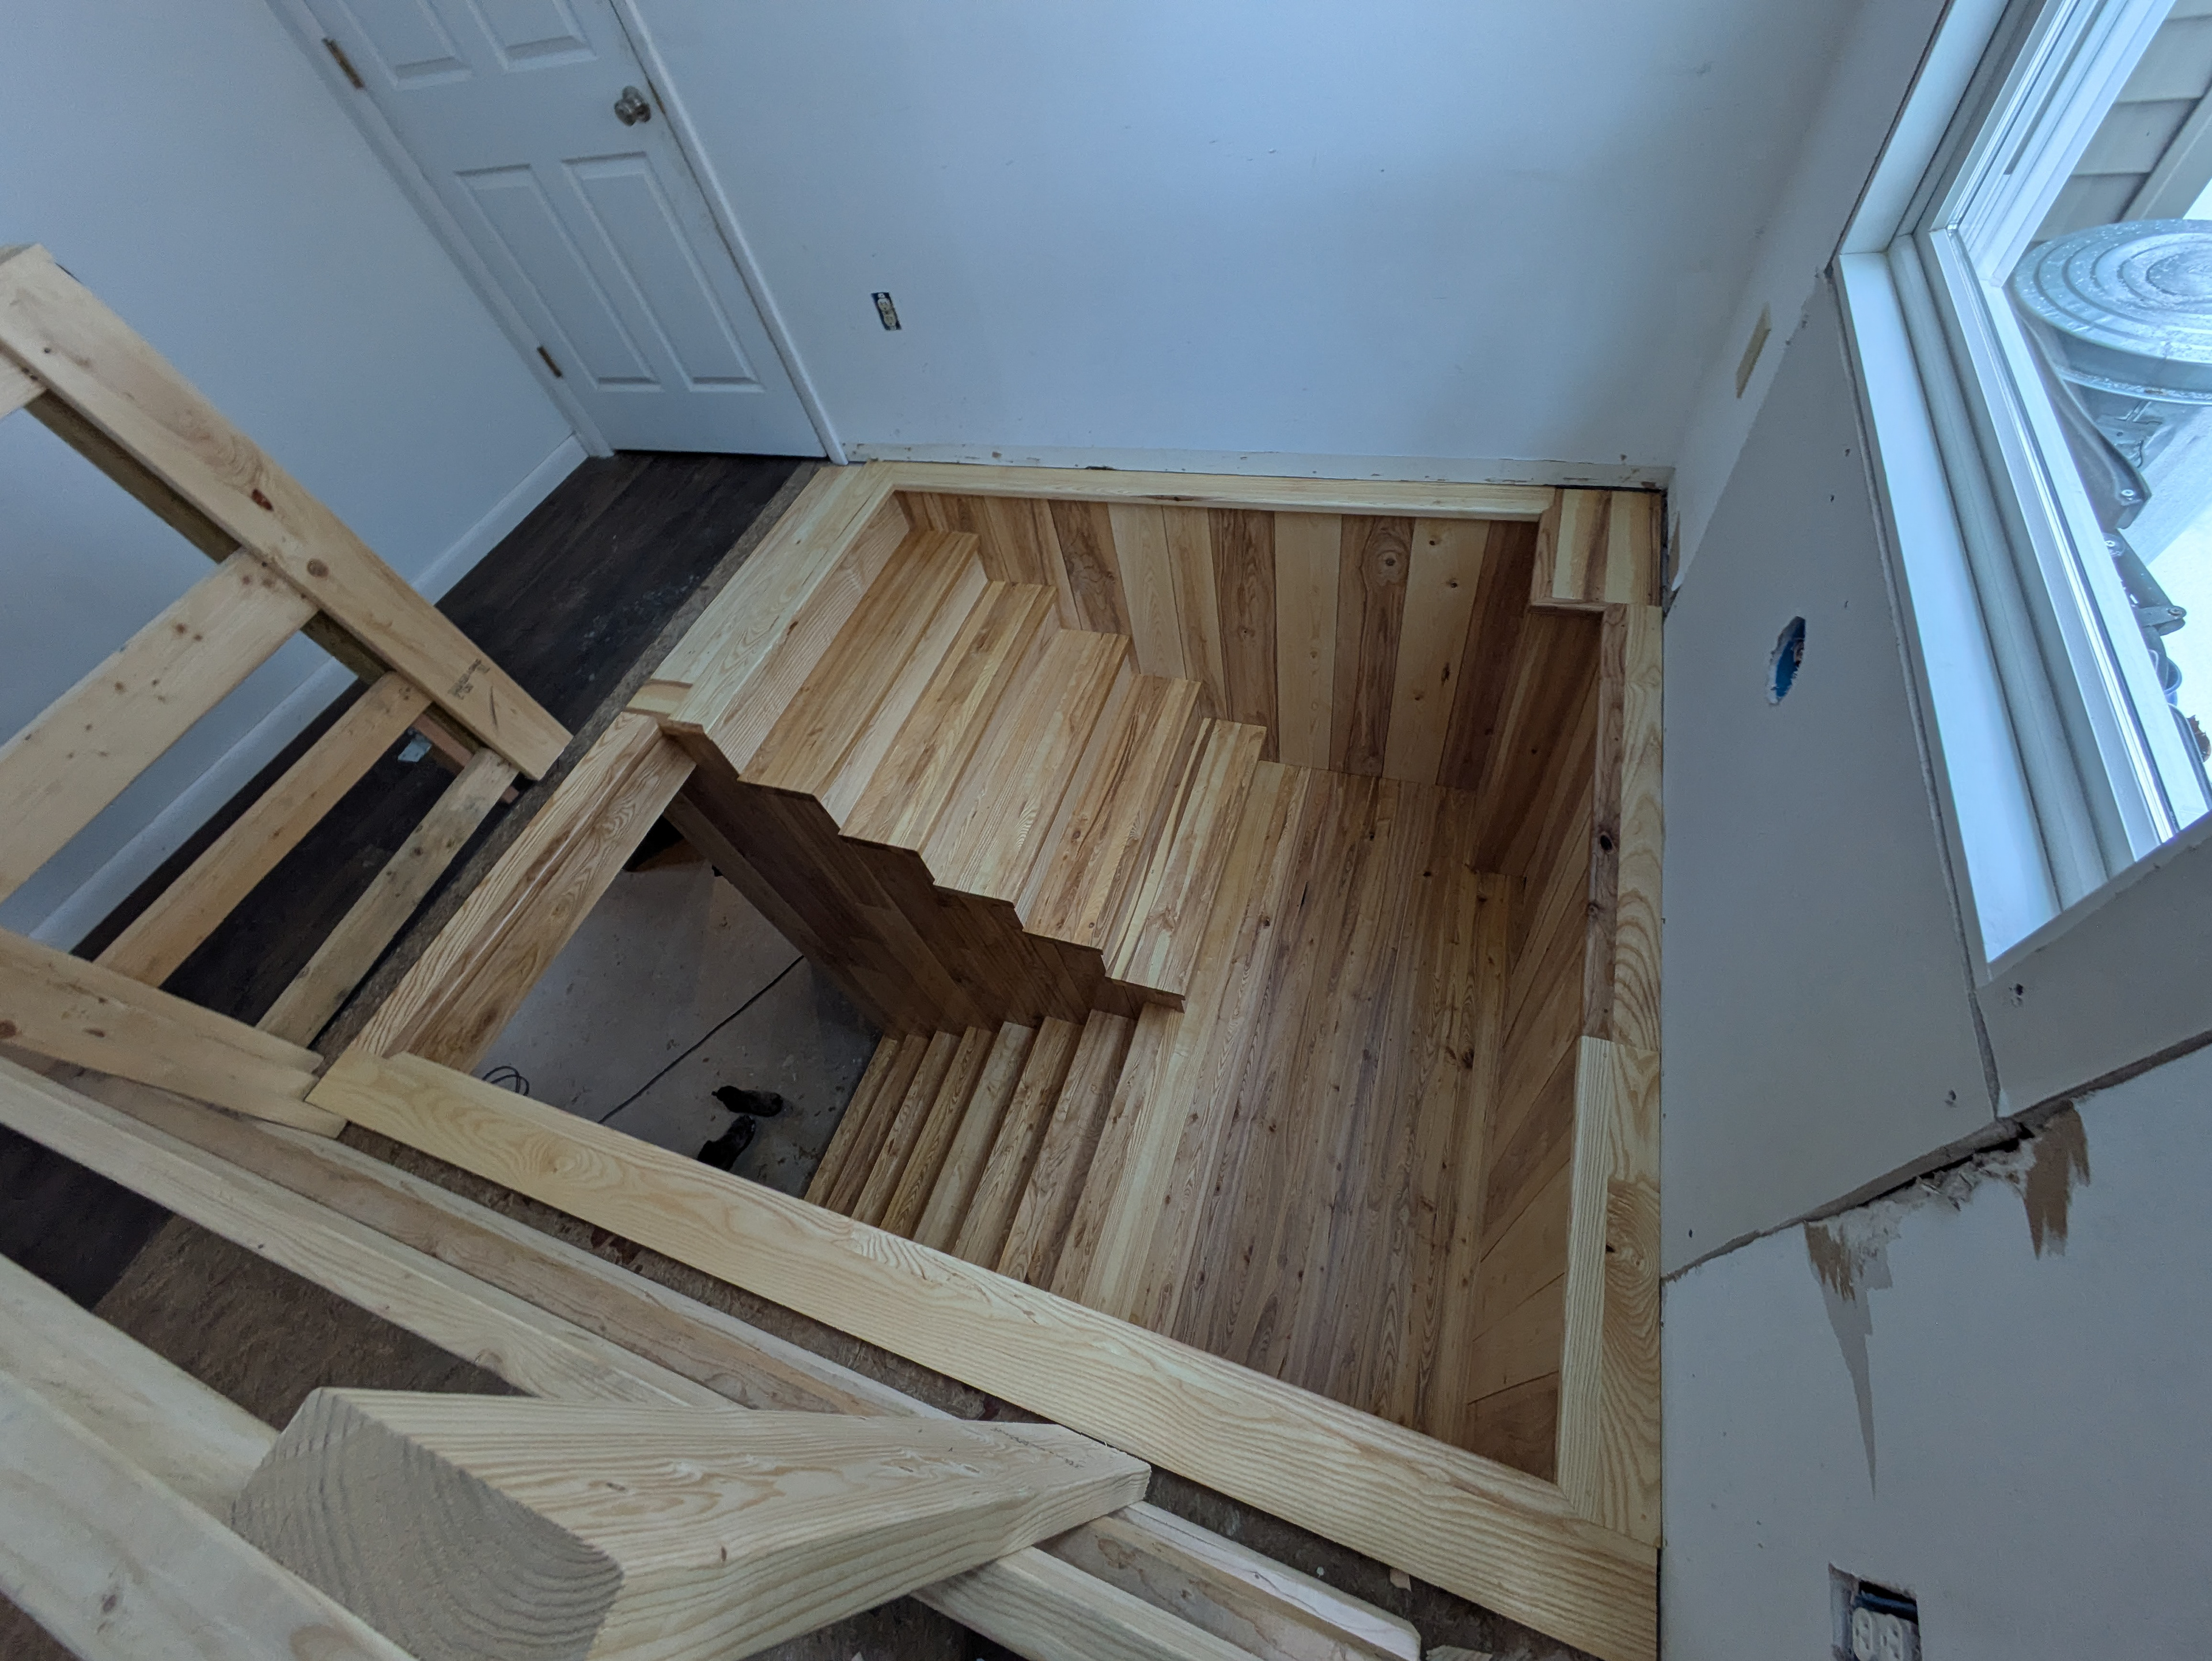
My crew (2 carpenters, and myself) recently built a set of stairs with a landing and ship-lap wall cladding. All of the mill work was built from ash and was provided to us pre-finished with polyurethane.

When I first looked at this project 7 months ago, there was no stairwell in this location. Our schedule was pretty packed so I encouraged the homeowner to hire Piha Construction (my favorite framing crew) to build the stairwell and frame the stairs. Now my crew is here to finish the project.
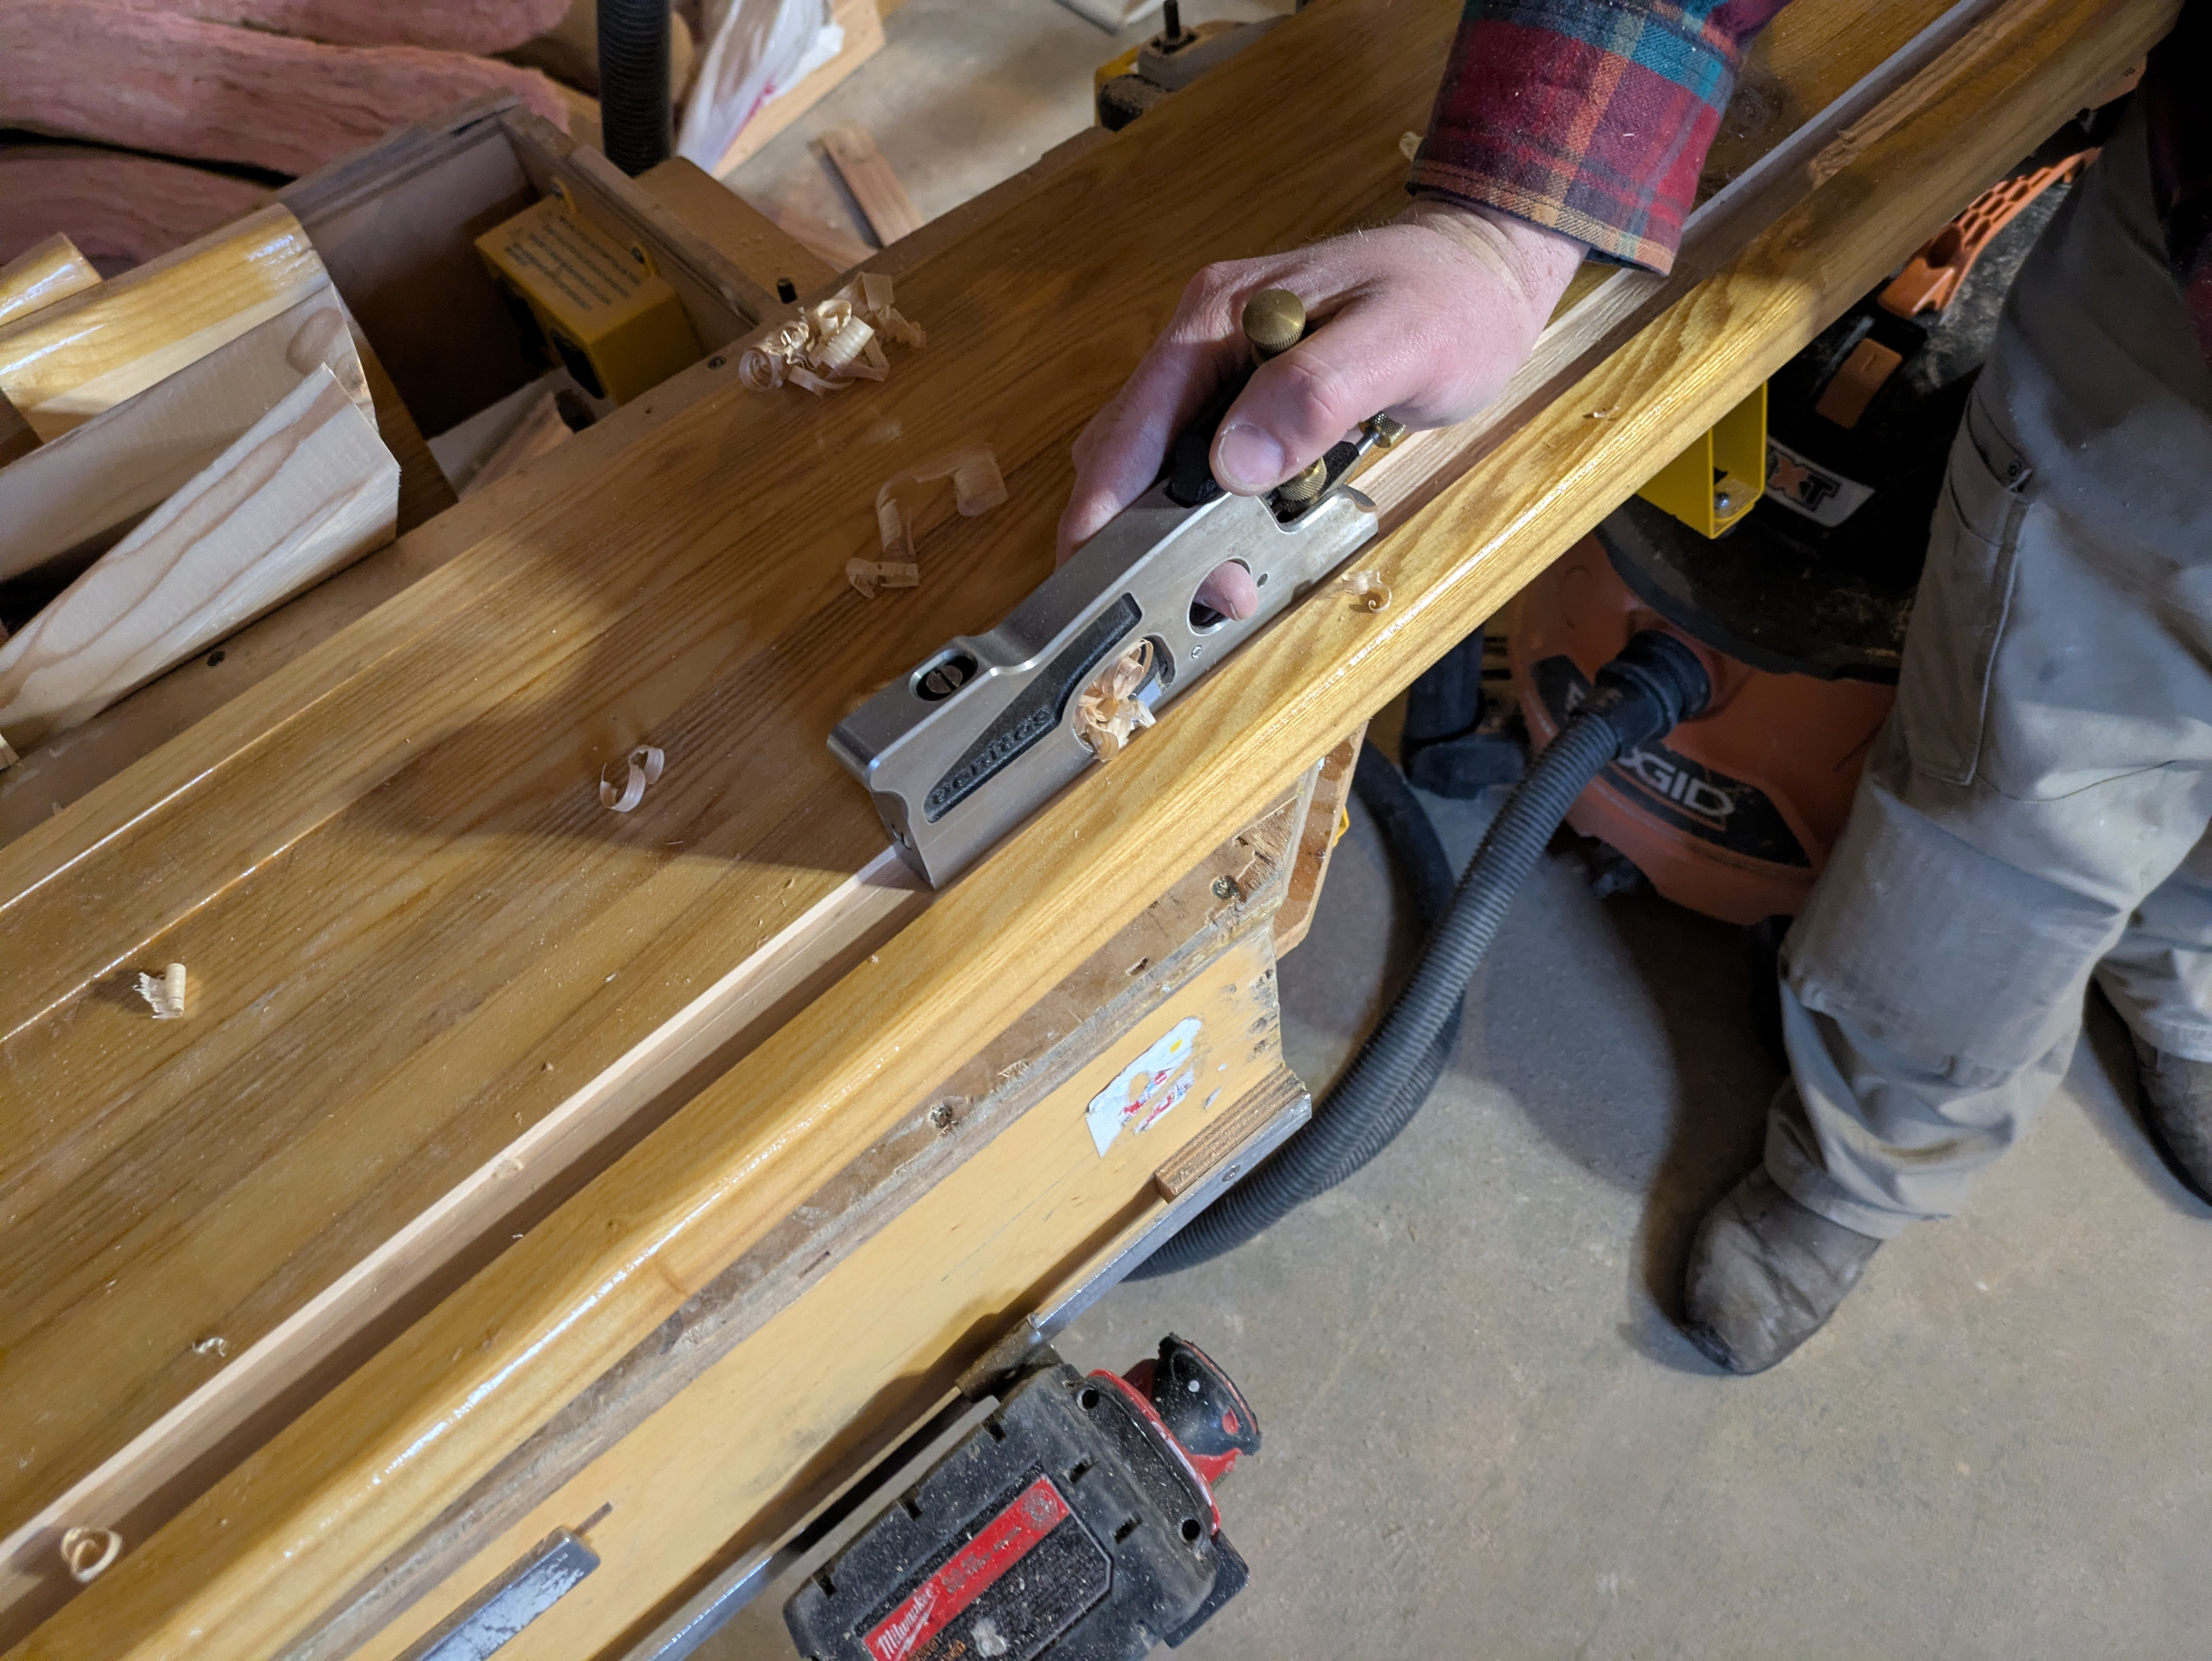
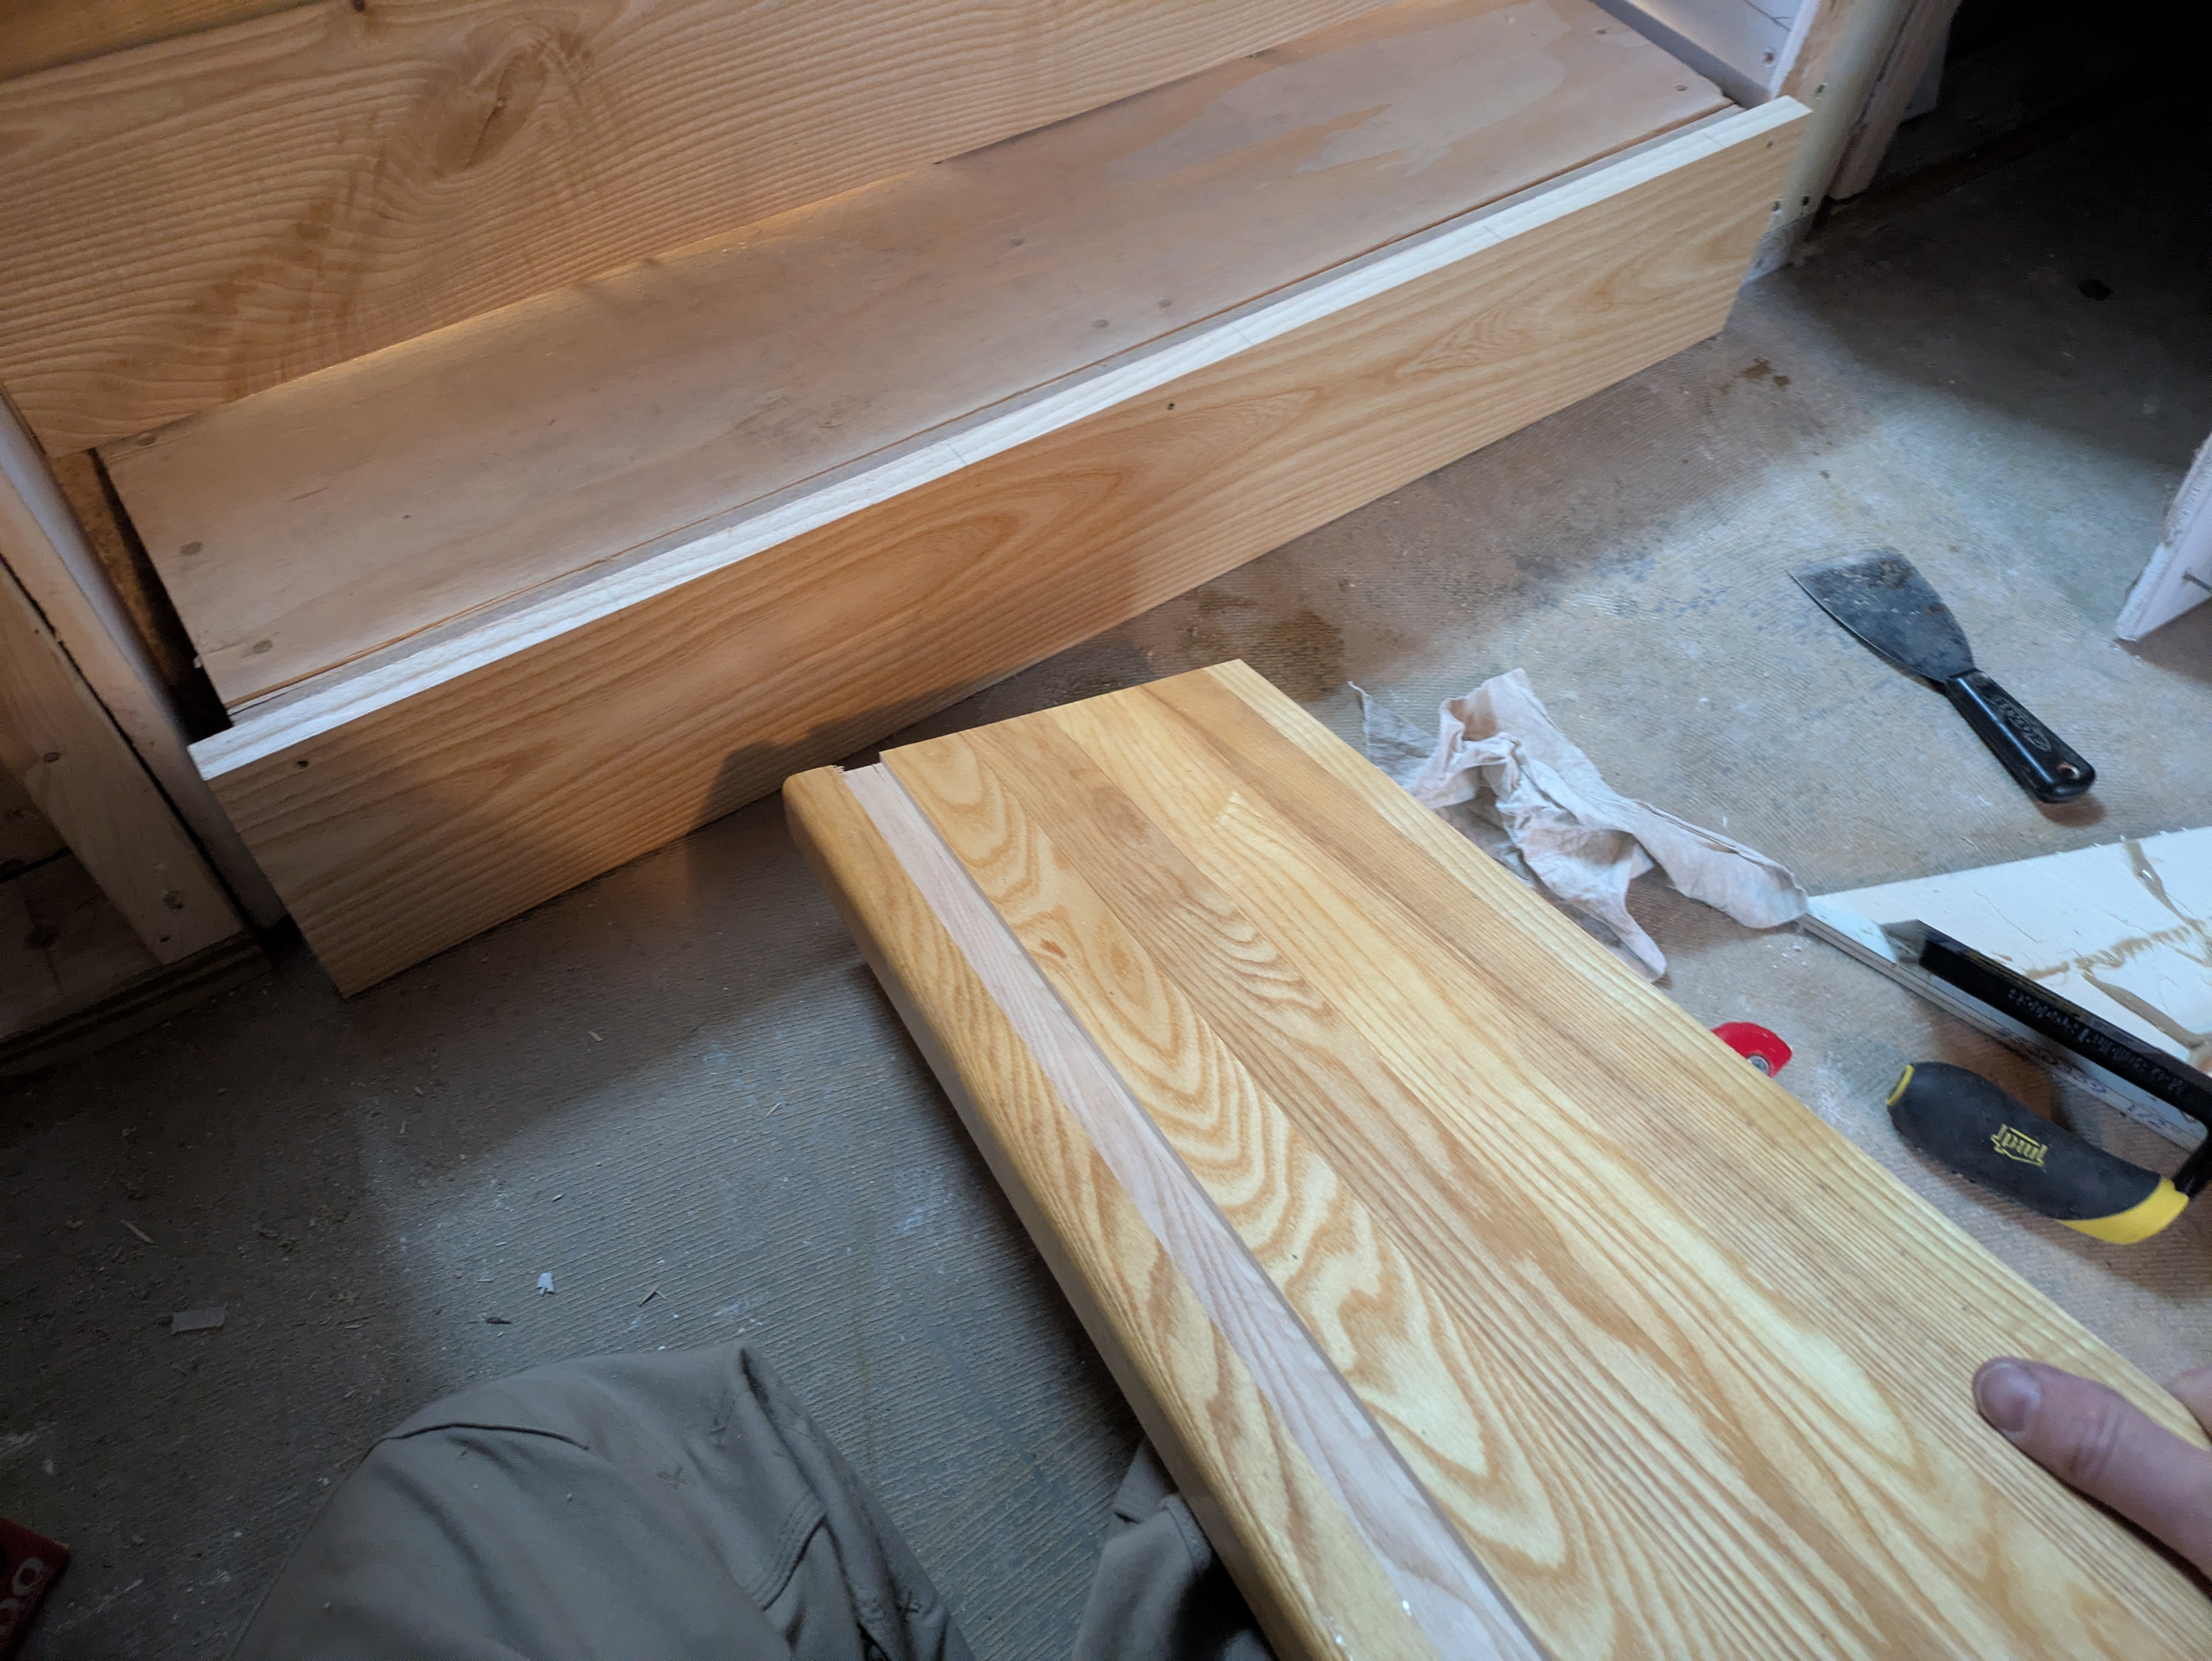
Preparing the treads is fairly quick. My coworker Krestia plows a groove in the underside of the treads with a dado blade in the table saw. A shoulder plane cleans up any high spots caused by bows or twists in the tread that prevent the dado blade from cutting to full depth. Then we rip and cross cut the treads and risers to their finished dimensions.
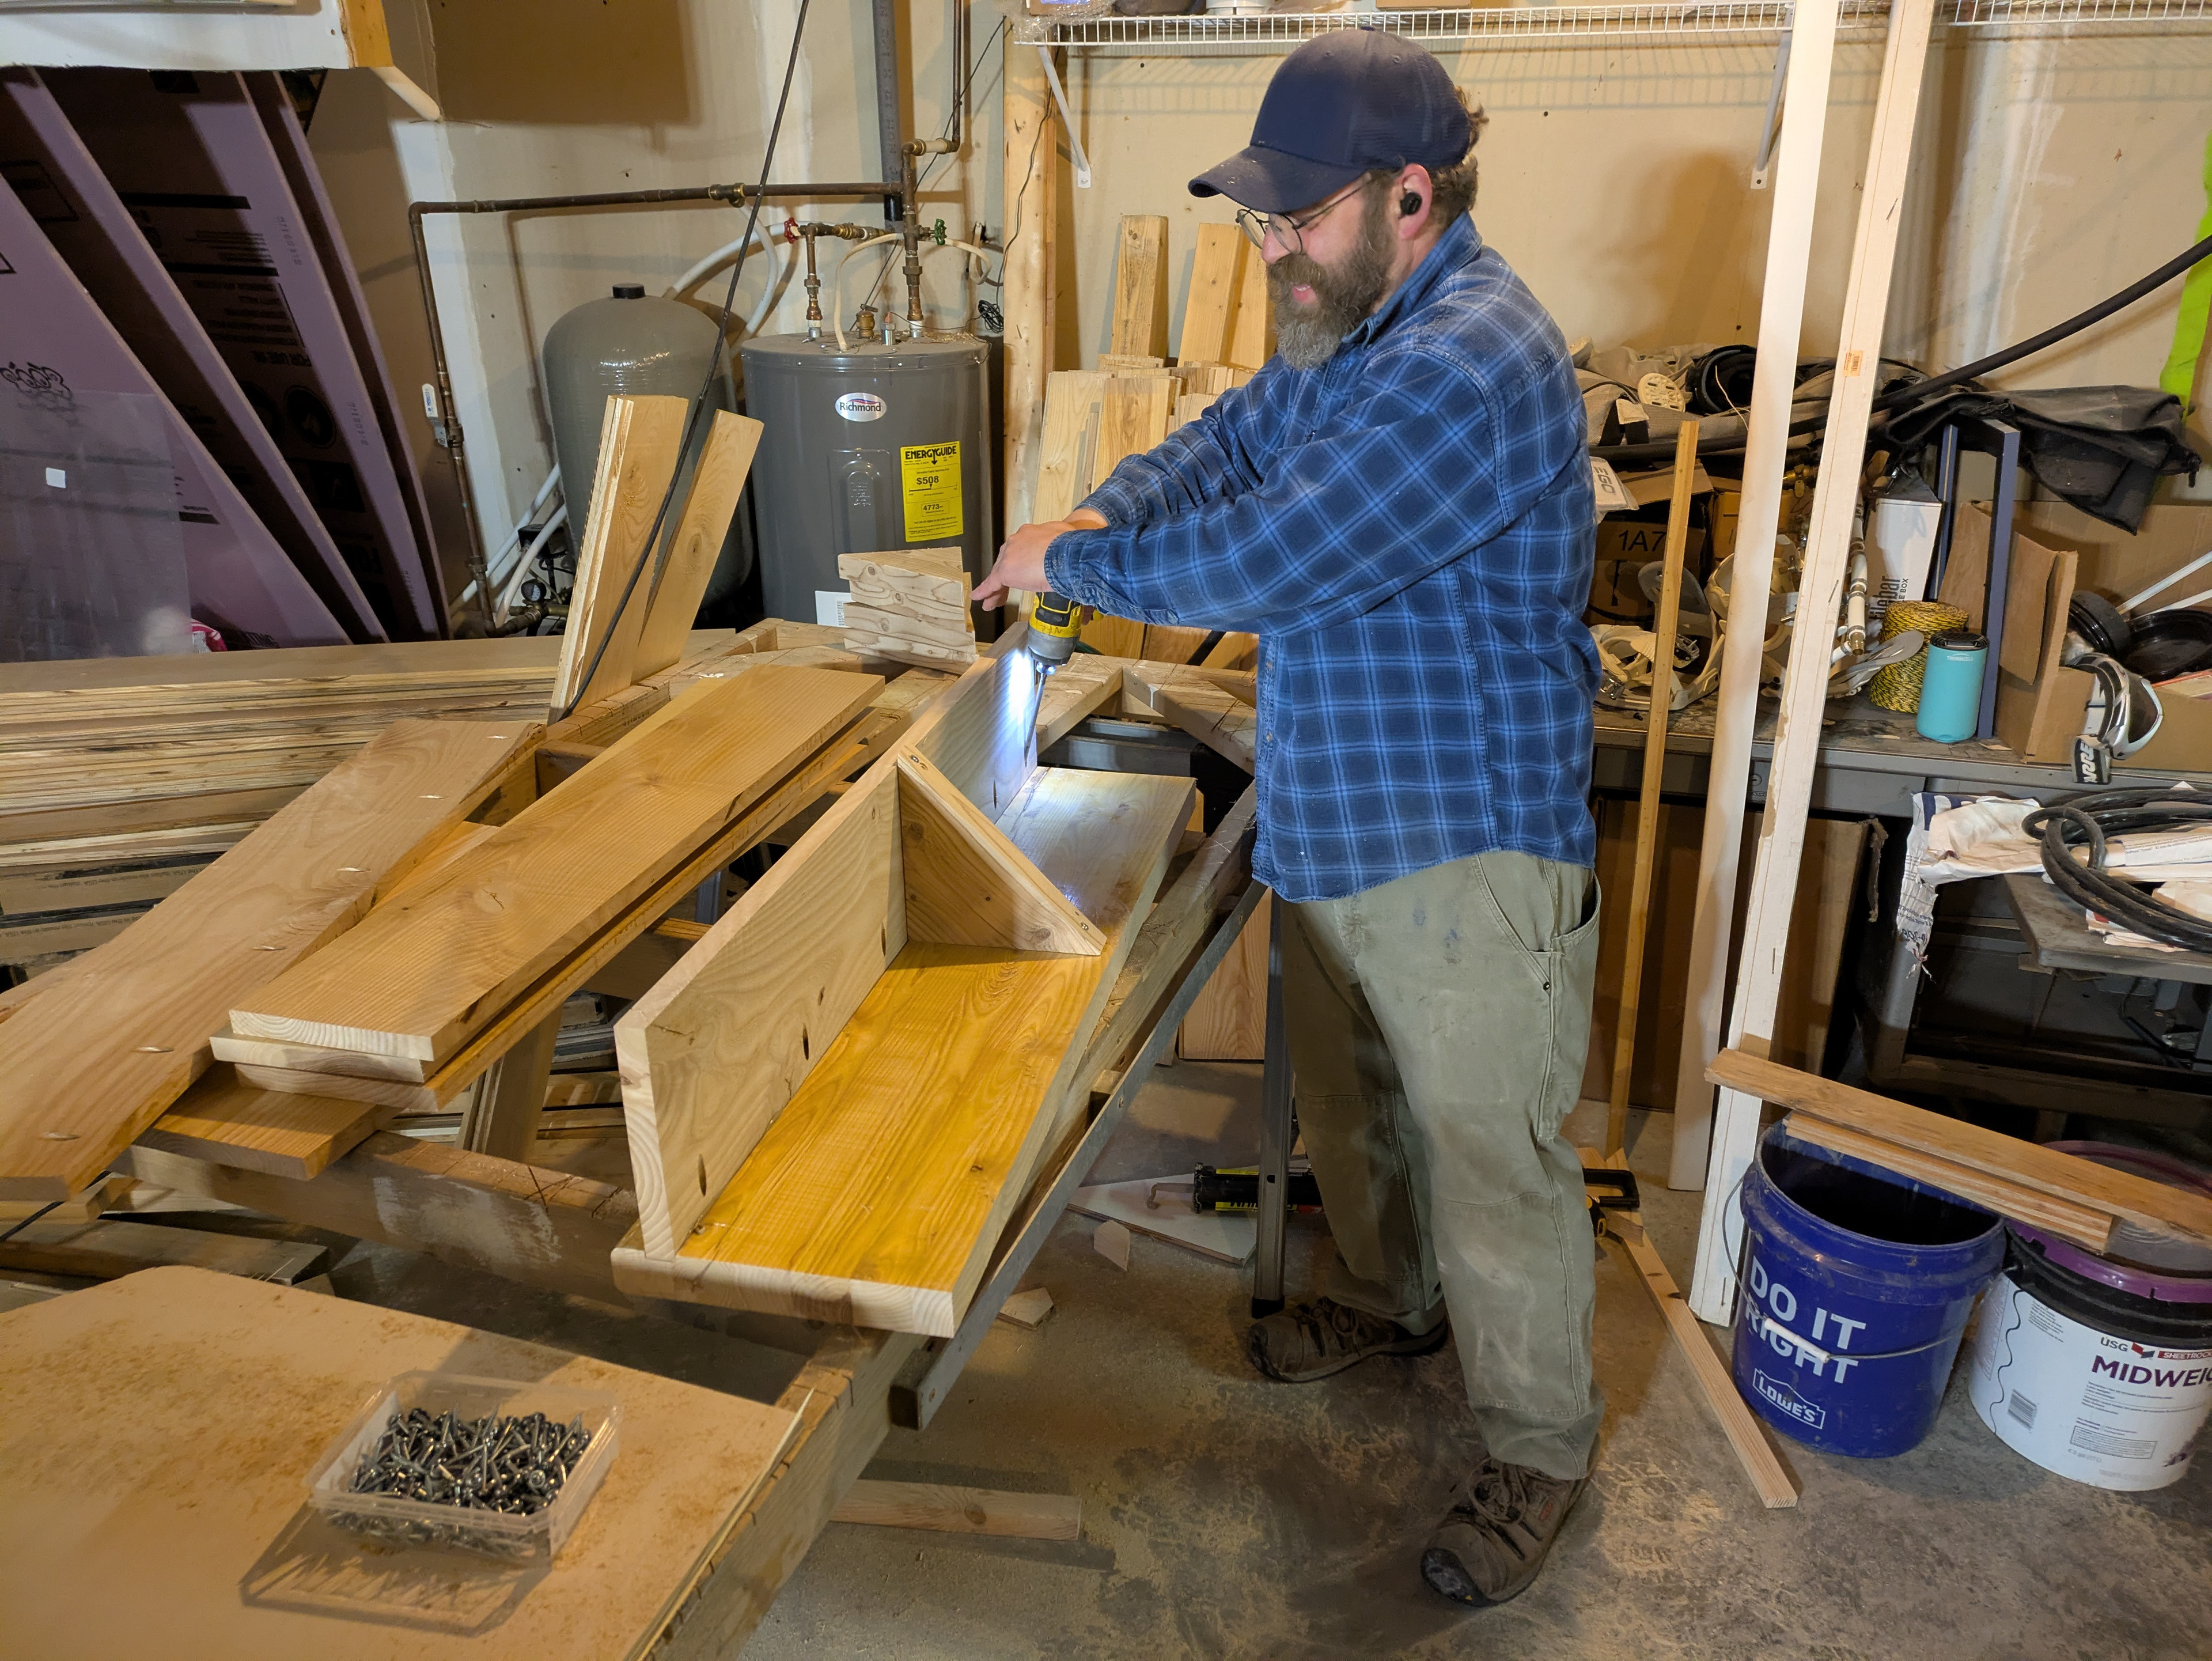
Krestia pre-assembles the treads and risers in pairs using pocket screws and PL Premium construction adhesive. Square-cut pieces of framing lumber are screwed to the back side of the sub-assemblies to hold them square as the adhesive cures. While this work is proceeding, our coworker Ken is adding blocking to the walls to support the ship lap. He is also putting back up and taping the sheetrock.
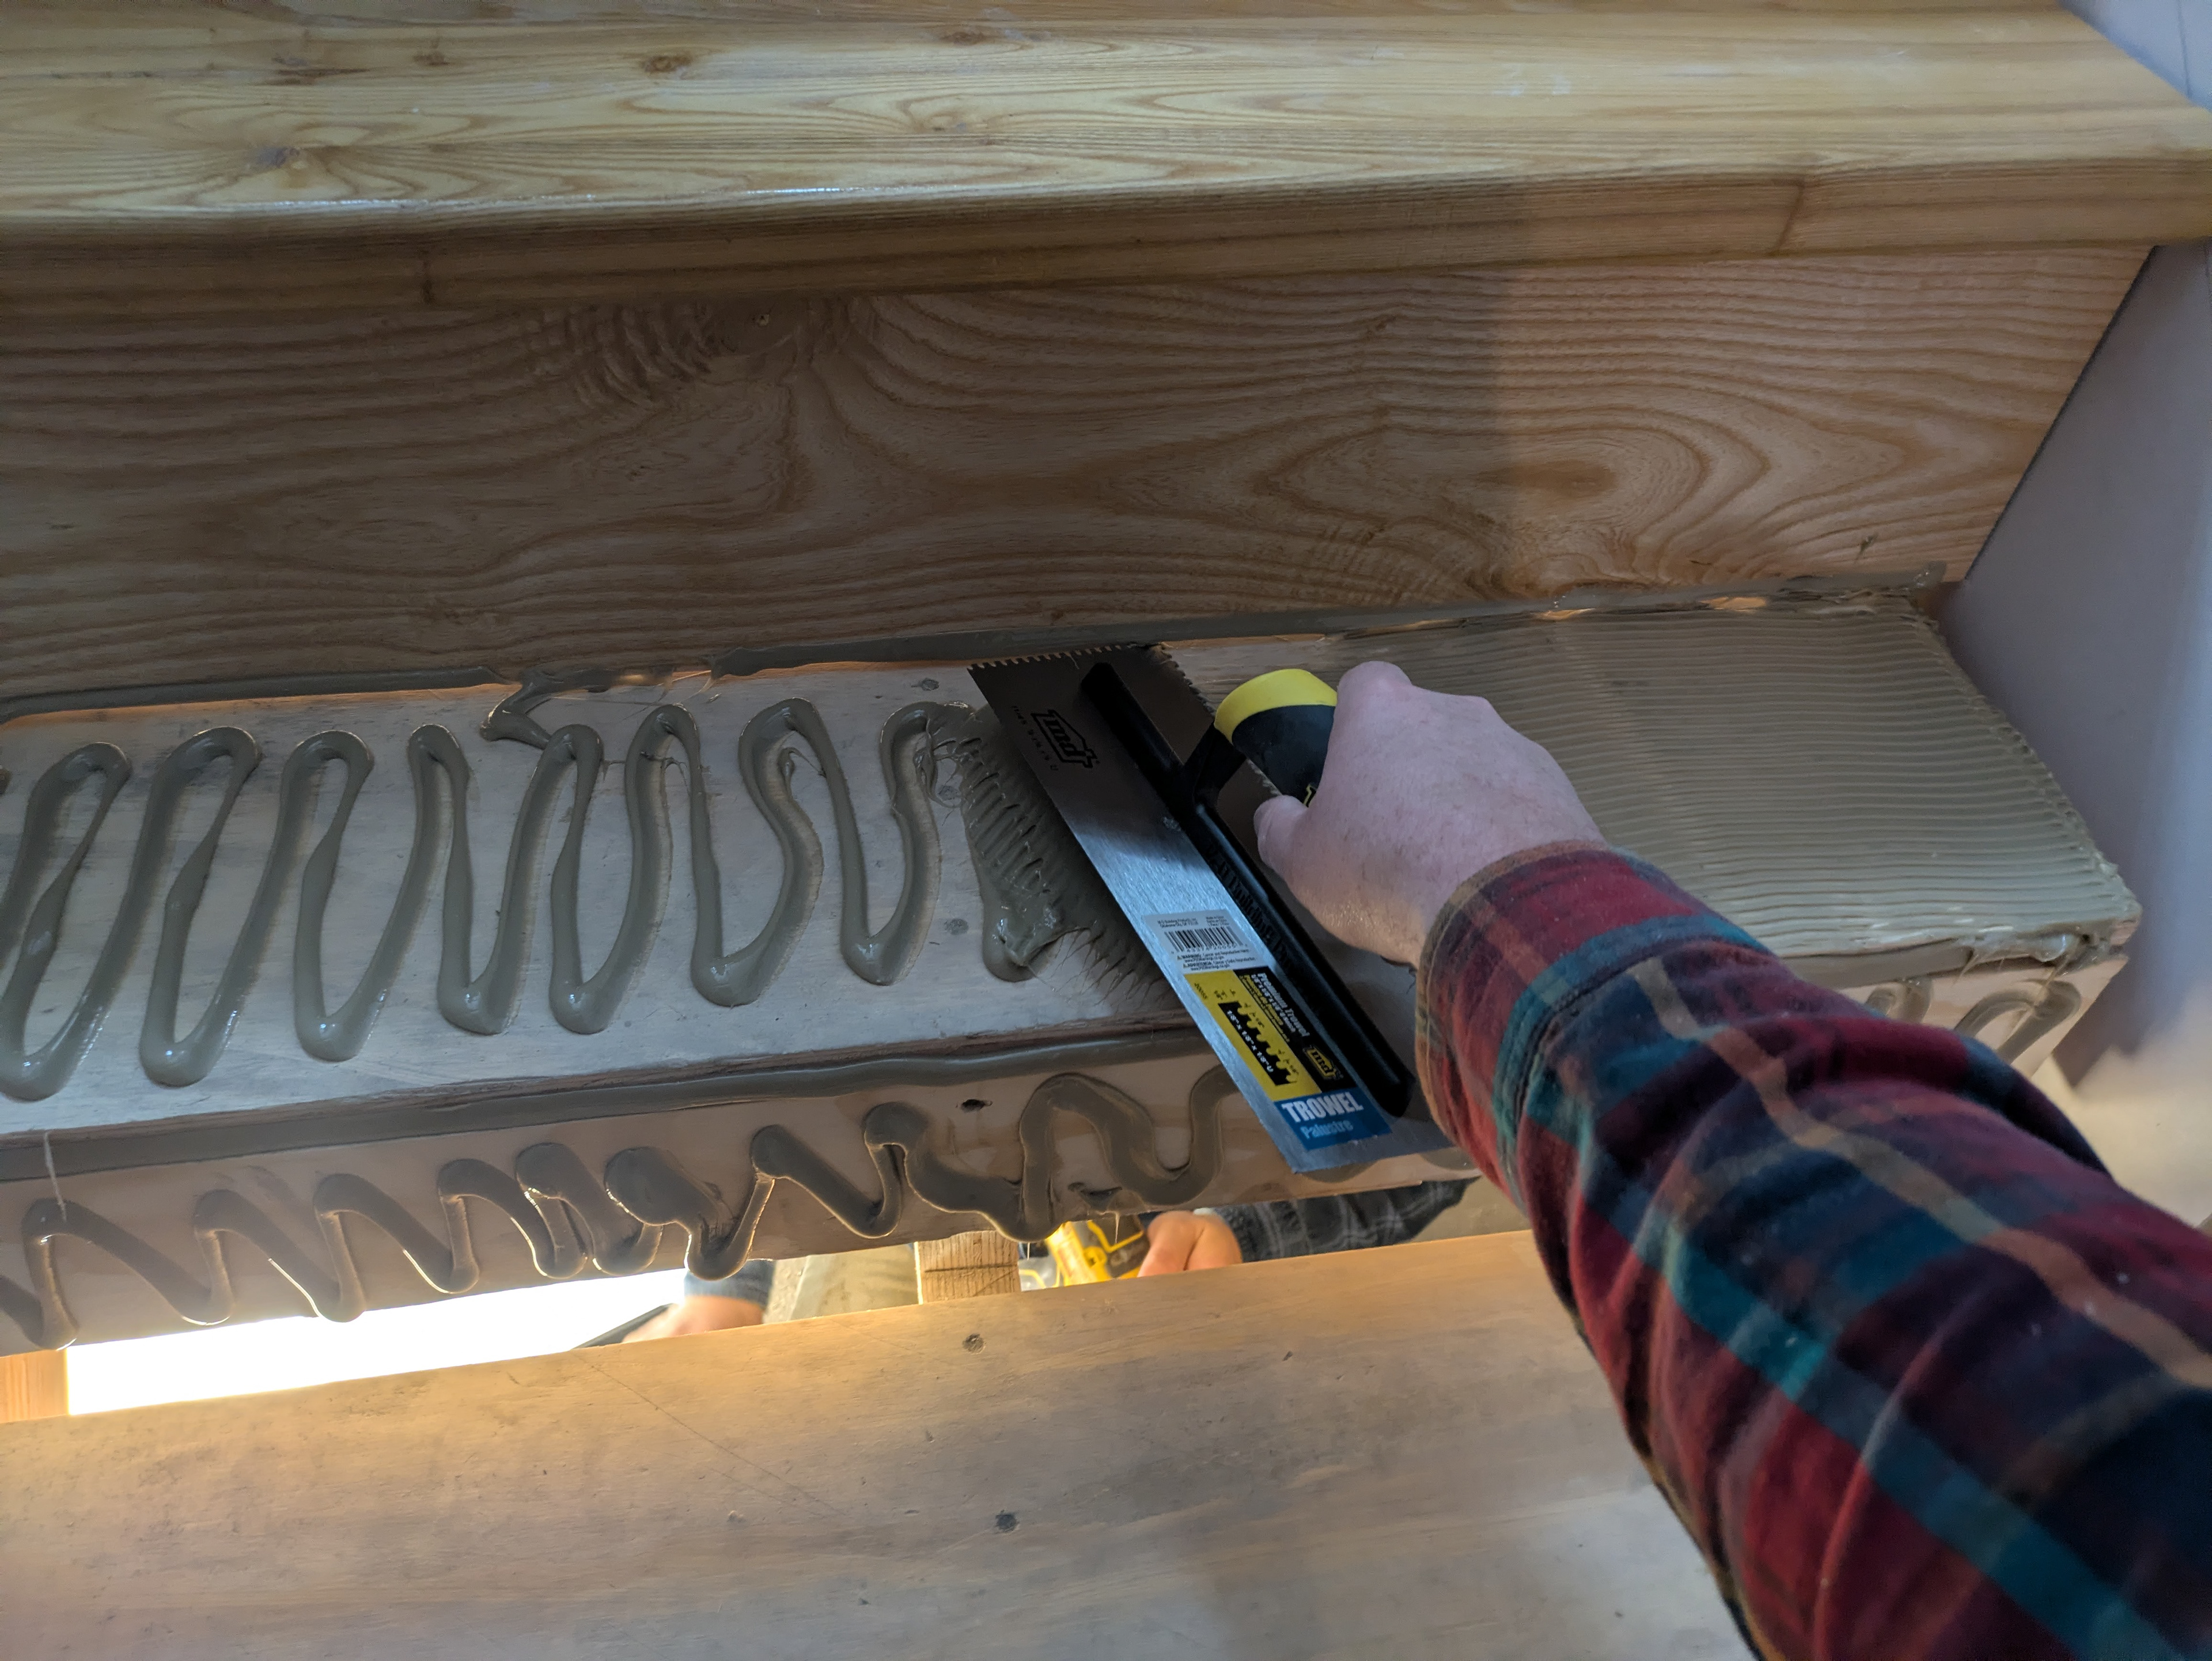
Installing the tread and riser sub-assemblies is straightforward. We start at the top and work our way down. In this case, we are starting with the lower flight of stairs. The top tread is preassembled to both the riser above and the riser below then fastened to the sub-tread from below with course-thread pocket screws. We will install the landing tread later. Most of the remaining treads and risers are installed in their preassembled pairs. I use an electric caulk gun to apply the PL then spread it out with a notched trowel. I leave a bead of PL on the face of the riser where it will contact the tread below.
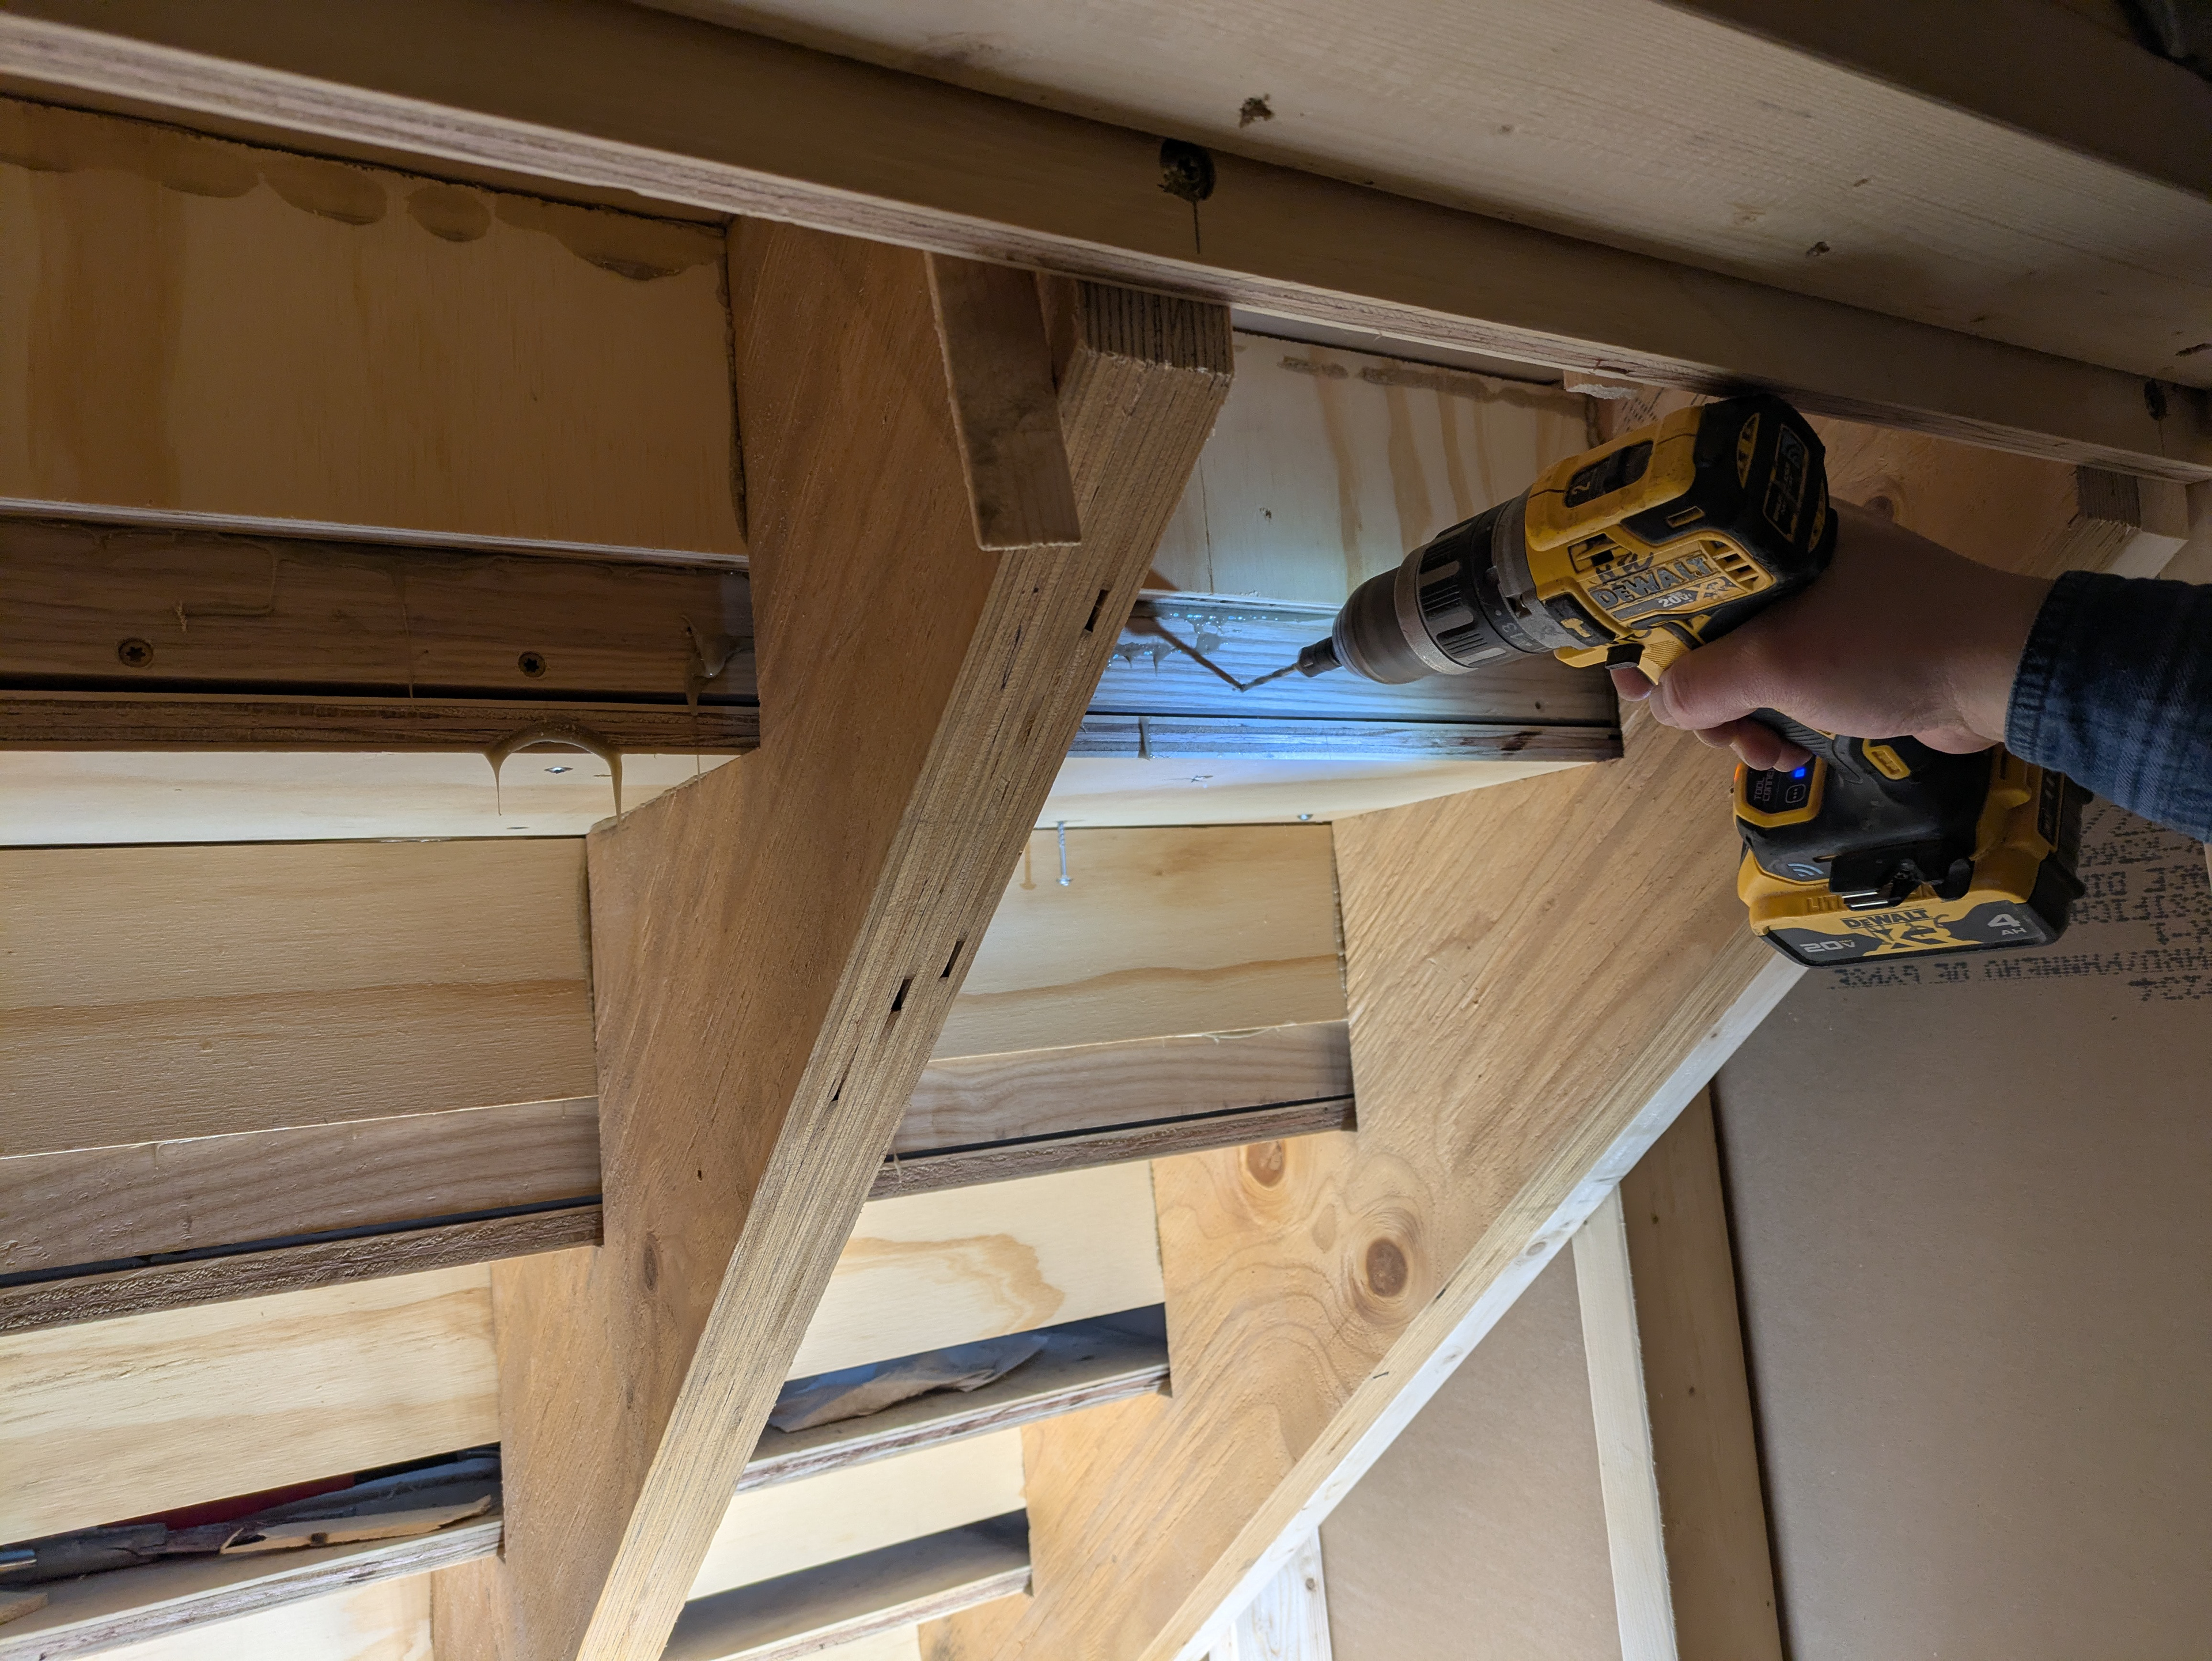
From under the stairs, Krestia is pre-drilling through the back of the riser. This will allow him to fasten the riser above to the back edge of the tread below which creates a seamless joint. The guys at Piha Construction kindly left a 2” space between the bottom edge of the sub-risers and the sub-tread below for this purpose.
2 ½” deck framing screws lock the tread above to the riser below. Glue squeeze out is cleaned up after the adhesive sets up. This prevents us from accidentally smearing the glue into the wood grain.
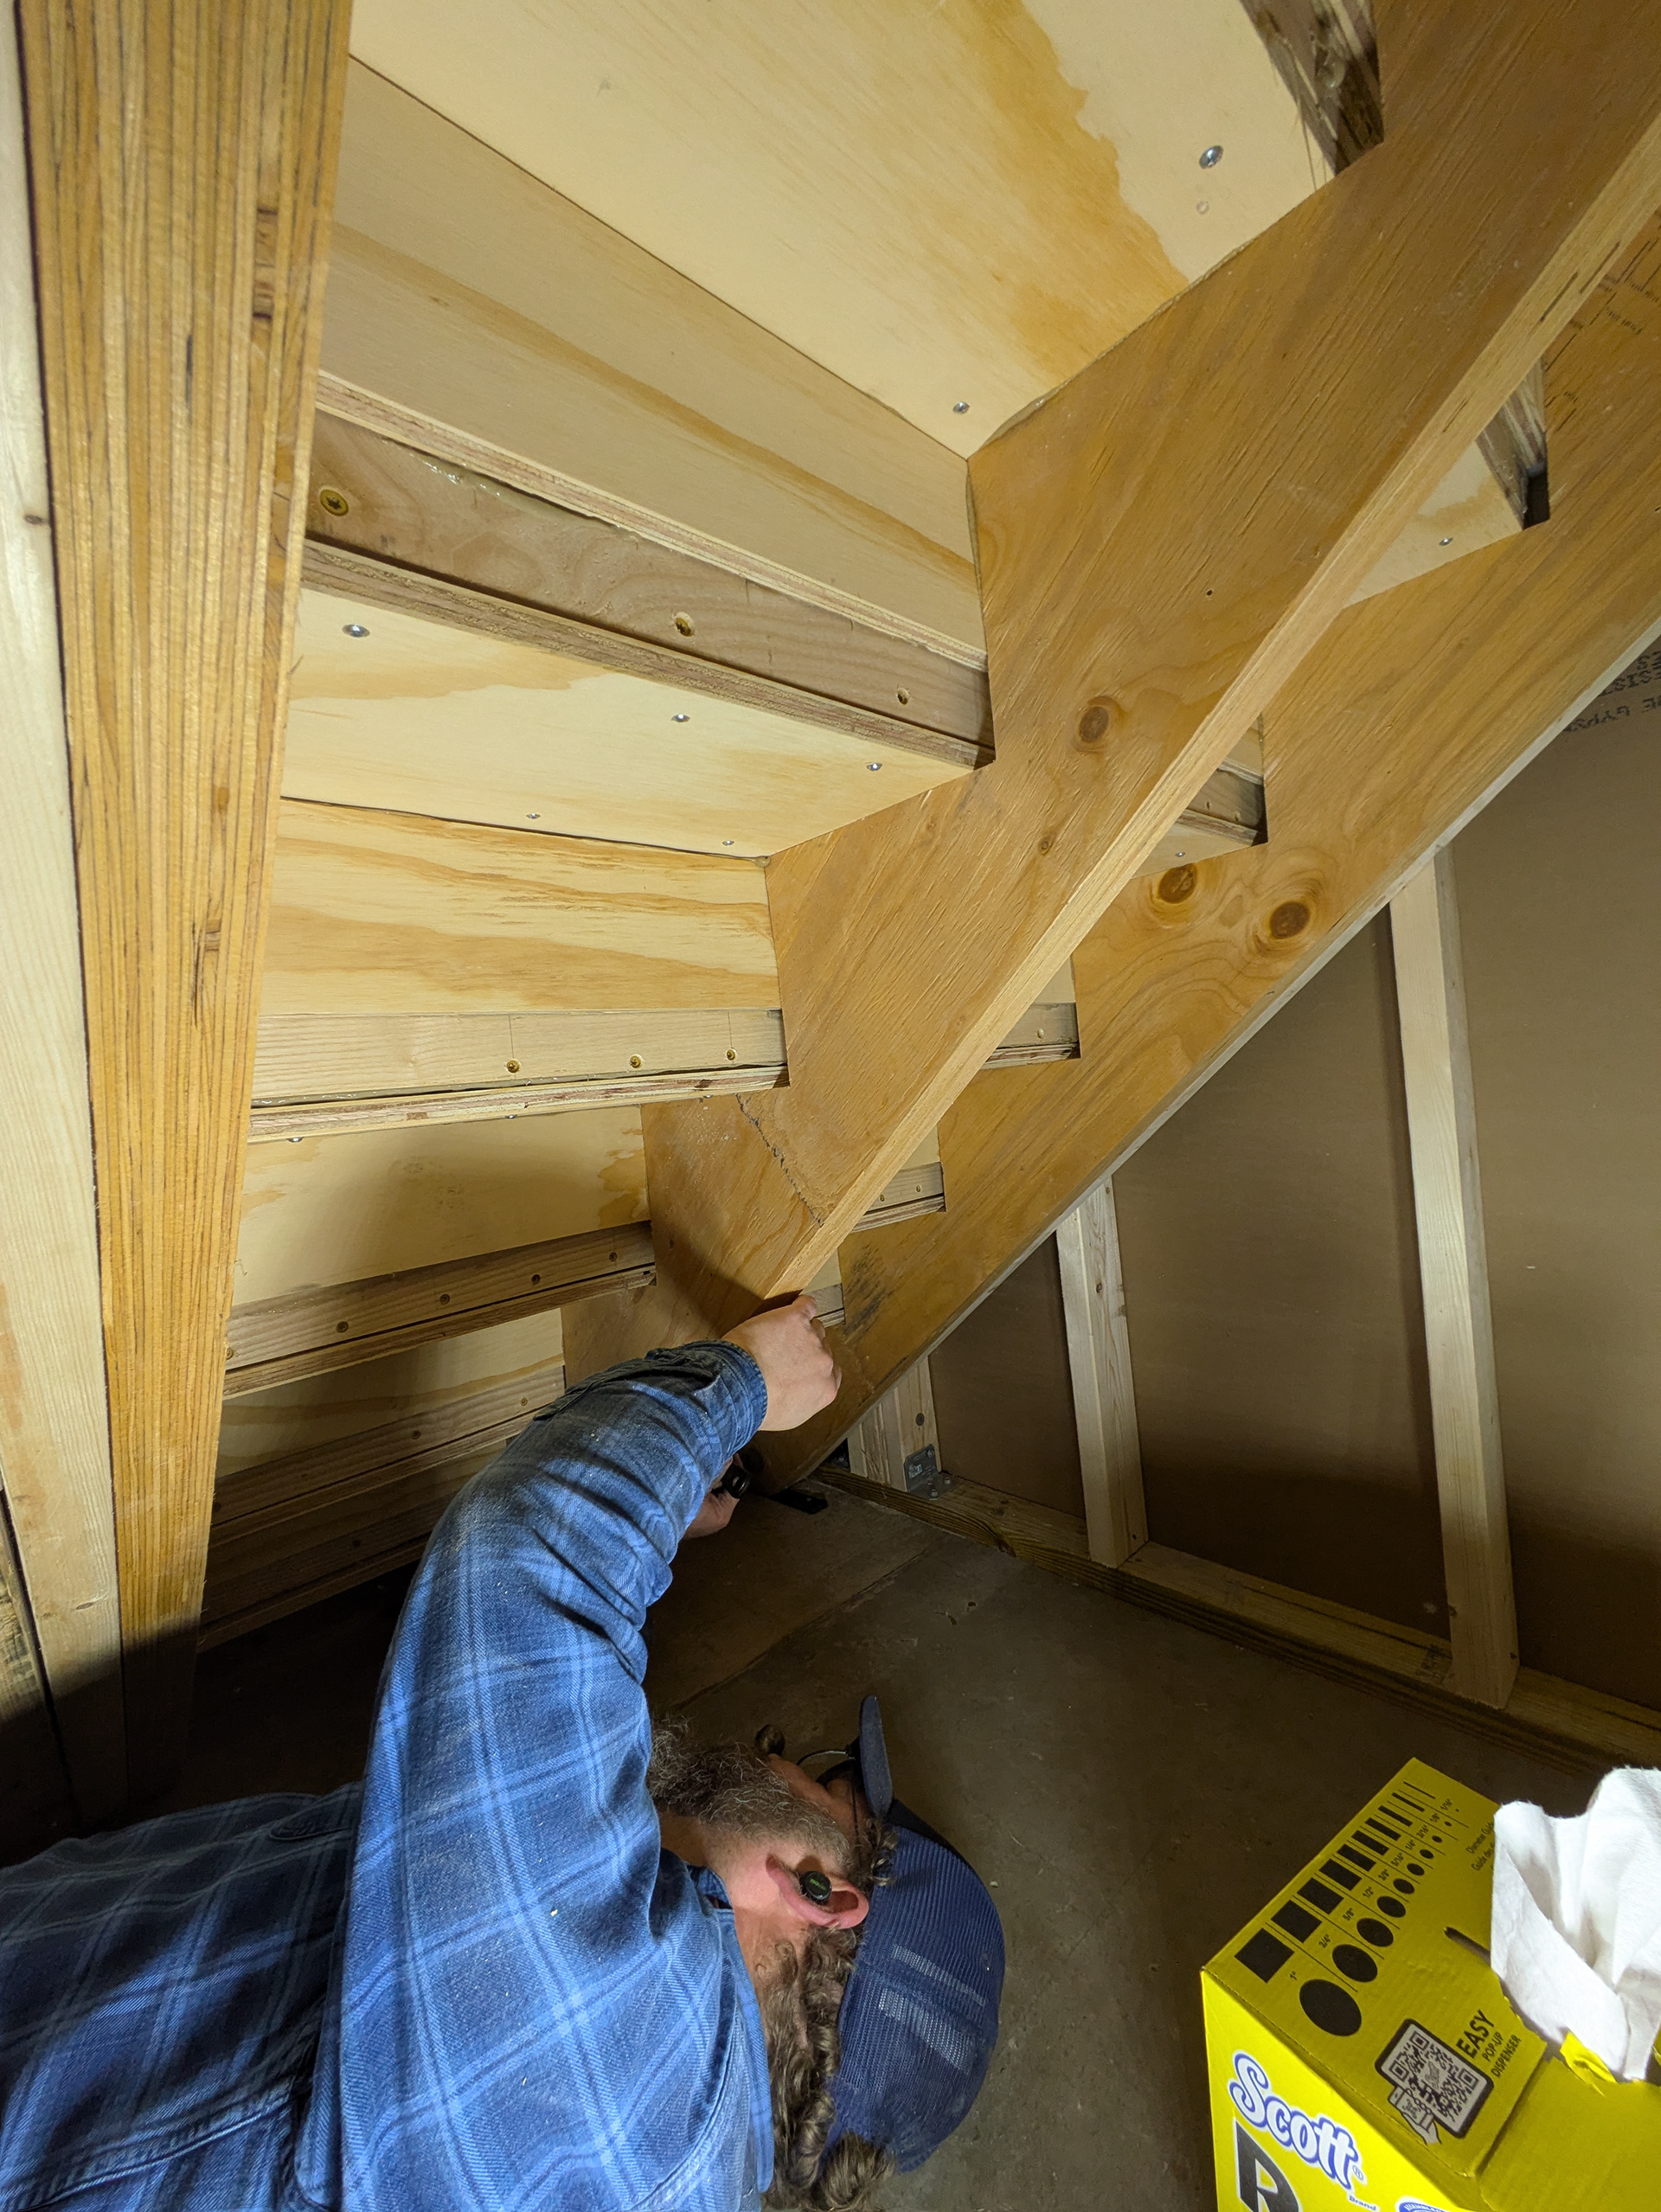
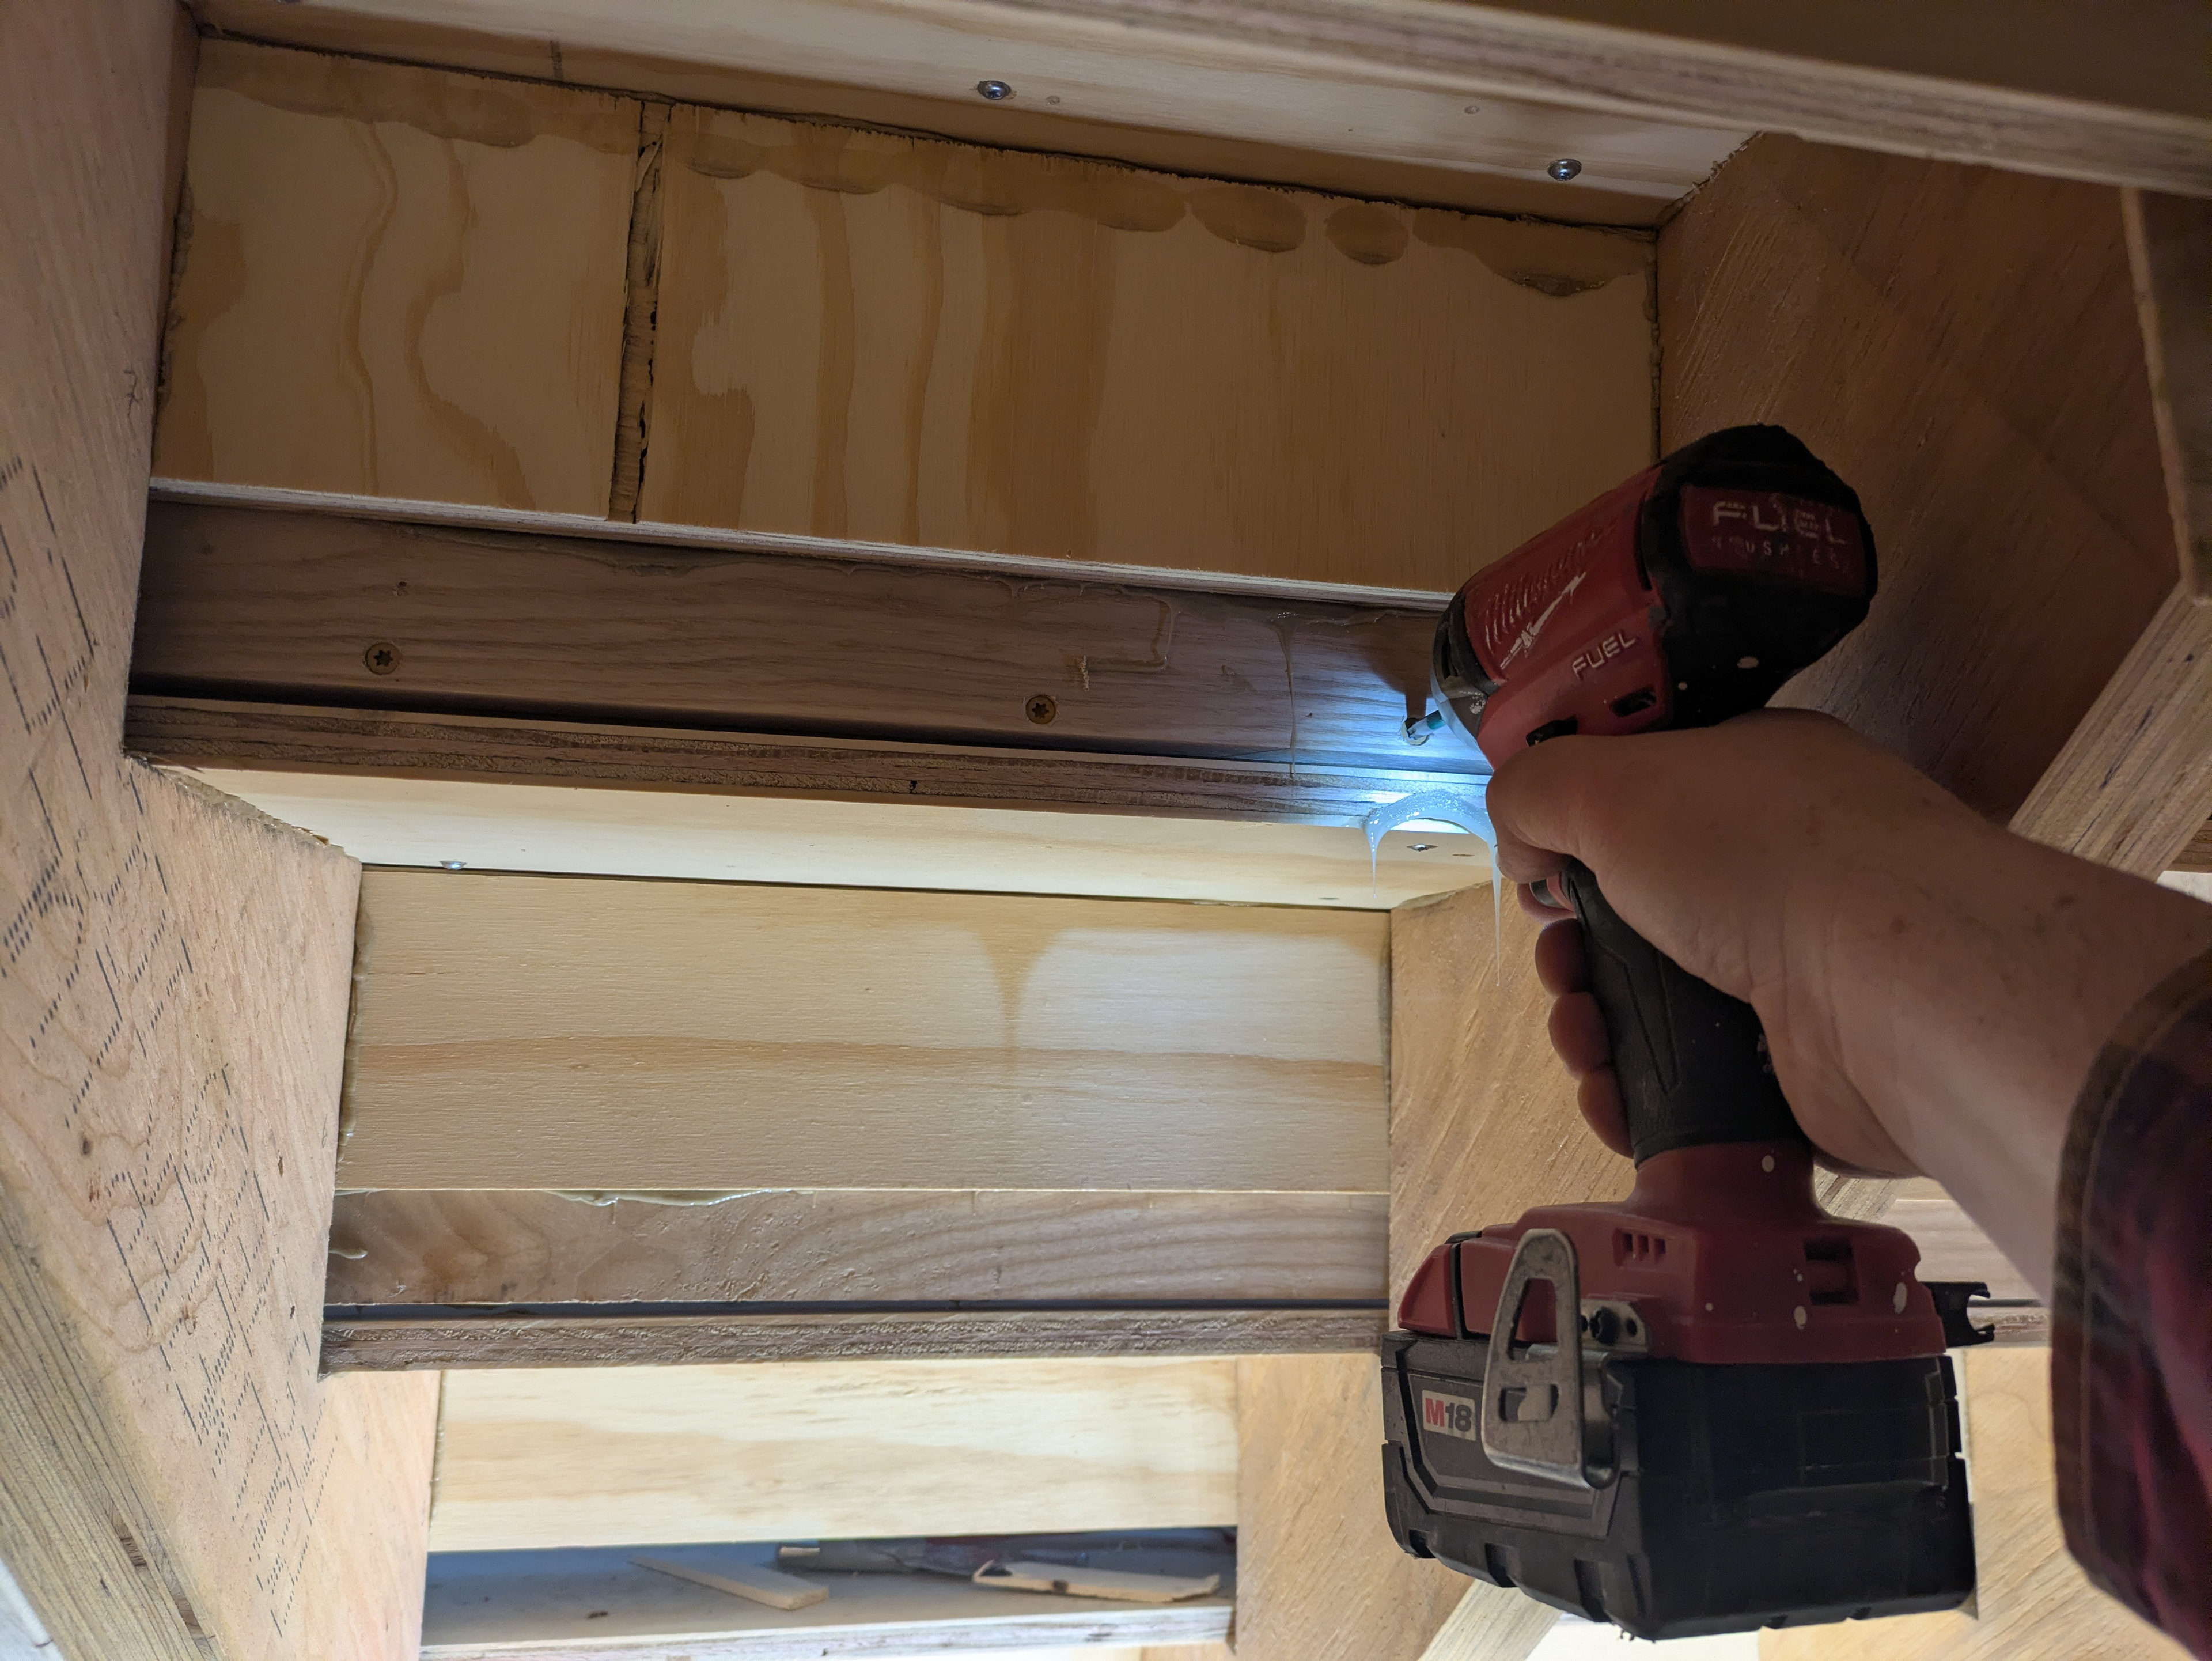
Once the riser is fastened to the tread, the tread is blind-screwed from below with pocket screws.
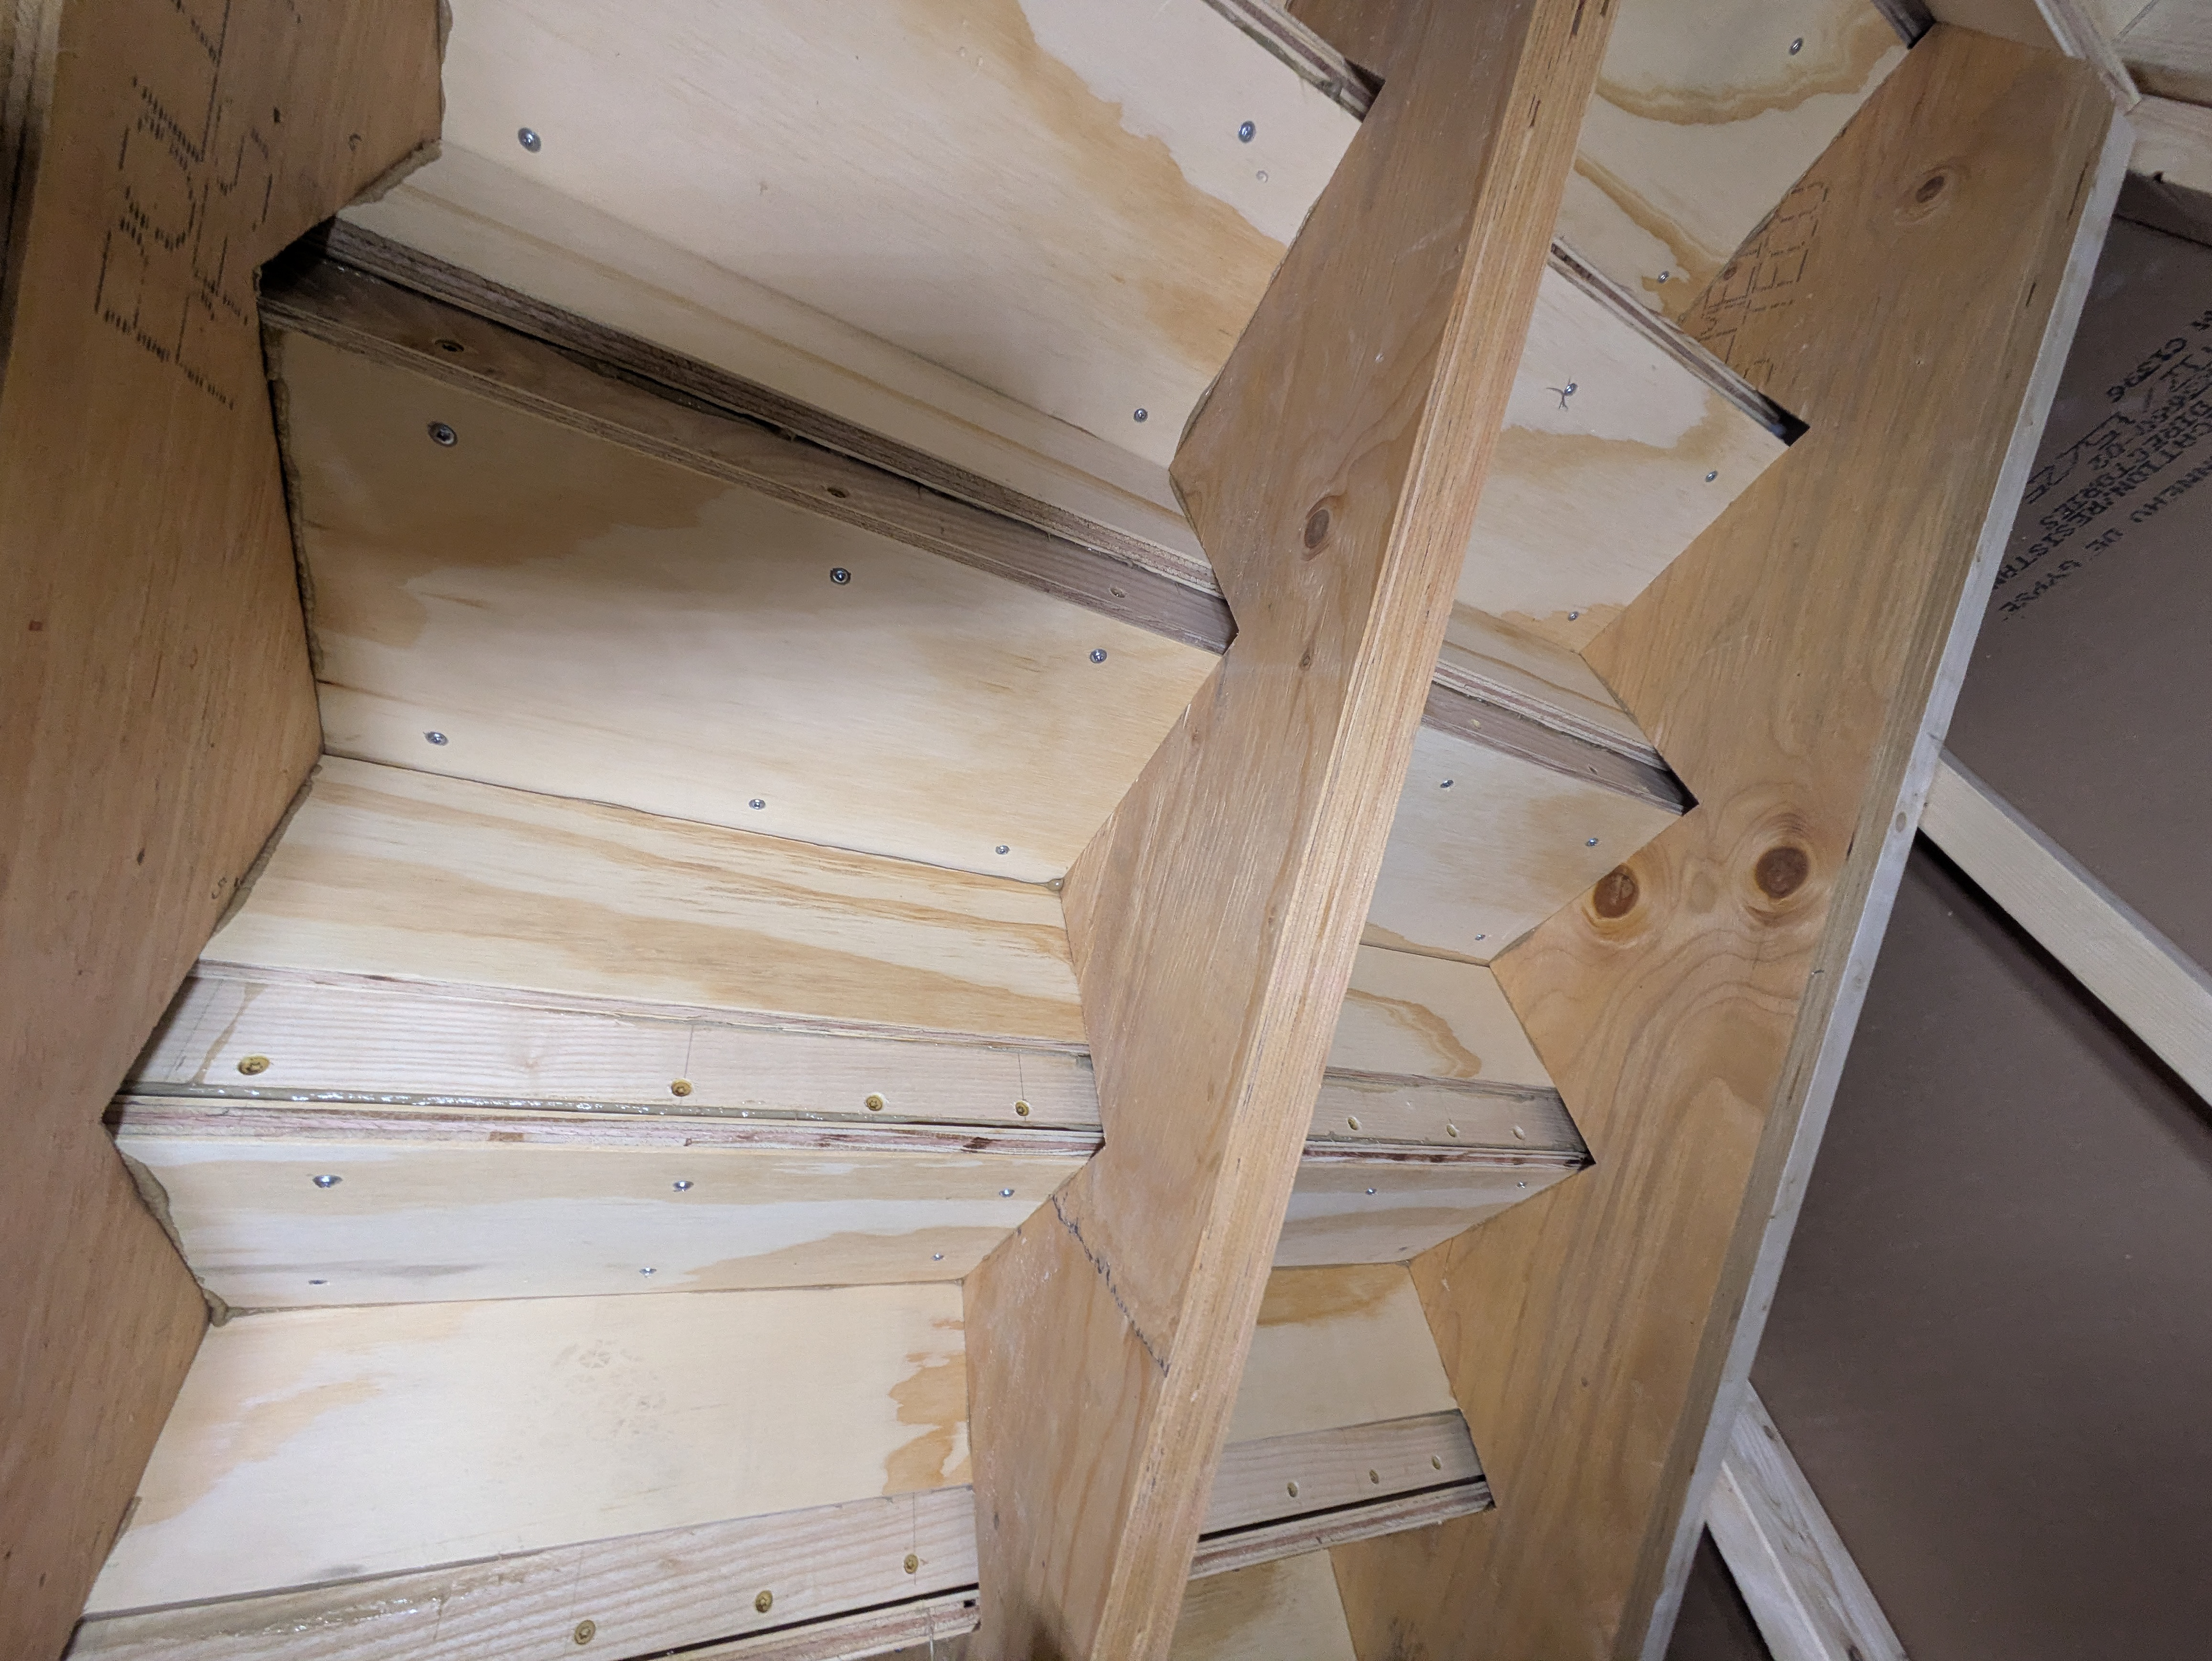
About 12 screws are used to secure each tread to the sub-tread. It’s helpful to build stairs in this way with two carpenters. One person applies the adhesive, sets the sub-assemblies then uses their weight to hold the parts in place as the fastening from below is done.
The lower most riser is scribed to the floor then glued and blind screwed from behind to the sub-riser. The lower-most tread is blind-screwed to the riser above then screwed to the subtreads from below.
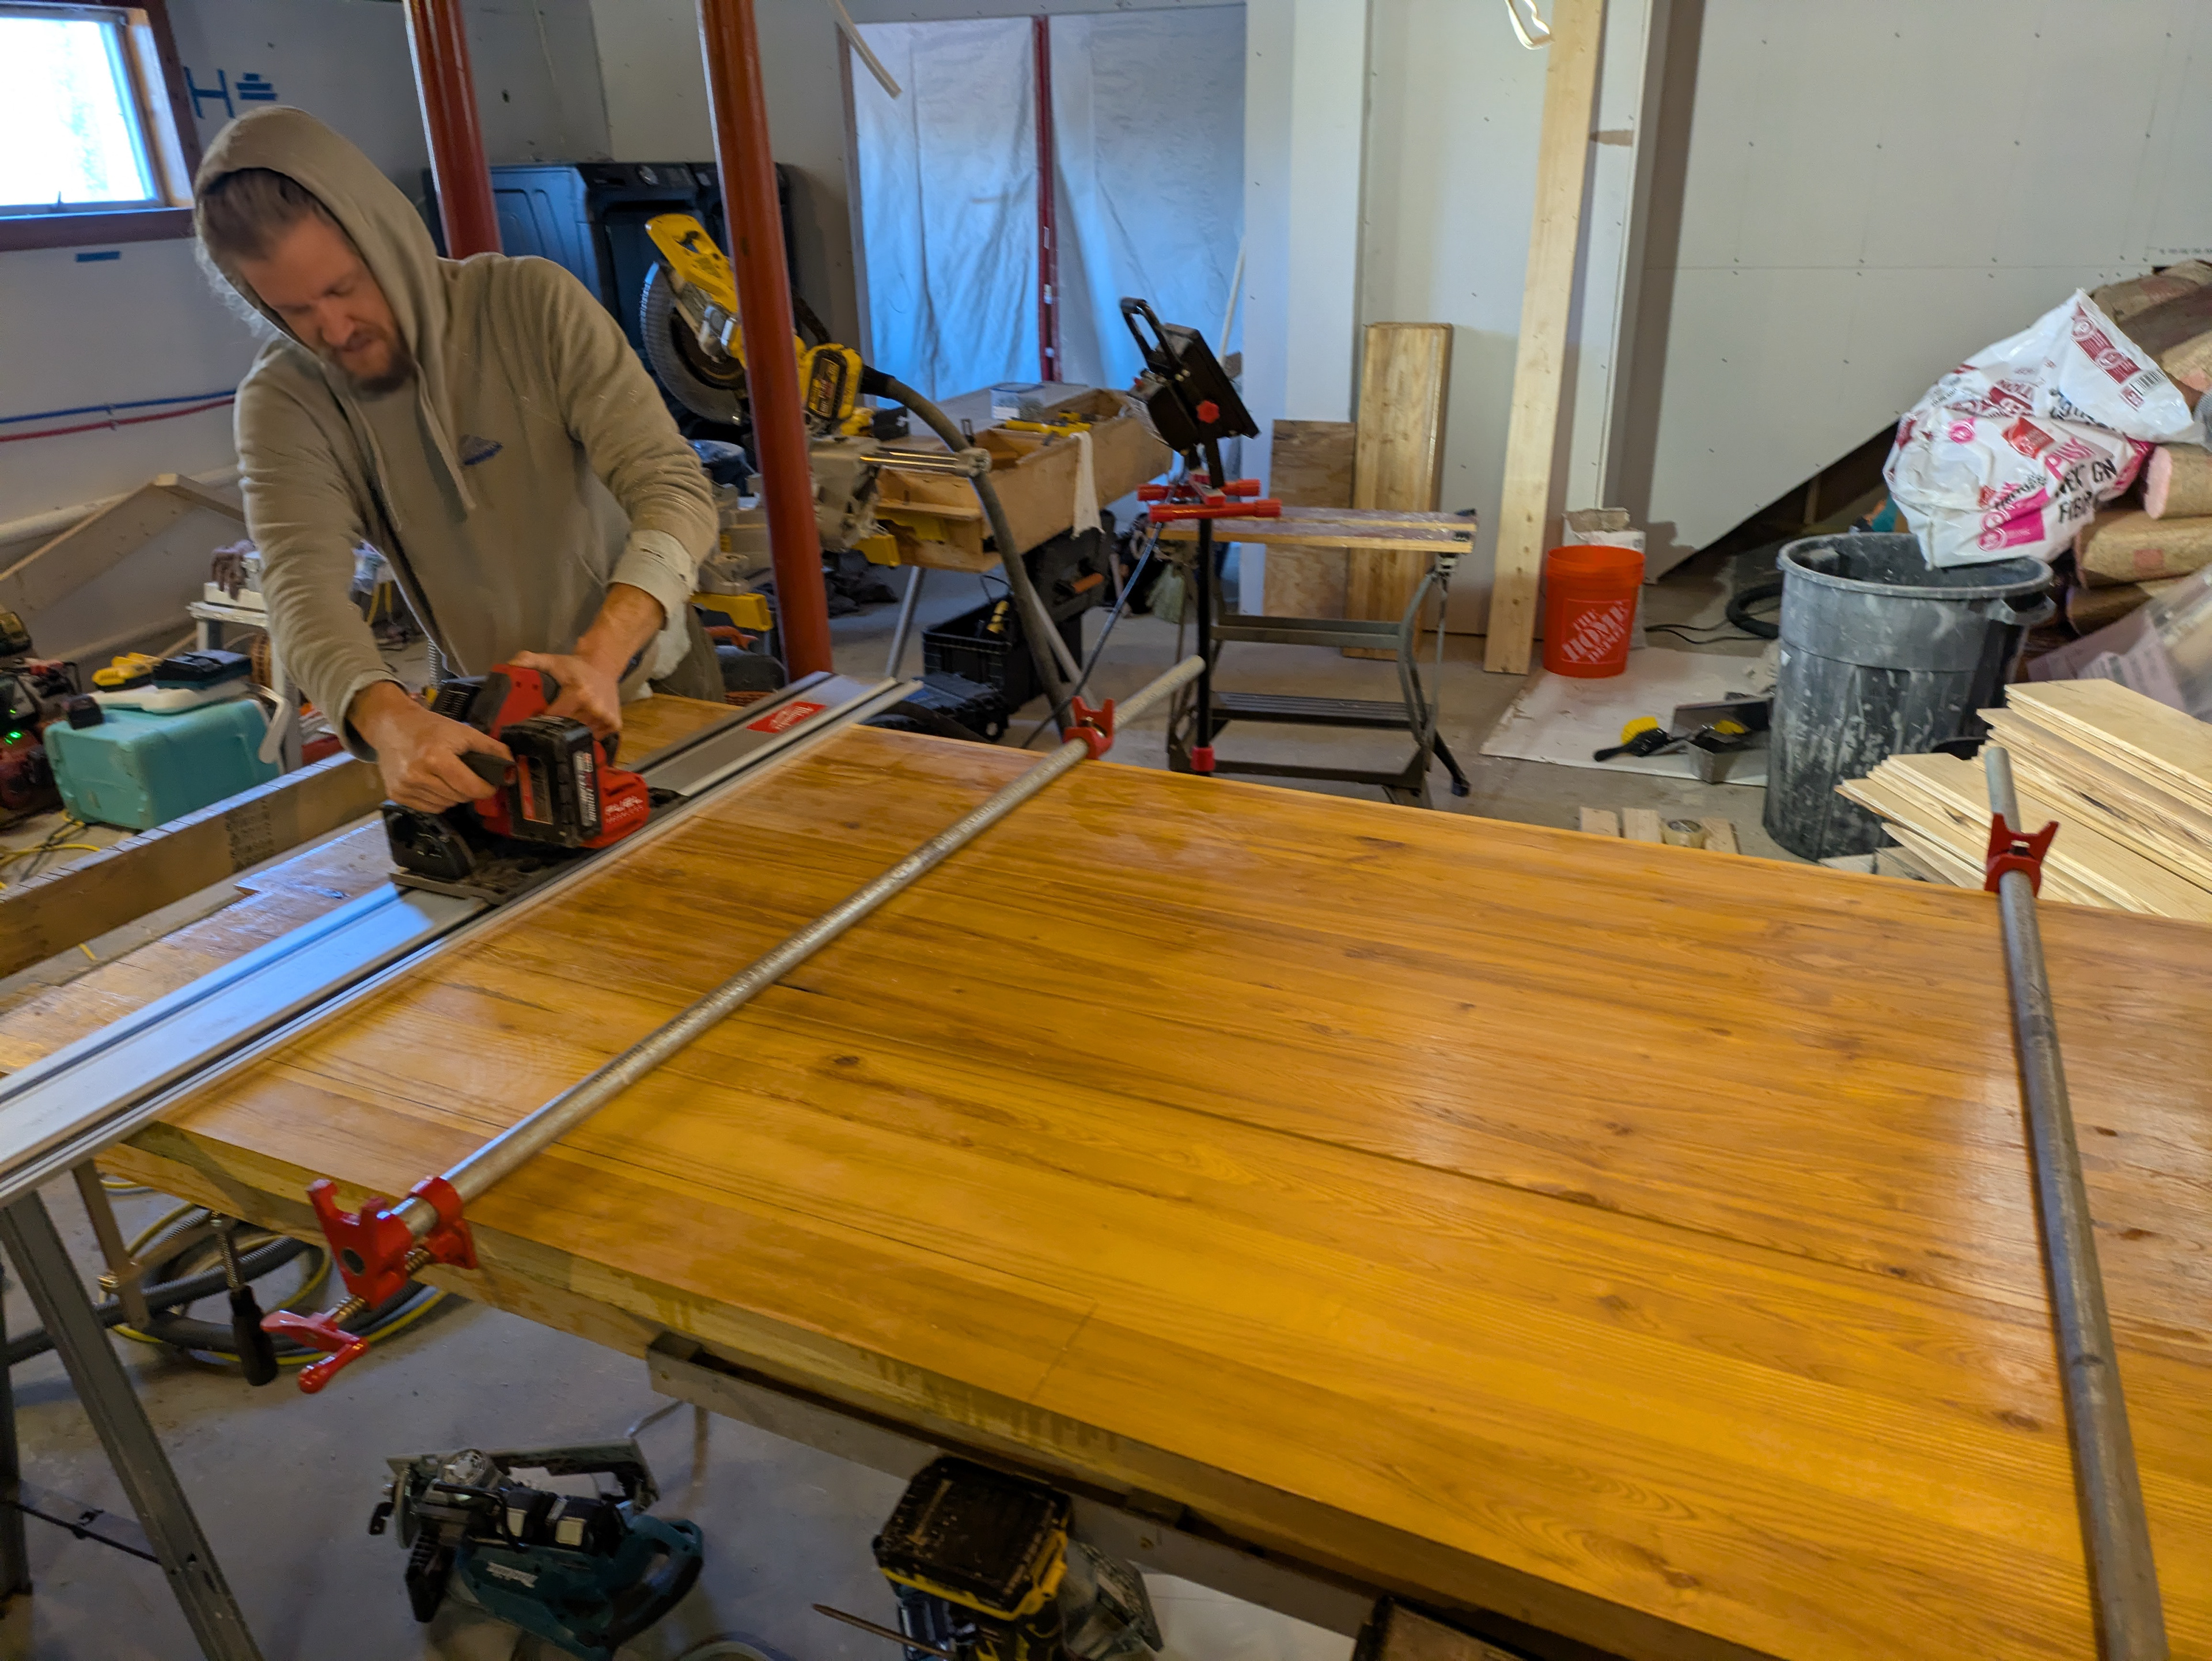
Meanwhile, Ken has grooved, splined and dry-fit 3 massive ash butcher-block slabs together. He templated the landing with a hot glue gun and strips of luan in order to accurately layout the cuts.
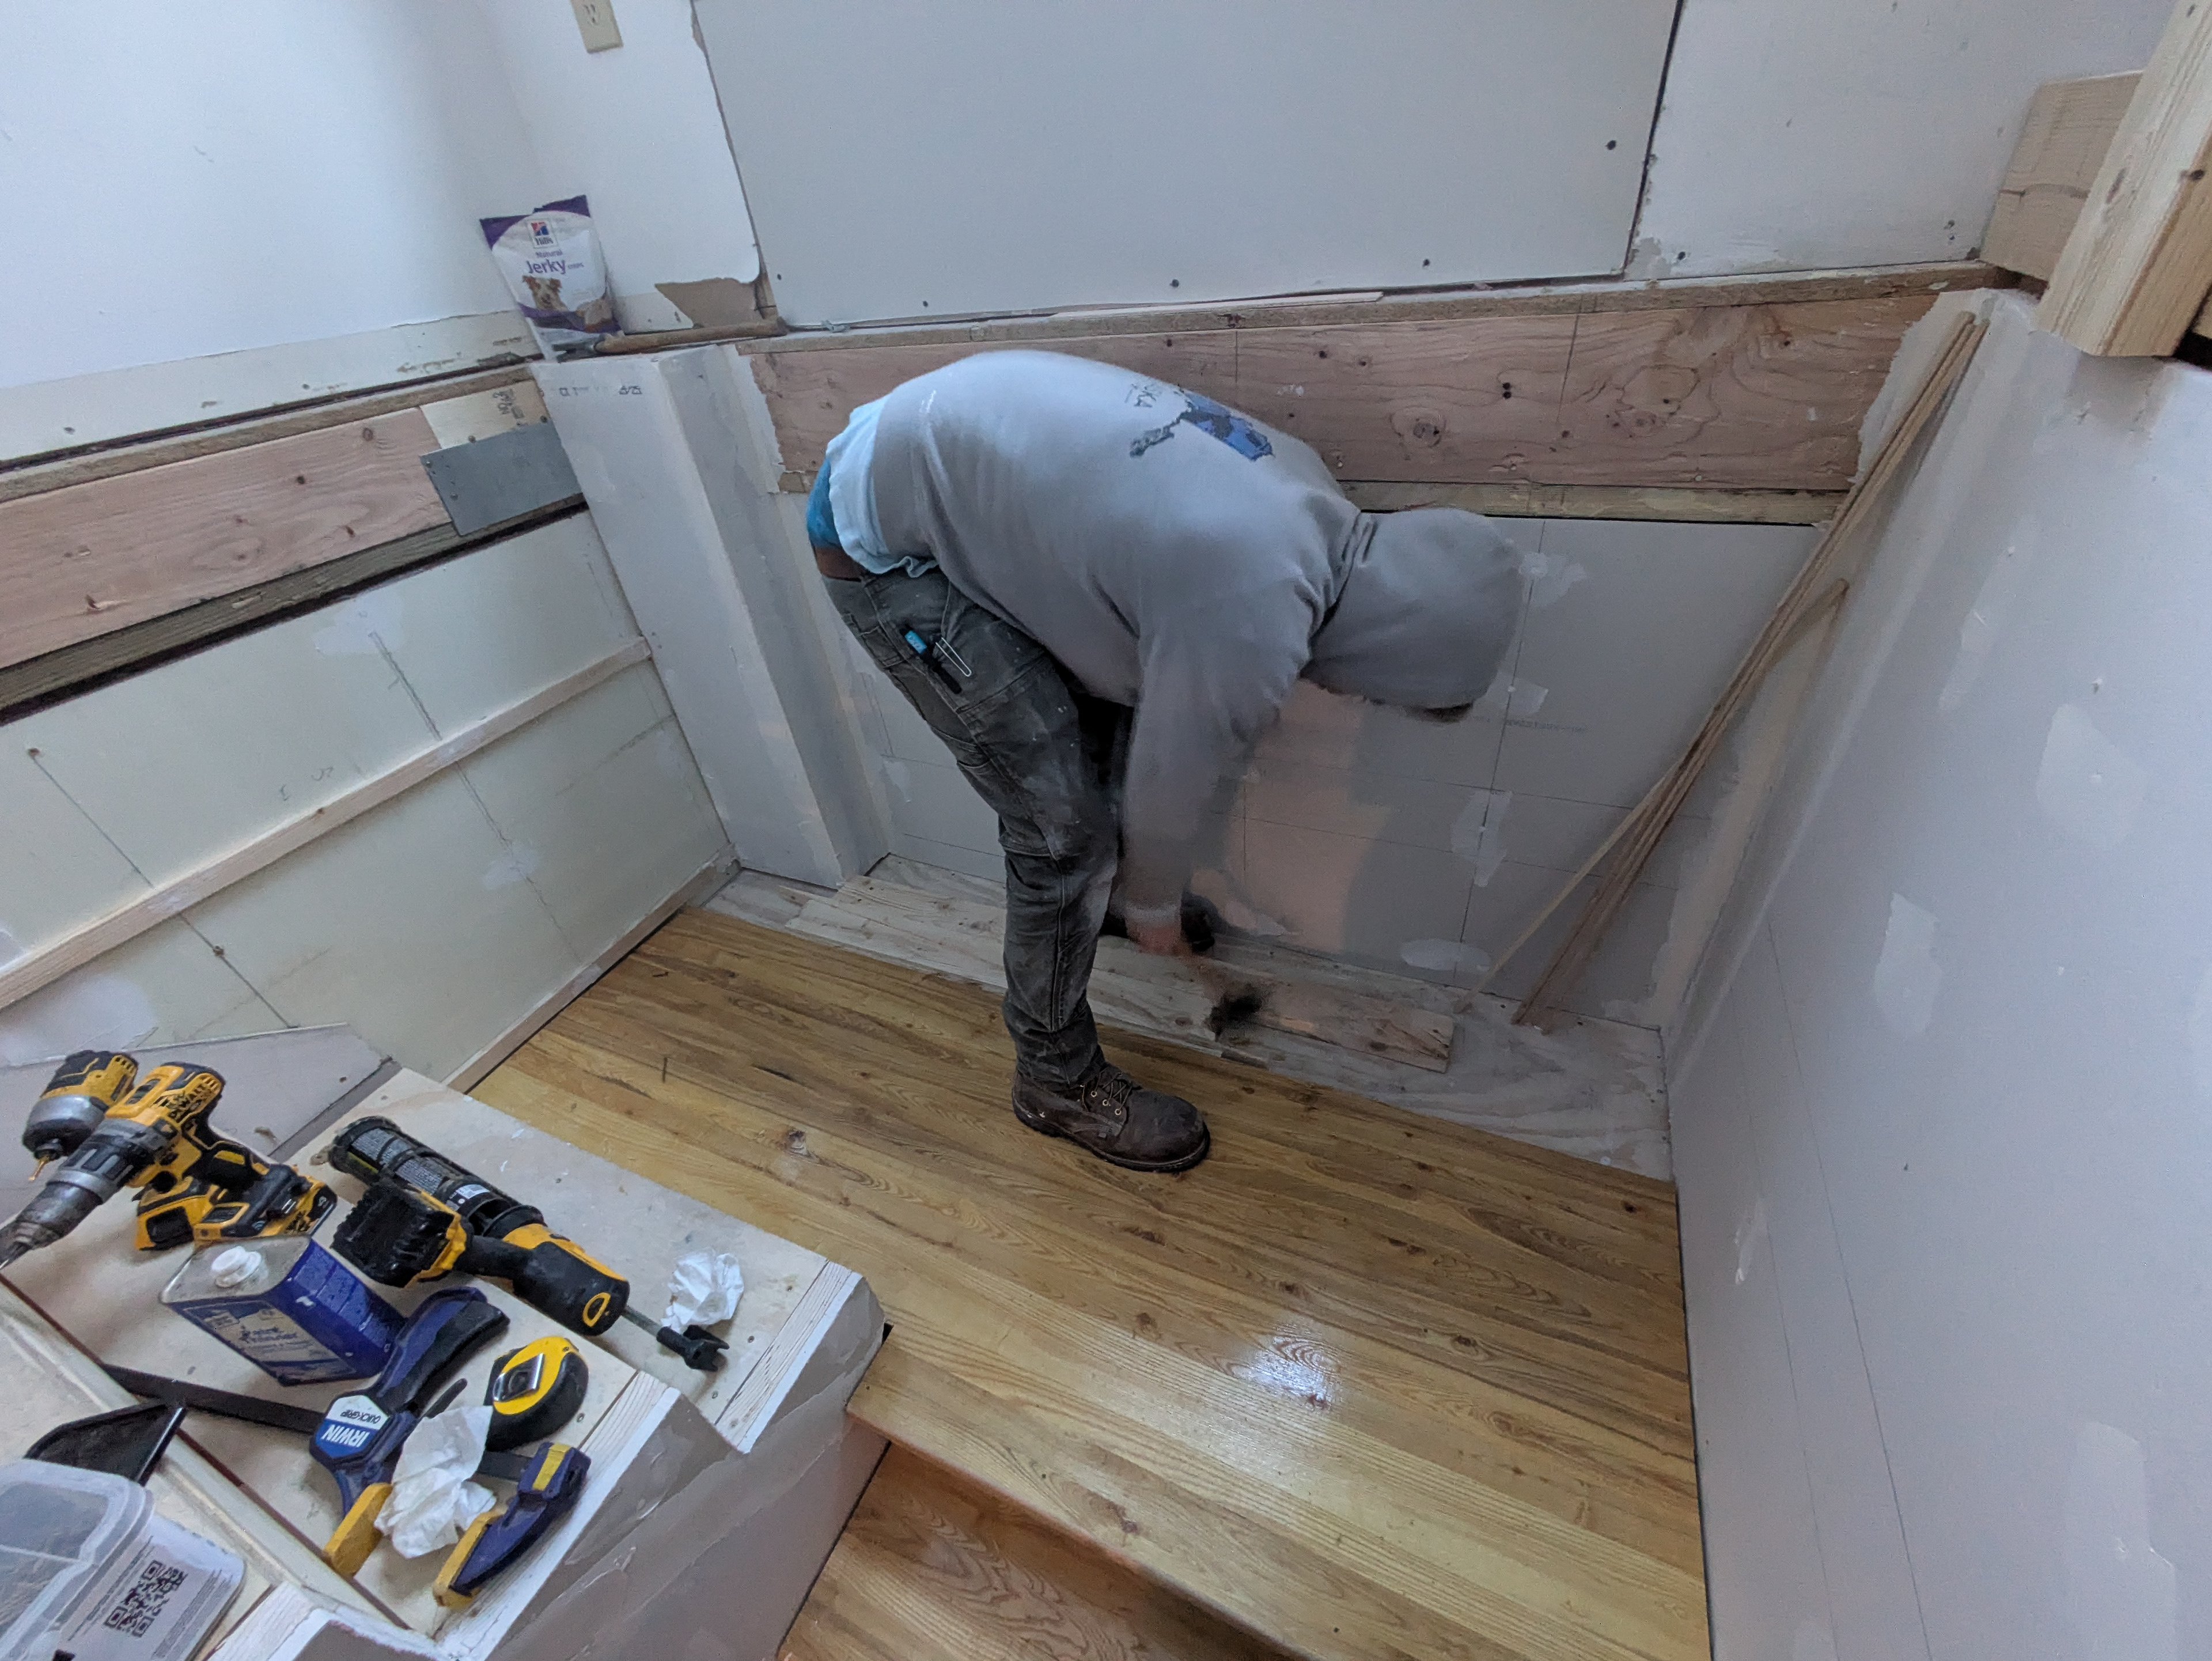
The flooring slabs are glued to the subfloor with PL and fastened with trim screws at one edge only, which will allow them to expand and contract without de-laminating. Ken is pounding wedges between the edge of the slab and a 2x6 that’s screwed to the subfloor. This will hold the slabs together for fastening.

The 3rd and final slab is dropped in between the previous slab and the wallboard. Ken uses a prybar to lever off of the studs in order to force the slabs together.

The design calls for no skirtboard so we will be scribing the ship-lap to the treads and risers. To do this efficiently, we are gluing up strips of luan together to create a template. We carefully marked a plumb line at the center of the template for alignment to the ship lap.
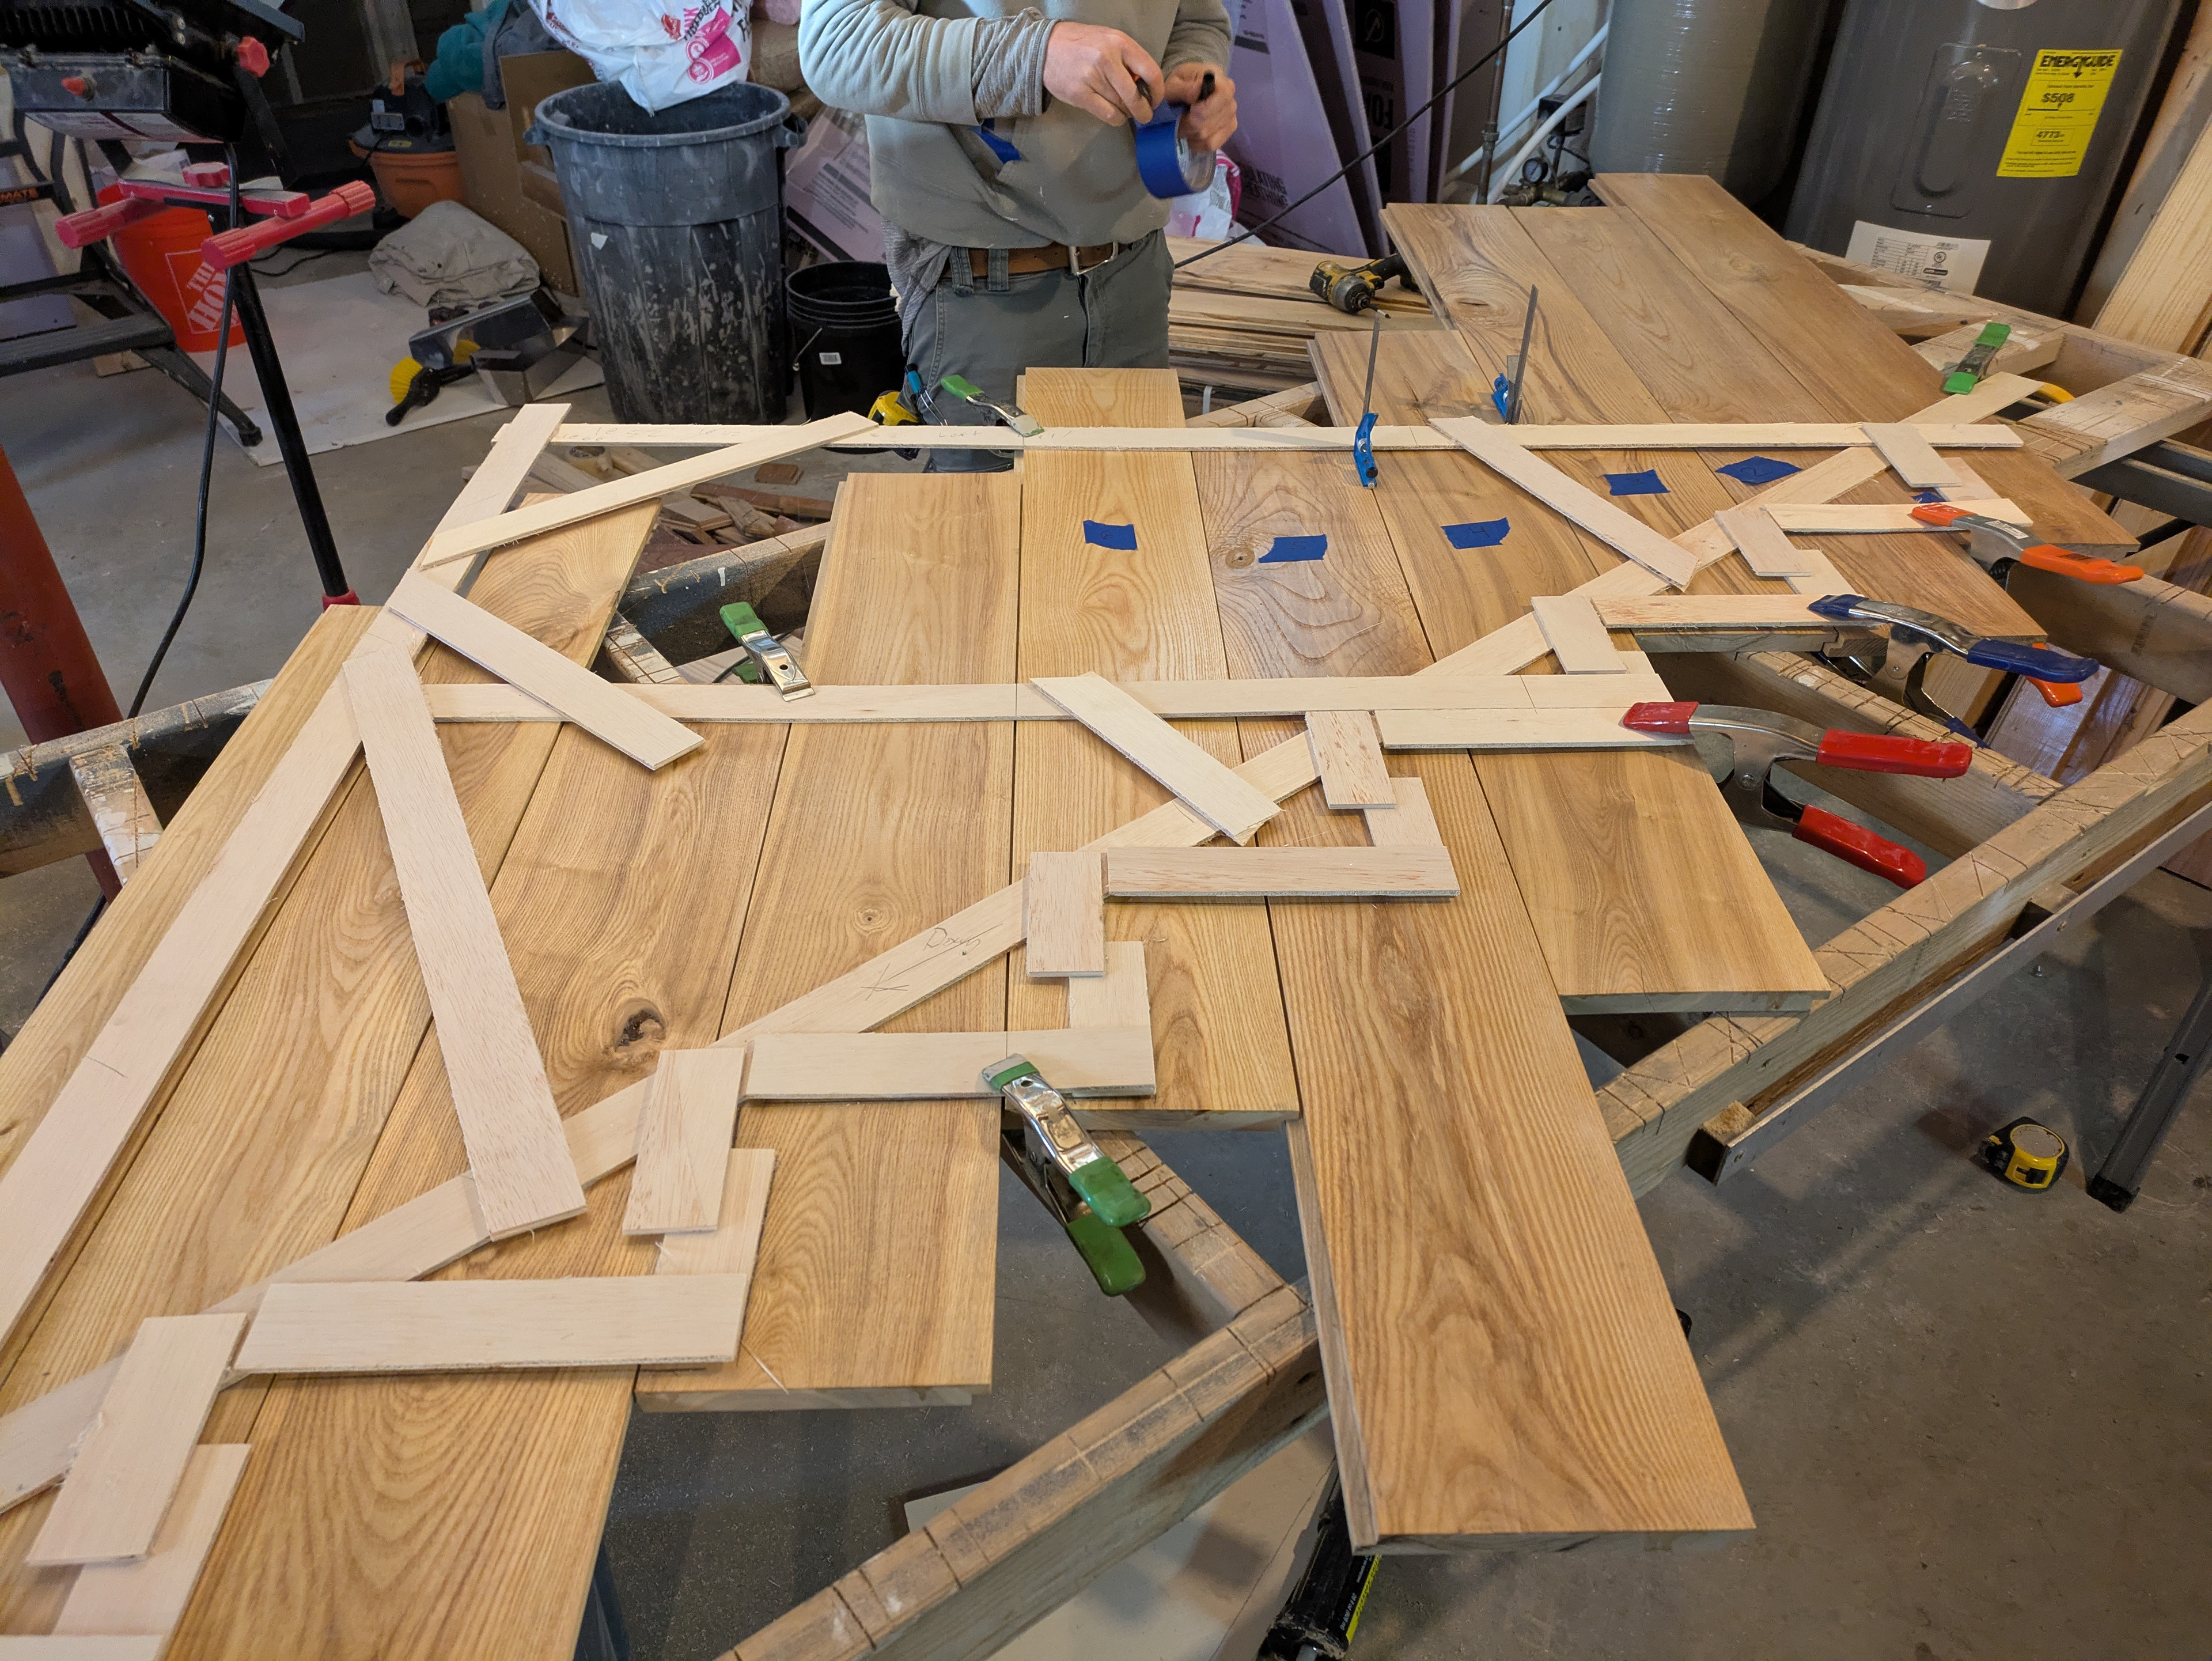
We spread out the ship lap on a workbench. Each piece of ship lap is labeled with a number so that we can easily locate where each piece goes later. The edge of the ship lap boards run perfectly parallel to our plumb line on the template. We use the blades of our combination squares to create a “nickel-gap” expansion joint between the boards.
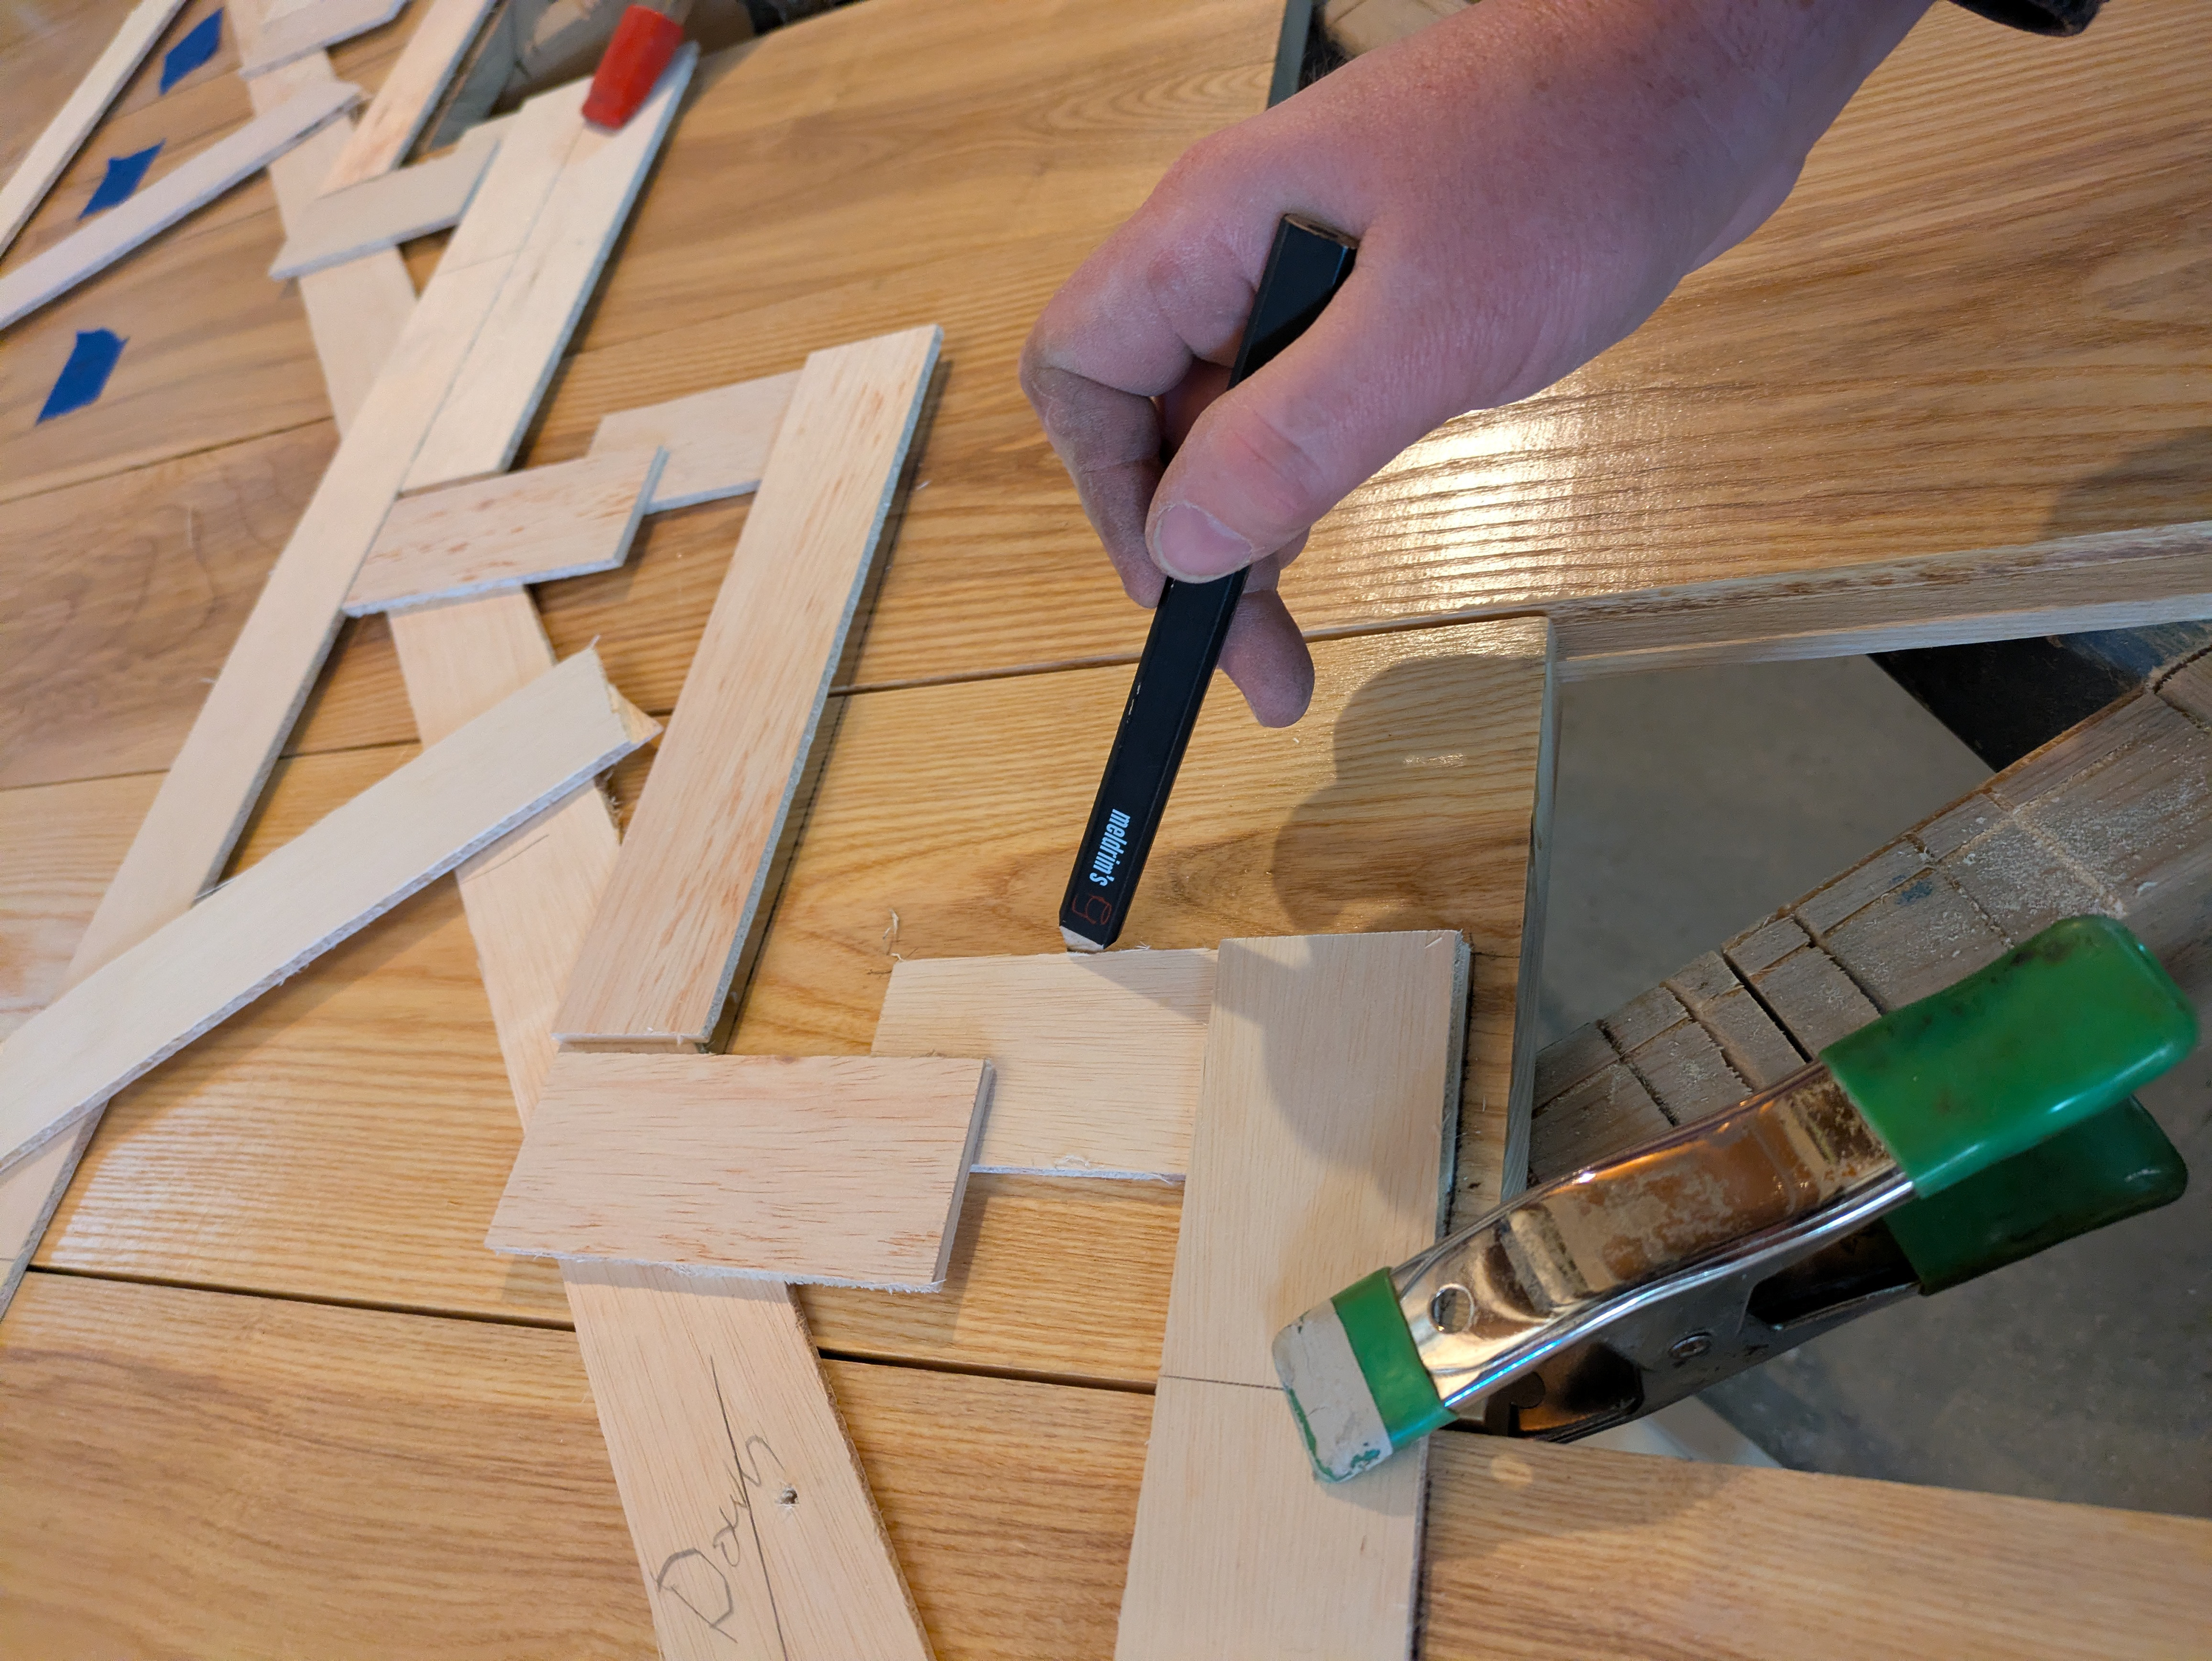
The template is traced onto the ship lap boards. The template and boards are held together with spring clamps to prevent shifting during this step. Ken uses a cut-off of stair tread nosing to trace the round-over of the nosing onto the ship lap. Ken and Krestia then use the table saw, miter saw and jigsaw to cut each piece of ship lap to the traced lines.
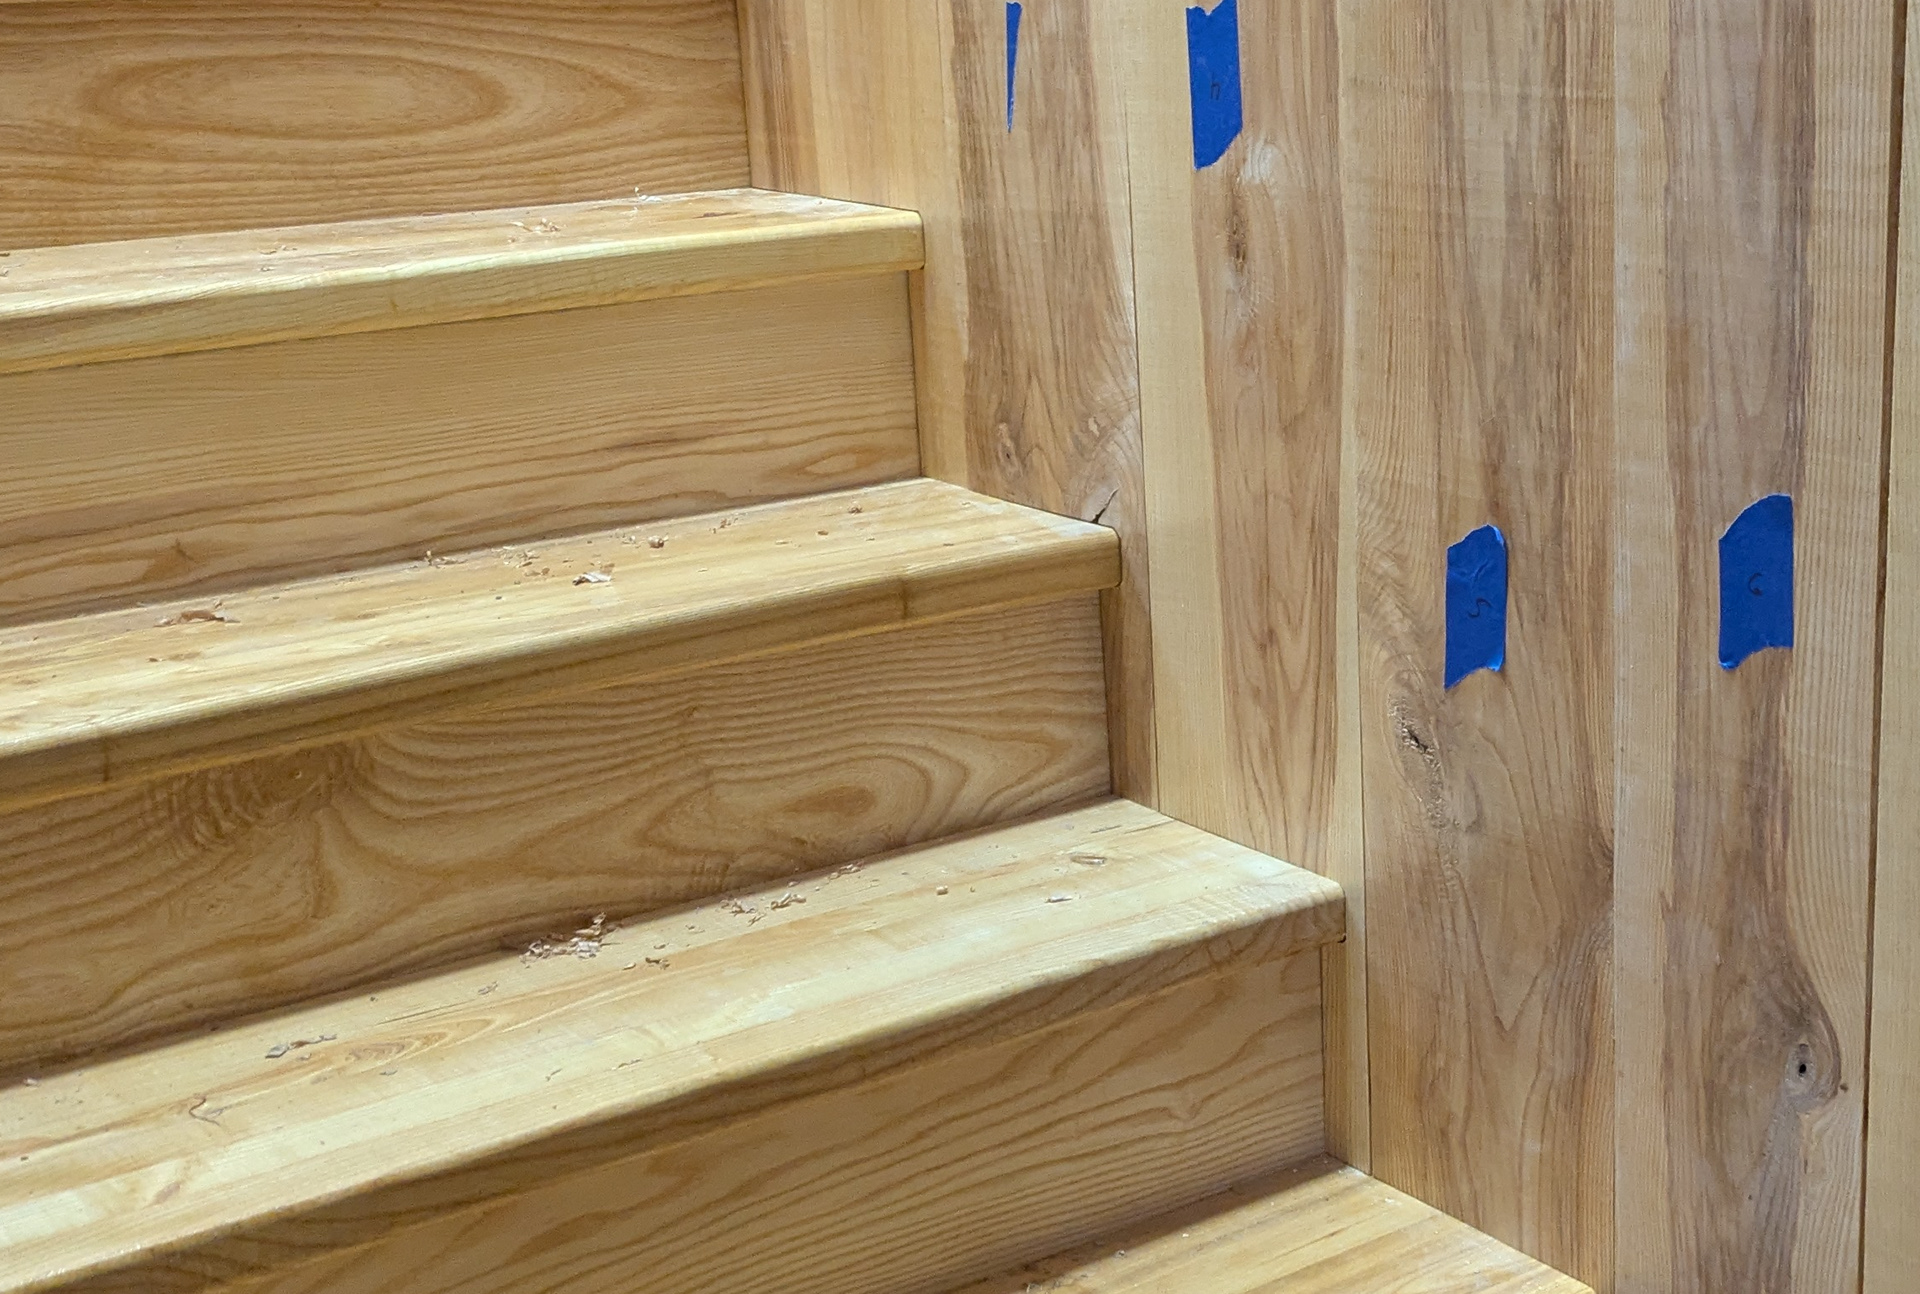
The guys did an excellent job with their cuts. The scribes are nice and tight.
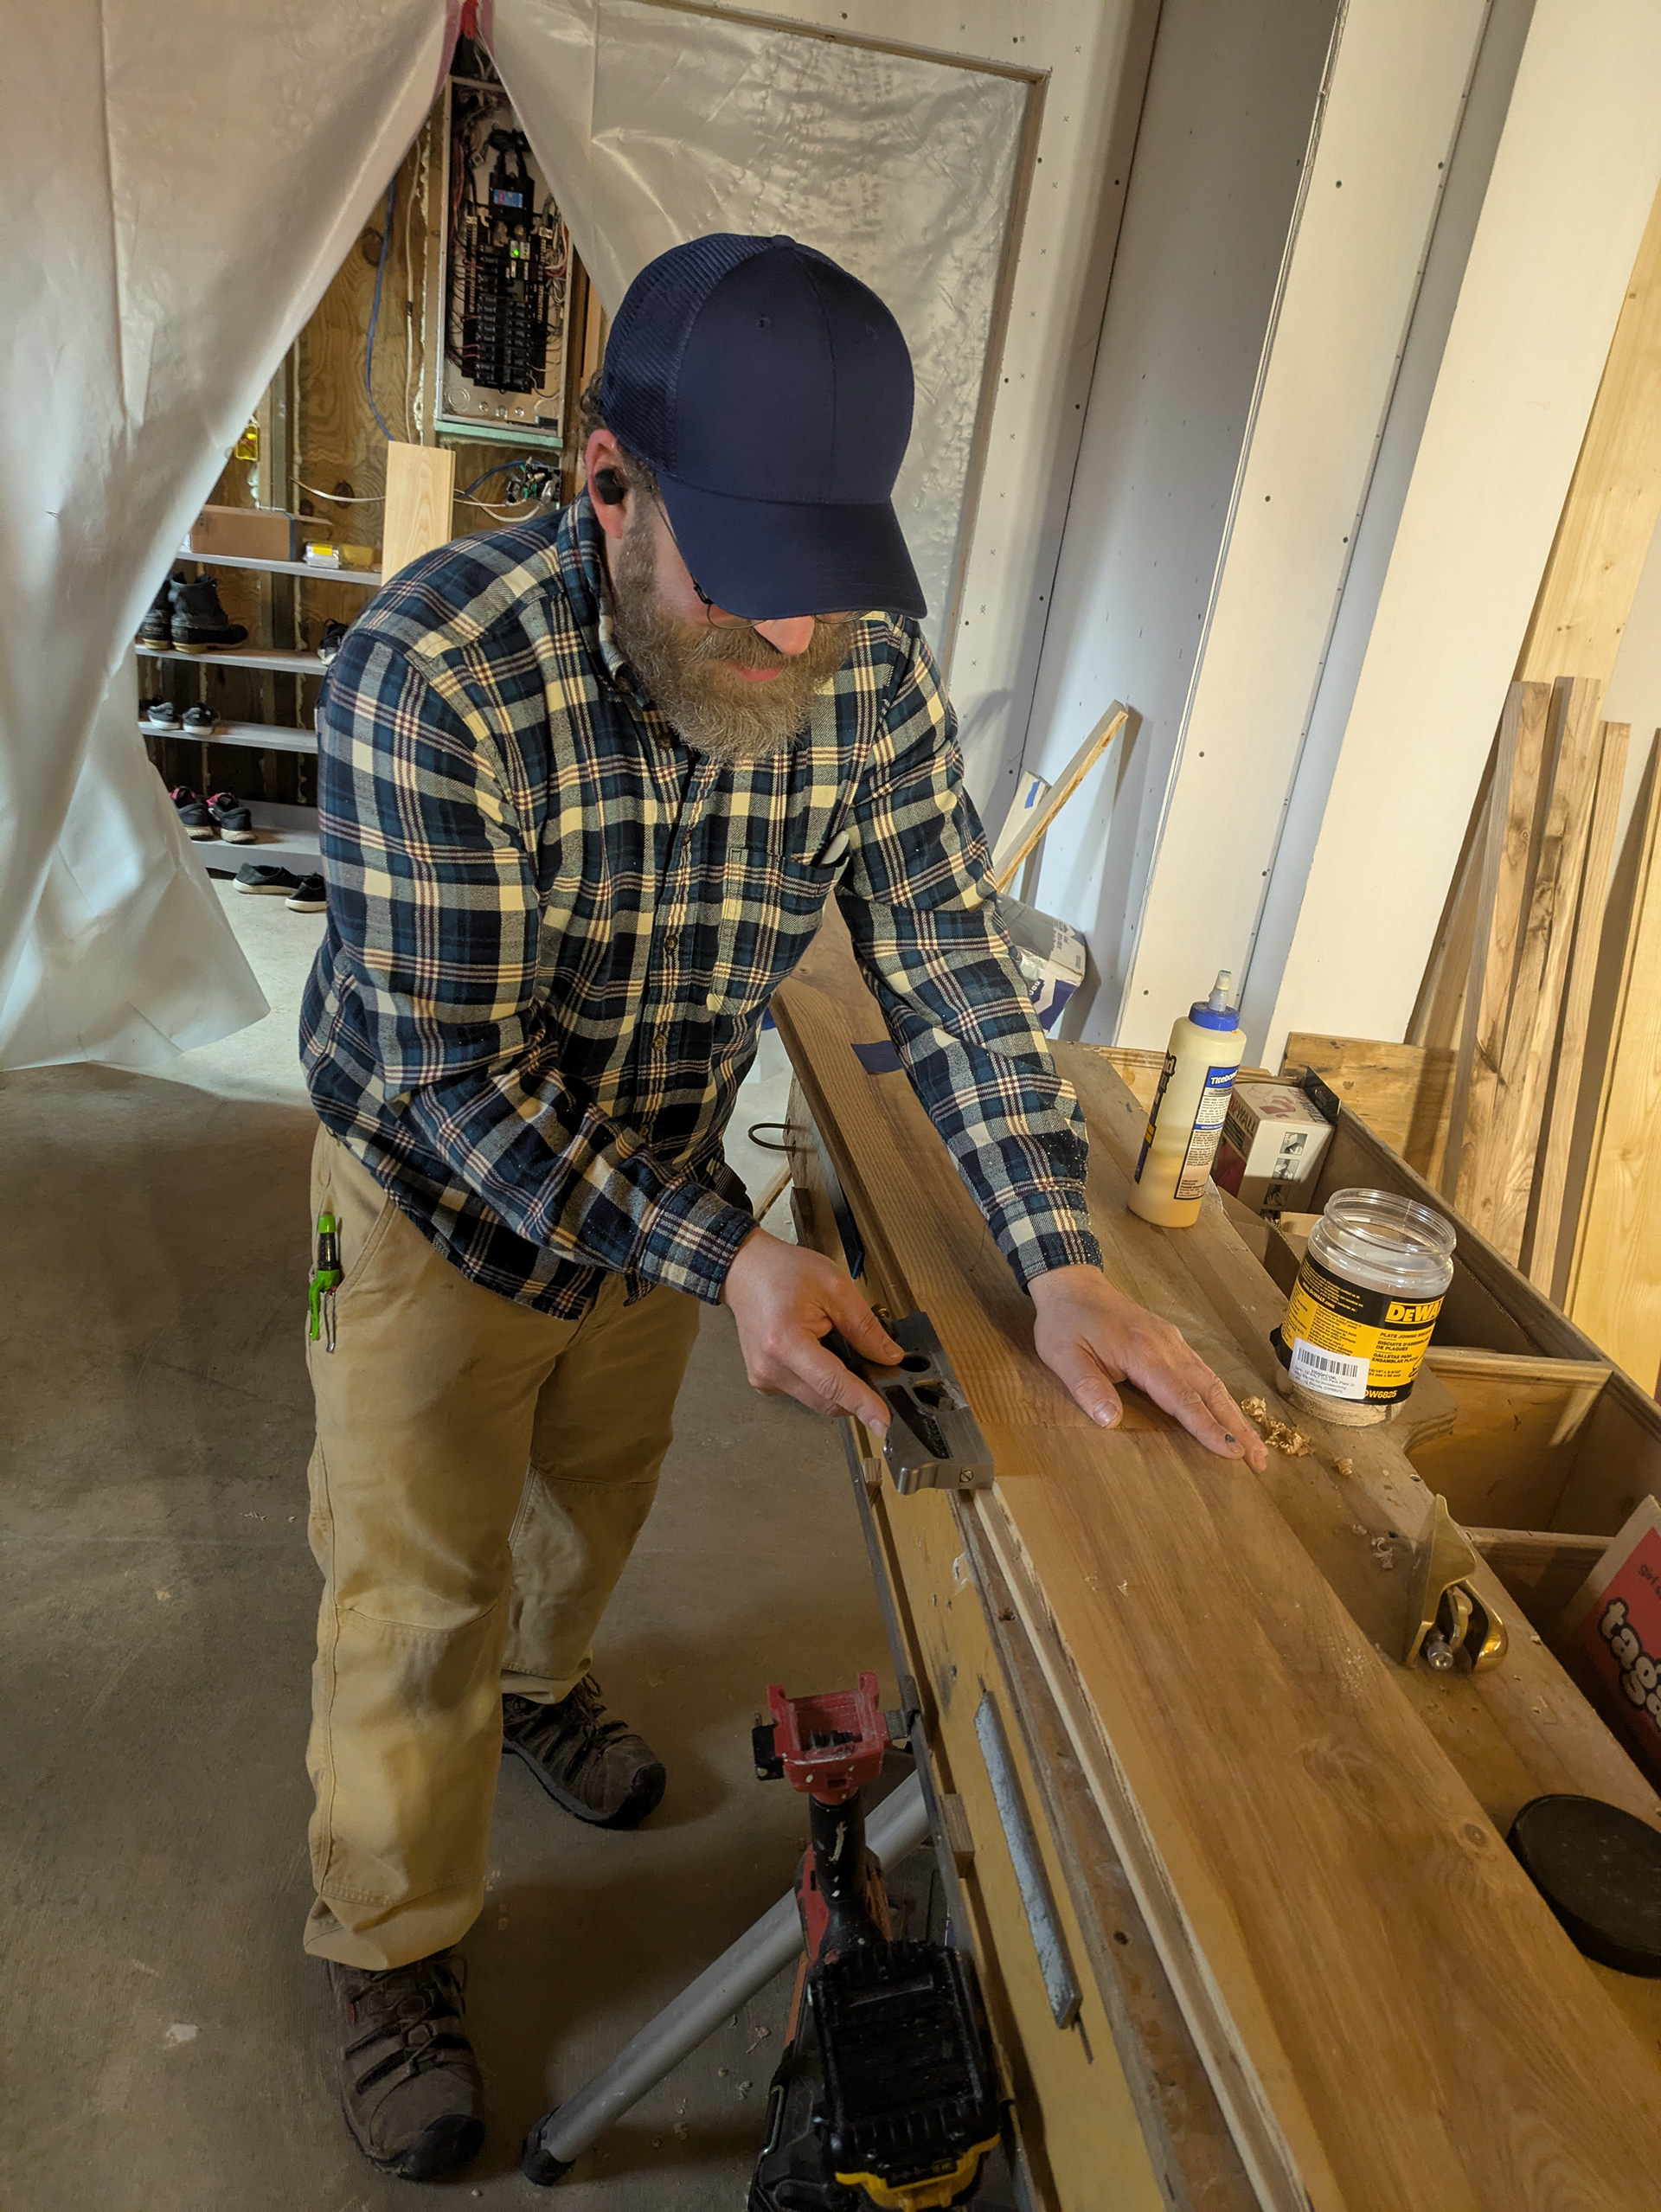
Krestia fixes any badly crowned pieces of ship lap with a shoulder plane so the nickel gaps remain fairly consistent.
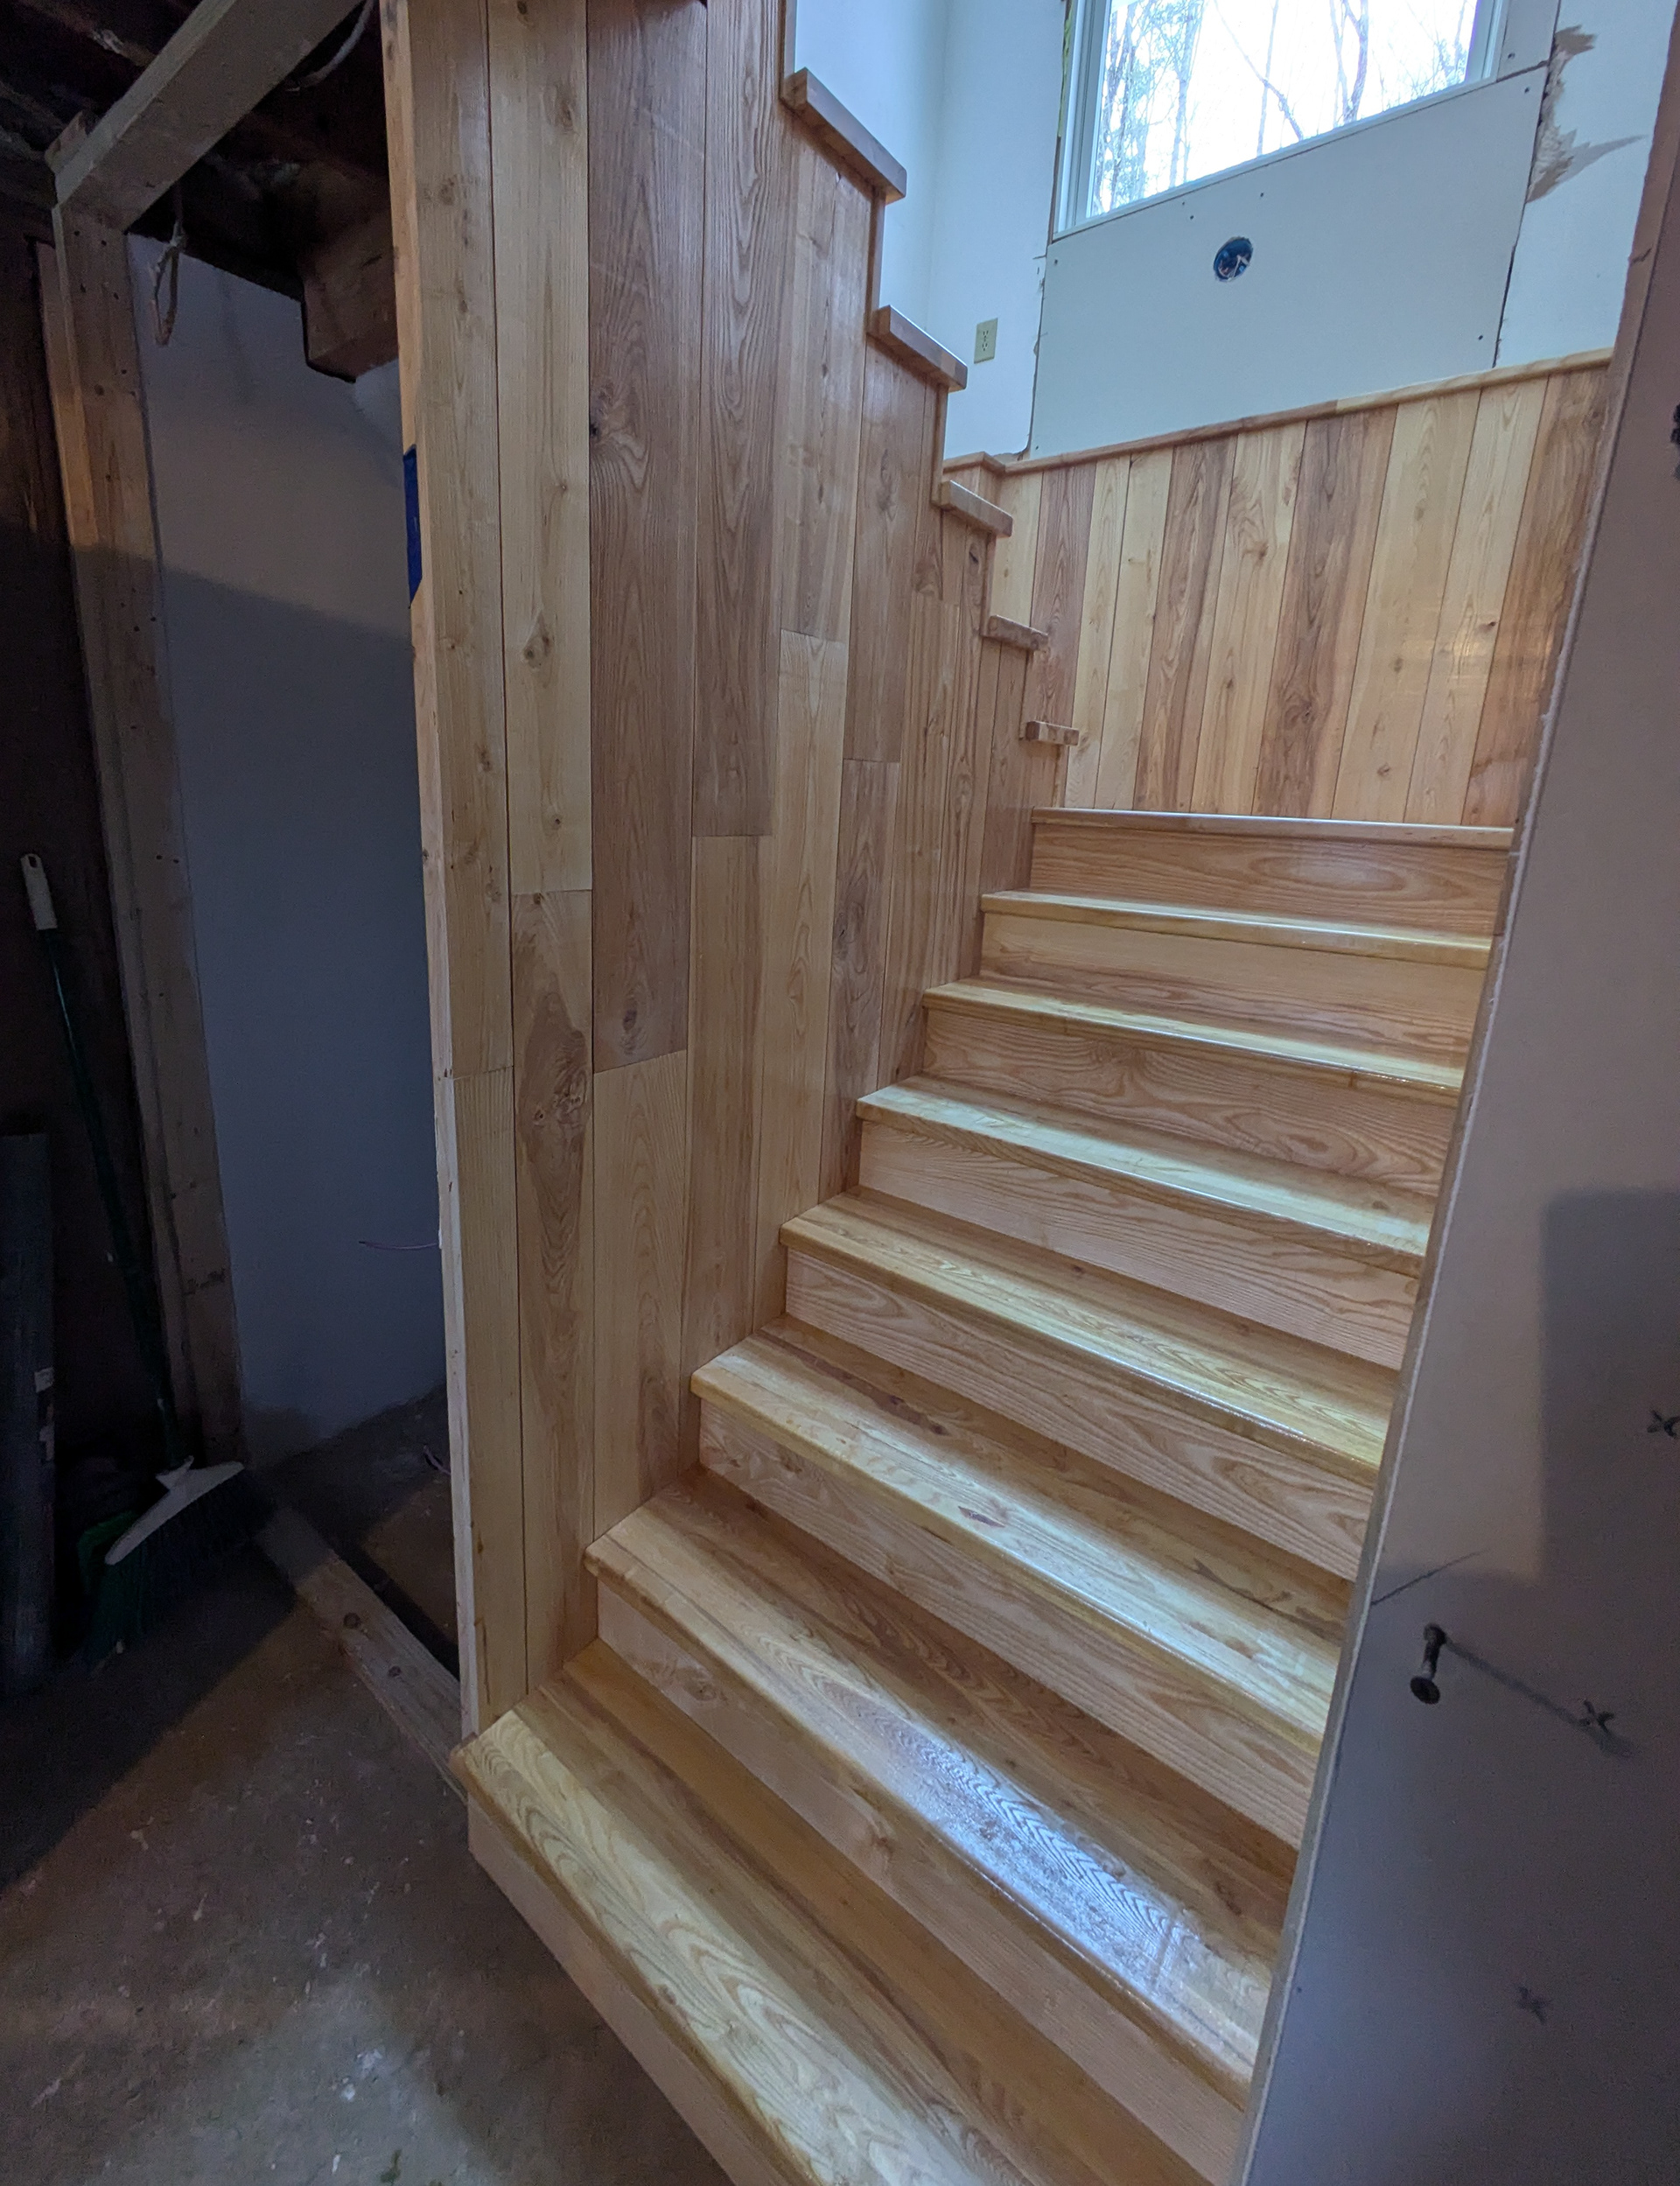
Our work here is just about done. The homeowner is going to be wrapping up the sheetrock work and installing the balustrade themselves.
We installed a landing tread around the stairwell opening in preparation for the tile-setter who will be coming in after us.
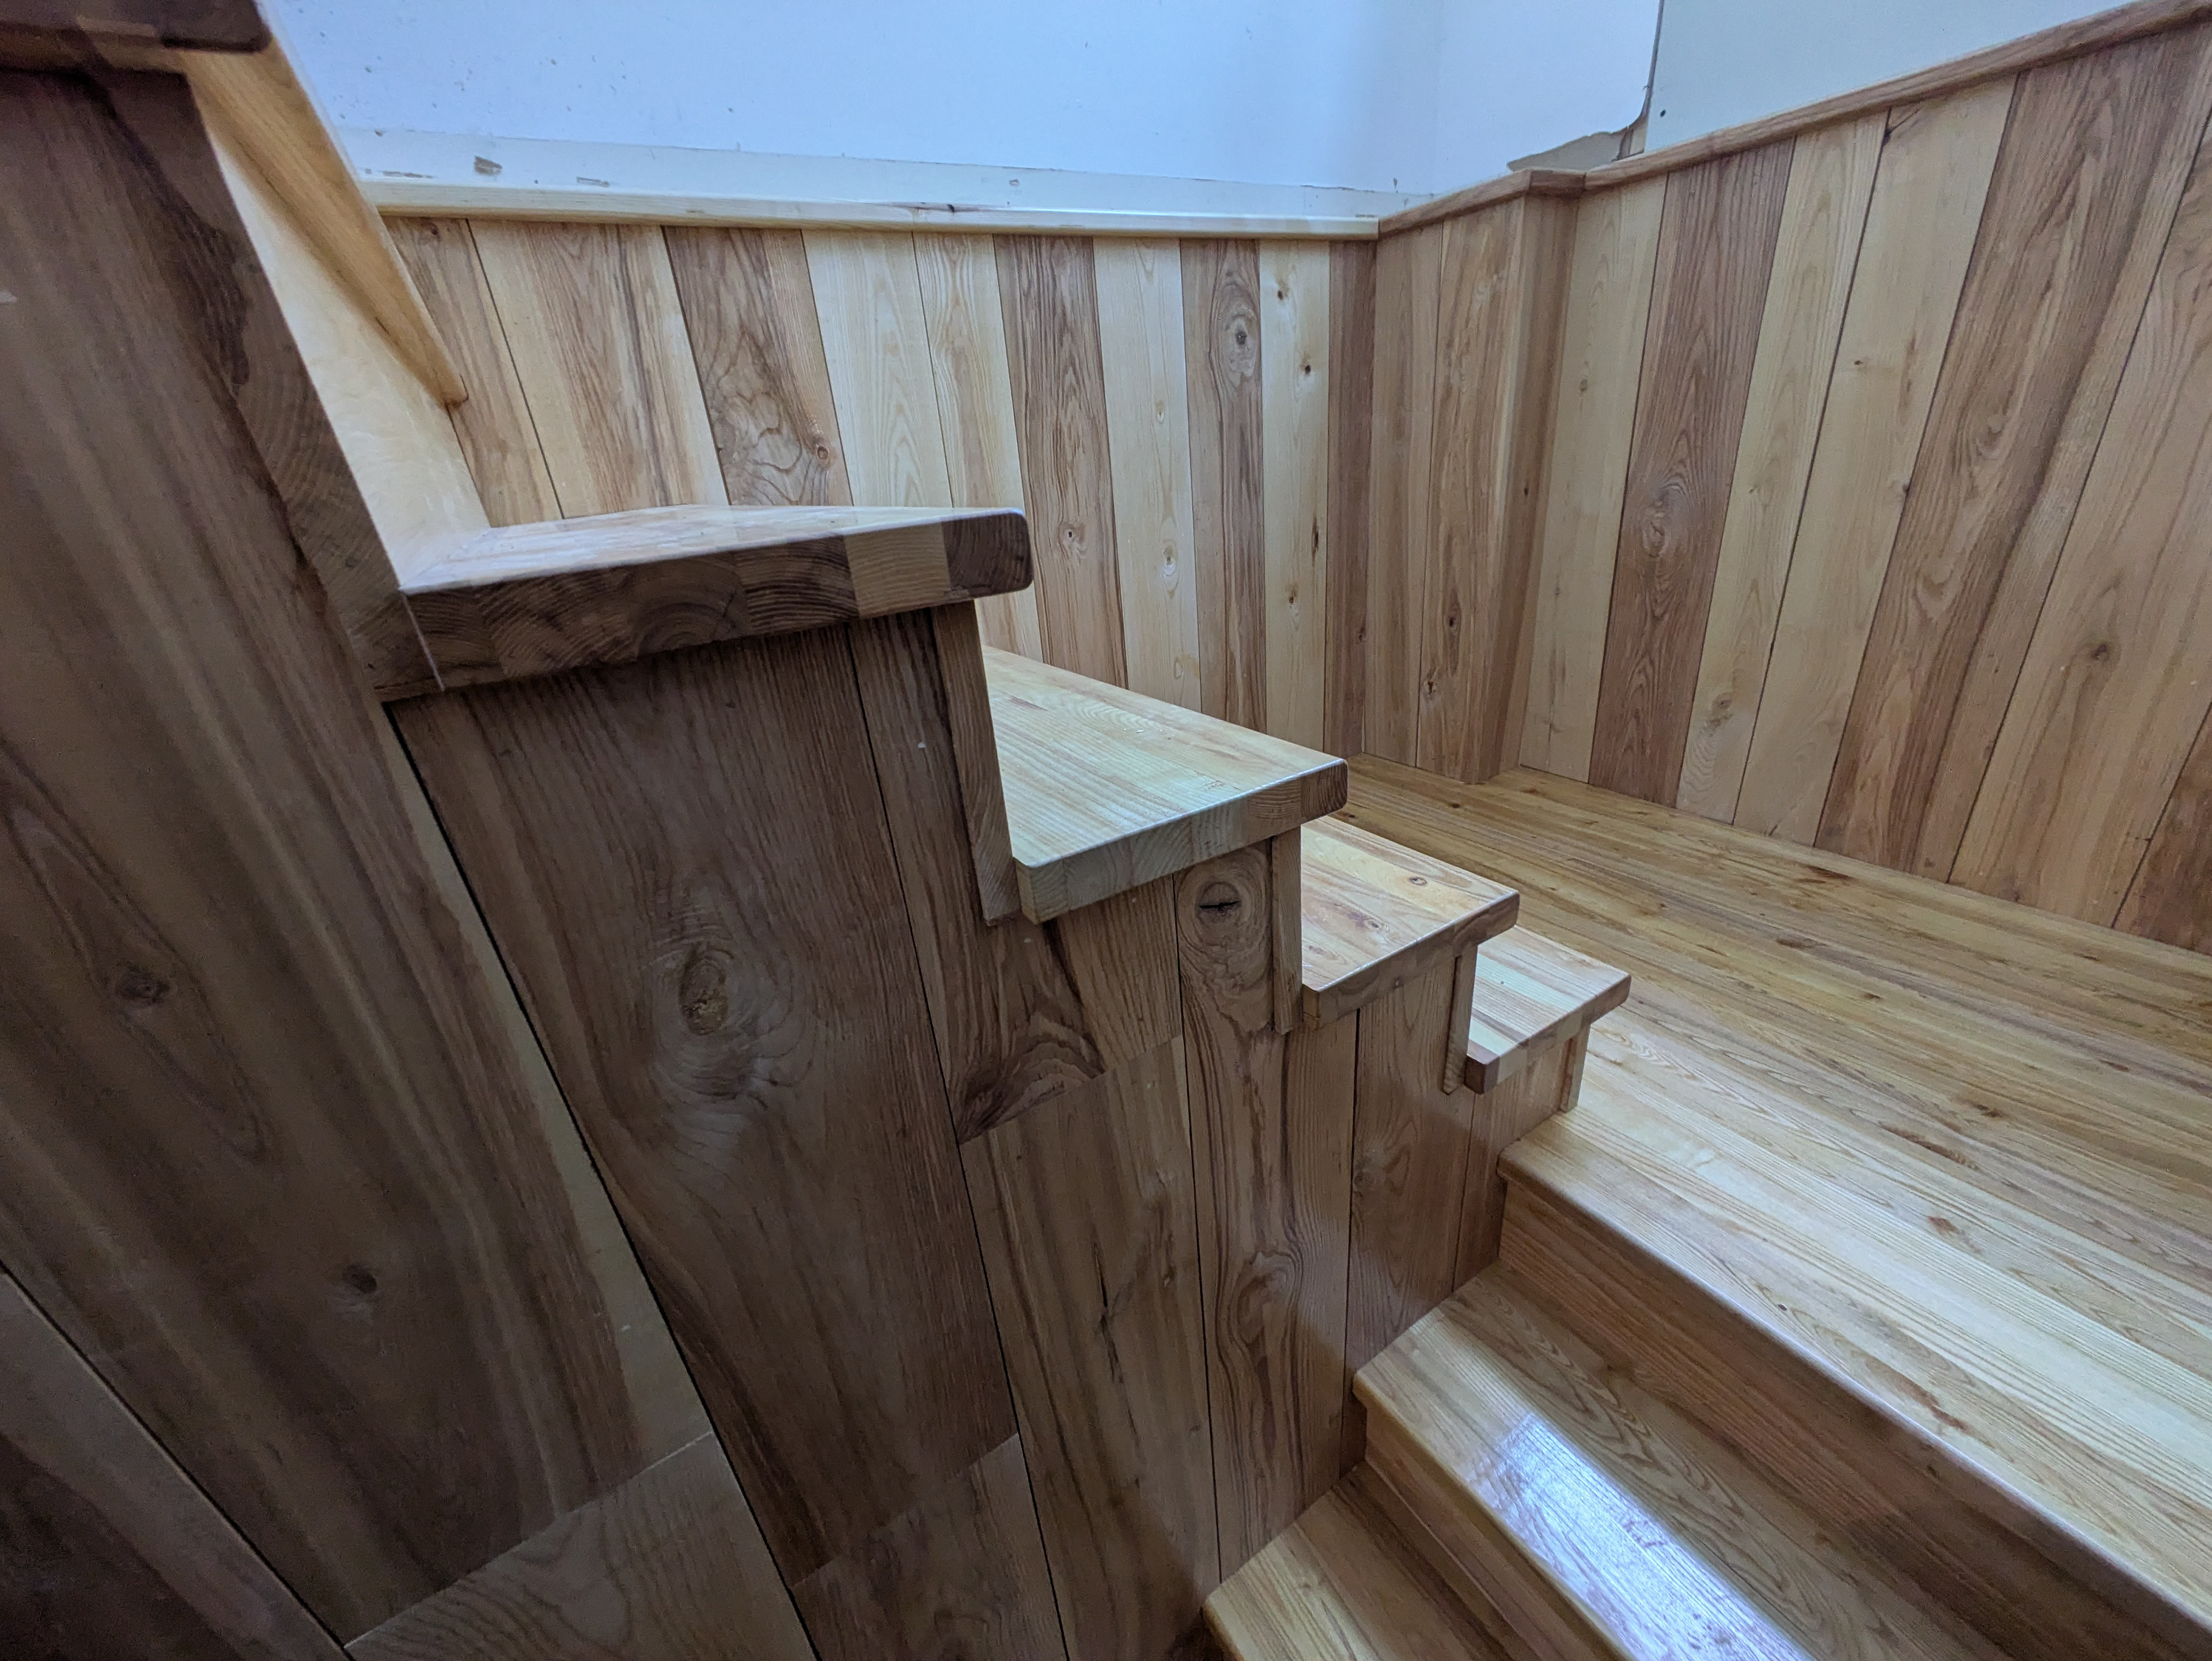
We plugged the open end of the plowed groove in the bottom of the exposed tread-ends on the upper flight with carefully cut pieces of scrap ash and sealed them with polyurethane.