

We built these new stairs to replace the old, dilapidated ones. The angled risers make these stairs much more comfortable to walk on than the old ones.
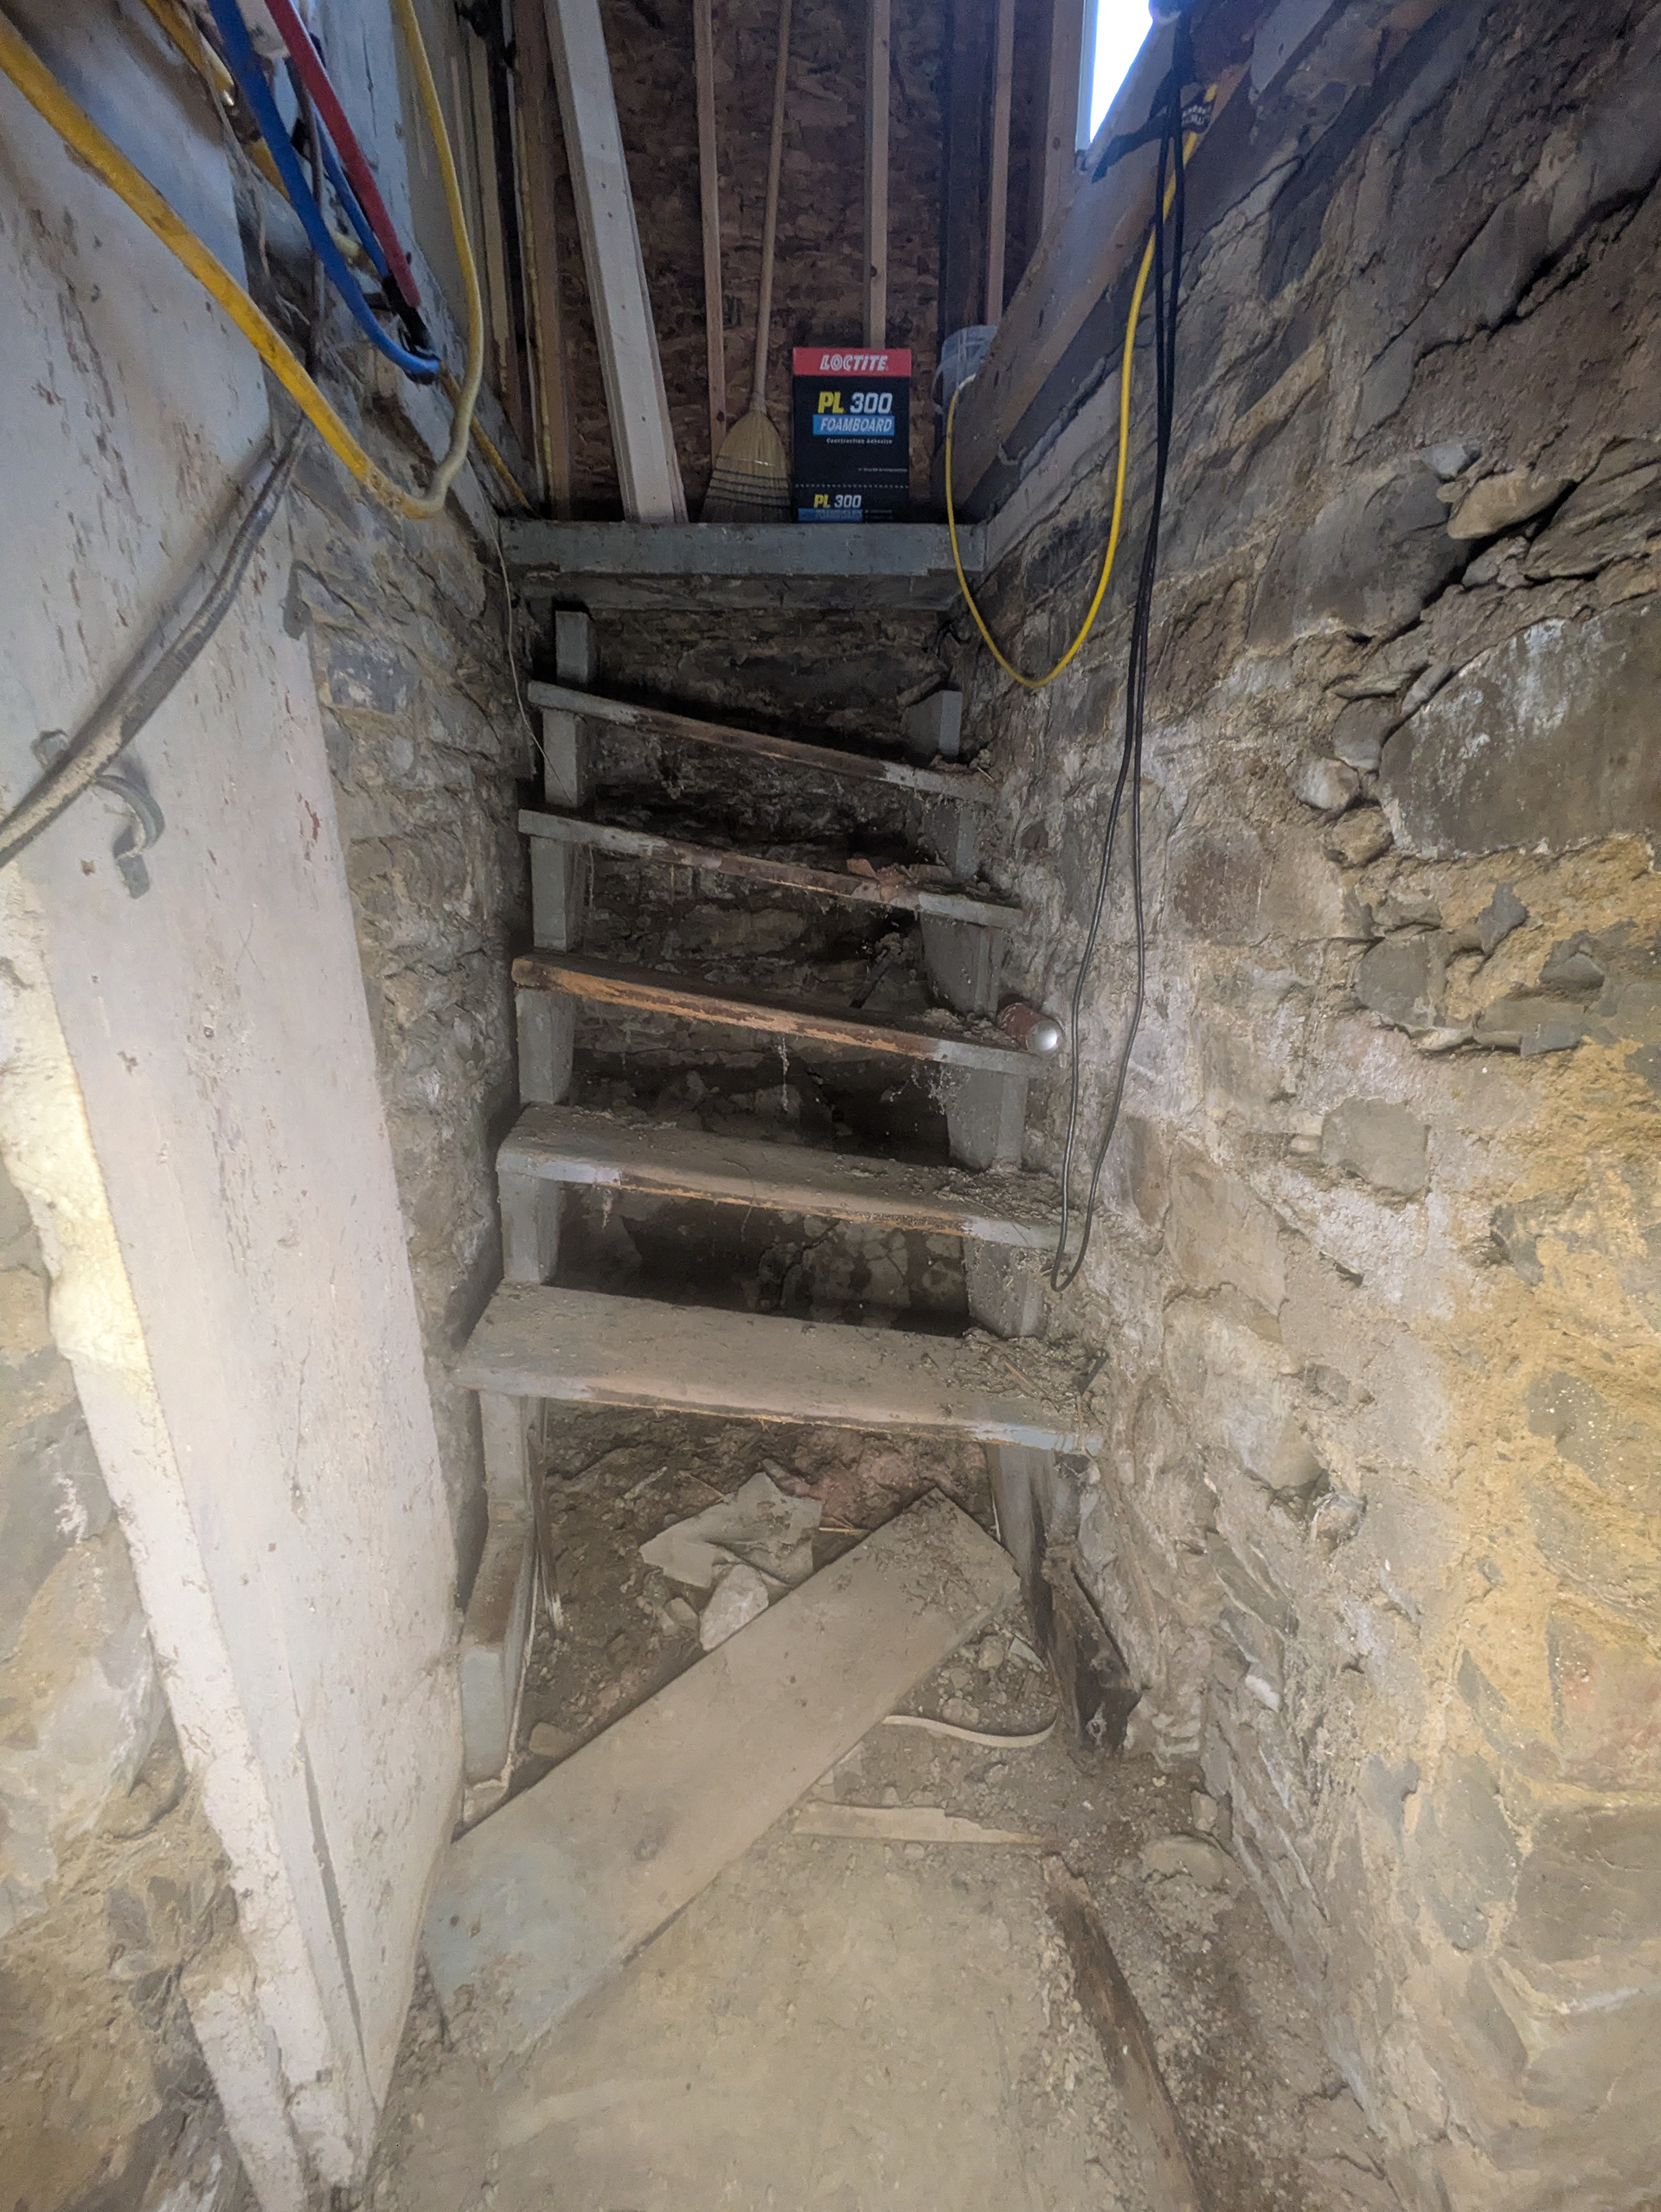
The original stairs have a very short tread depth of 8" and a riser height of 9 5/8". These are very steep stairs with very small treads to walk on. My options for improving the situation are limited because it's not in the budget to re-frame the floor above to create more headroom for a longer overall run.
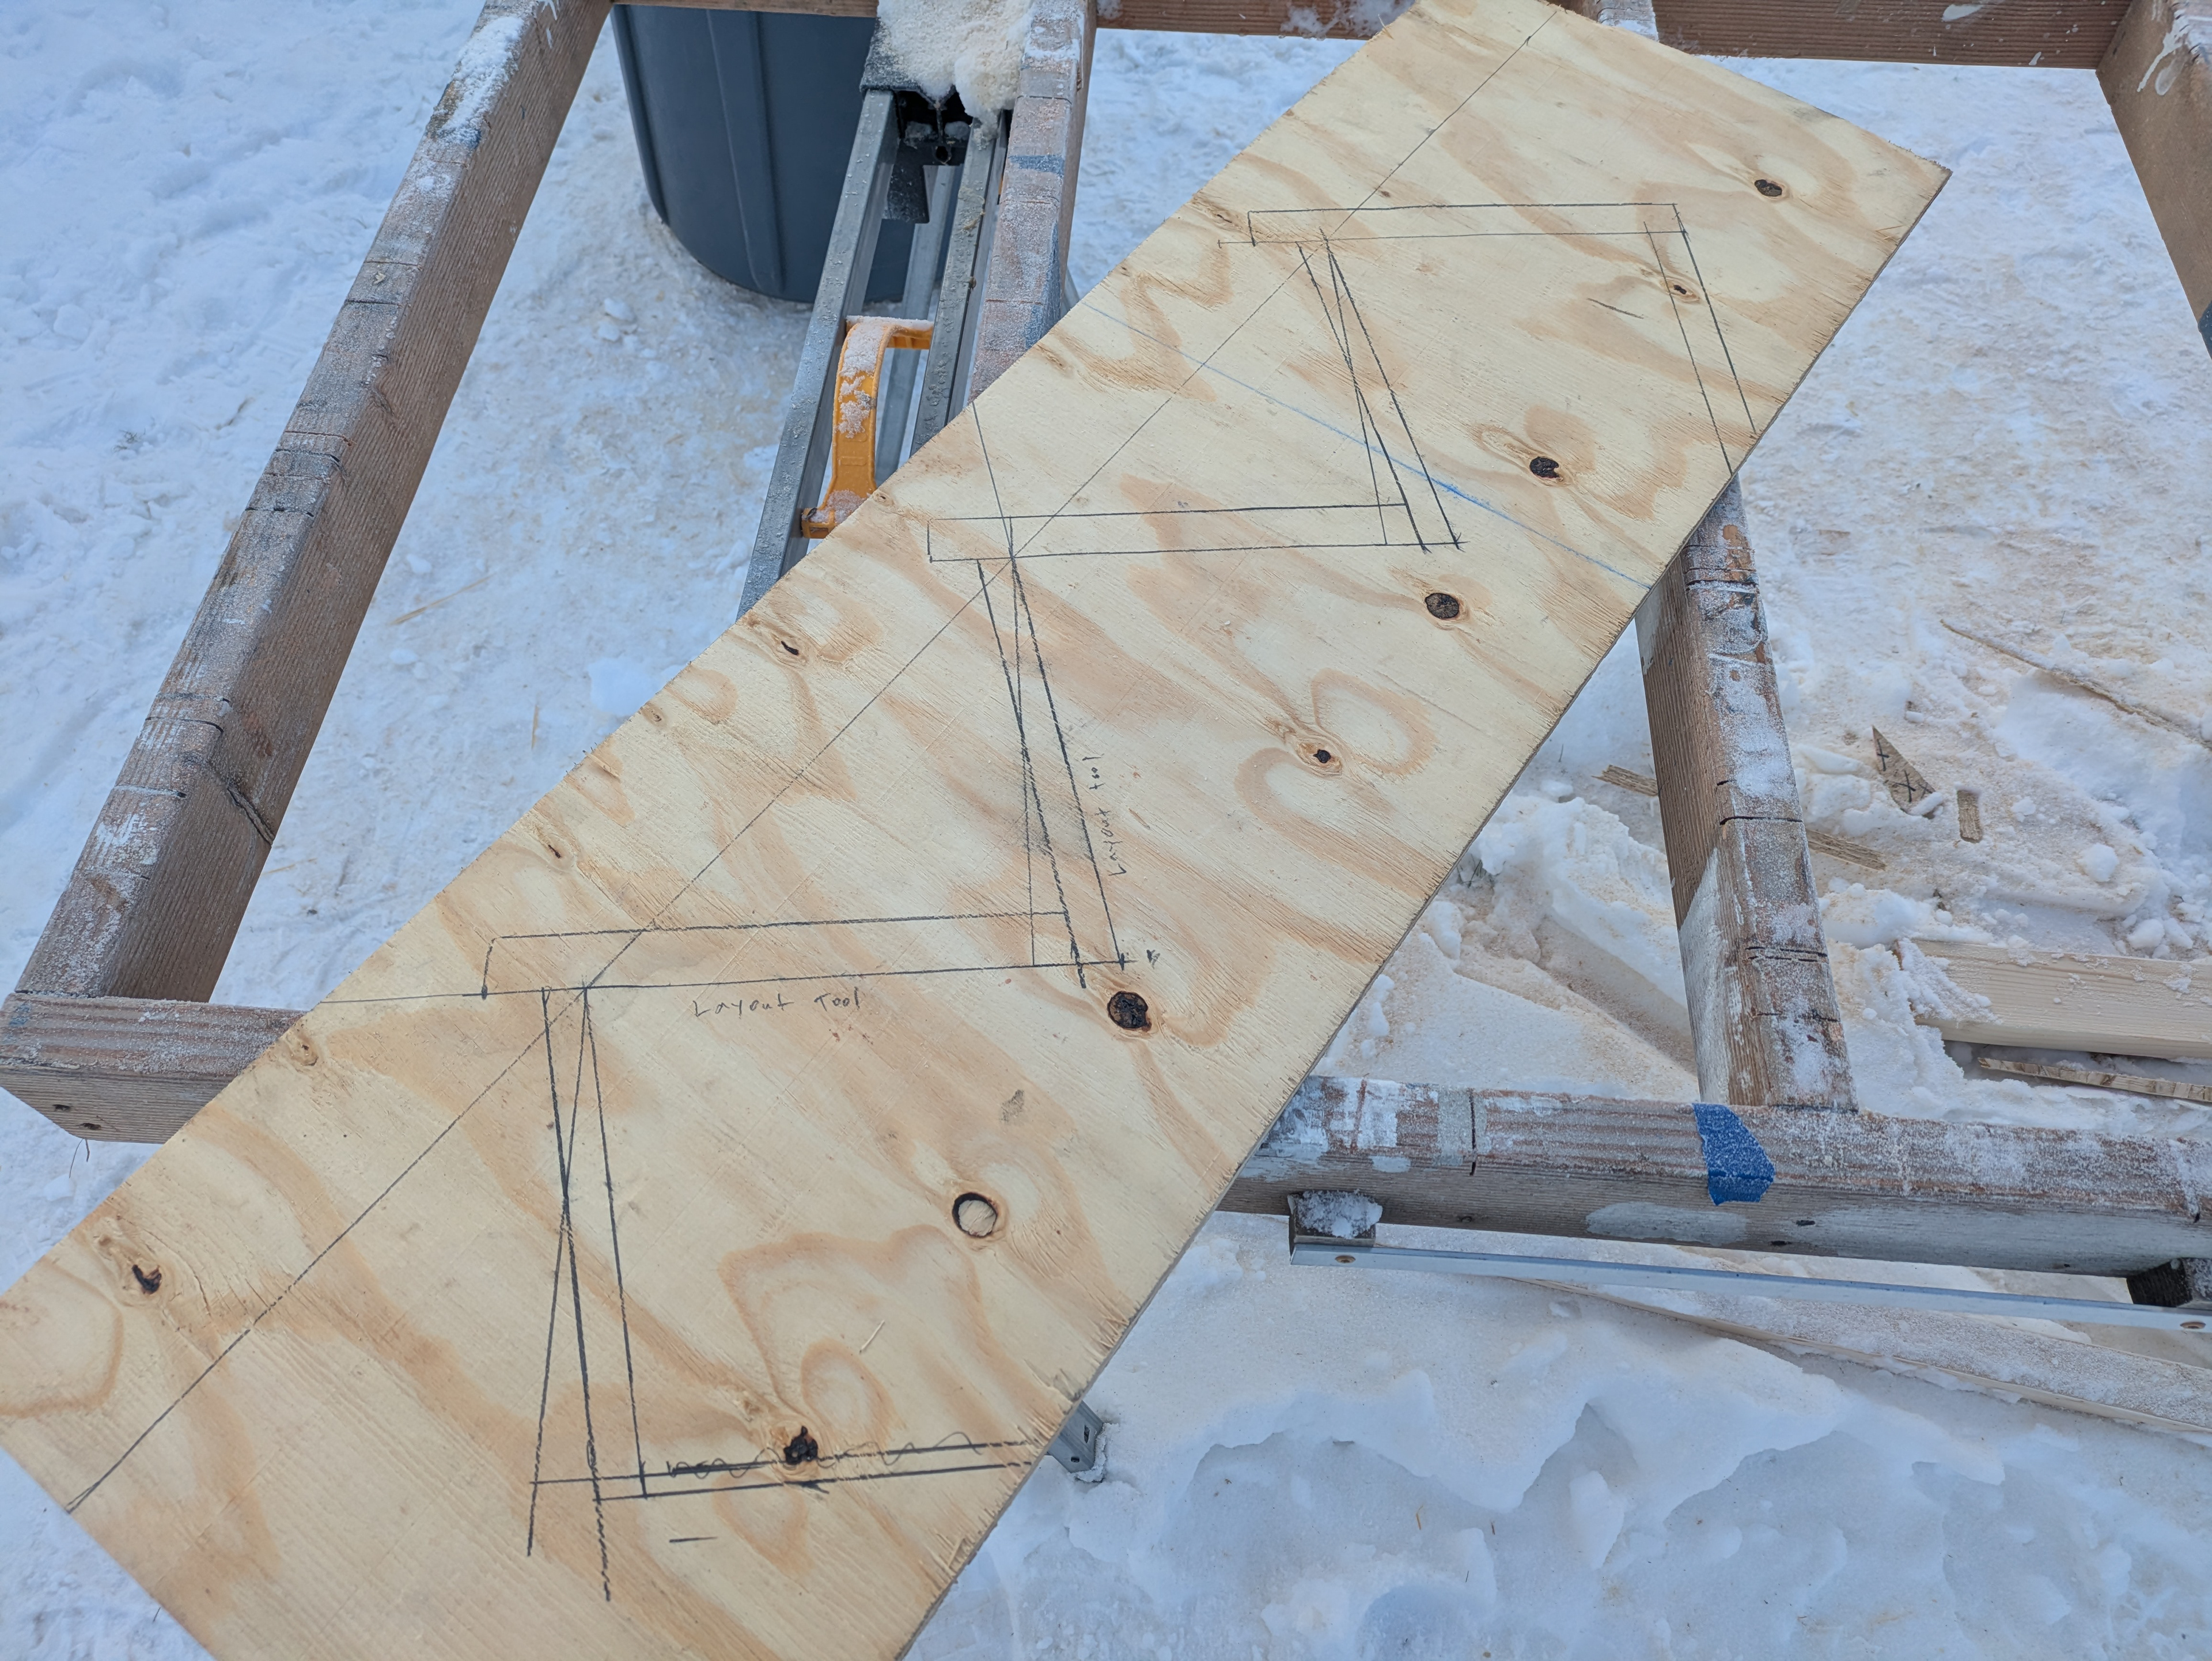
I will combine angled risers and a generous nosing to increase the width of the finished treads to 10 1/2". I drew a few steps on a scrap of plywood. Initially, I laid out the stringer cut lines in the usual fashion with a framing square and pencil. I then used a speed square to angle the risers back about 9 degrees in order to increase the tread depth by about 1 1/2". For clarity, I also drew the 3/4" risers and 1" thick treads.
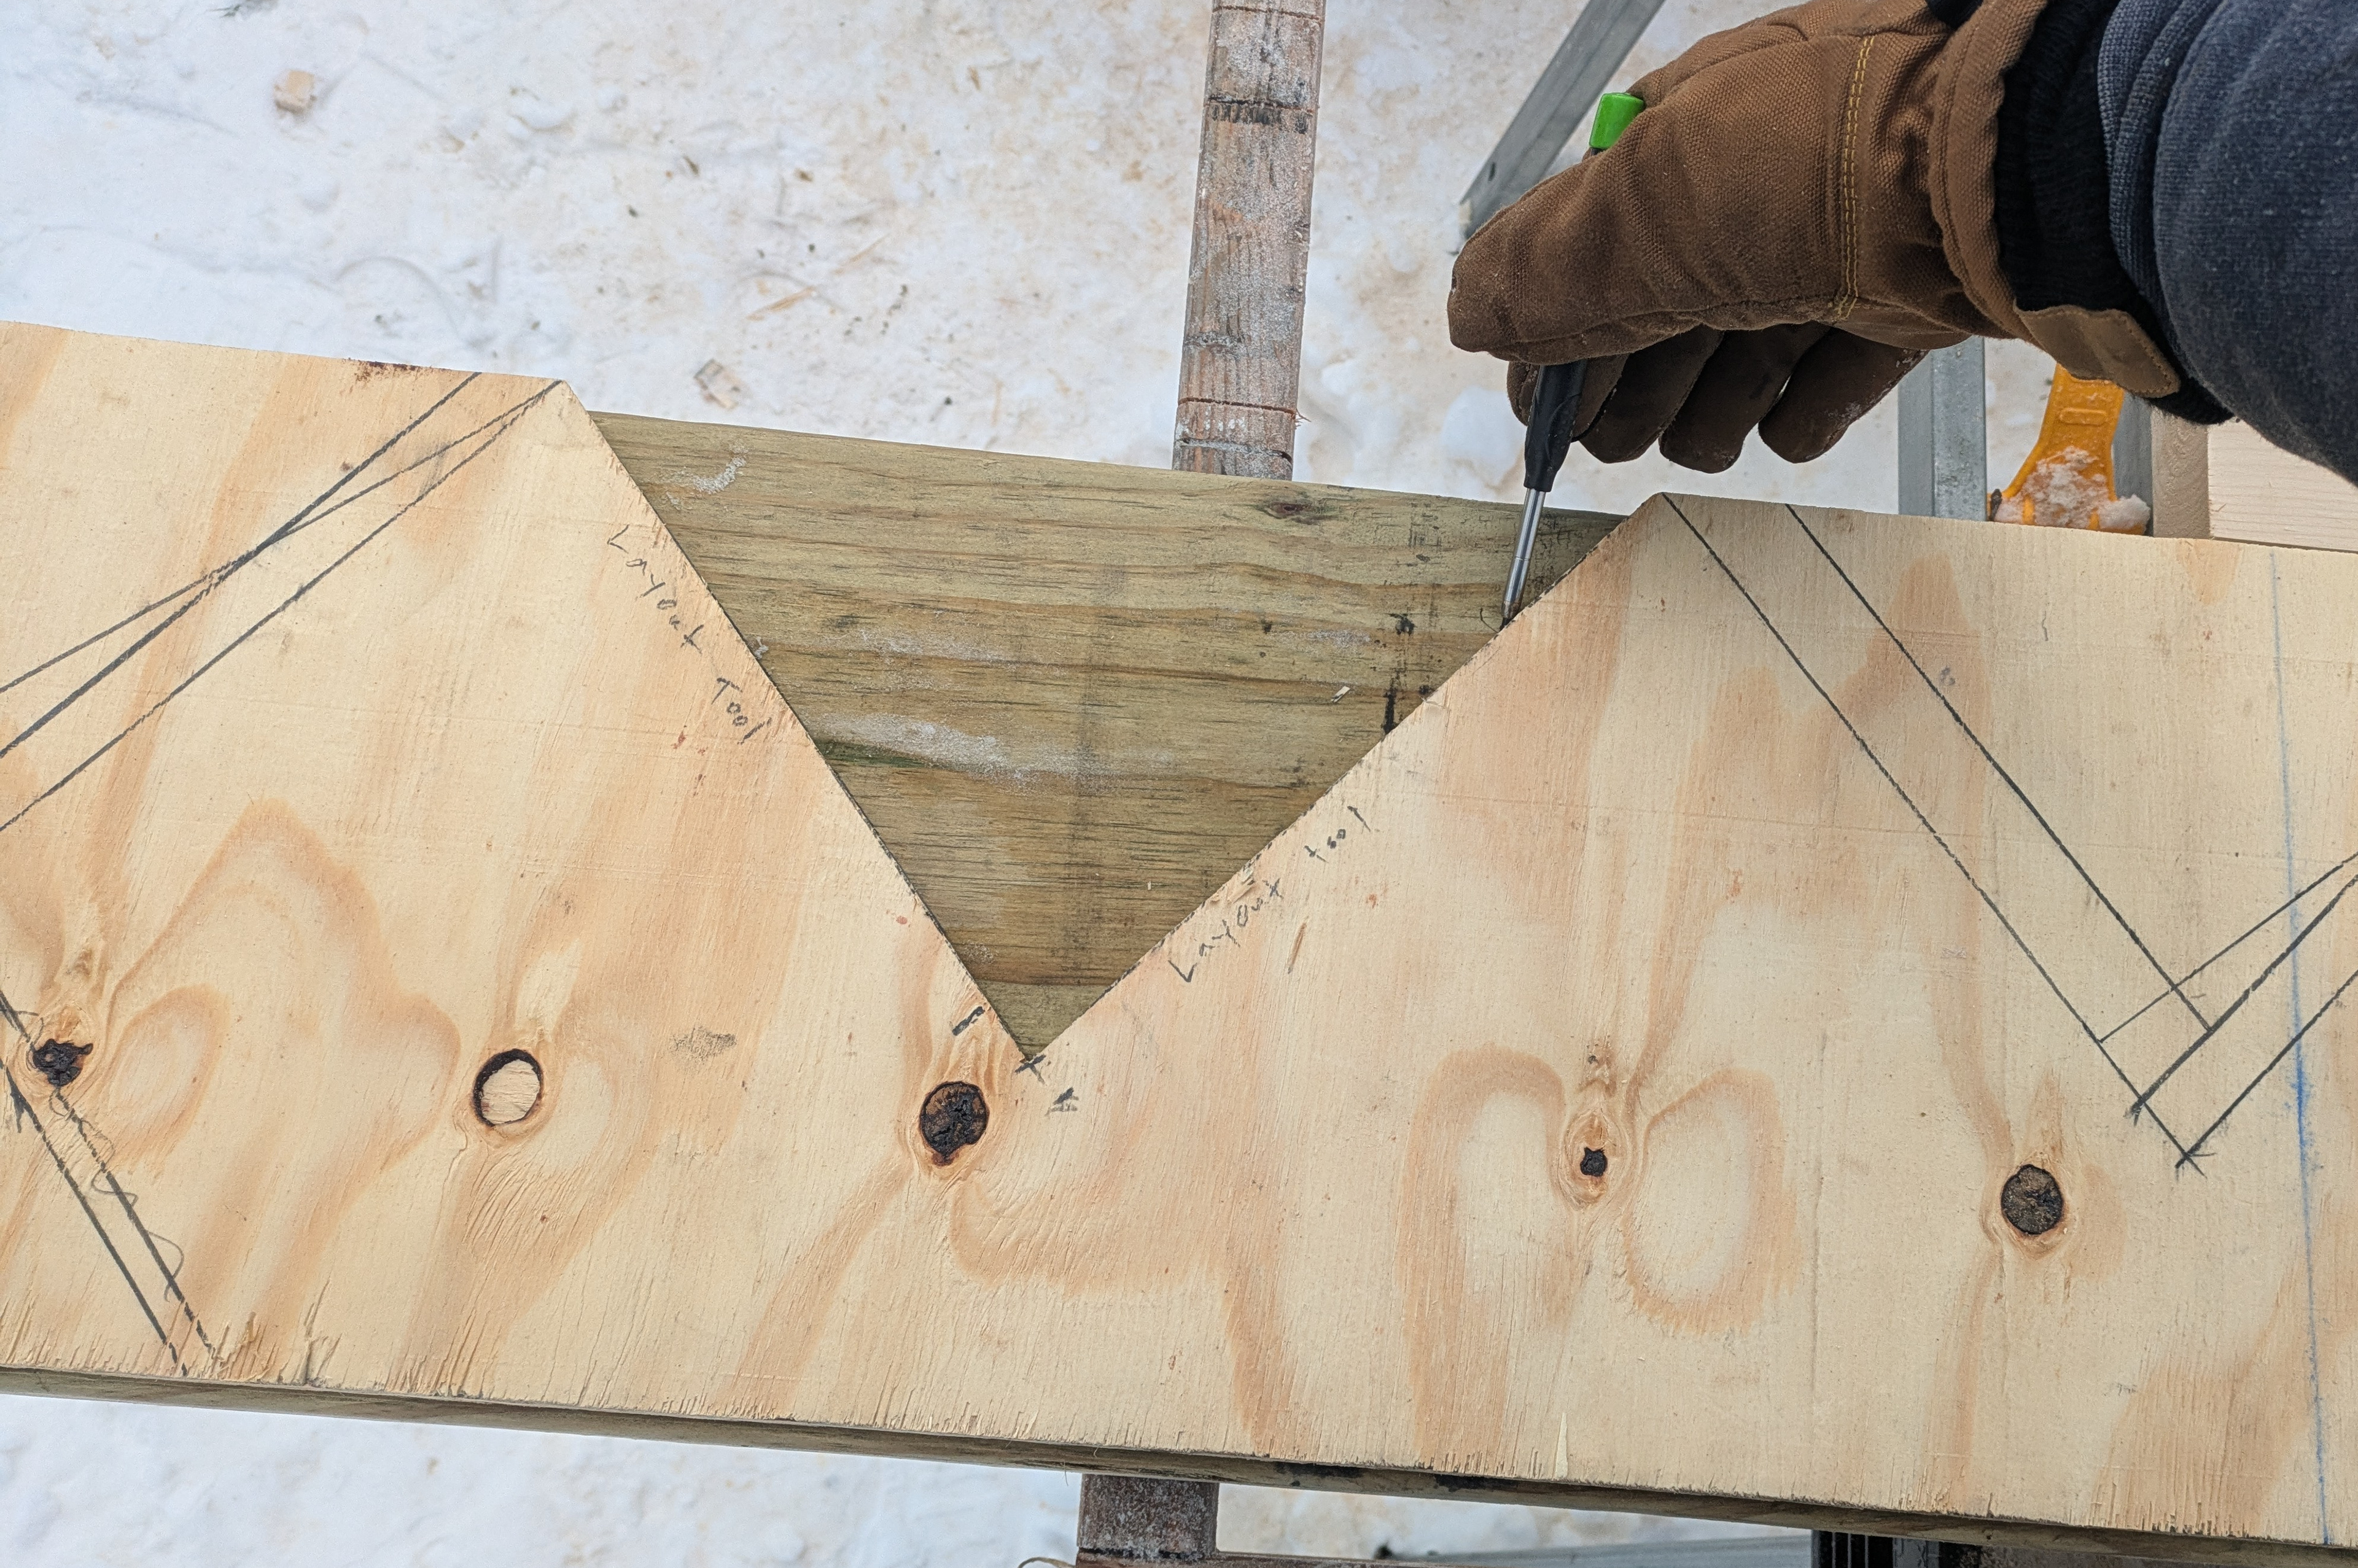
I carefully cut one tread and one riser out of the plywood mock-up. I used this as a tool to layout the stringer cuts. As is my usually practice, I laid out the hypotenuse marks on the edge of the stringer, then aligned the layout tool with the hypotenuse marks. This prevents the accumulation of error.
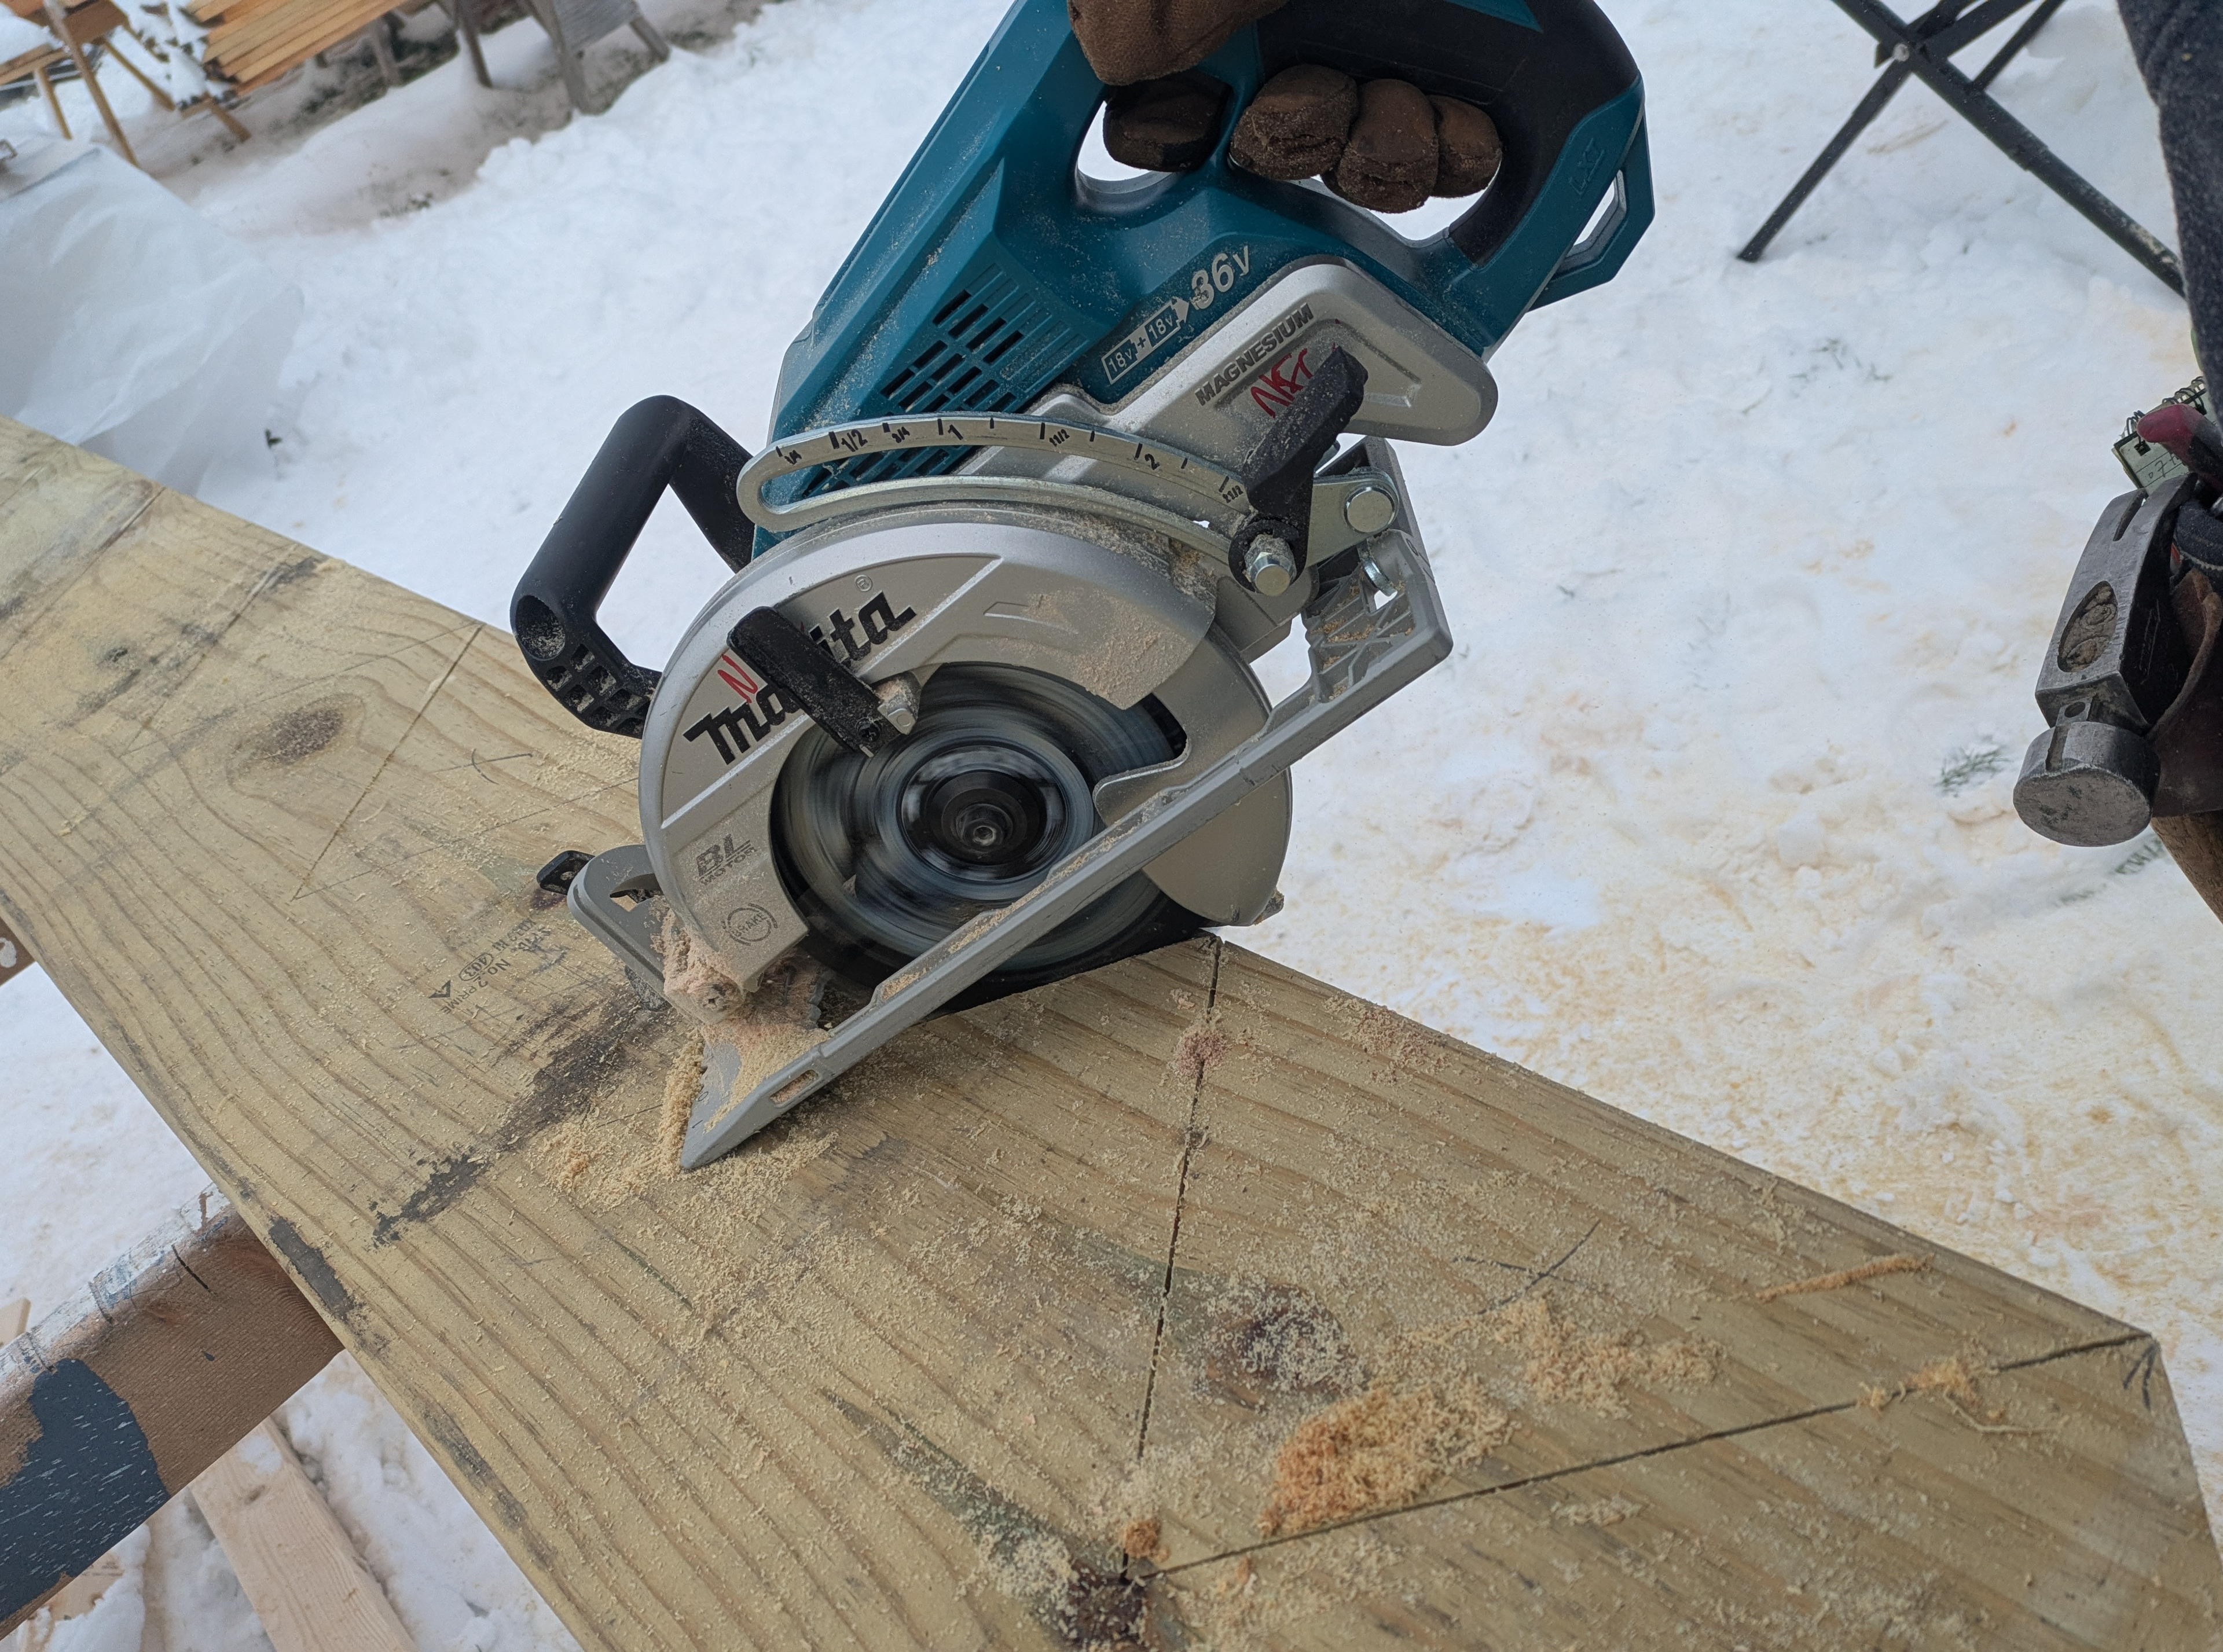
I cut out the first stringer from pressure treated 2x12x10' stock with a circular saw. I like to make a shallow kerf line with the back of the saw raised up. Then I plunge the saw and cut as close to the inside corner as I can. Lifting the saw reduces friction and makes for a more accurate cut.
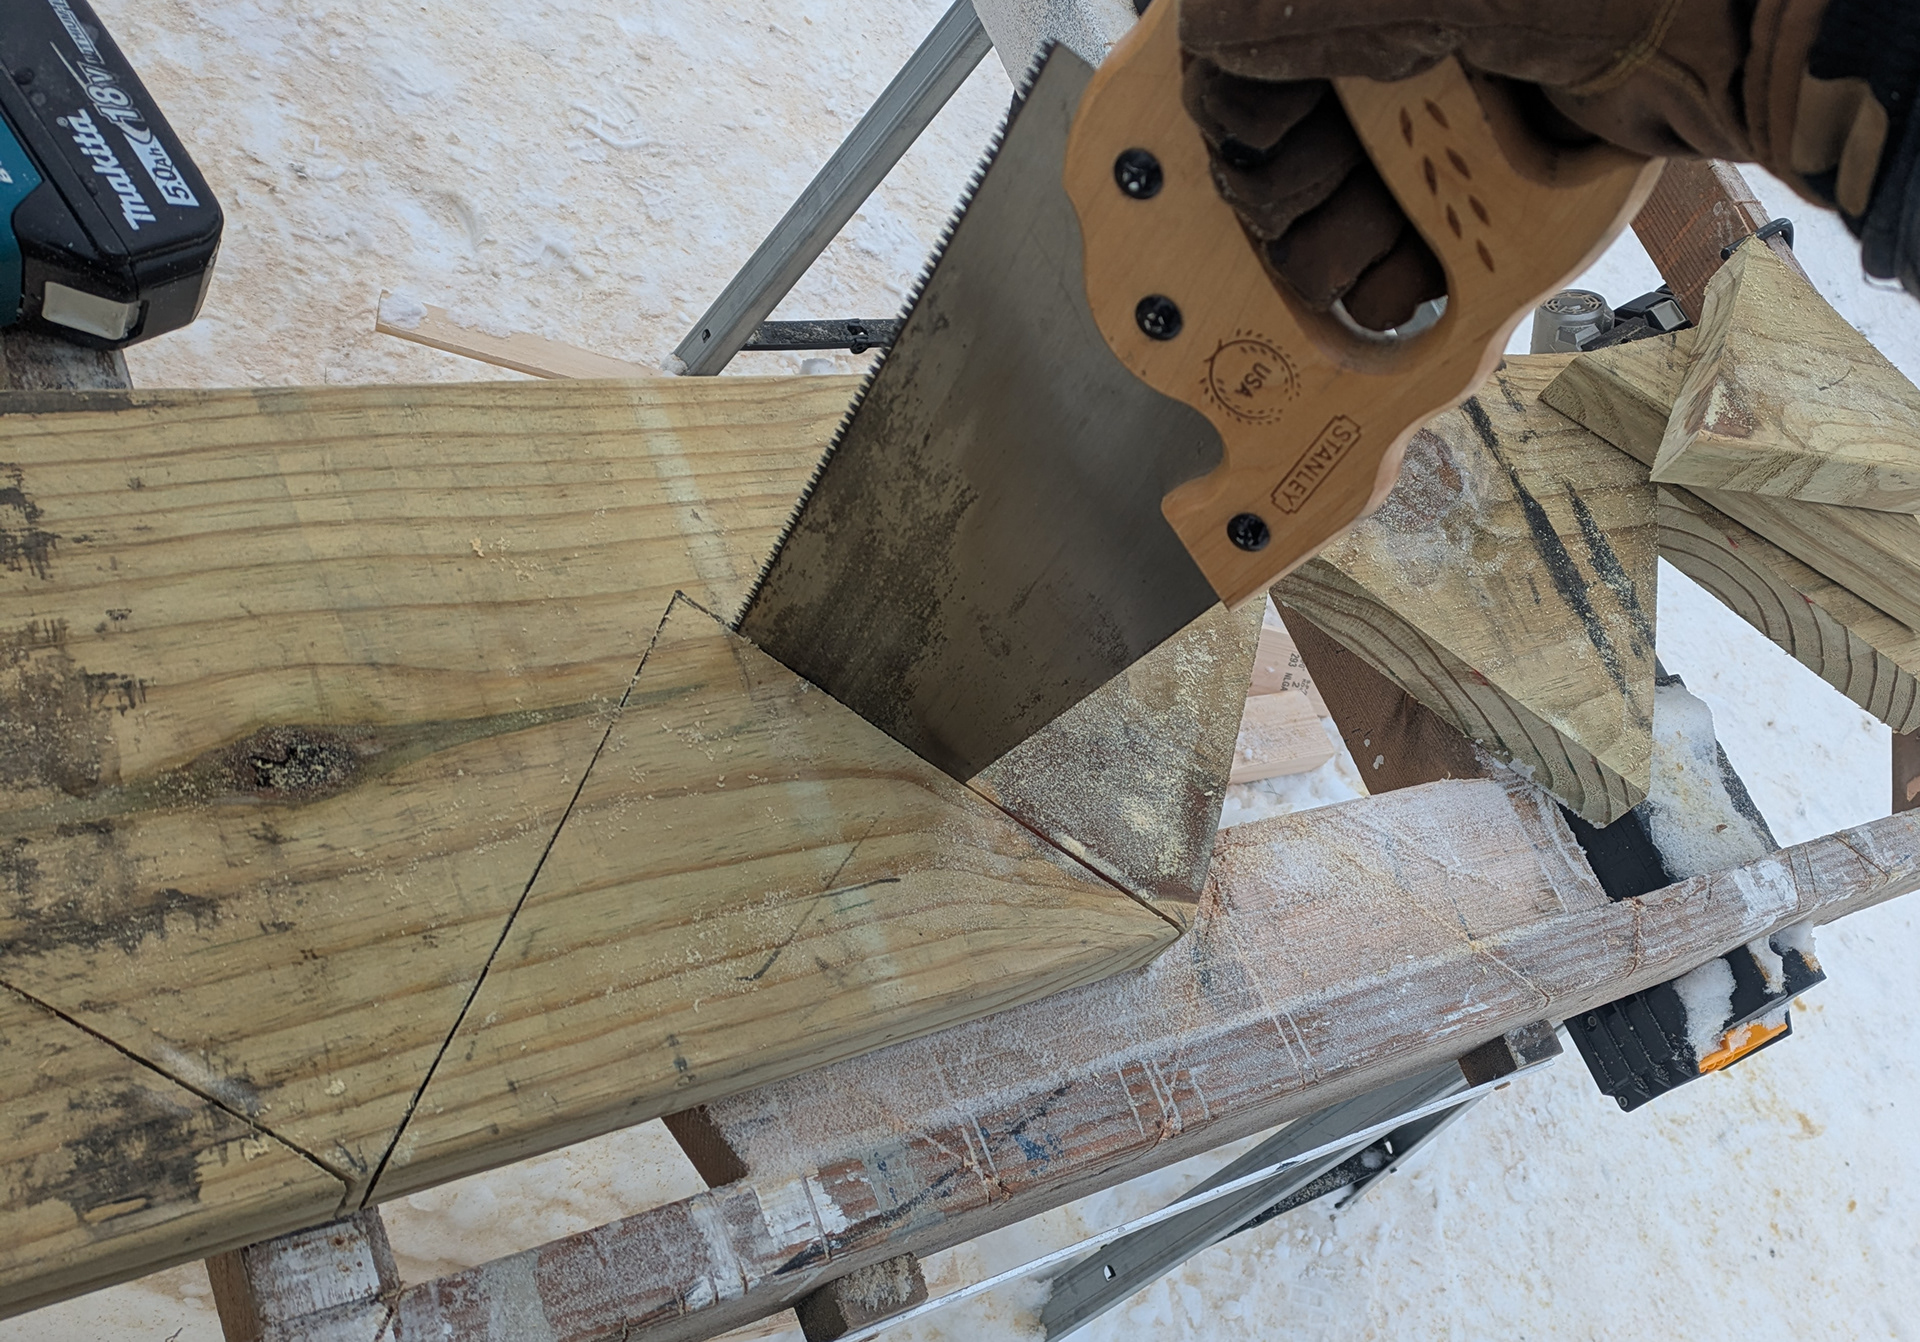
A handsaw finished off the cuts. I test fit the stringer in the stairwell to double check the math. The stringer is then used as a template to layout two more stringers.
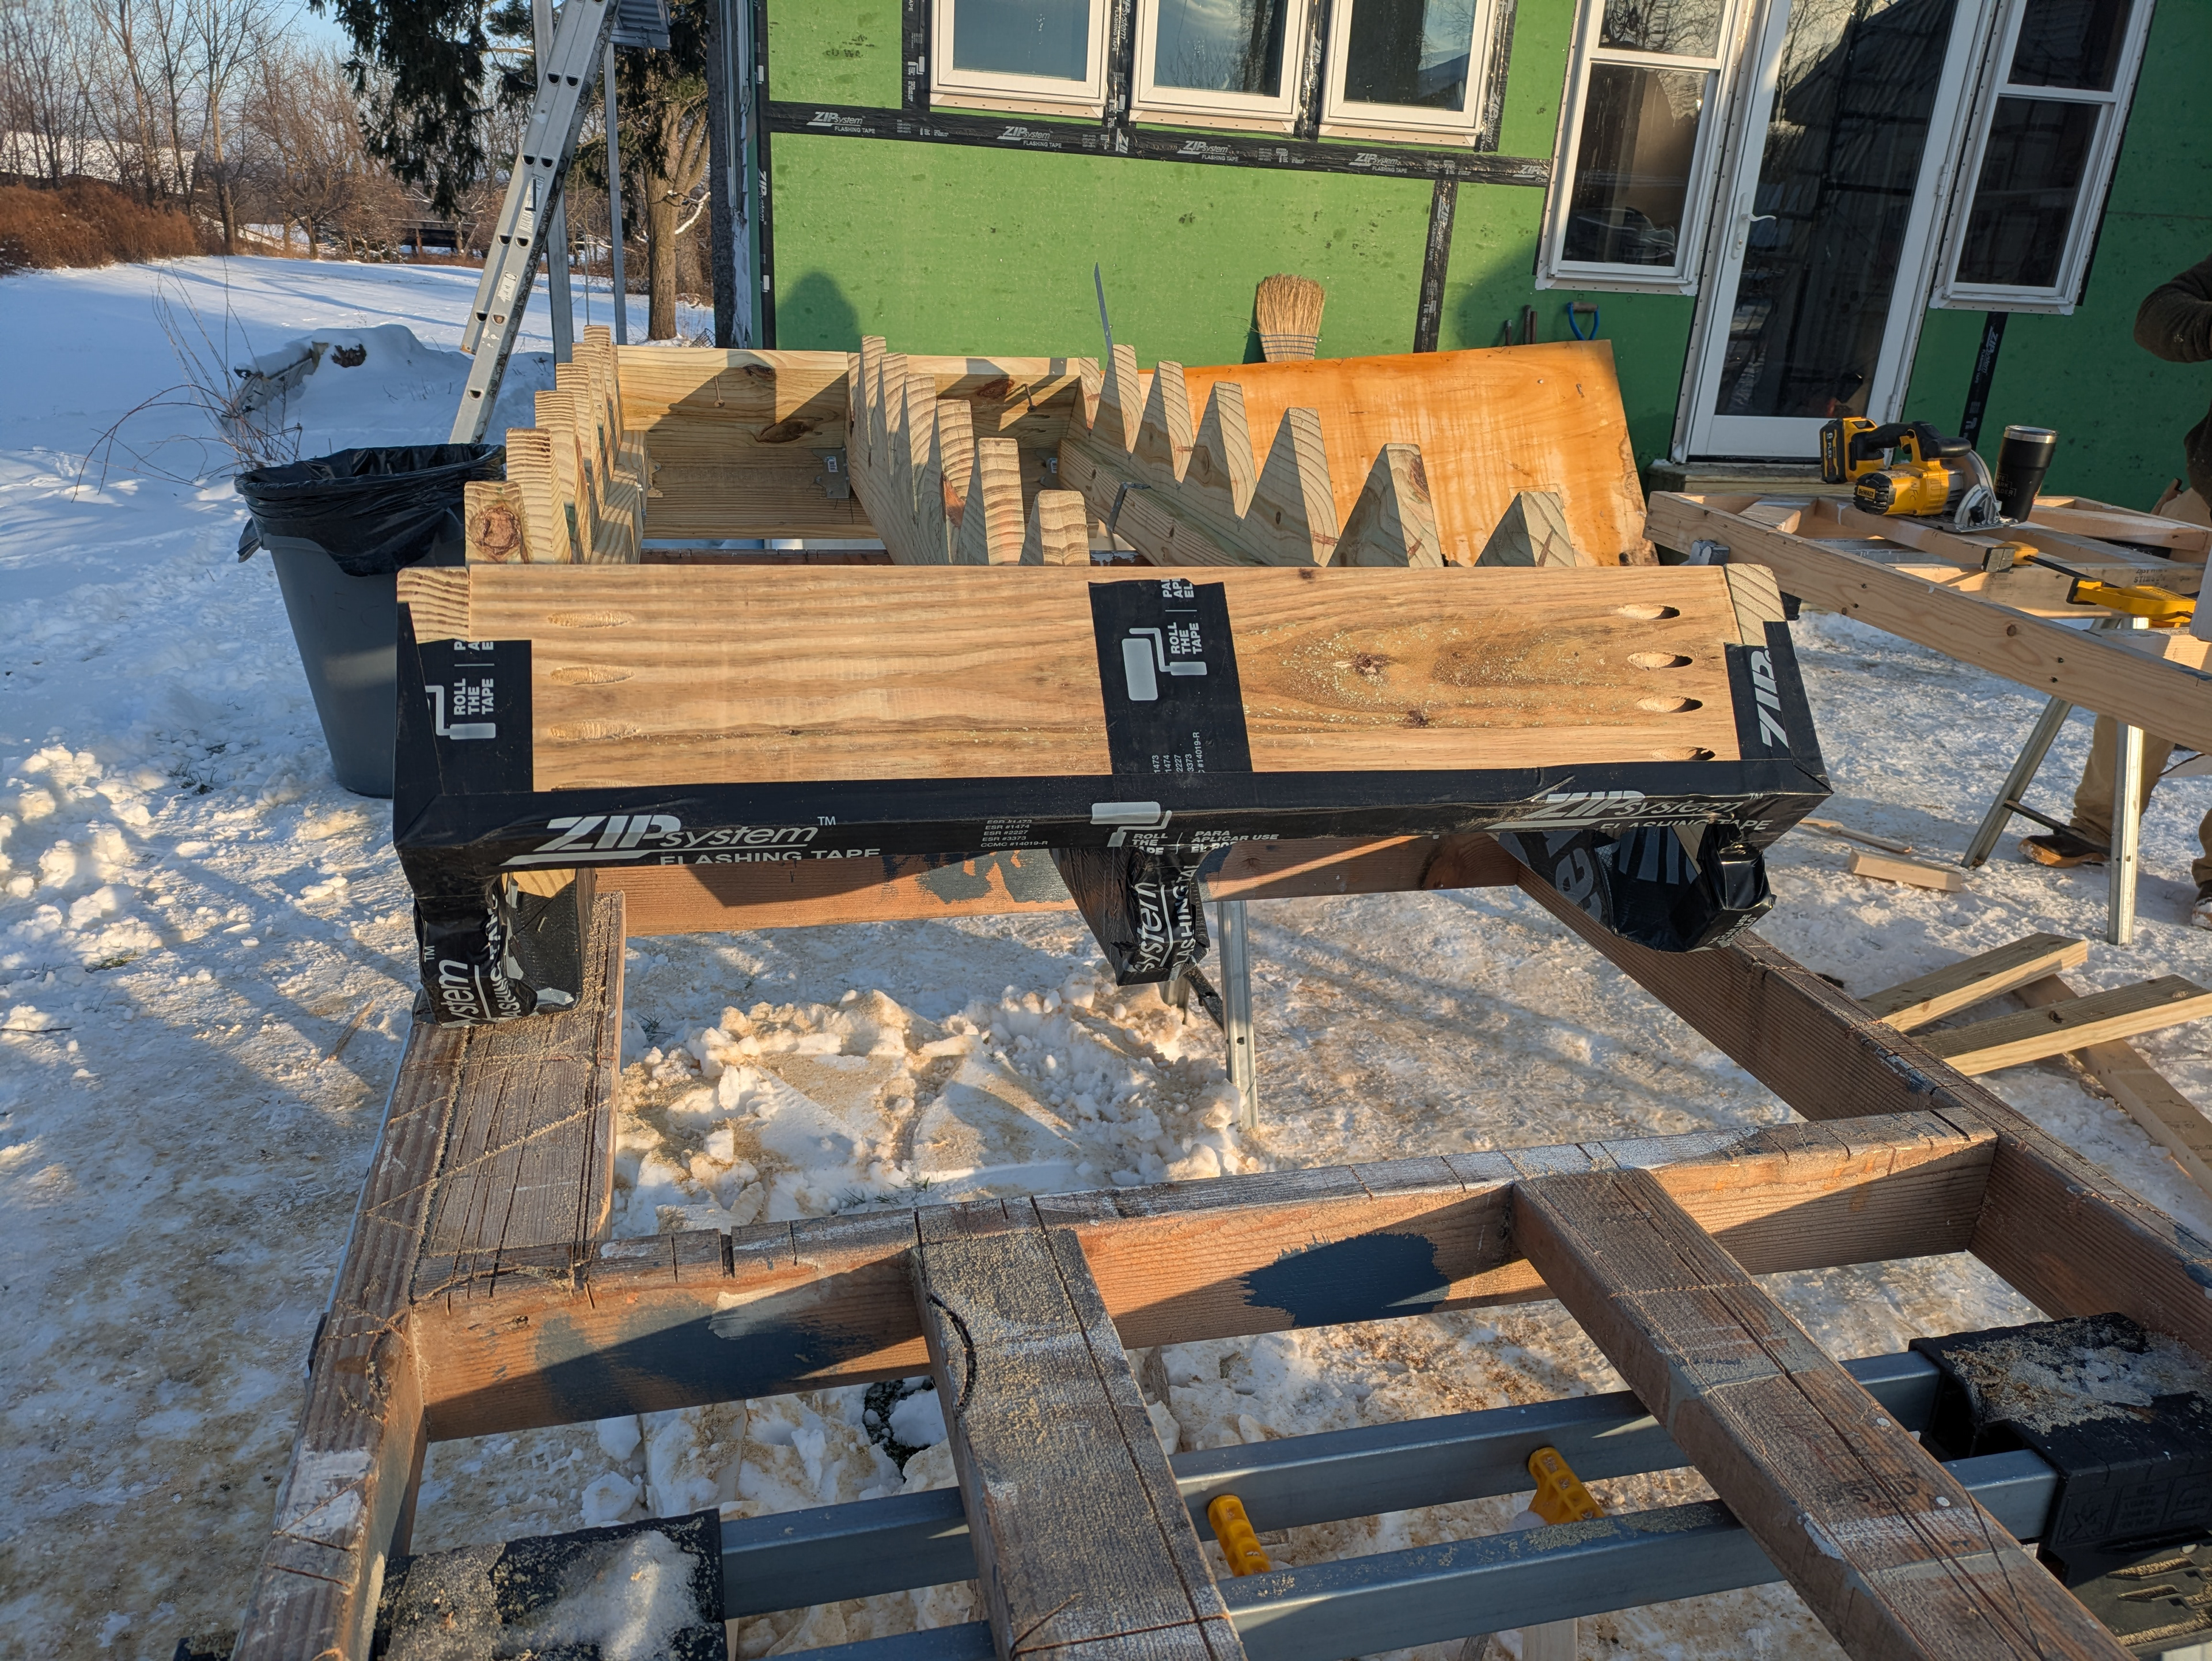
A sub riser, a hang board and some blocking are added during the framing pre-assembly phase. We've wrapped ice and water shield on the the bottom level'cut of the stringers where they will contact the basement floor. Similarly, the notches in the stringer for the cleat are sealed with zip tape. This will prevent the assembly from rotting when in contact with a damp basement floor.
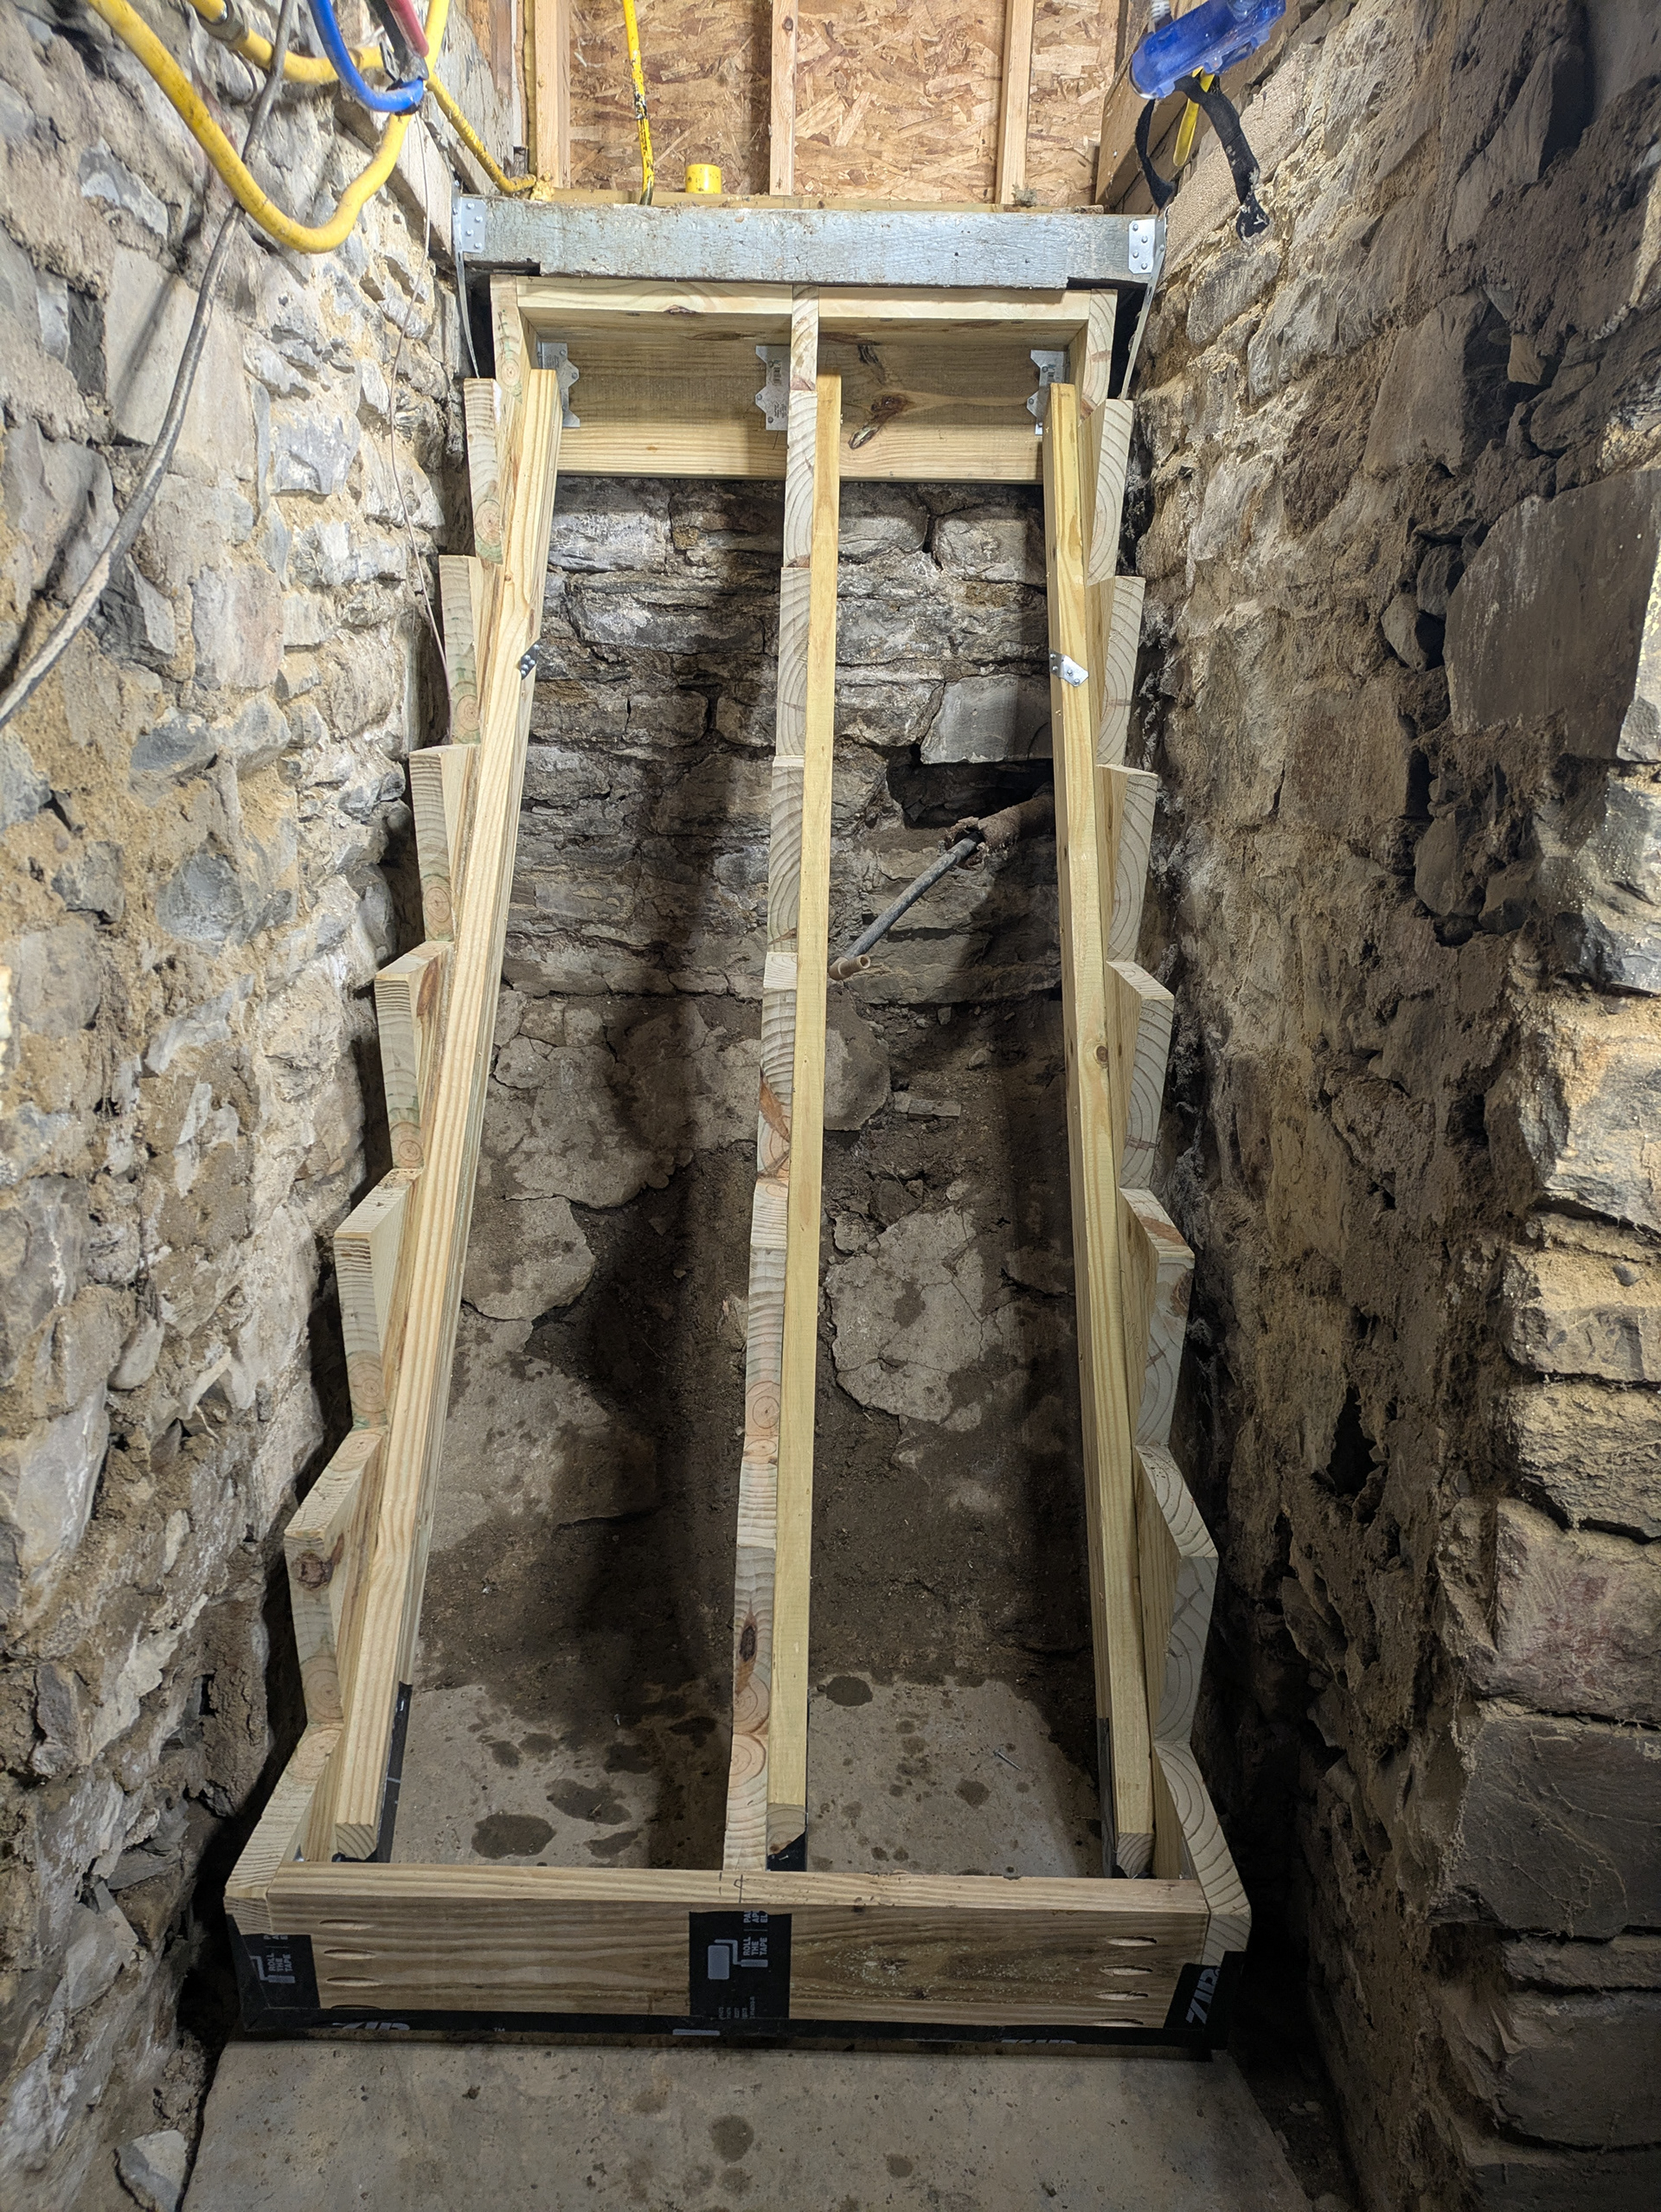
It took three of use to wrestle the framing into place.
Krestia wrapped the bottom face and the edges of the floor cleat with ice and water shield. He then used an SDS to drill a couple of holes through the cleat and through the stone floor of the basement. He hammered a couple of pieces of rebar into the floor through the cleat.
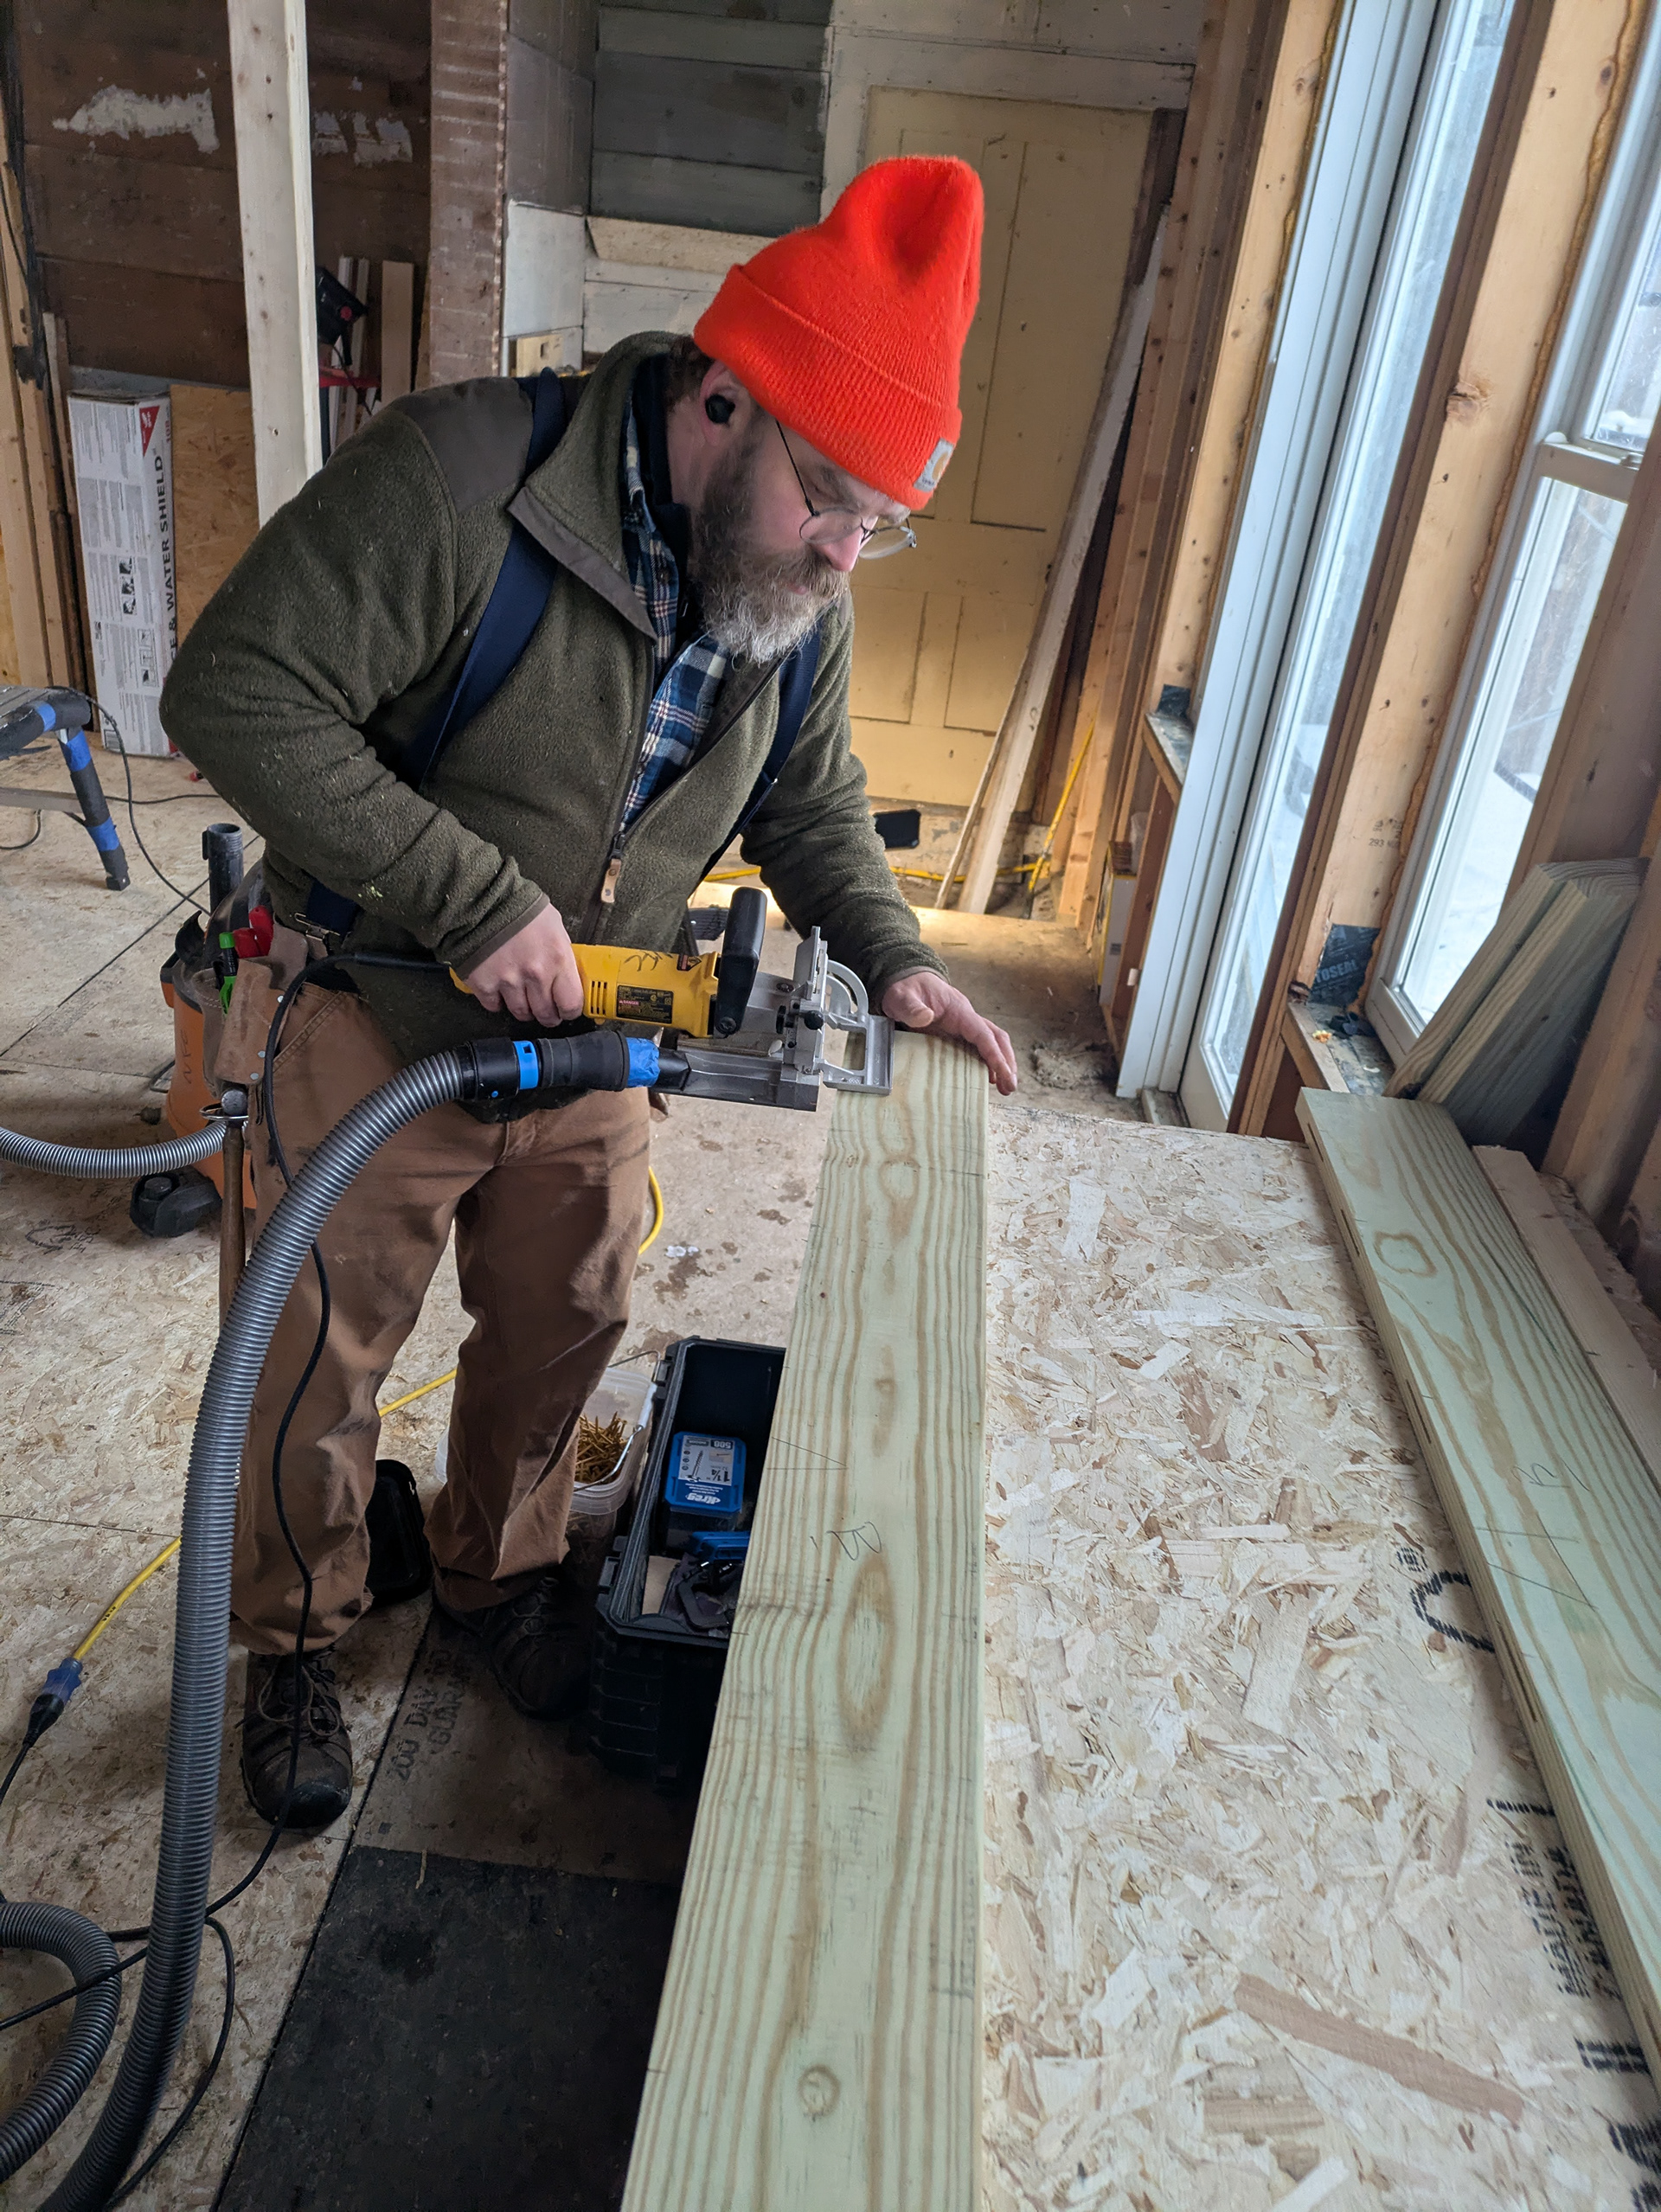
The risers are fabricated from two 1x6 pressure treated boards. Emmanuell used the table saw to rip one edge of each board straight. Krestia used the biscuit jointer and pocket screws jig to prepare the riser boards for edge gluing.
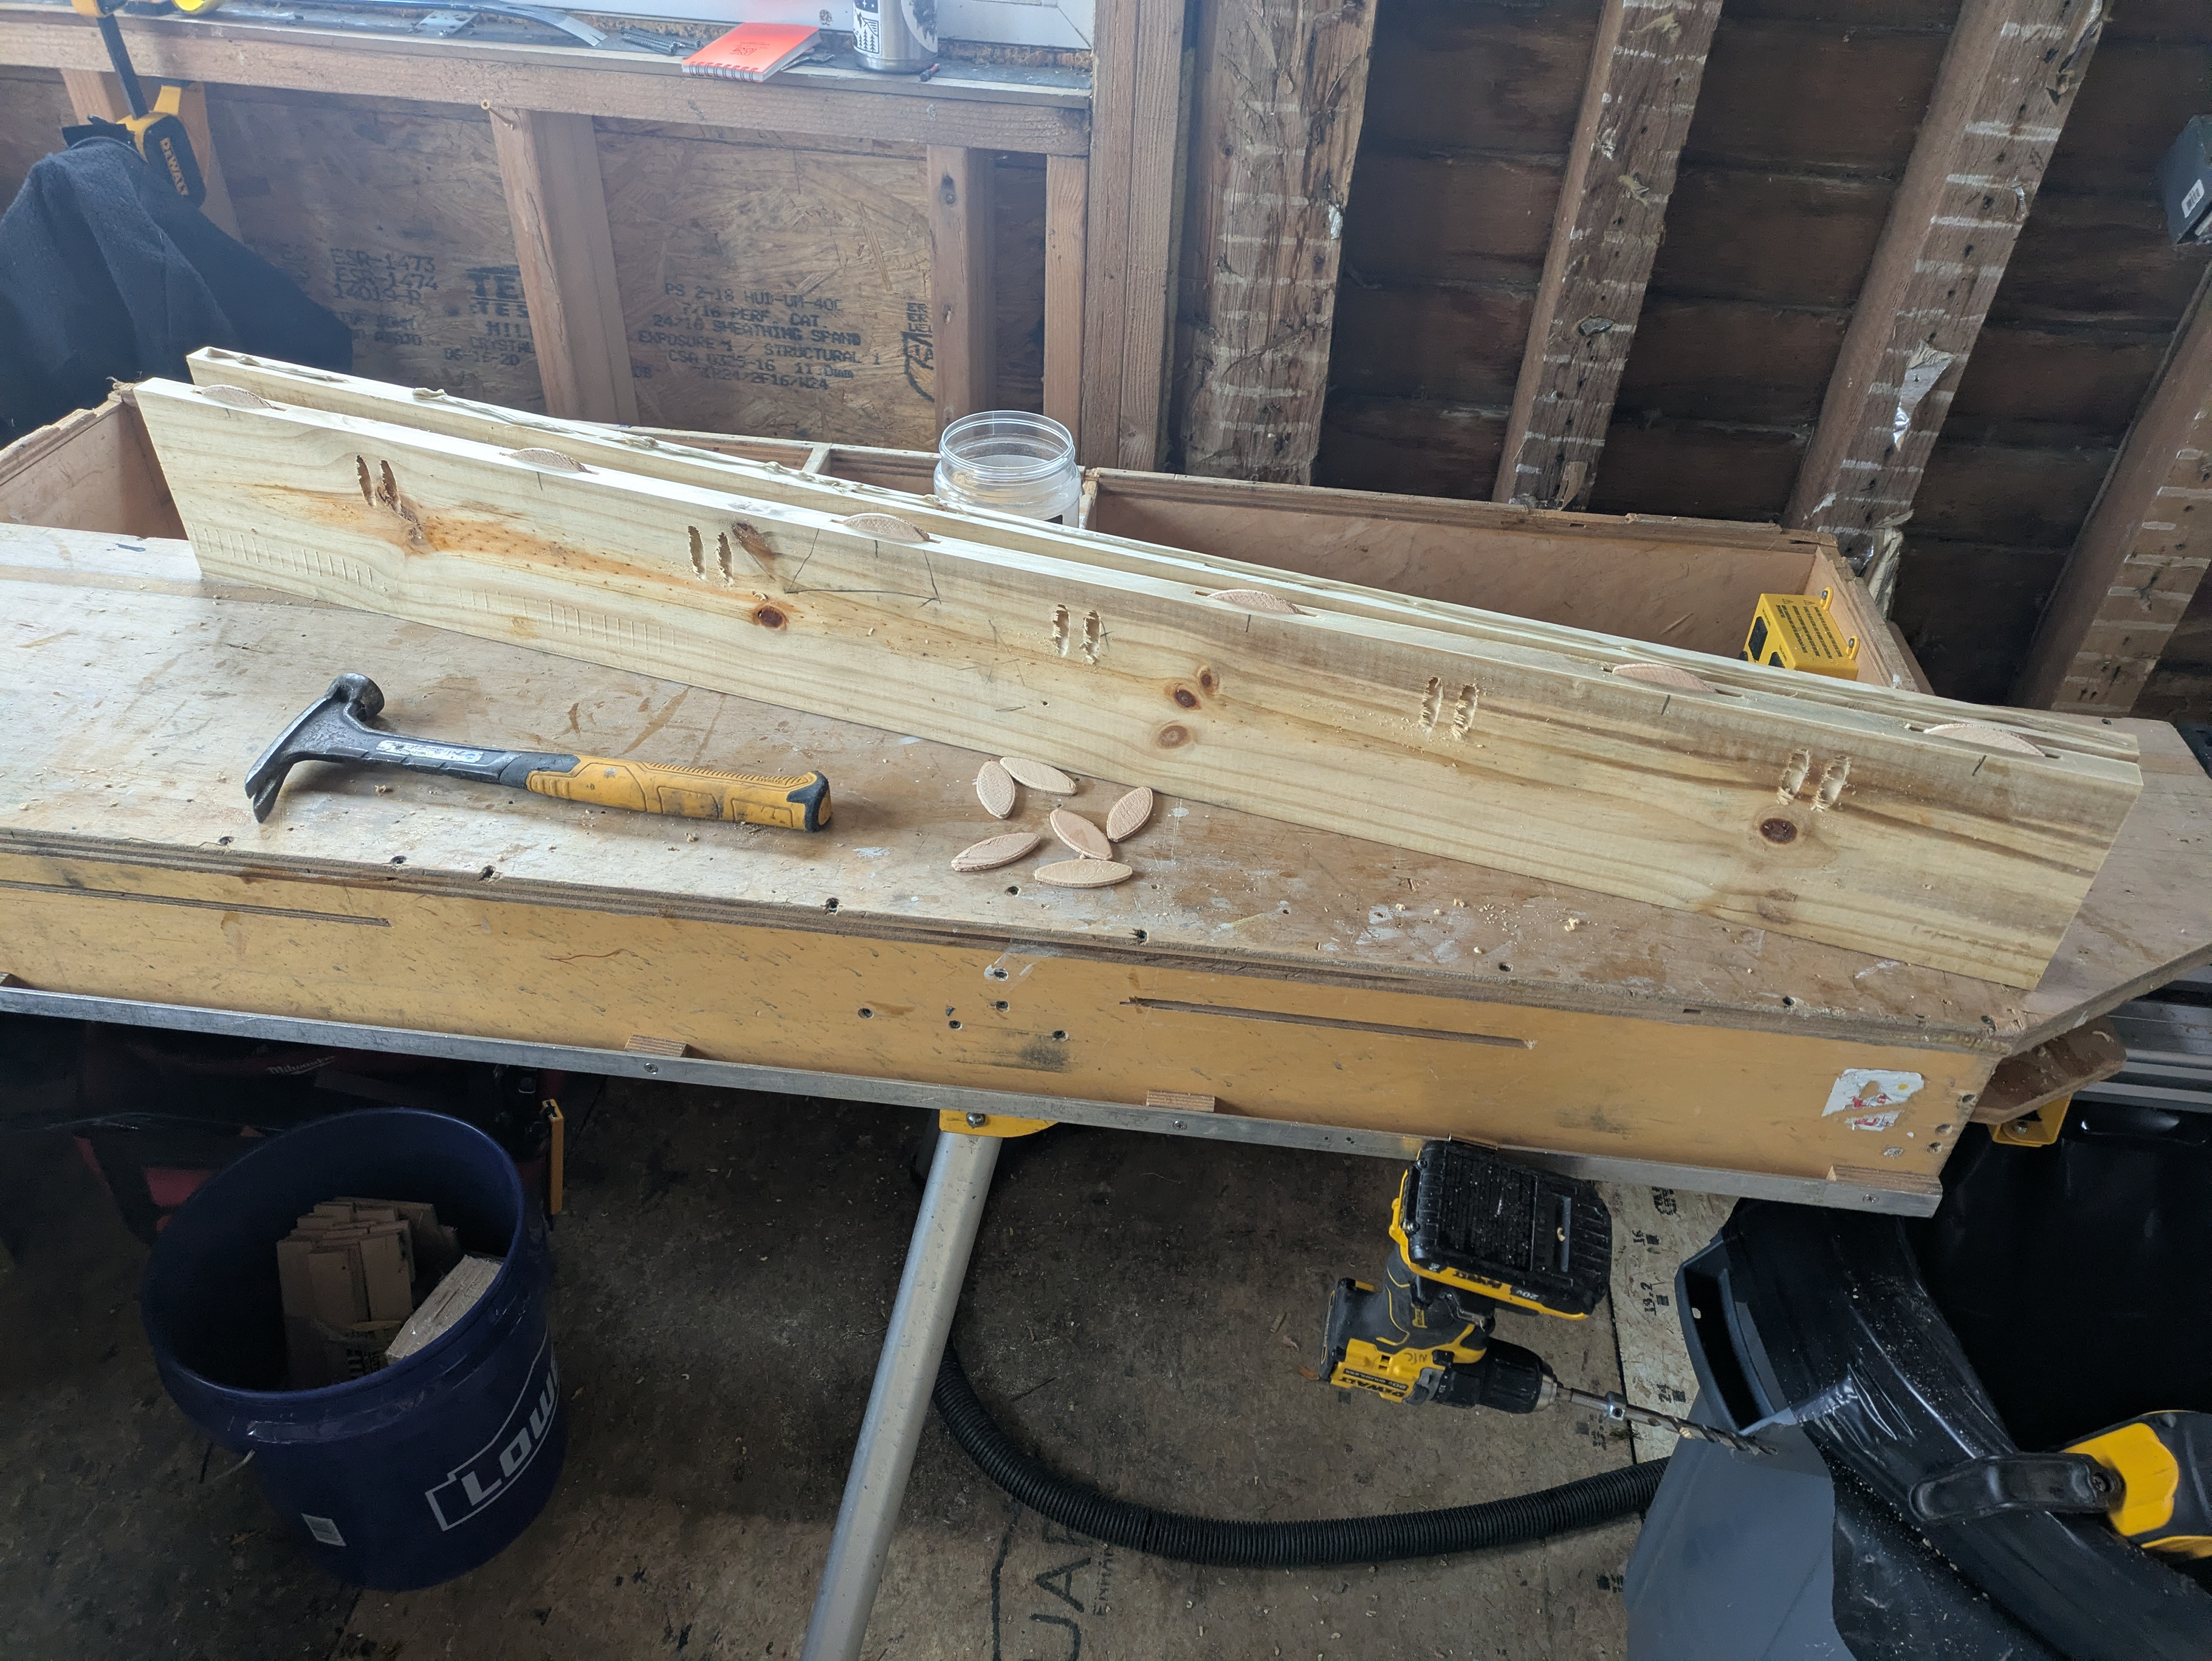
Biscuits kept the boards properly aligned during glue-up.
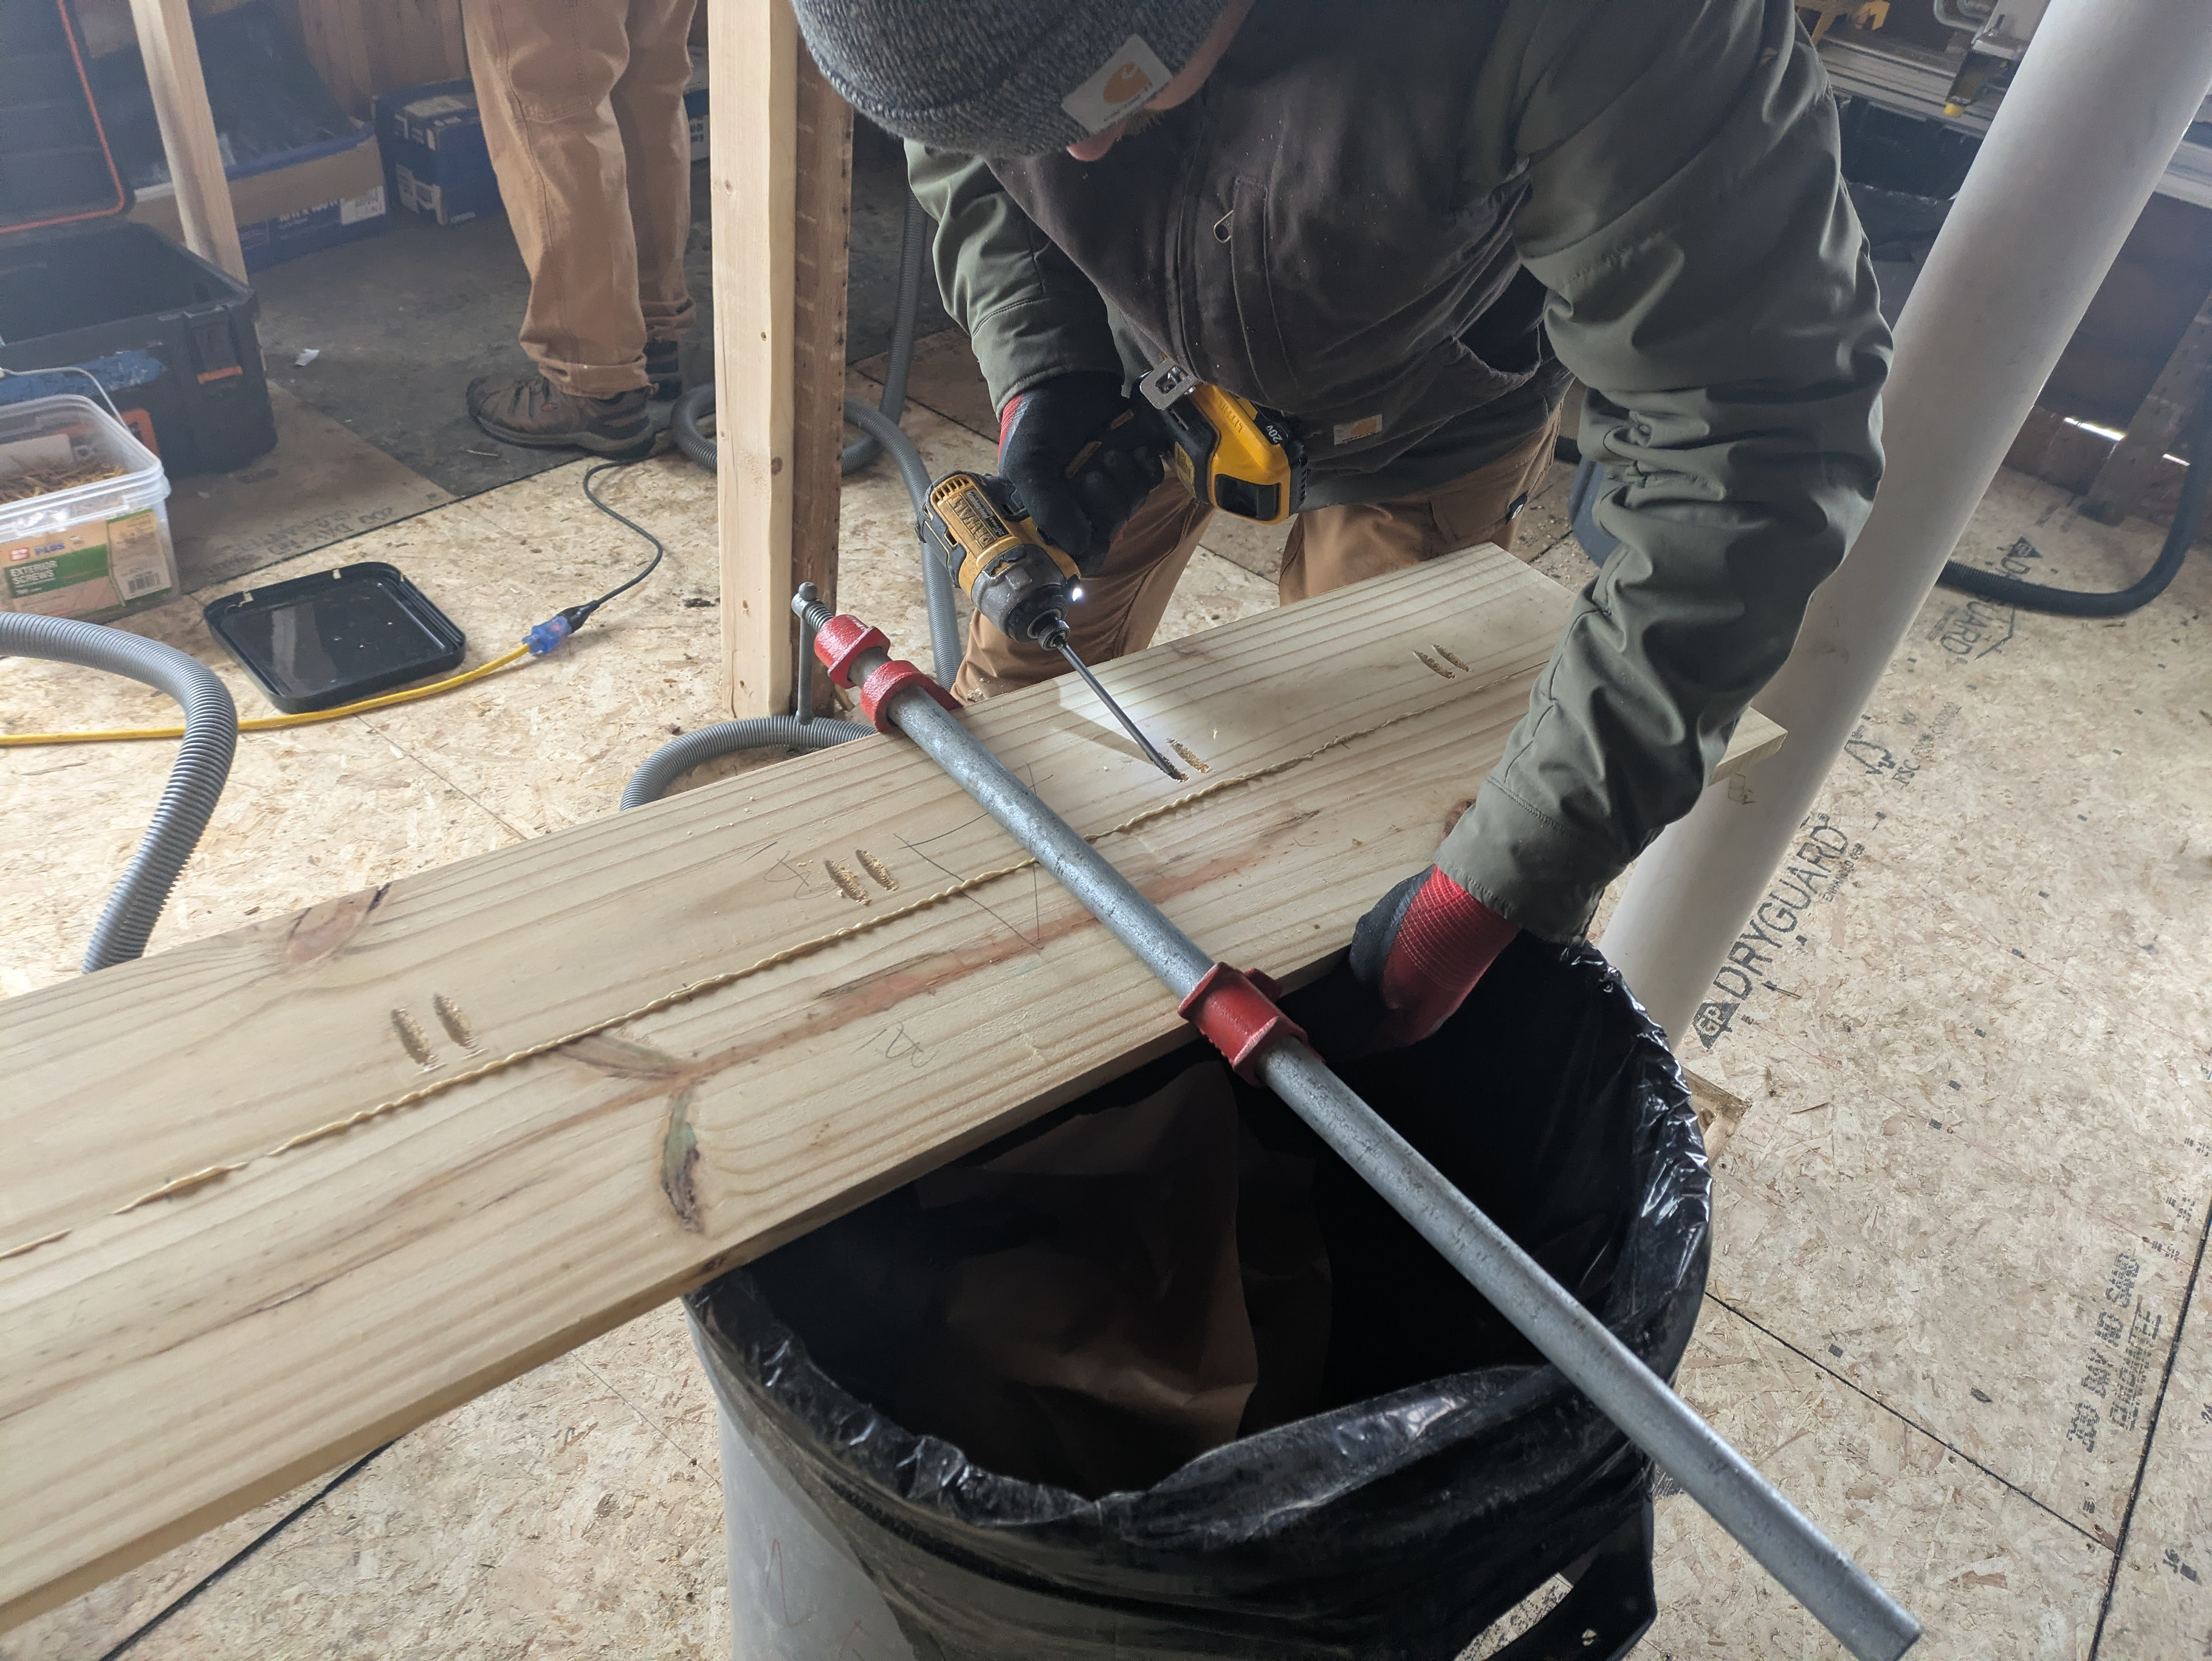
PL oil based construction adhesive is used for the glue up. Emmanuel uses a couple of clamps to draw the boards tight together, then he fastens the boards together with course thread pocket screws.
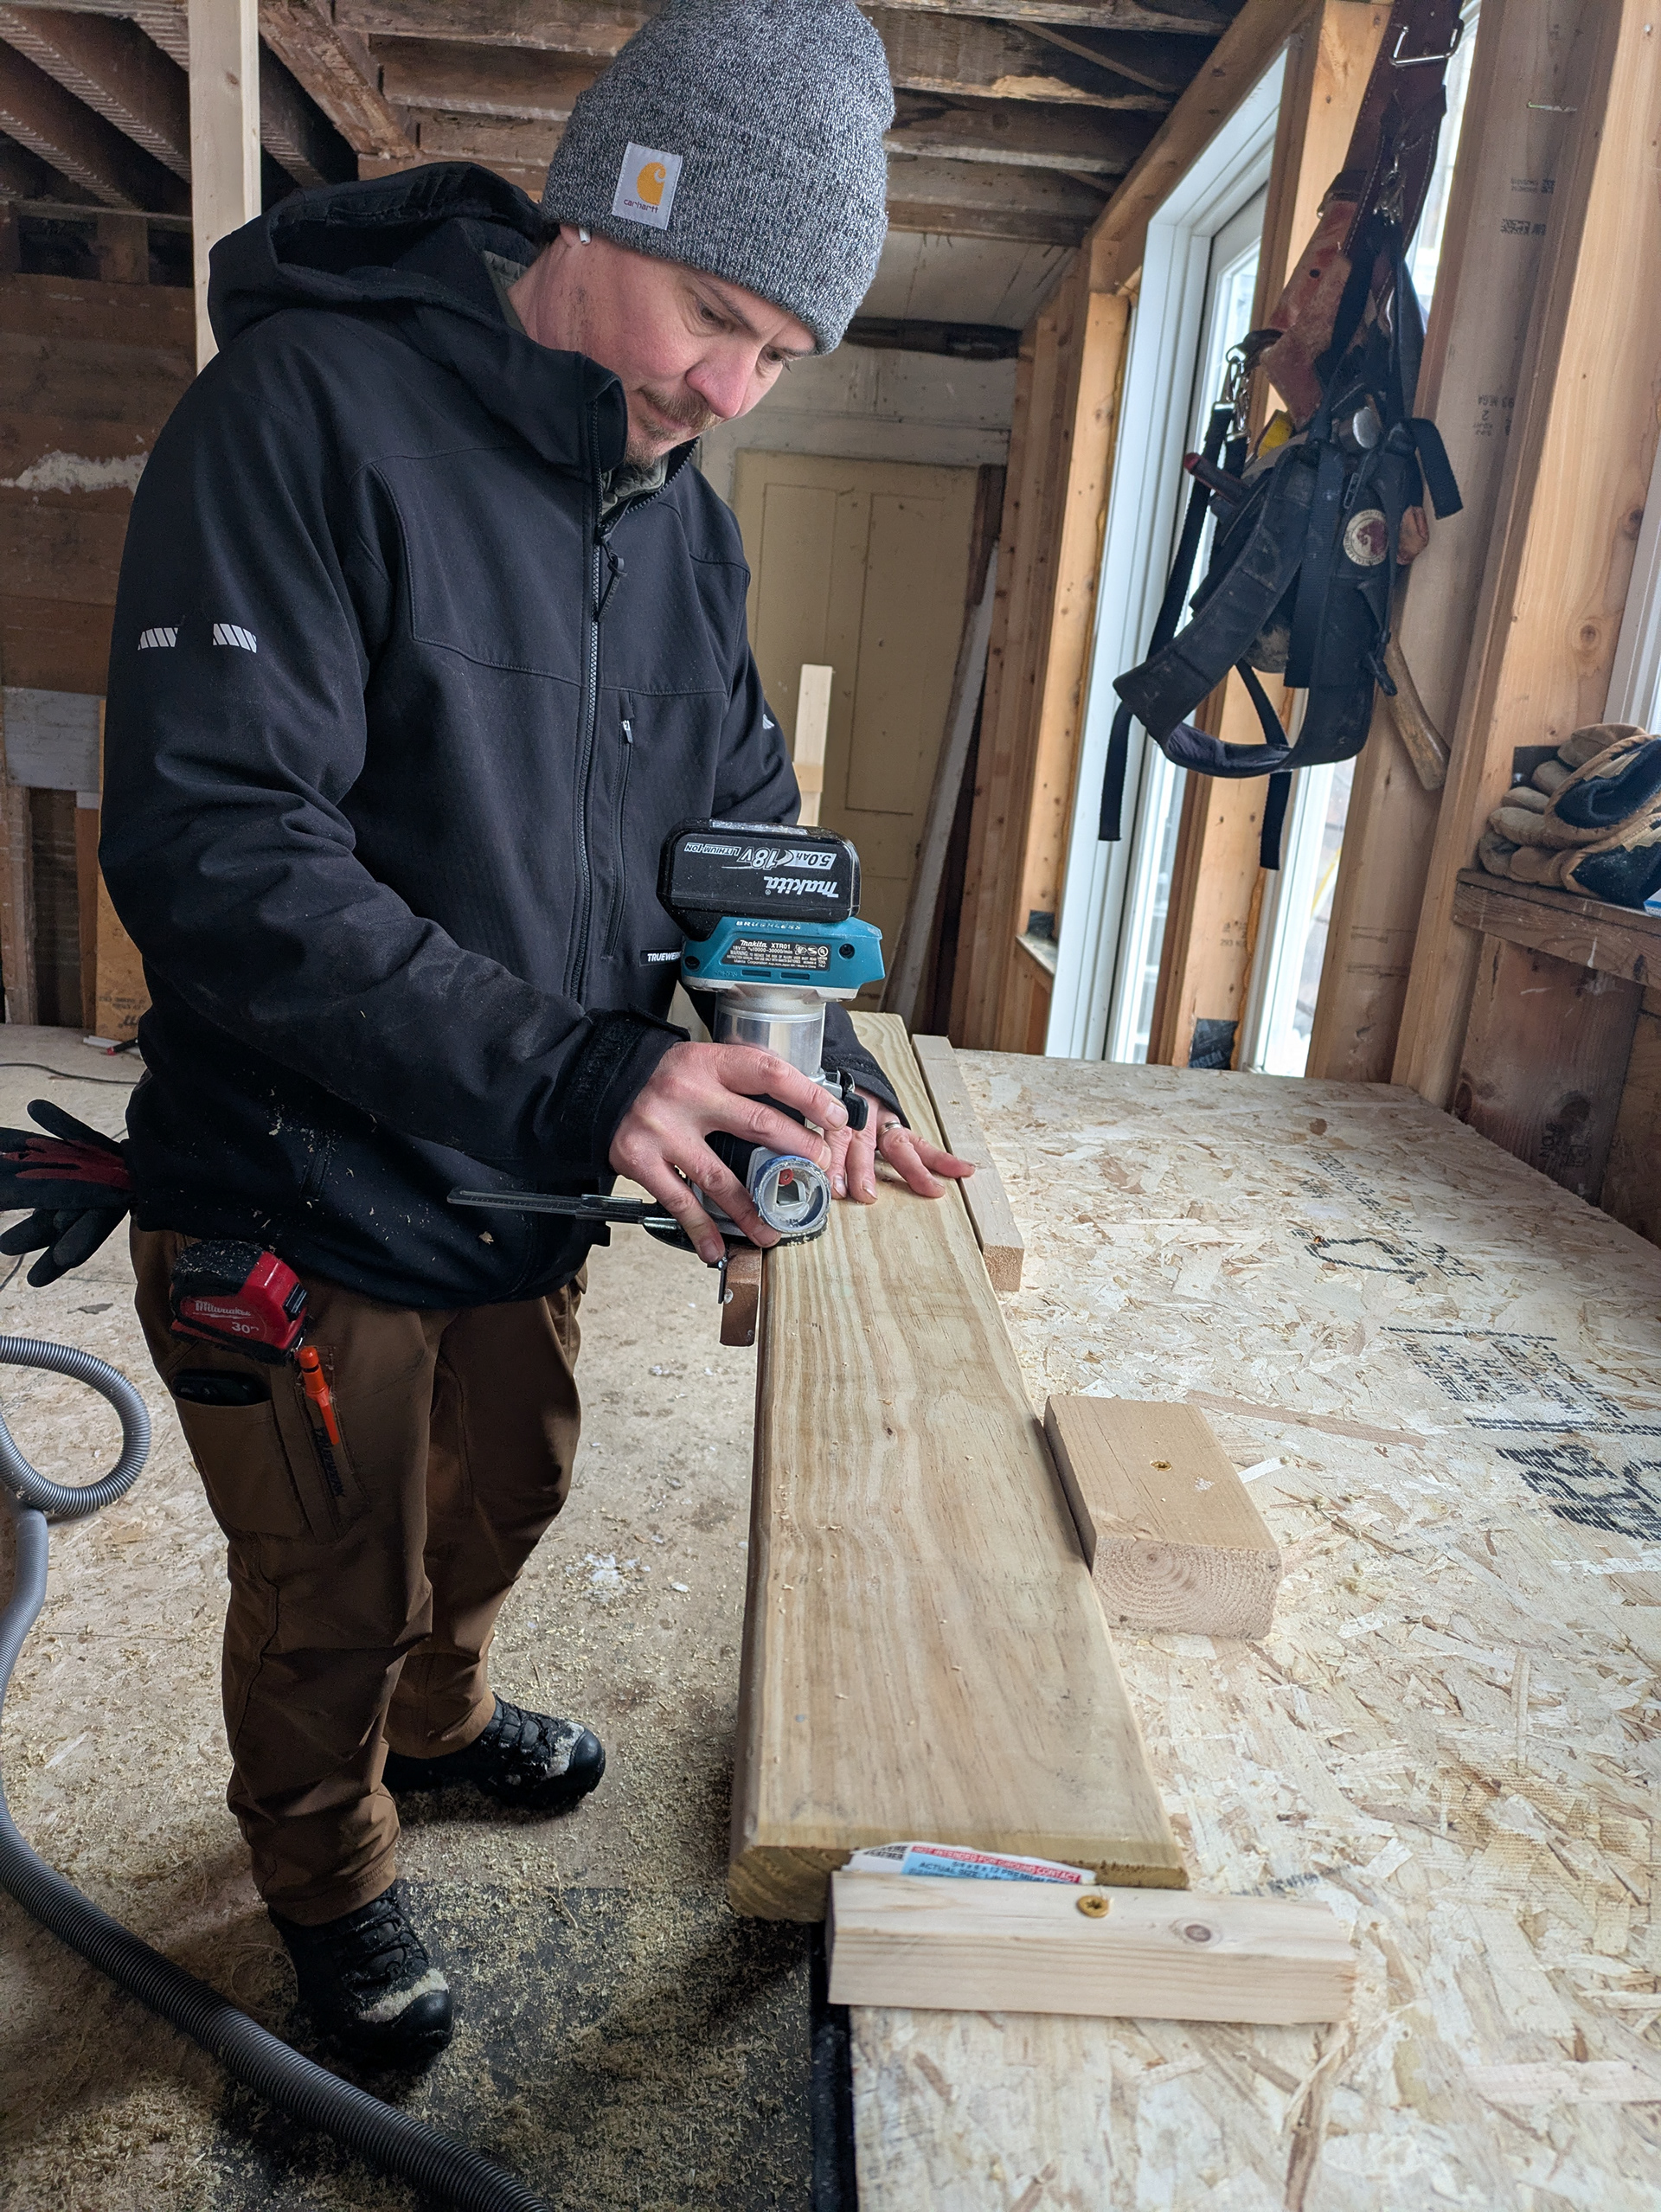
Emmanuel used the router to give the treads a rounded over nosing. The treads are left as two separate boards; no edge gluing.
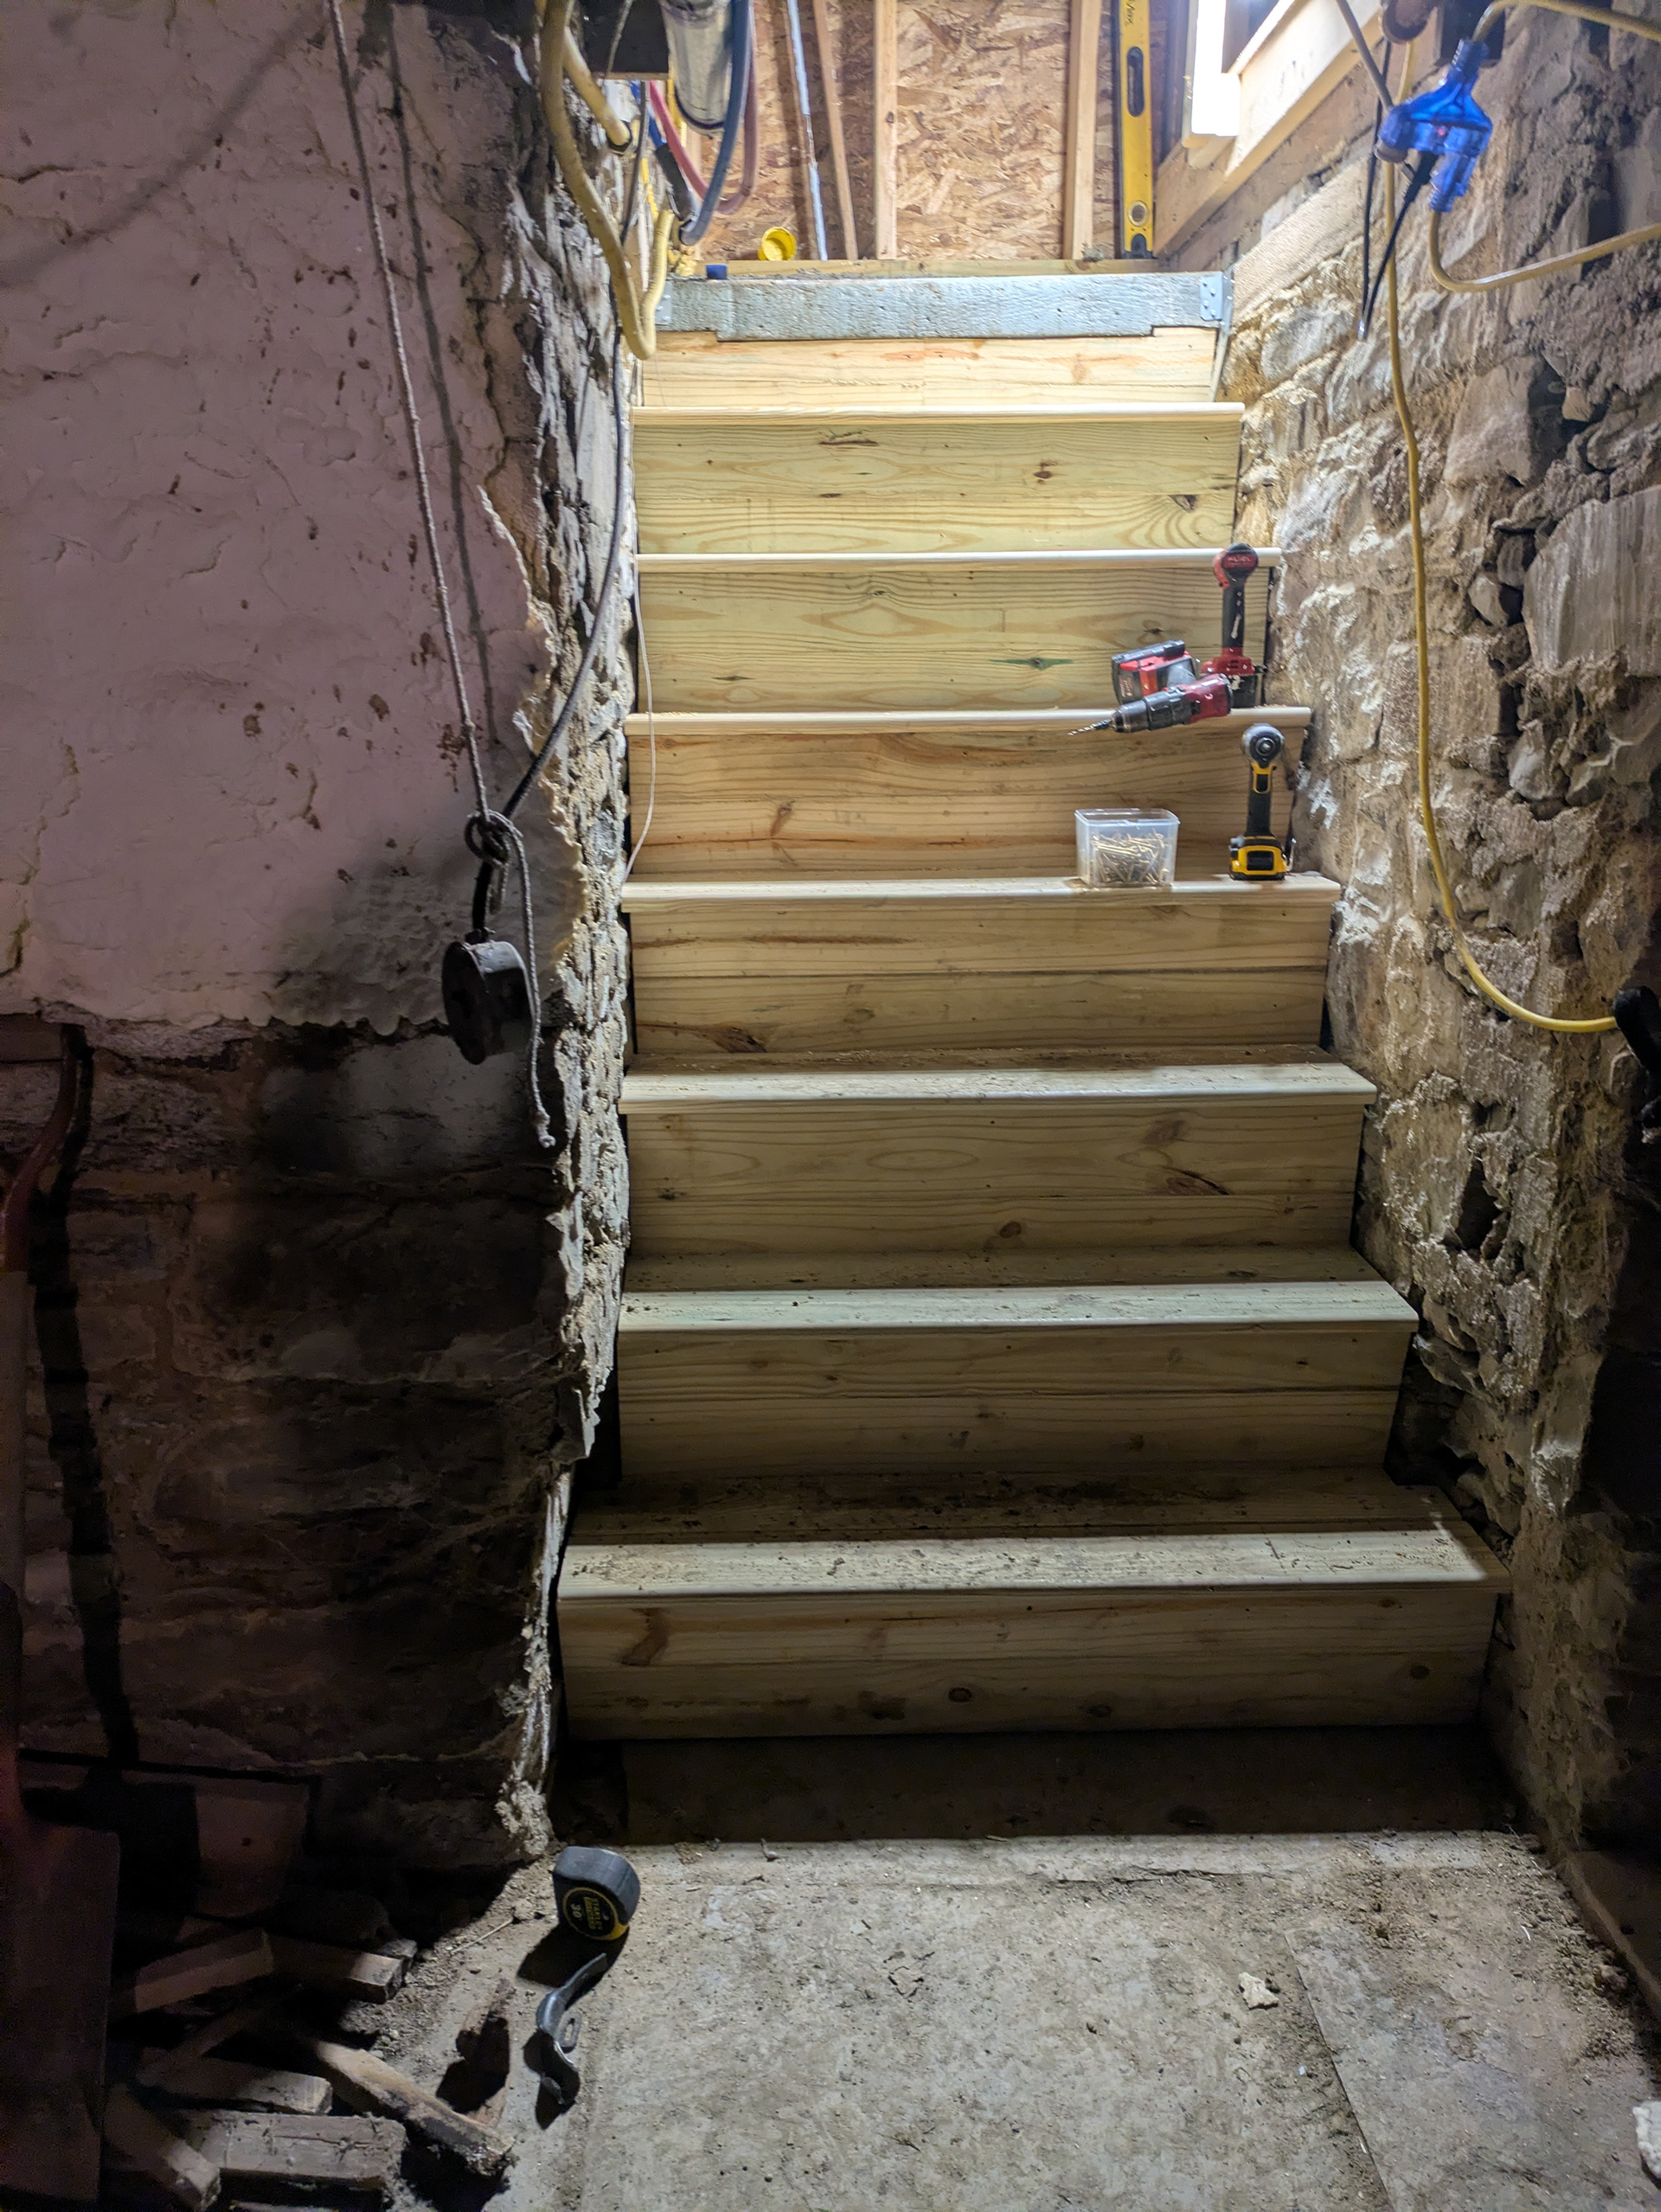
As a trio, Emmanuel, Ken and I used the stair tread templating tool to cut the treads and risers as close to the stairwell stone wall as we could without scribing with a compass and jigsaw. The treads are face-screwed with 2 1/2" ceramic coated deck screws, the risers are fastened with GRK trim screws. The risers are blind face-screwed to the backside of the treads for added rigidity. We were able to increase the headroom at the bottom of the stairs by about 3 1/2" by removing the original head-jamb and blocking above.