
I completed the finish carpentry needed to build these modern white oak stairs. The contractor who built this nice addition (Piha Construction) framed the stairs and later installed the cool slat-wall balustrade.

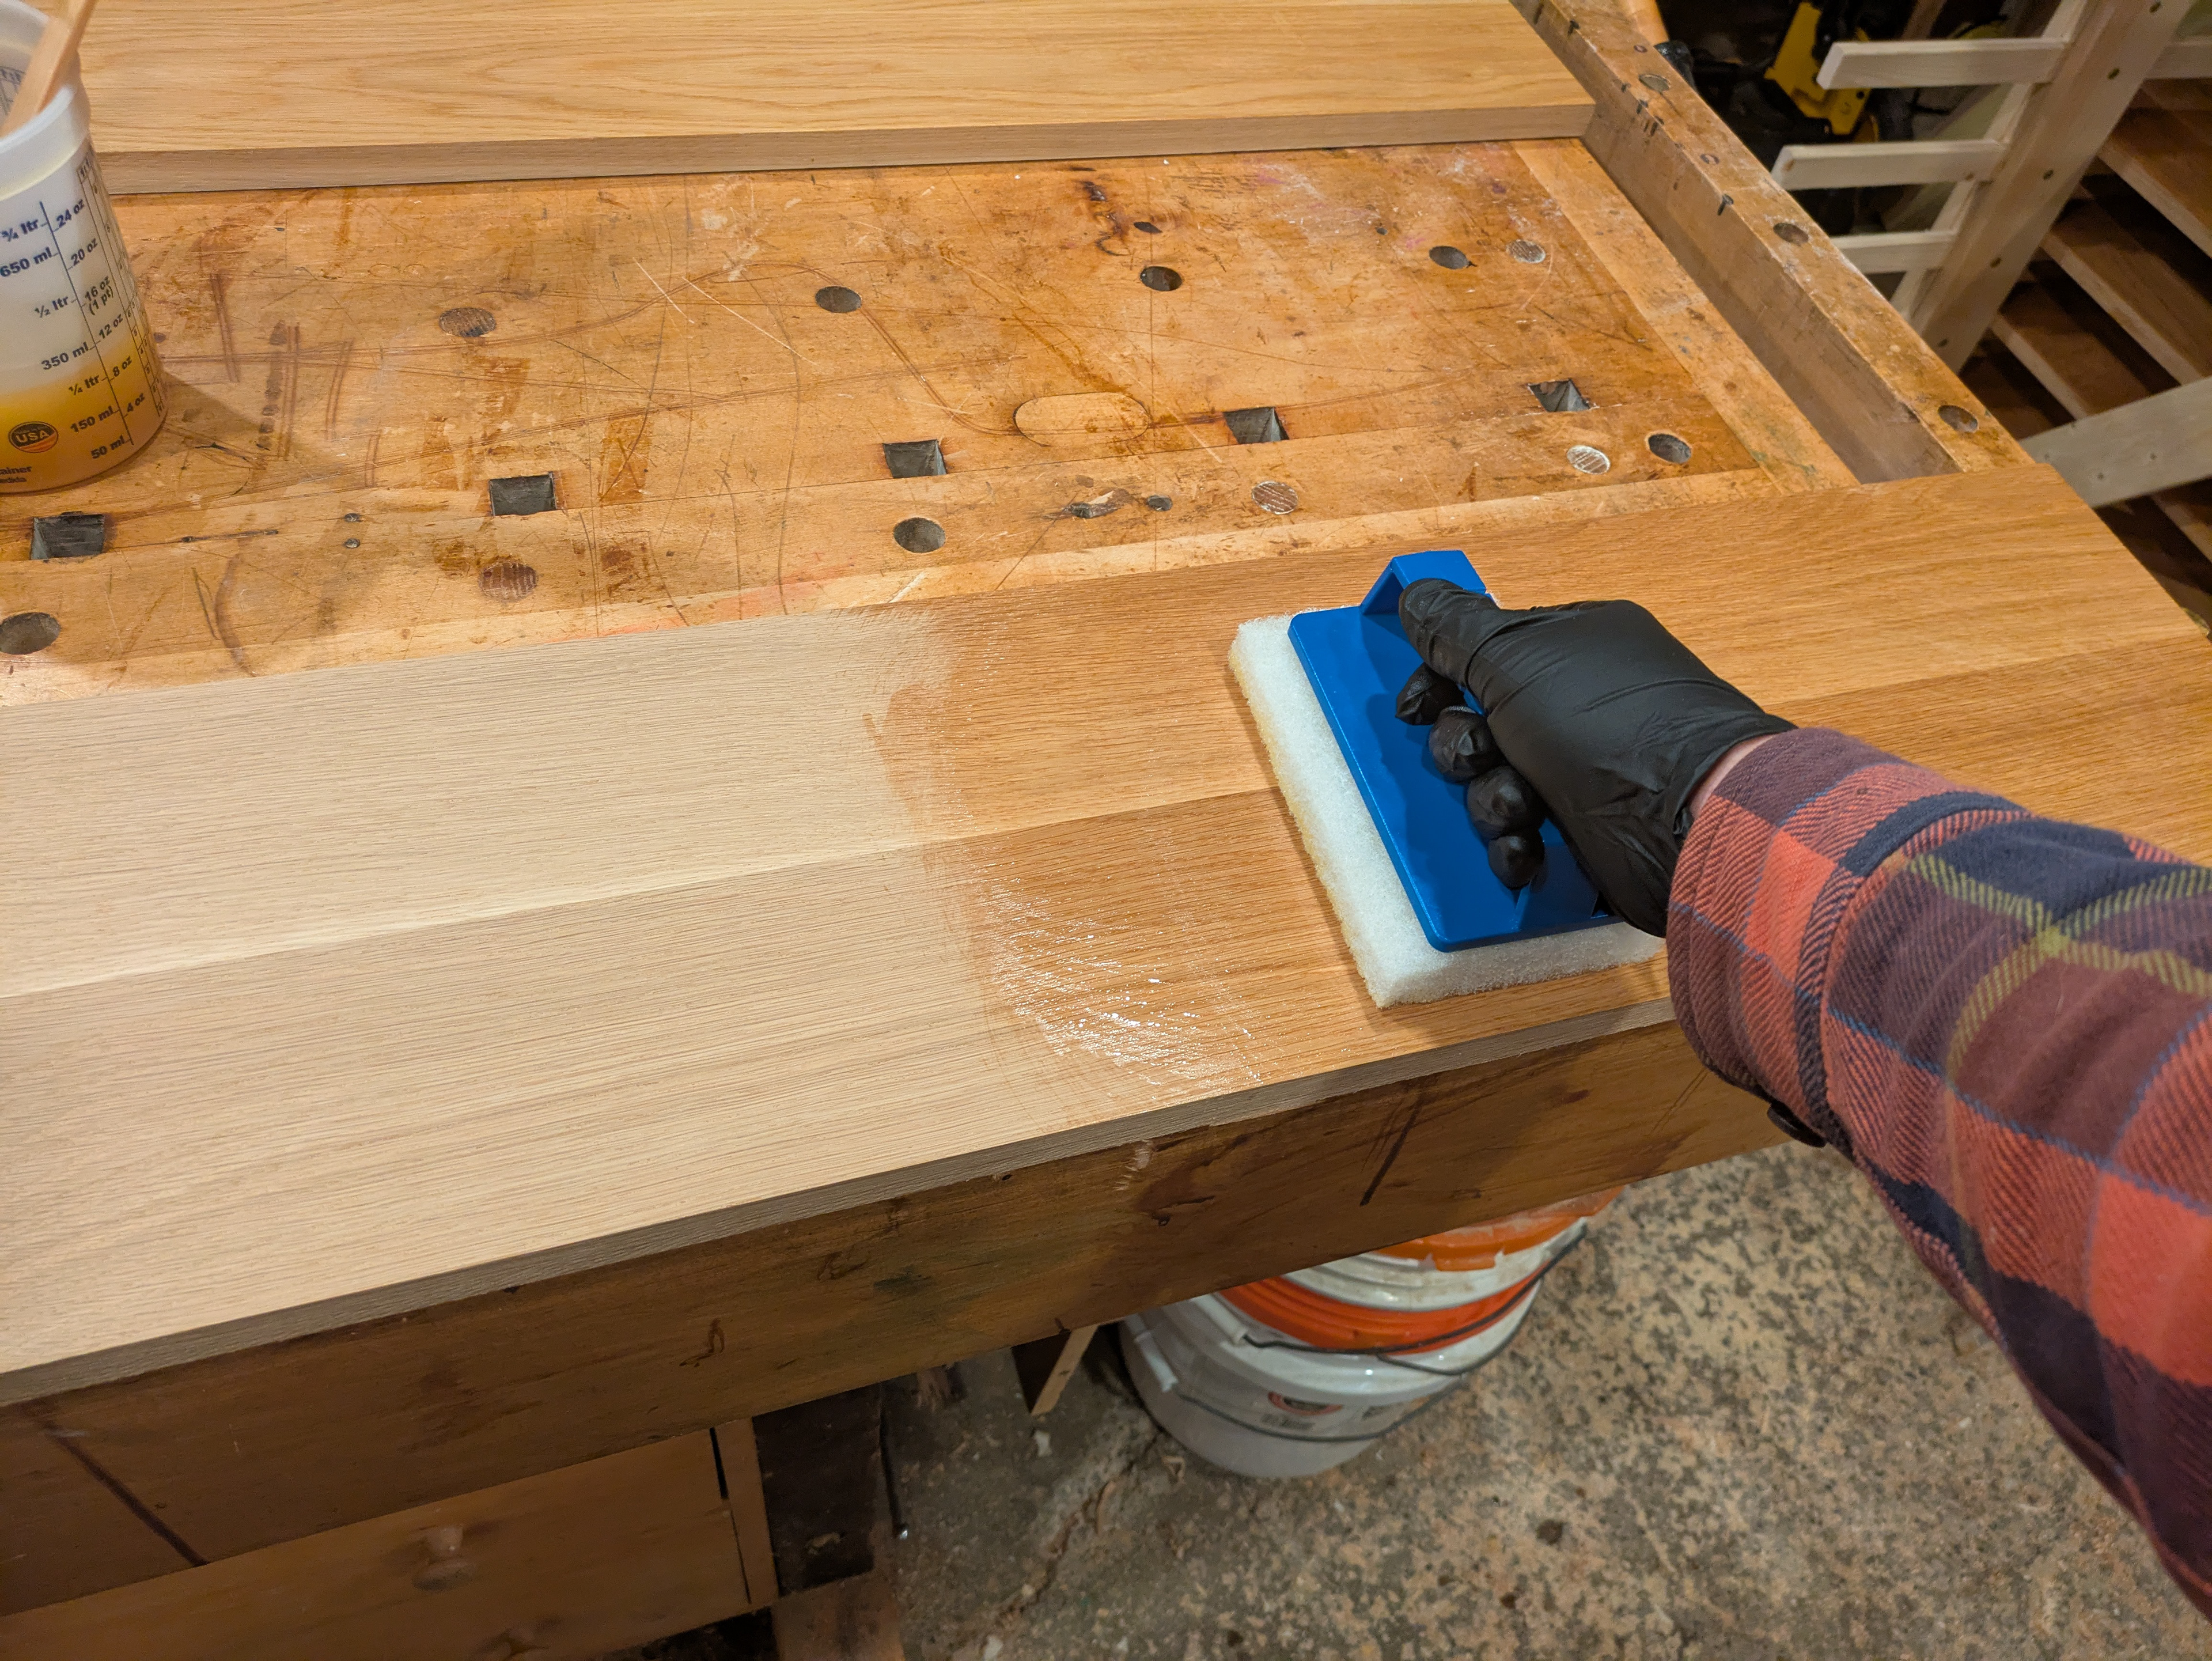
My portion of the project started in my shop where I sanded all of the treads, risers and landing treads needed for two sets of stairs (I also built a second flight of stairs not pictured in this article).
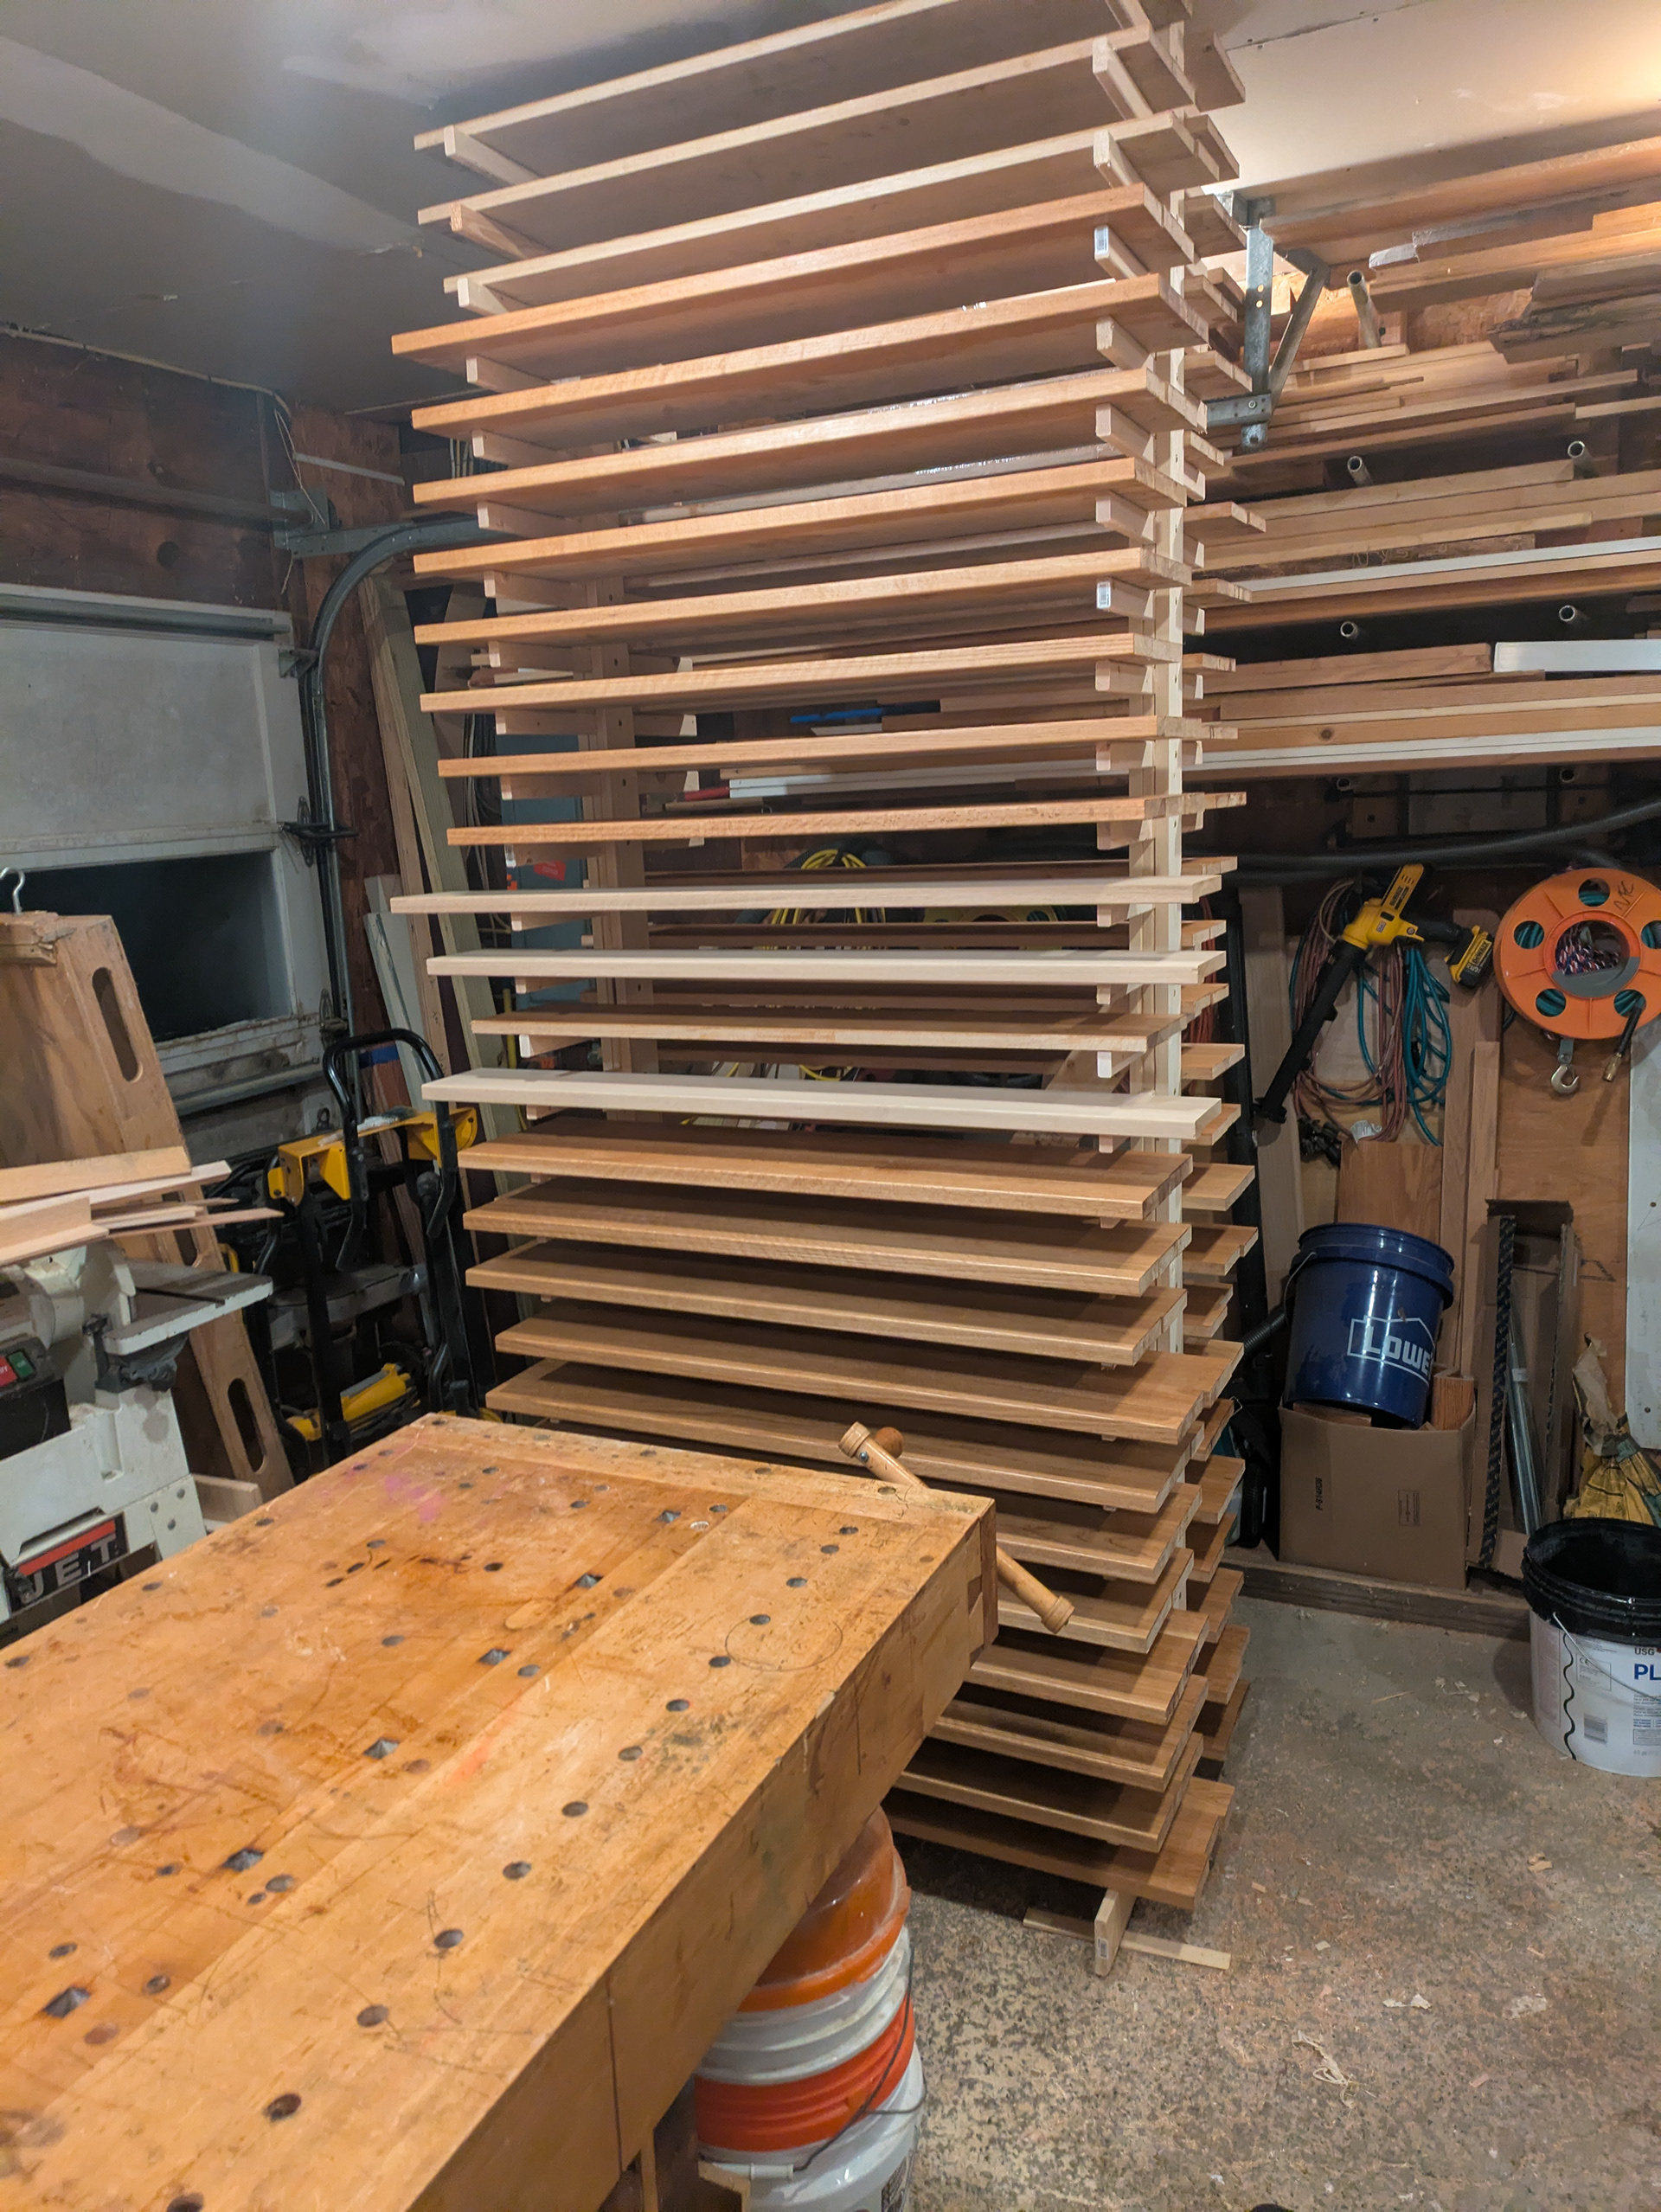
I finished the stair parts and left them on the drying rack for a couple of days.
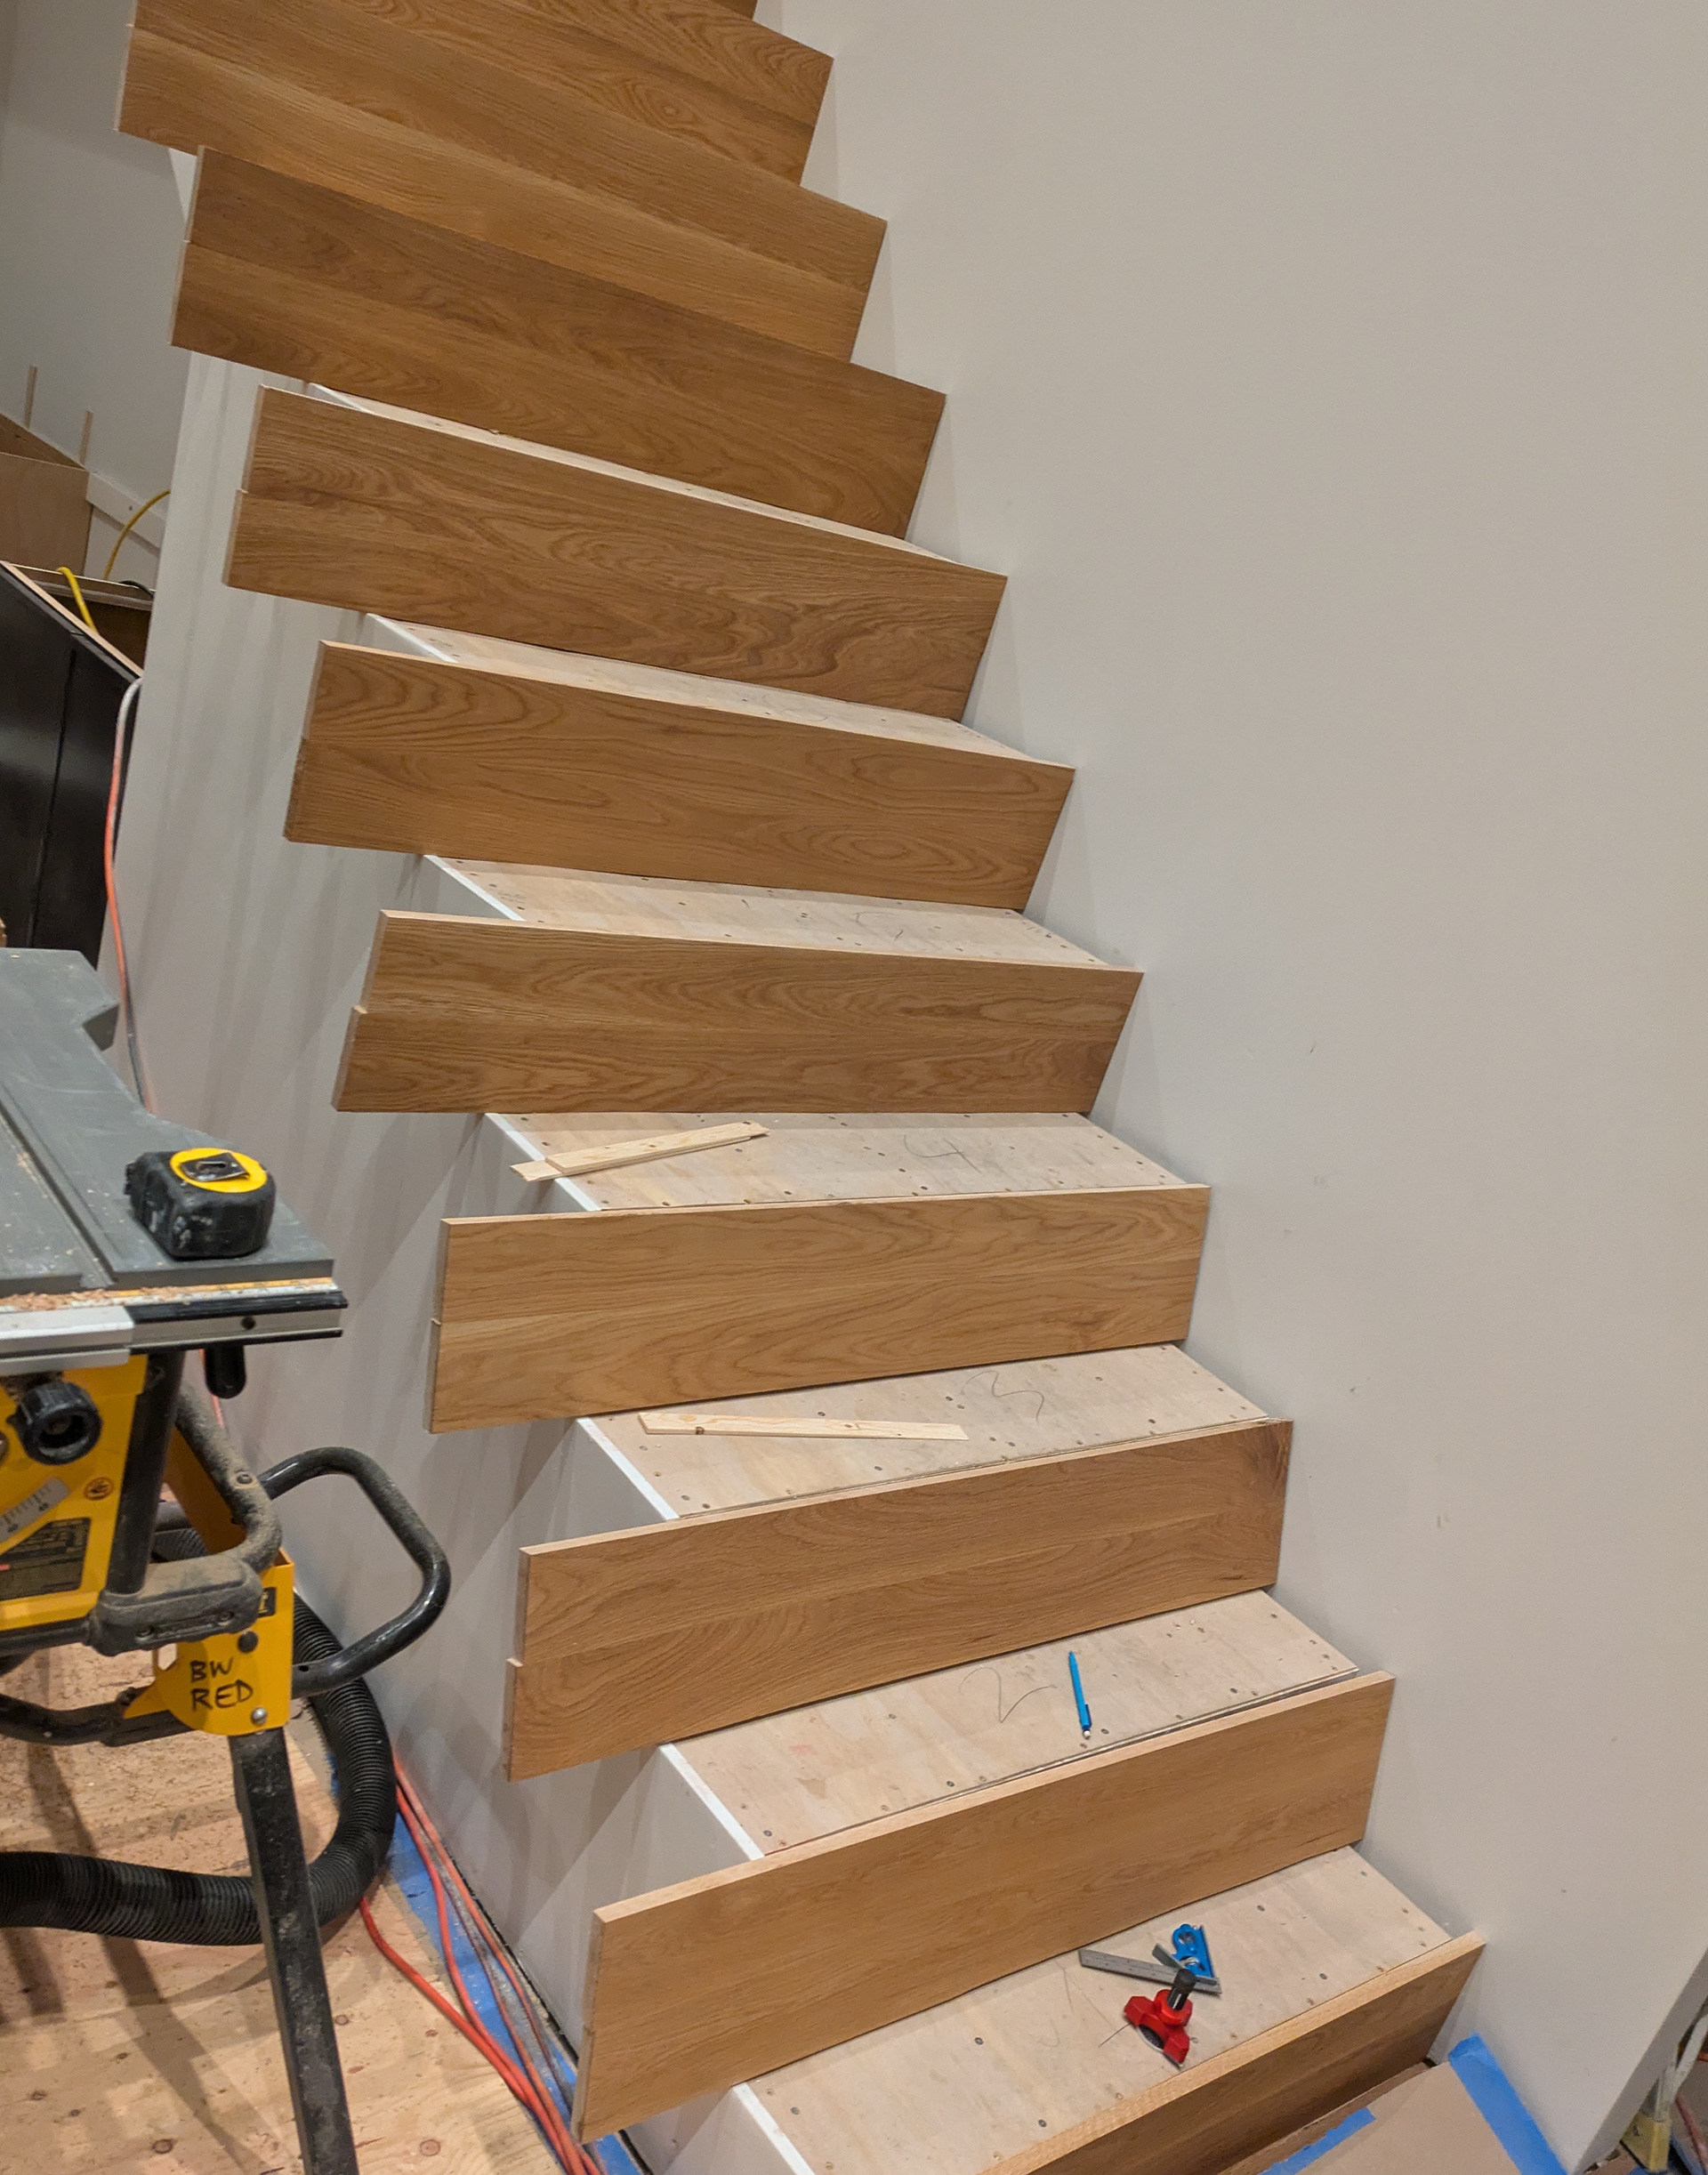
At the jobsite, I started by ripping the risers to their finished width then I labeled them and leaned them up against the framing.
The risers were scribed to the sheetrock wall on the closed-side of the stairs.
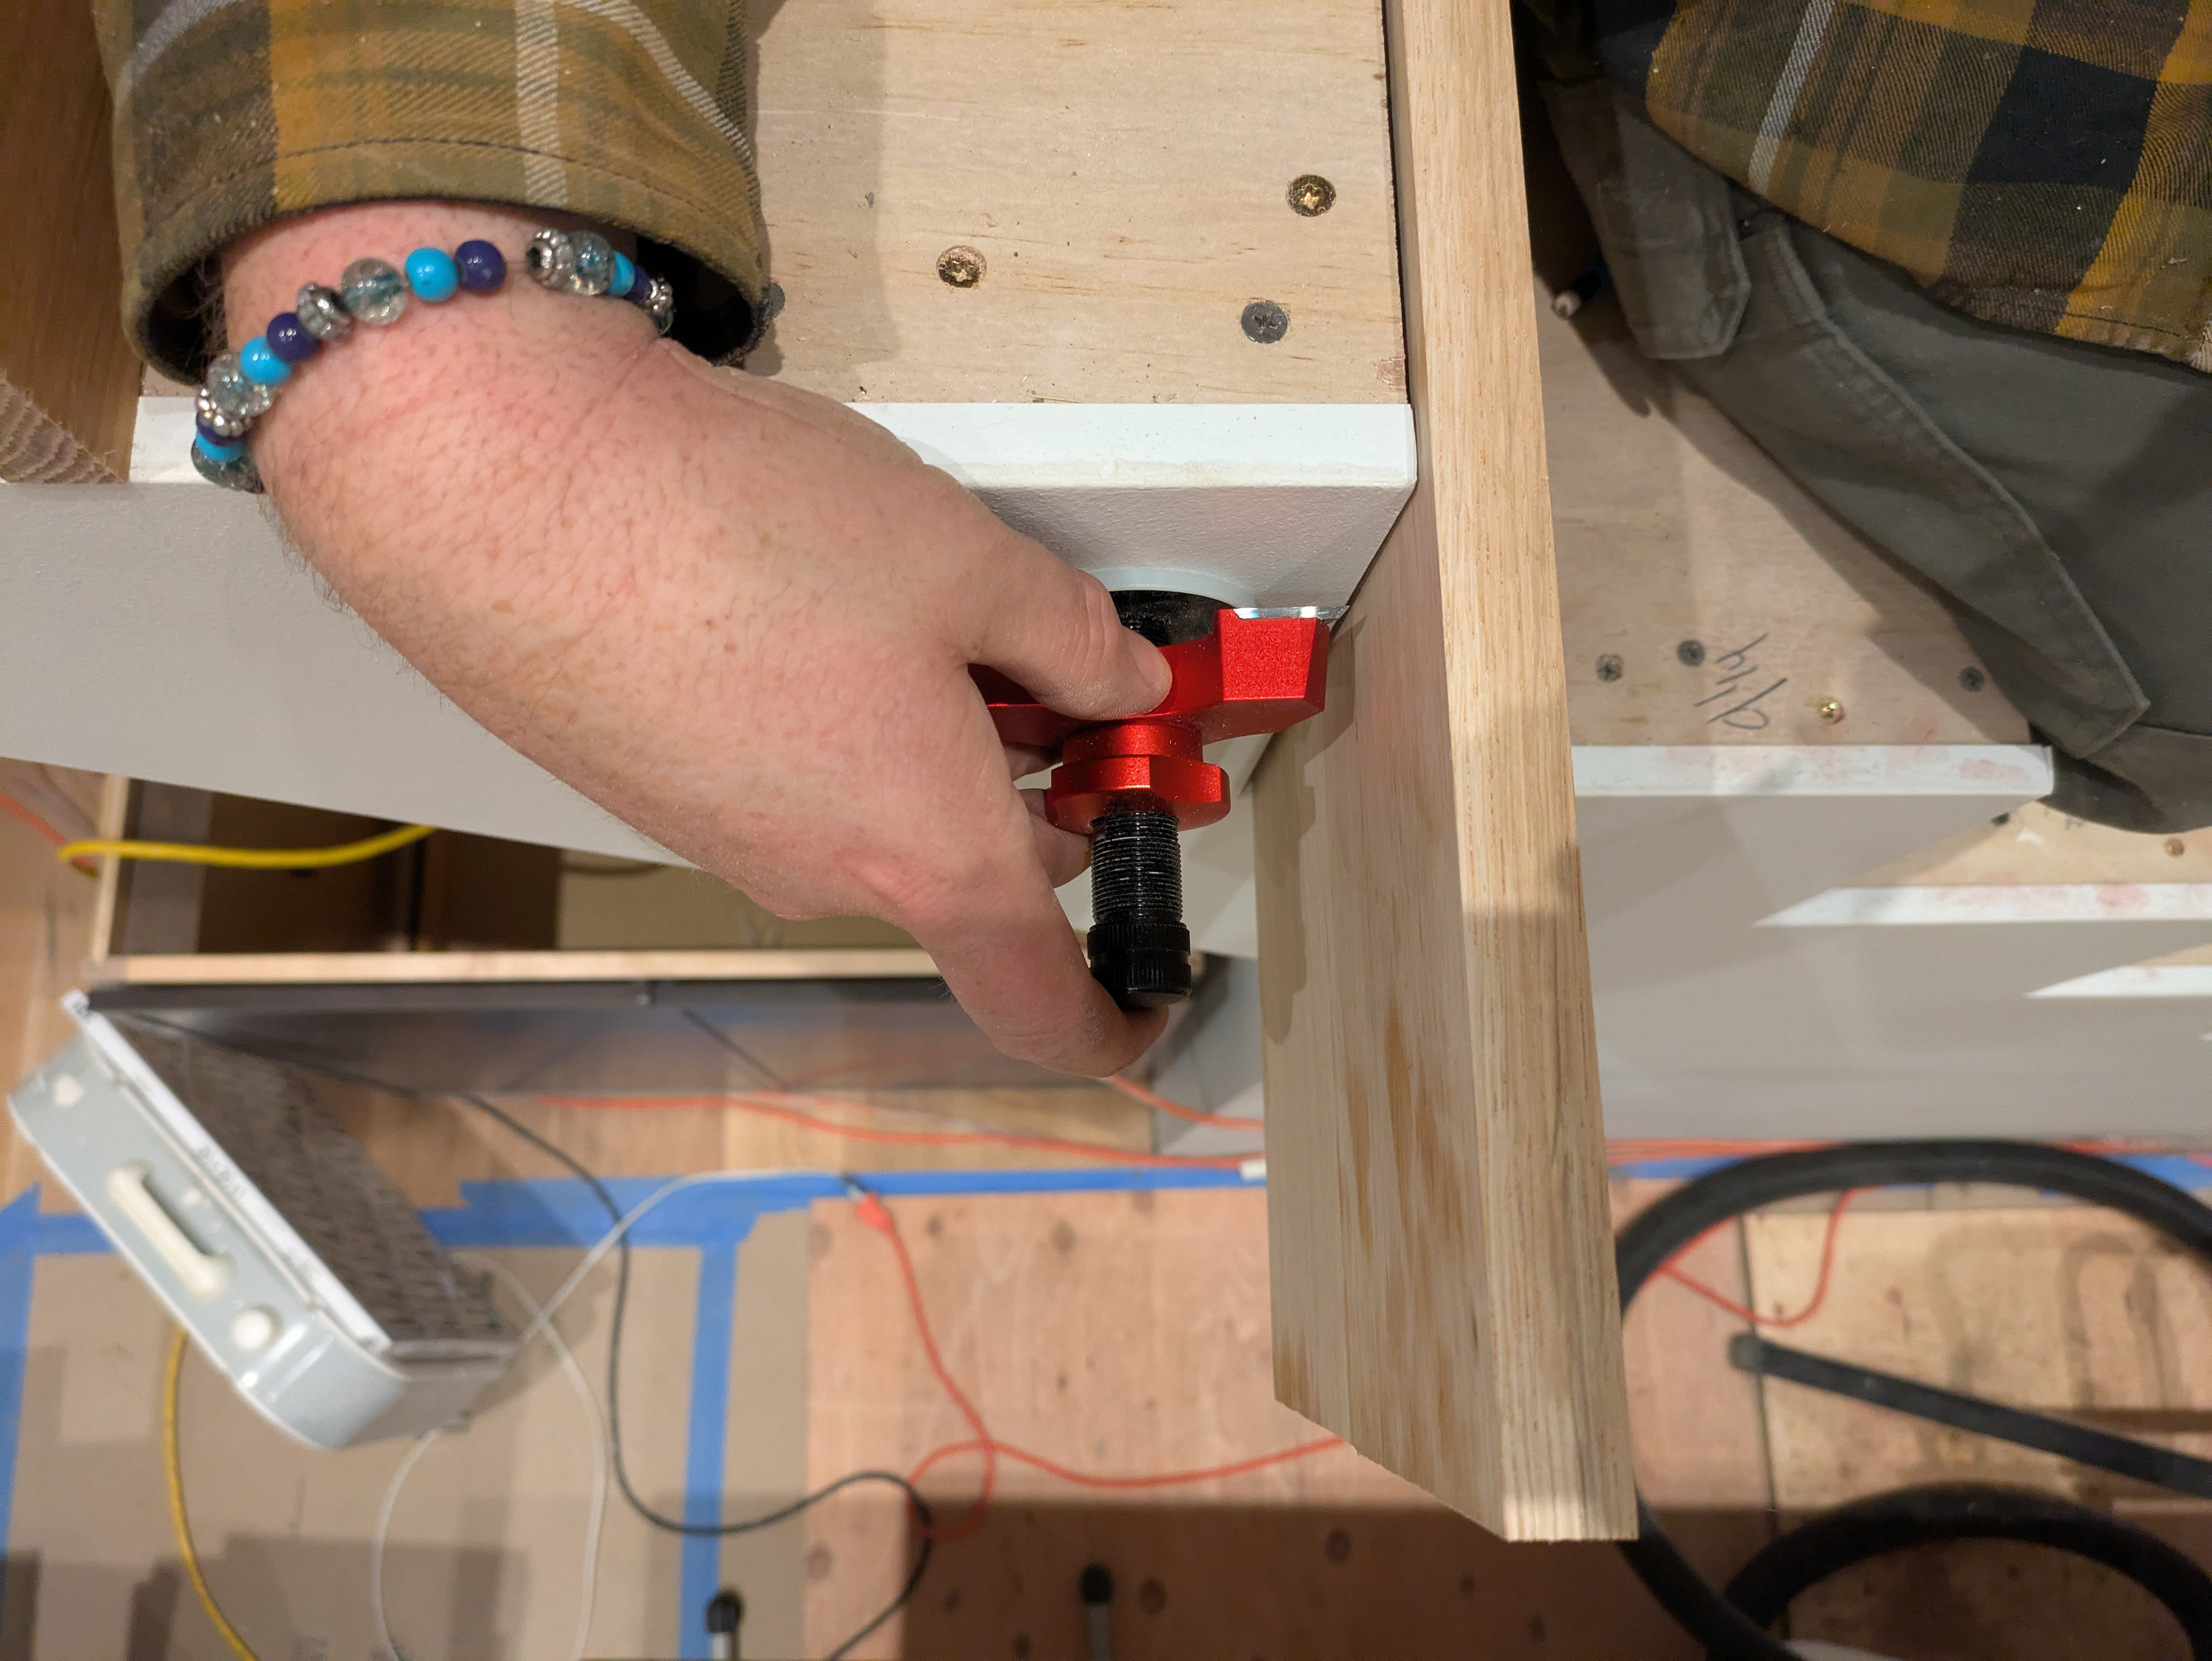
Similarly, I scribed the open side to the sheetrock.
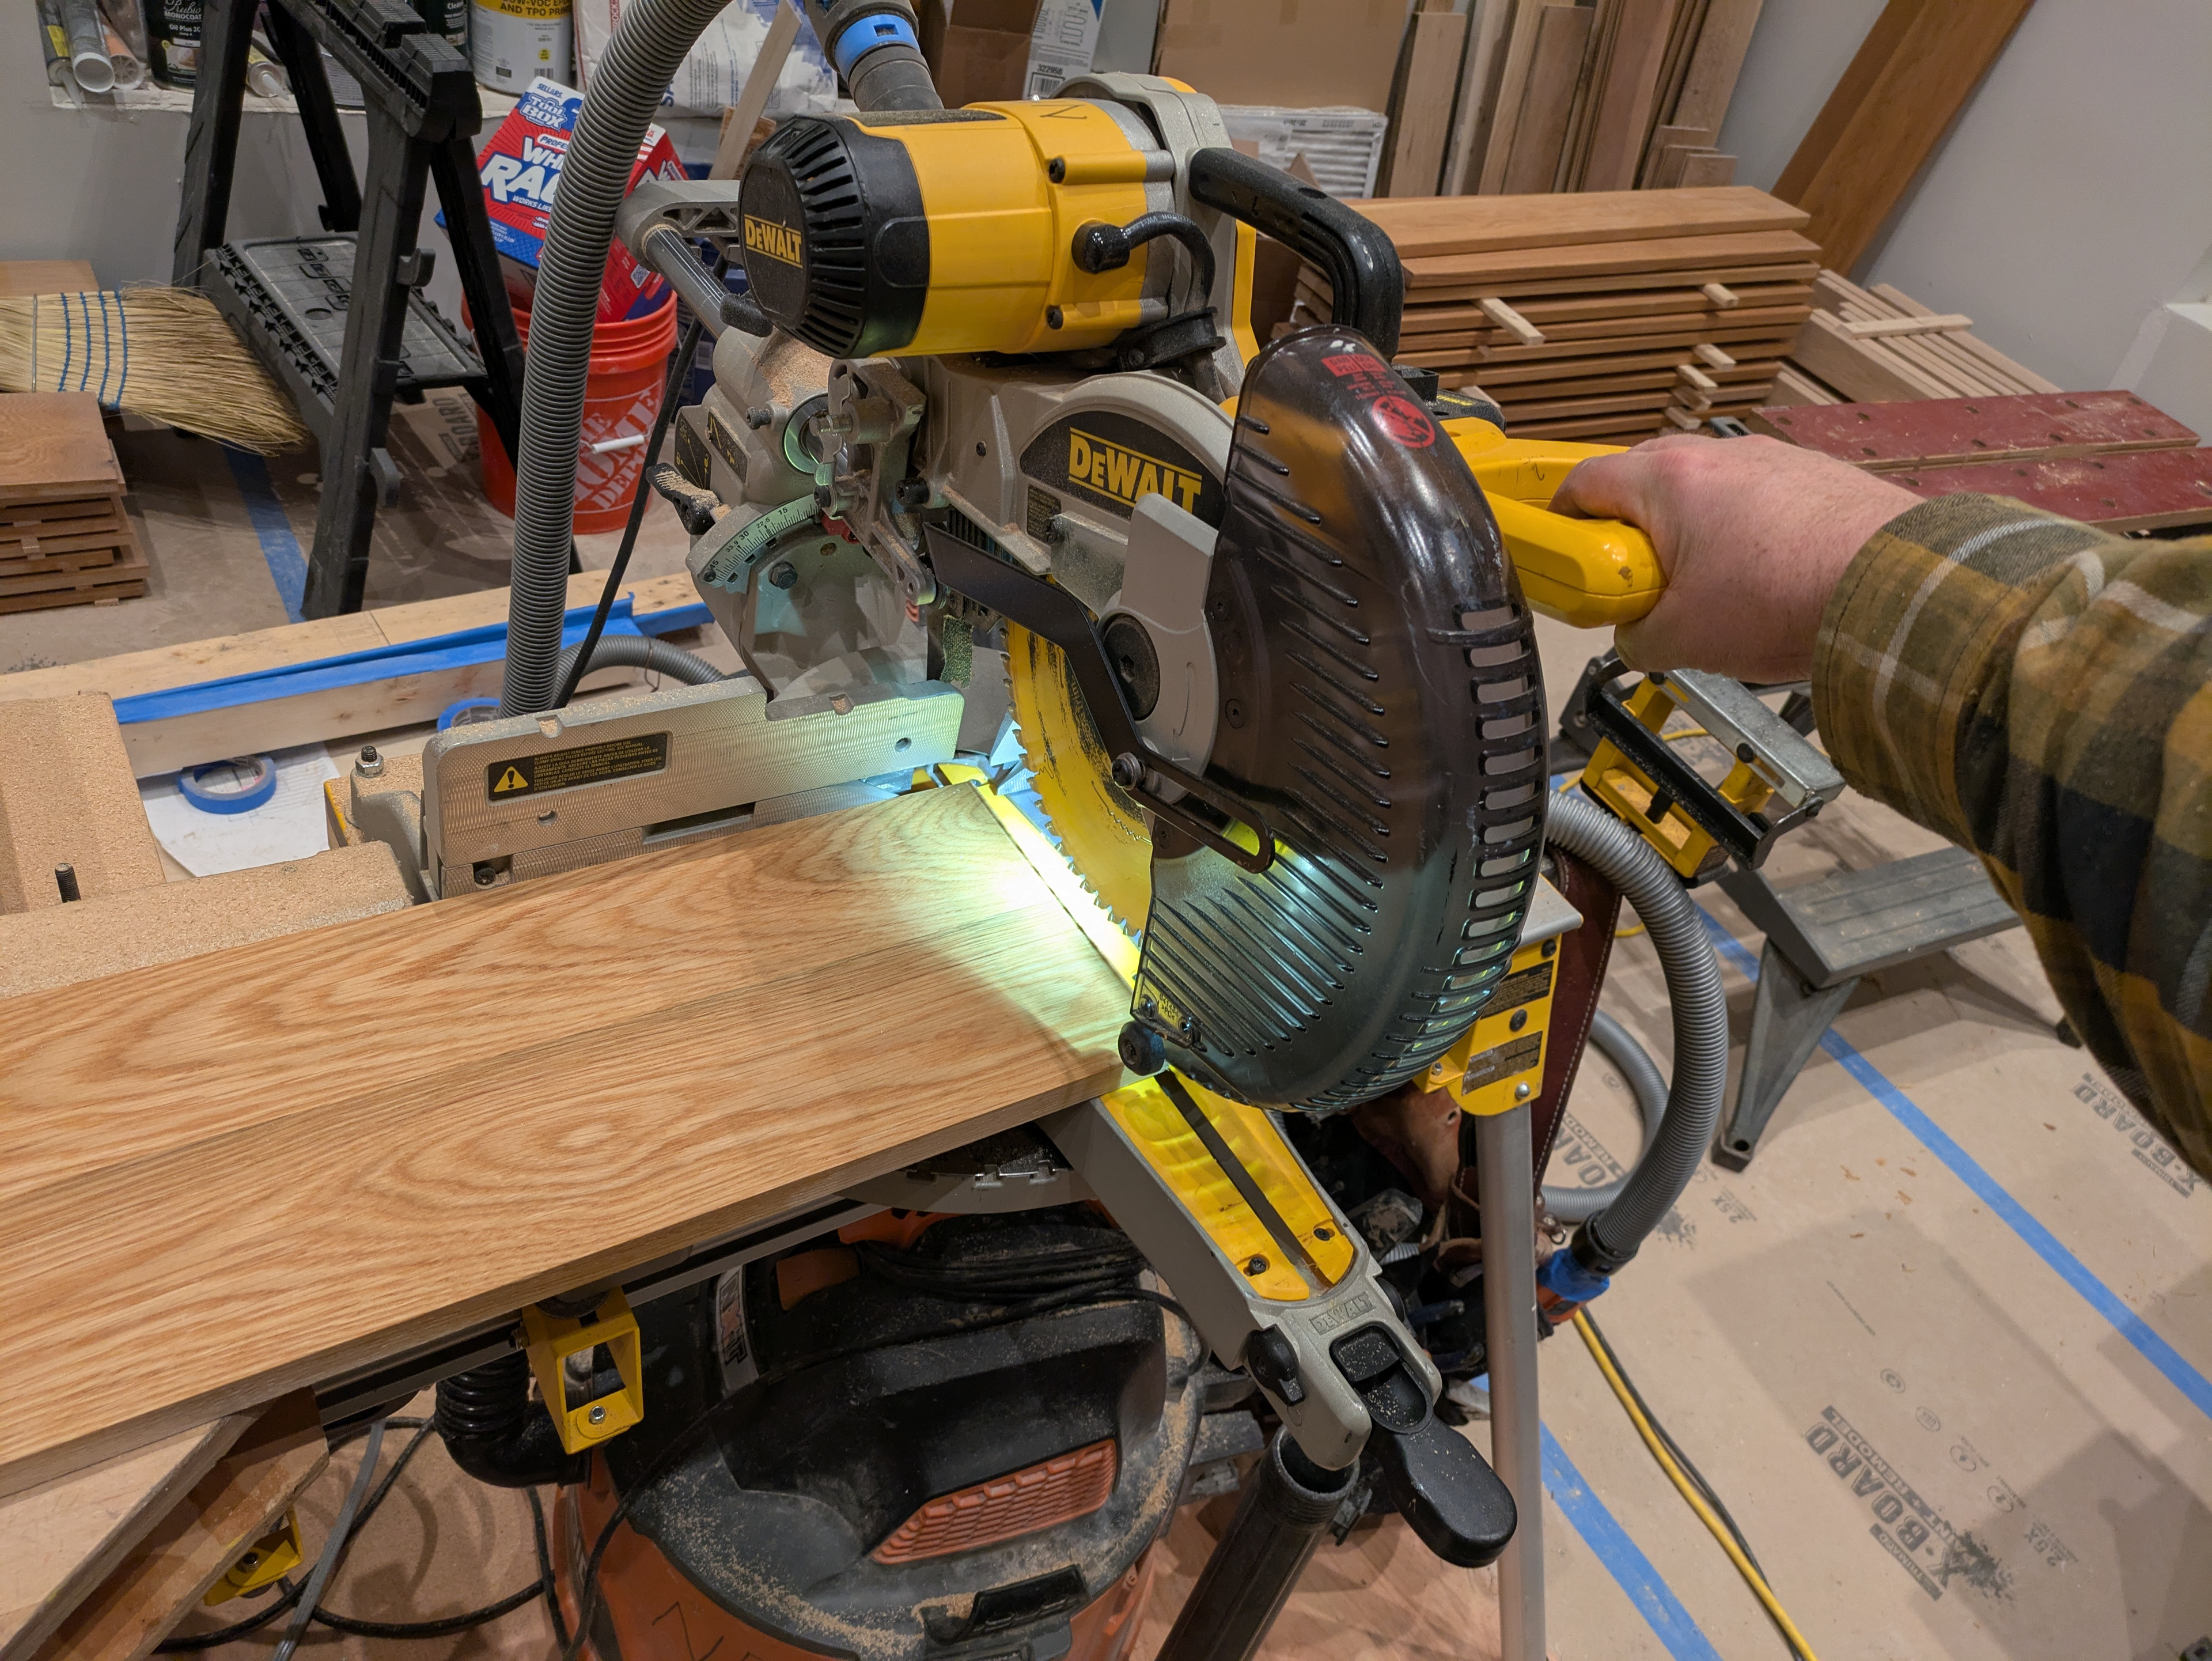
A miter saw cut the risers to the scribed lines.
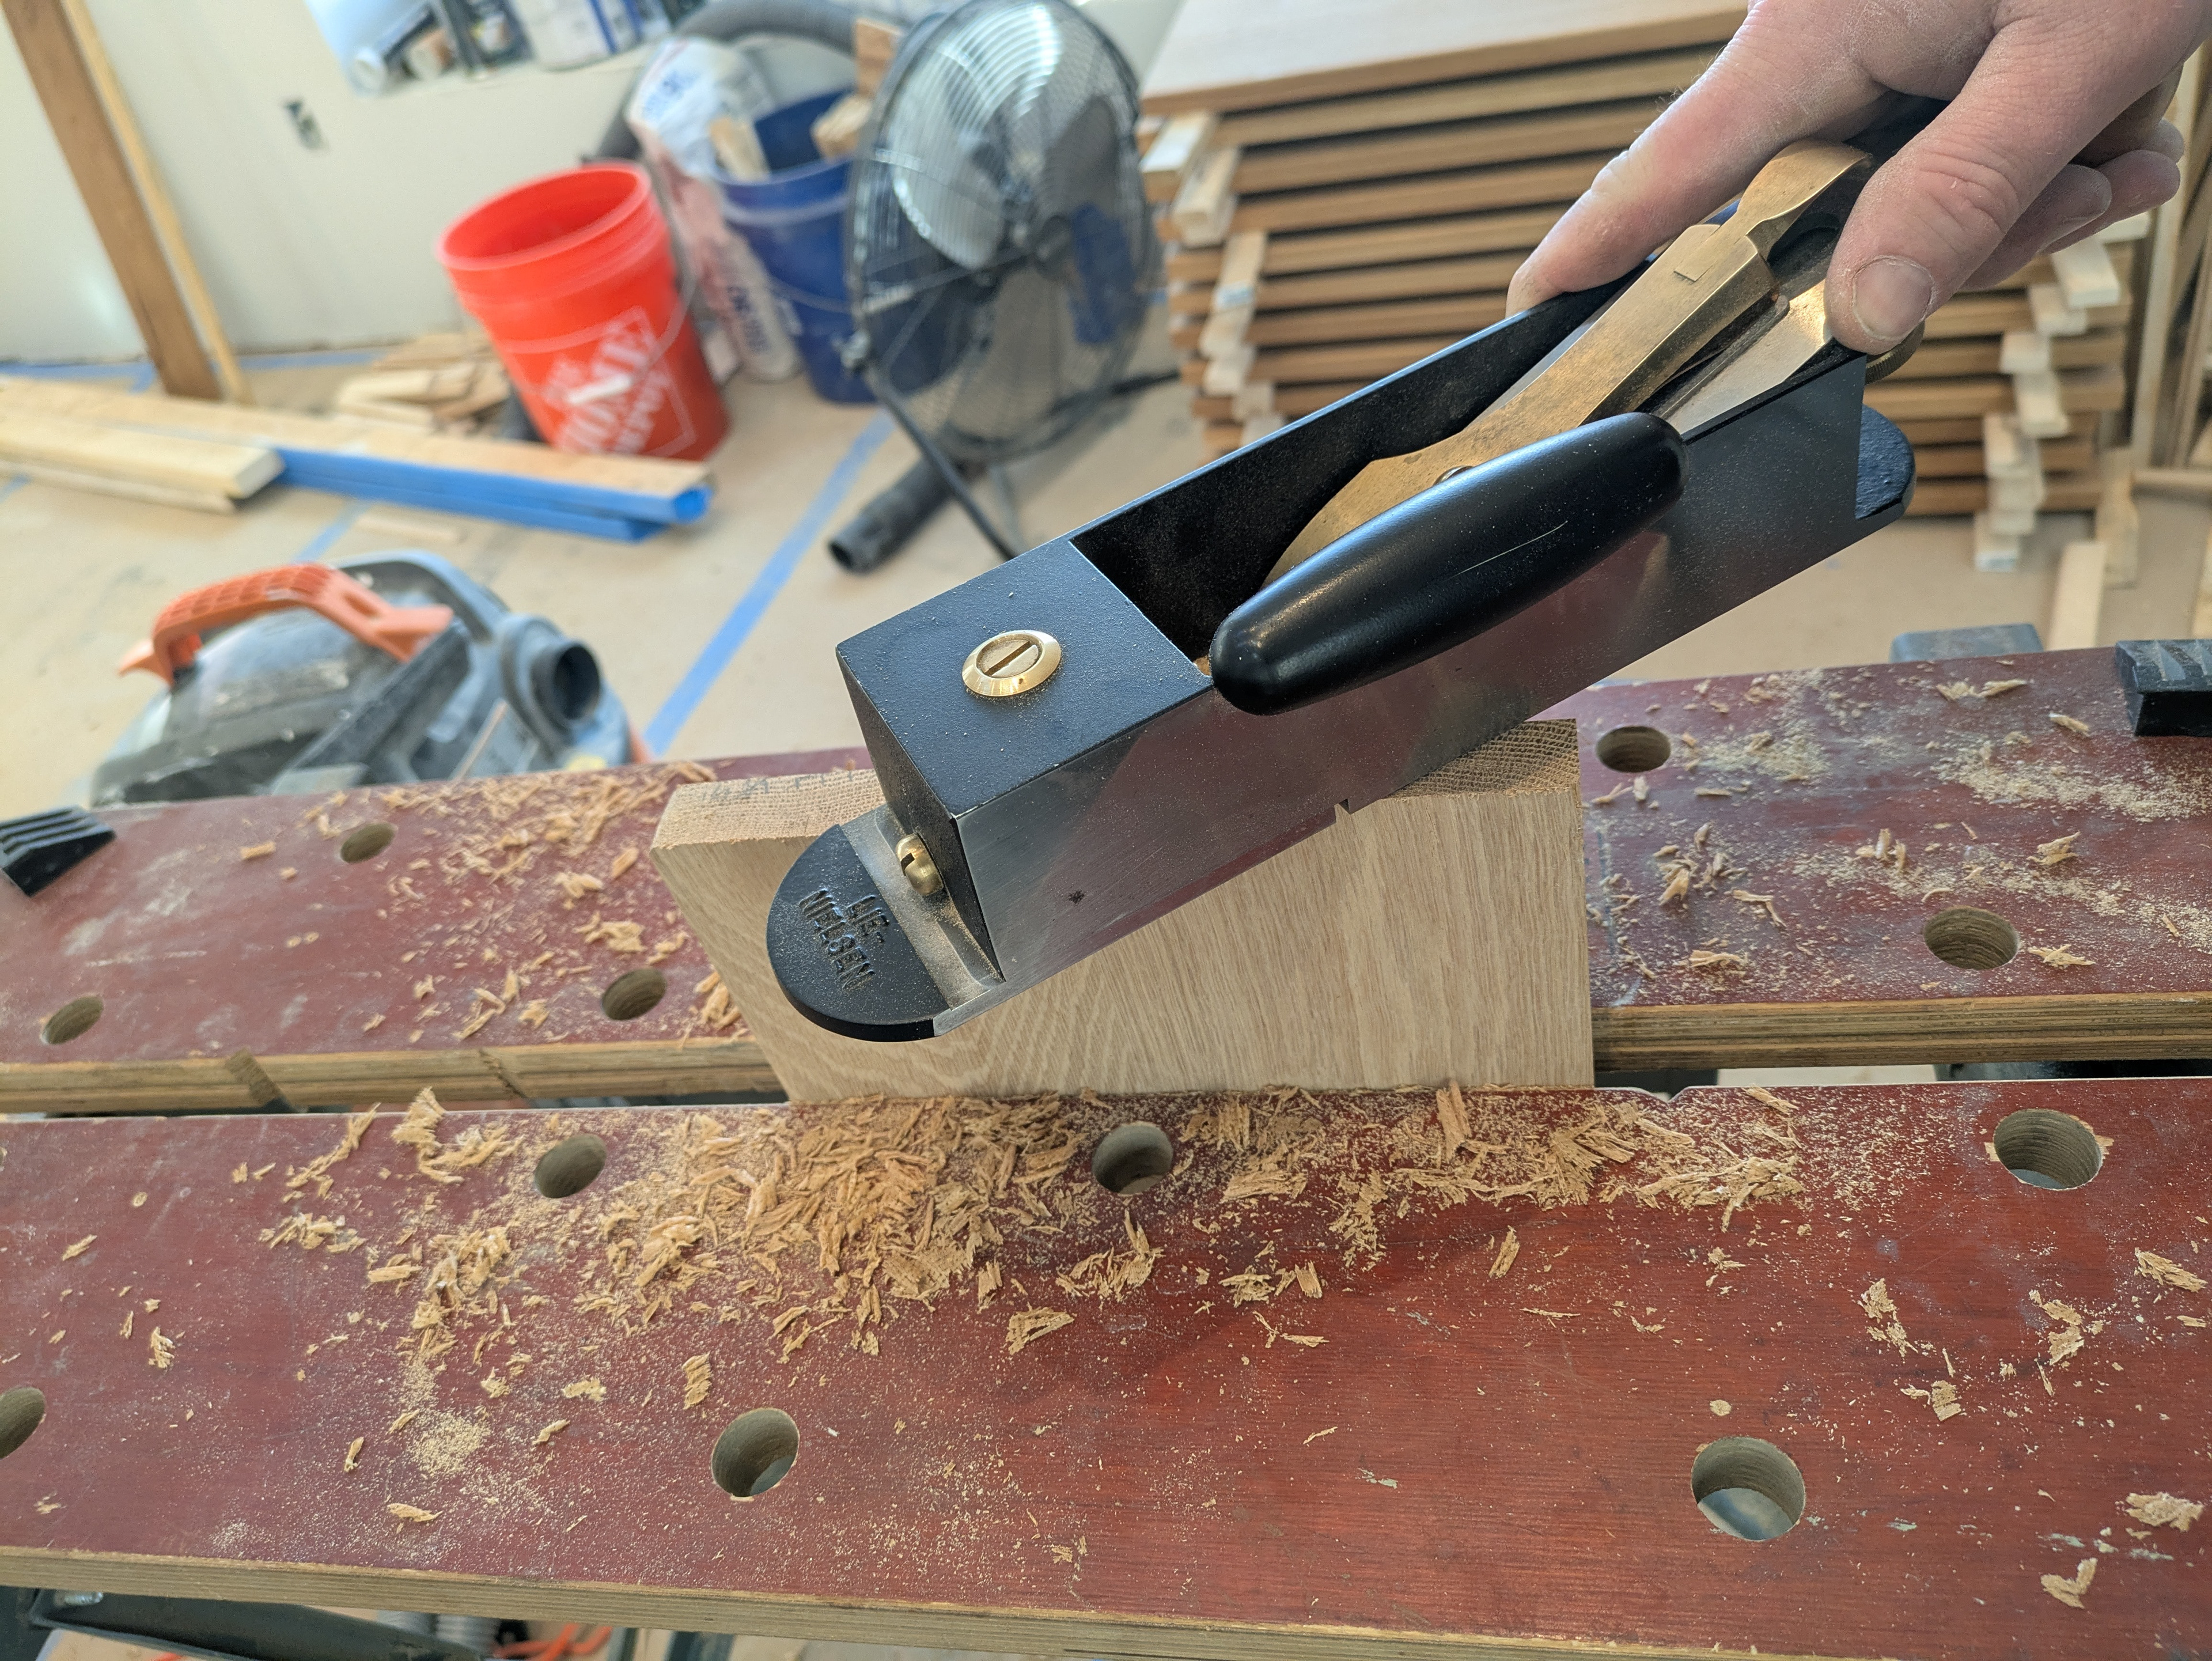
A miter plane with a sharp iron dialed in the fit to the walls. The scribe, cut and plane process was repeated for the treads.
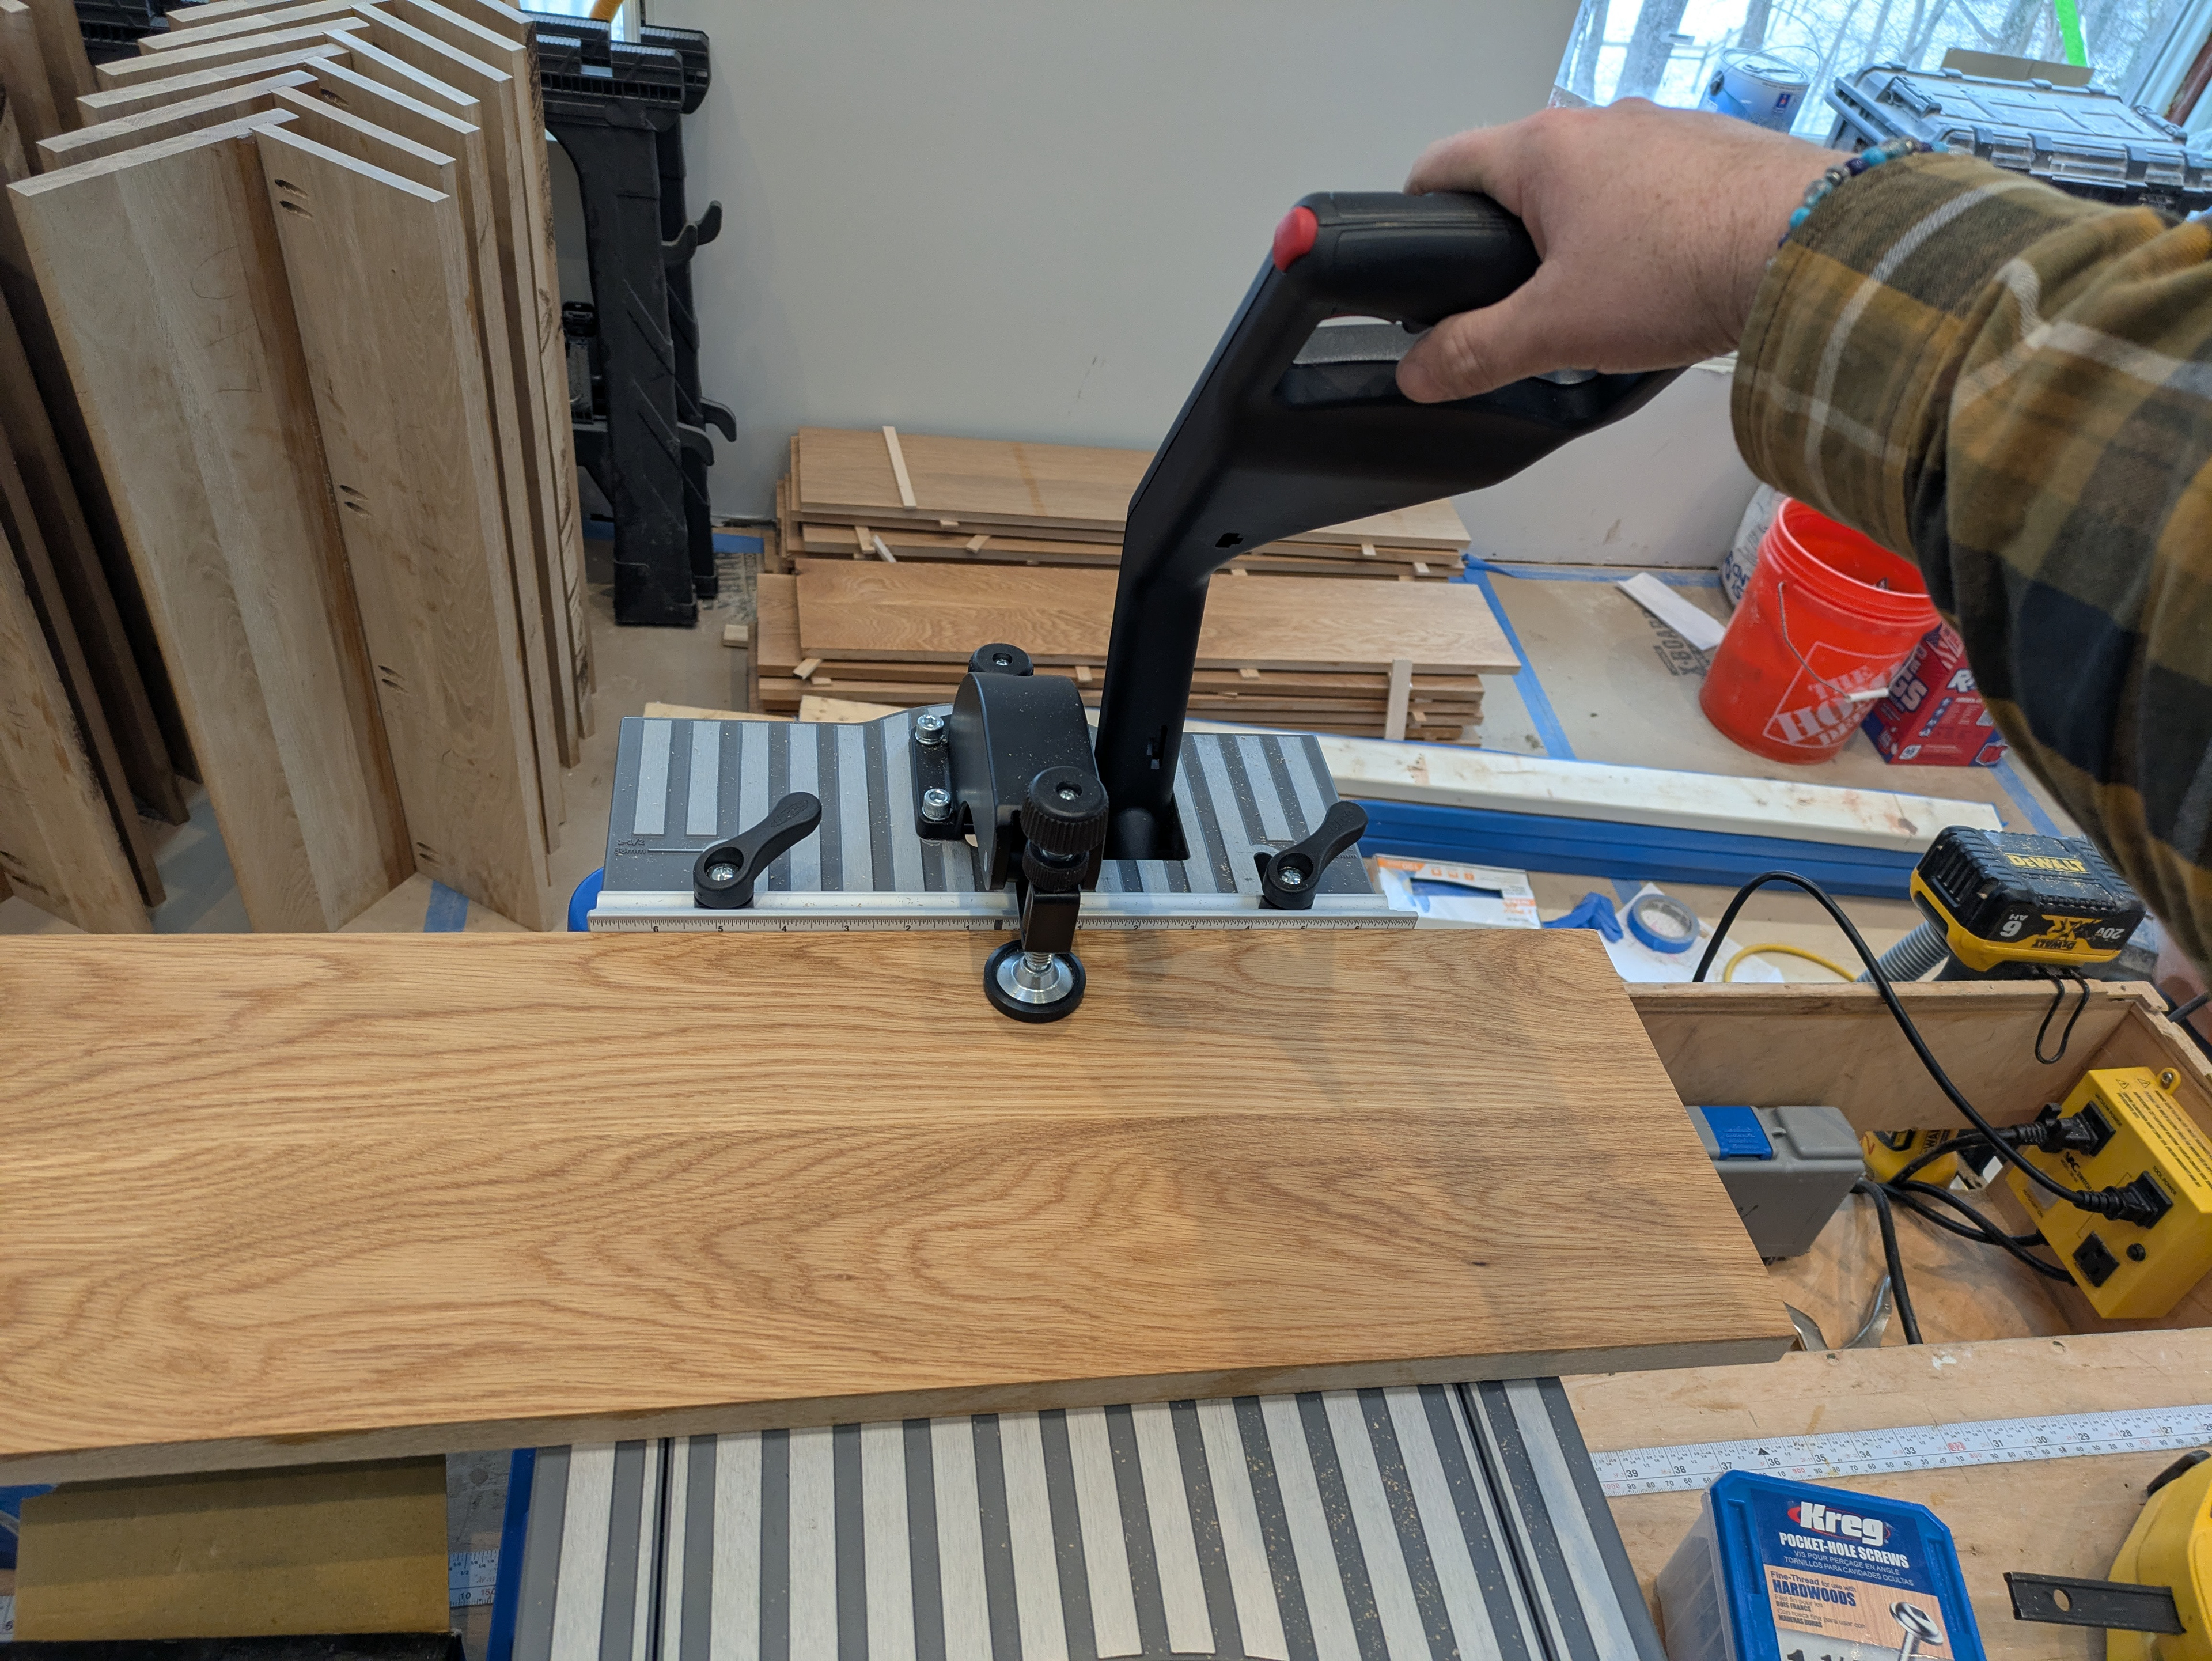
The pocket-screw jig pre-drills all of the risers.
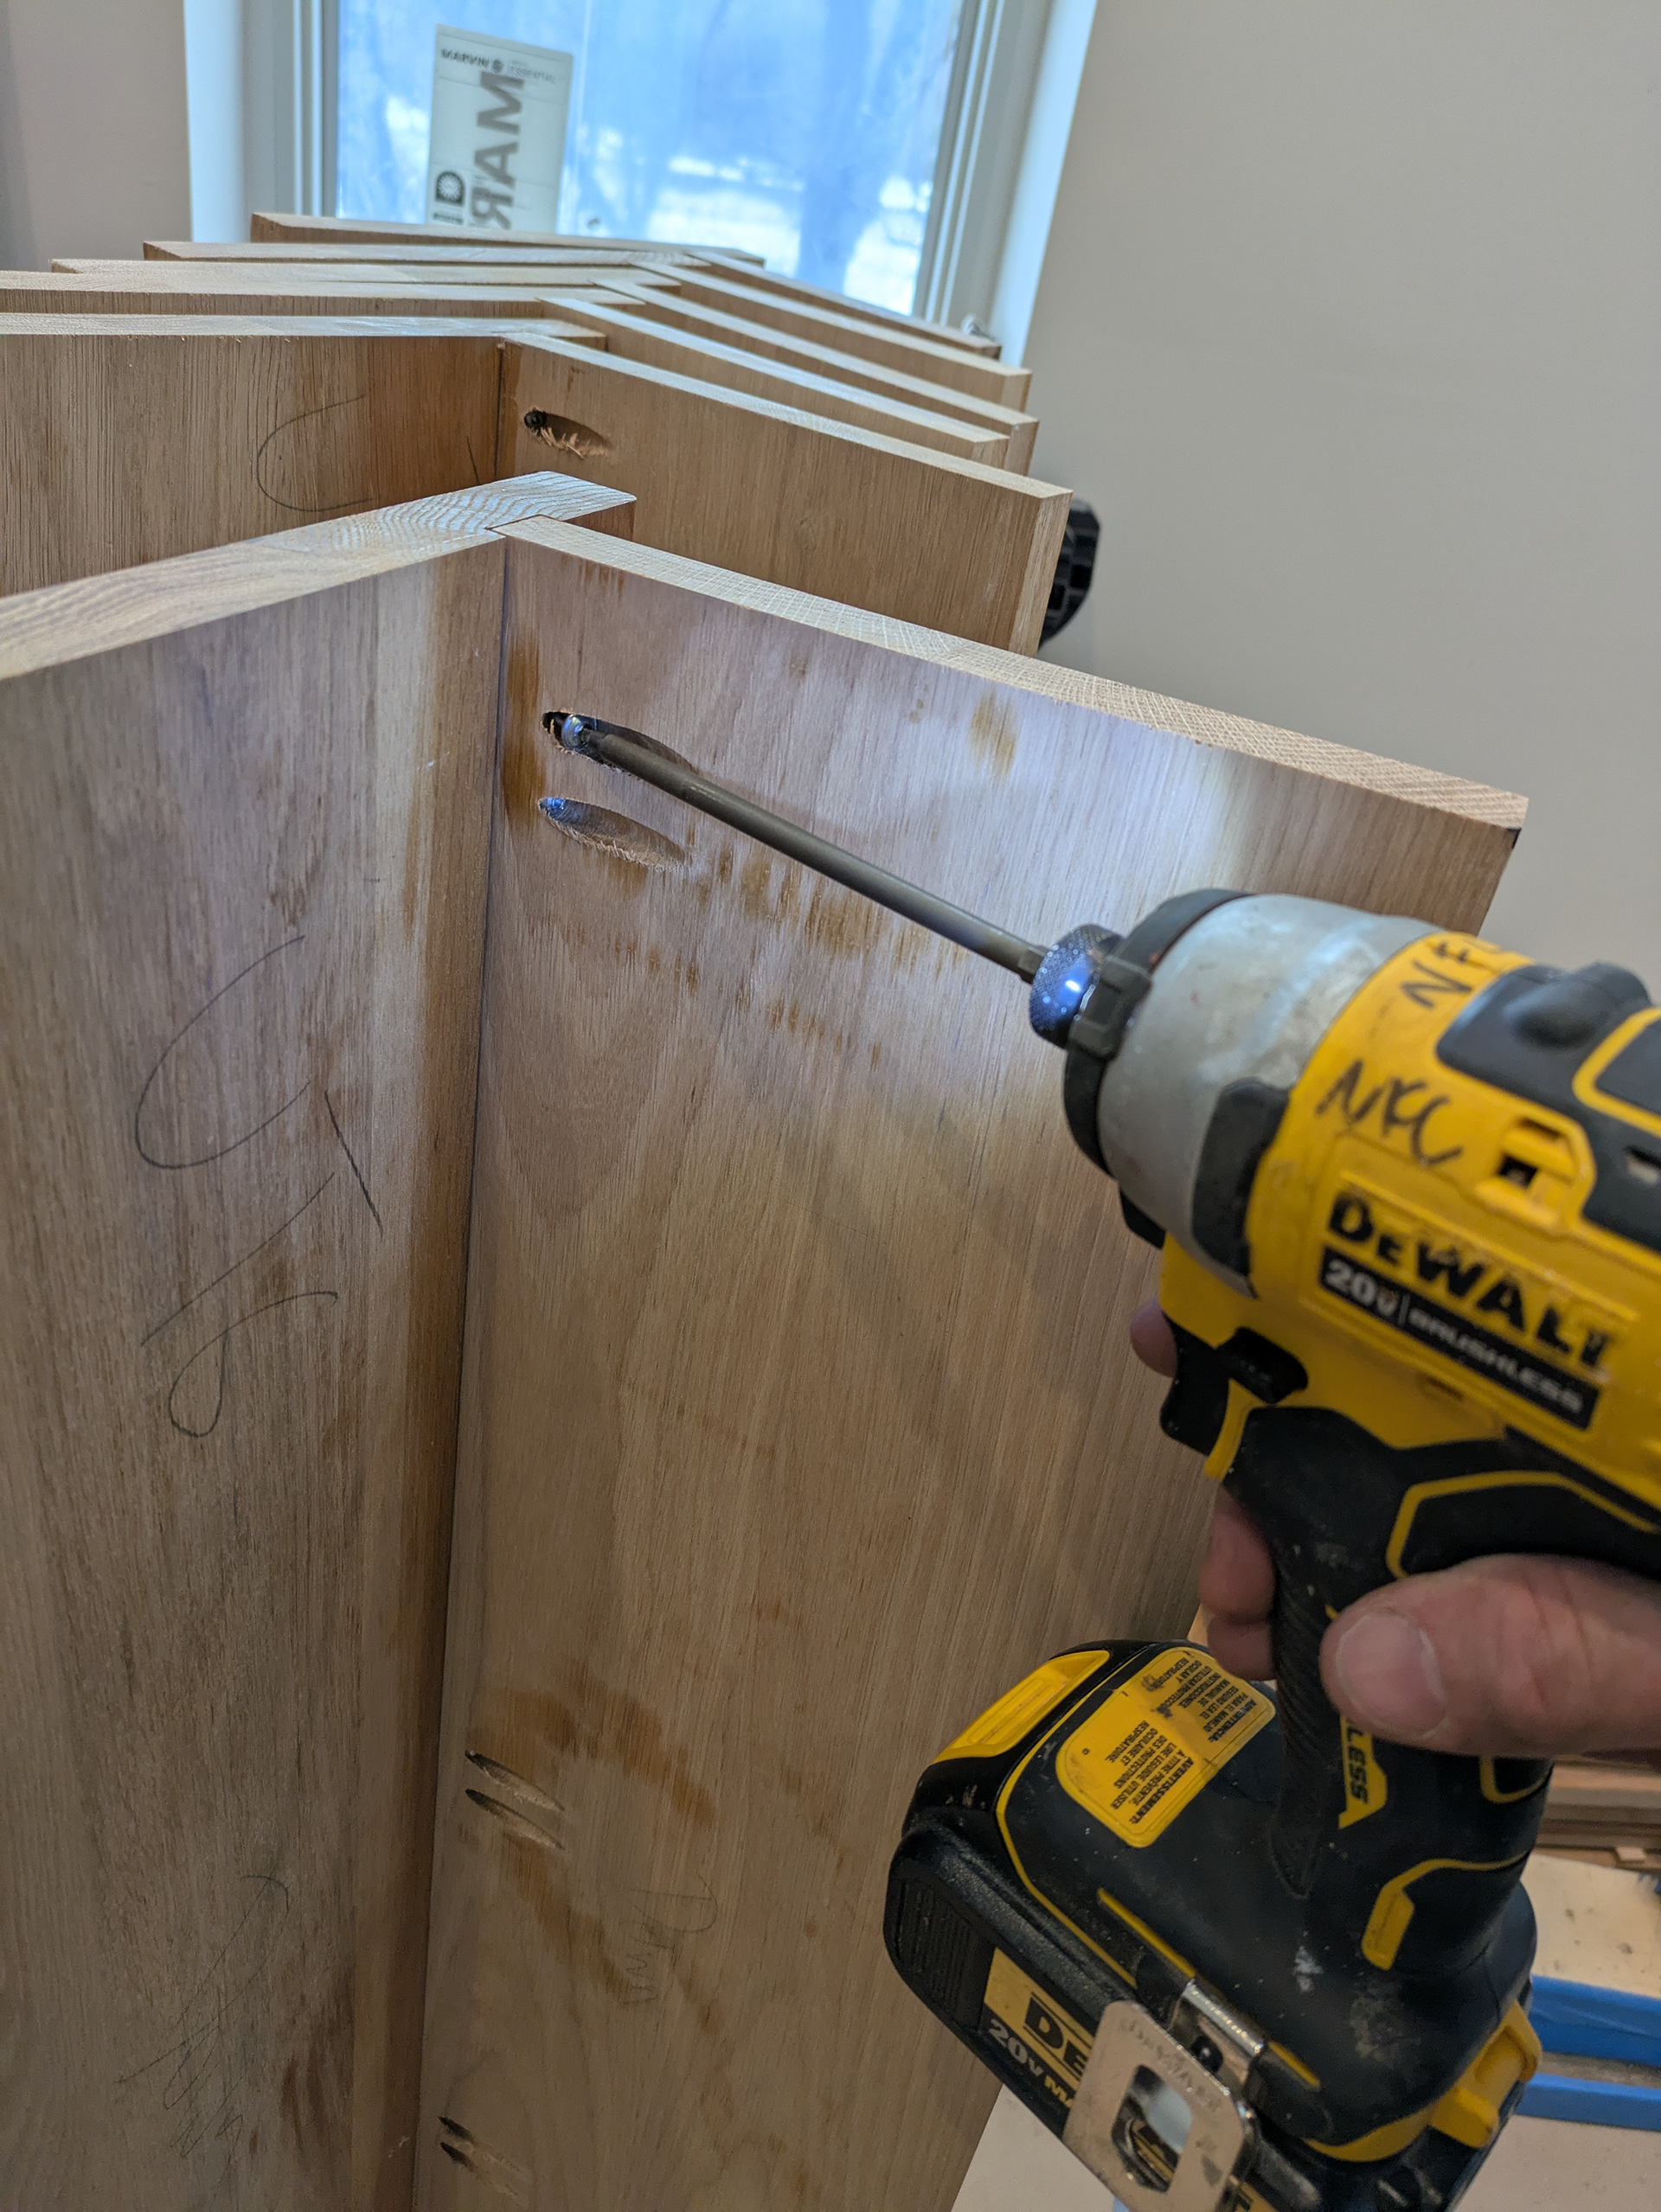
Pocket-screws and PL premium construction adhesive pre-assemble the treads and risers in pairs.
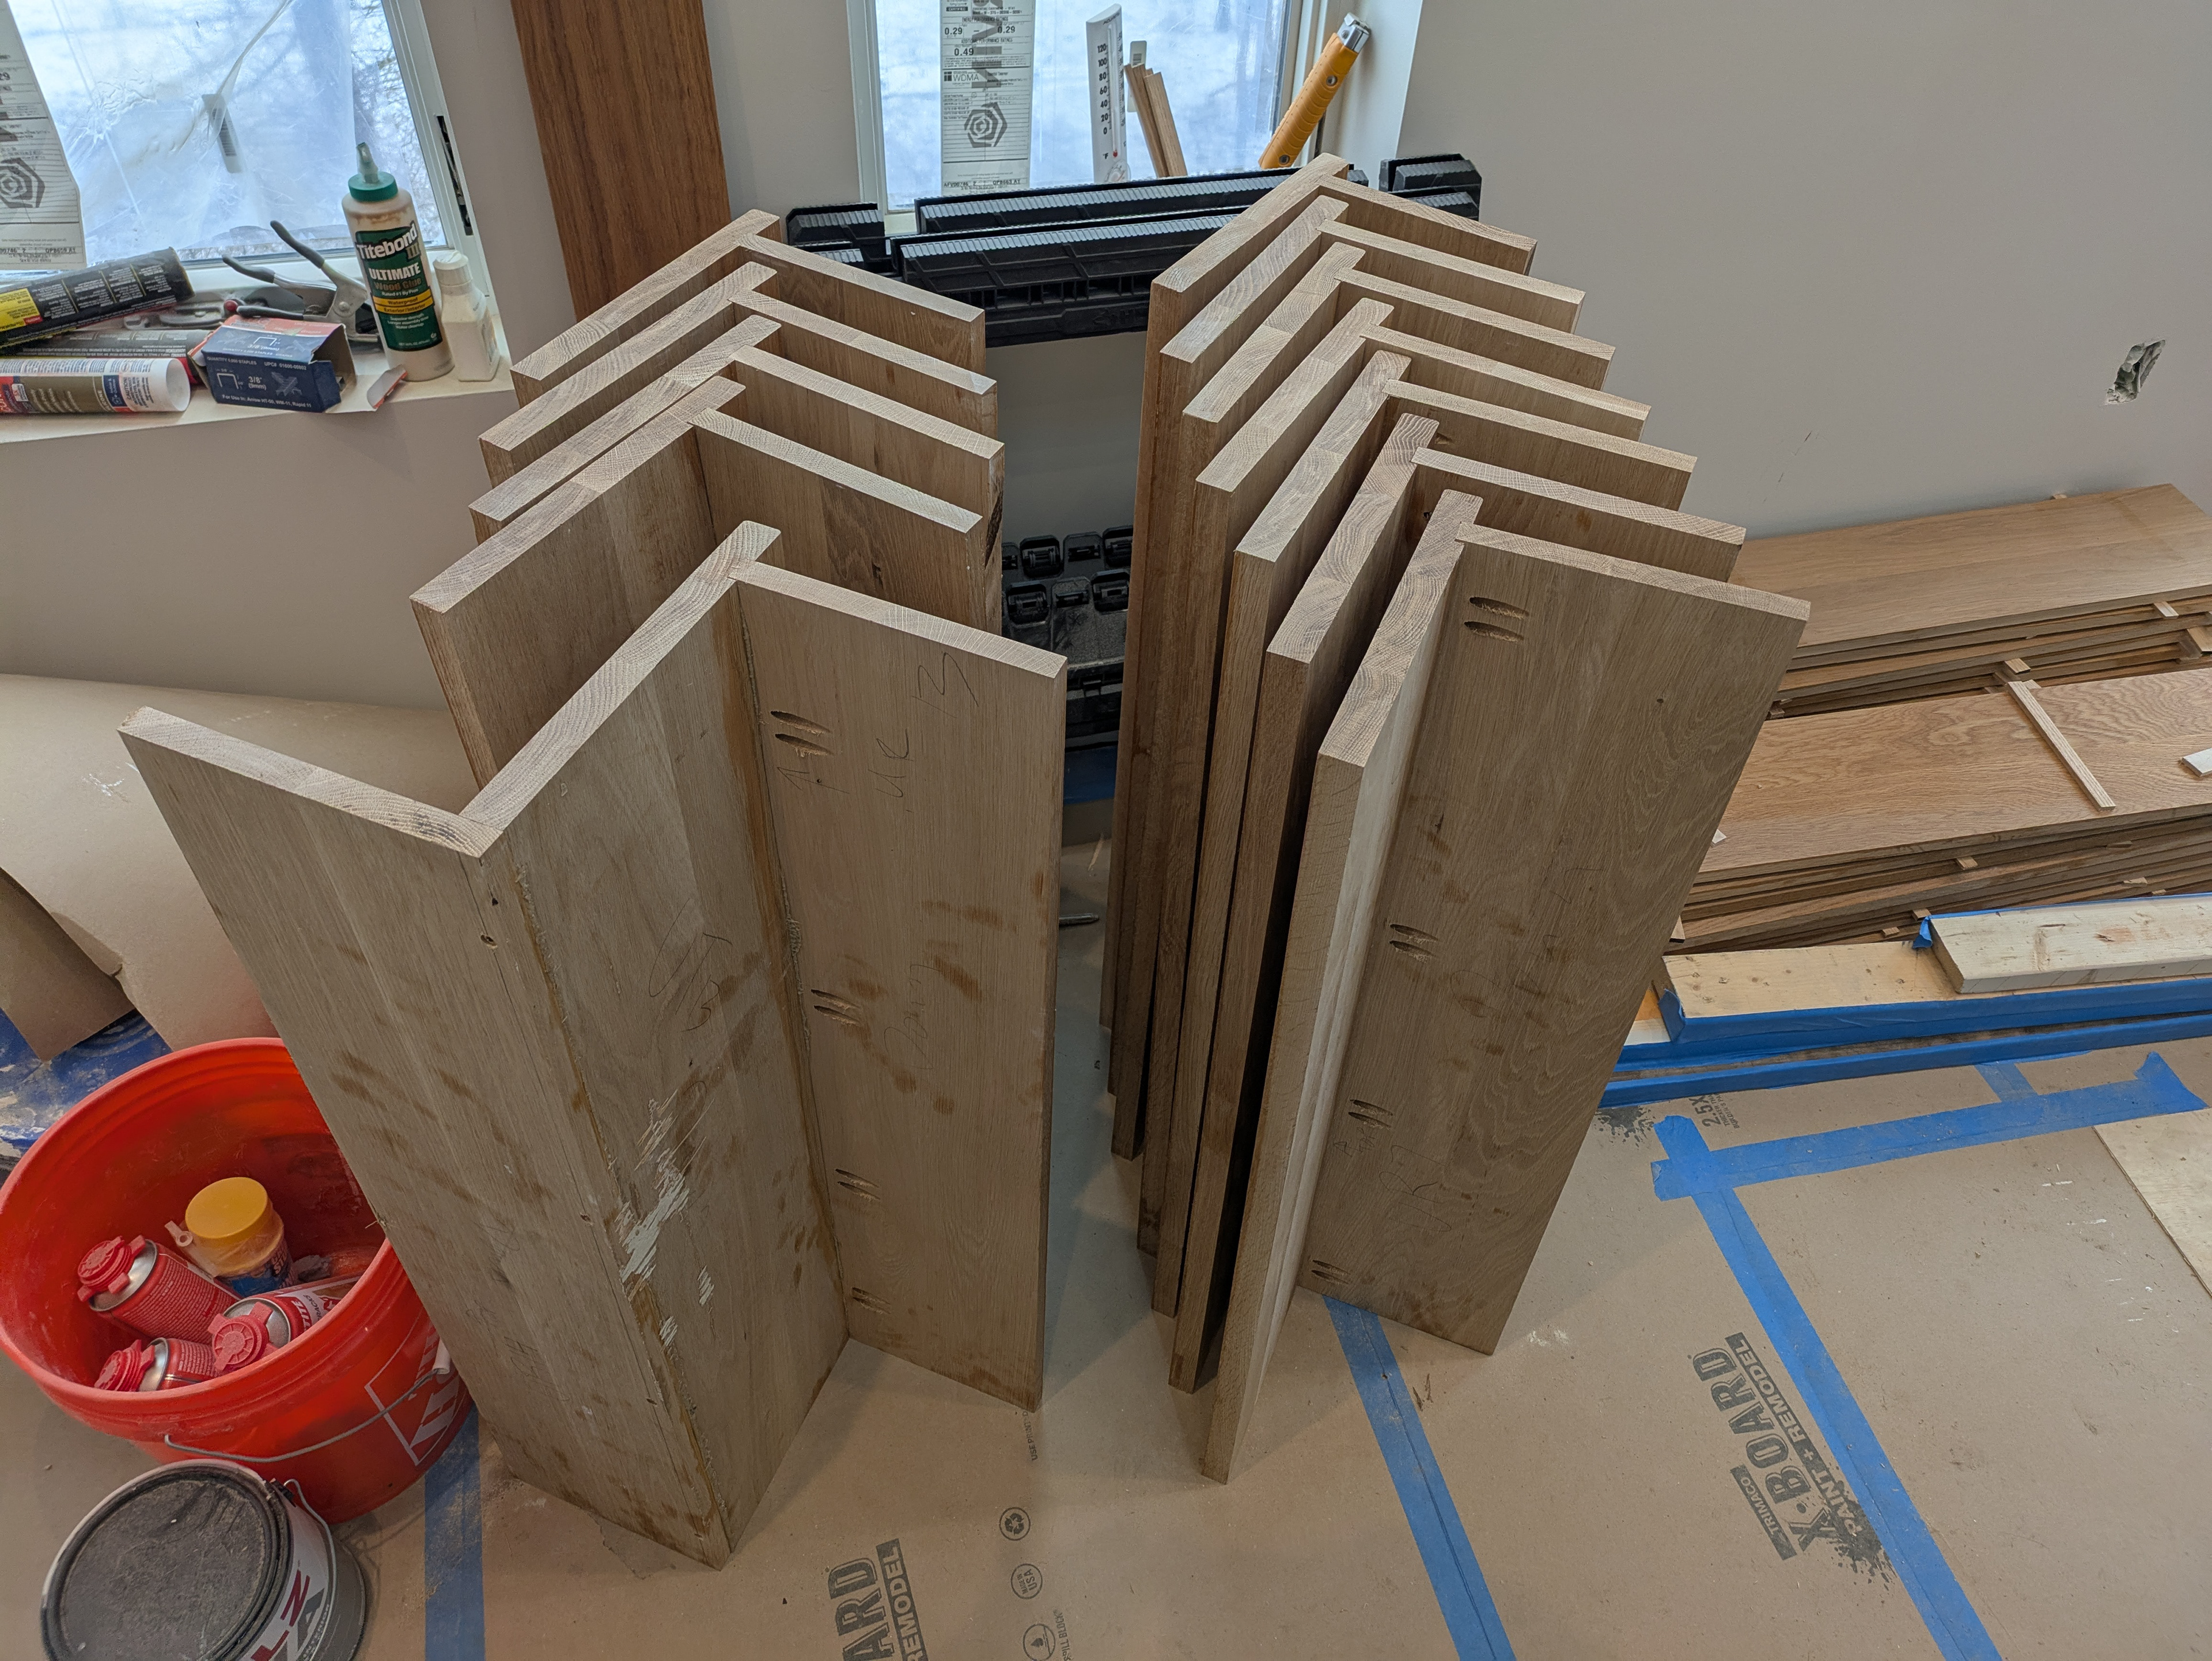
The top riser is face screwed to the top tread. All of the treads and risers are pre-assmbled prior to installation.
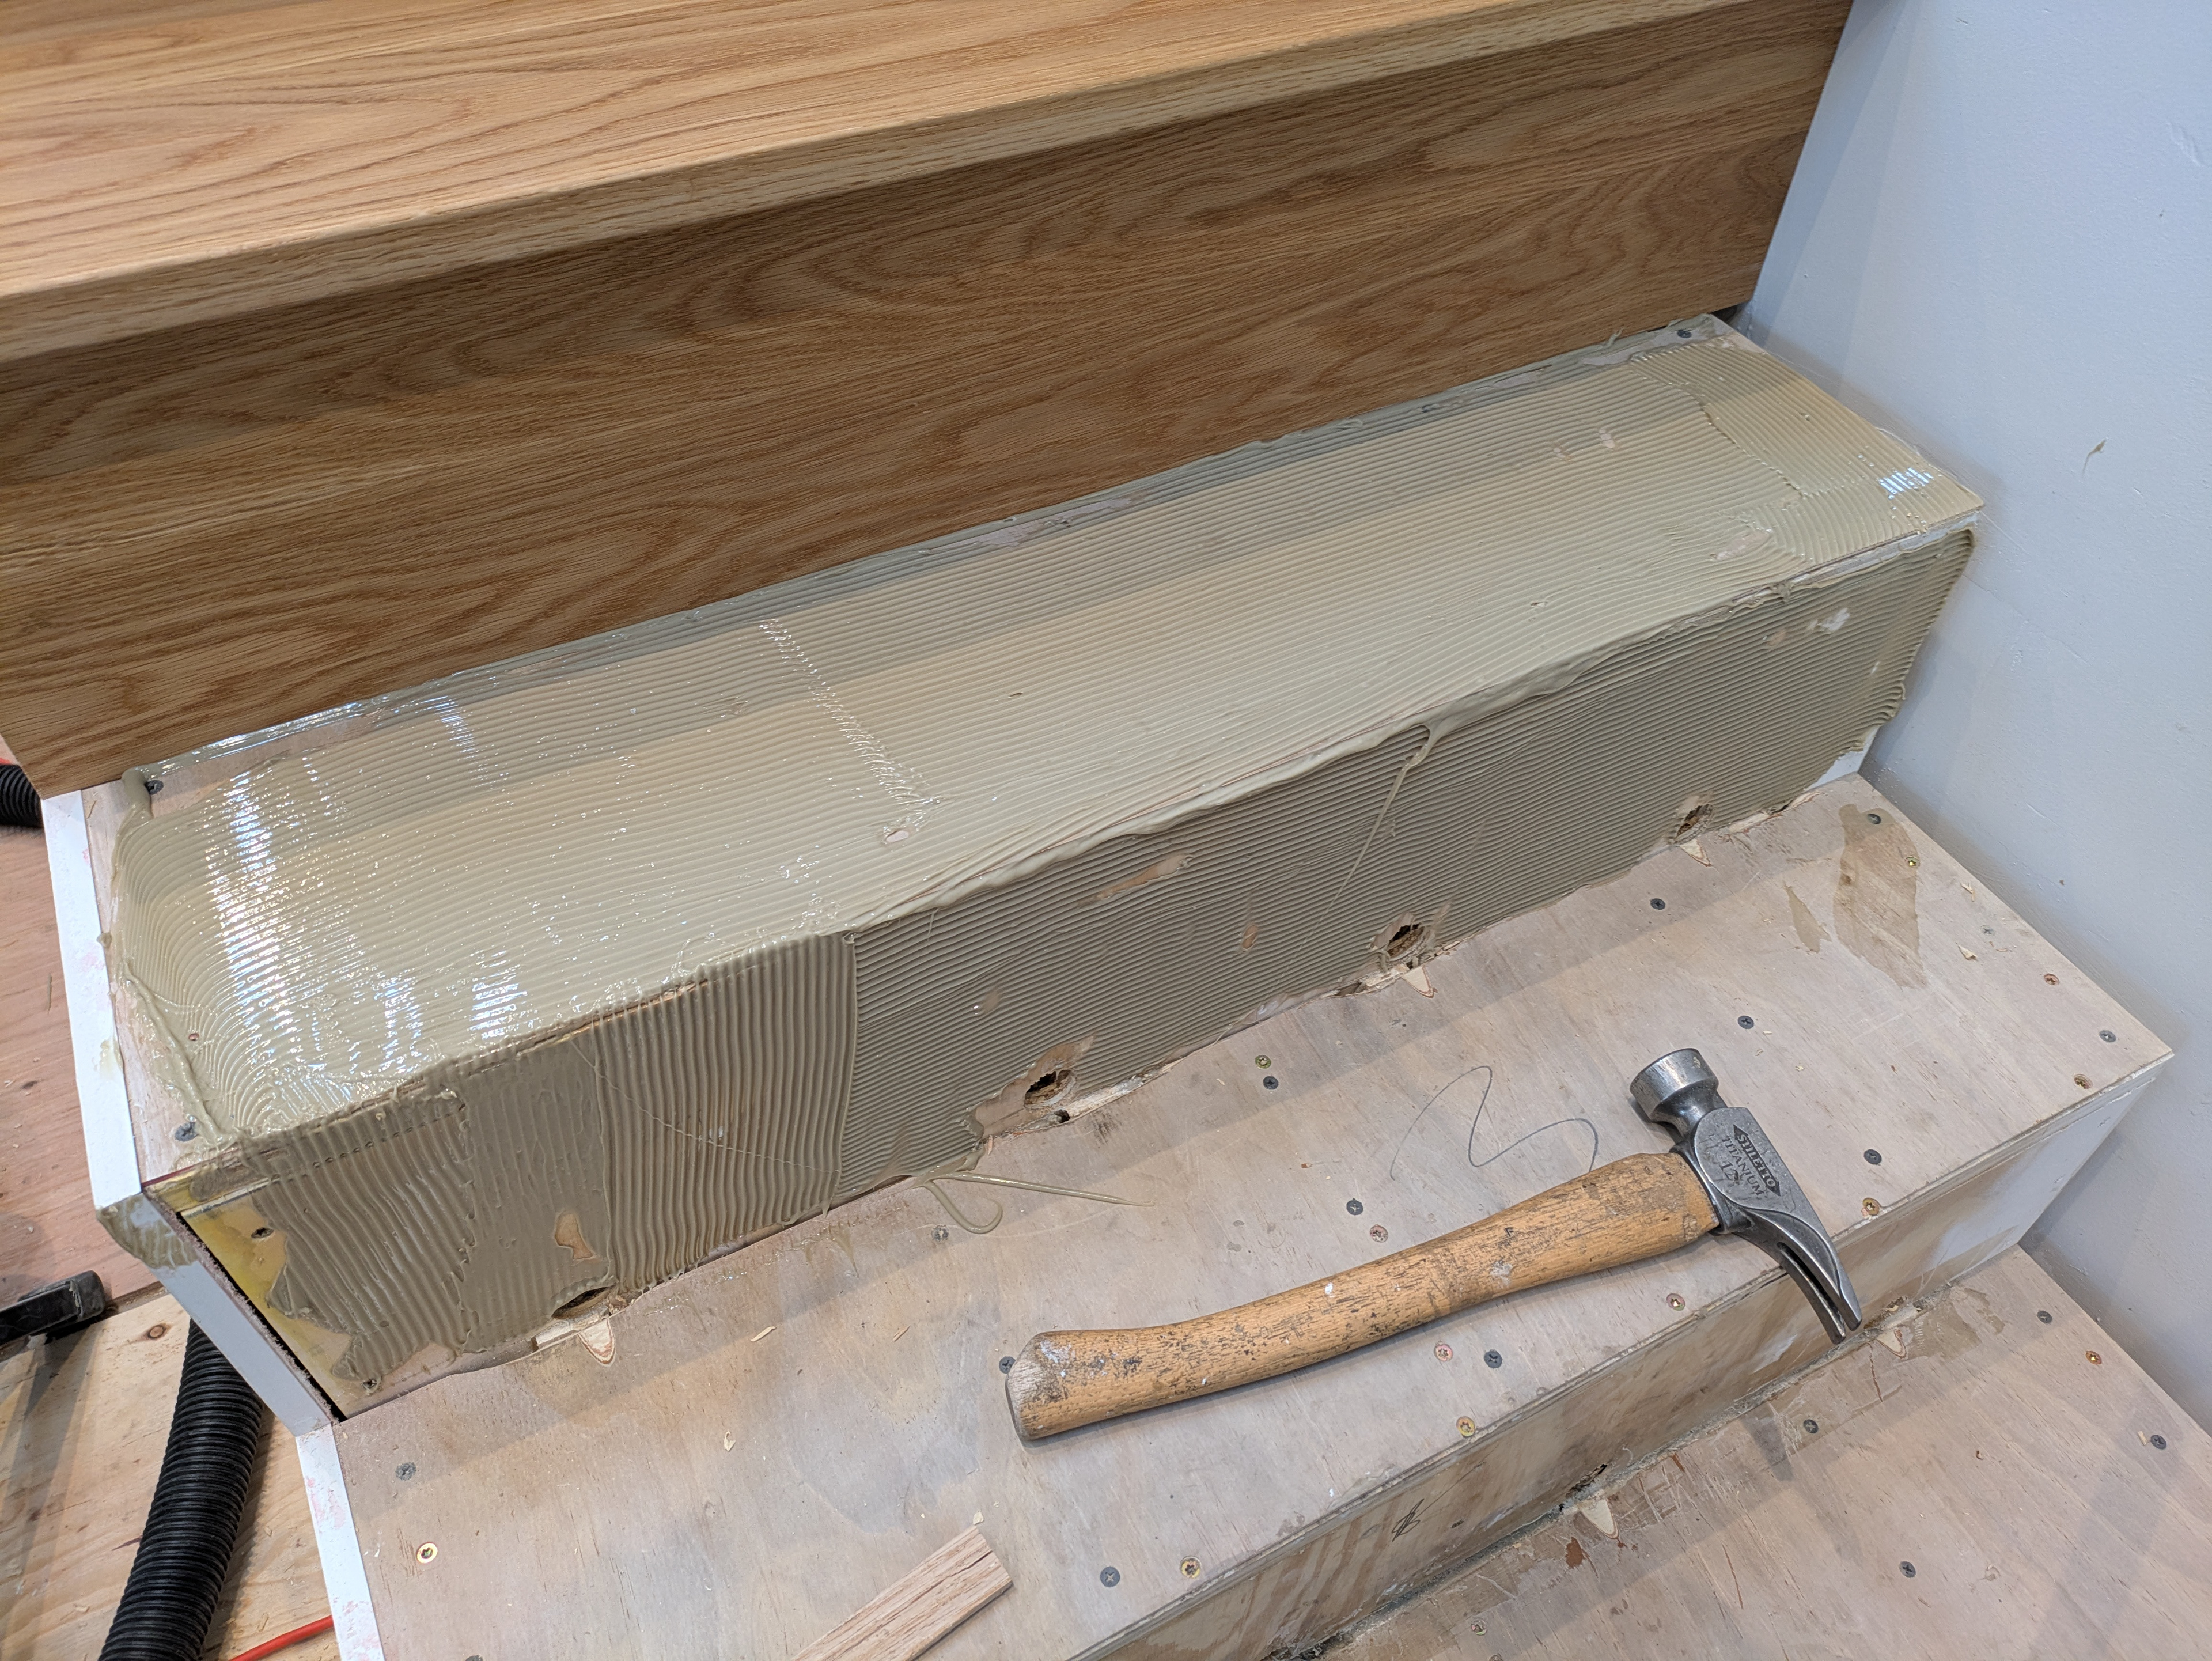
I used an electric 28 oz caulk gun to dispense the PL construction adhesive. A notched trowel evenly spreads the adhesive on the sub-tread and sub-riser.
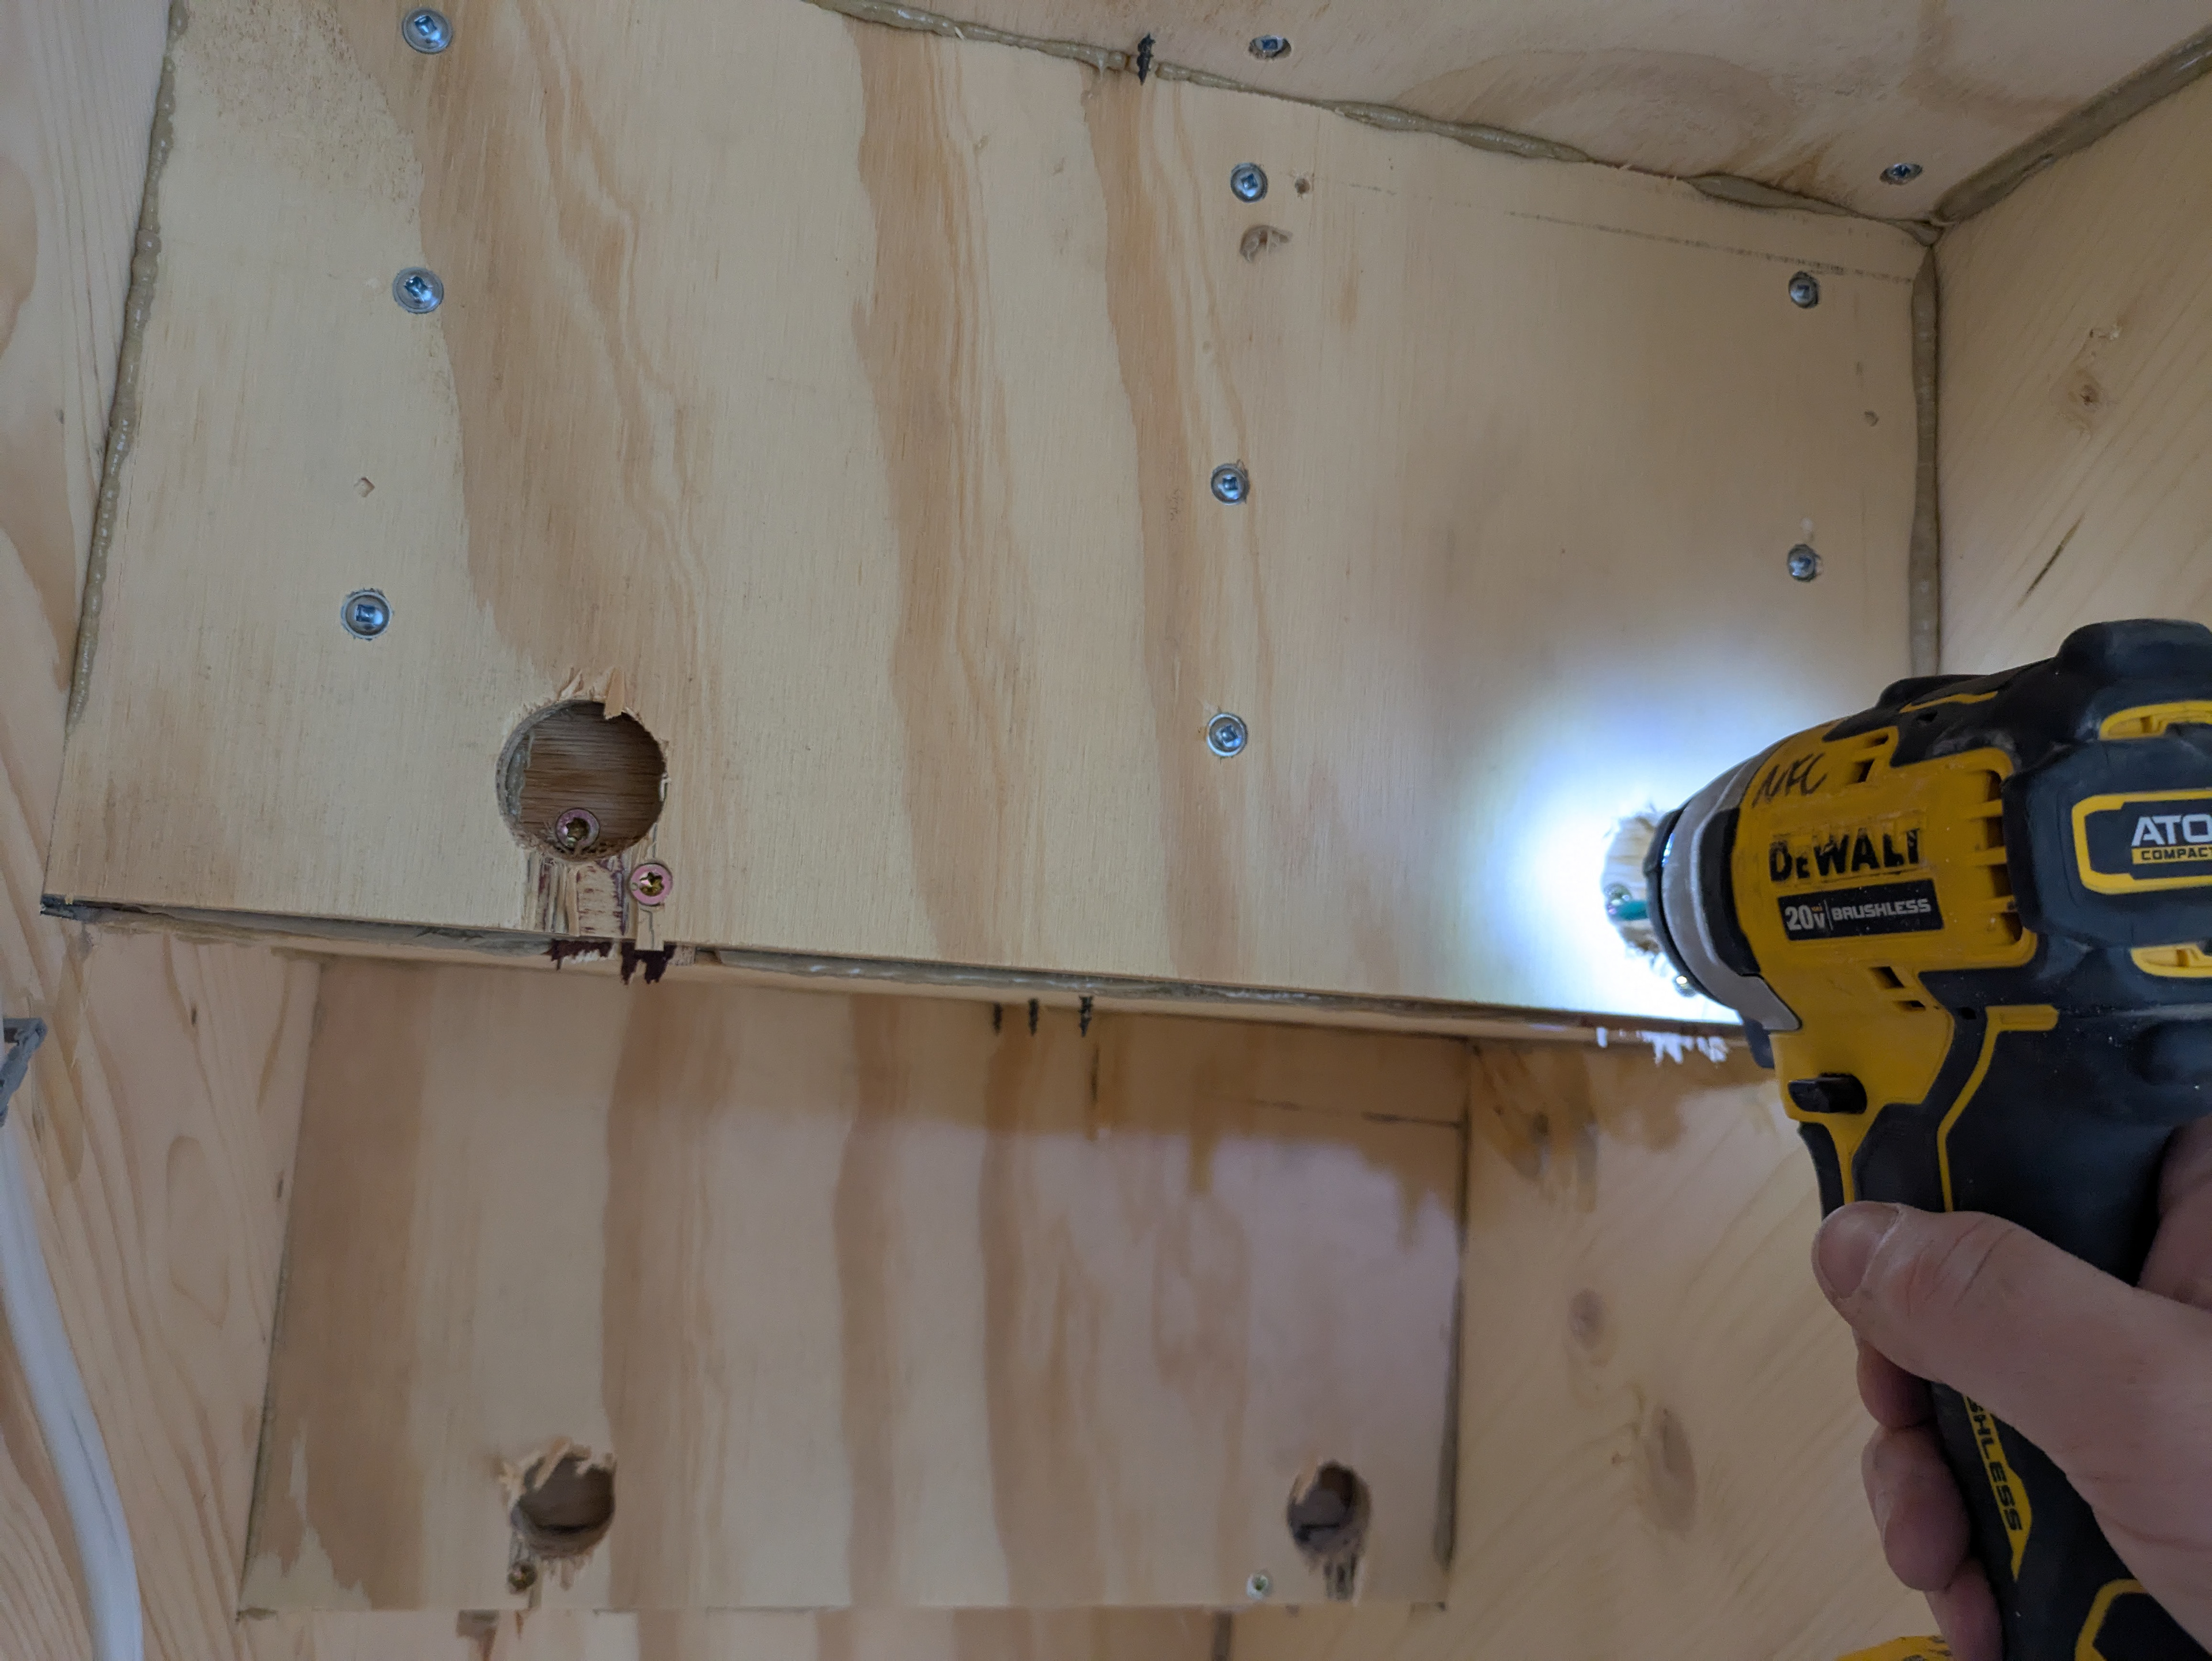
Each riser is face screwed from behind to the tread below for a seamless fit. Holes in the subriser gave me access for this step.
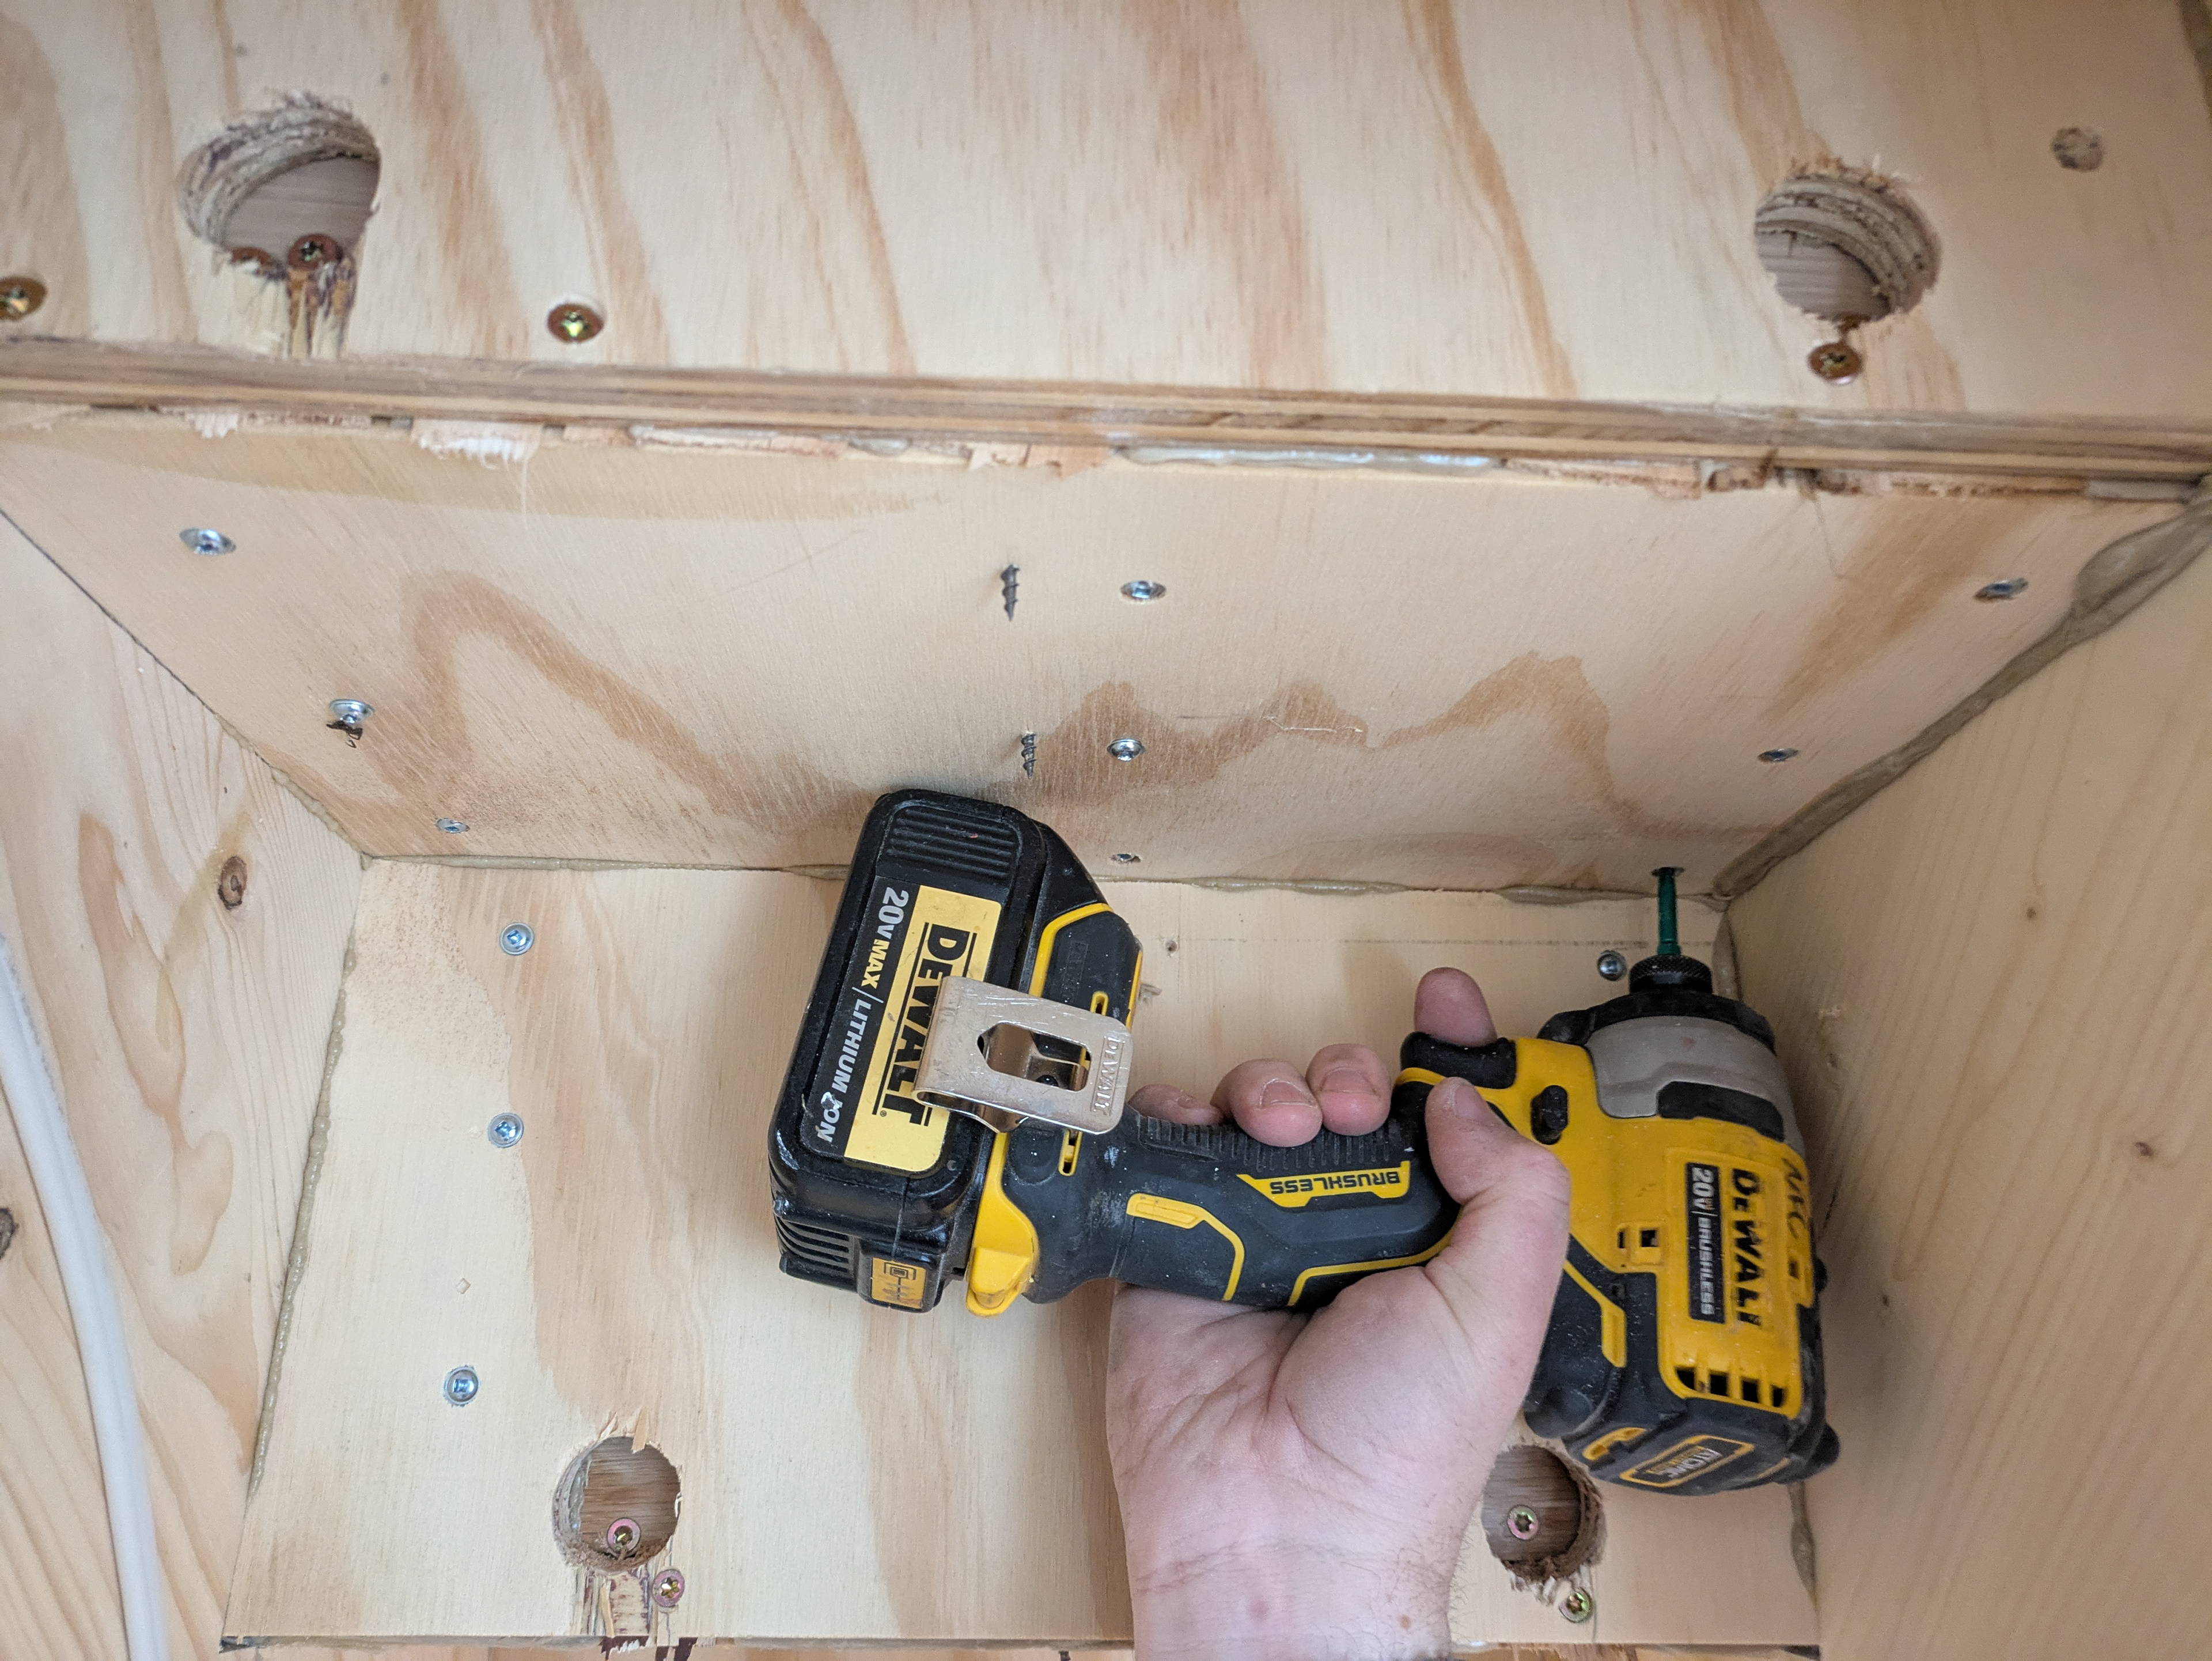
The treads and risers are blind-fastened from underneath the stairs in order to hide the fasteners.
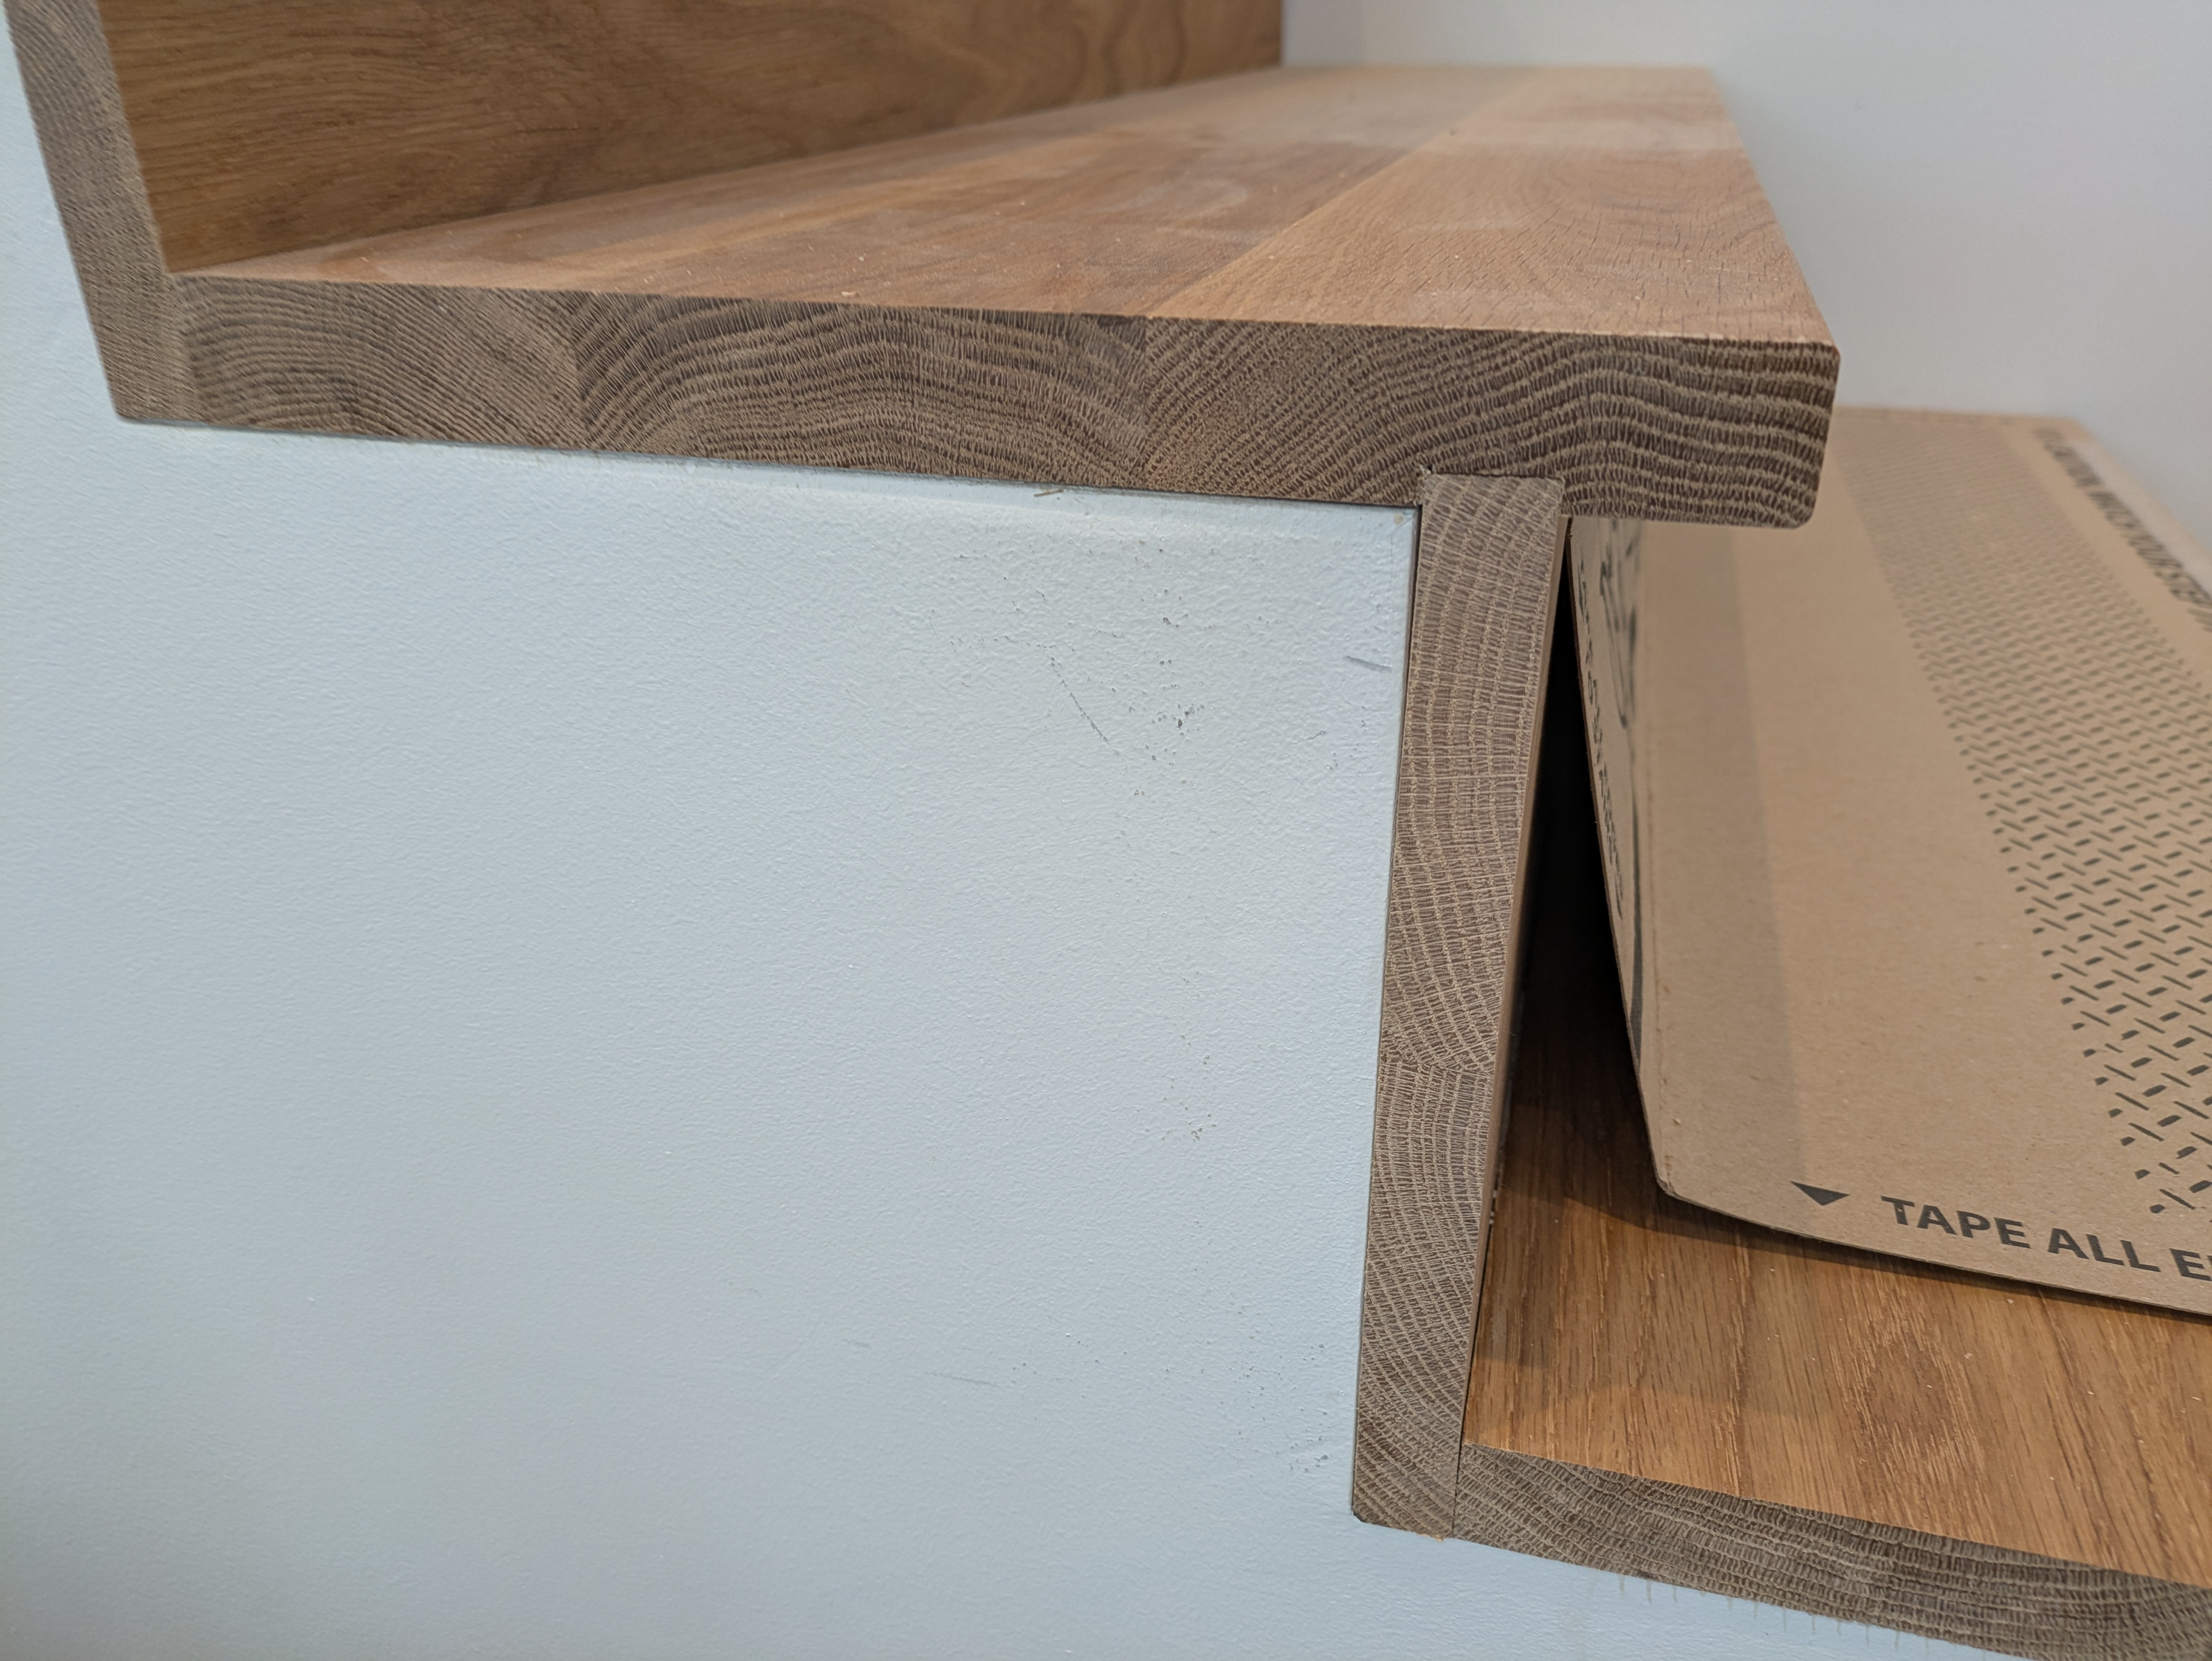
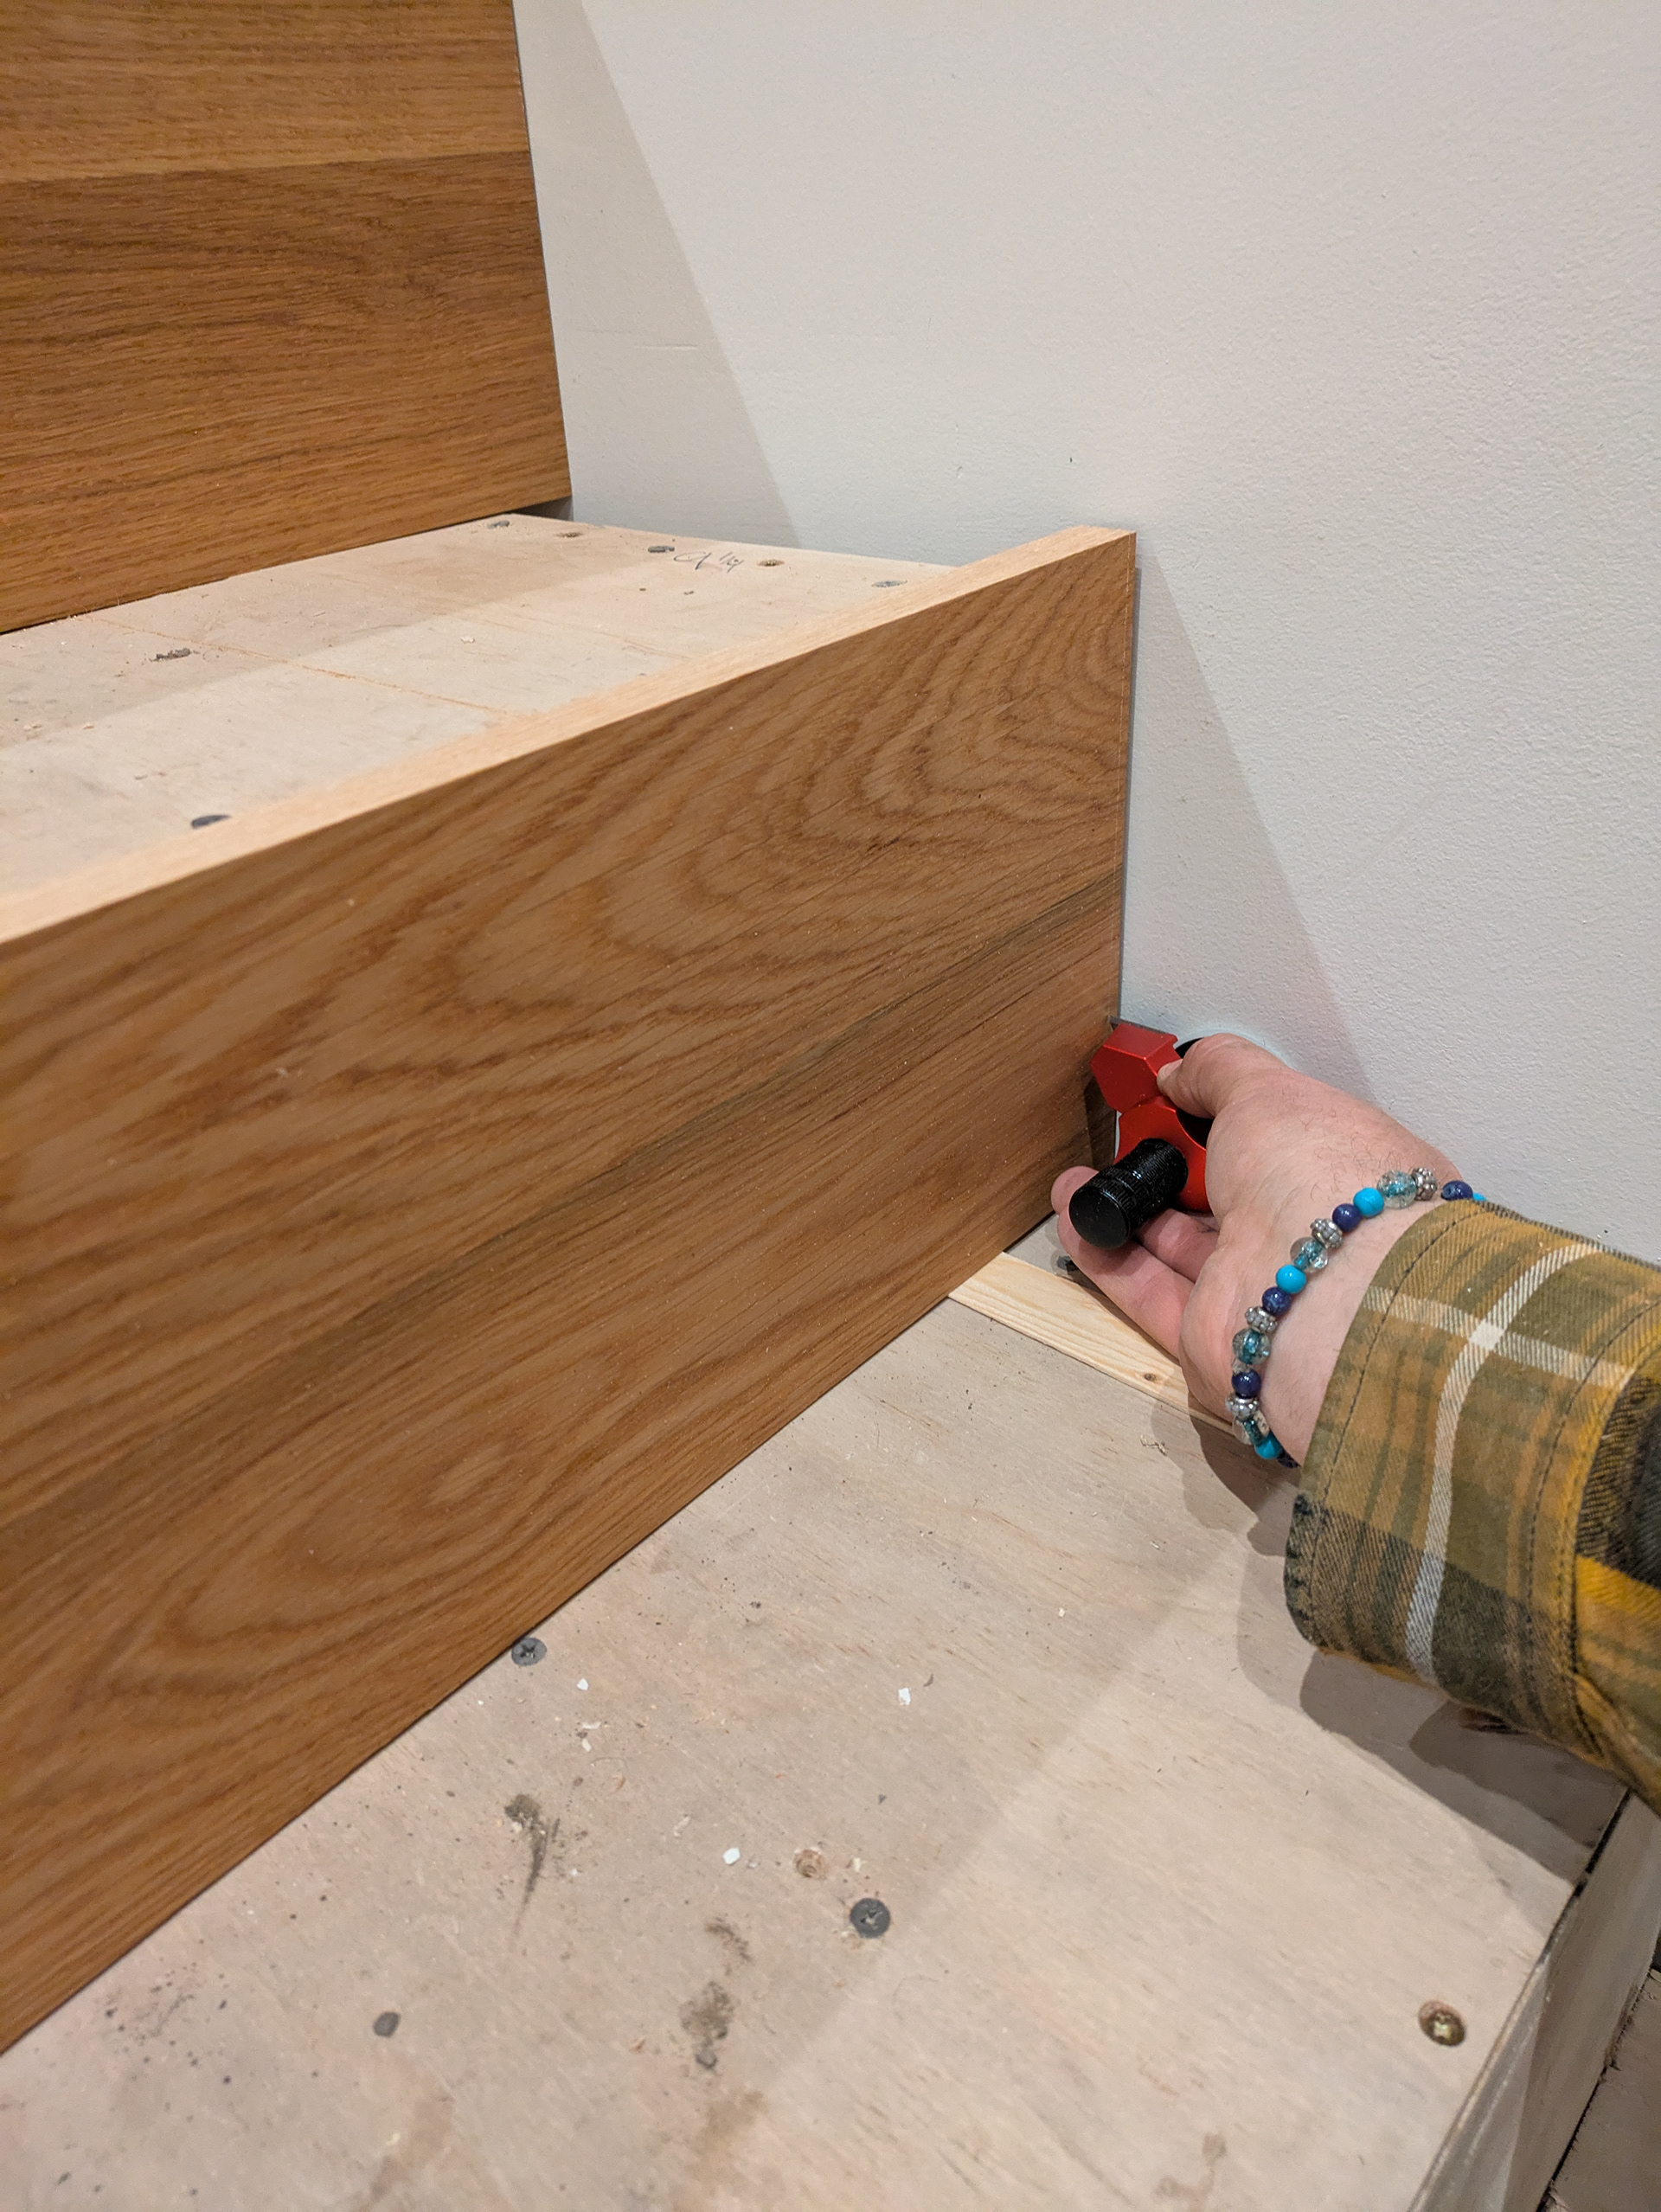
The treads and risers are flush with the sheetrock on the open side of the stairs.
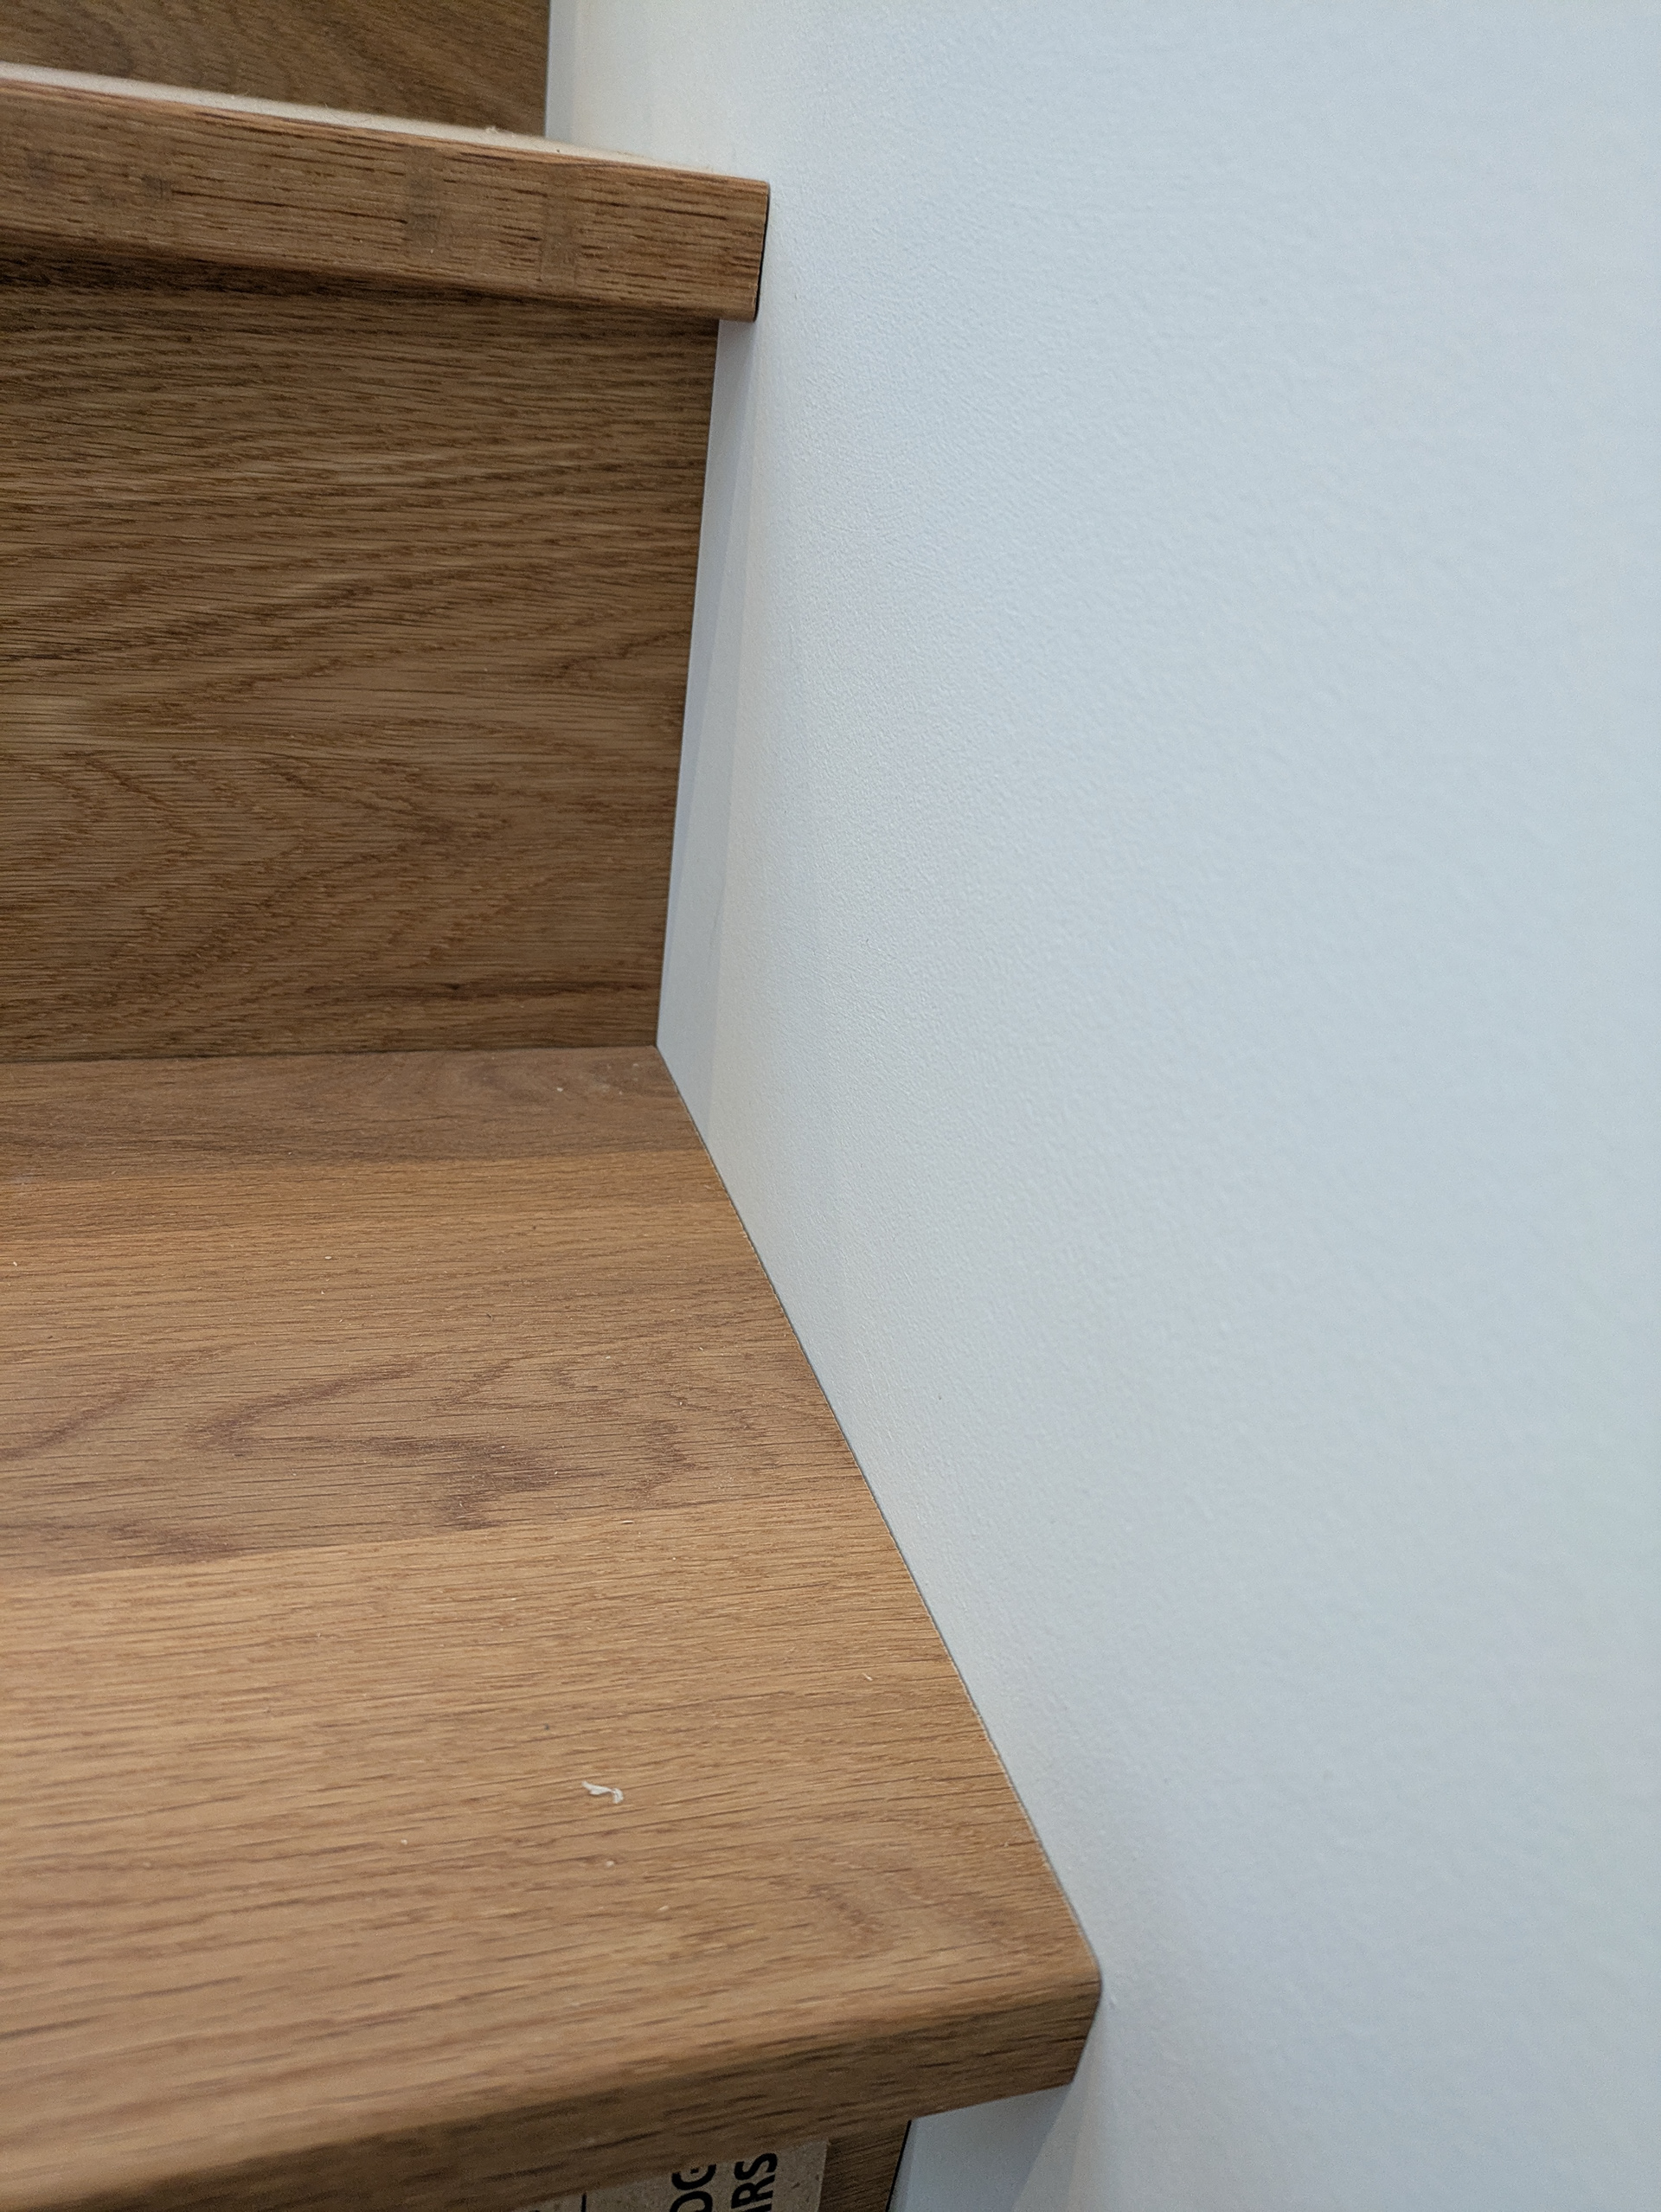
The treads and risers cleanly butt up to the sheetrock wall on the closed risers side of the stairs.
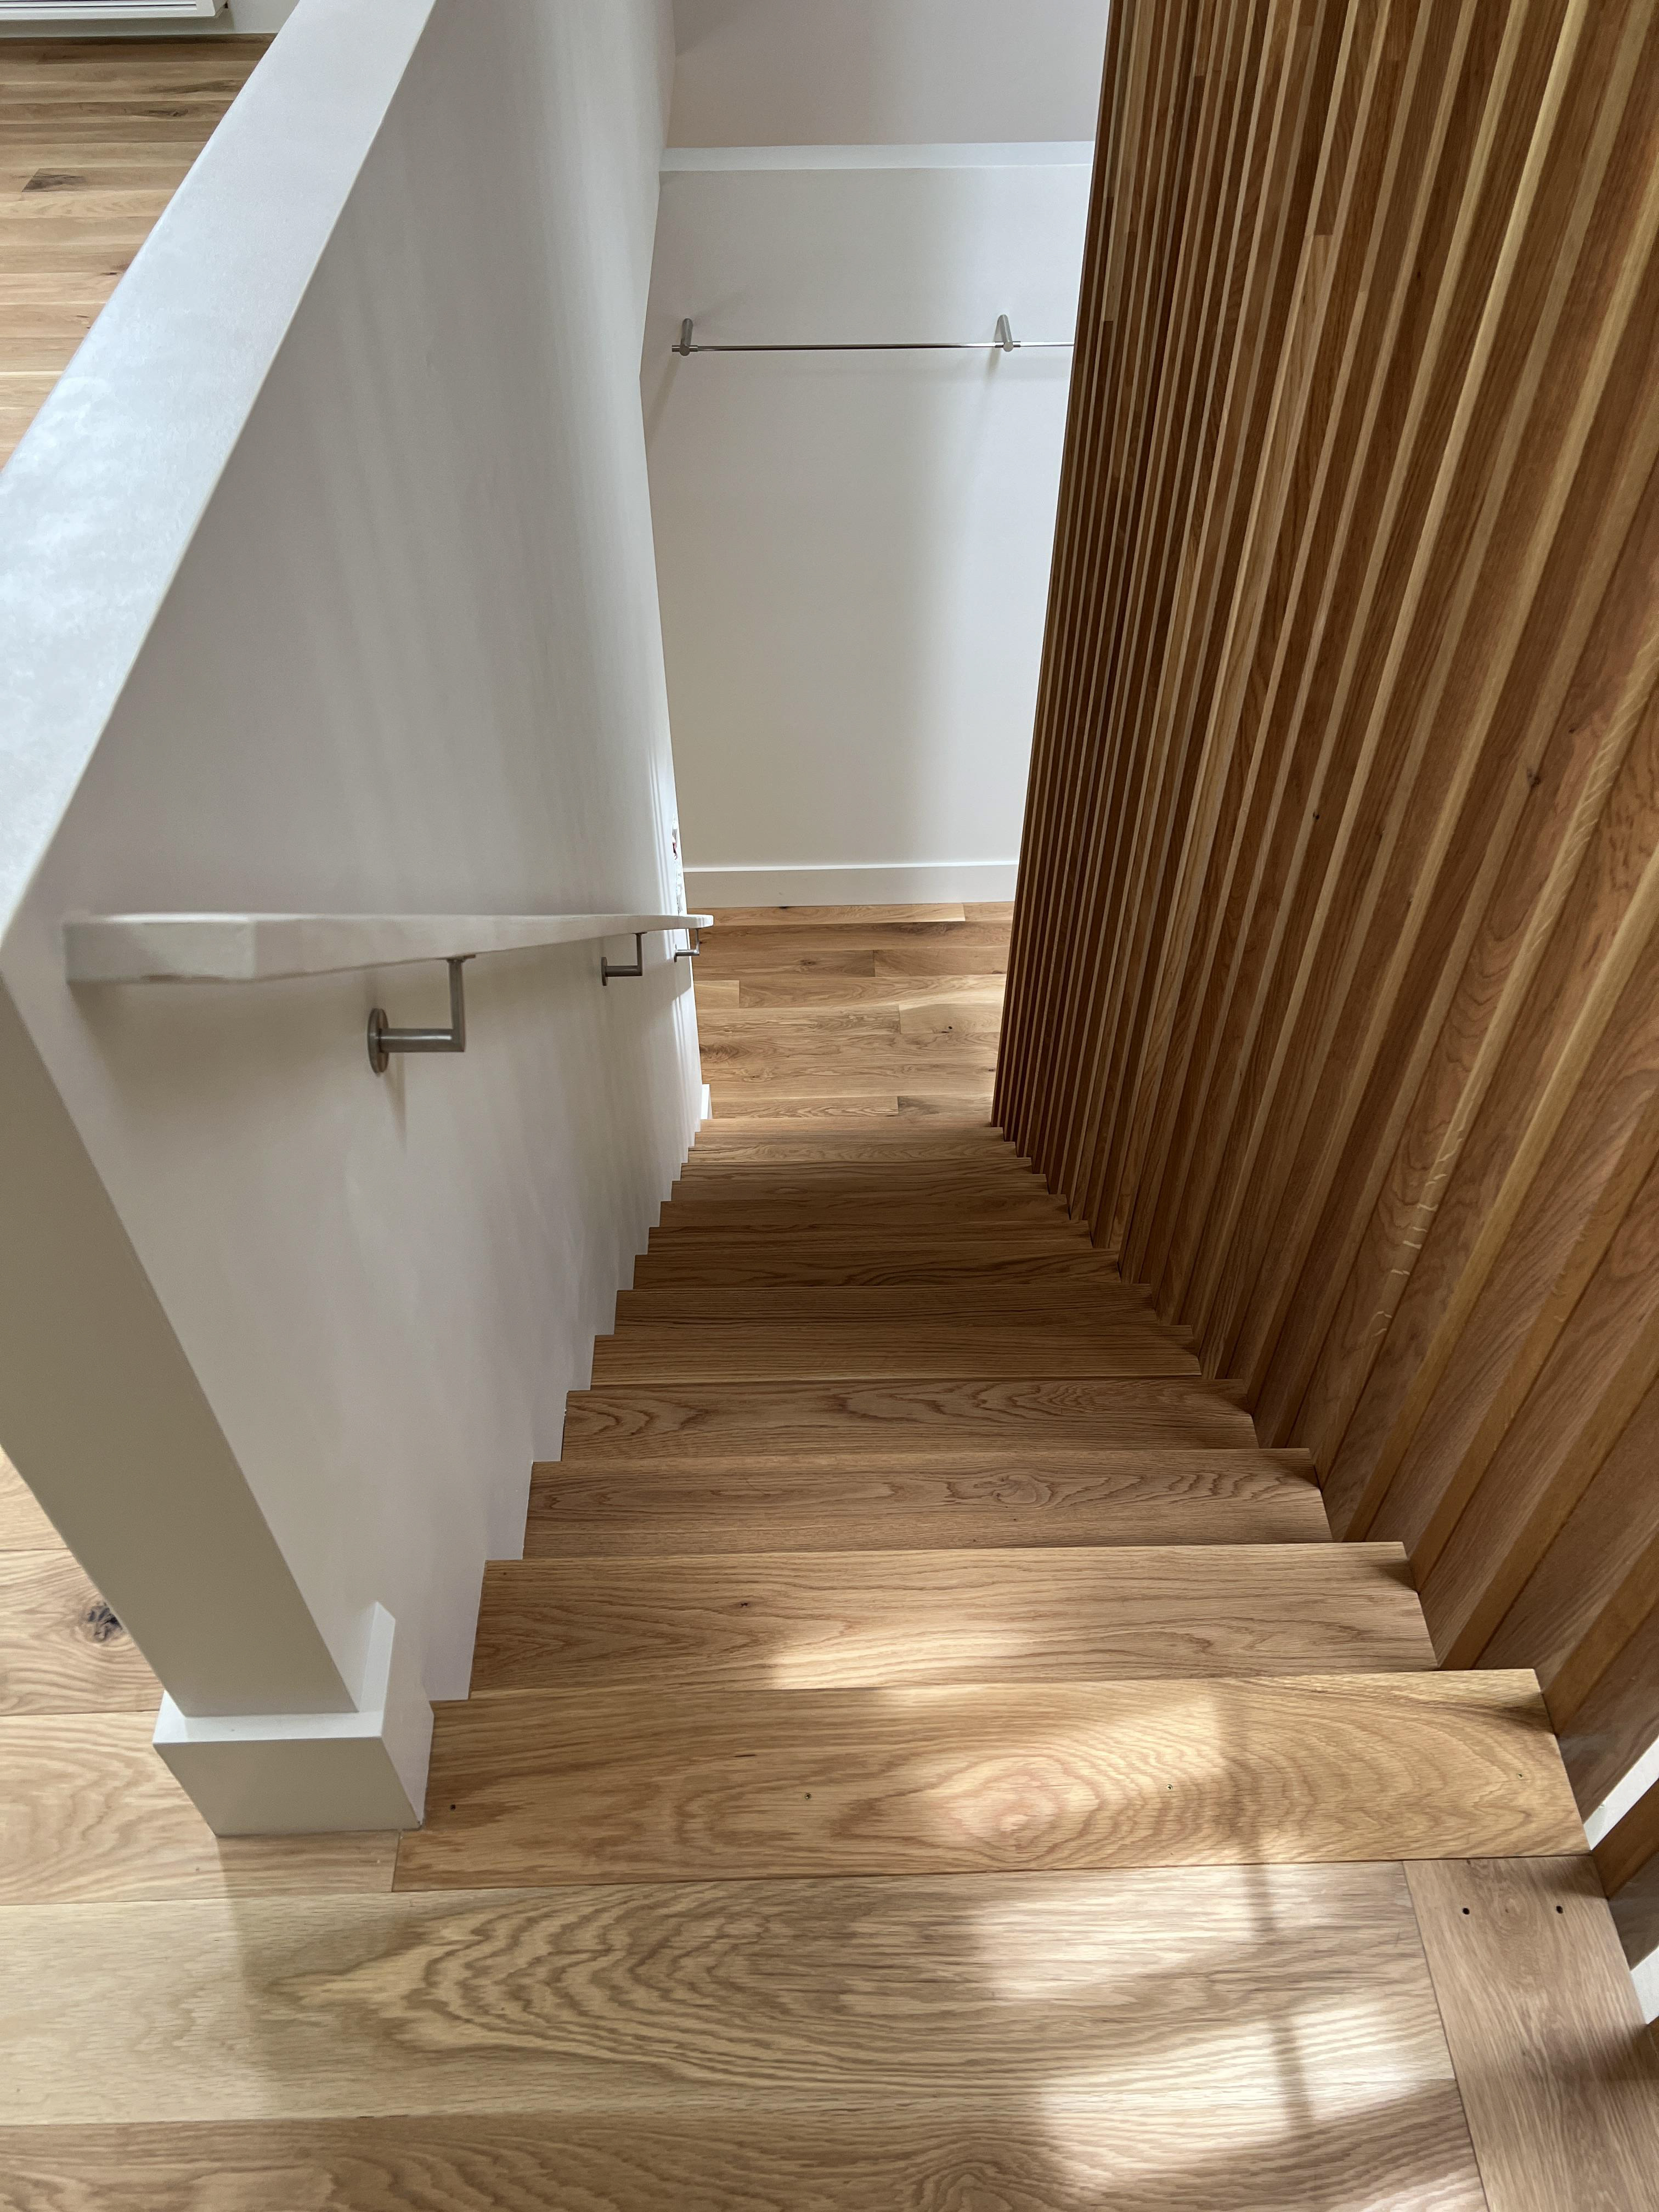
The stairs are complete.
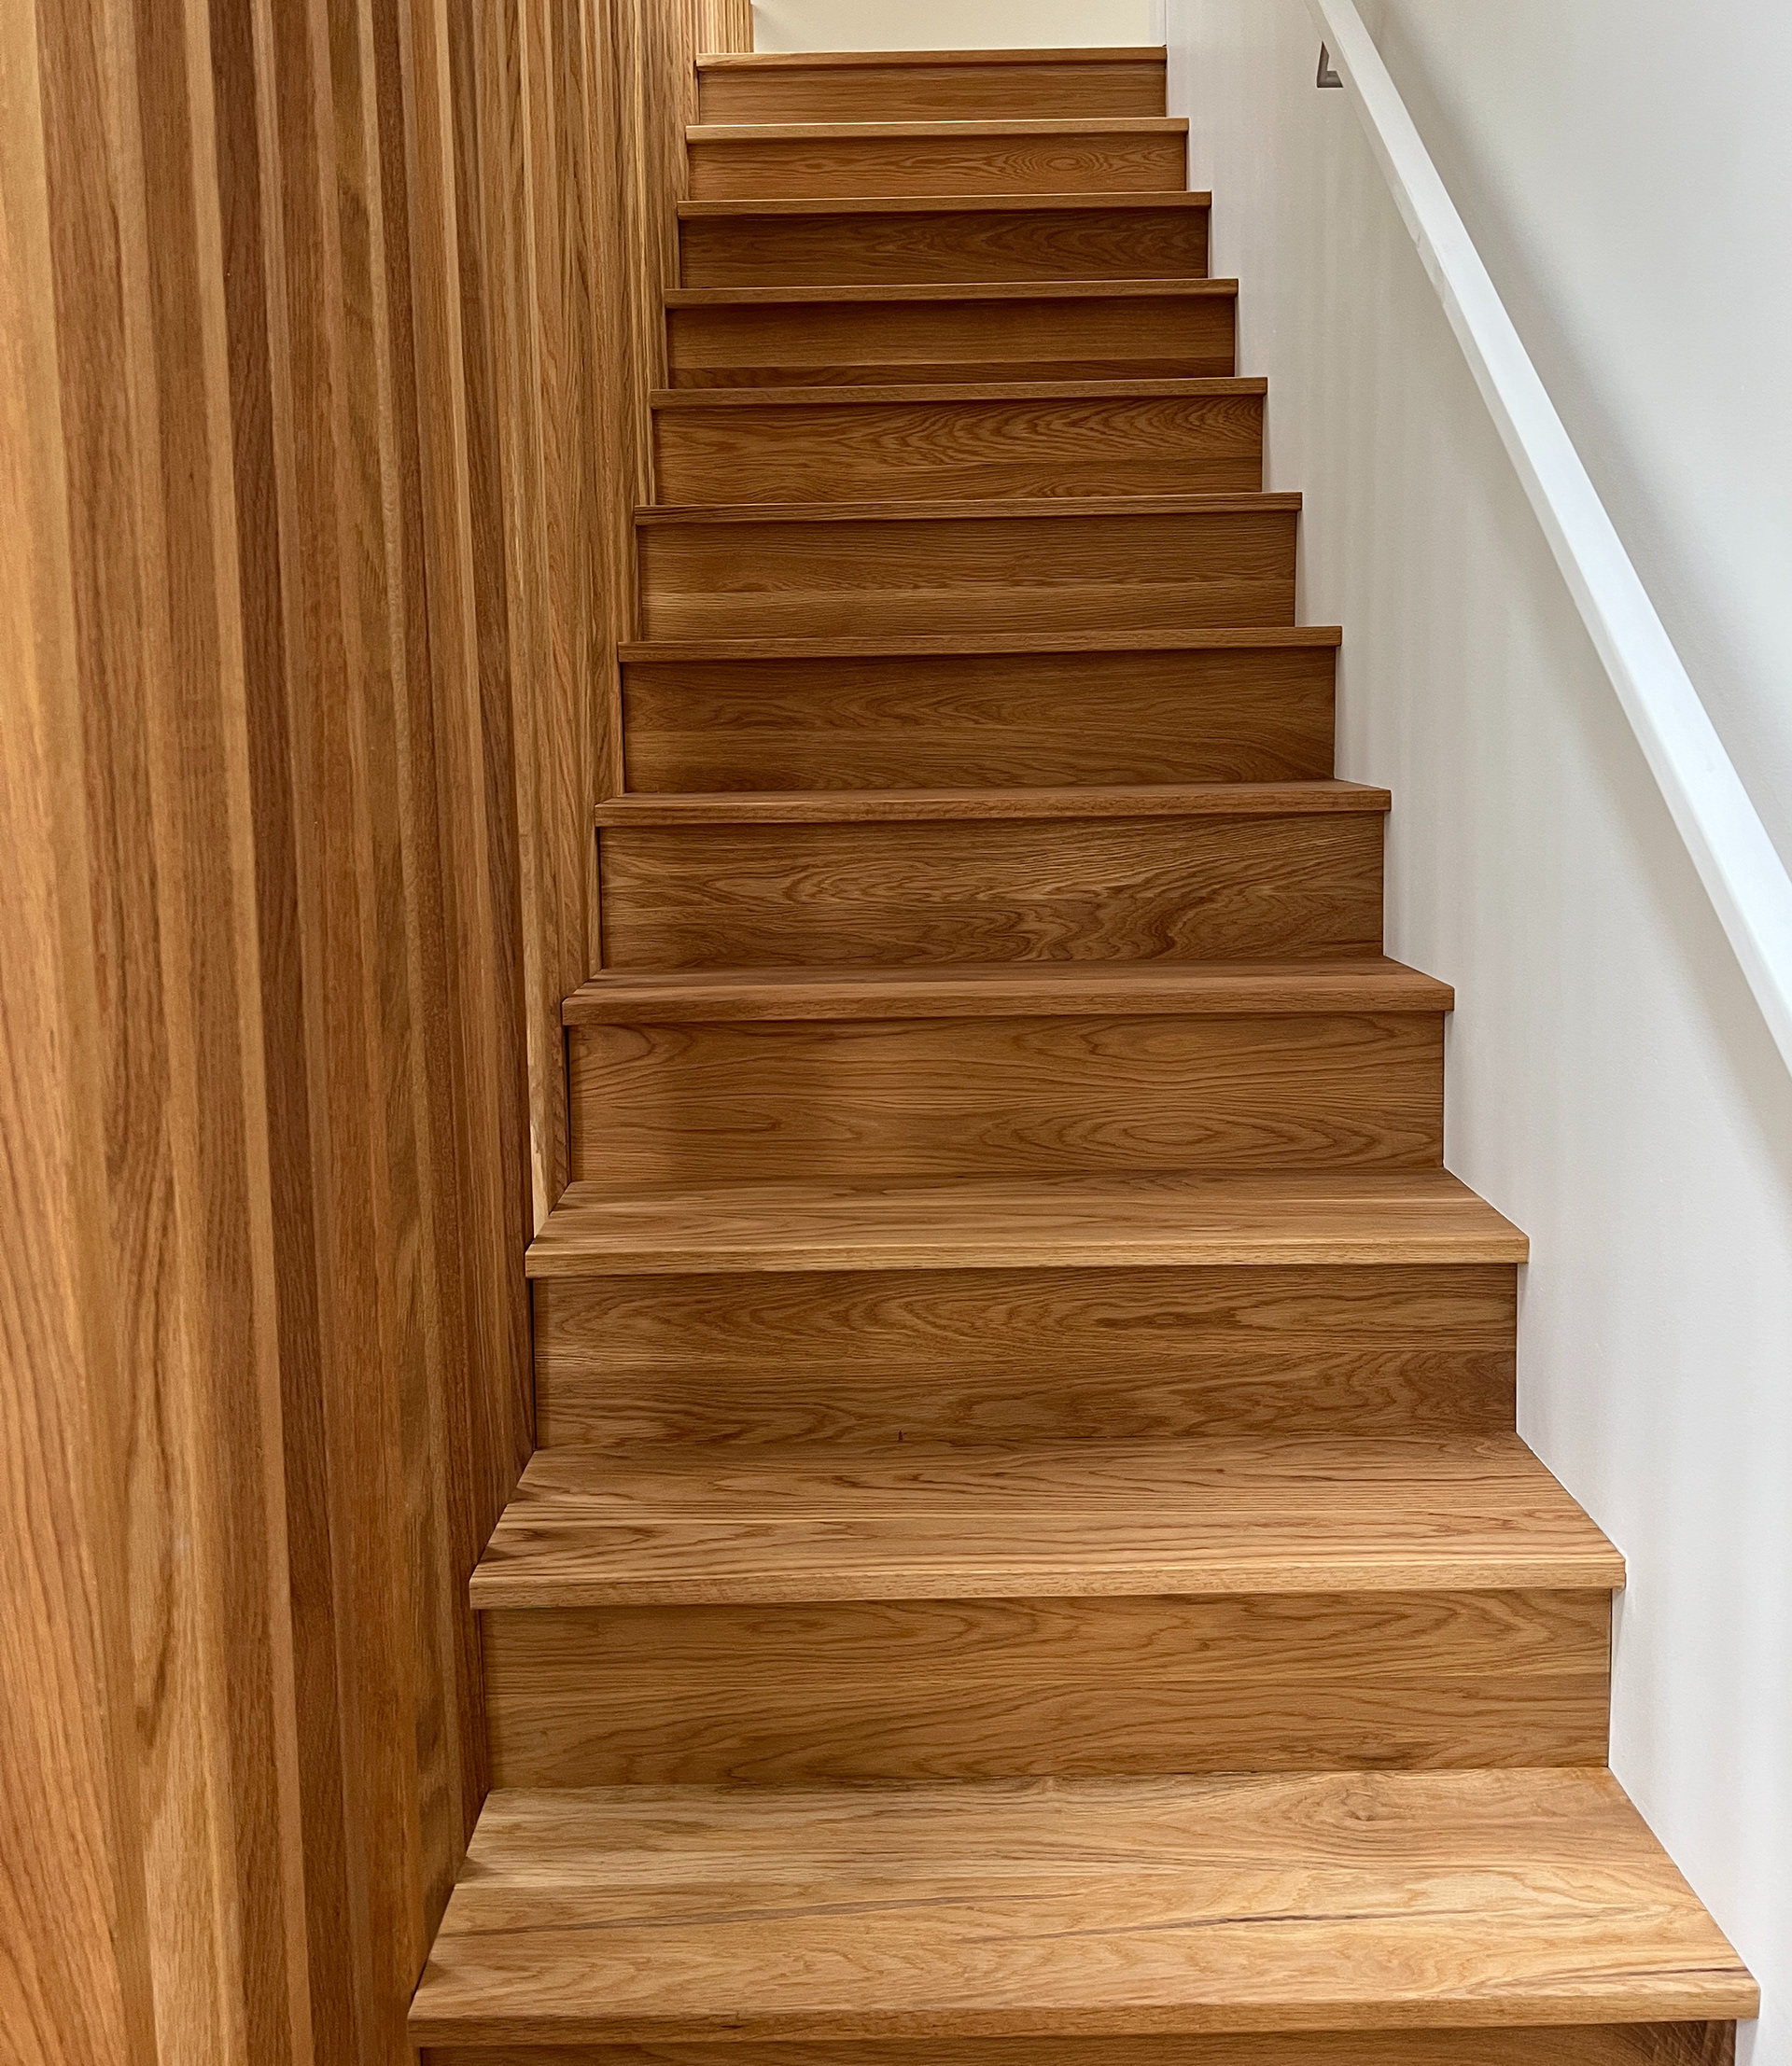
The white oak stair parts are beautiful.
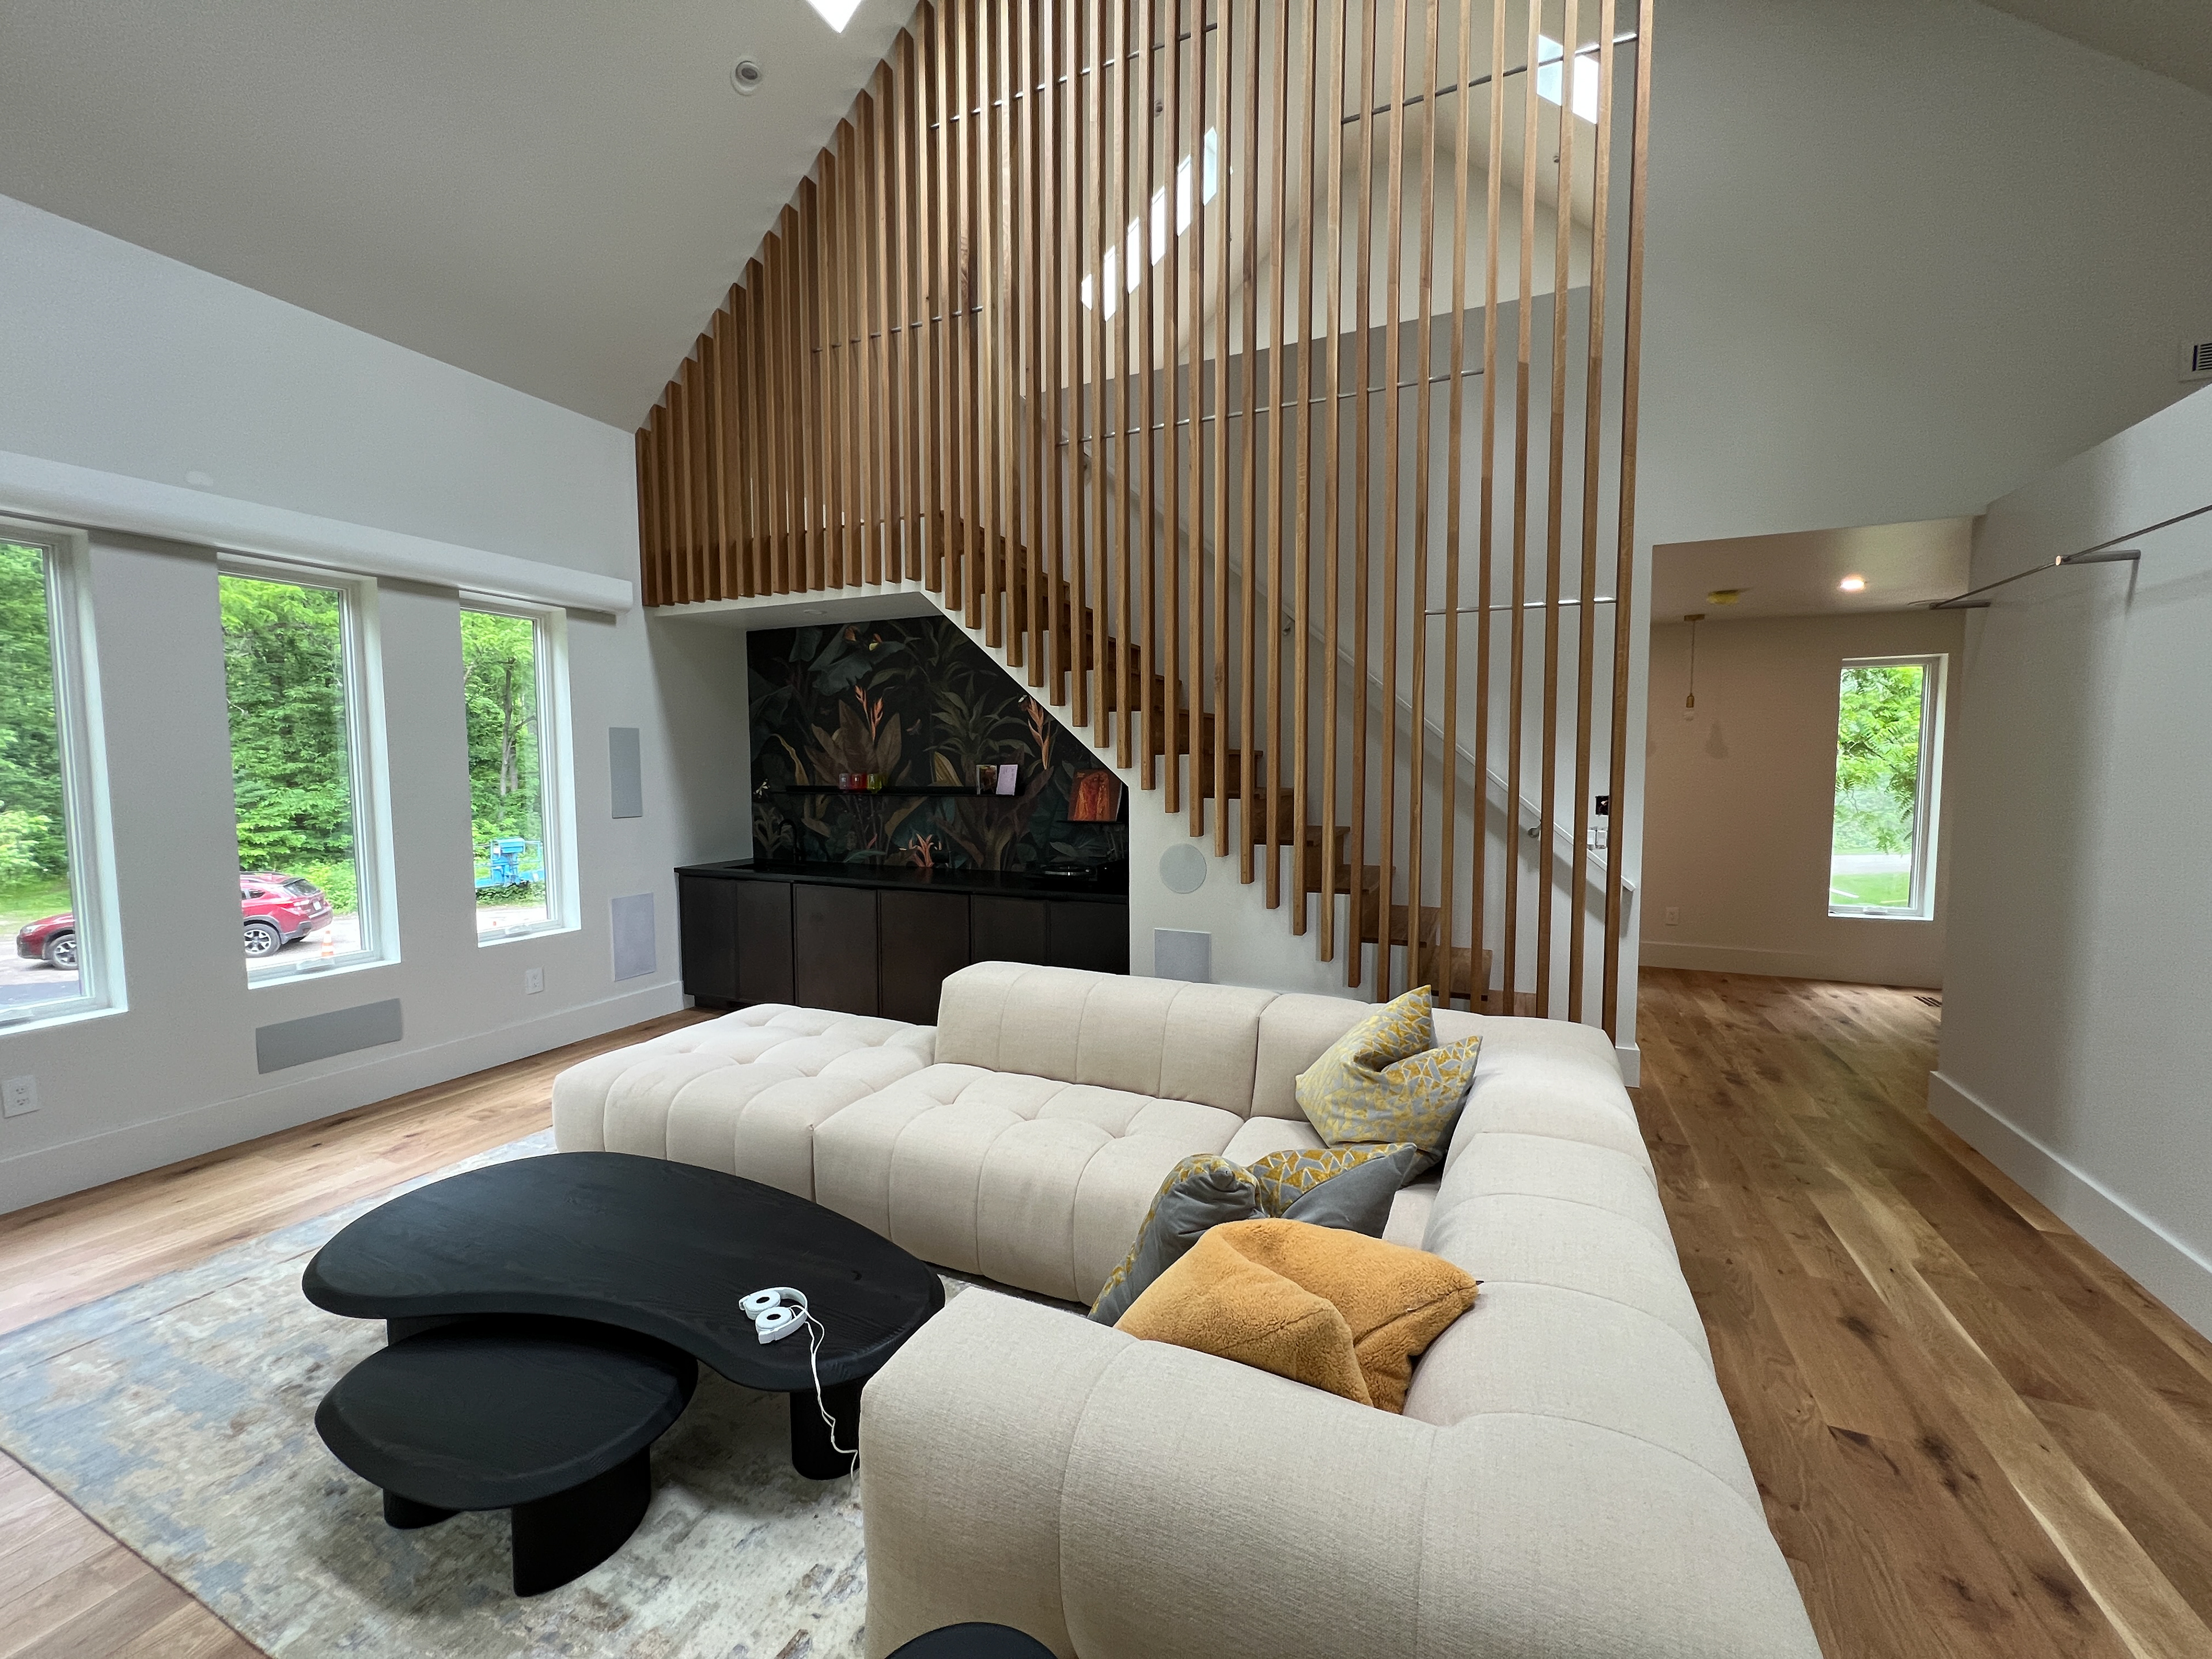
The cool balustrade was built with white oak 2x4’s by Piha Construction.