
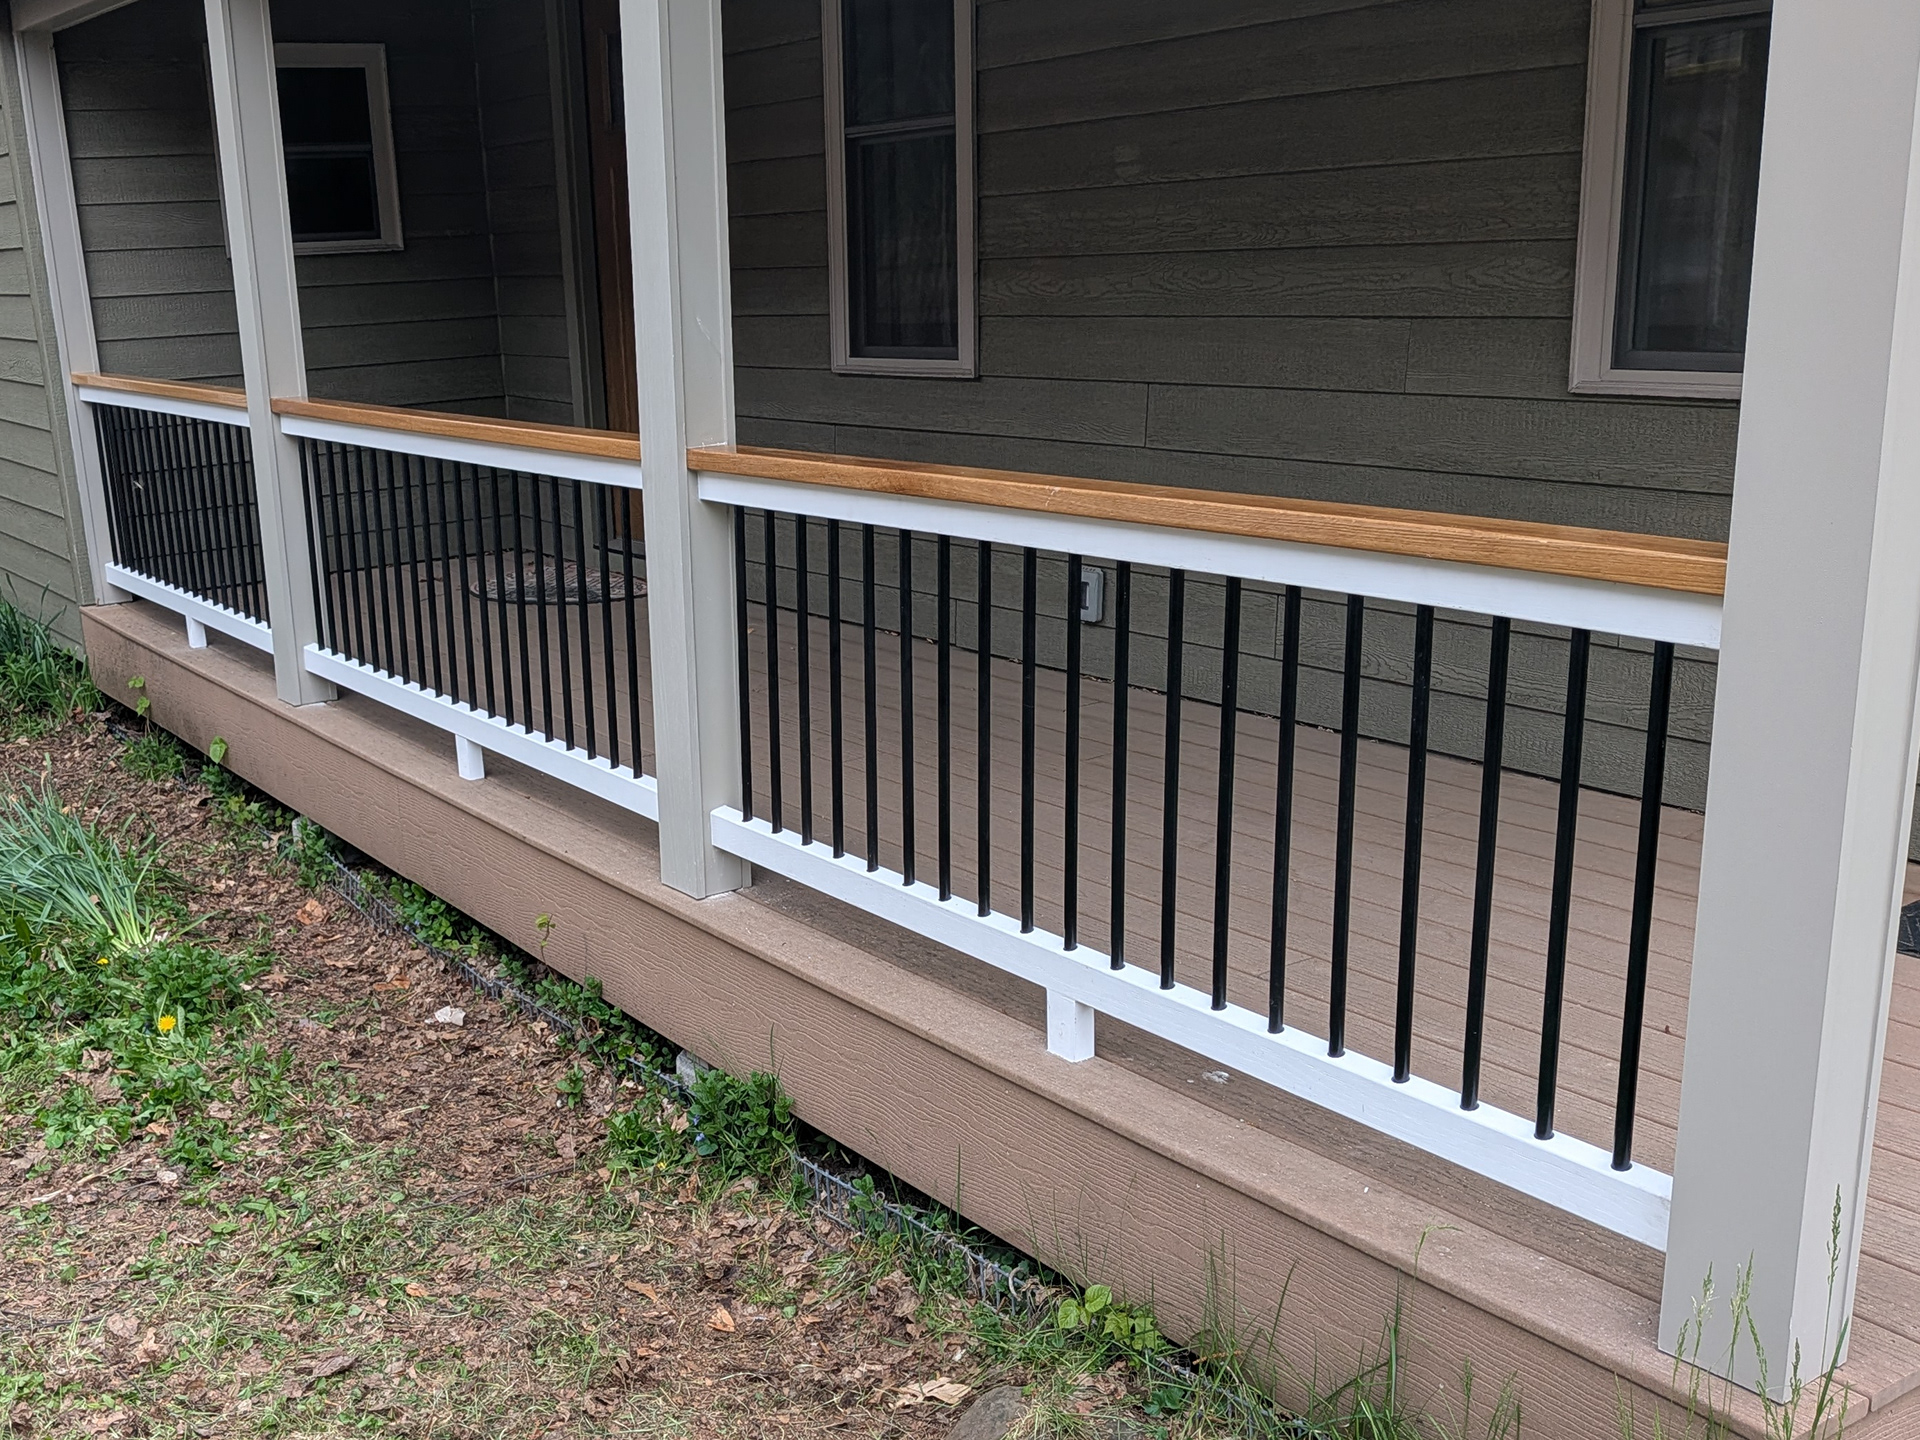
We recently built this exterior balustrade from white oak.
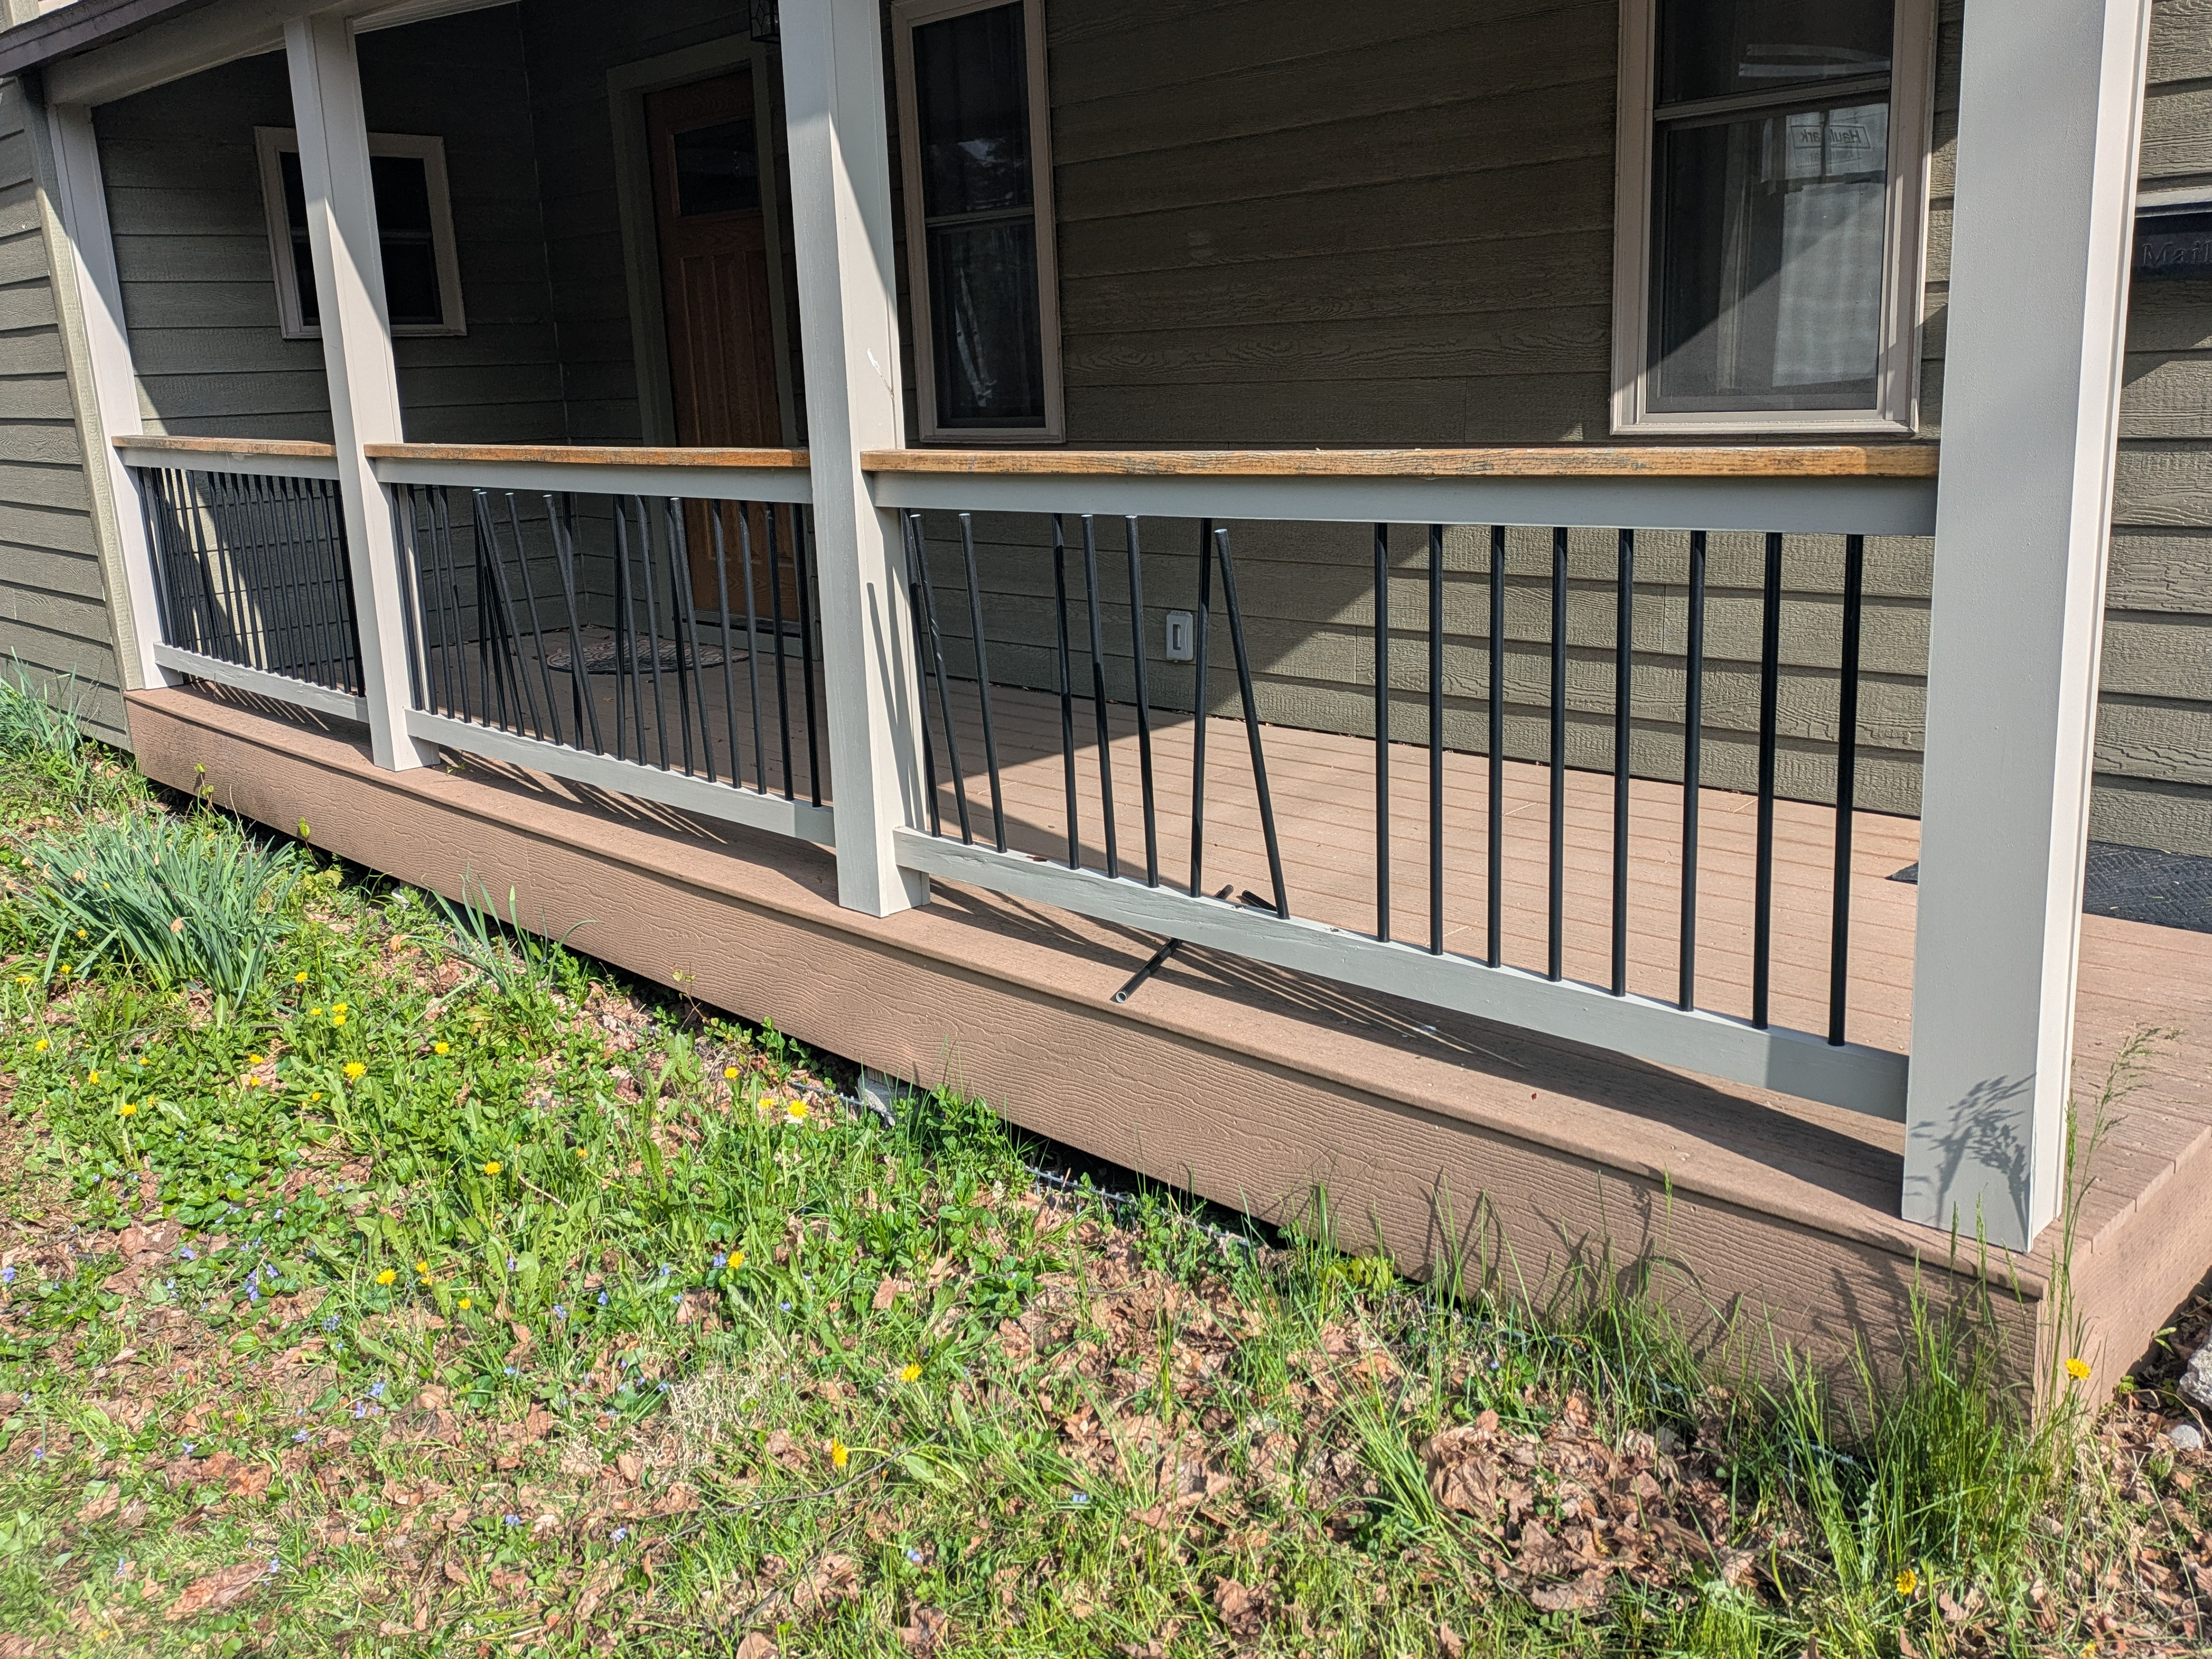
This is a photo of the old balustrade. Whoever built it achieved a cool, modern look that works with the house. Sadly, the old balustrade only lasted about 5 years before it started to rot and fall apart.
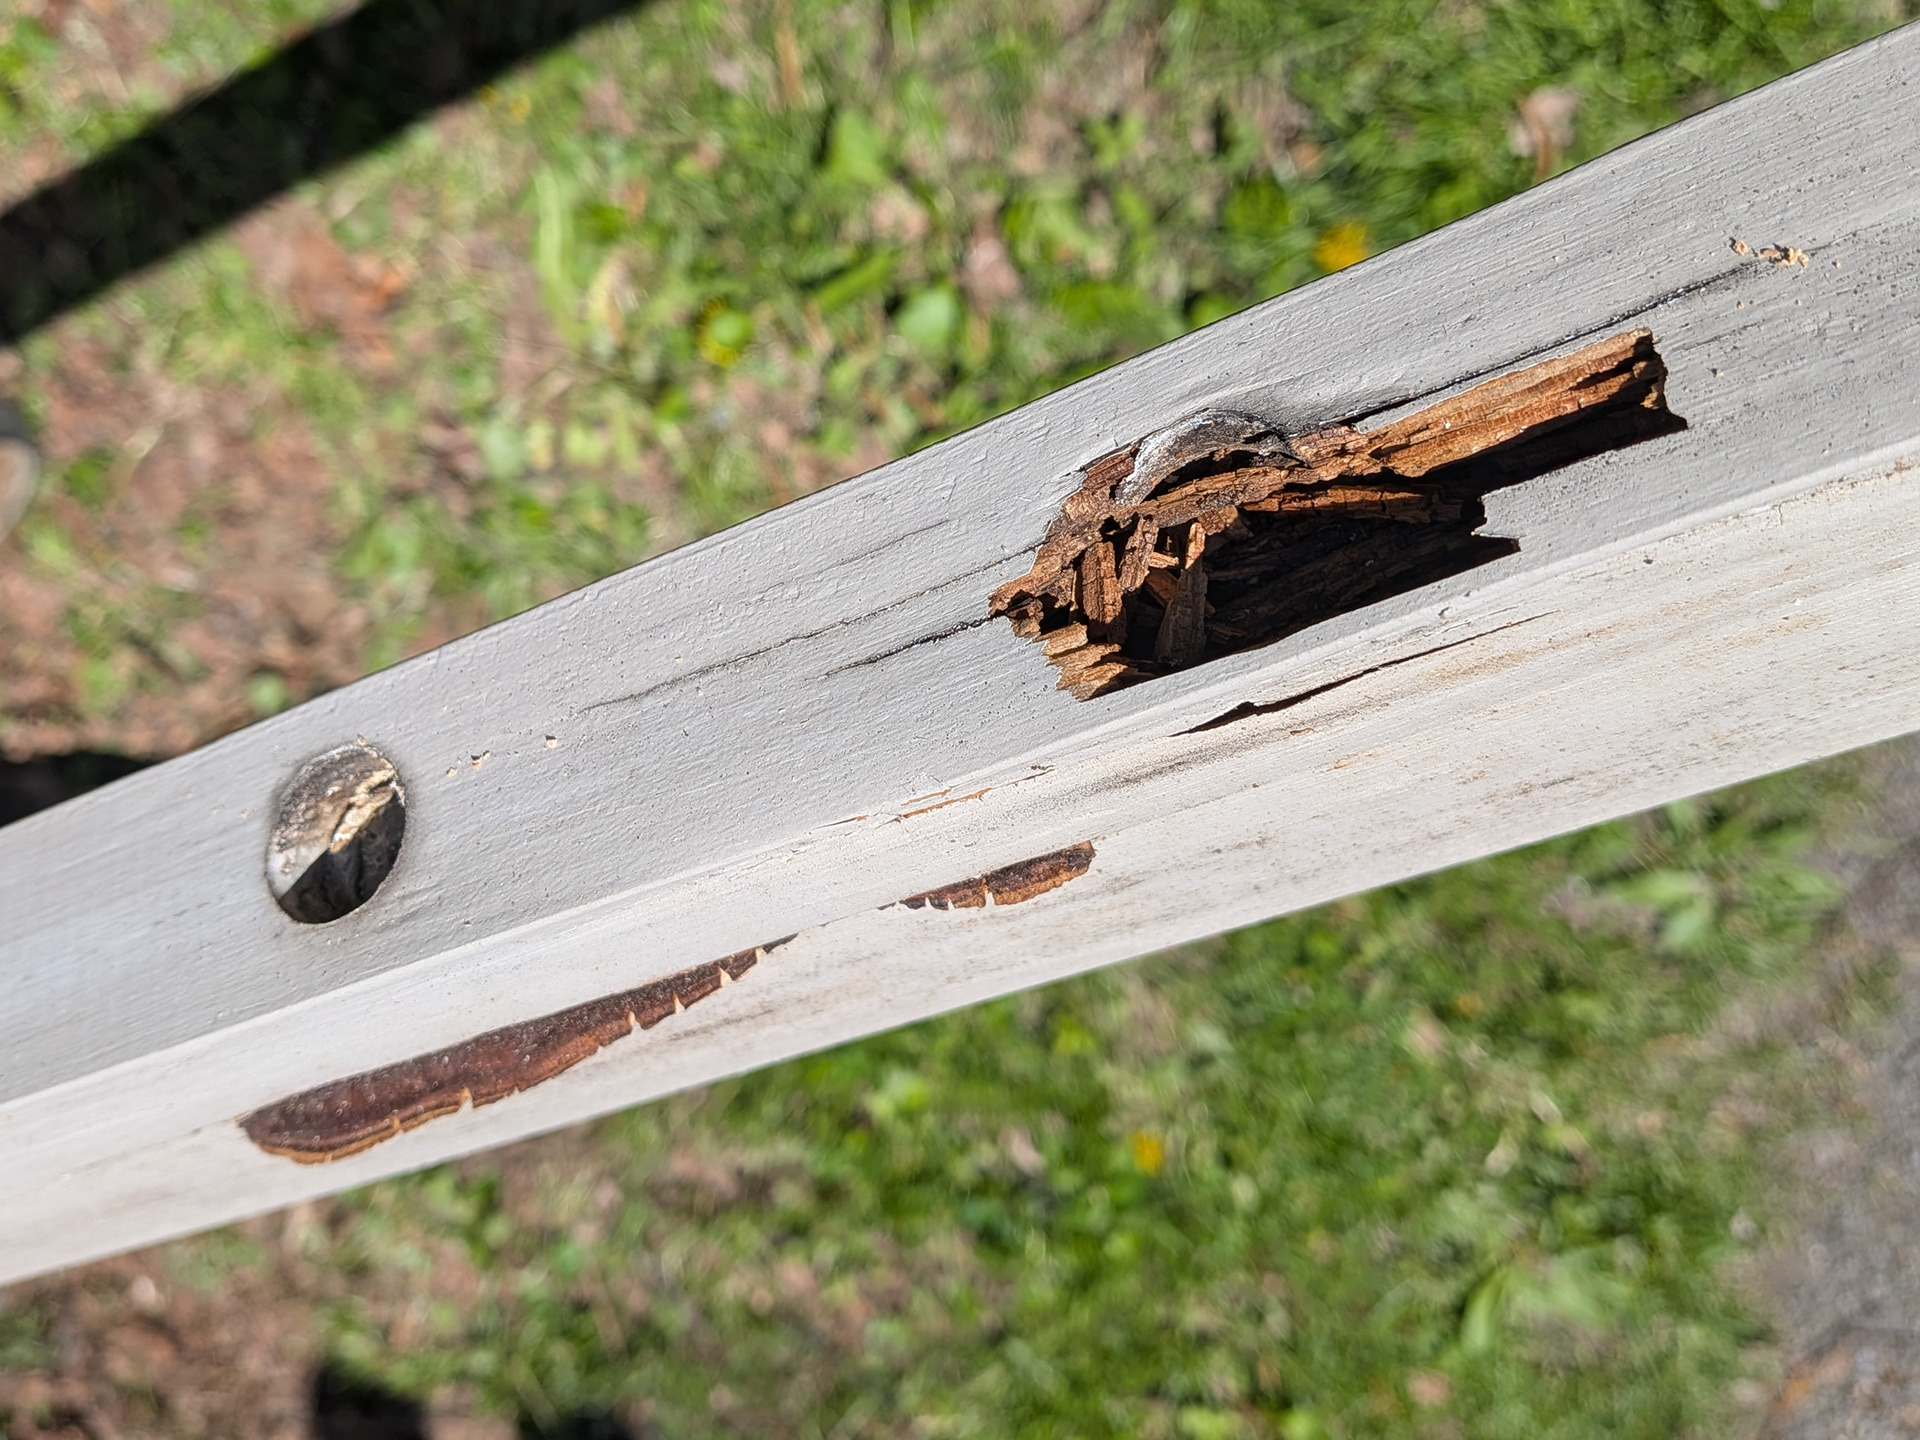
The trouble mostly lies with the lower rail. The top surface of the lower rail was flat so water would pool and could easily work its way into the baluster mounting holes. The holes in the rails that hold the circular metal balusters were quite shallow and didn’t have a way to allow rain water to drain away once it collected in the holes. To make matters worse, the upper and lower rails were made from plantation grown yellow pine which will rot easily. Finally, there were no support blocks mid-span to support the lower rail. As the lower rail began to decay and sag the balusters simply started to fall away from the shallow mounting holes in the rails.
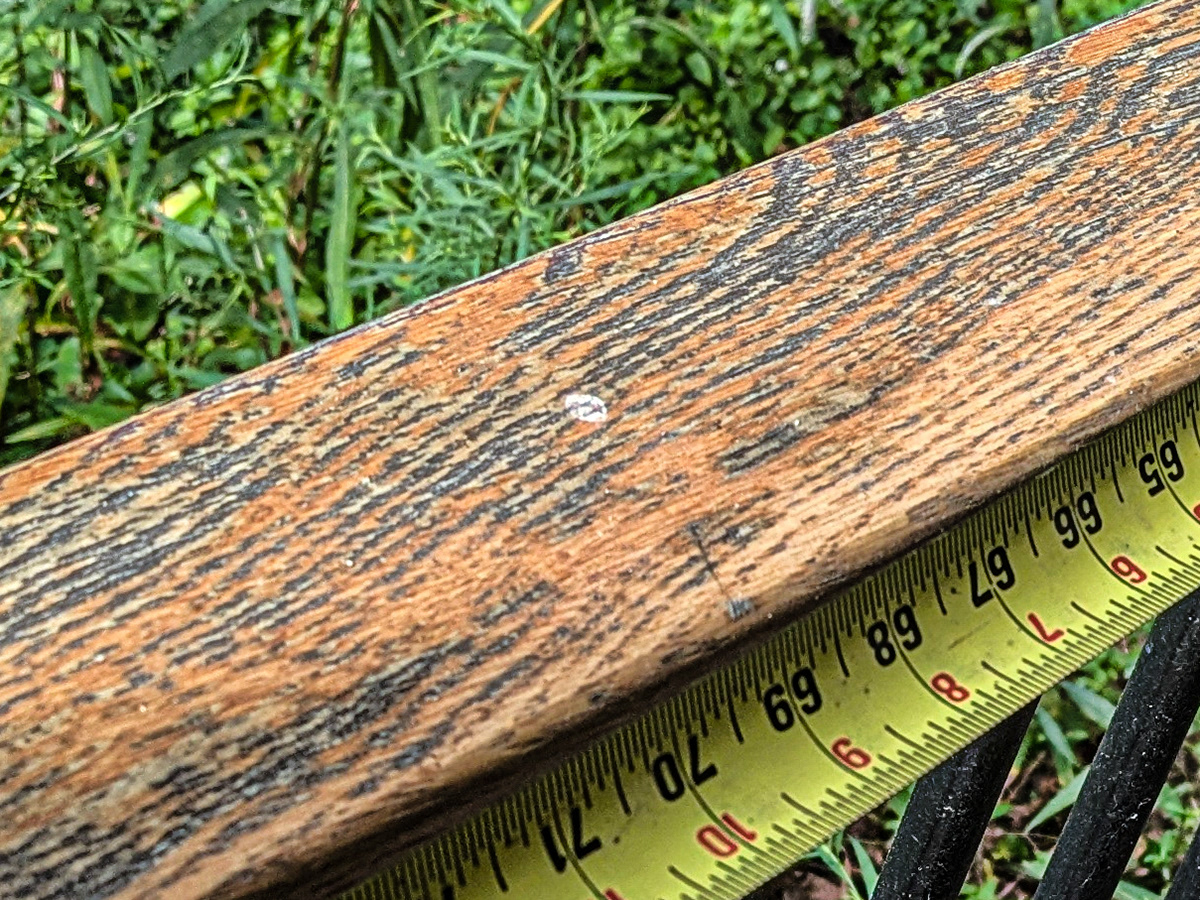
The red oak handrails had a badly distressed varnish that didn’t hold up over time. Red oak is susceptible to rot and decay. So as the varnish failed, rain water began to work it’s way into the open pores of the oak and created cracks in the wood.
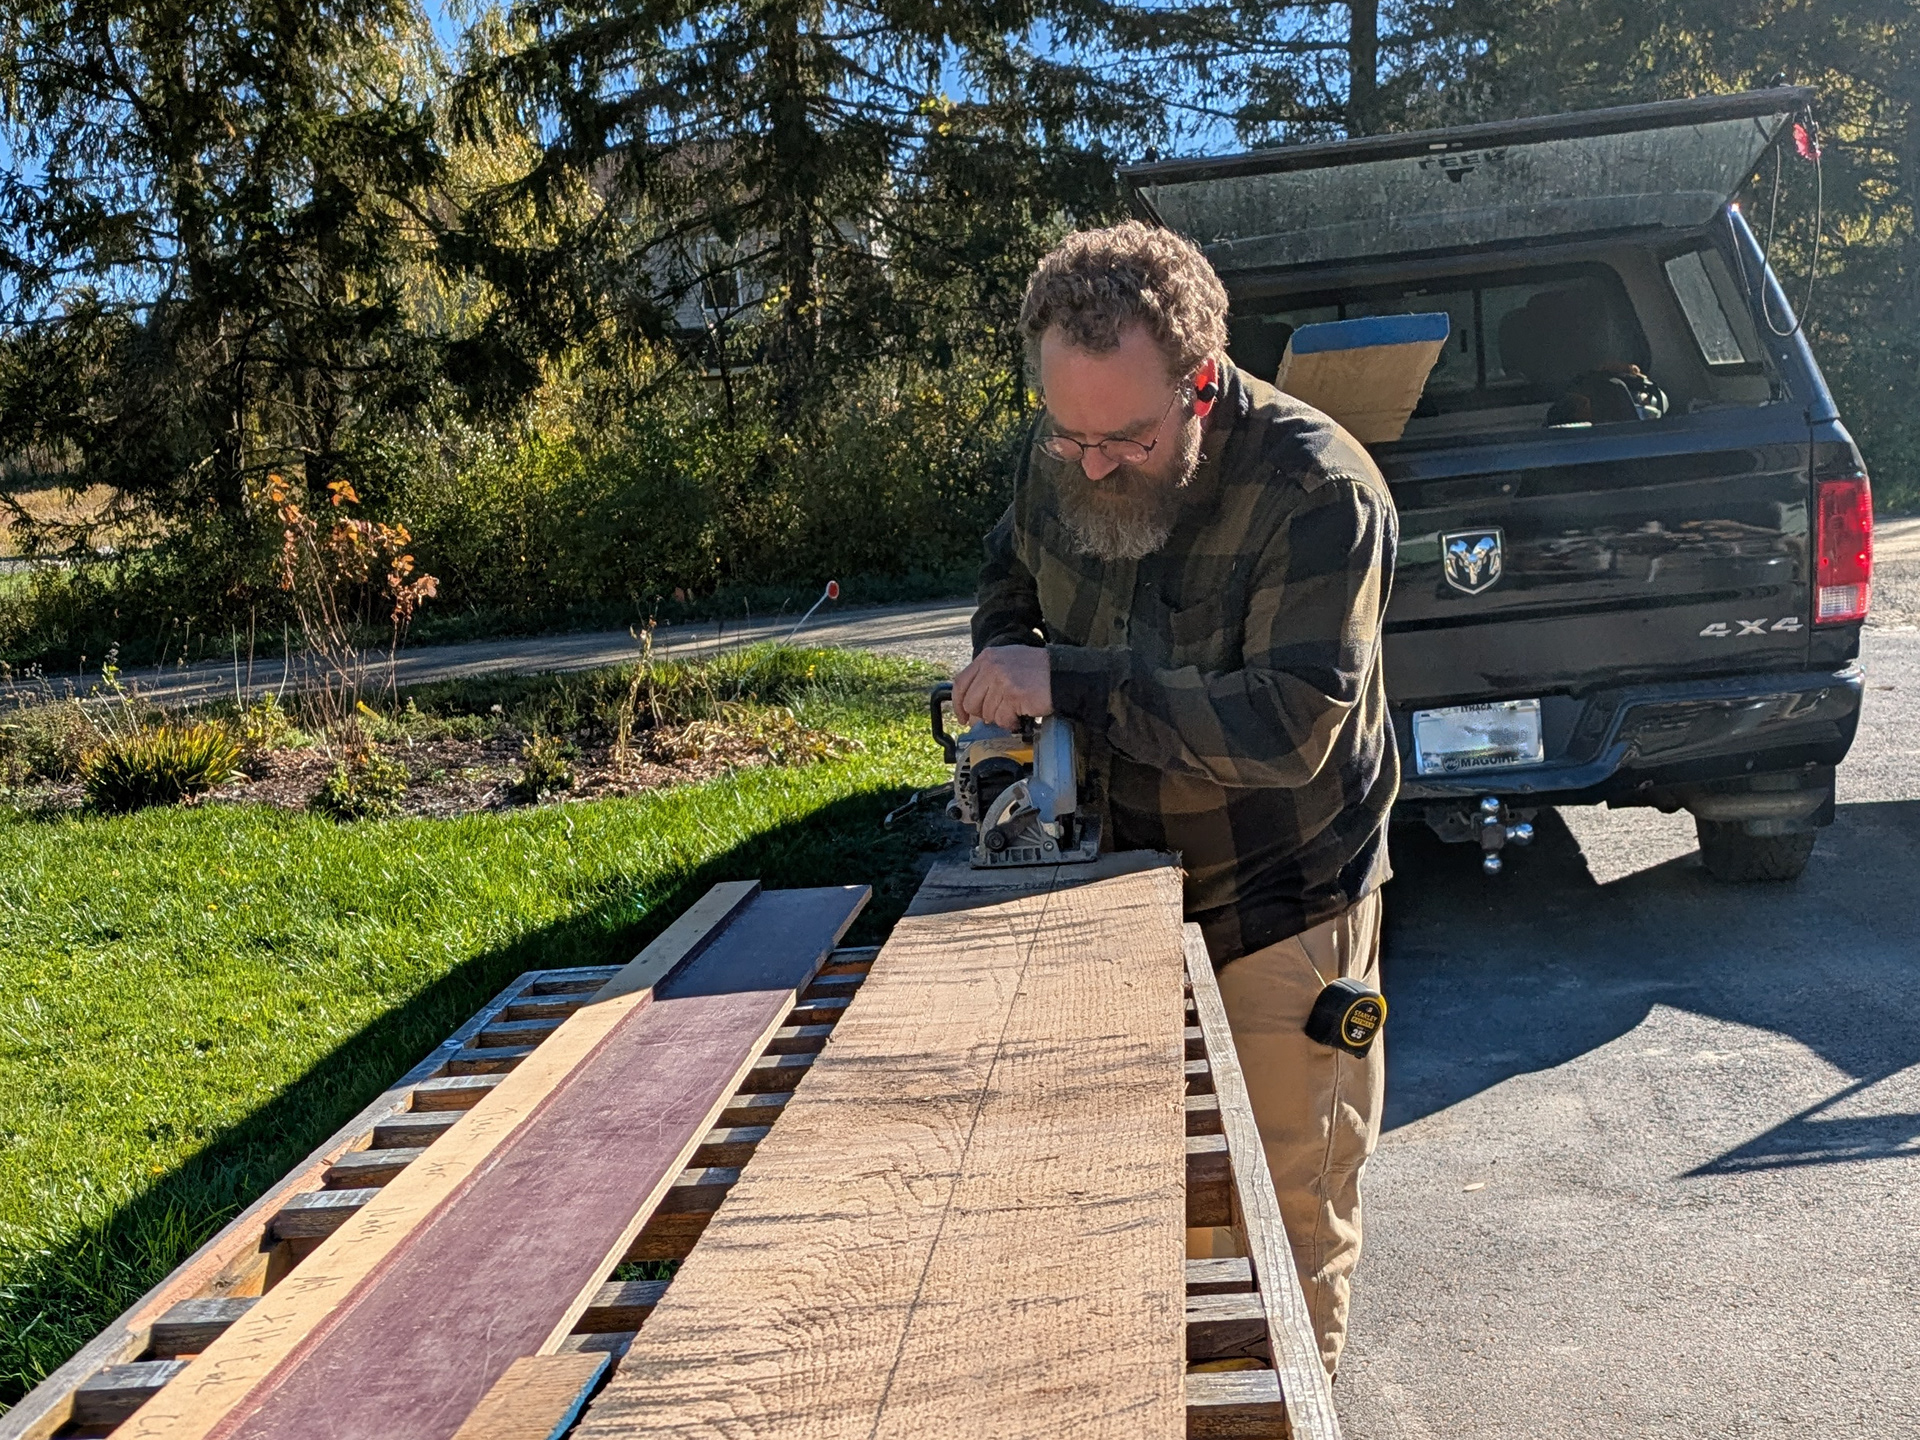
We began the project at the shop by cutting down some large white oak boards from the hardwood lumber dealer. White oak has closed pores and does a very good job of resisting decay. We cut the oak boards into manageable sizes with a circular saw and track saw. Then we used the table saw and router to shape the boards into 3 distinct profiles: a lower rail, an upper rail and a handrail.
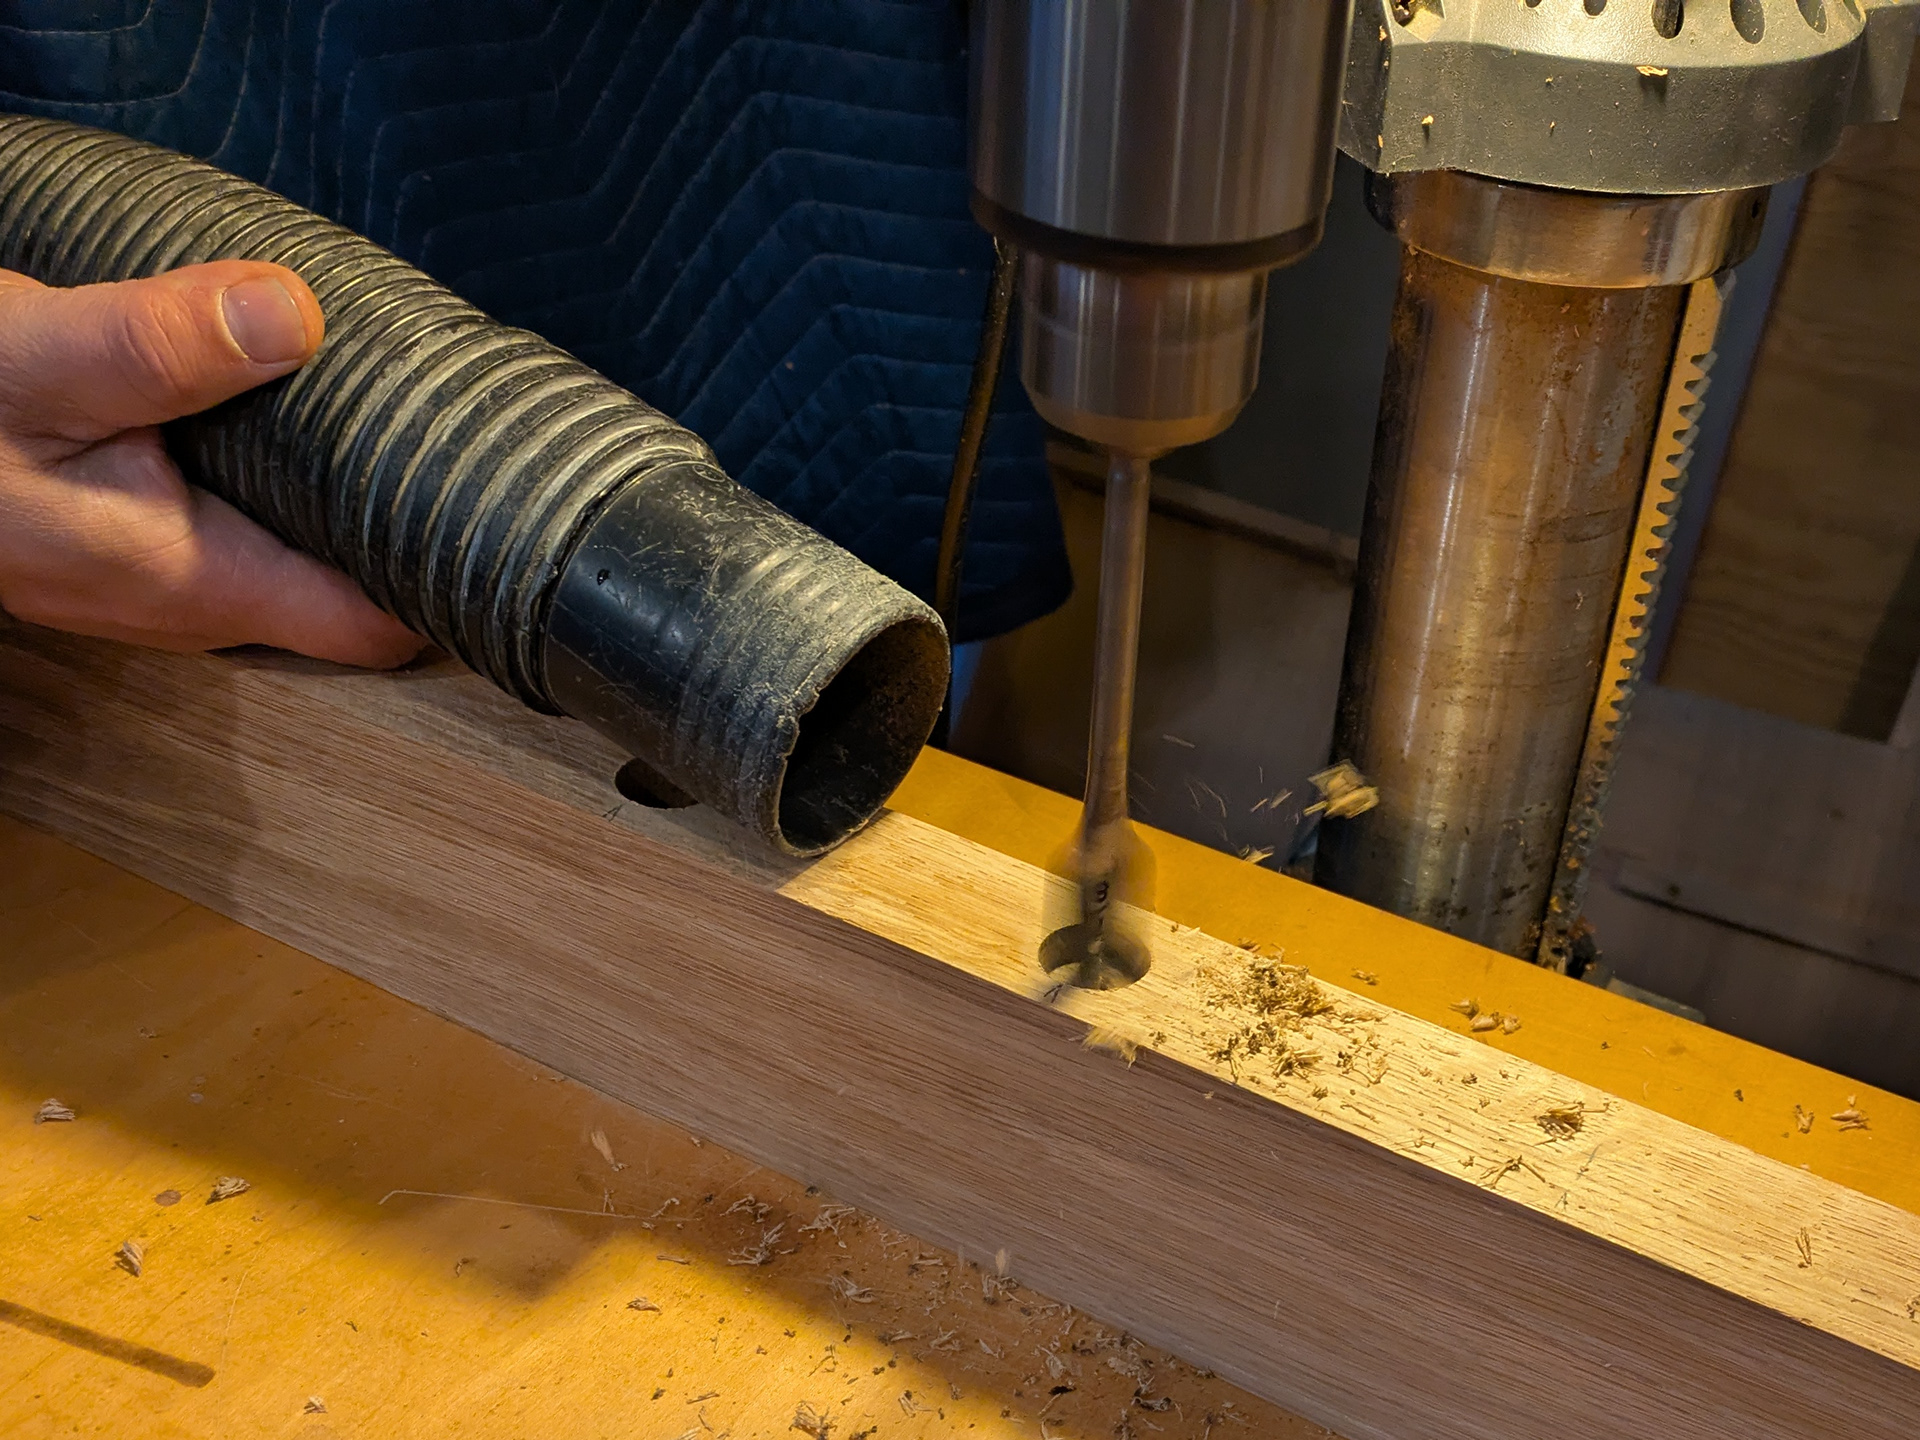
We laid out the spacing for each section of the railing based on measurements that we recorded in the field. Deep holes were drilled for the balusters in both the upper and lower rails.
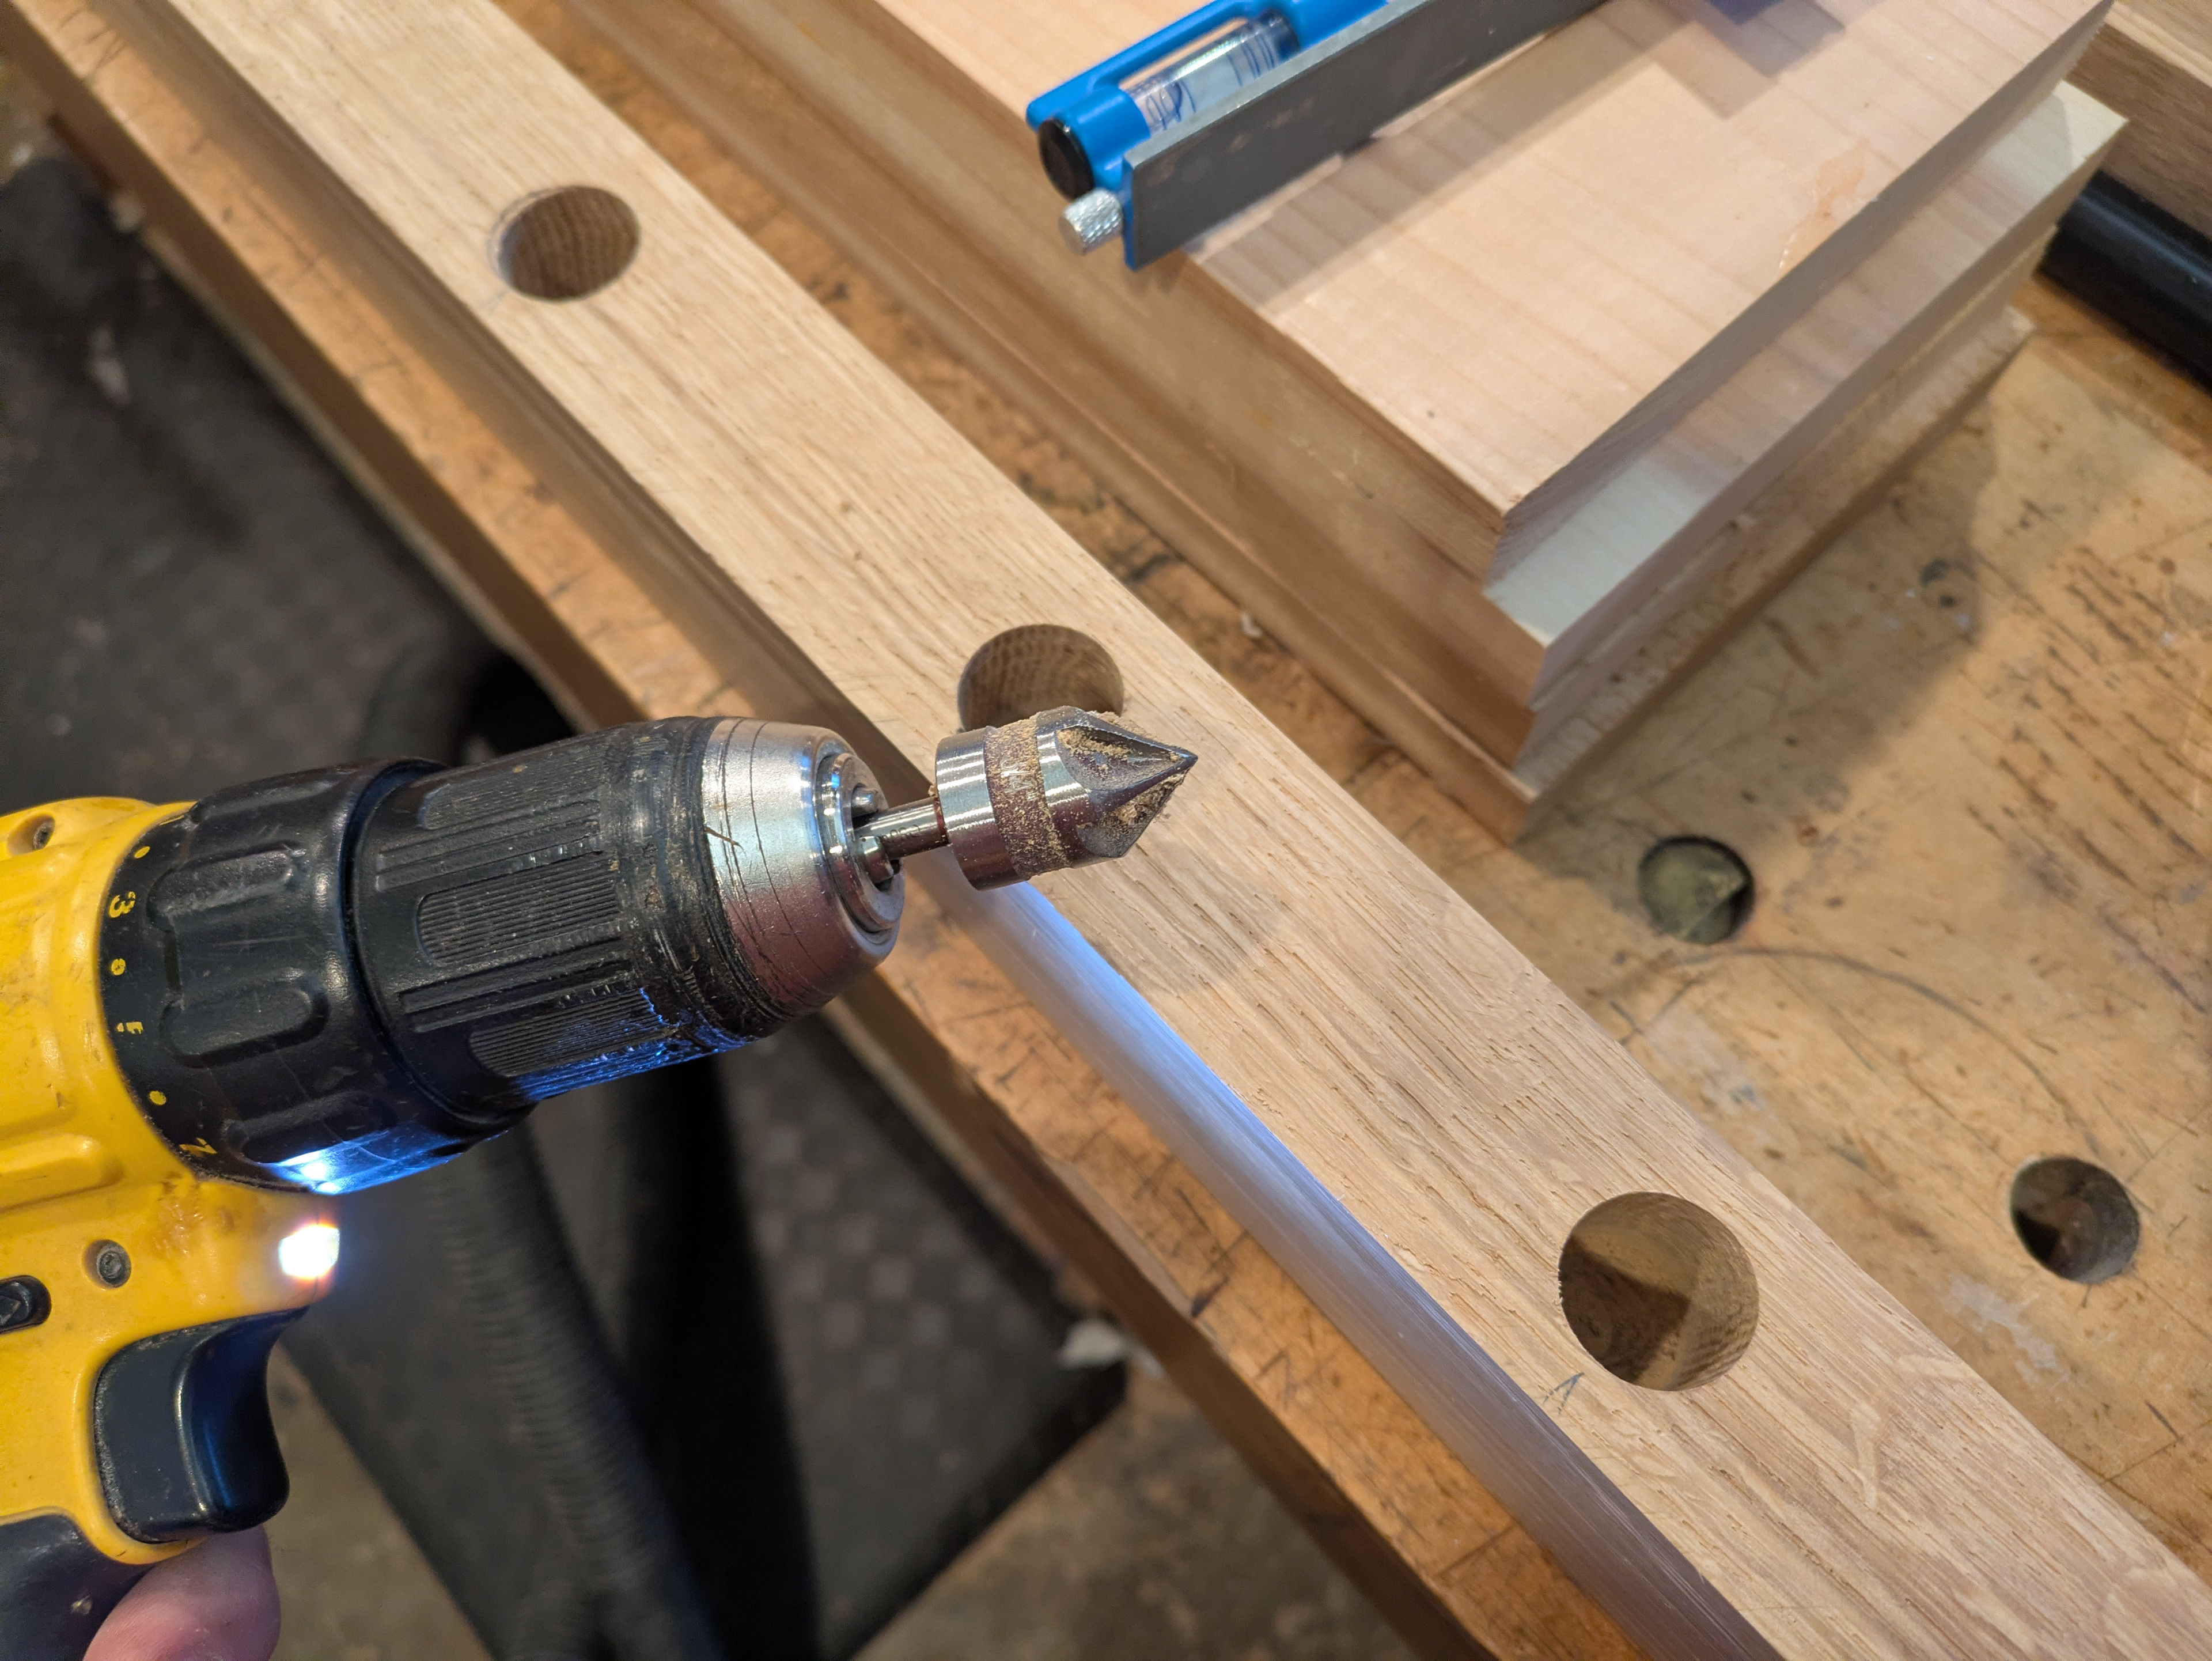
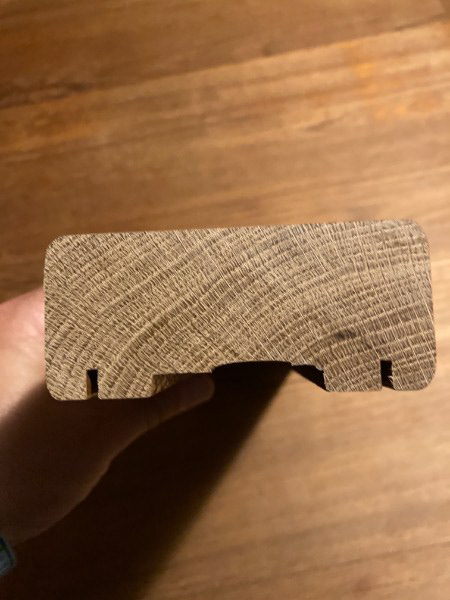
The lower rail holes were chamfered with a countersink bit and smaller weep holes were drilled all the way through the lower rail. We then ripped the lower rail to have a slanted profile. The holes of the lower rail were primed.
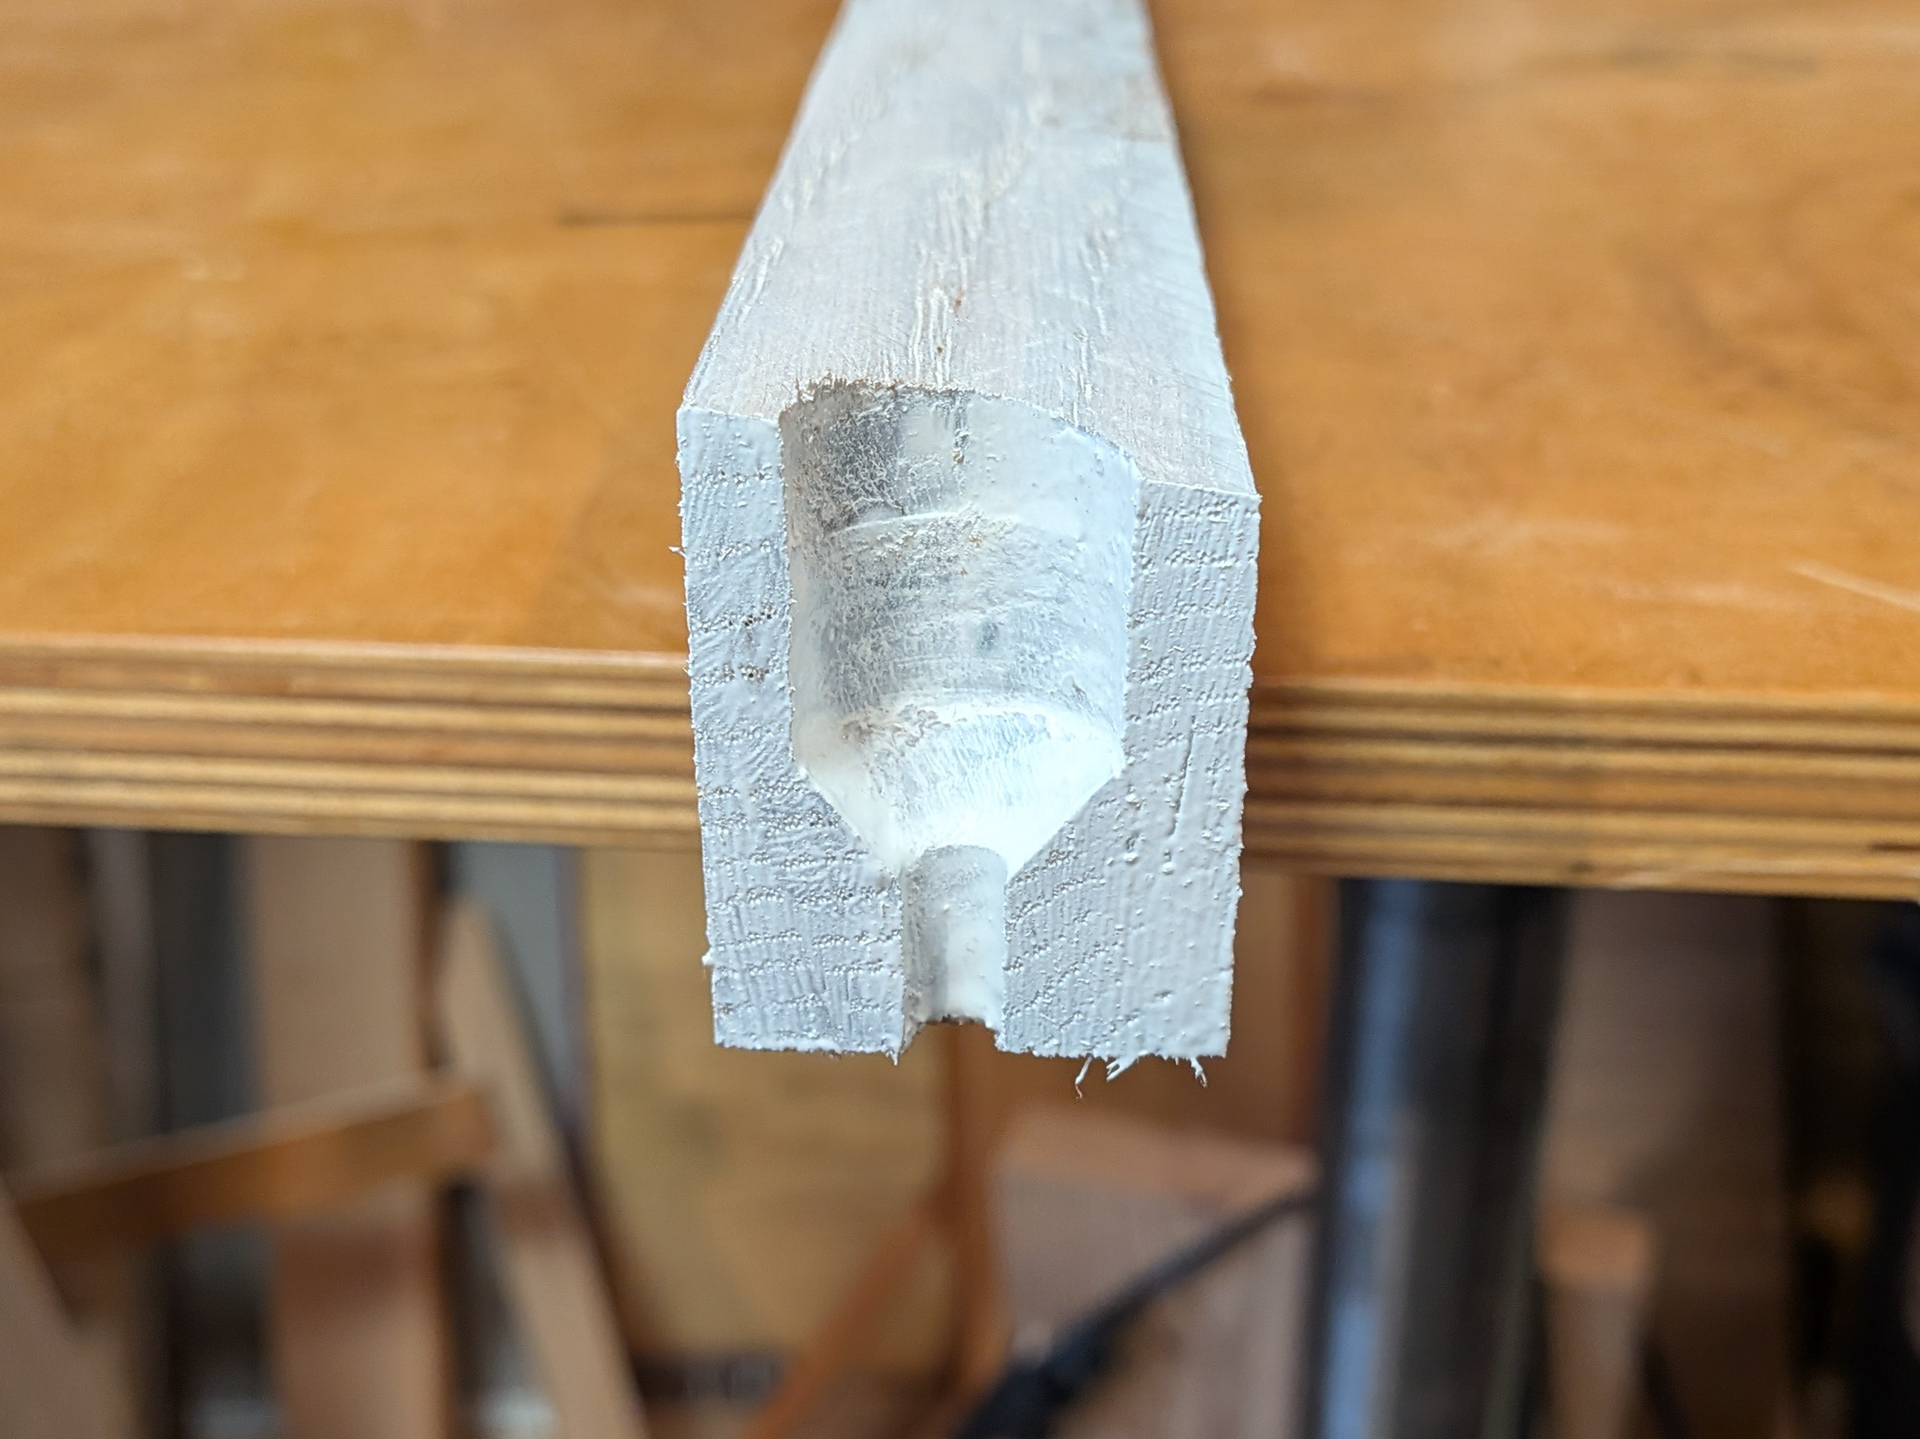
This is a mock up of the lower rail that I made to show the profile of the holes in the lower rails. The slanted top of the lower rail discourages water from pooling on the surface of the lower rail. The deep, sloped-bottom holes with weep holes encourage water that does enter the hole to drain away. This drastically reduces decay.
The upper rail has a wide groove plowed into it down the center to accept the upper rail. We used multiple cuts on the table saw with a dodo blade to achieve this. A regular table saw blade cut two, smaller grooves near the bottom edge of the handrail. These smaller grooves are designed to break the surface tension of water so that the water drips away rather than running down the edge of the upper rail and dripping down onto the lower rail.

The lower and upper rails were primed with 2 coats of oil based primer and painted with 3 coats of exterior latex paint. The handrail was finished with 5 coats of epifanes spar varnish in the shop with a 6th coat applied after installation. Once we were at the jobsite, Krestia cut the pieces to their finished lengths and installed them. All cuts were primed prior to installation.
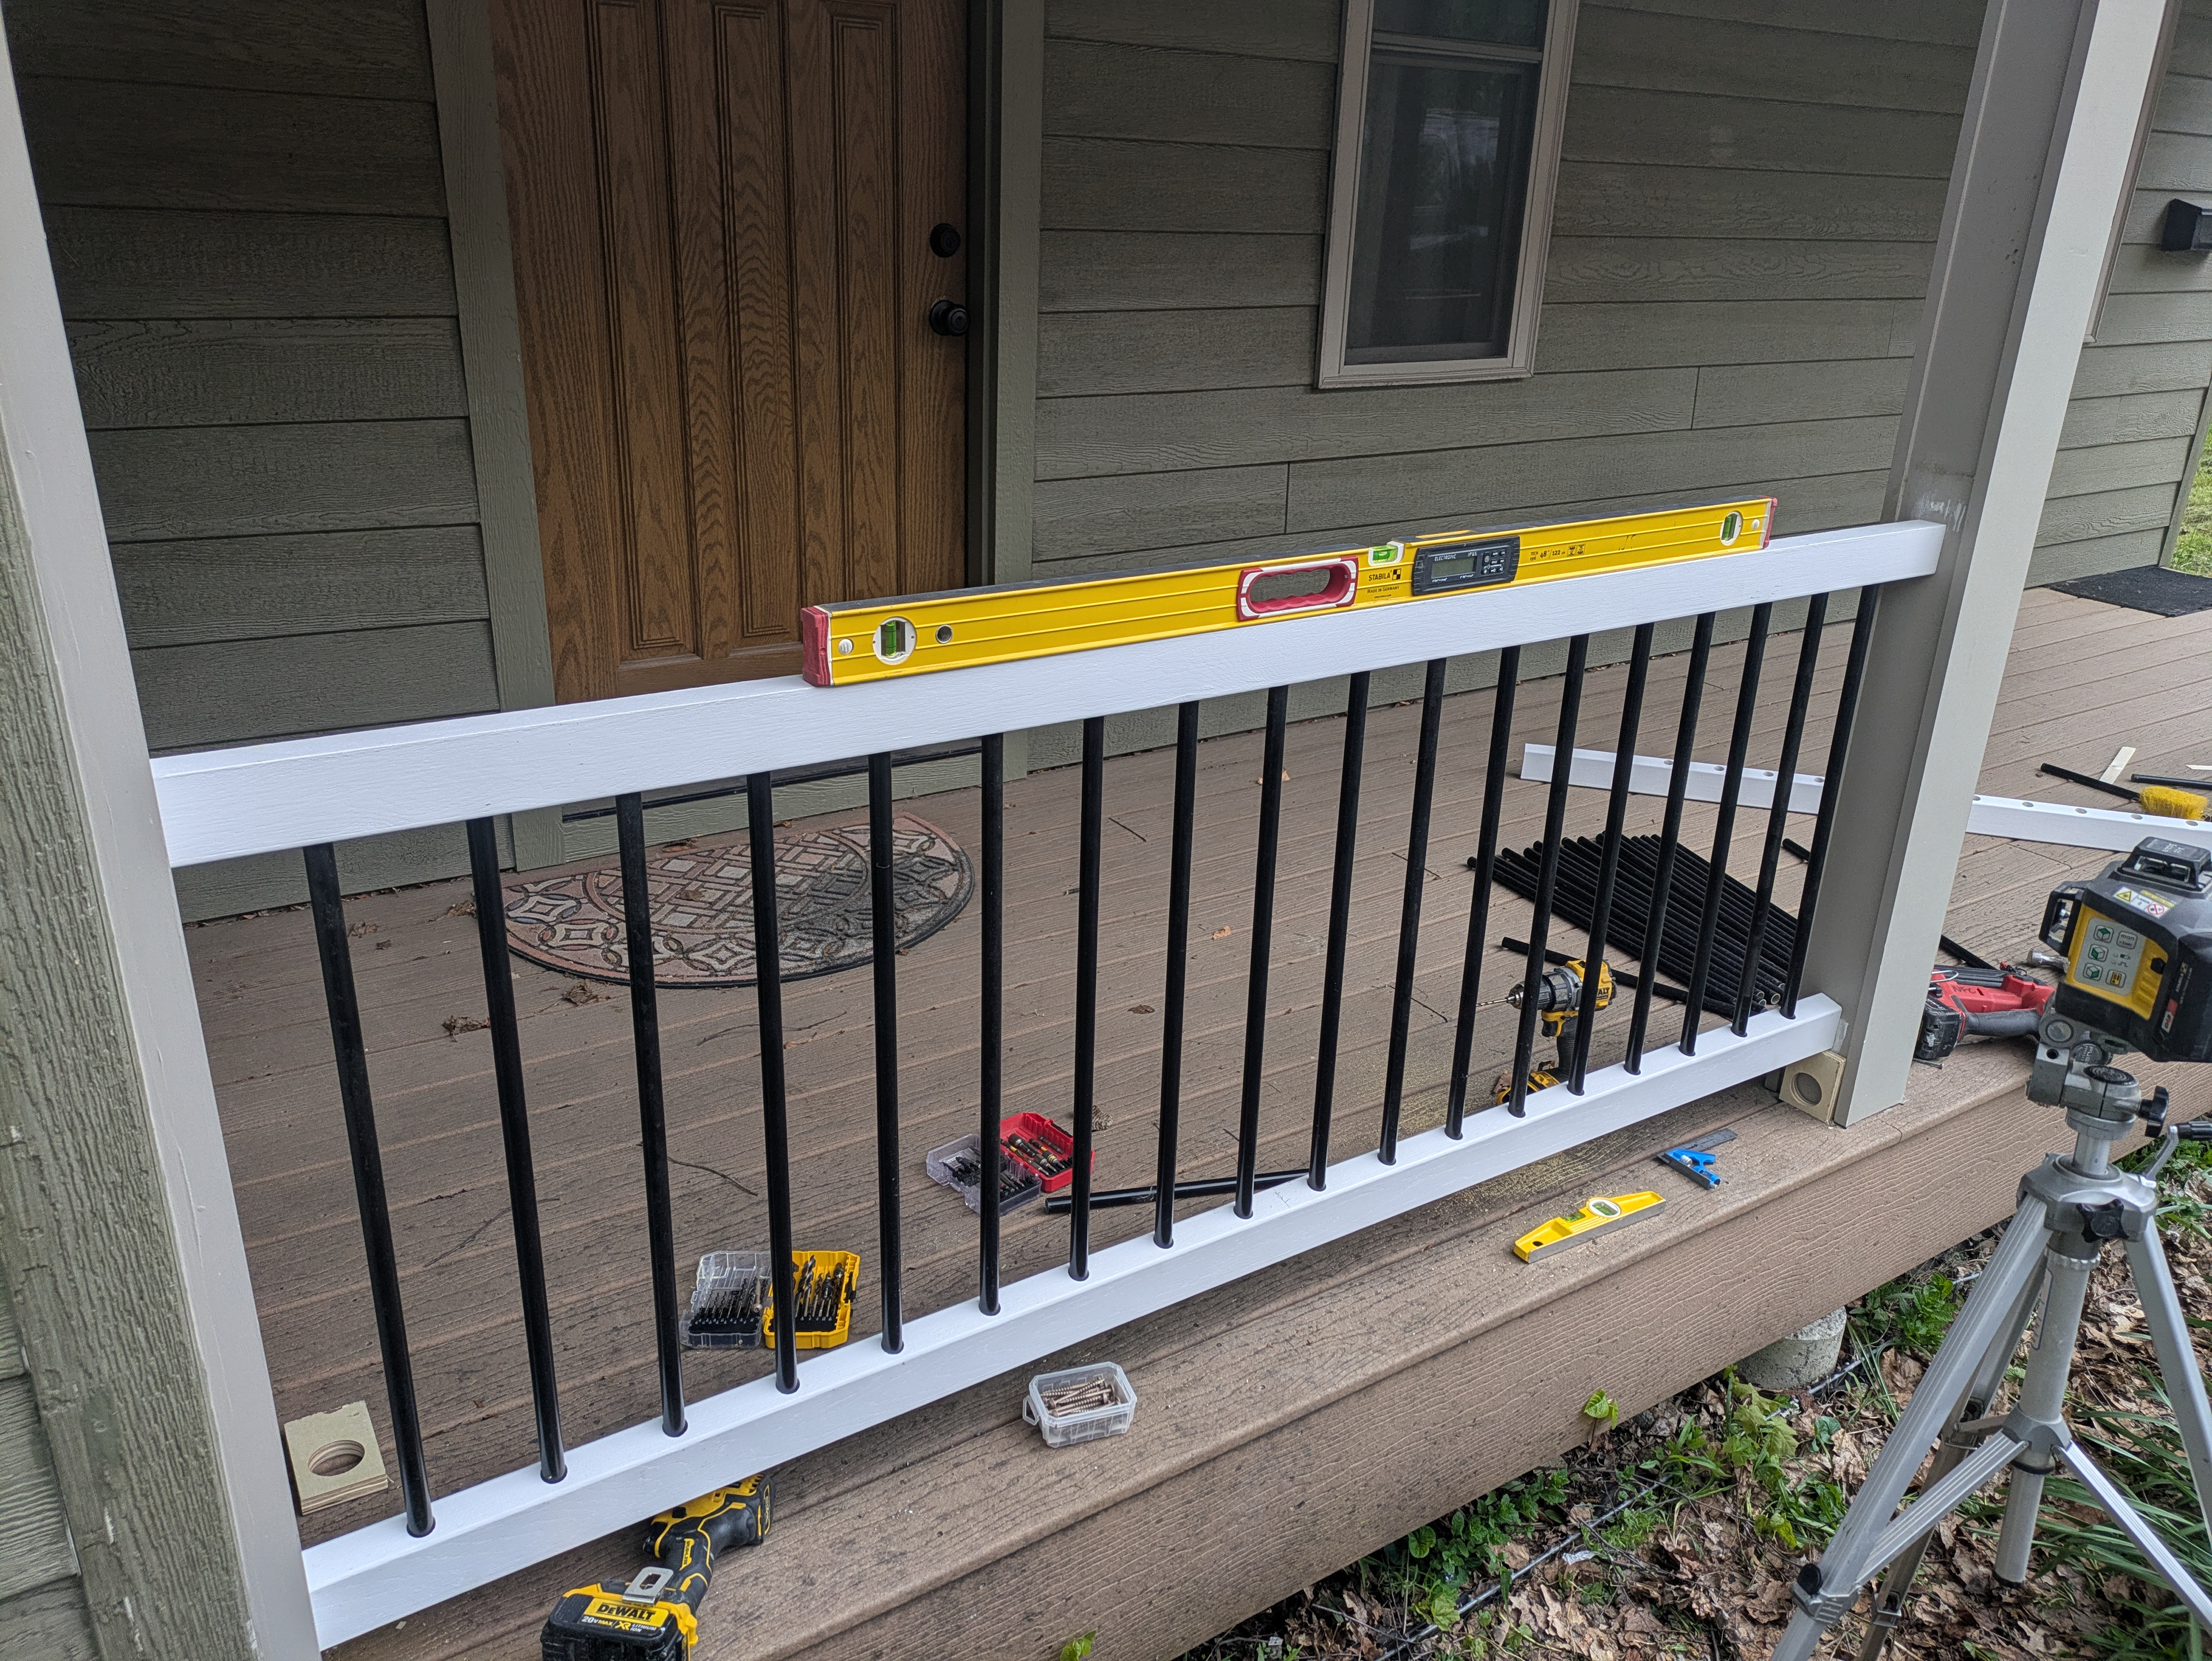
A spirit level and a laser level helped keep the installation level and plumb.
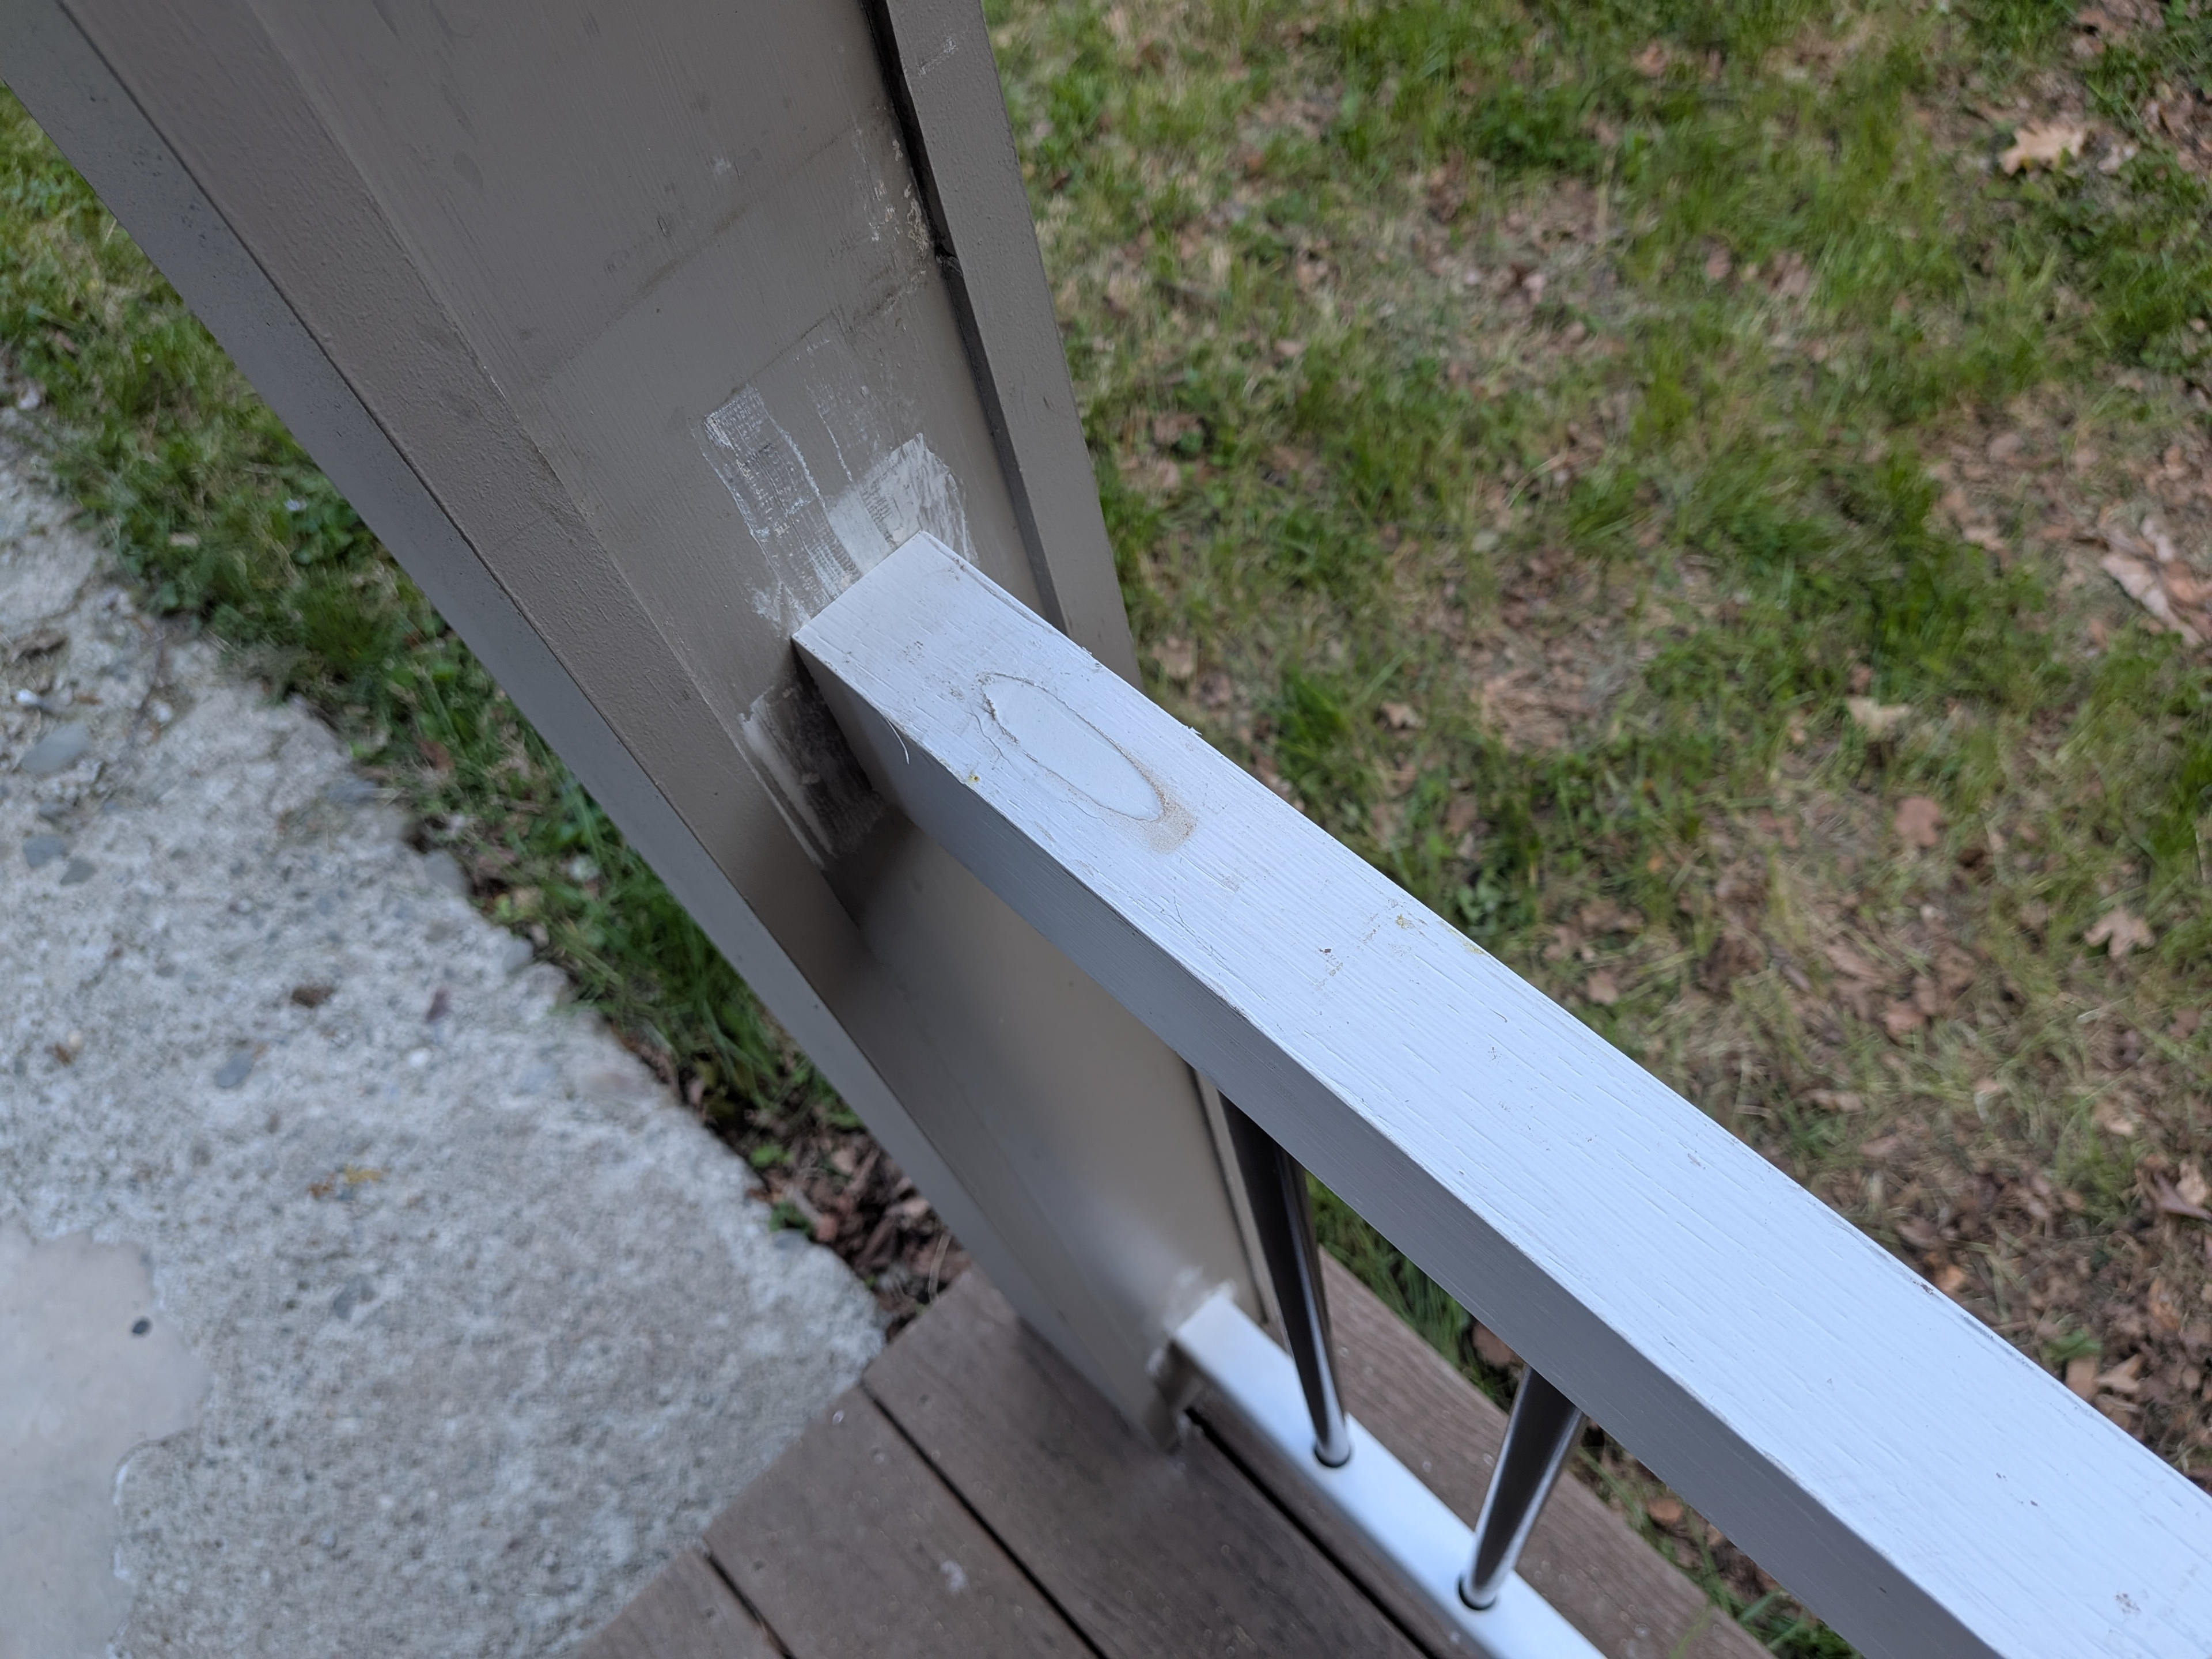
The lower rails were installed first with screws toenailed from beneath and on the porch-side of the rail. The upper rail was installed with heavy duty pocket screws from above. The pocket screw holes were filled with caulk.
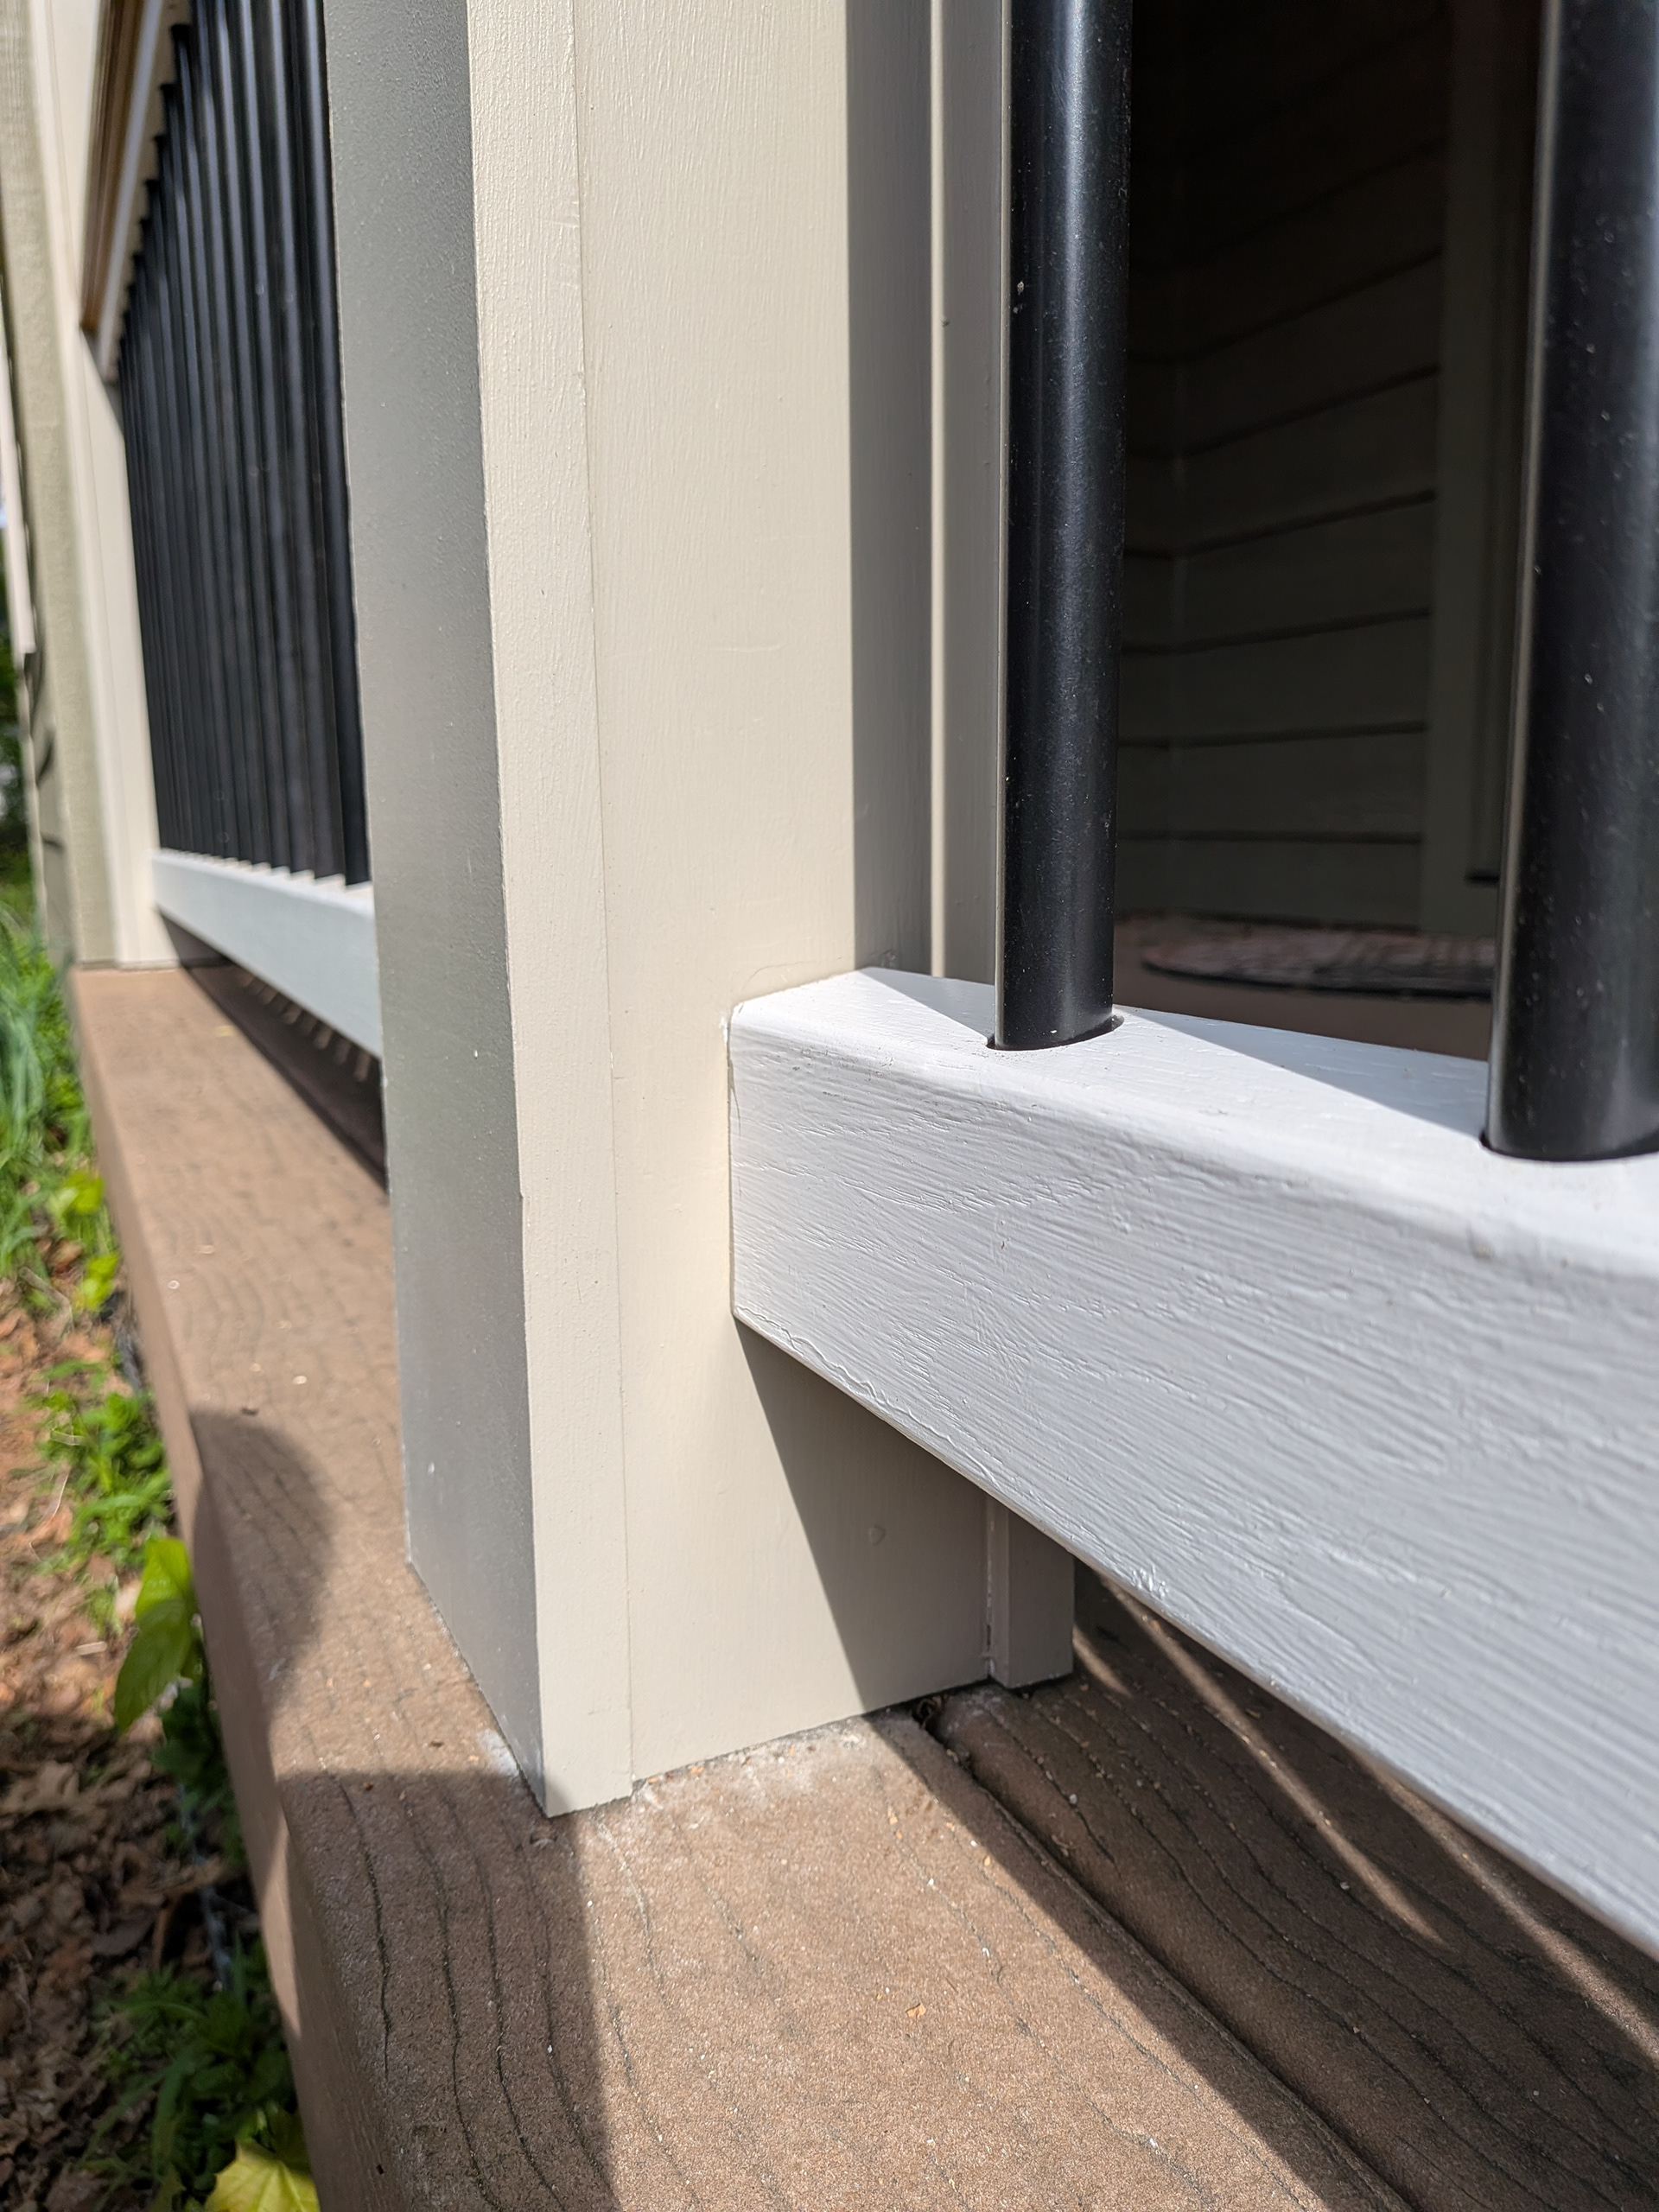
A trim screw toenailed from below reinforces the upper rail to the post.
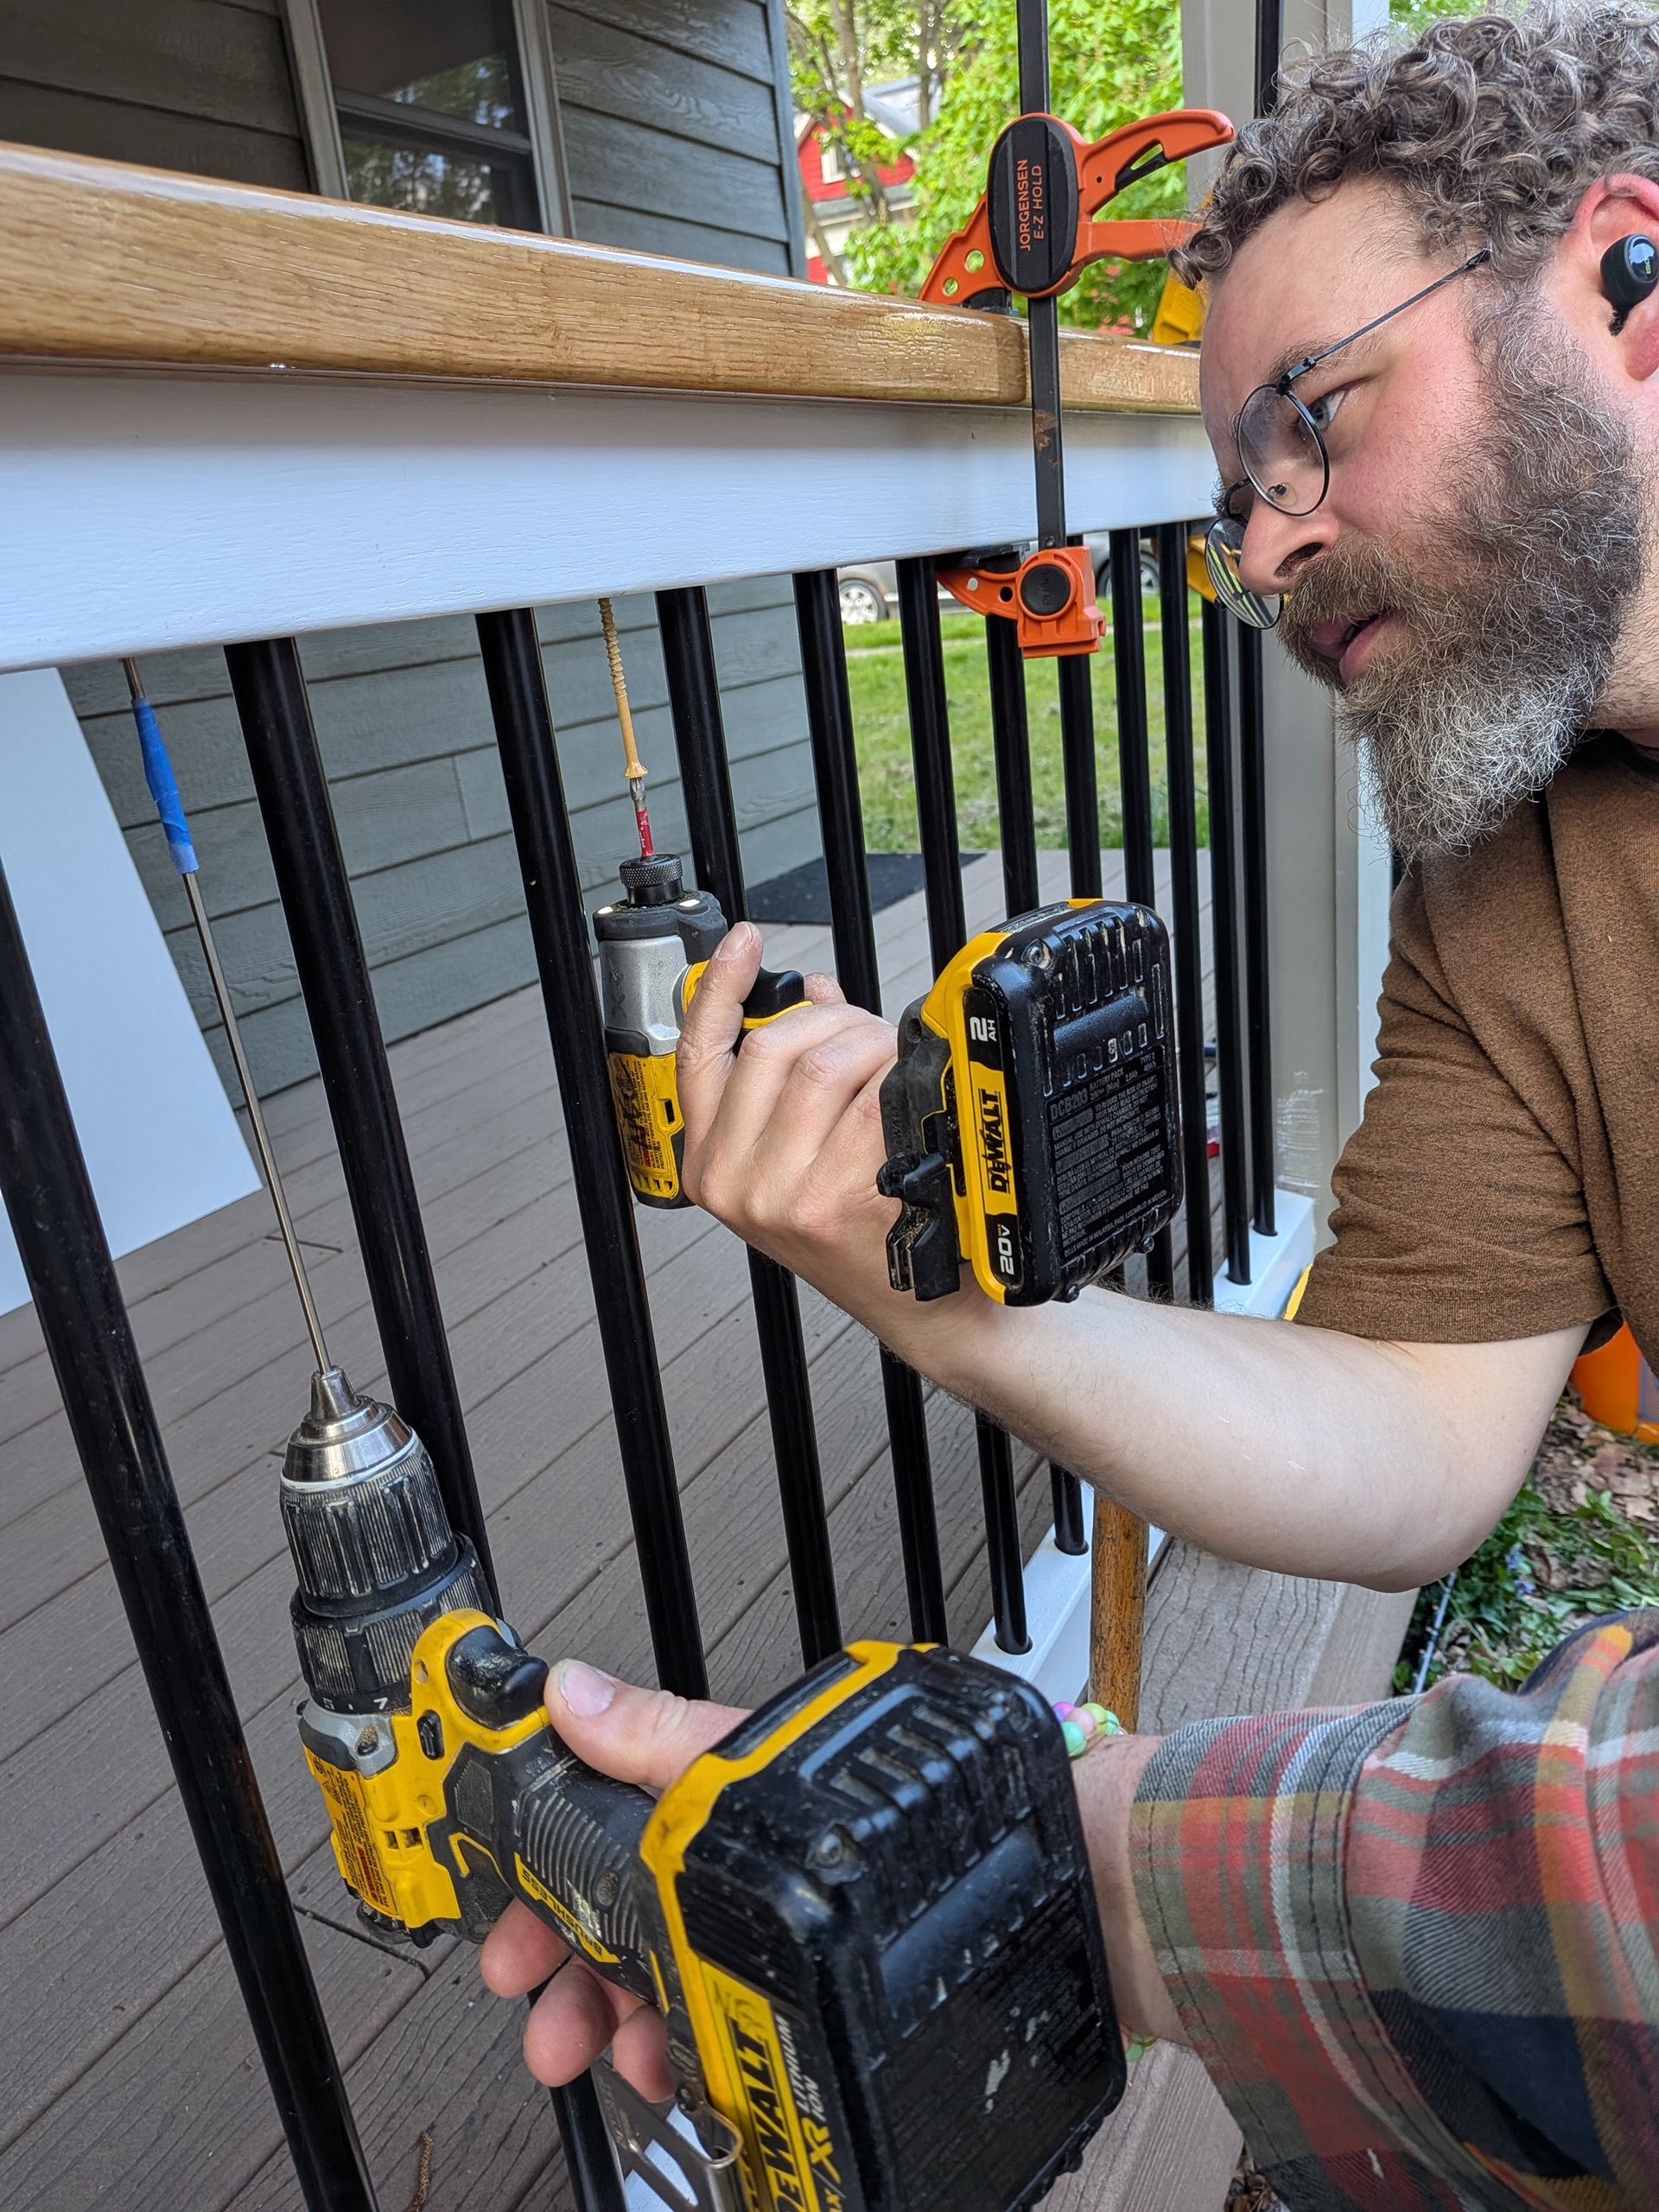
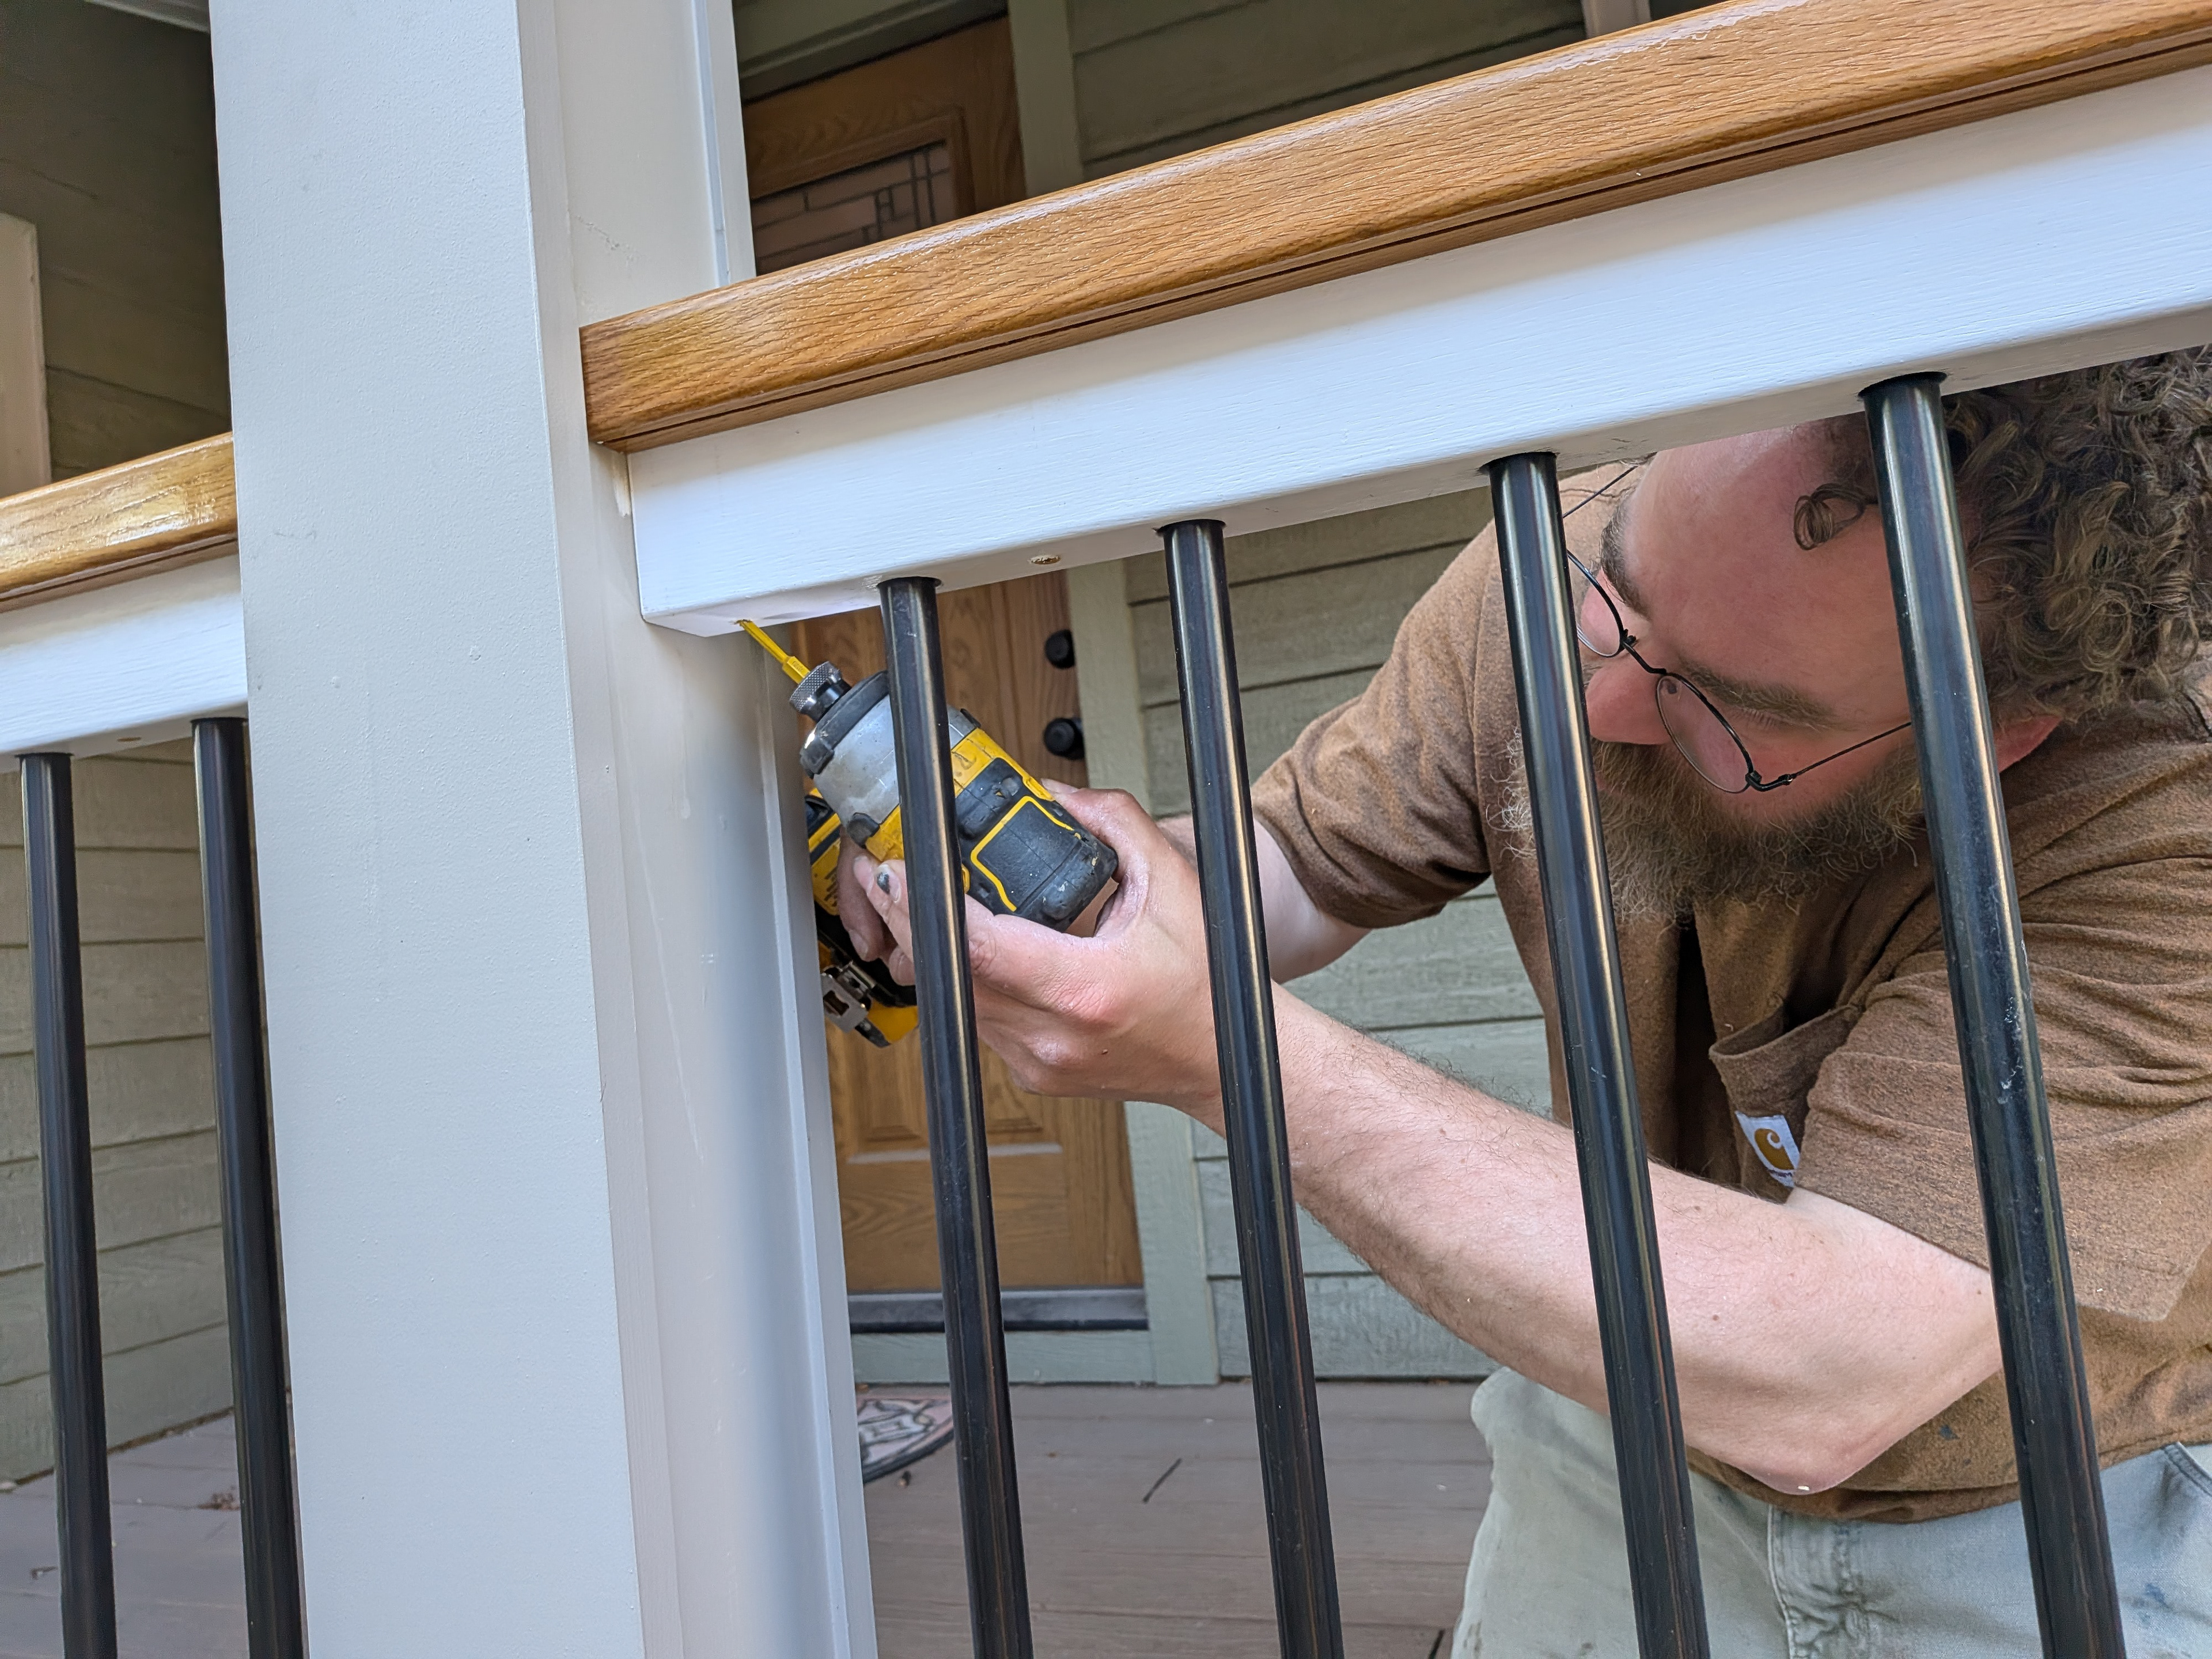
The handrails were pre-drilled with a long drill bit and screwed to the upper rail from below with 3 ½” framing screws.
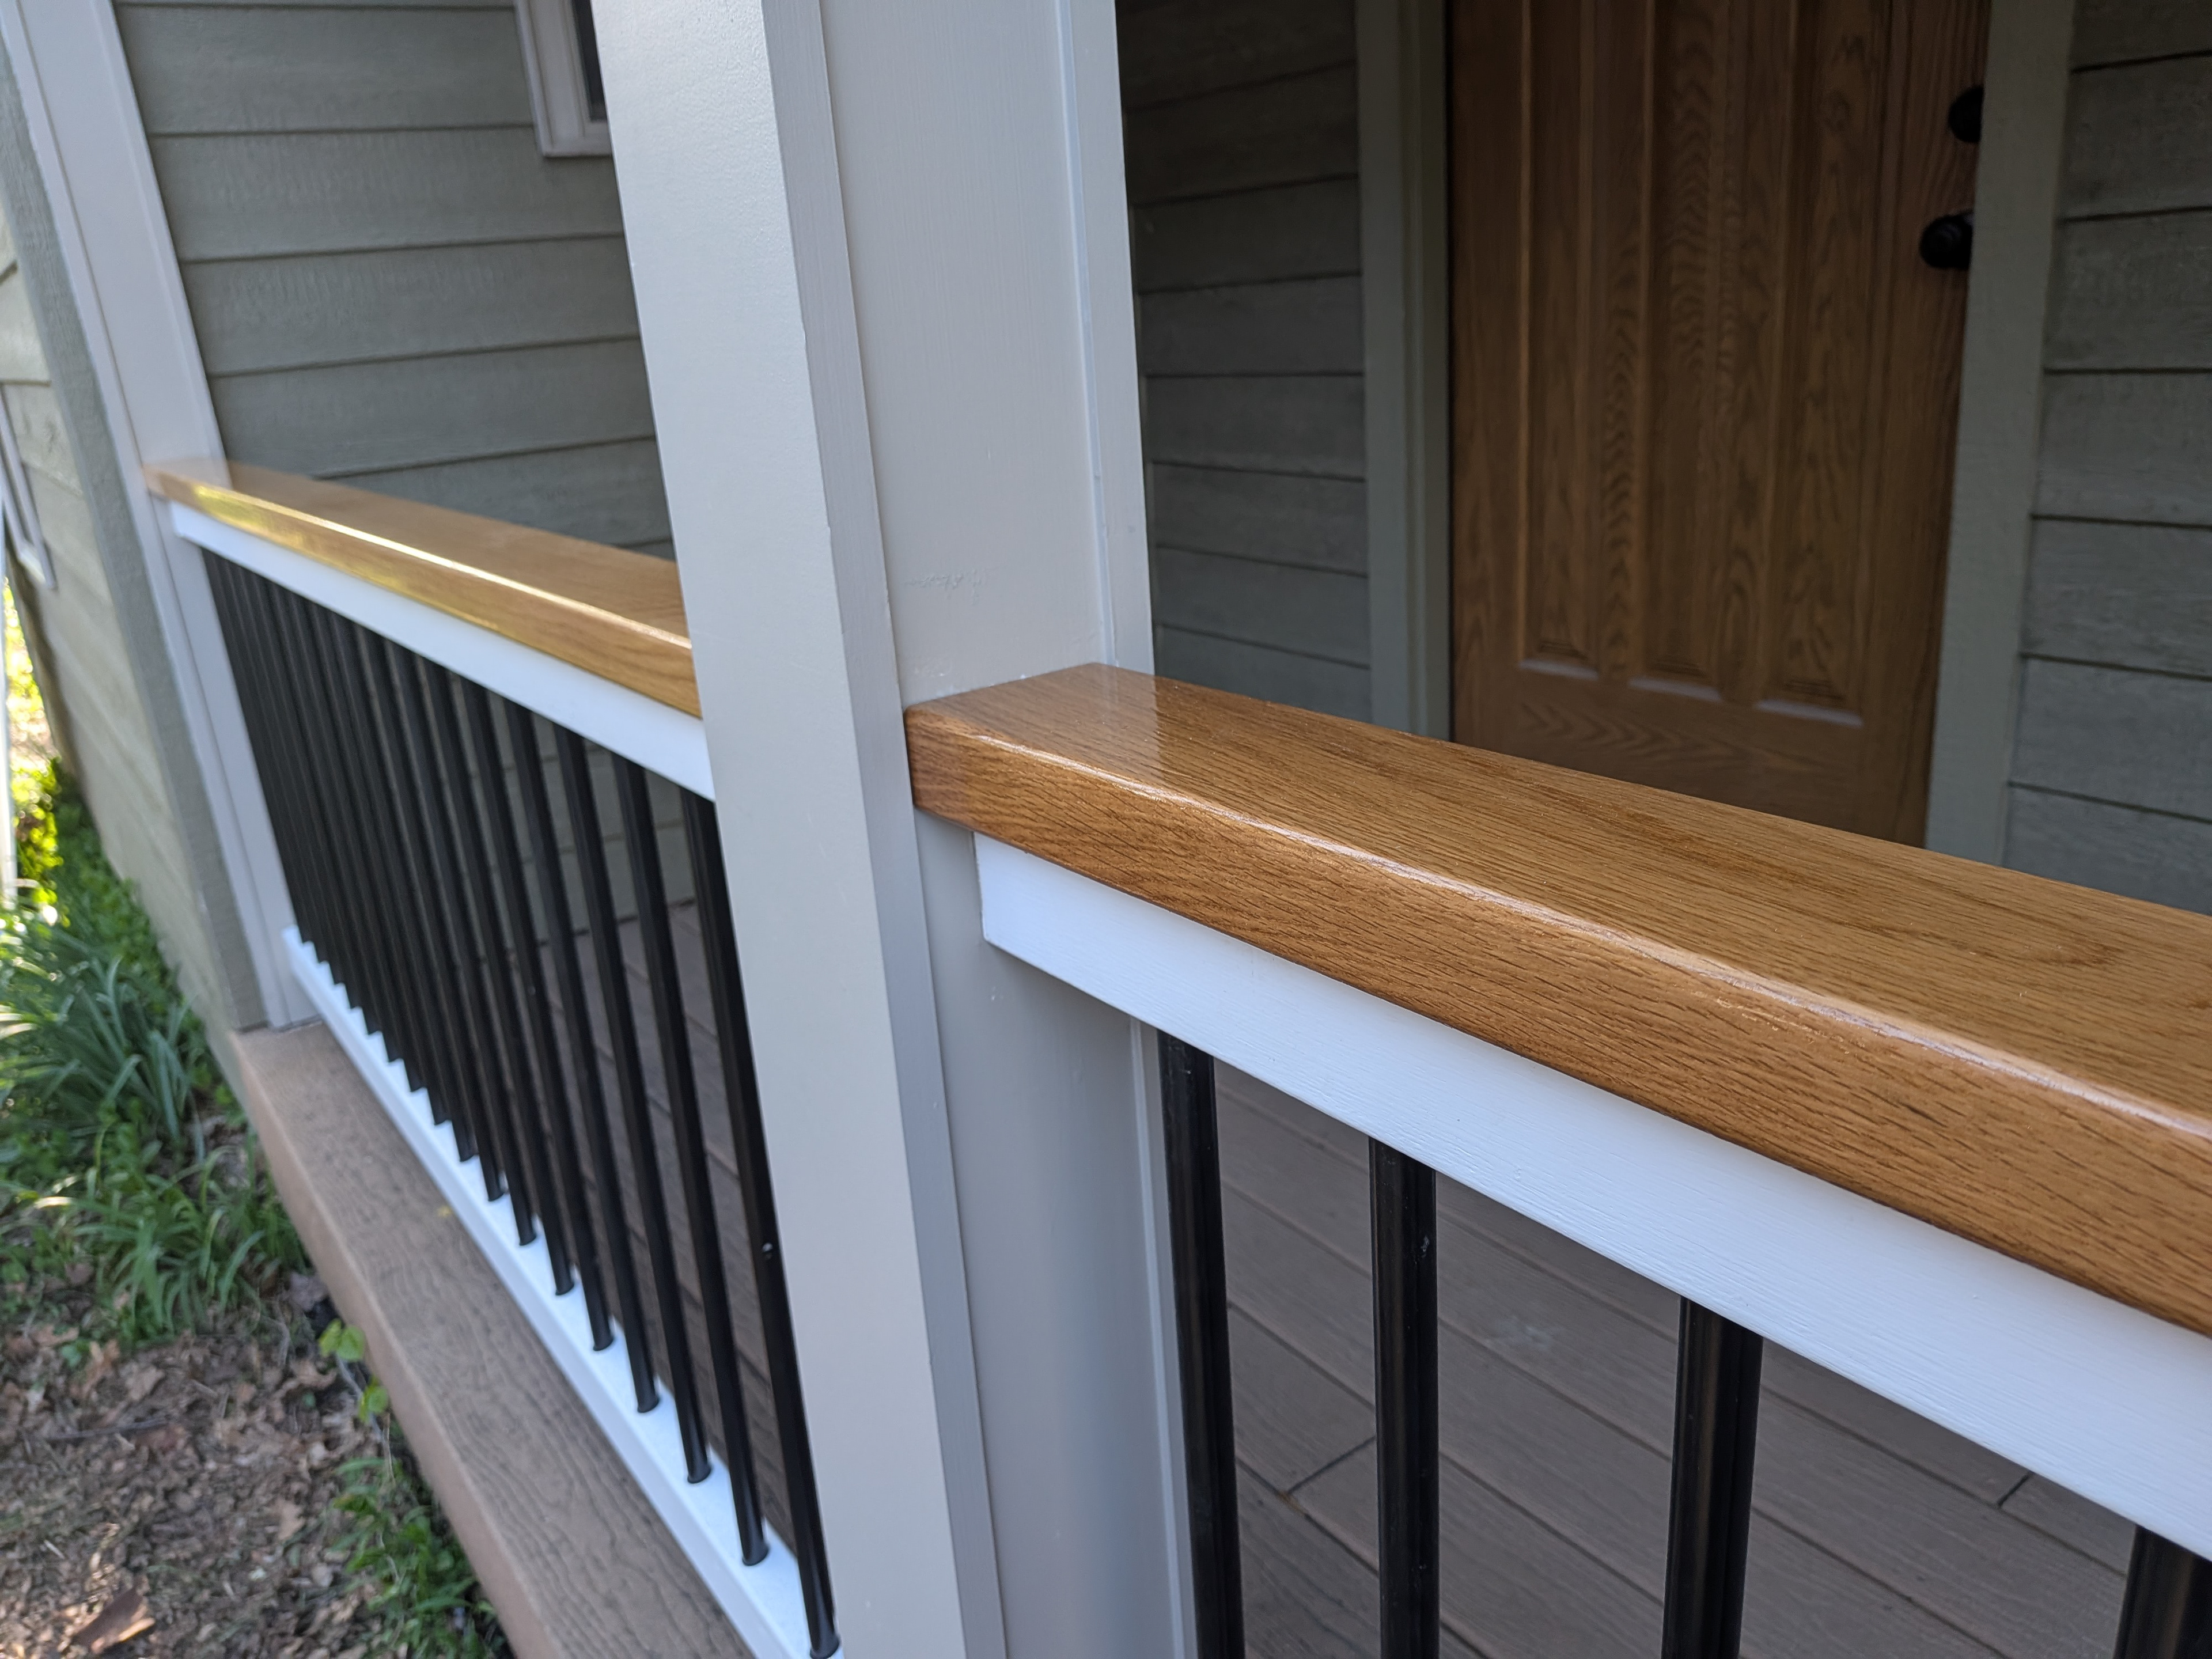
The joints were caulked and the posts were painted.
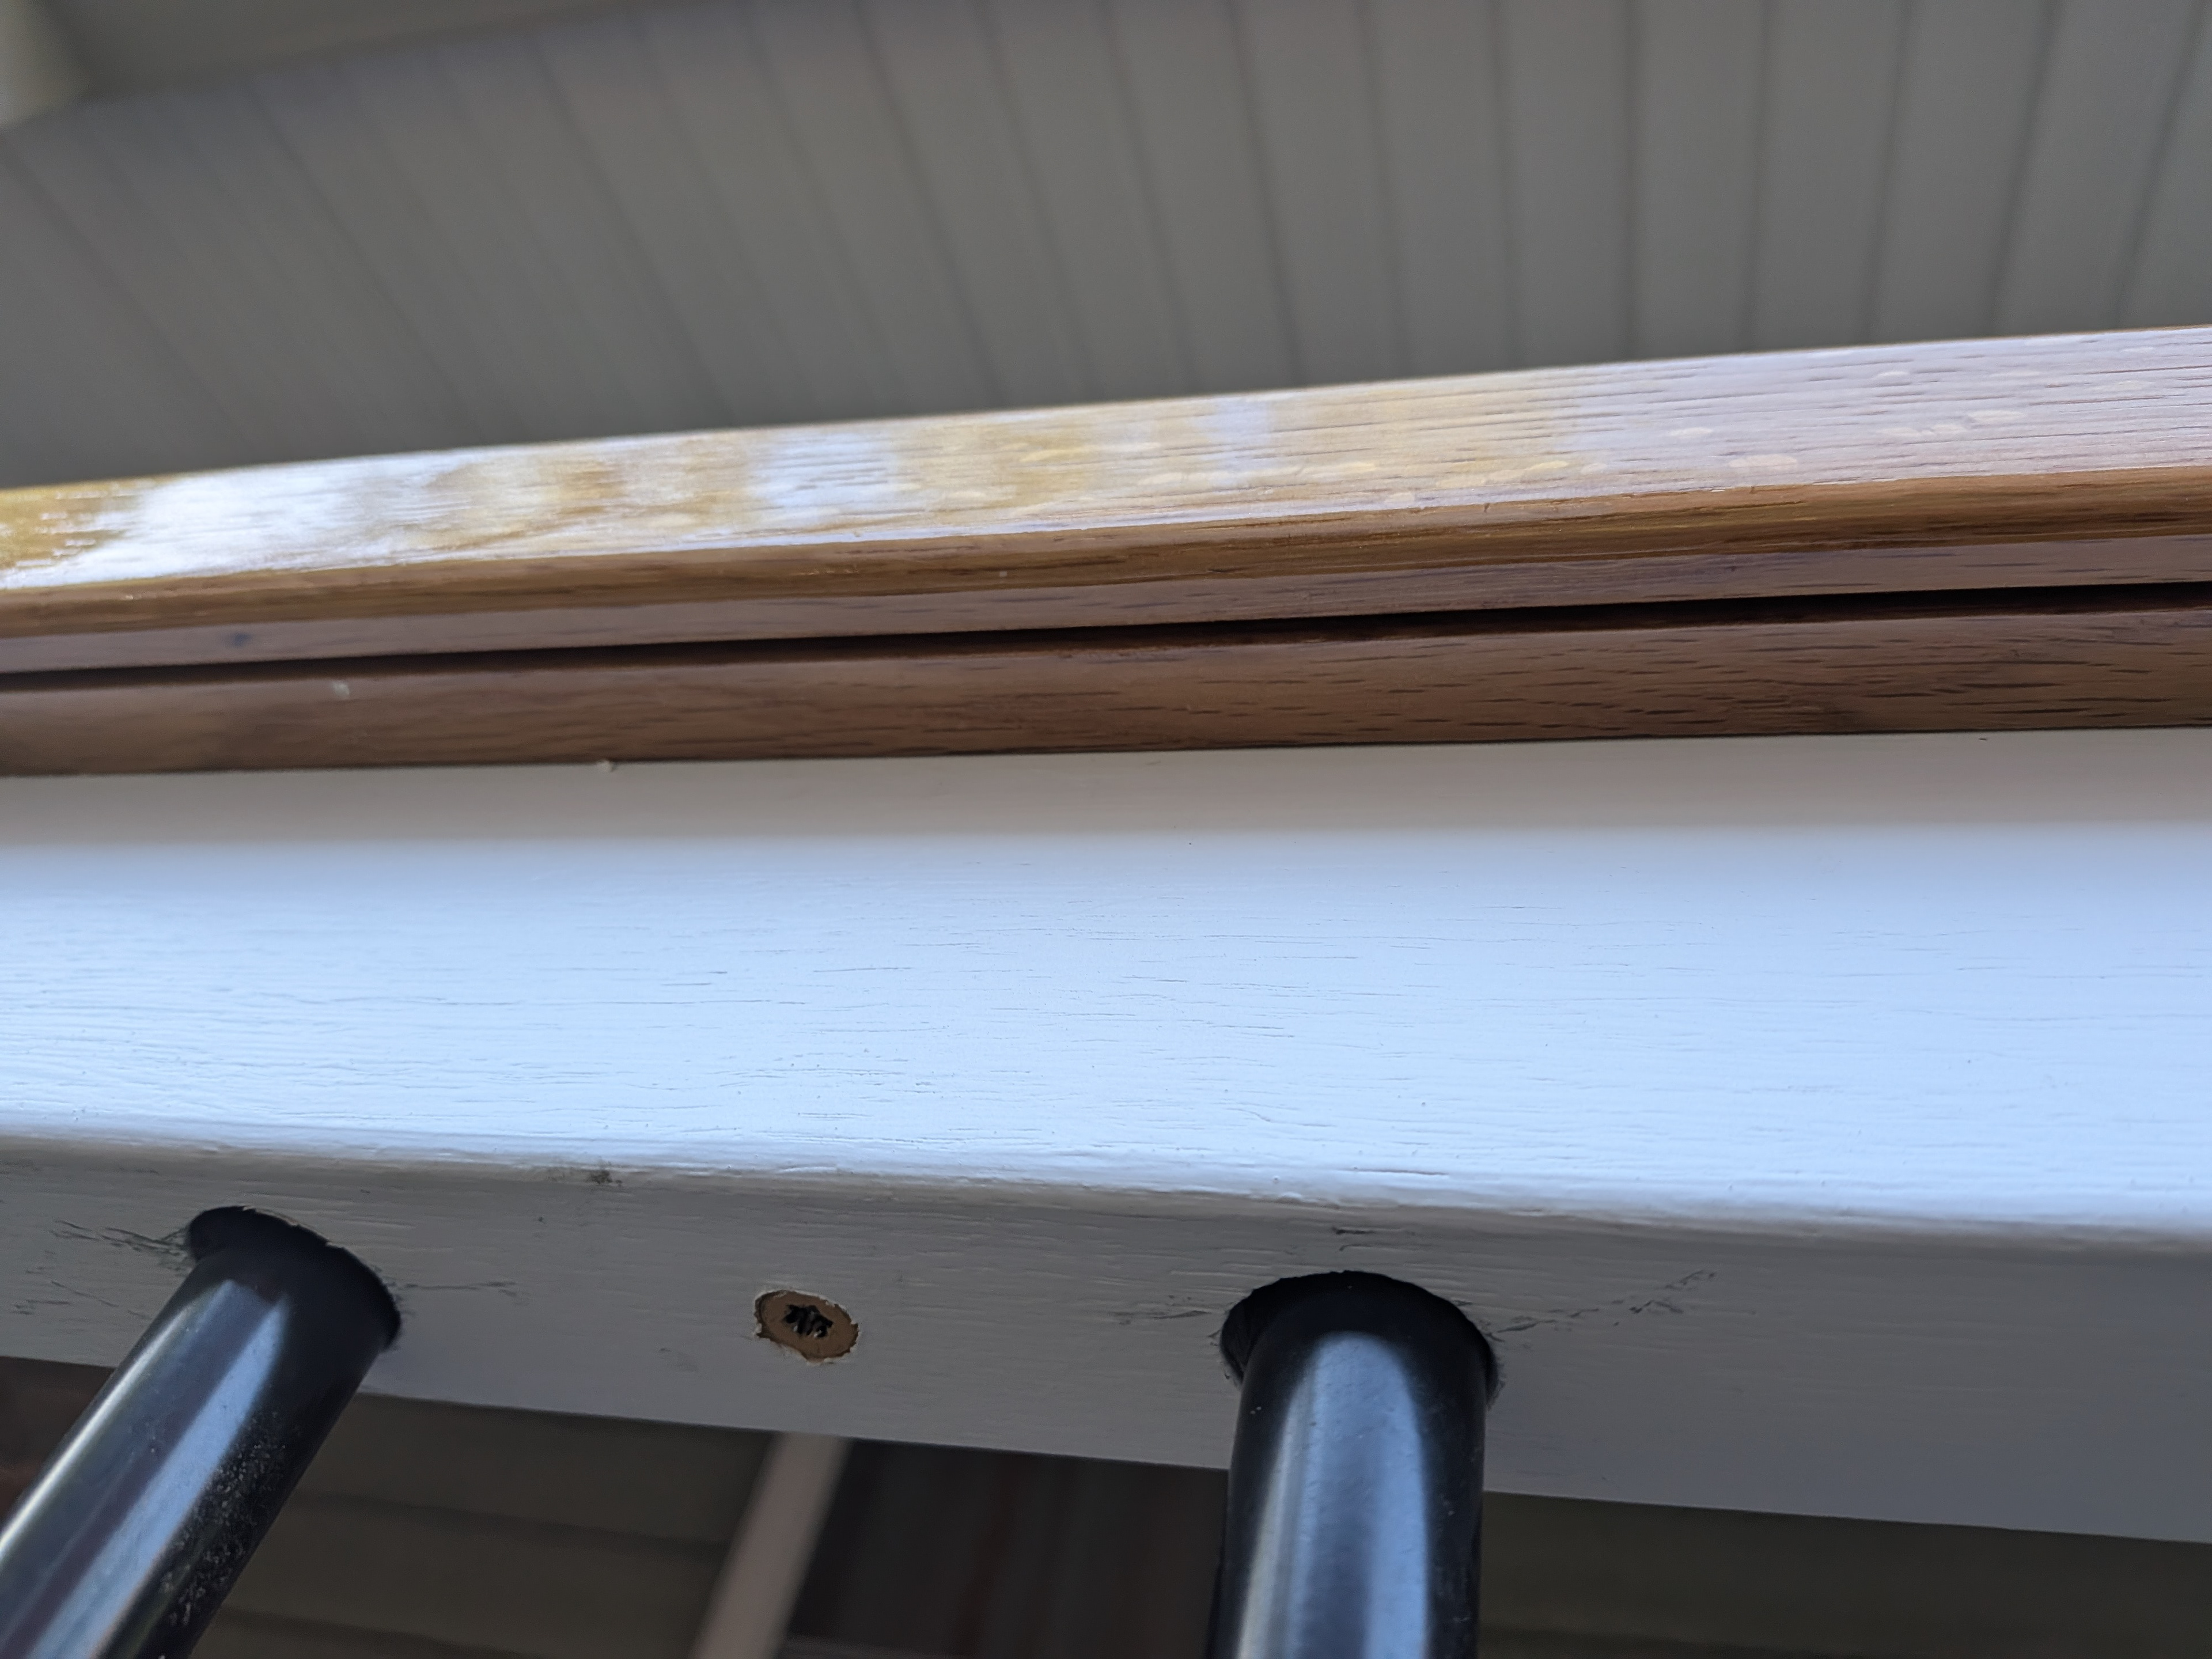
The grooves in the underside of the handrail will help the assembly shed water.
The lower rail is sloped to shed water.

Weep holes drilled all the way through the baluster mounting holes will allow water to drain.
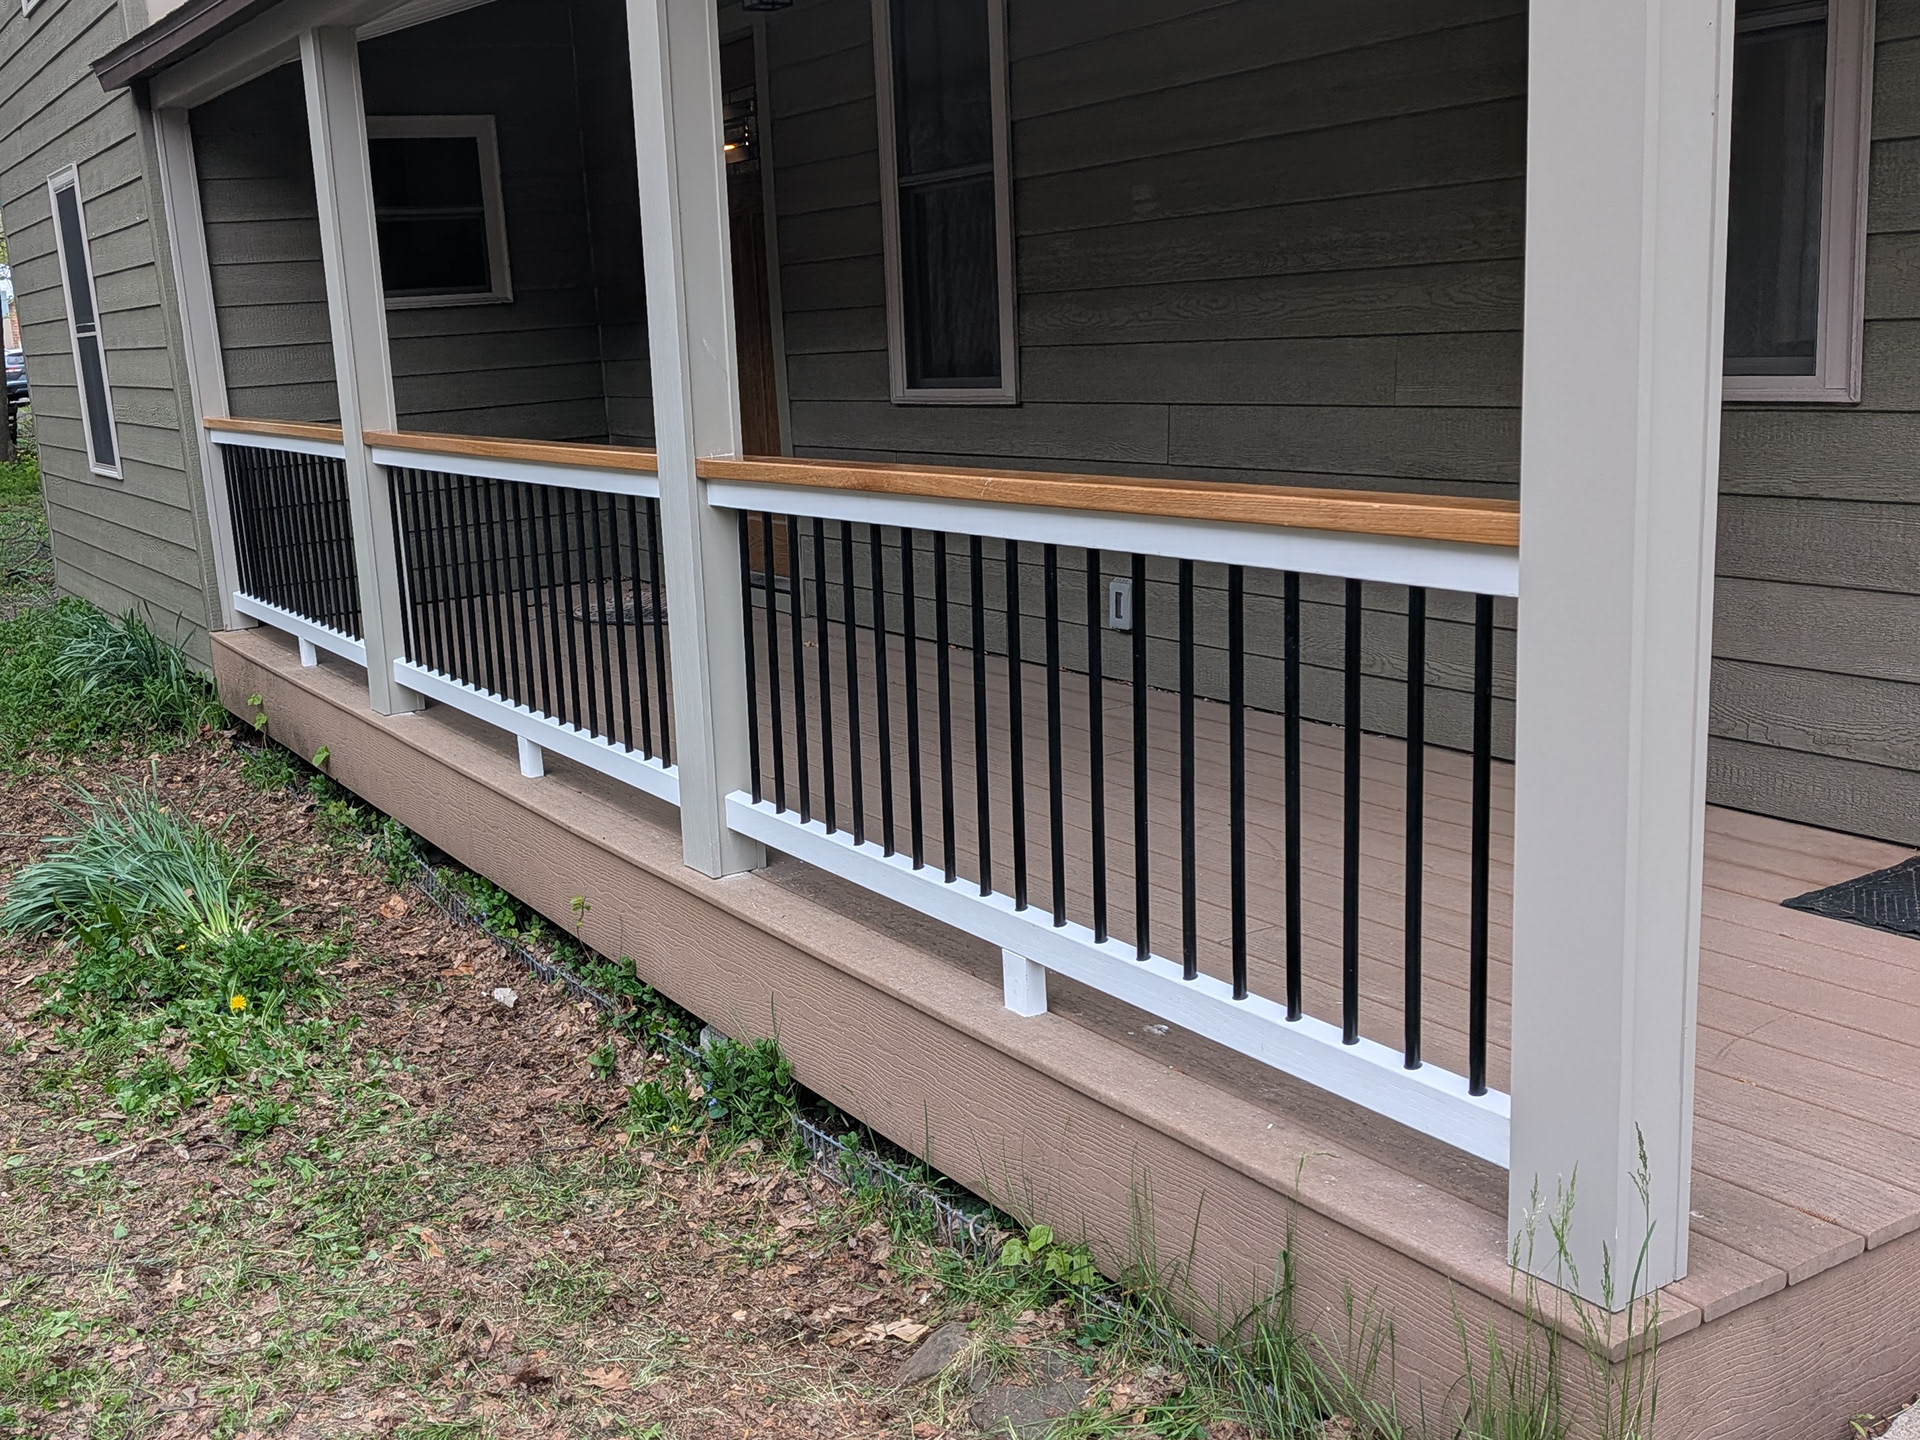
Support blocks were added between the porch floor and the lower rail to prevent sagging.