
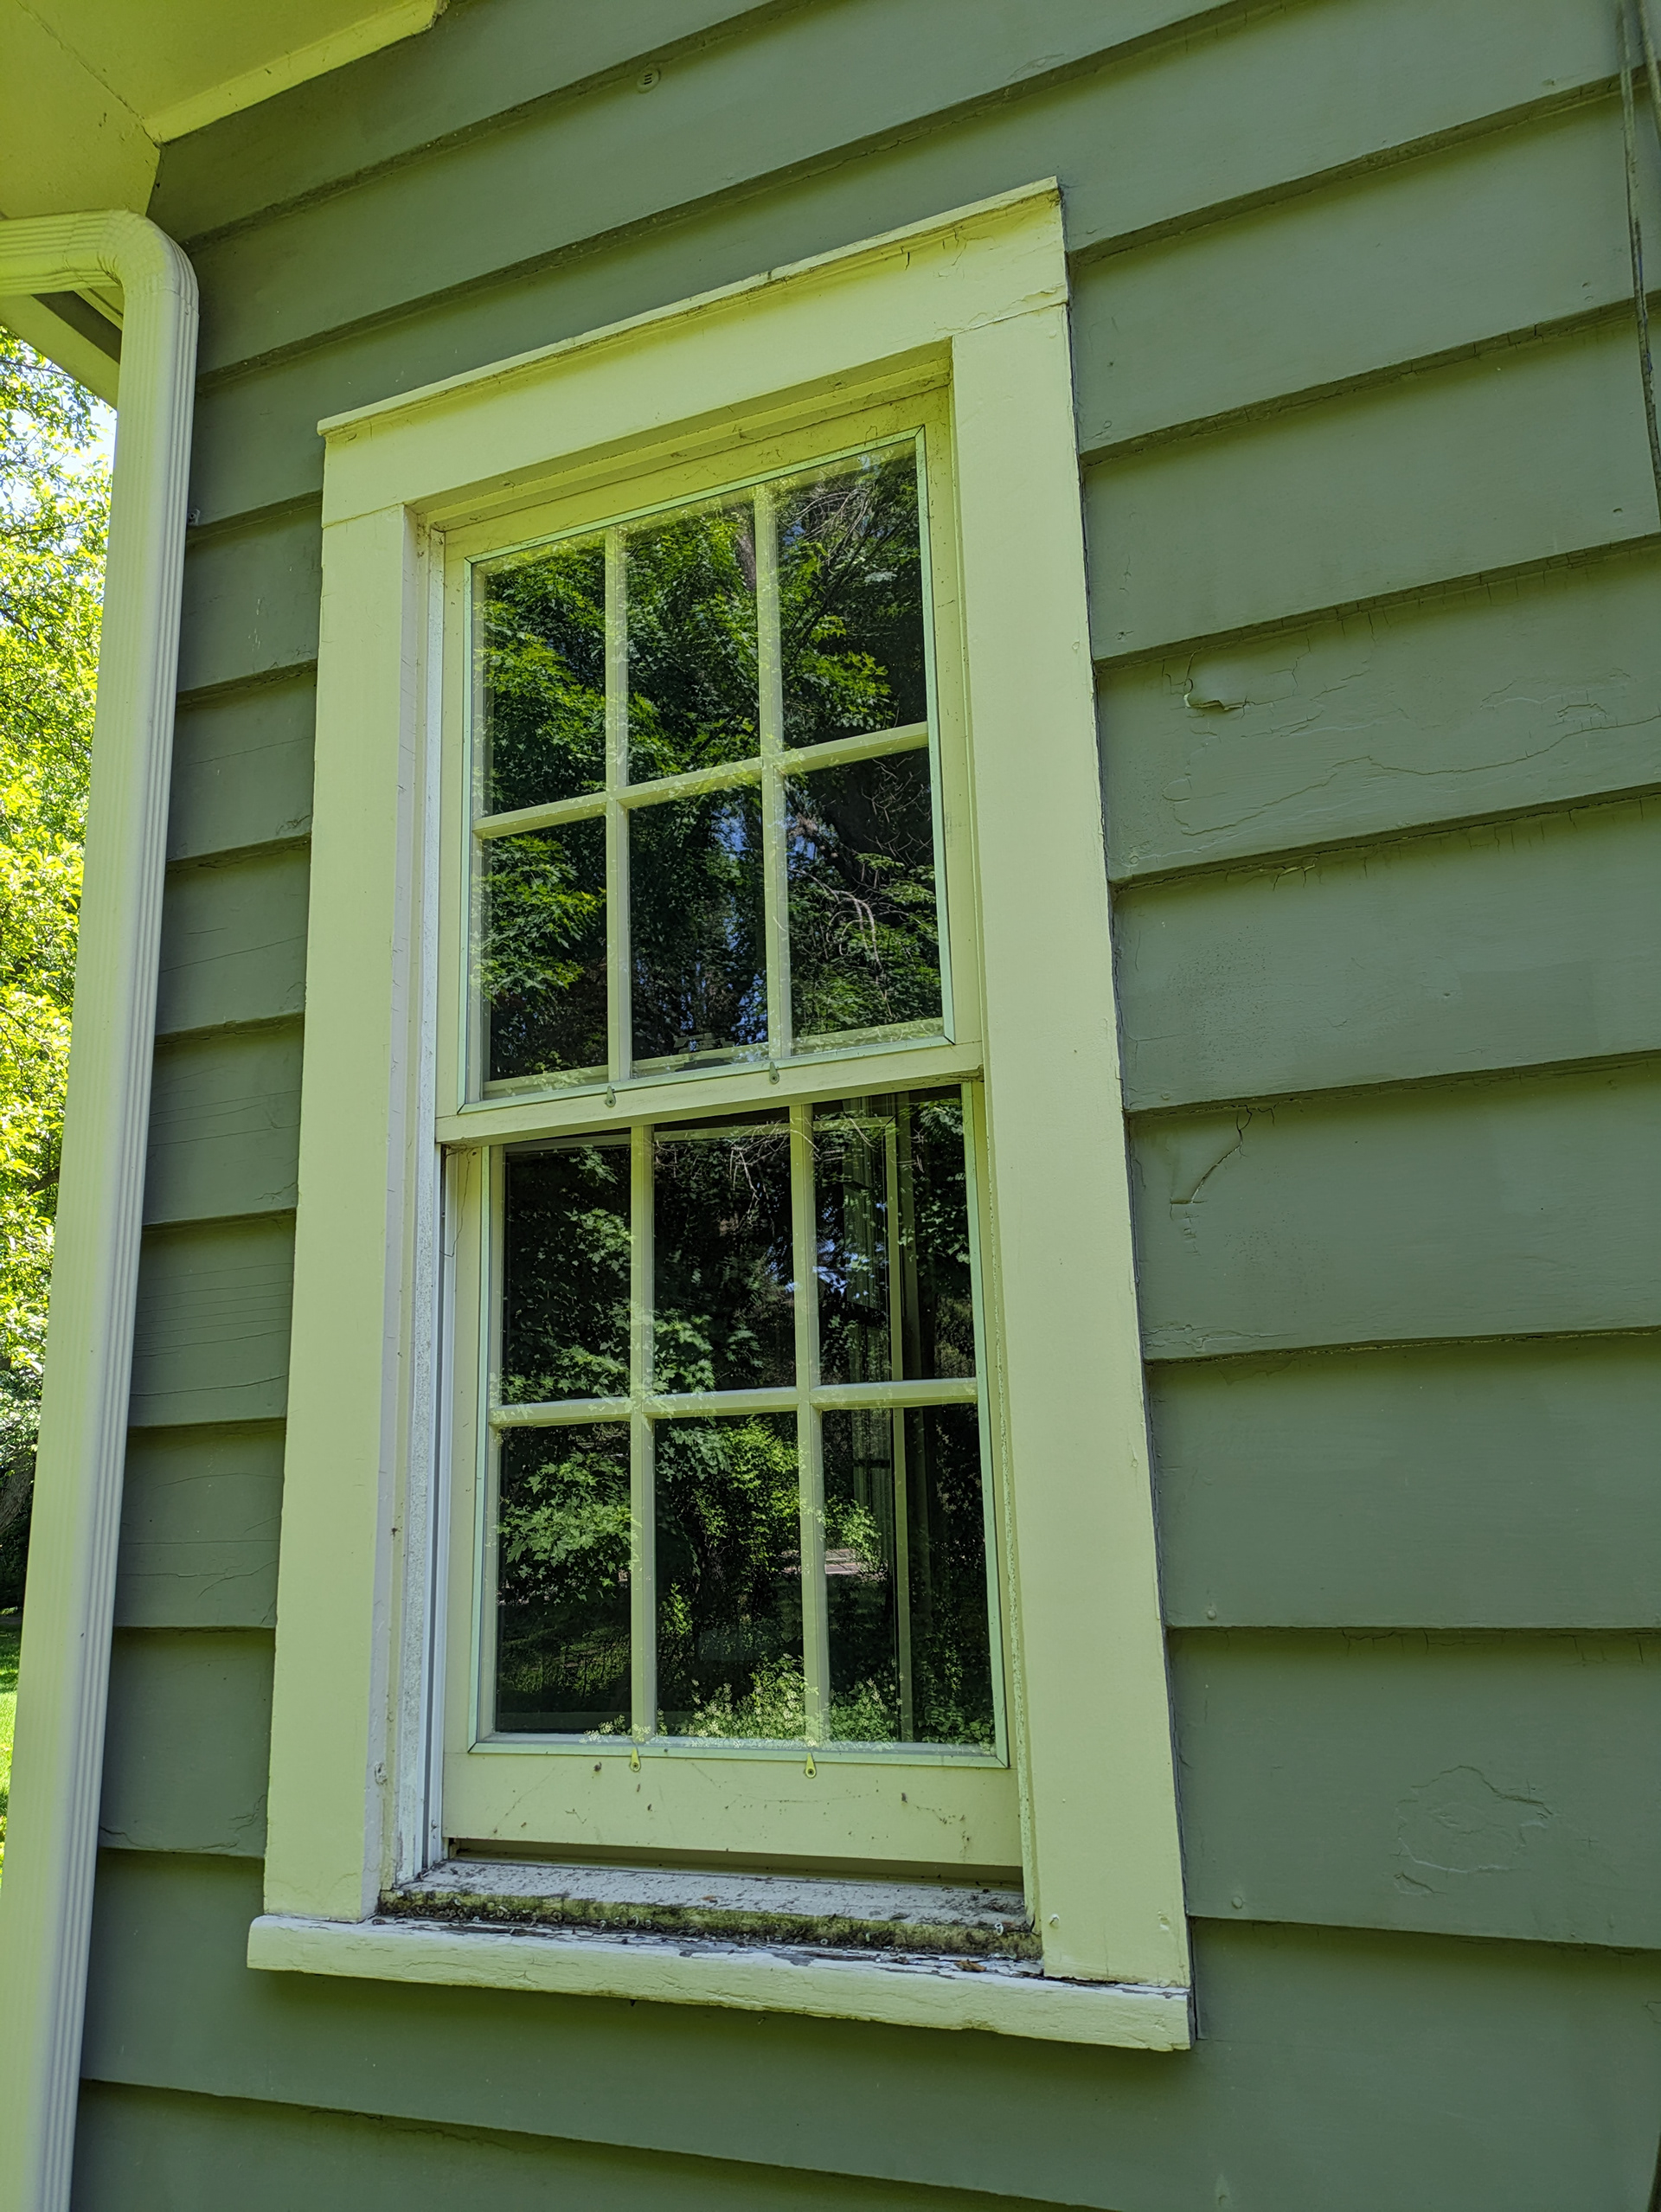
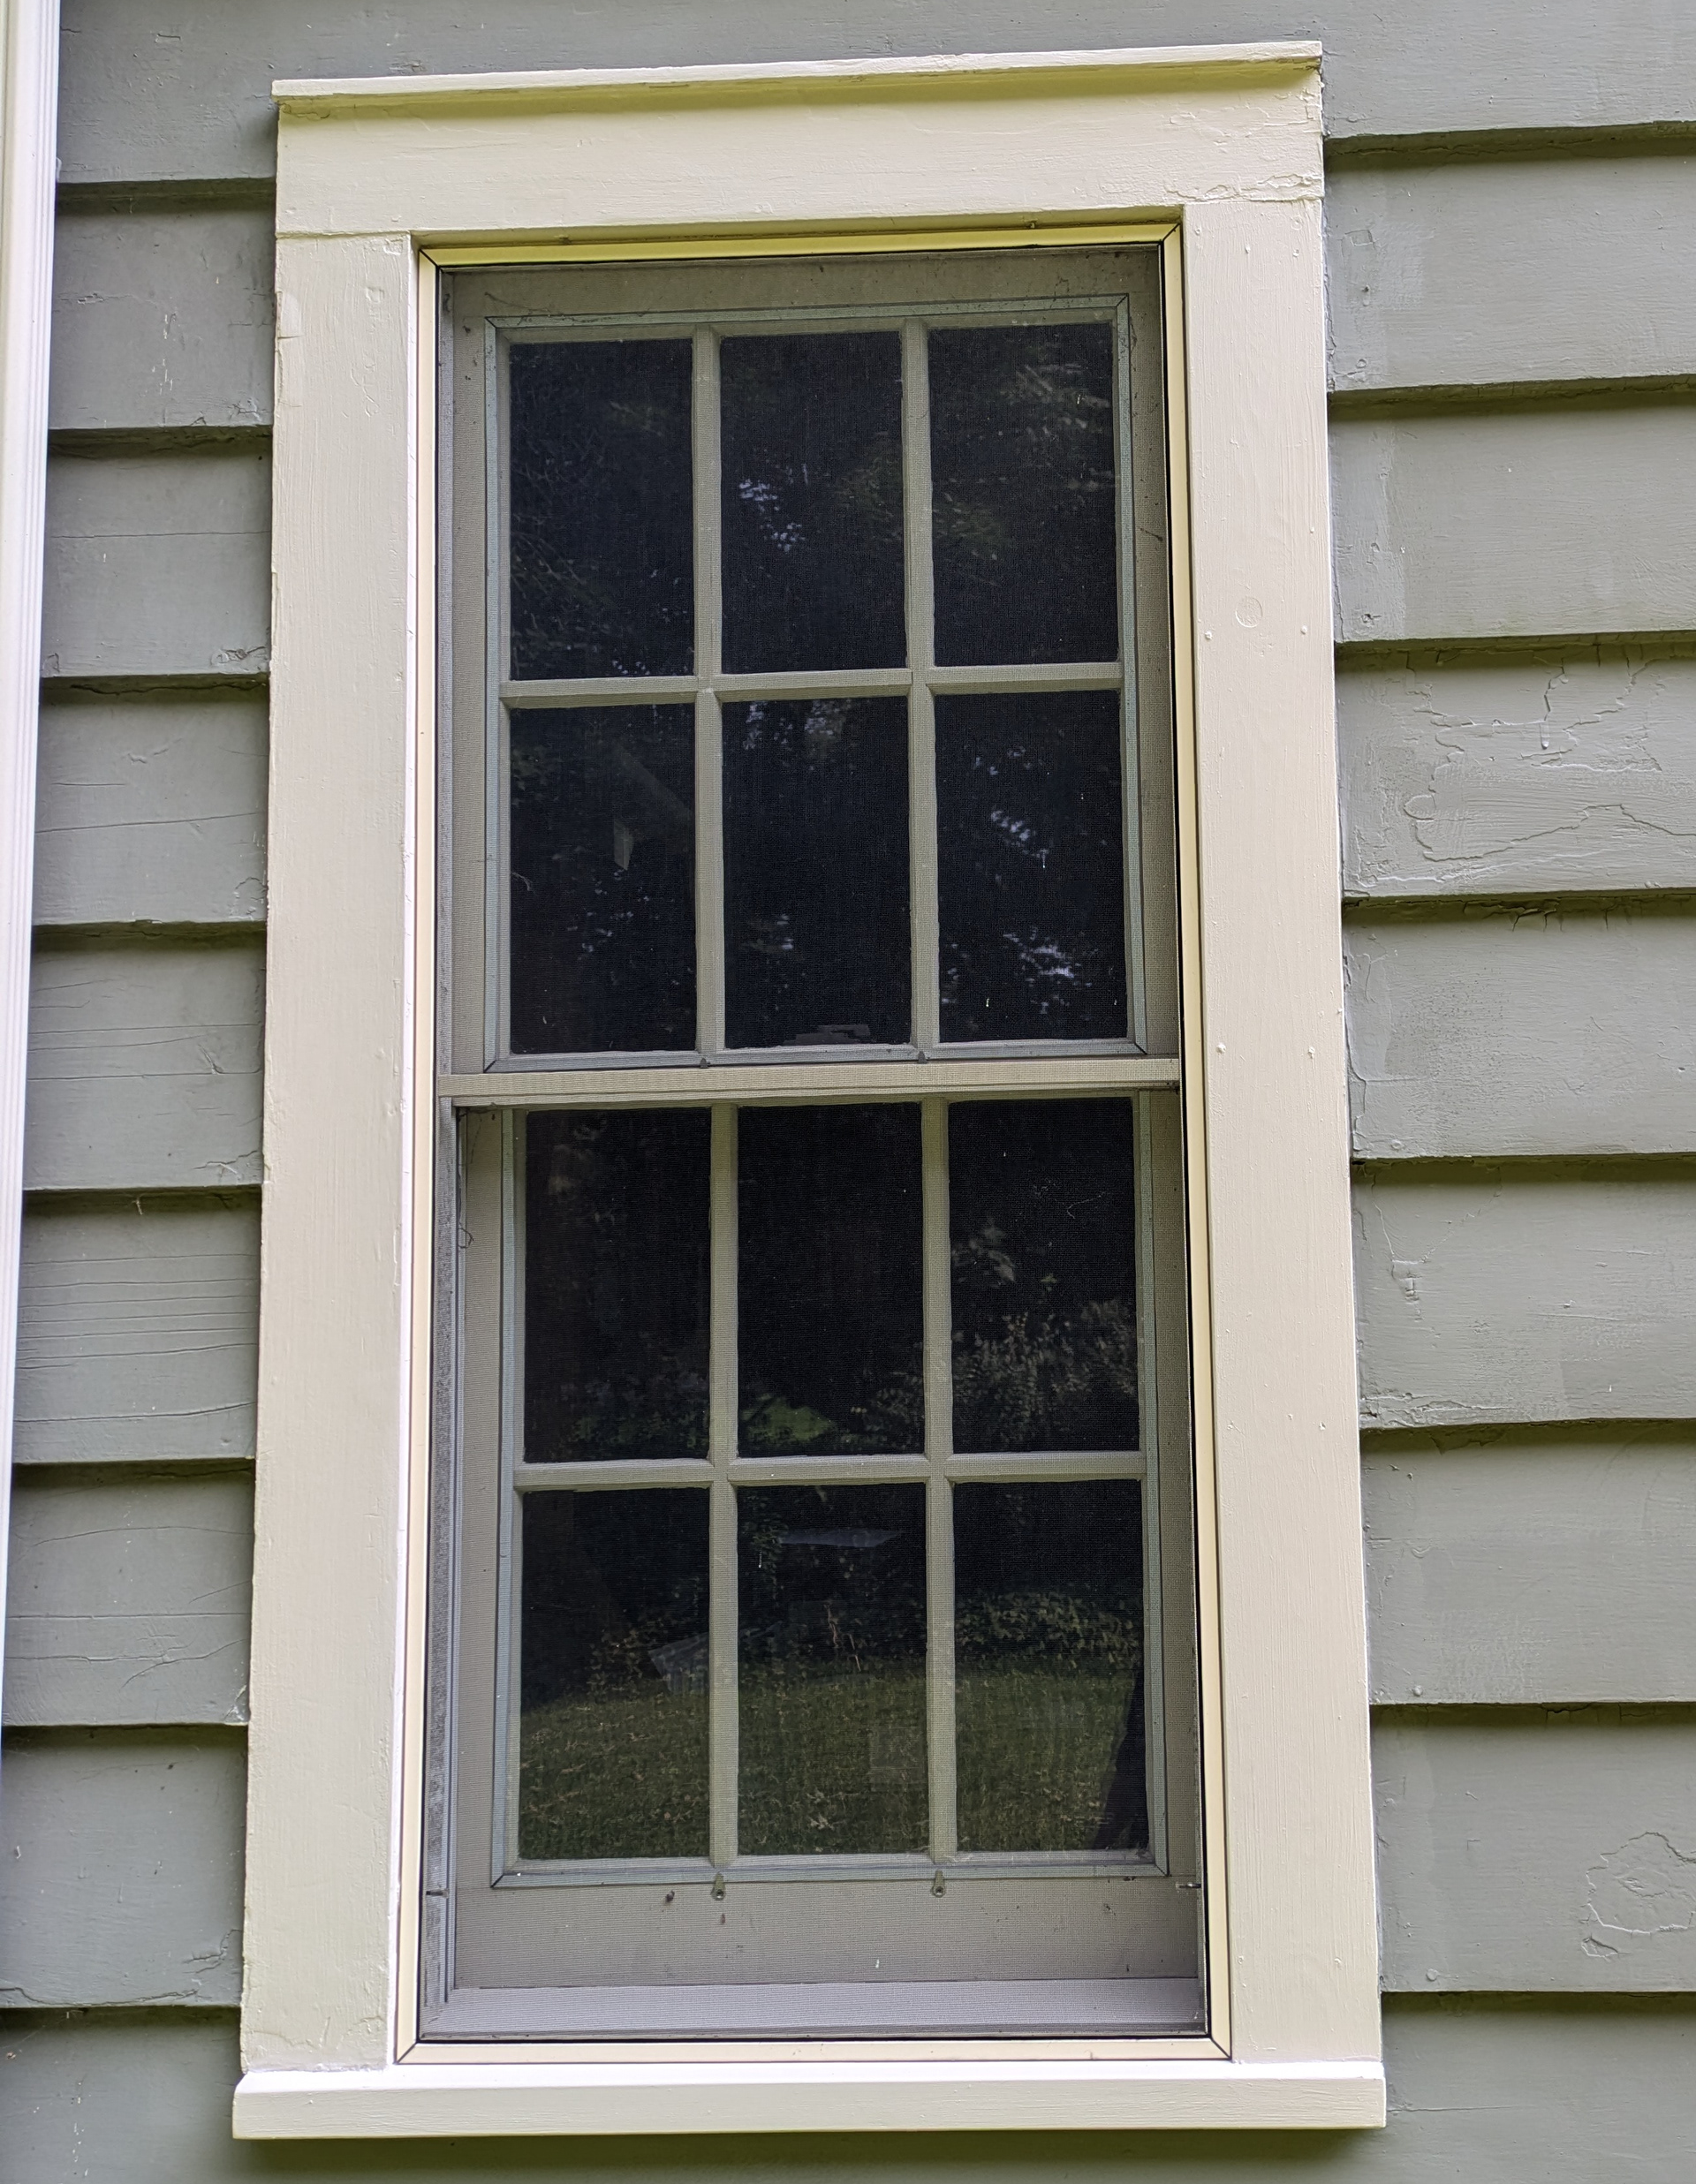
This old house has a few windows with rotten sills and casing (trim).
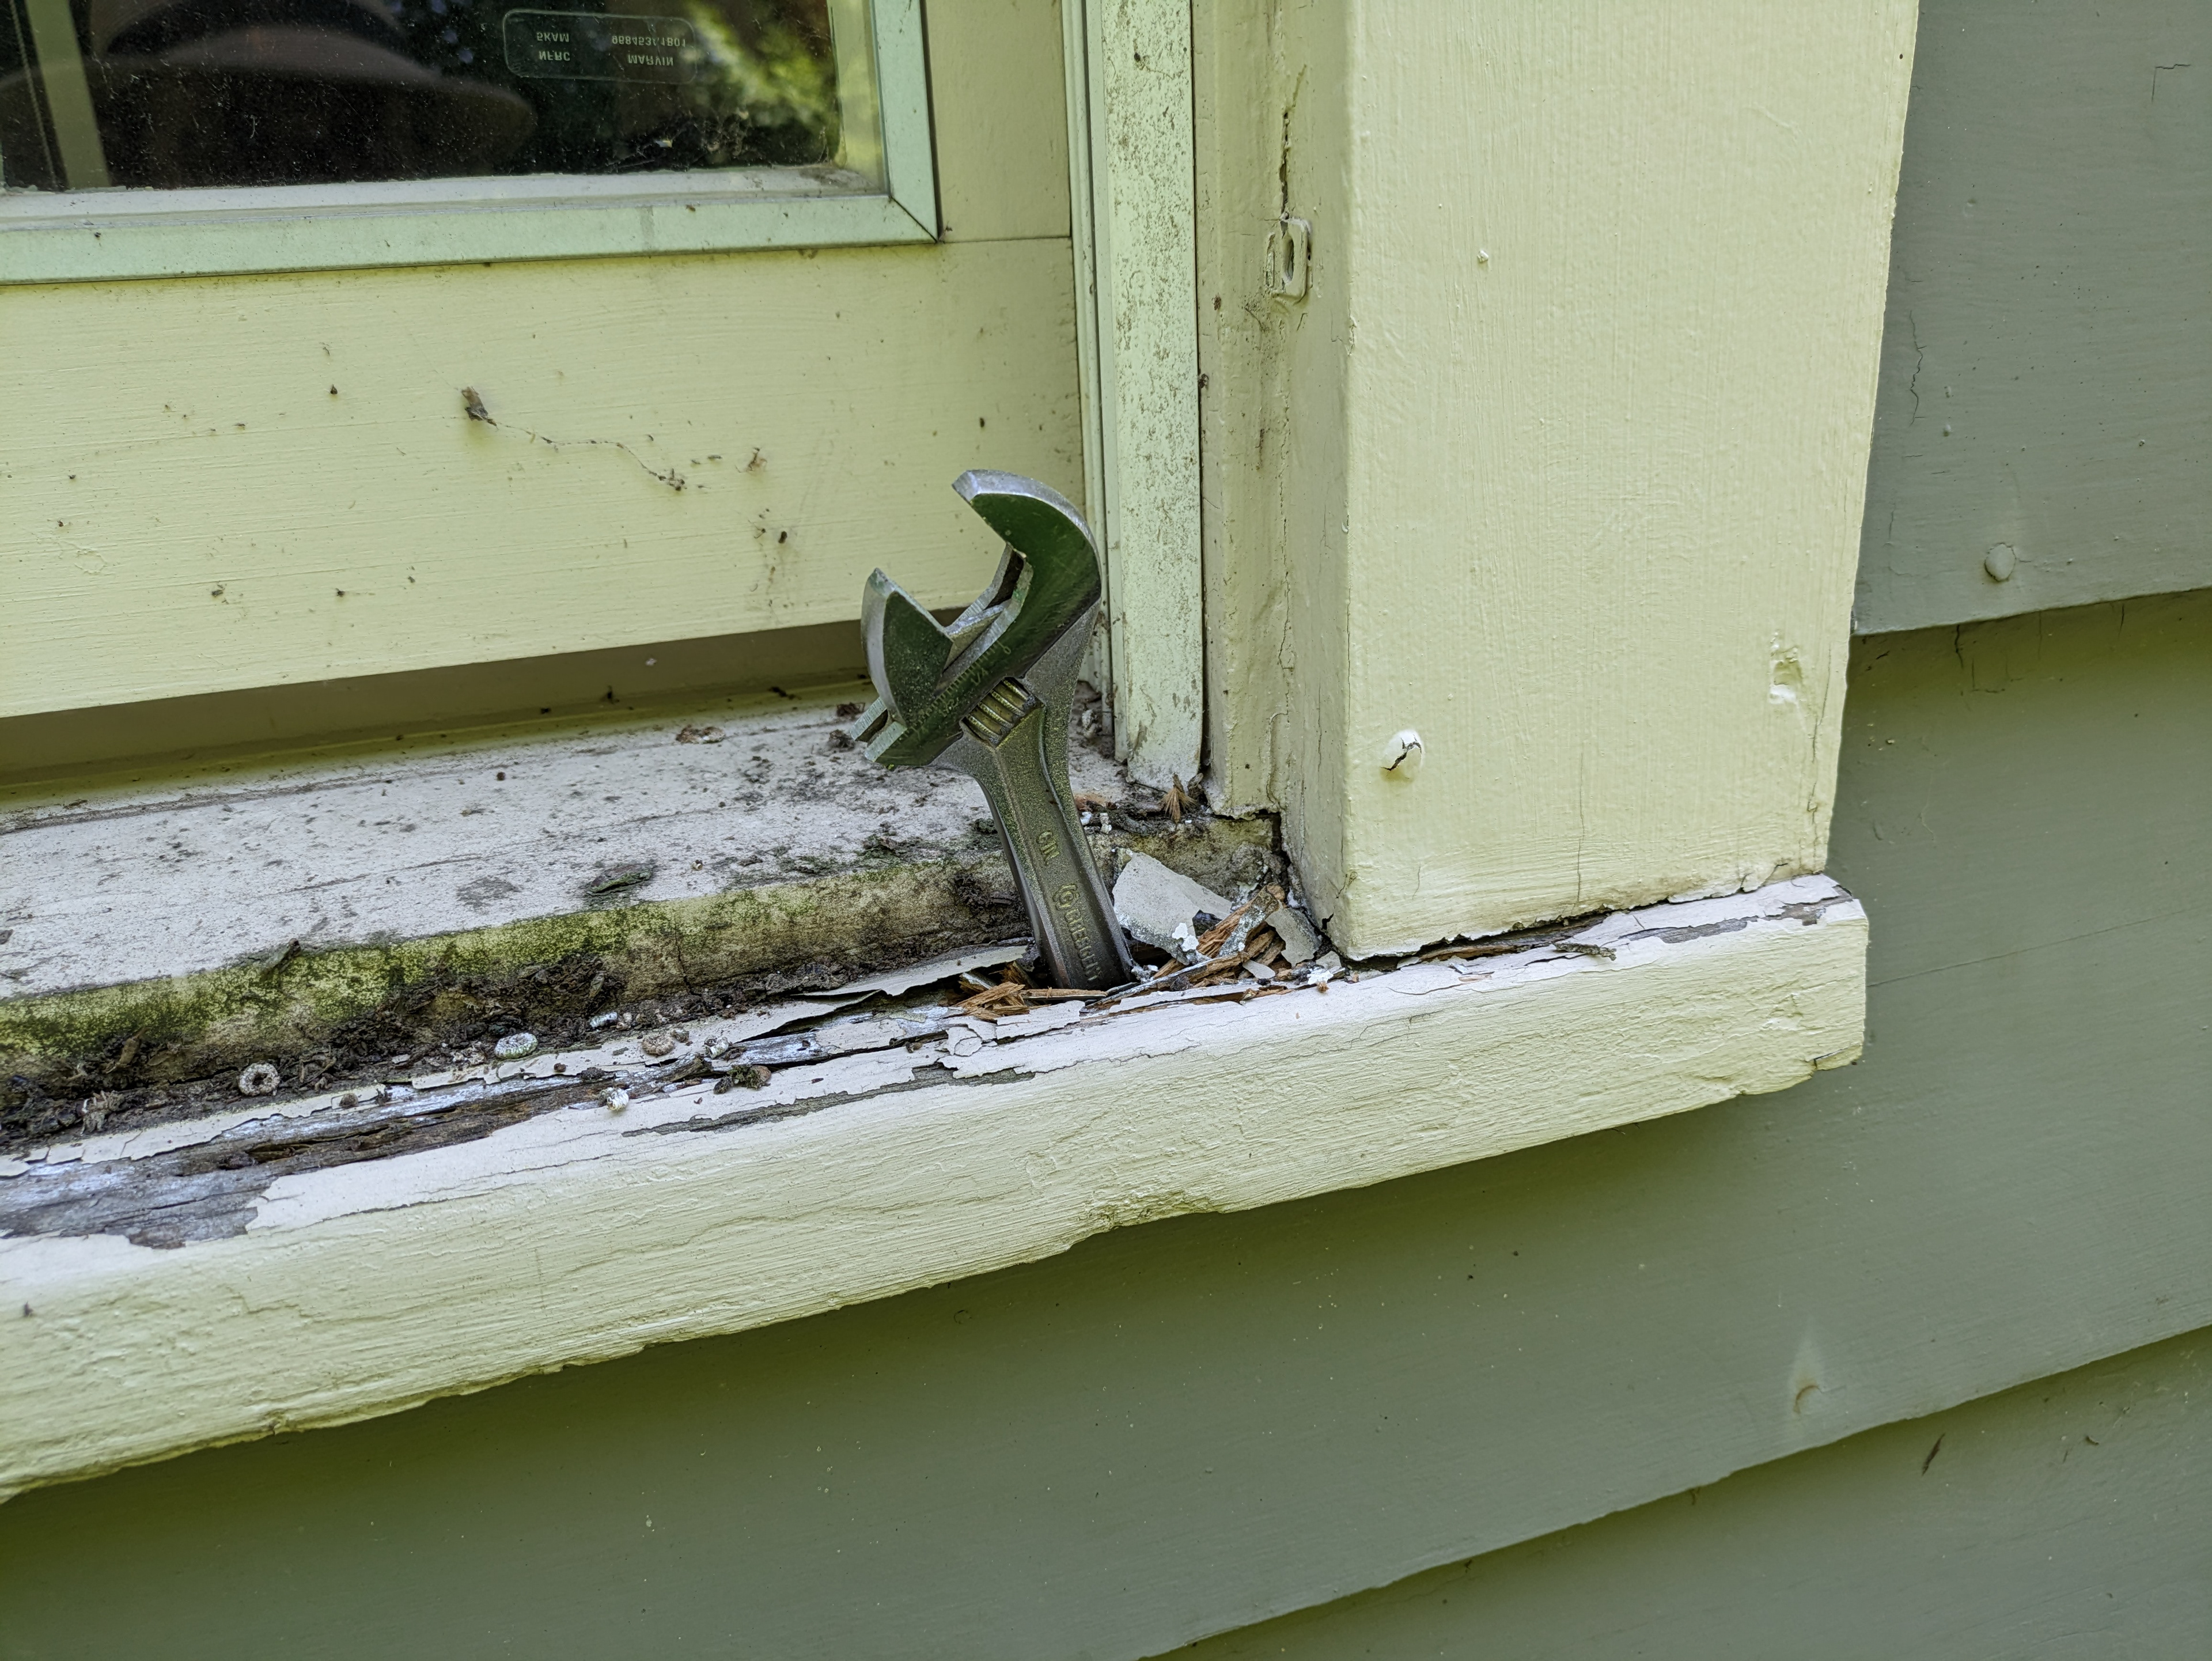
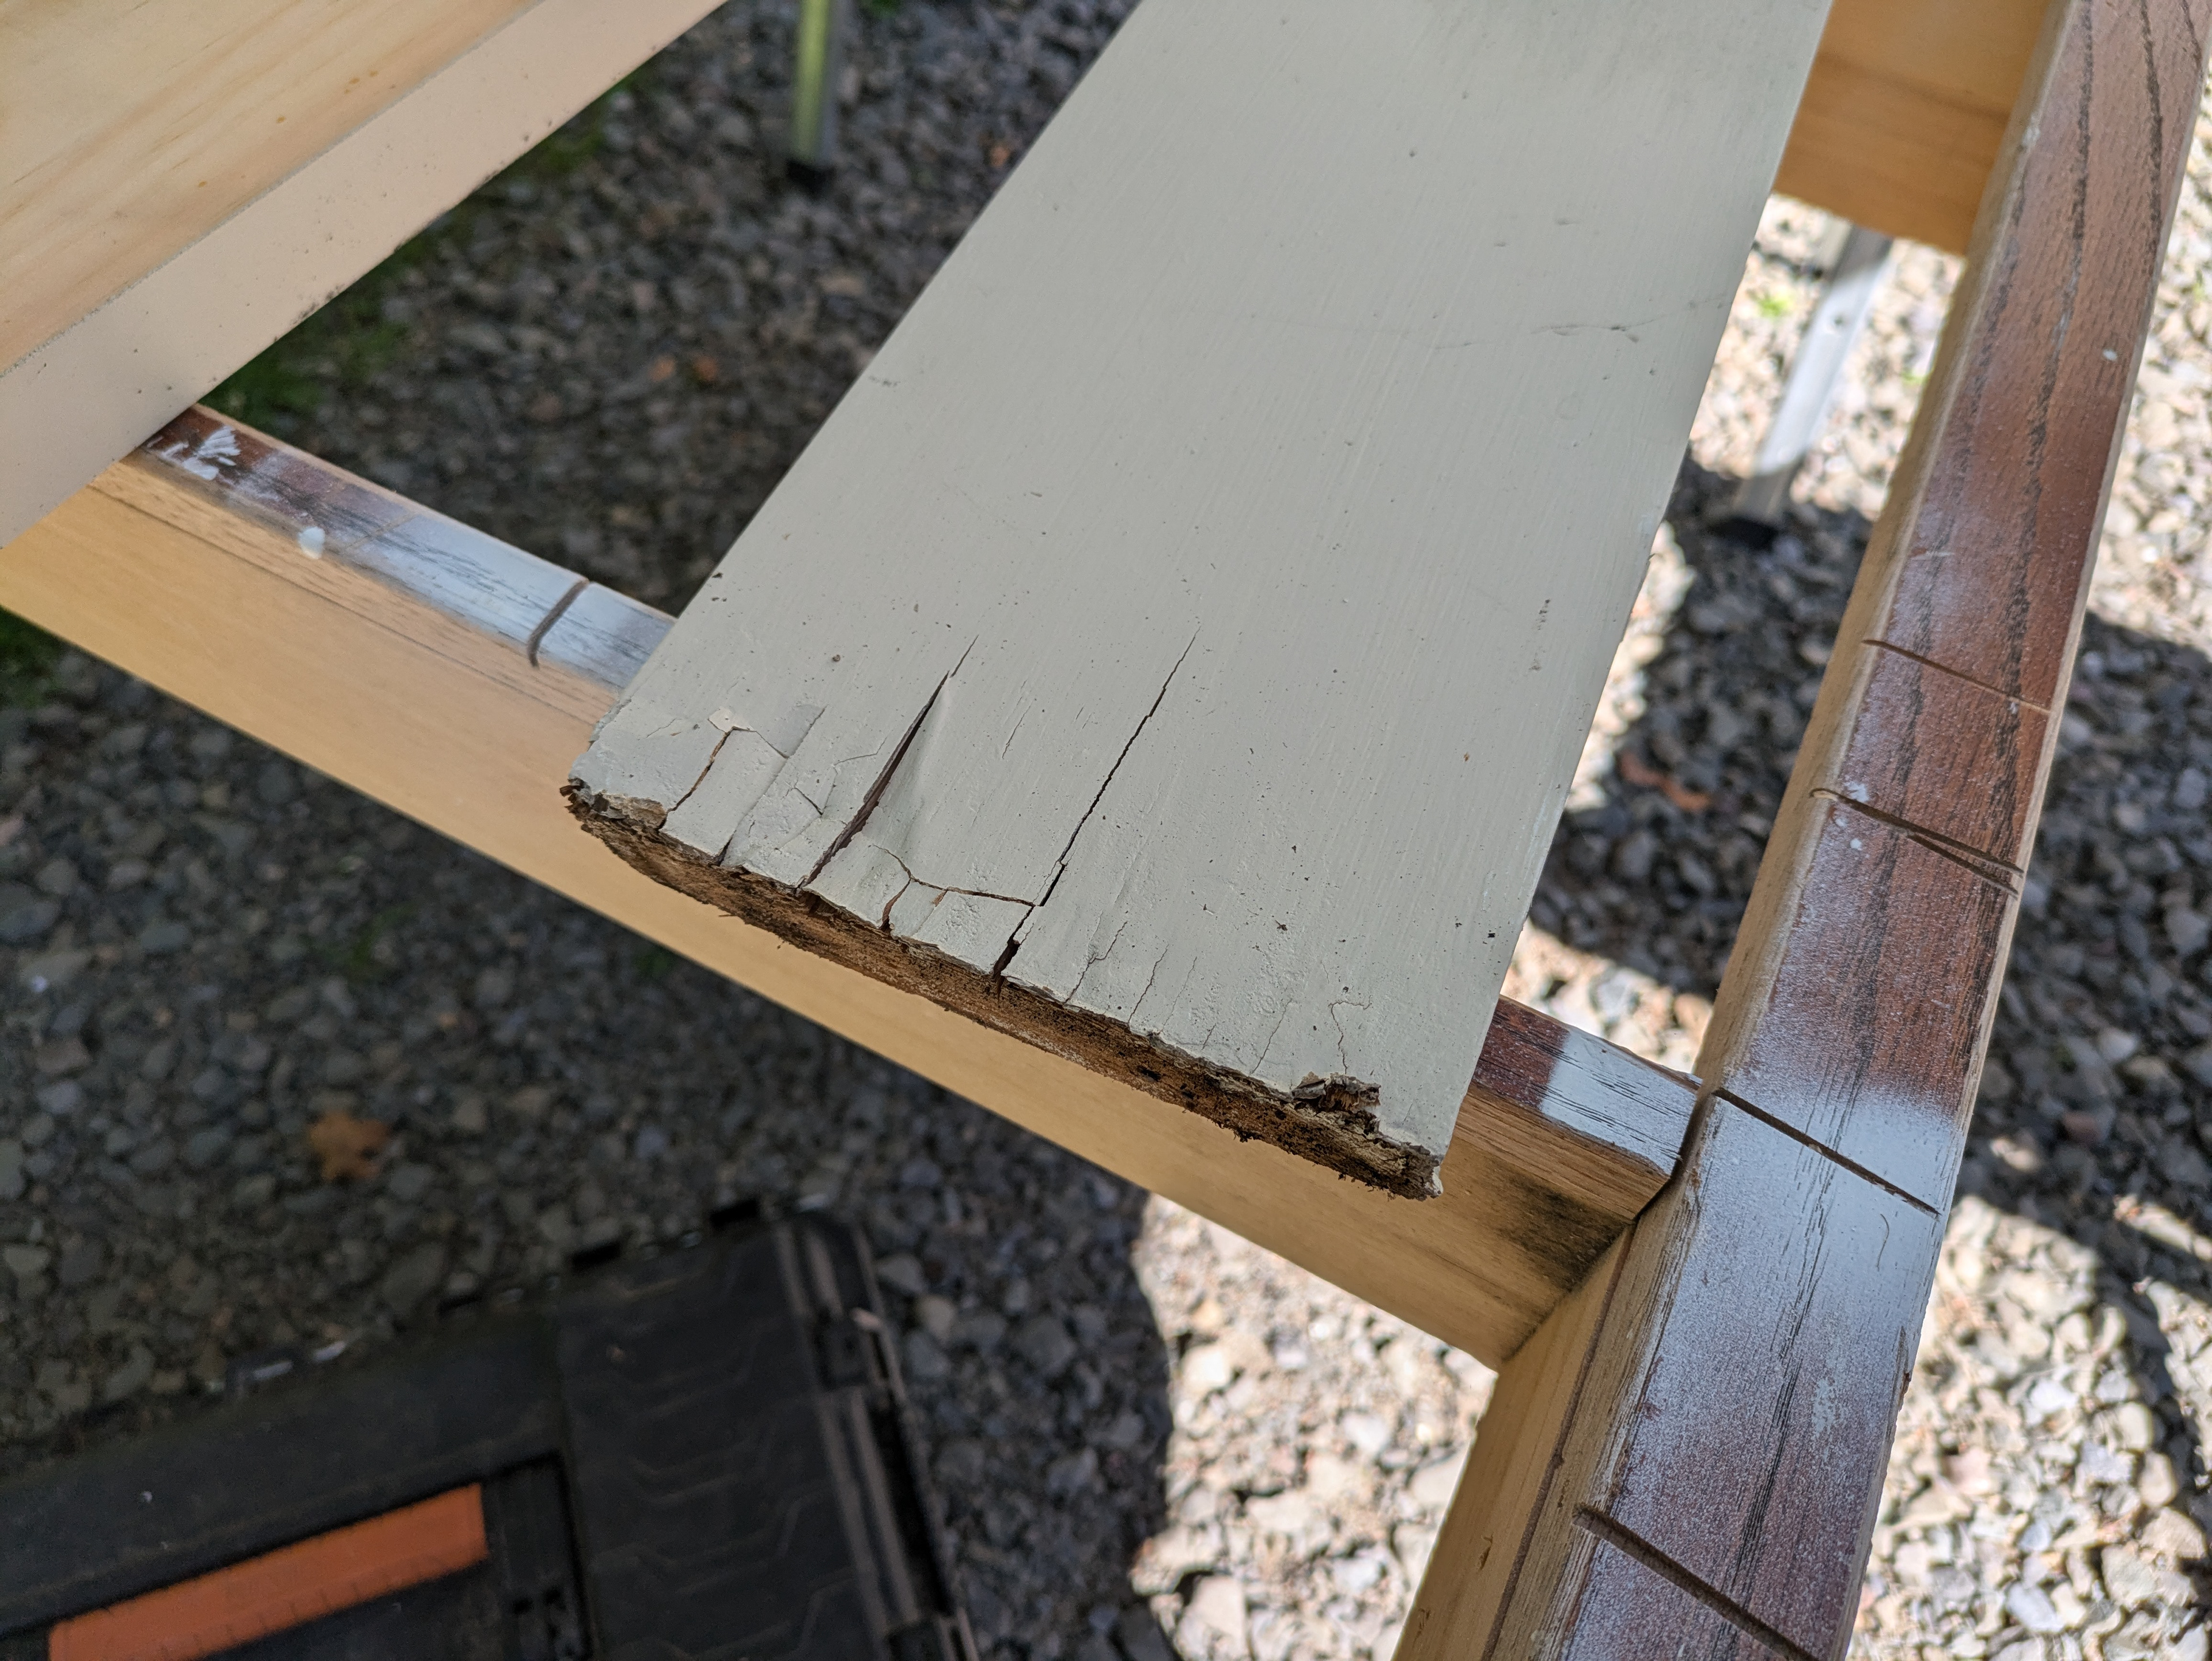
his sill failed the classic “can I shove a crescent wrench into the window sill?” test. Most of the windows on this home that need work have both a thick window sill and a thinner window-jamb base that need to be replaced.
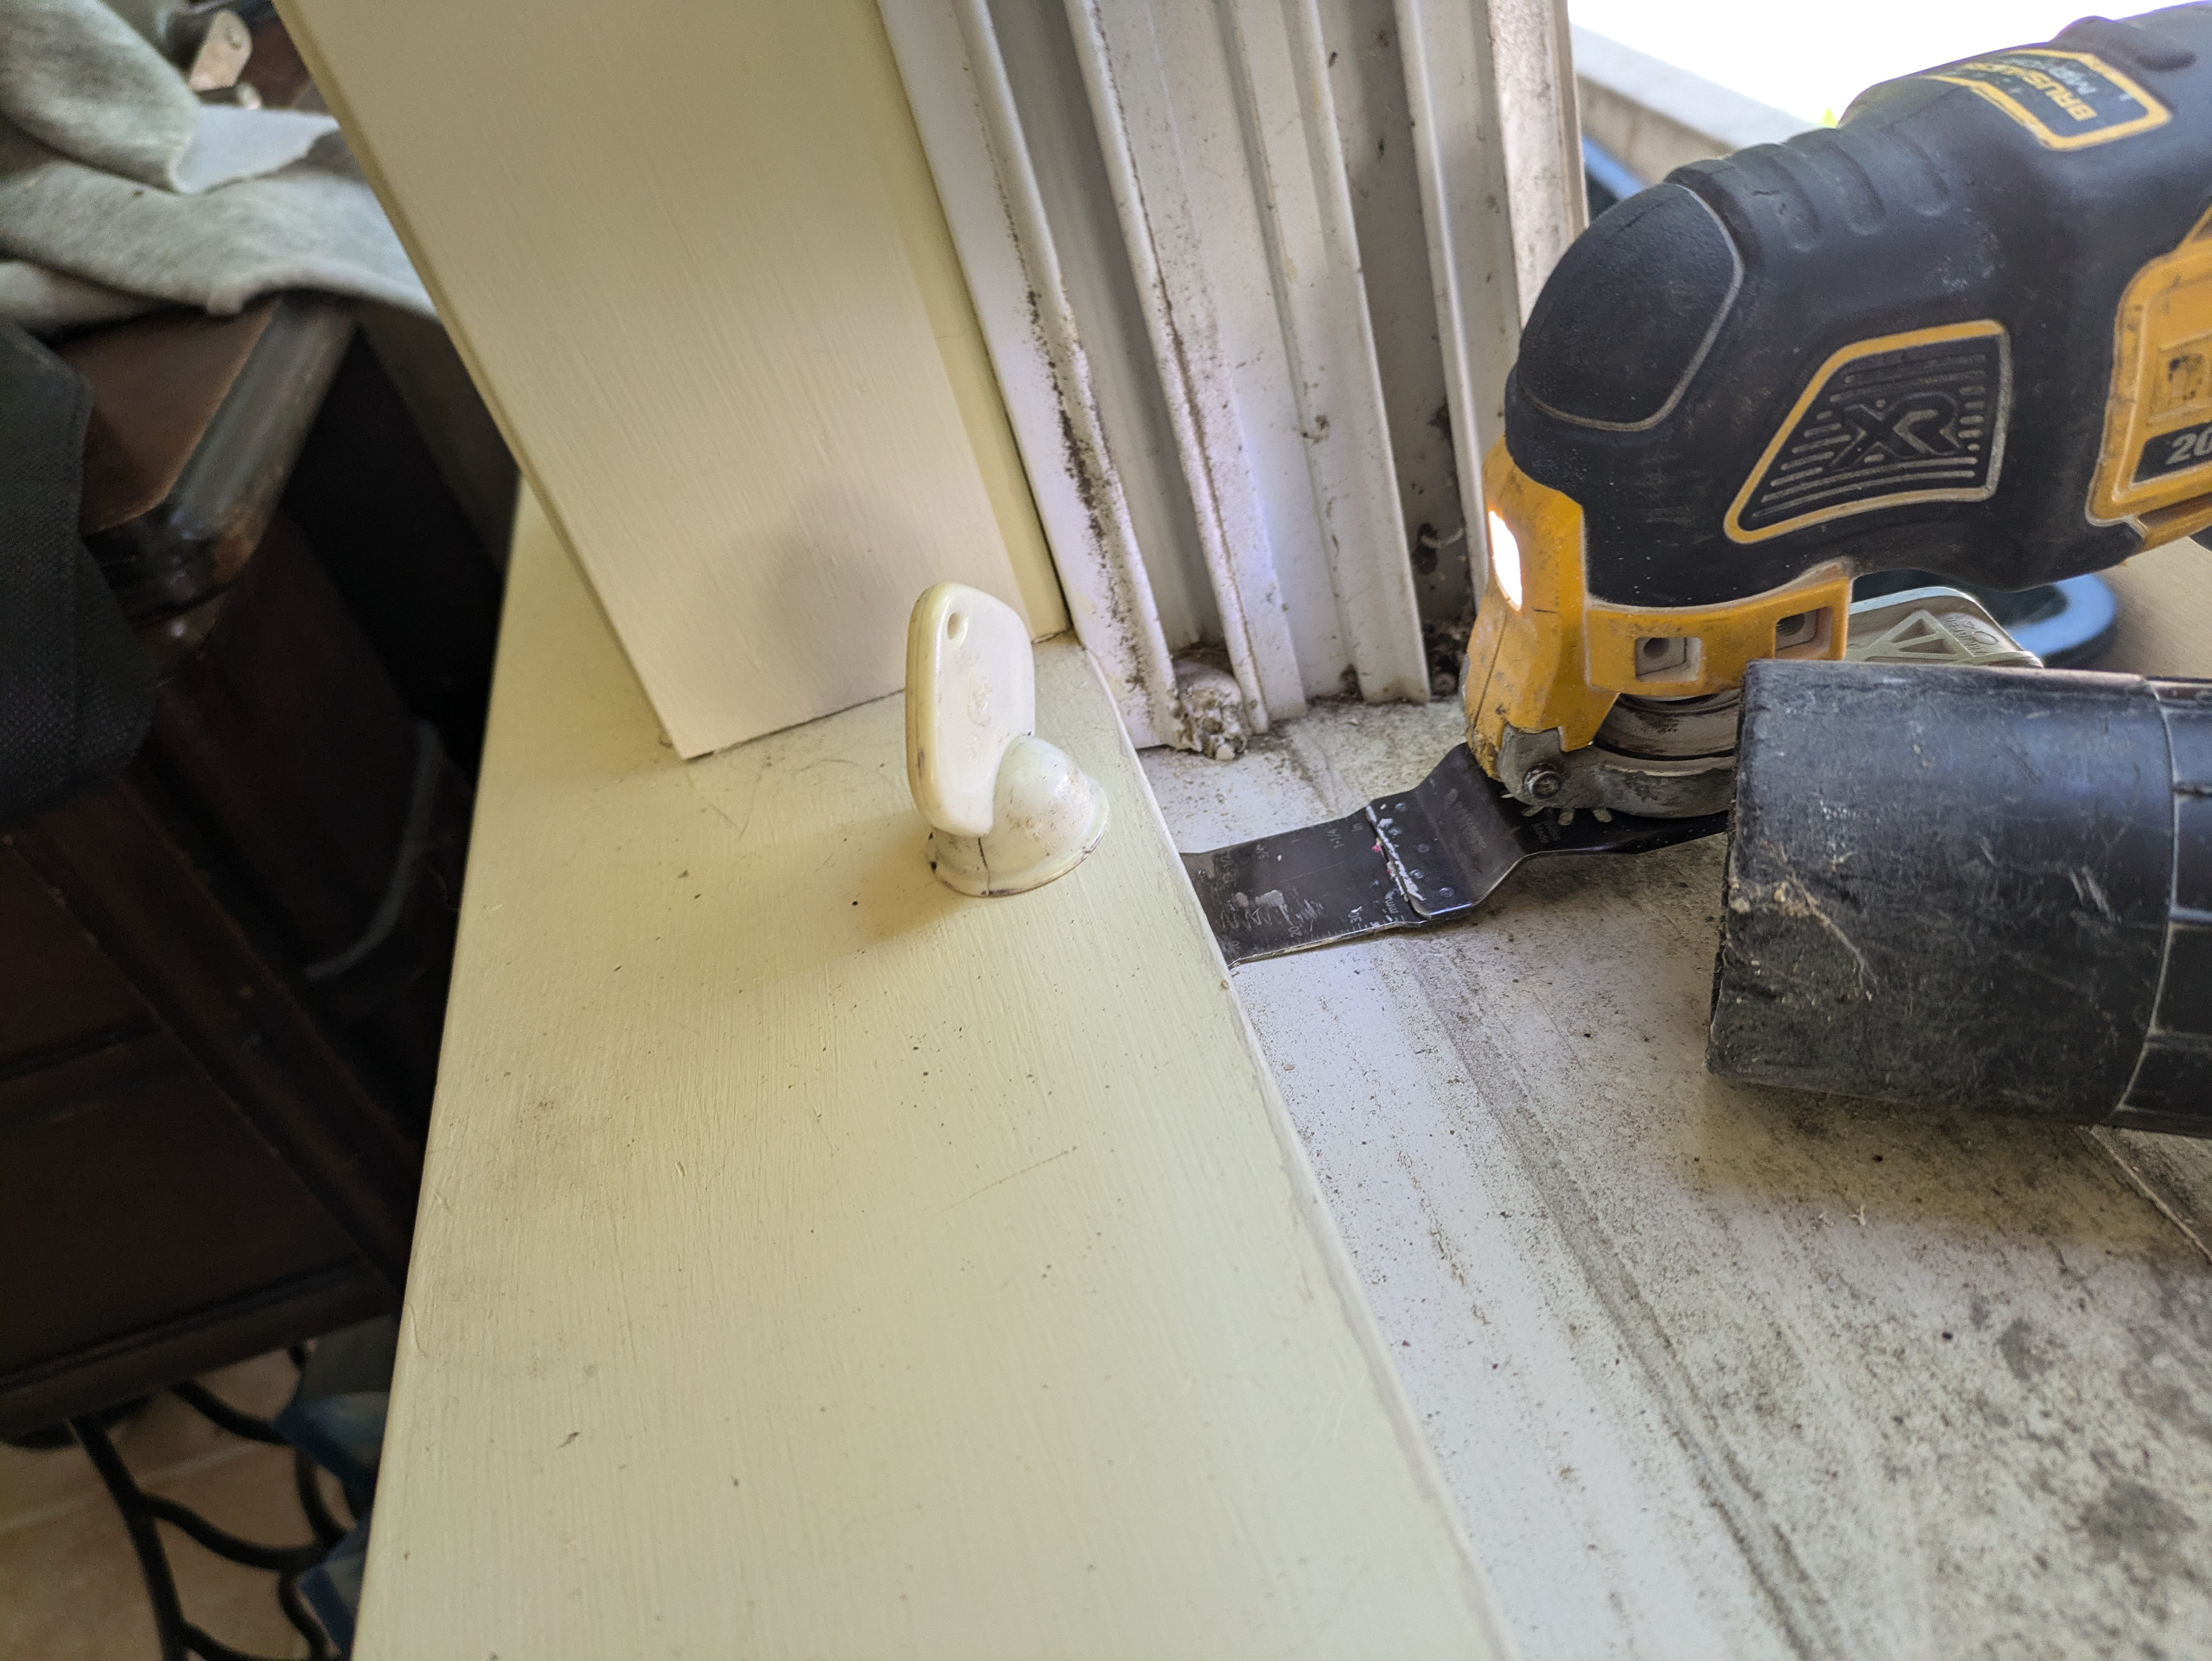
A magnet helps me locate the nails that fasten the interior trim (called the stool) to the jamb base. I’ll cut these nails with a carbide metal cutting blade on the buzzy saw.
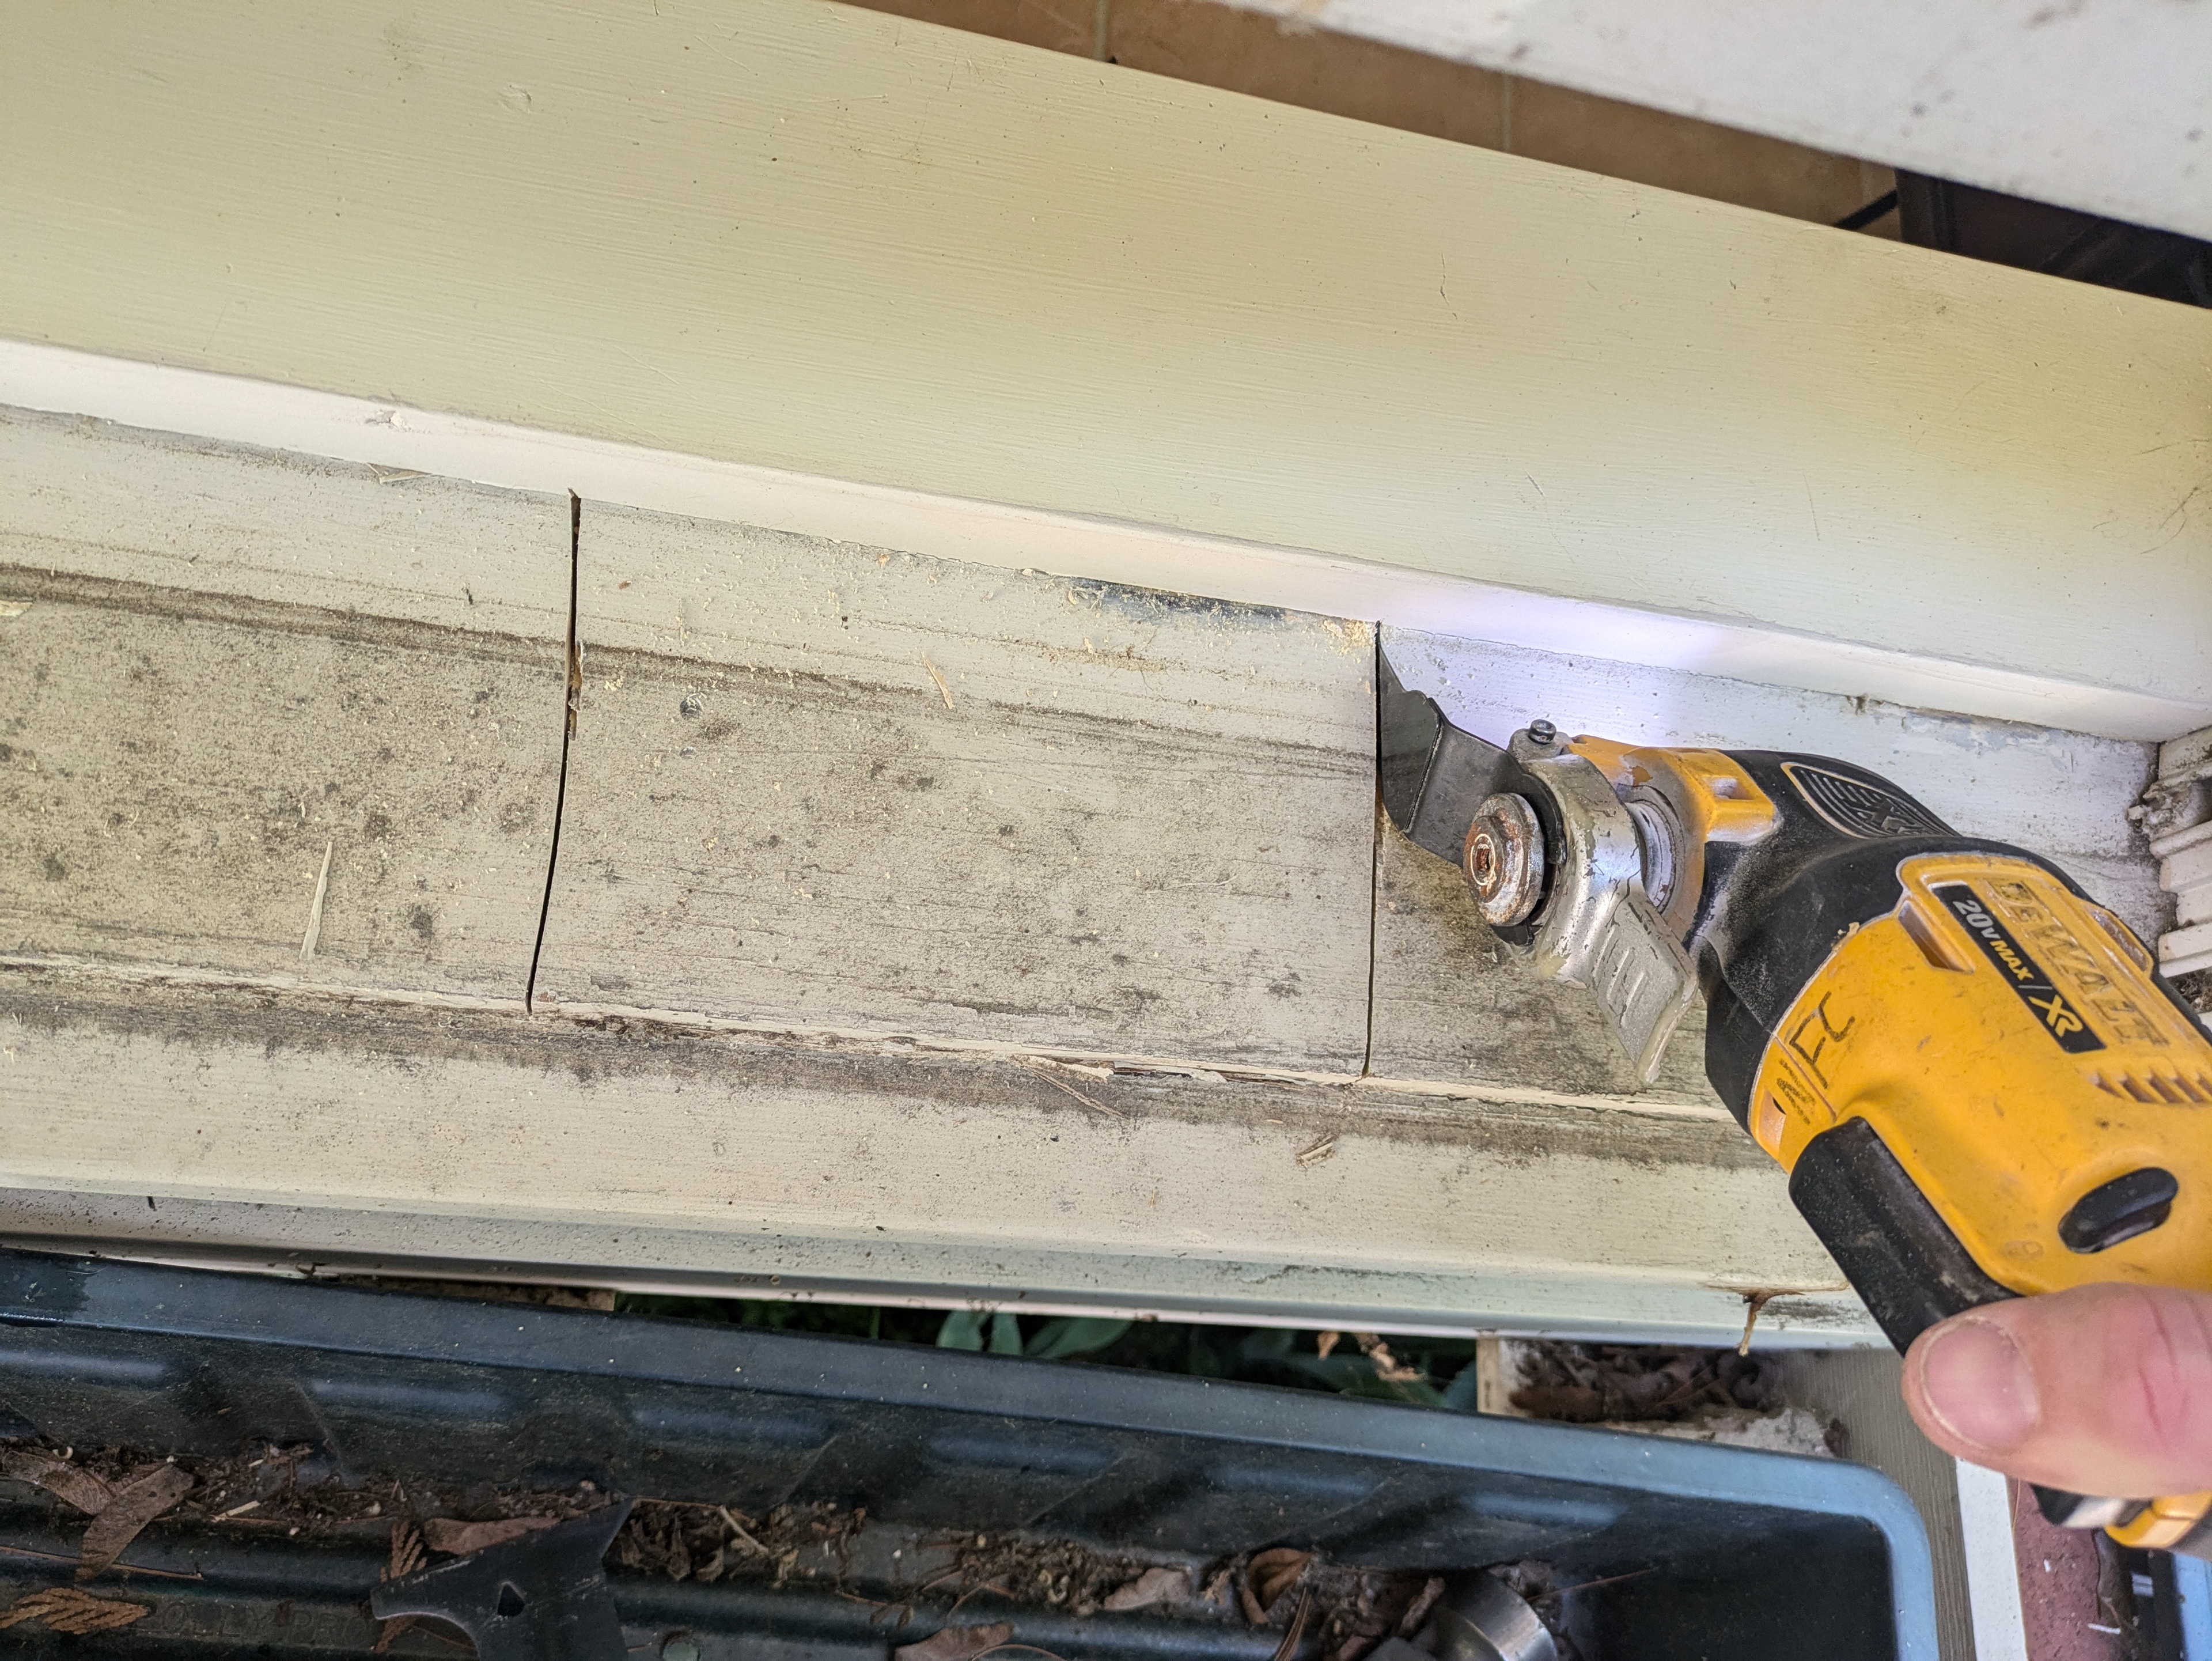
Cutting a chunk out of the middle of the jamb base.
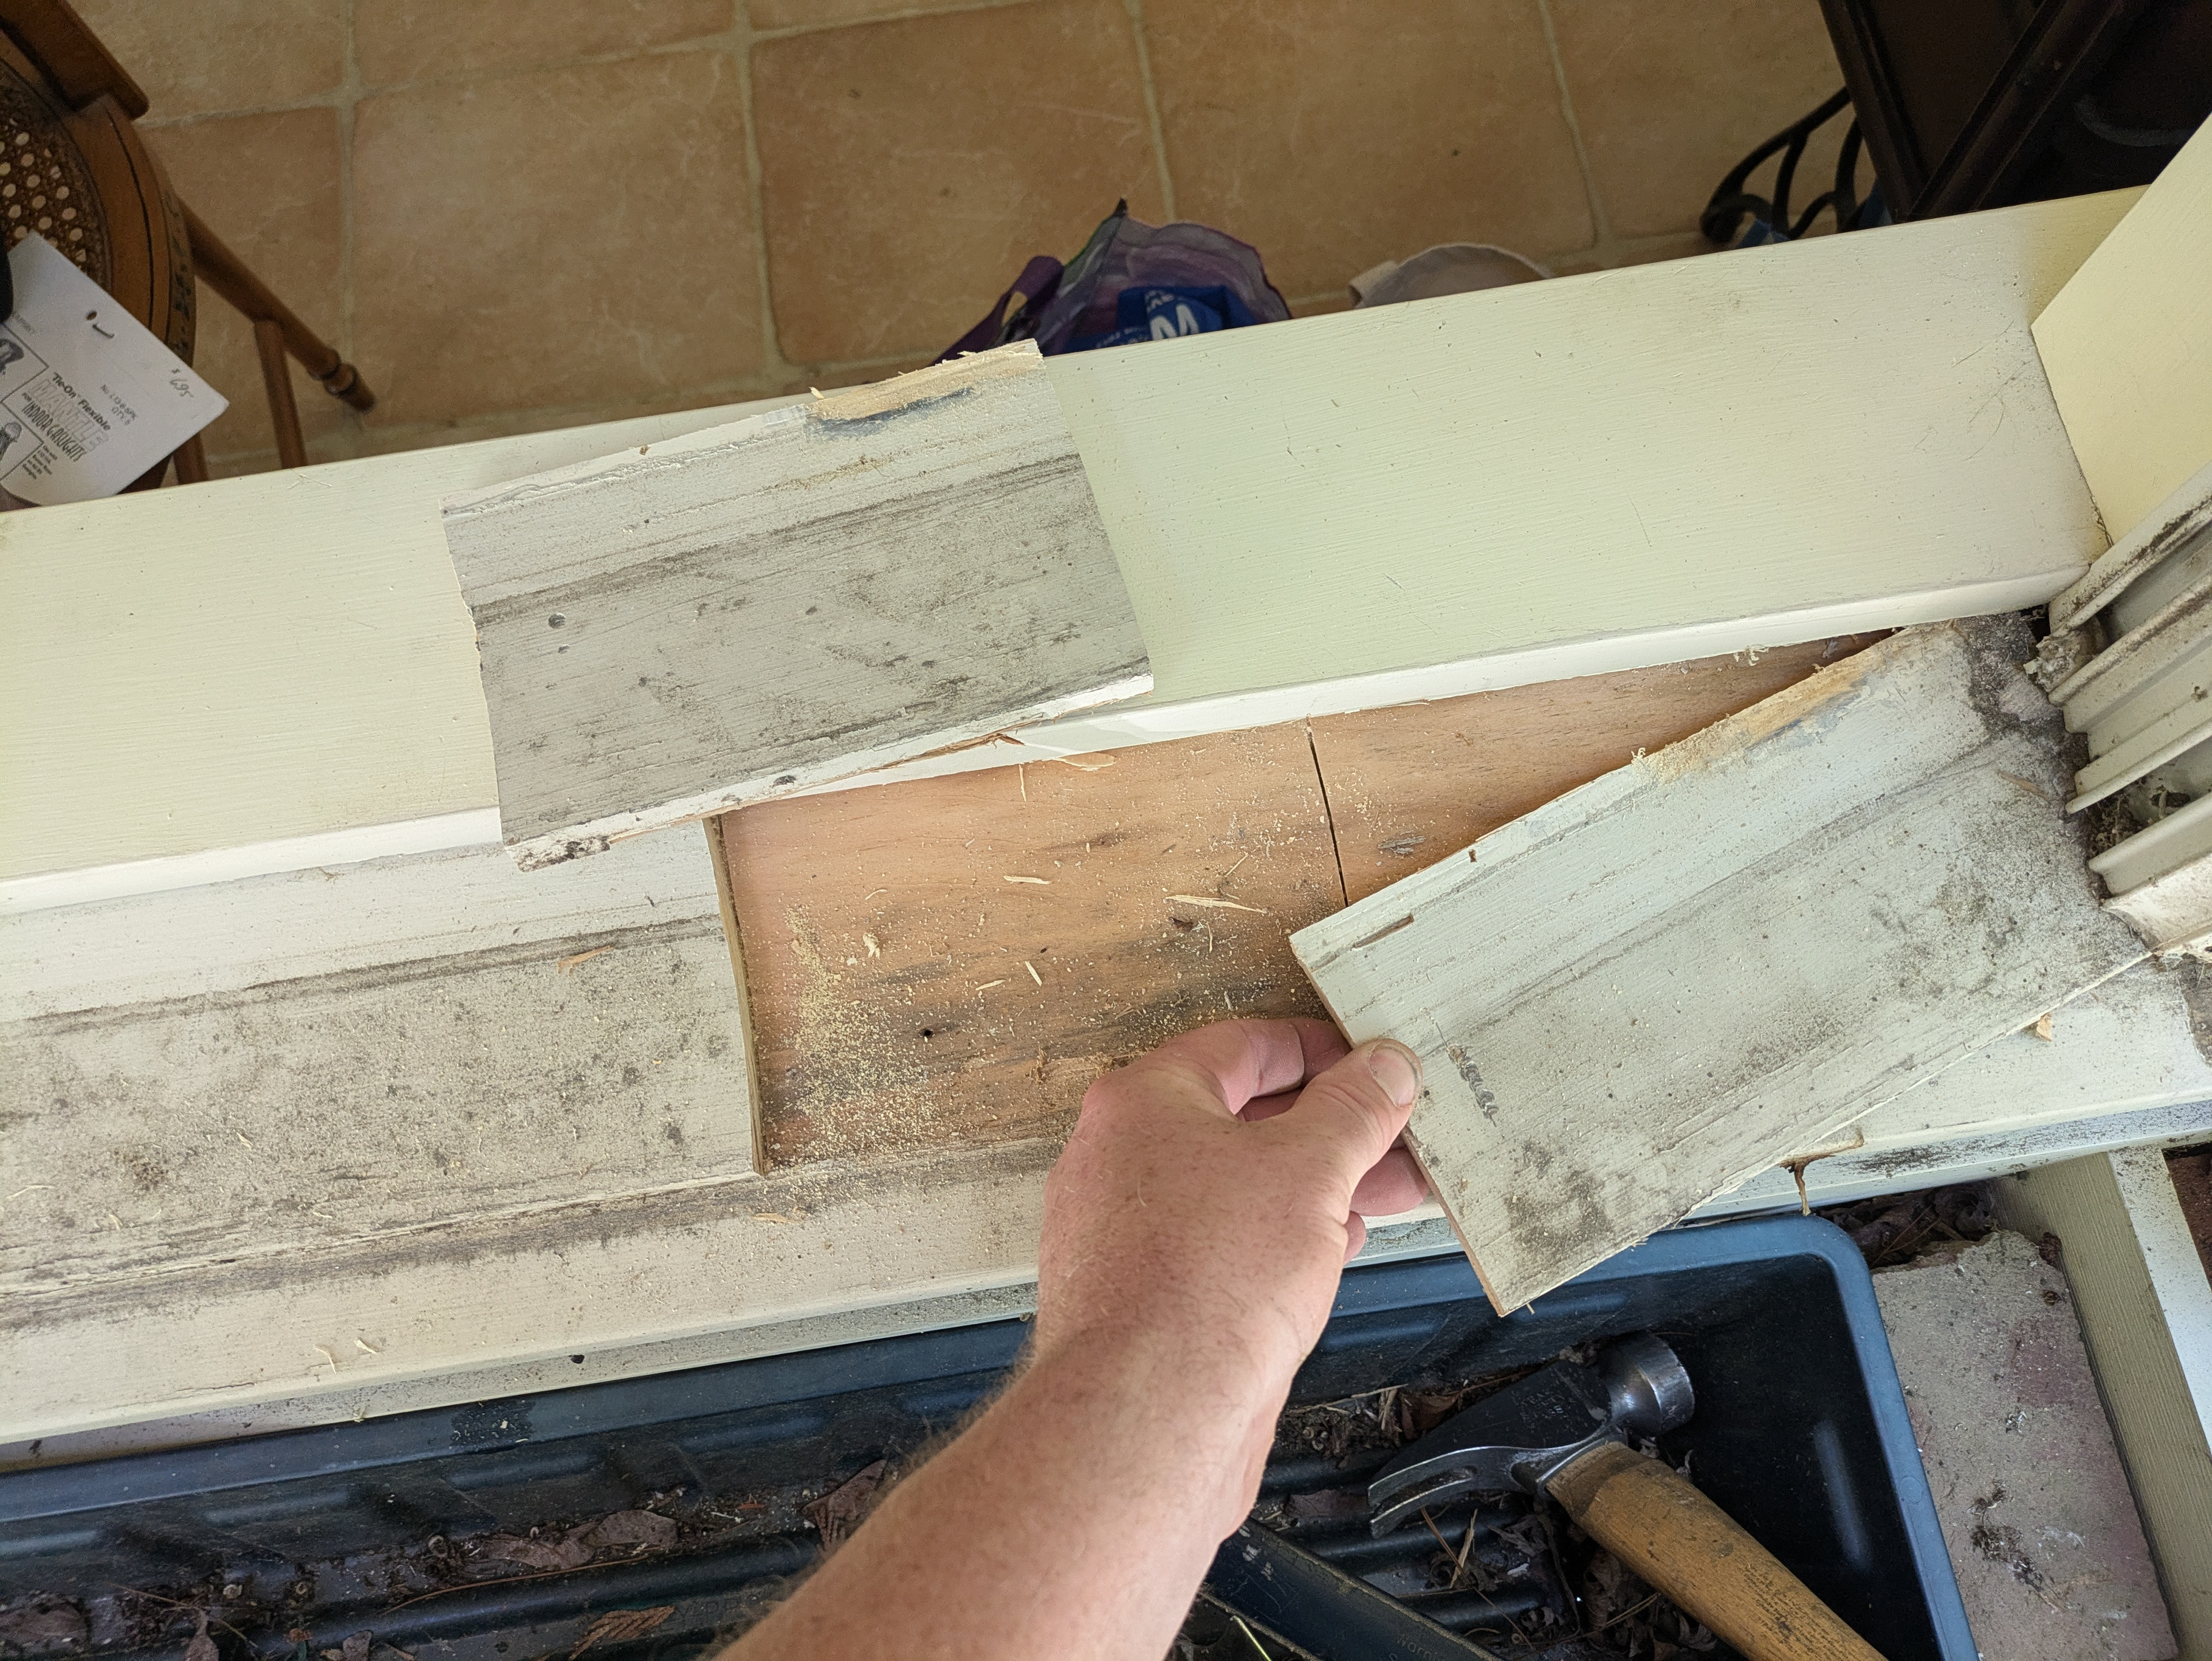
It’s much easier to pull the jamb base out from under the jamb legs after a chunk from the center has been removed.
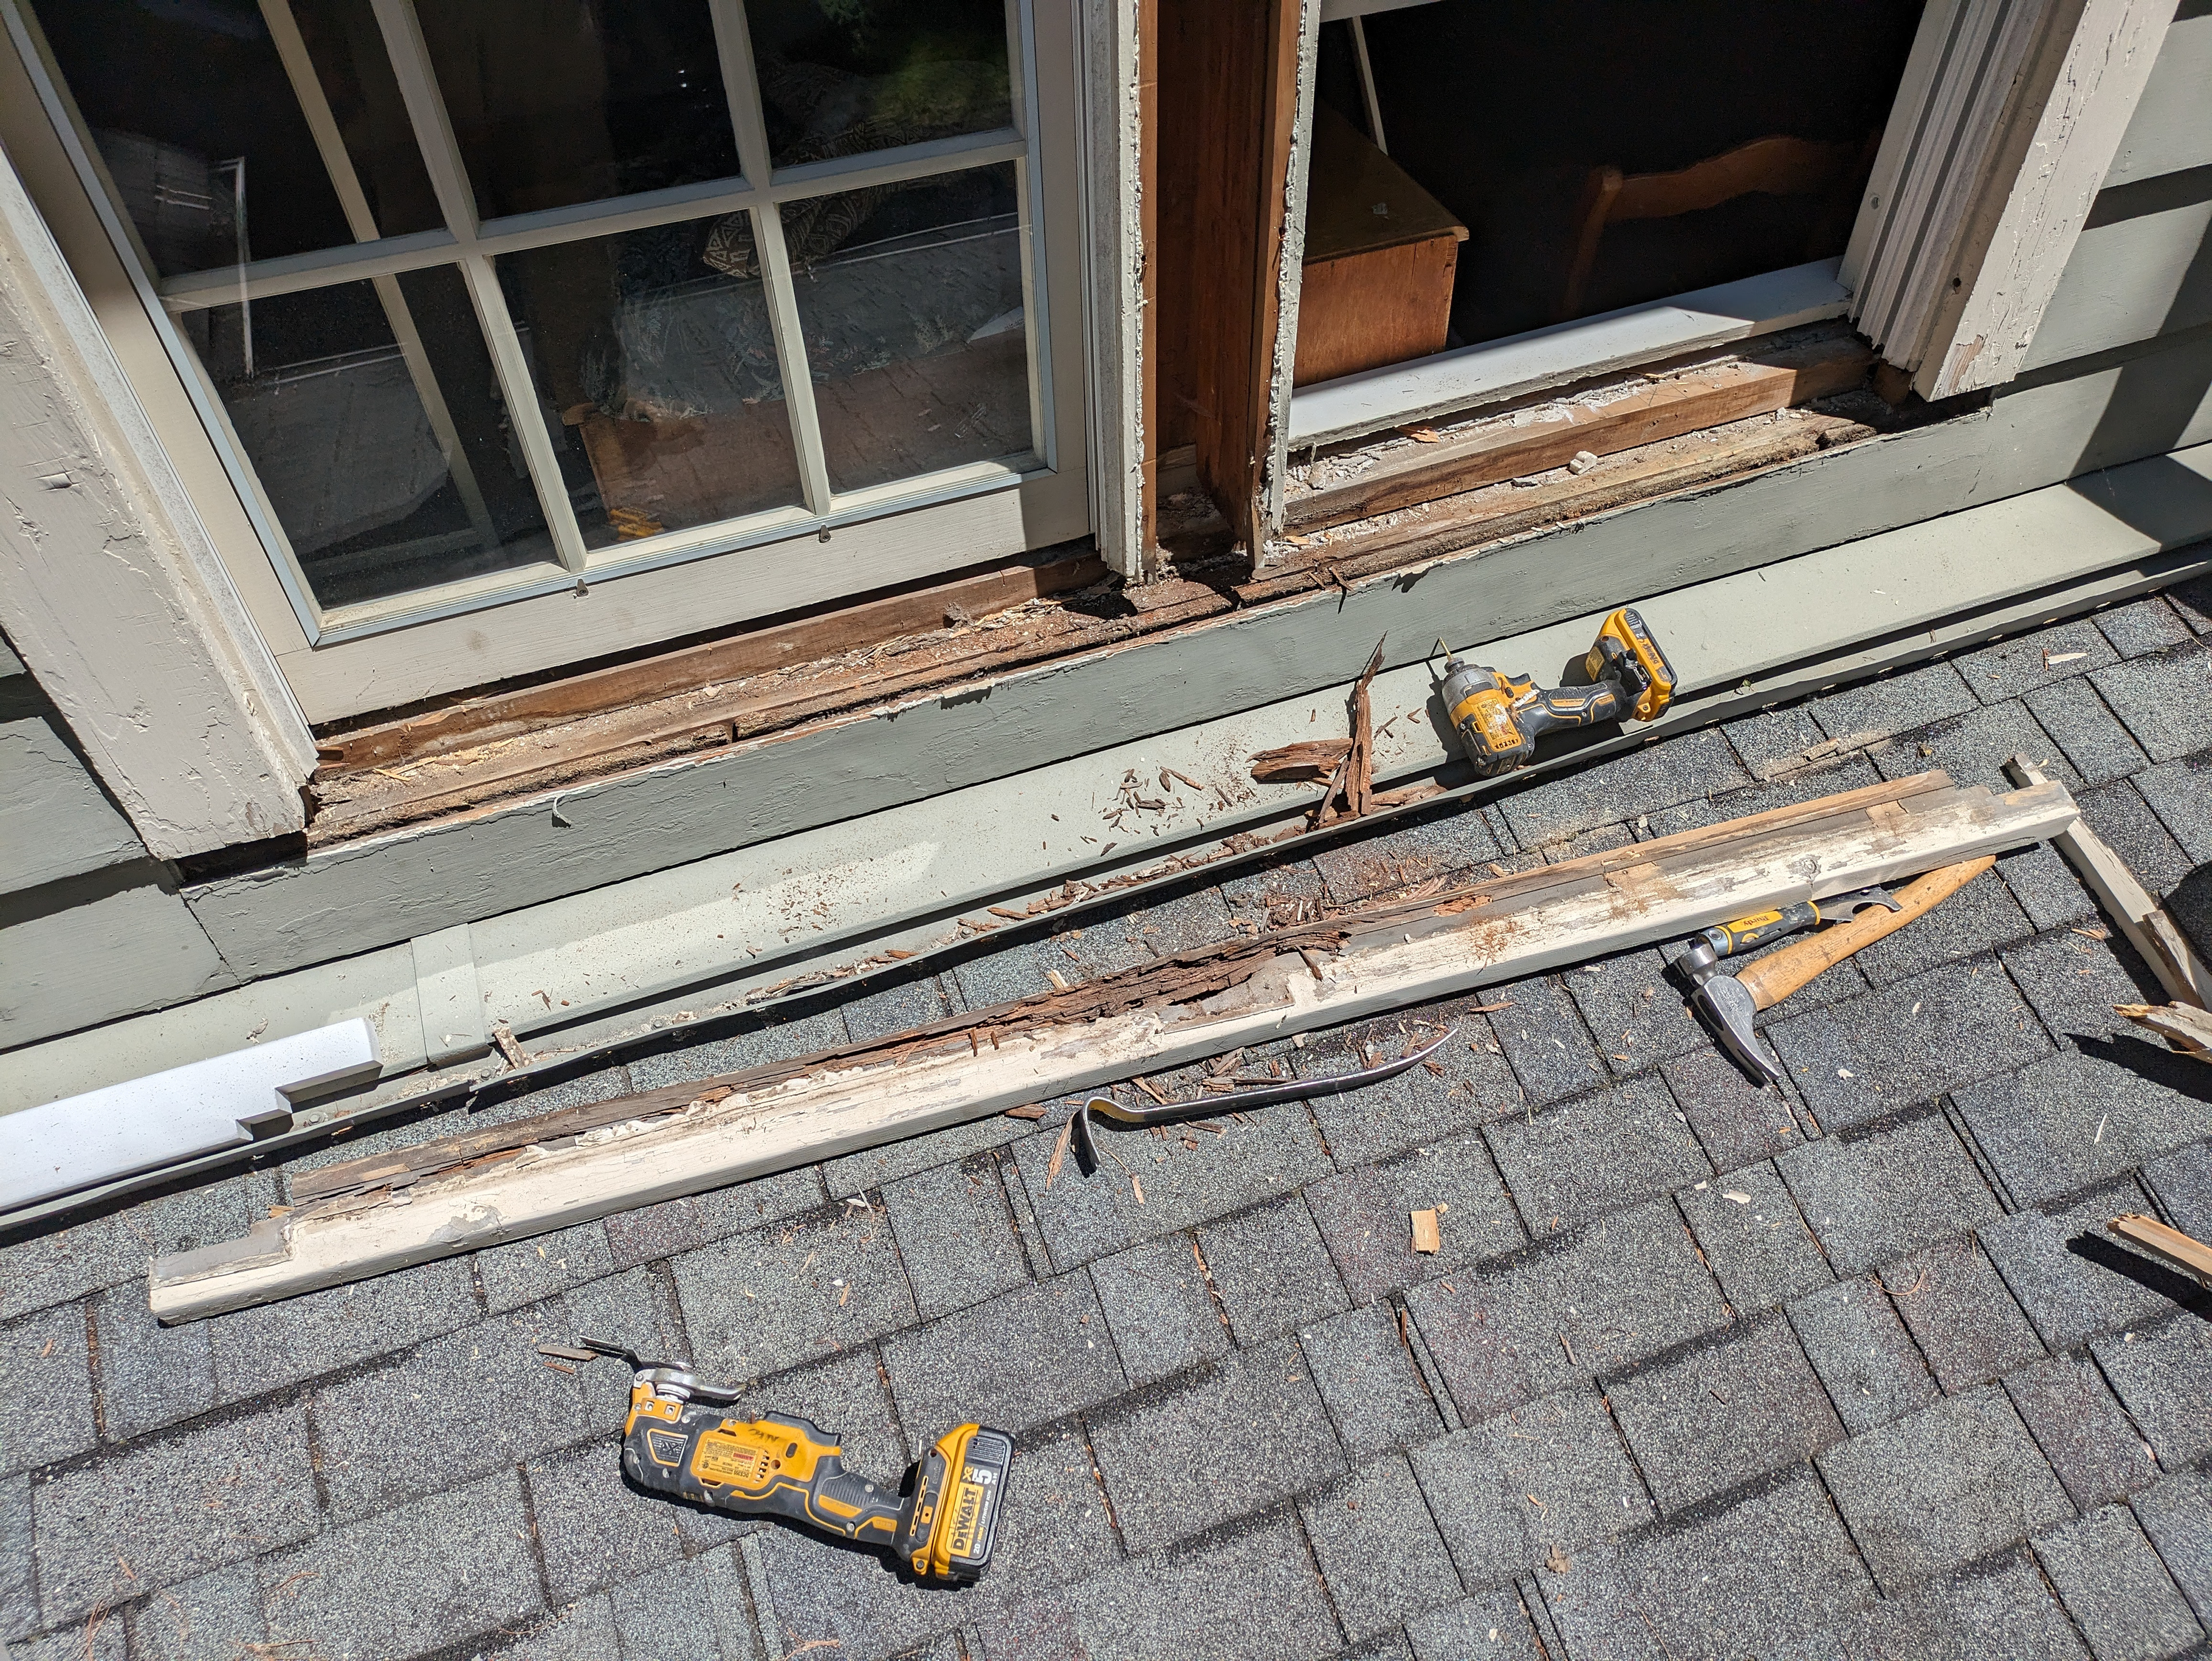
Removing the sill is quick and painless once the jamb base is removed. I’ll tape the window rough opening with flashing tape so that any water that gets behind the casing or sill will drain out of the rough opening.
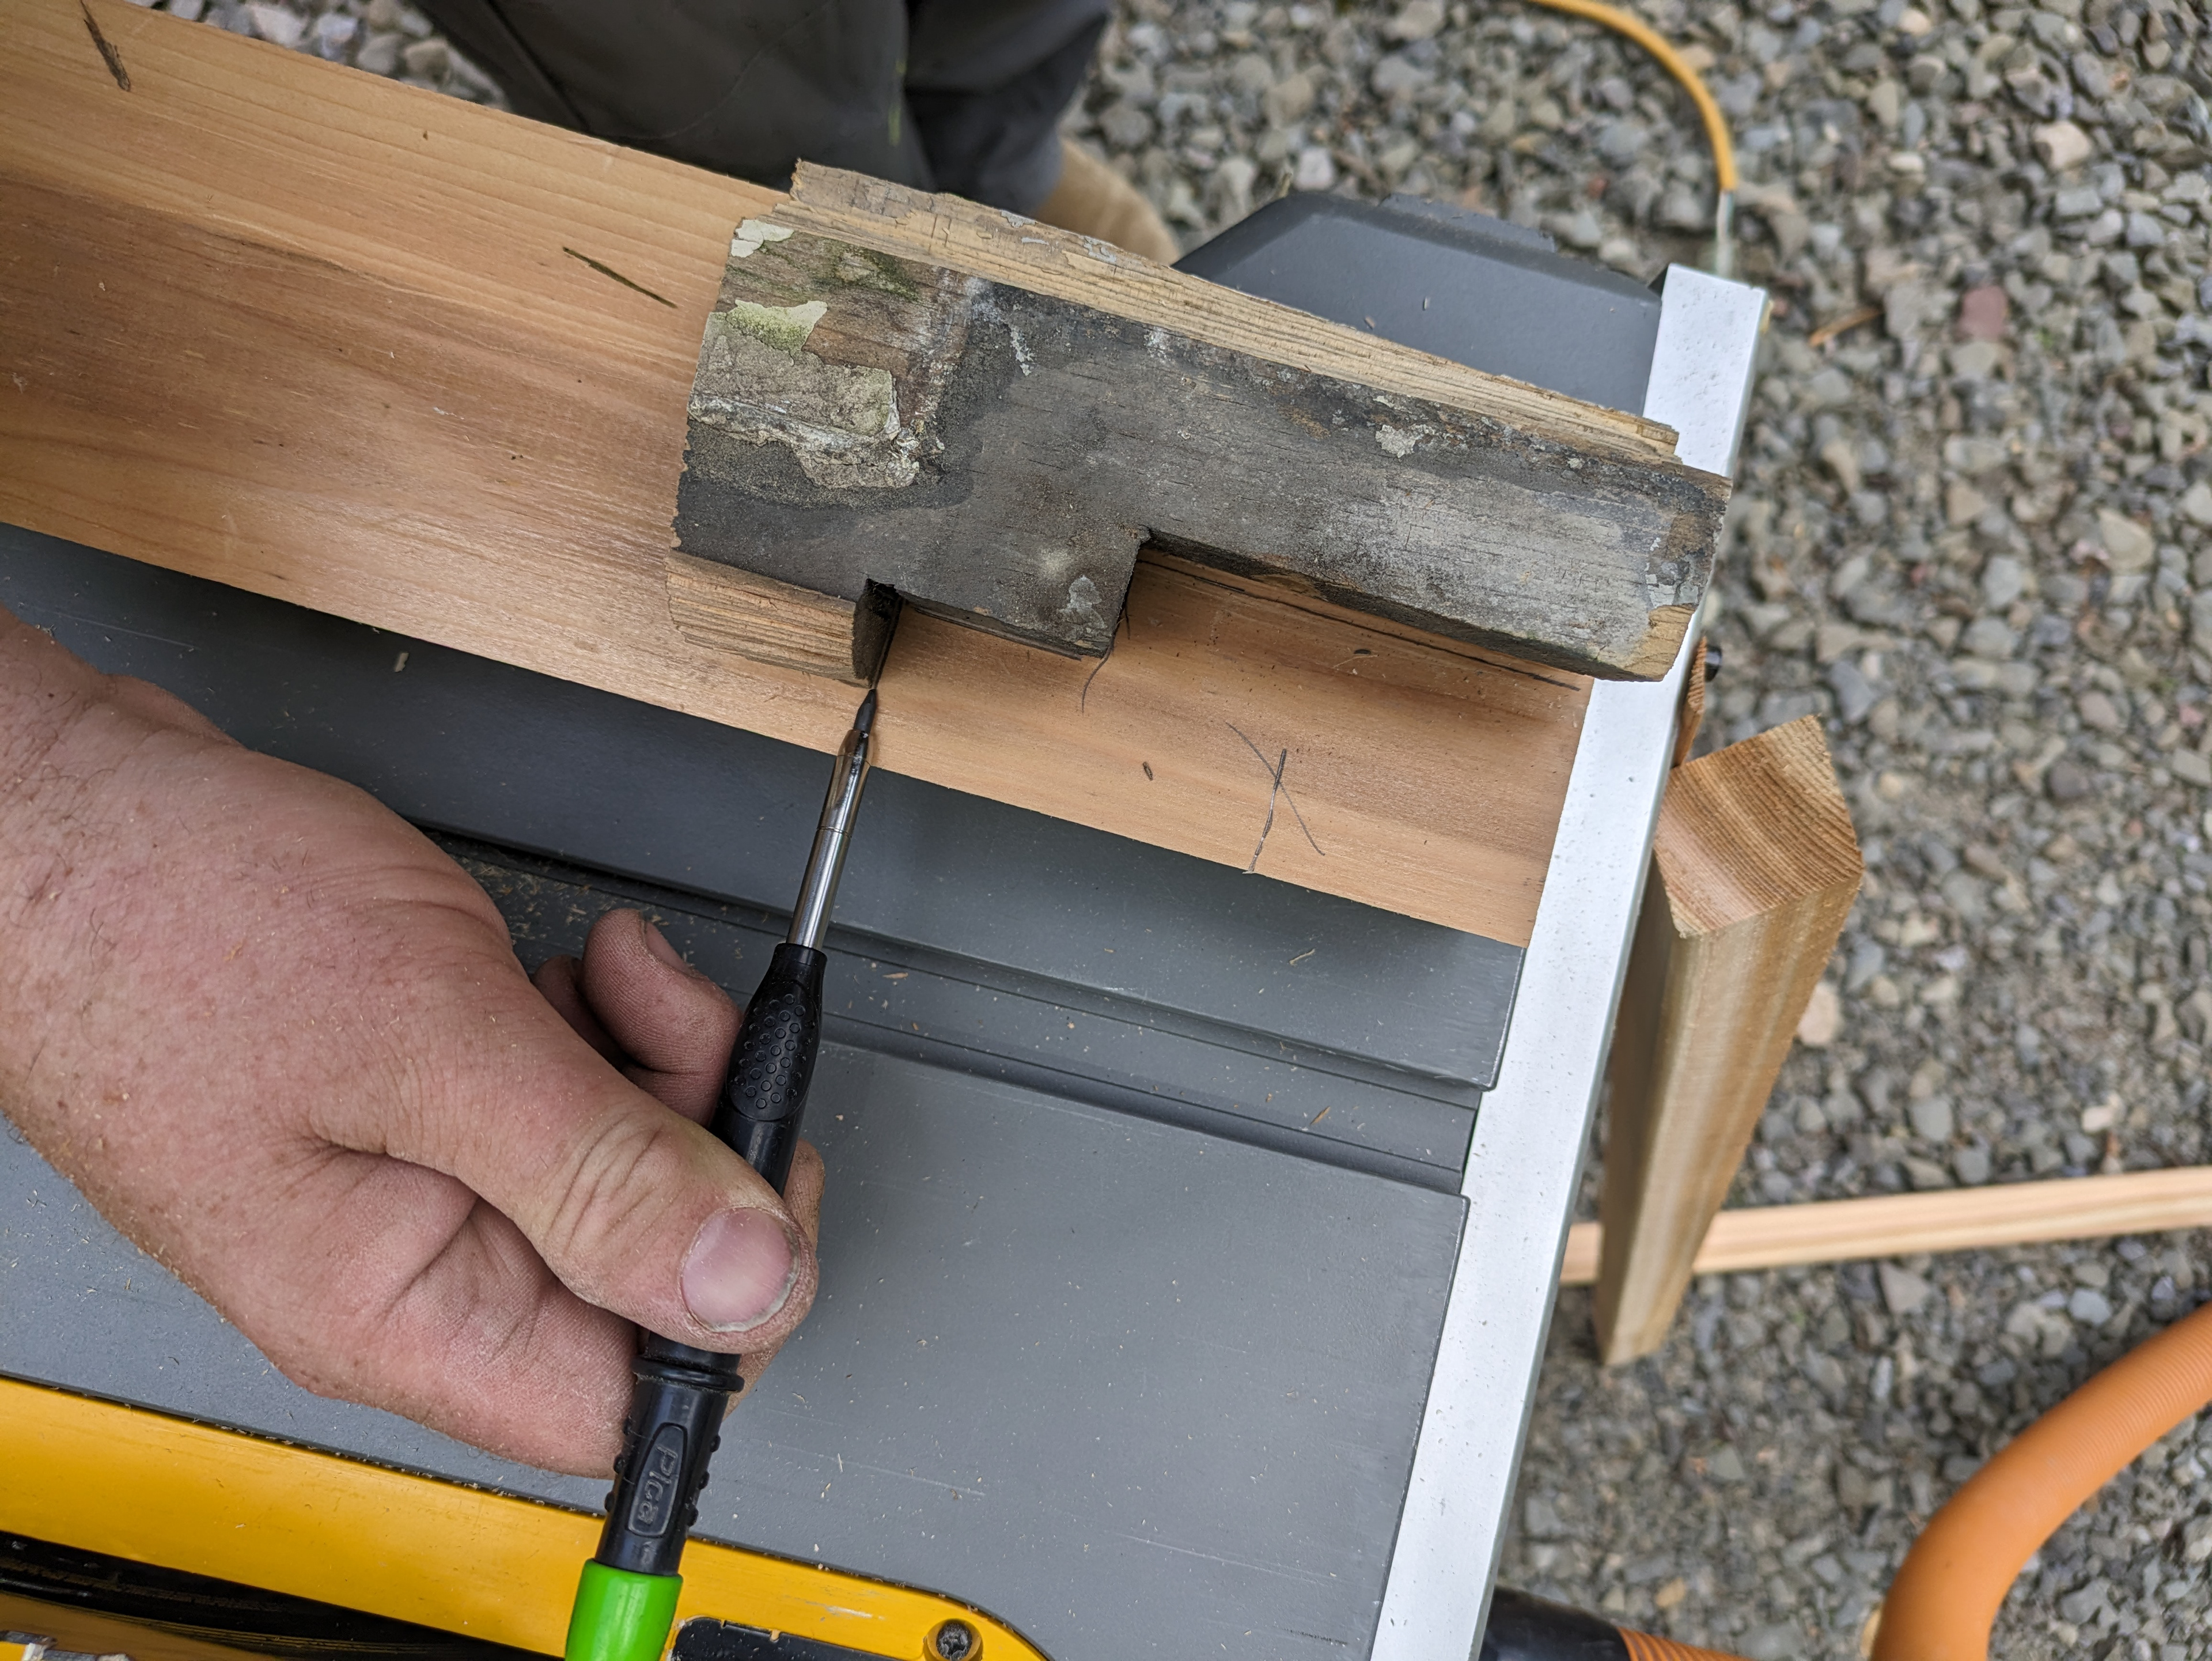
aying out the new sill is easier if there is an old sill partially intact that can be traced.
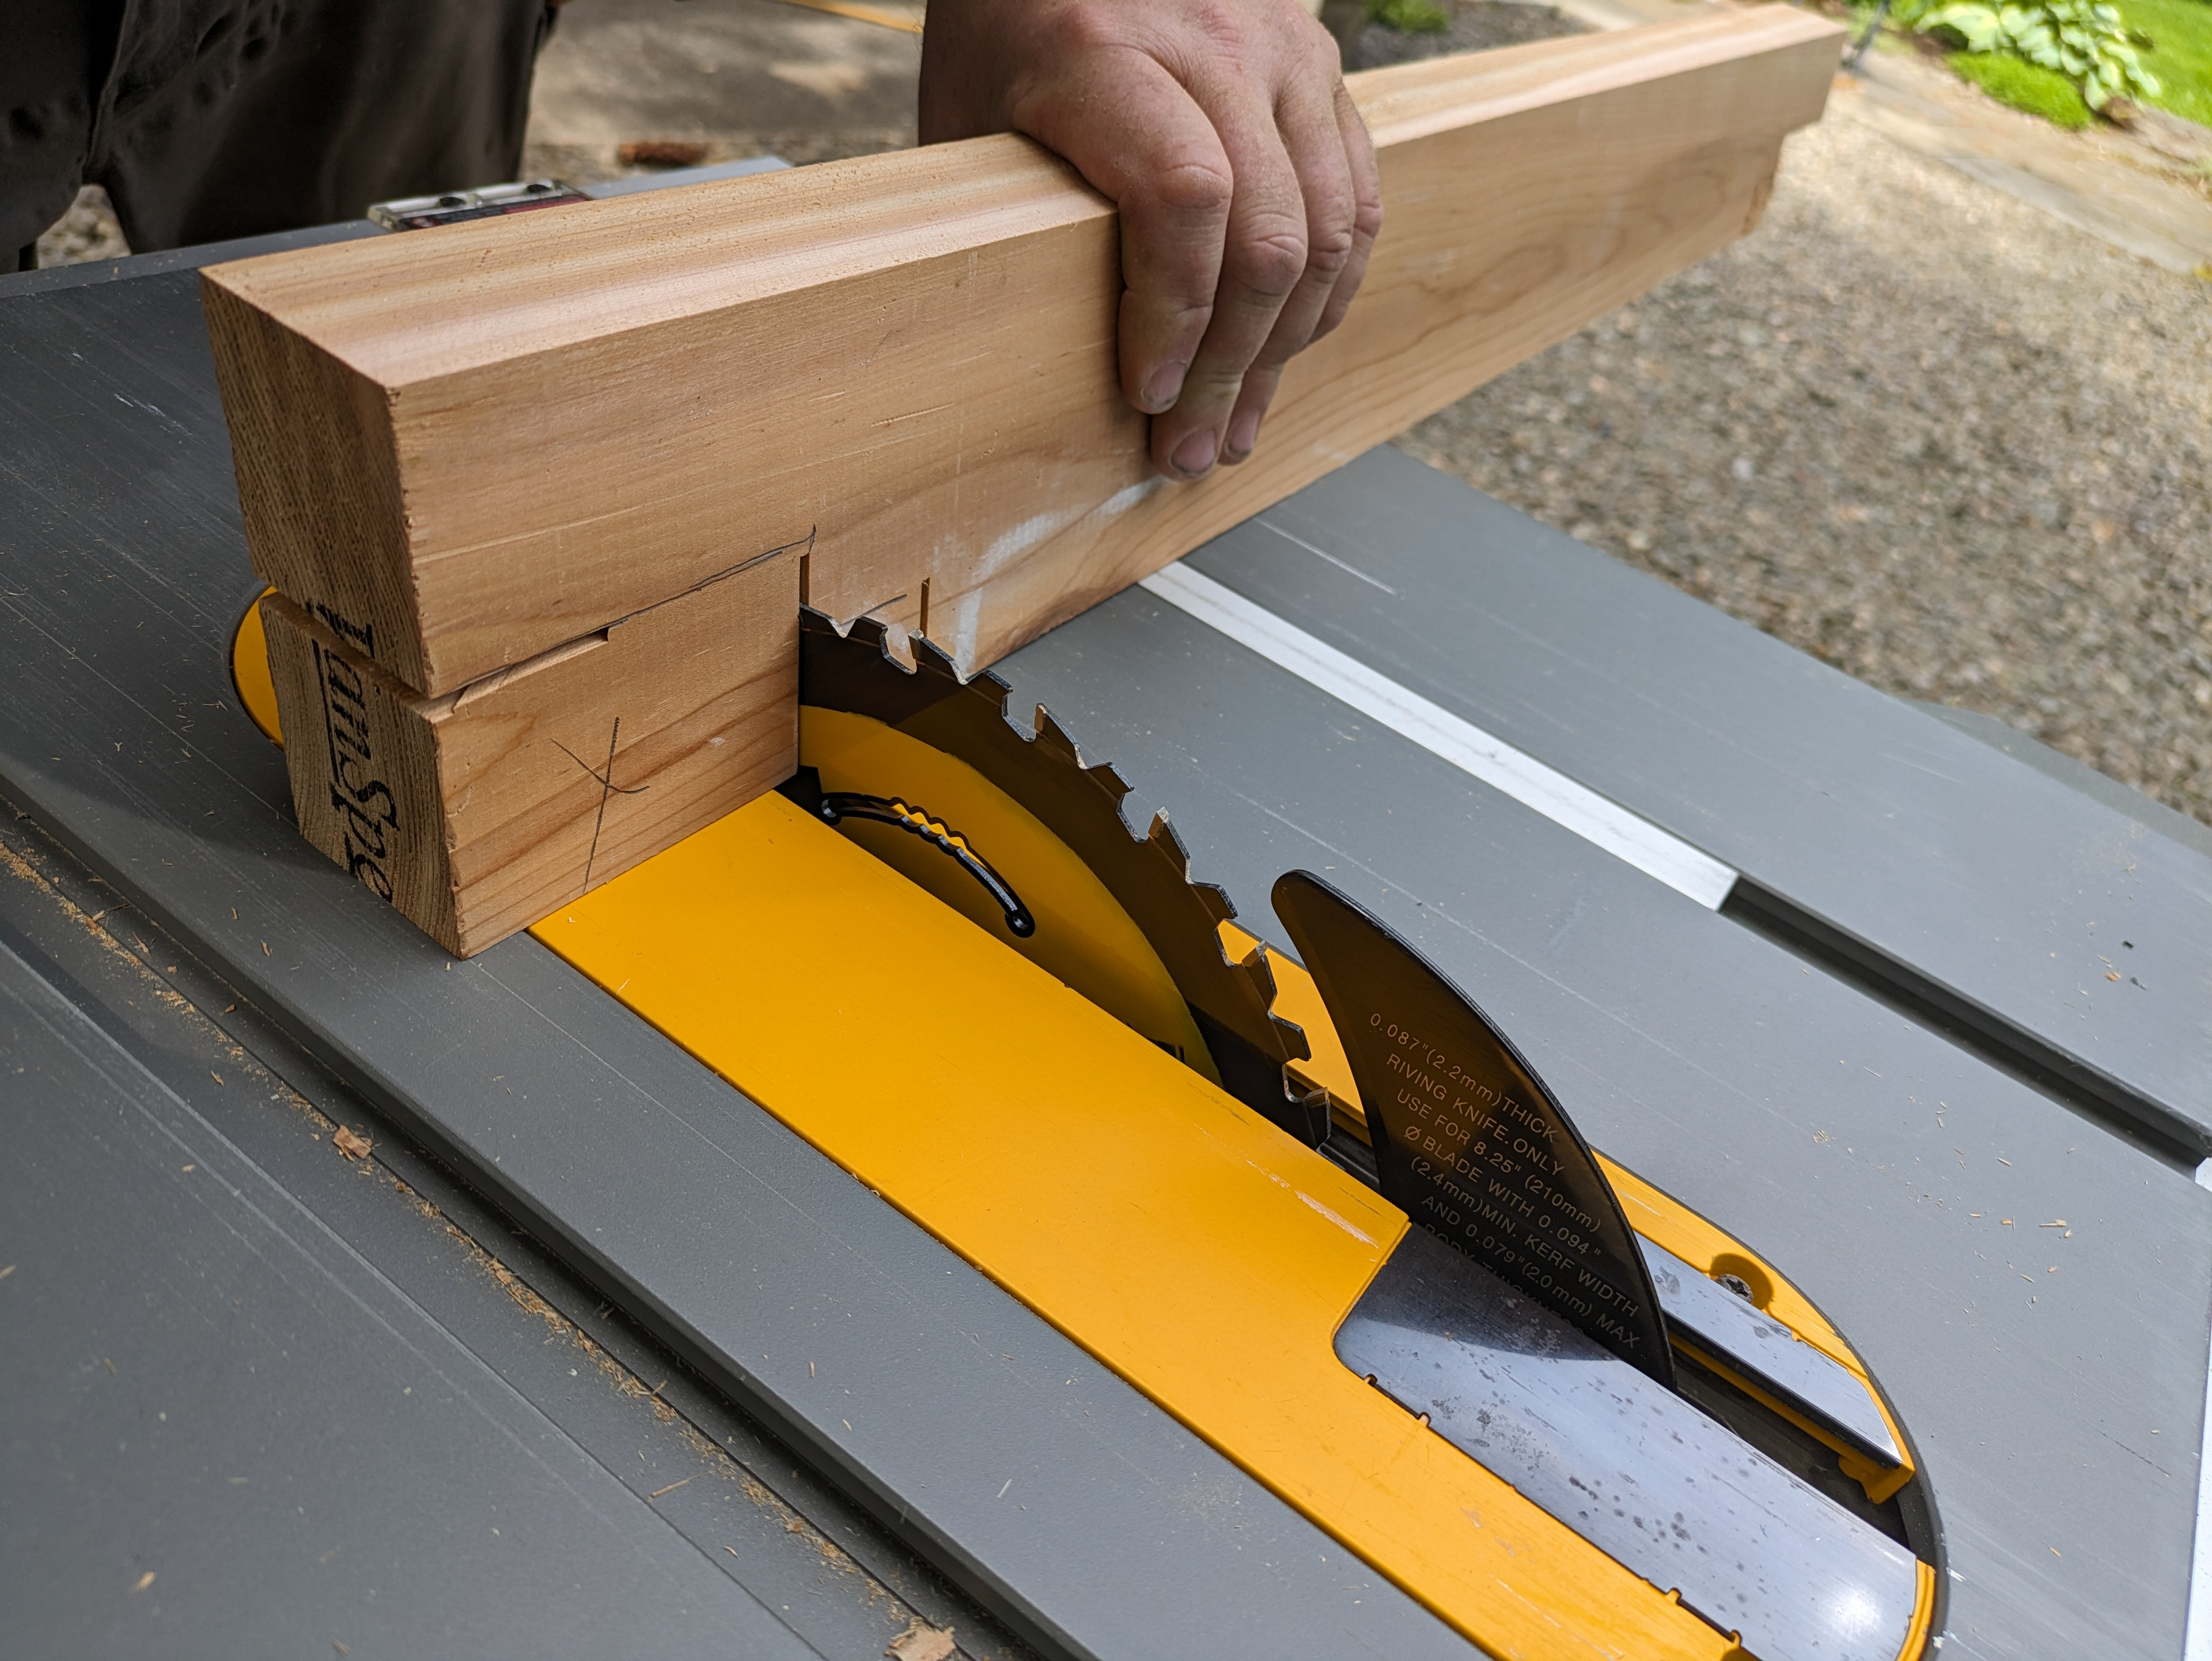
It doesn’t really matter what saw you use to cut out the sill. I’m using a table saw and a hand saw but you could also just use a circular saw and jigsaw.
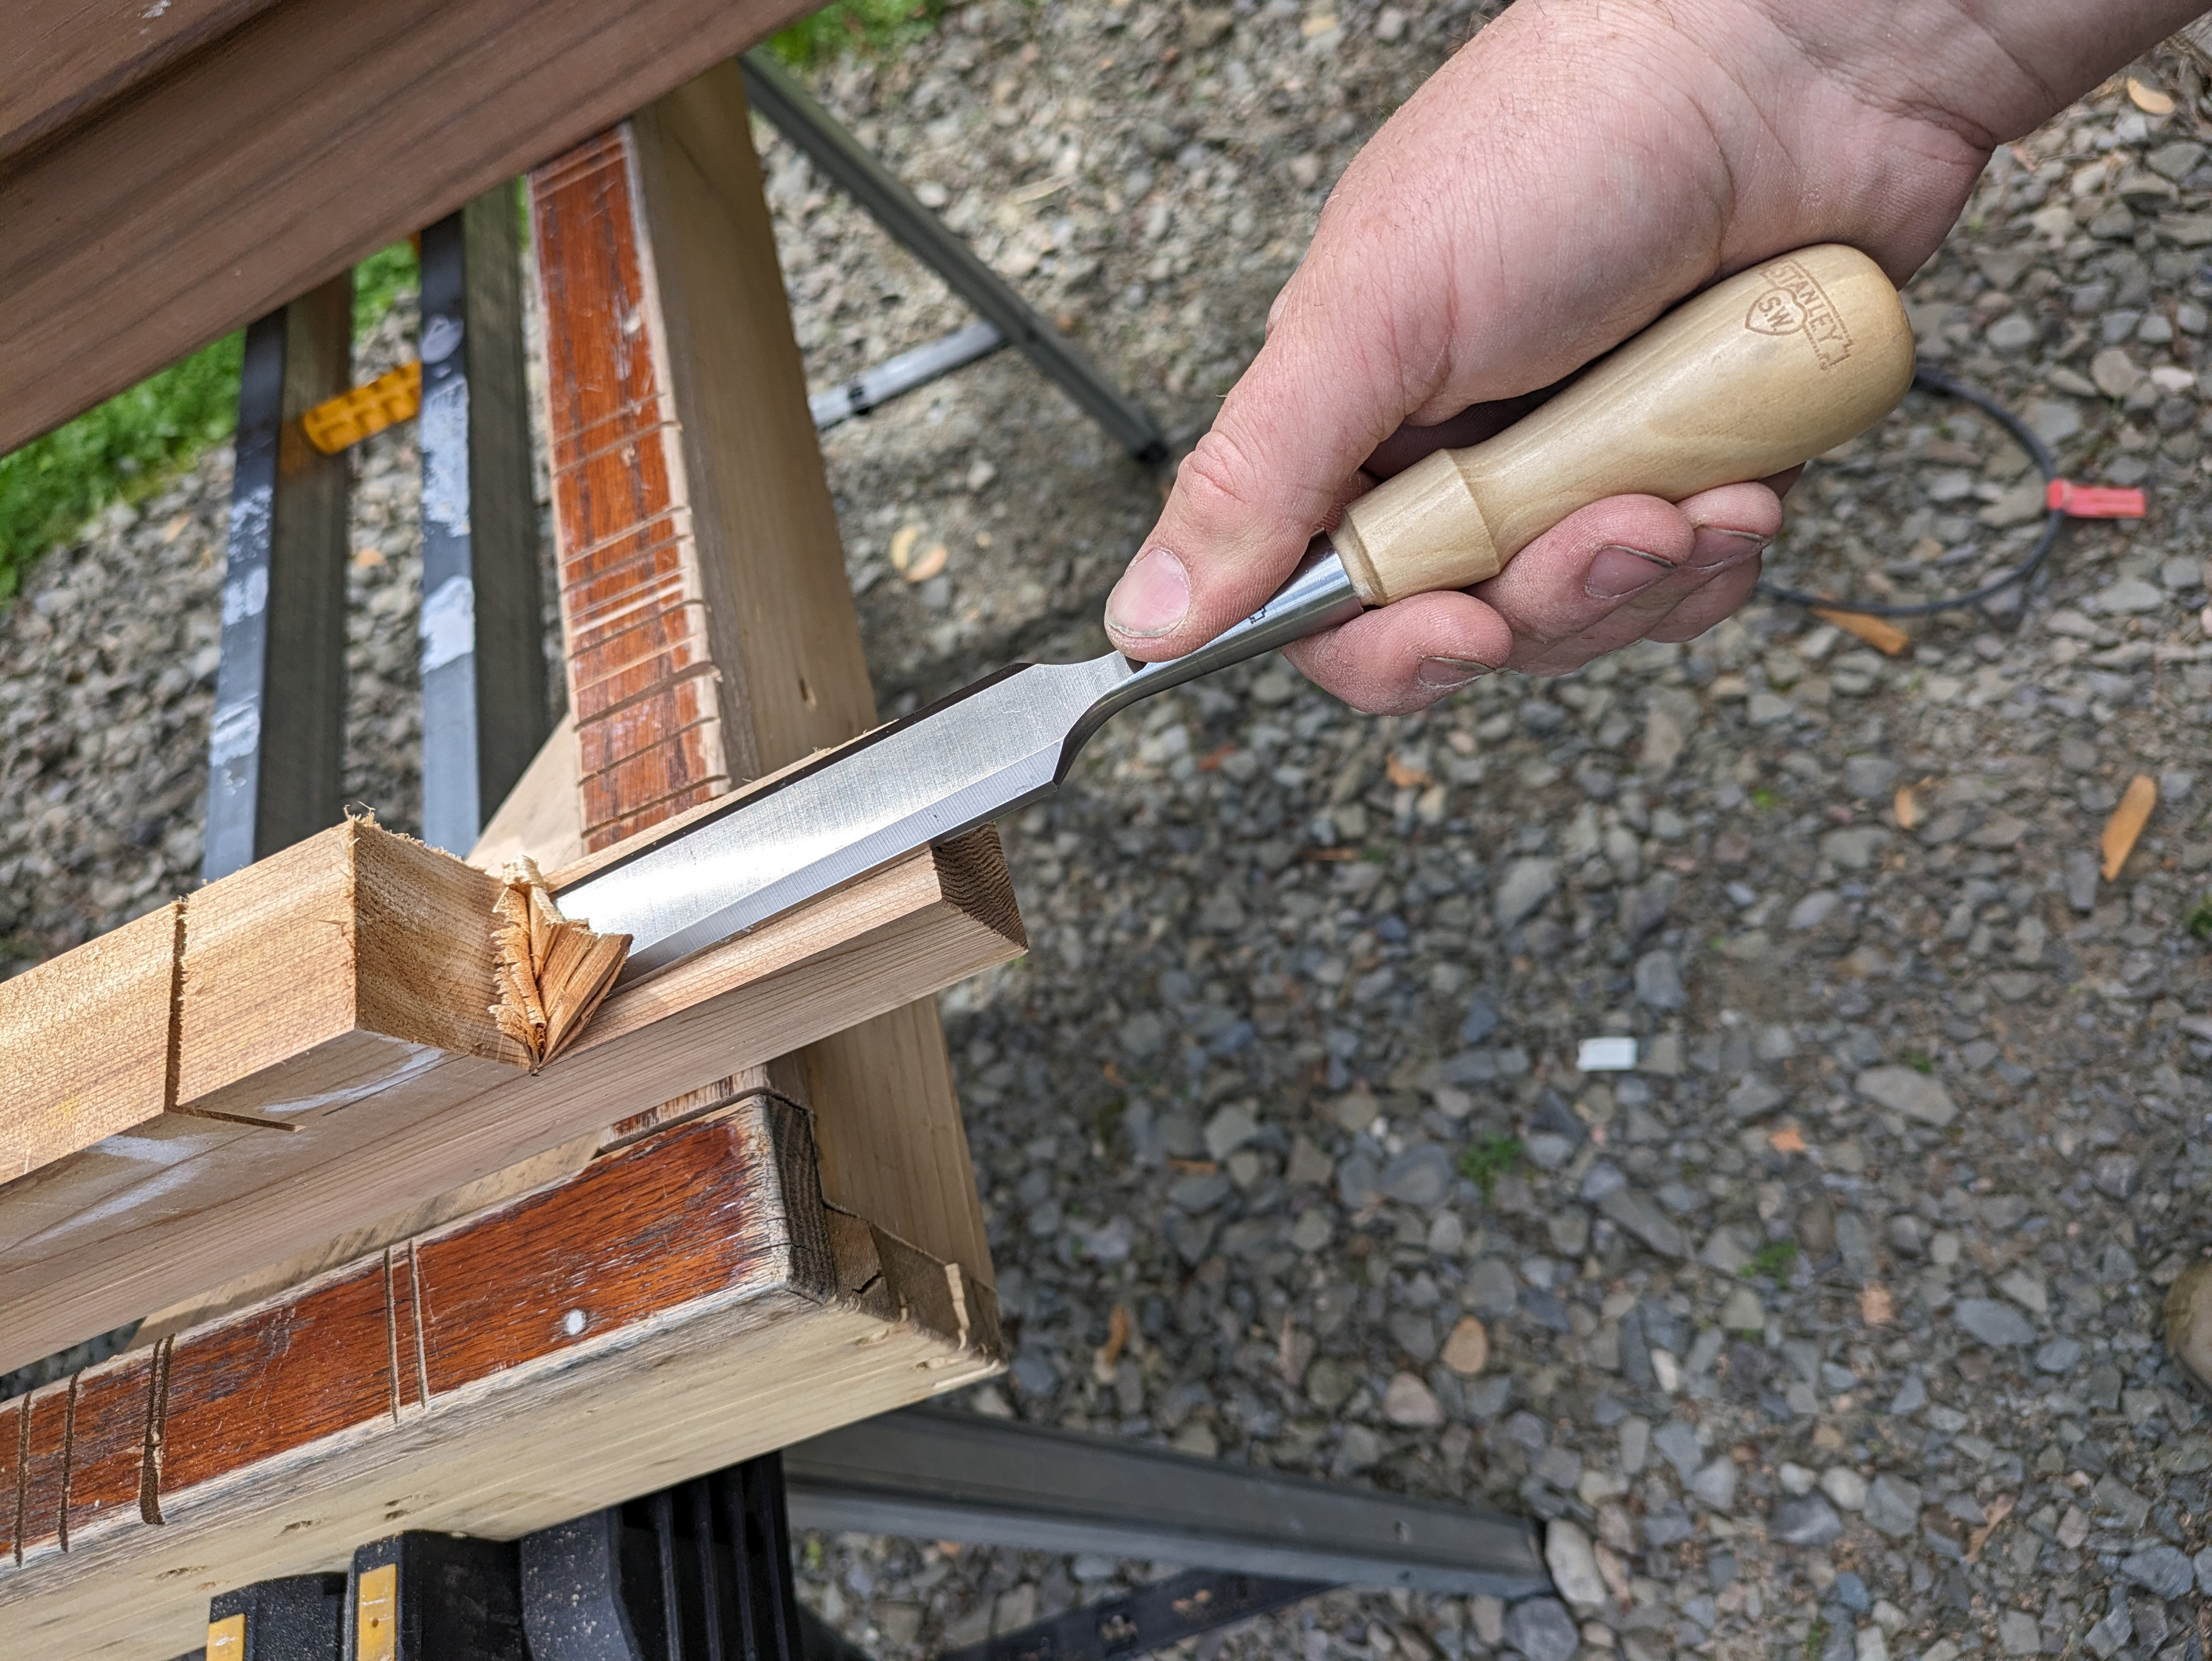
A sharp chisel is handy for cleaning up inside corners.
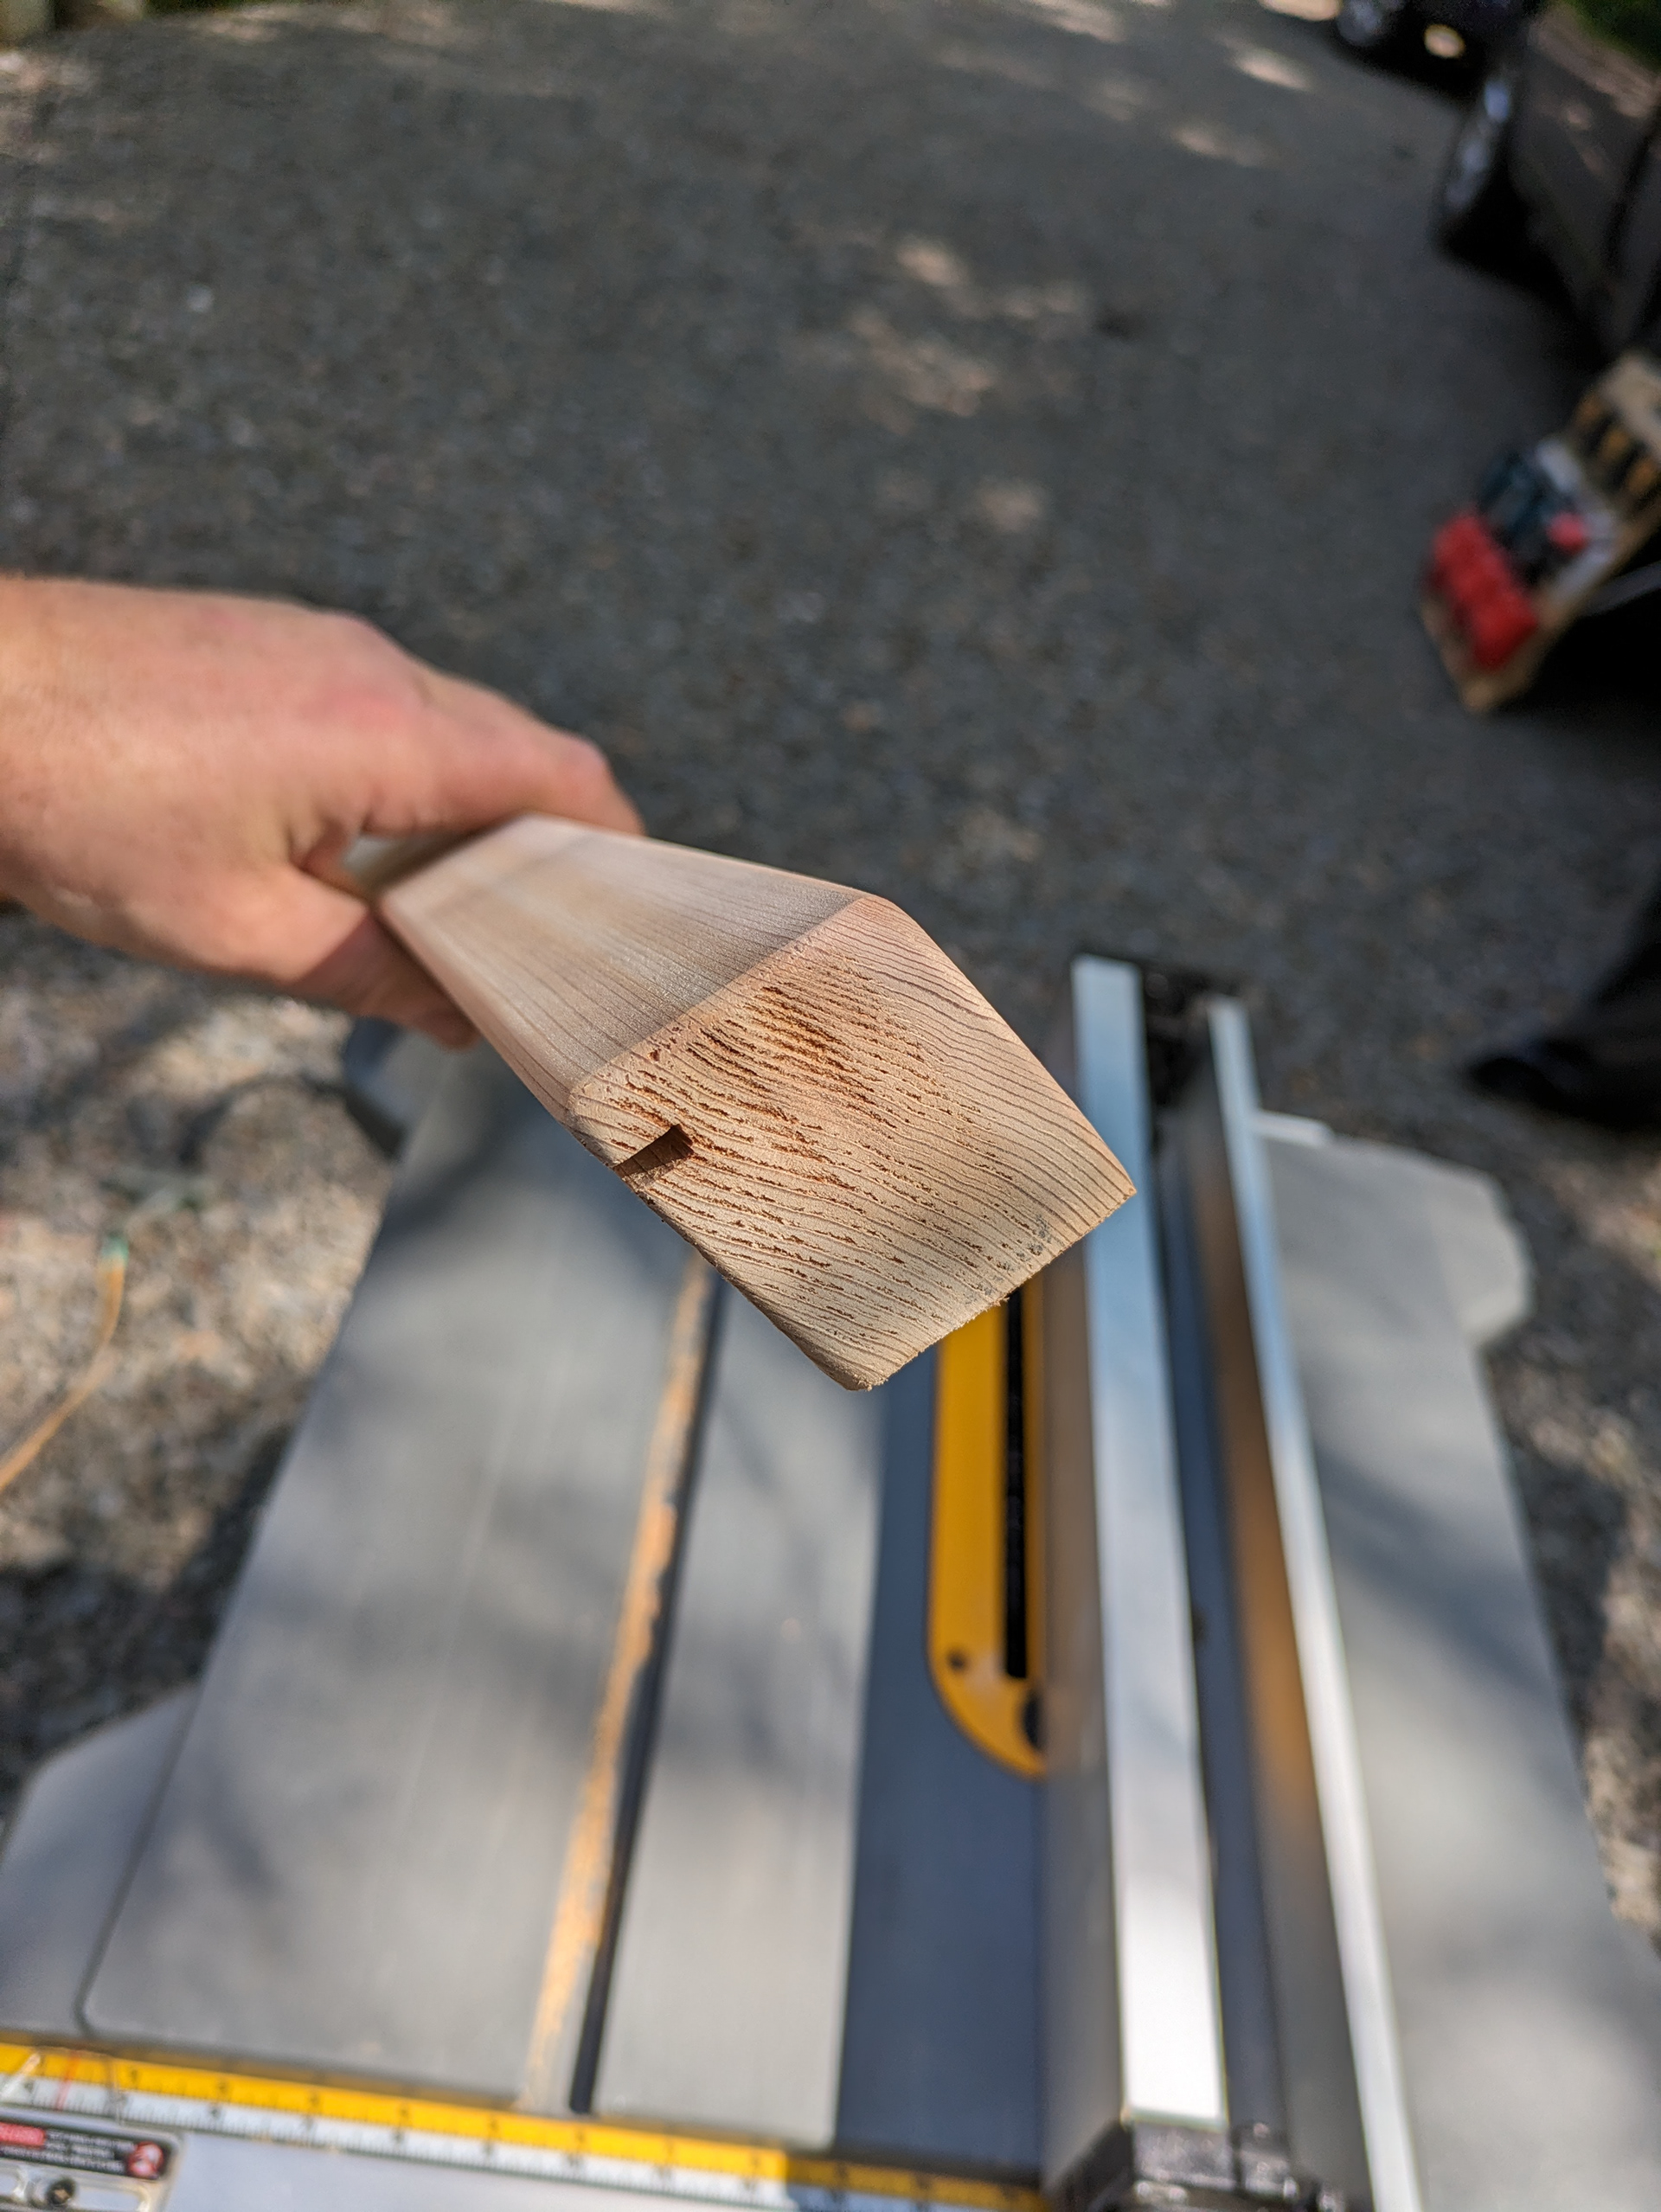
I cut a small kerf into the bottom of the sill near the nosing. This kerf will break the surface tension of the water and prevent it from getting behind the siding below the window sill.
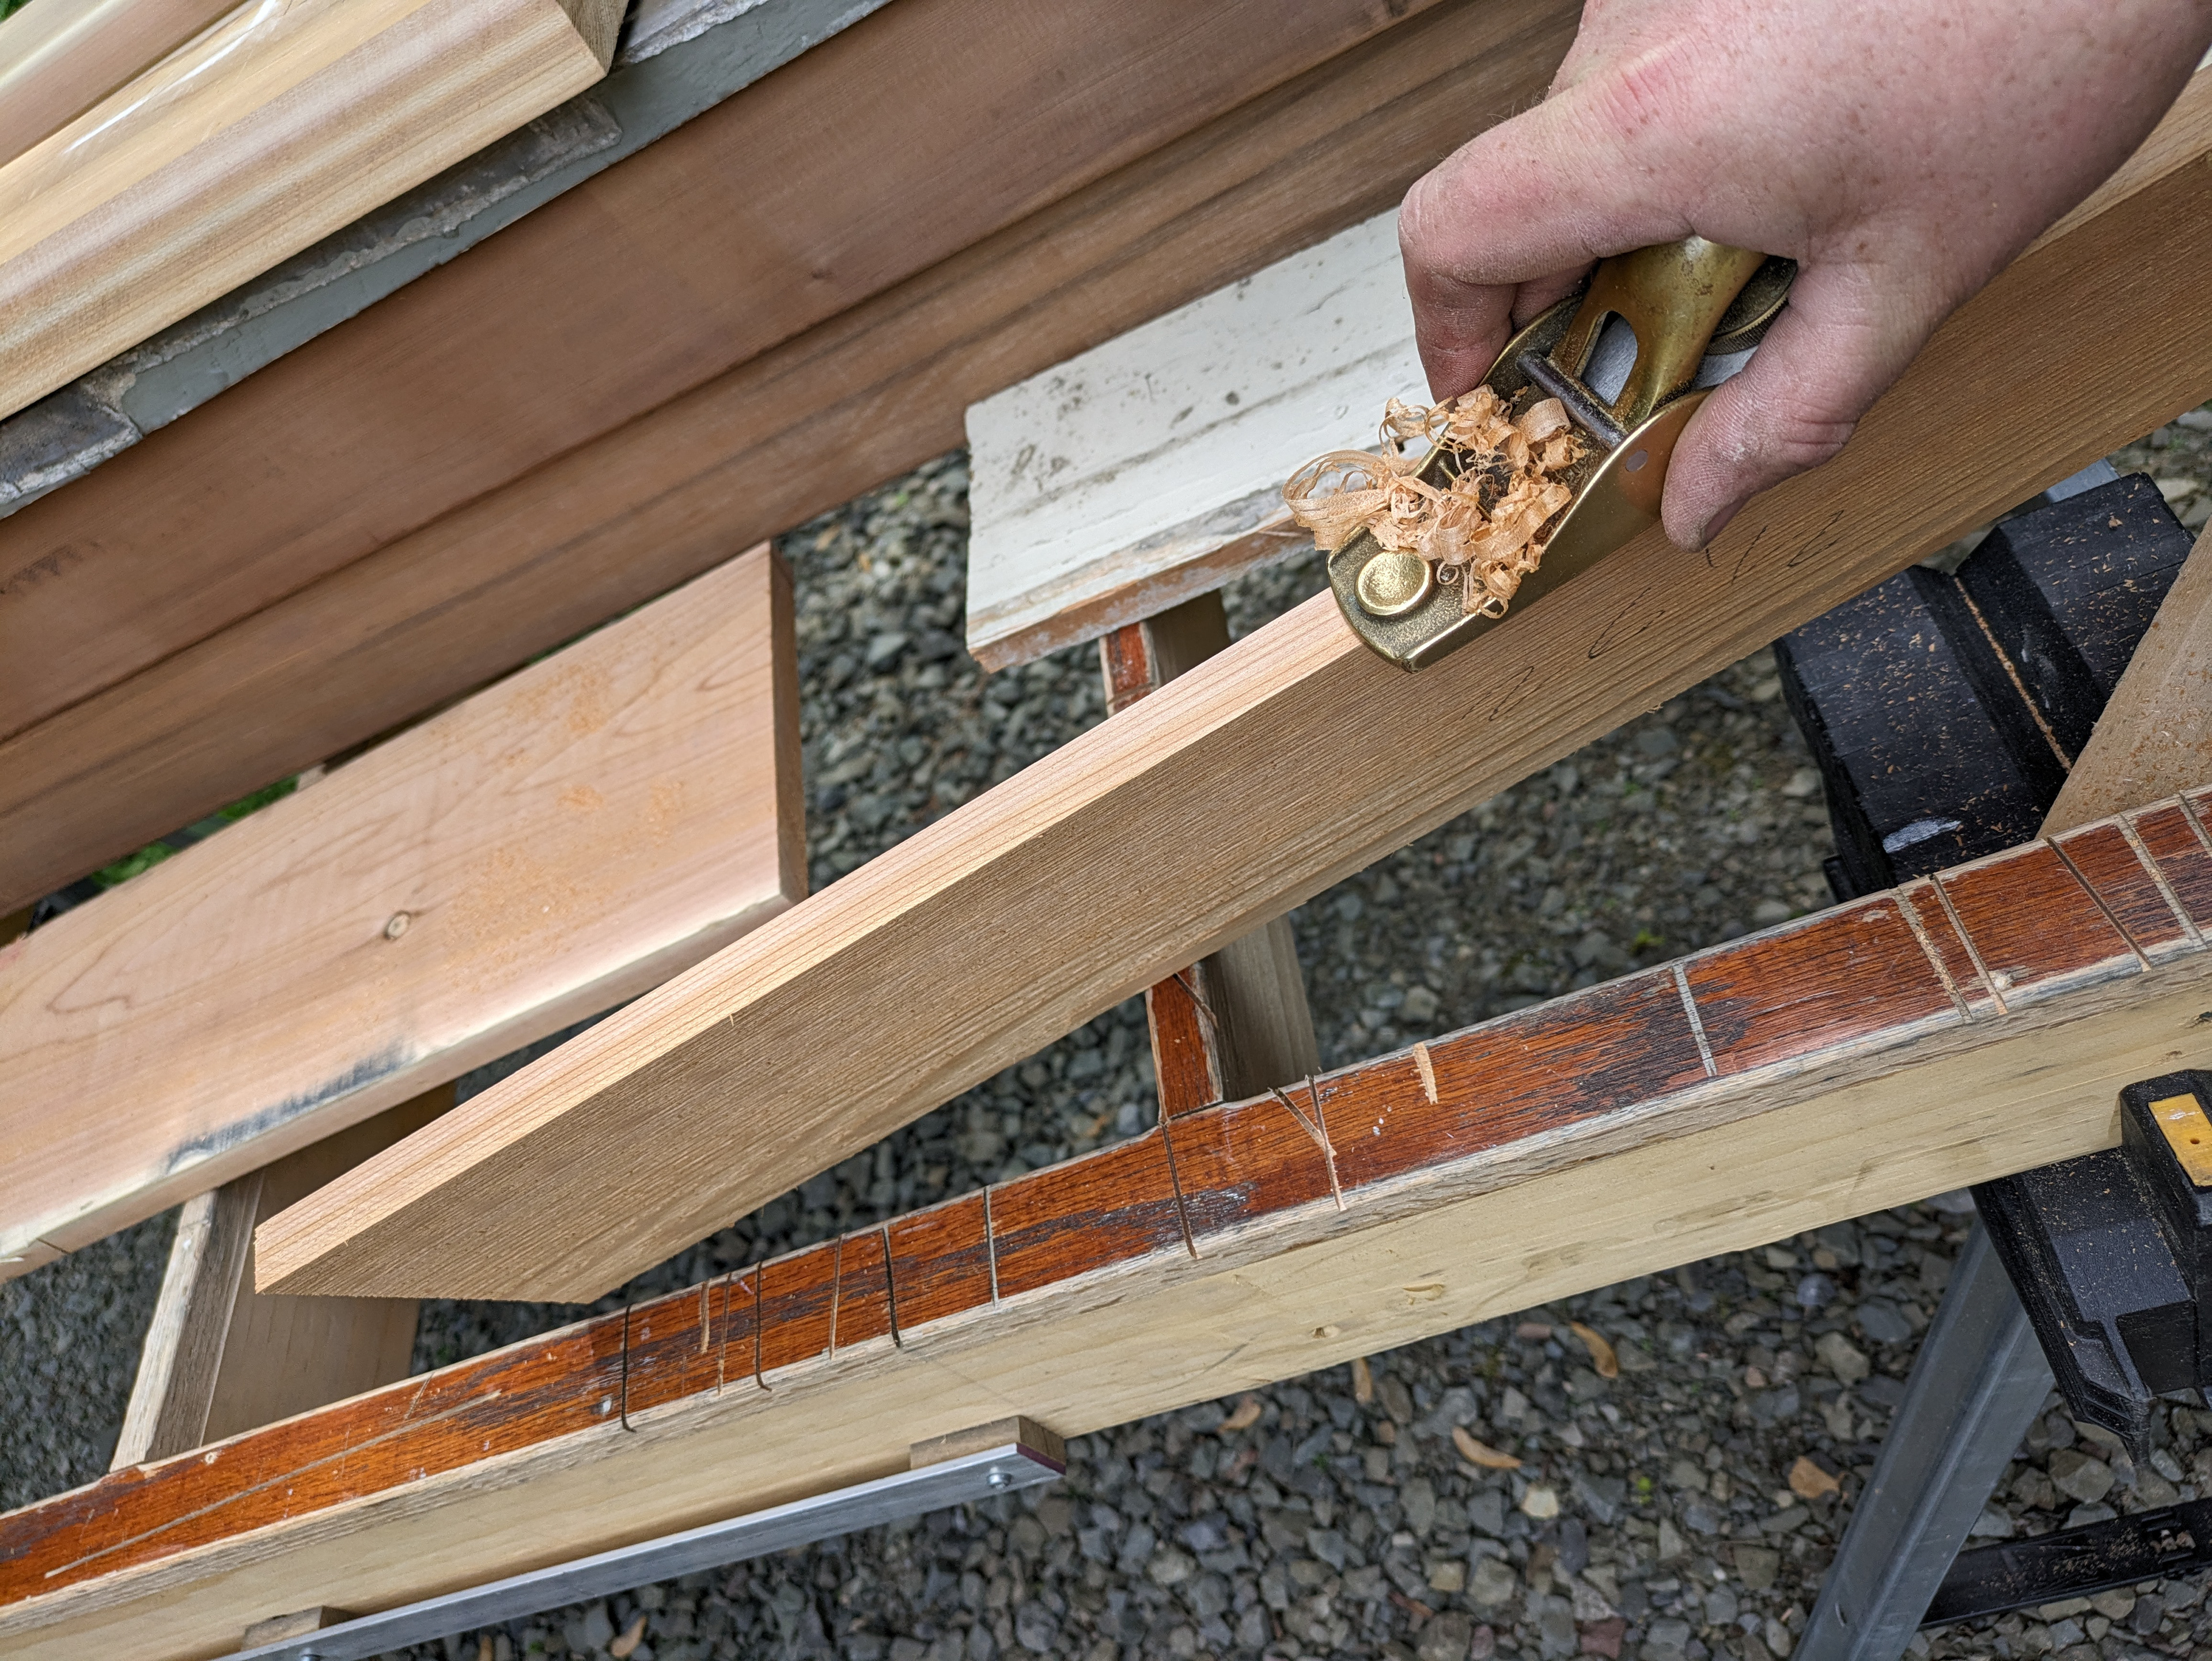
A new jamb base is quick to build. I’m using a hand plane to clean up the saw marks. I’ll sand and prime the new sills and jamb bases with a shellac based primer followed by a coat of alkyd oil based primer.
I fasten the jamb base and sill into the rough opening with 3 trim screws or nails. I like to toenail the sill into the king studs where the sill will be covered by the jamb legs.
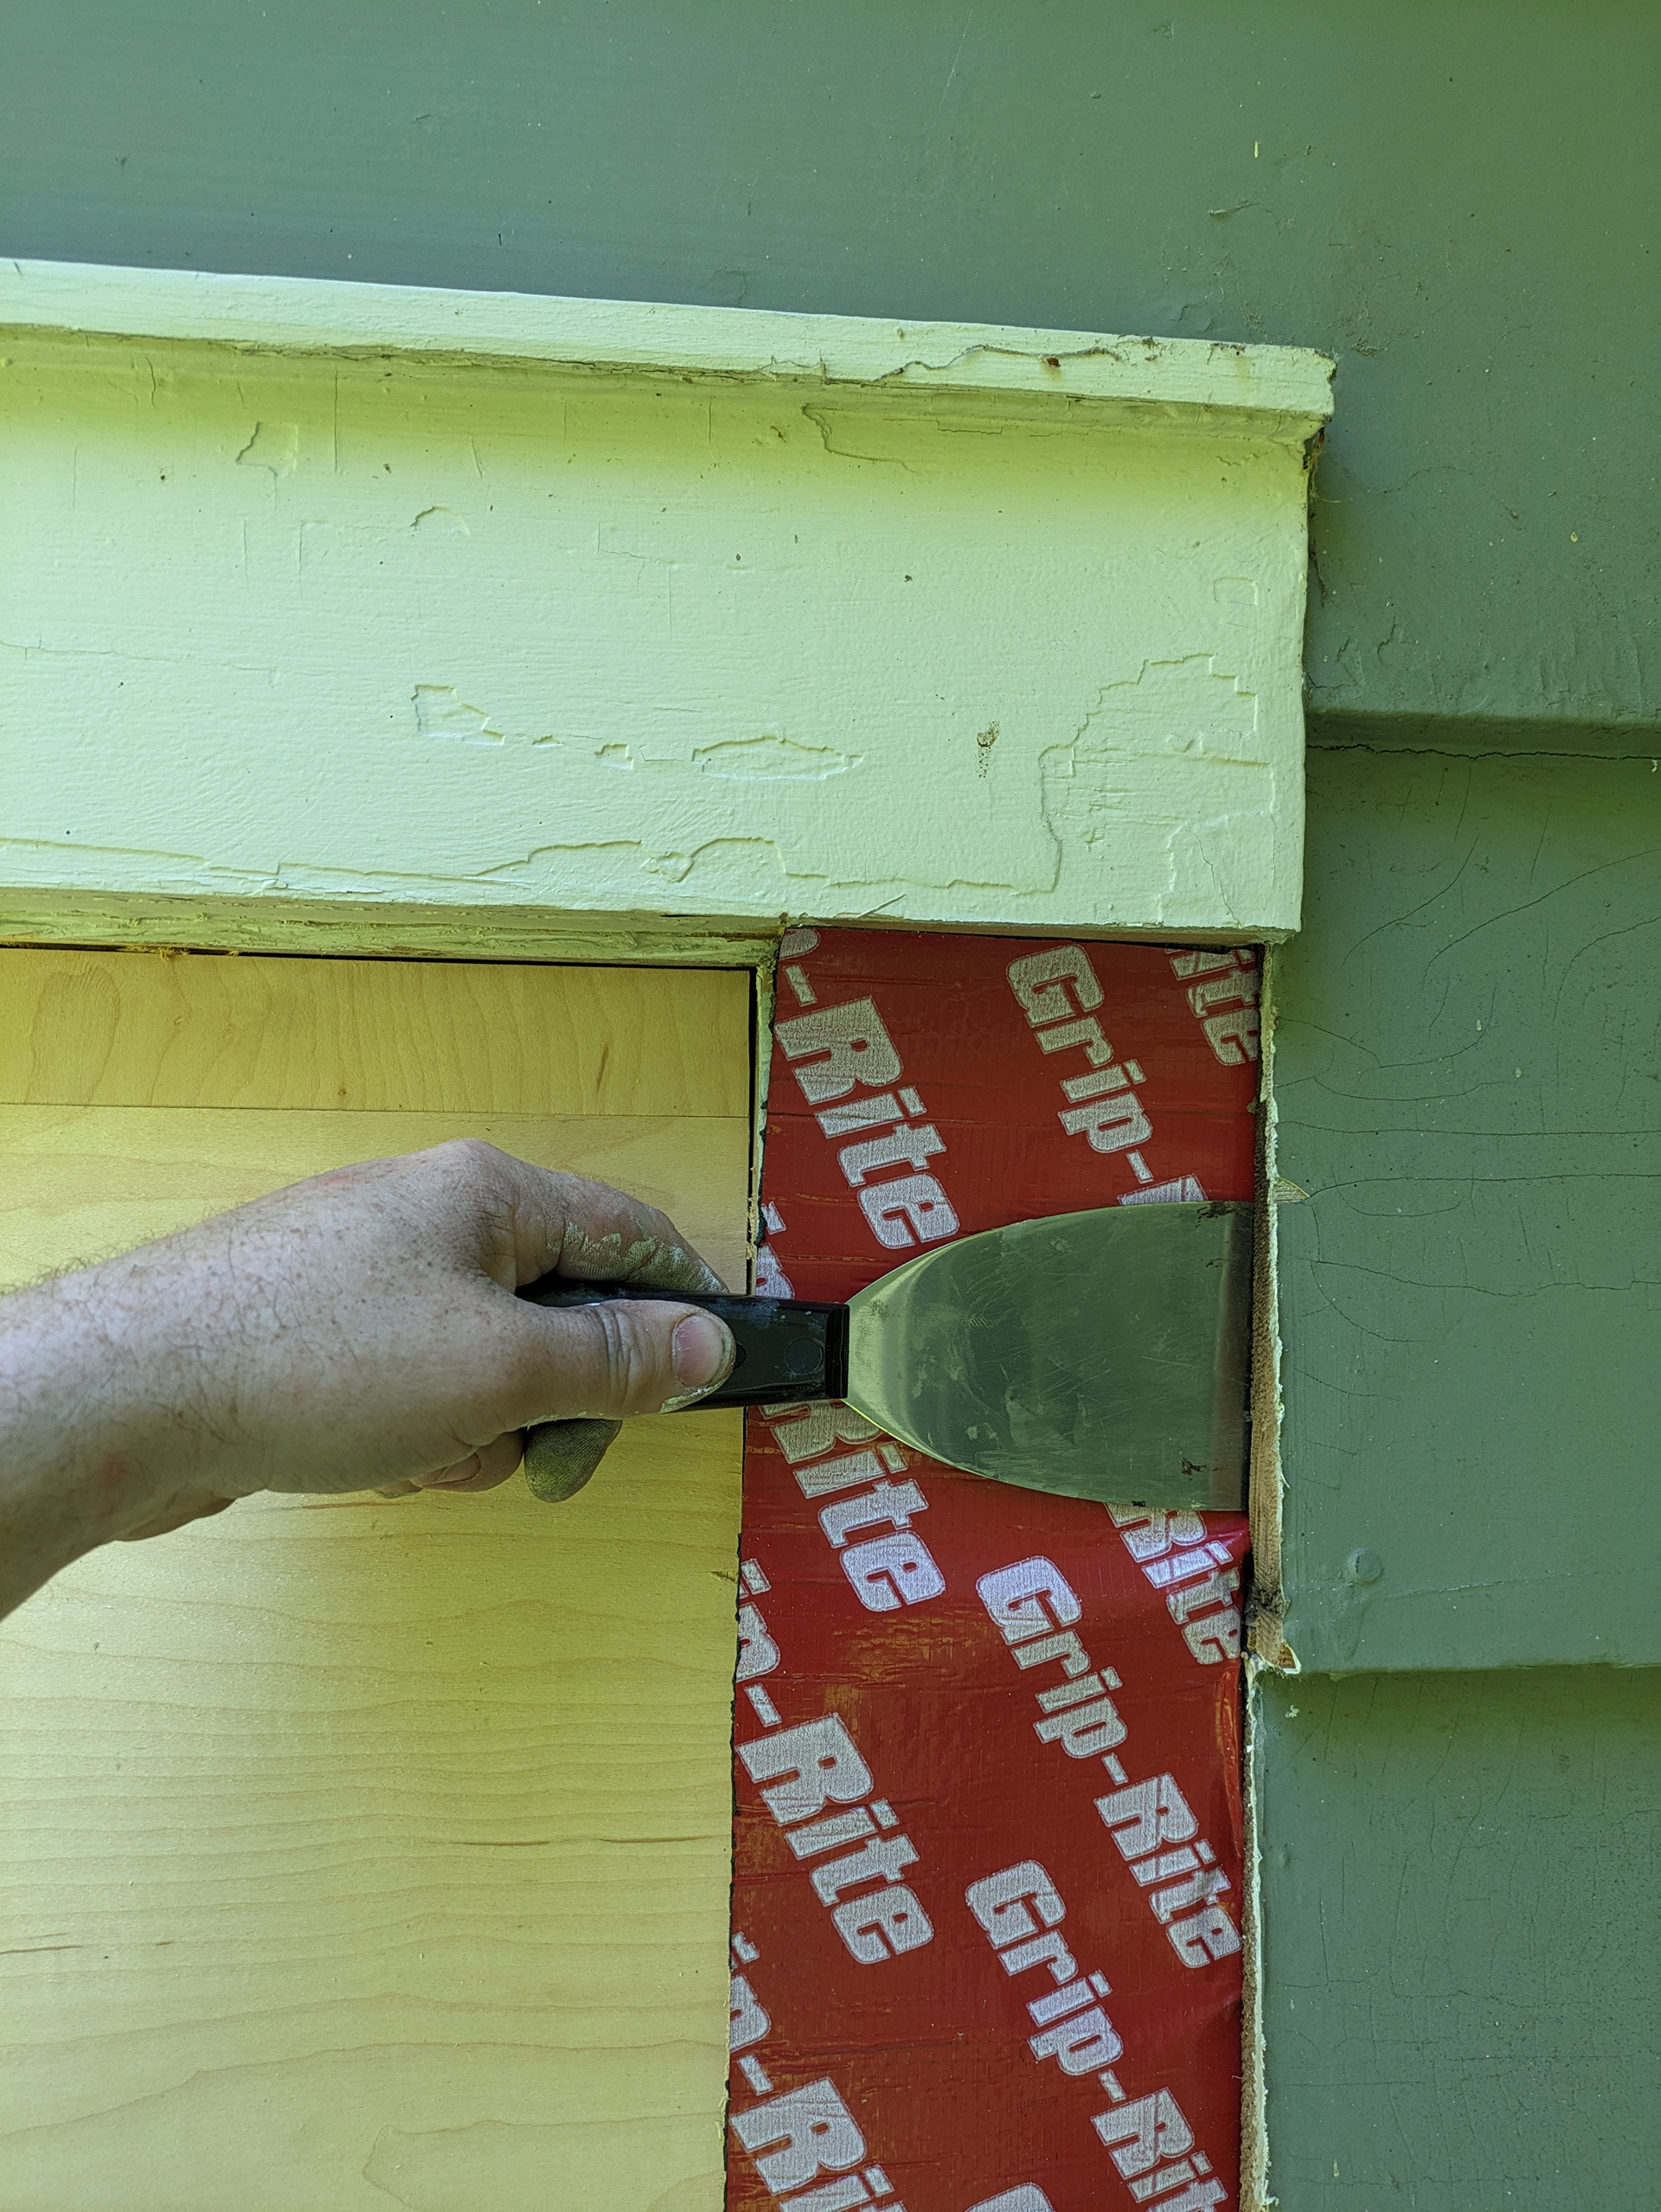
Flashing tape is a good thing to add wherever I remove a casing leg.
A rotten casing leg. I may as well replace this rotten piece of trim while I’m at it. All of the replacement window parts that I’m fabricating are made from Western red cedar which resists decay.

I prefer to use either 15 gauge nails or trim-head screws to fasten all of the new window components to each other.
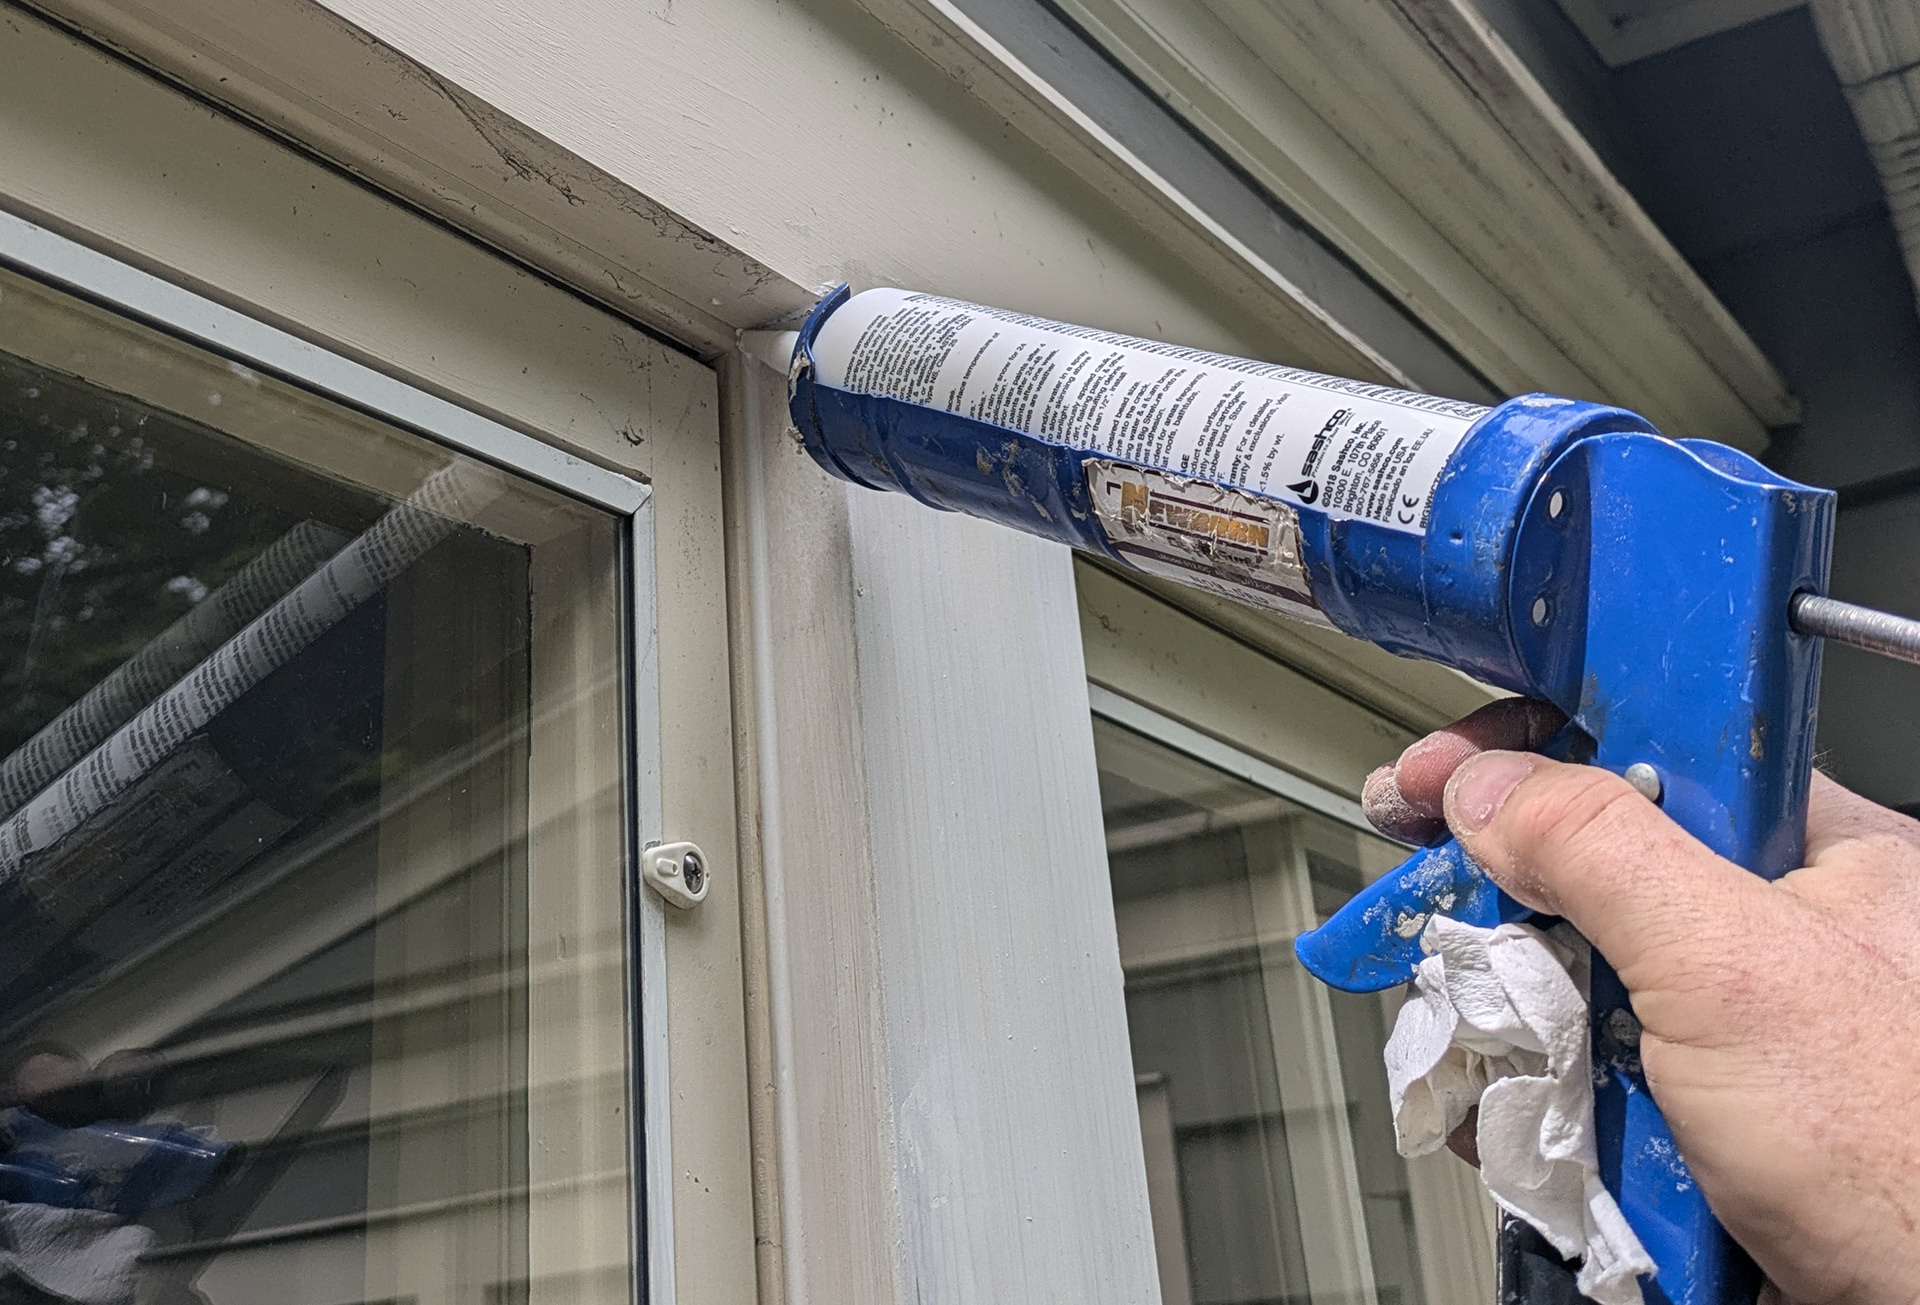
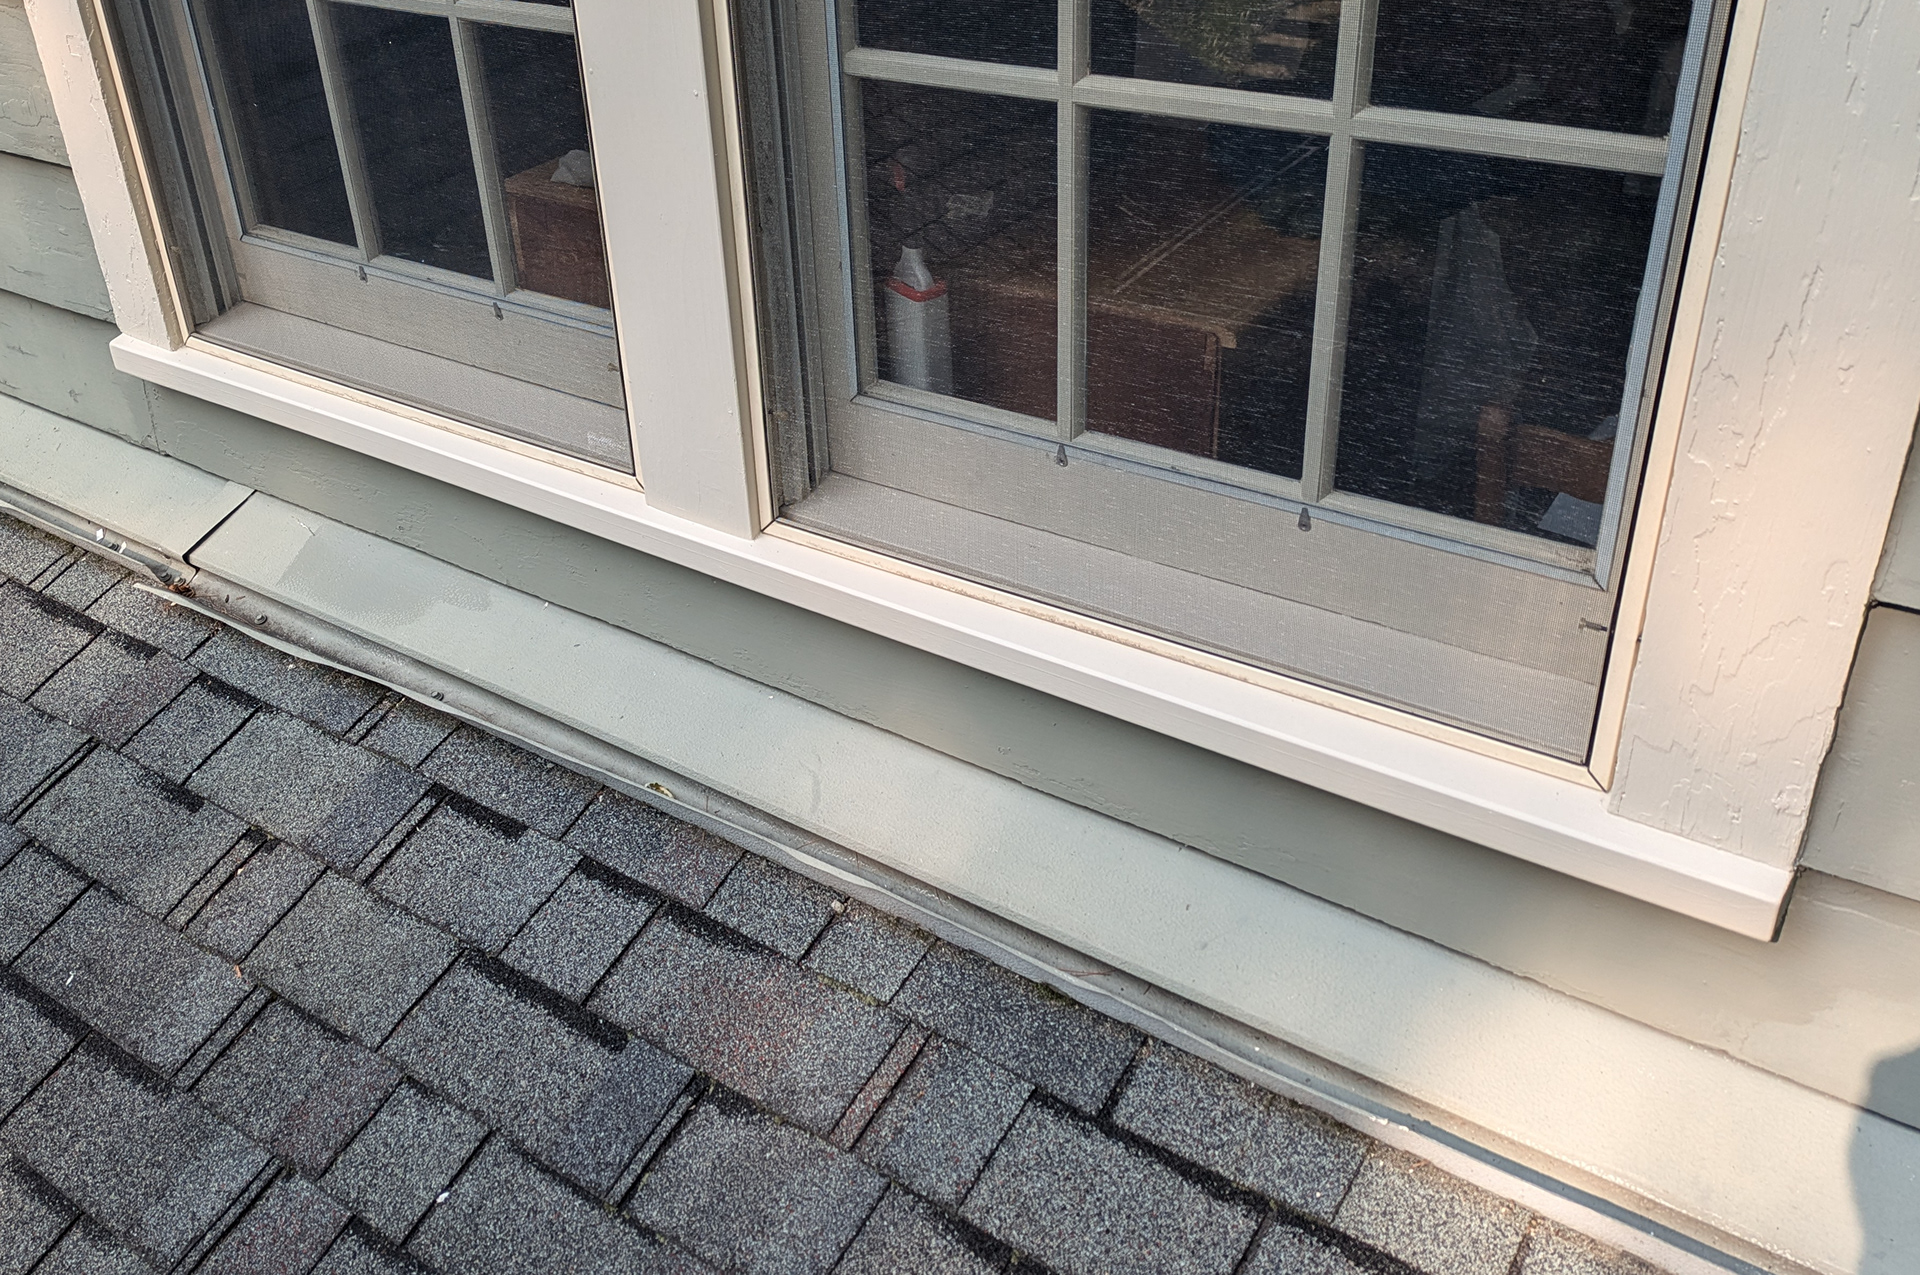
Caulking is important both for looks and for preventing water infiltration.
New window sills and jamb bases will prevent water from getting into the framing of the house where it can cause some serious damage.
This window has a new casing leg, new sill and new jamb base.

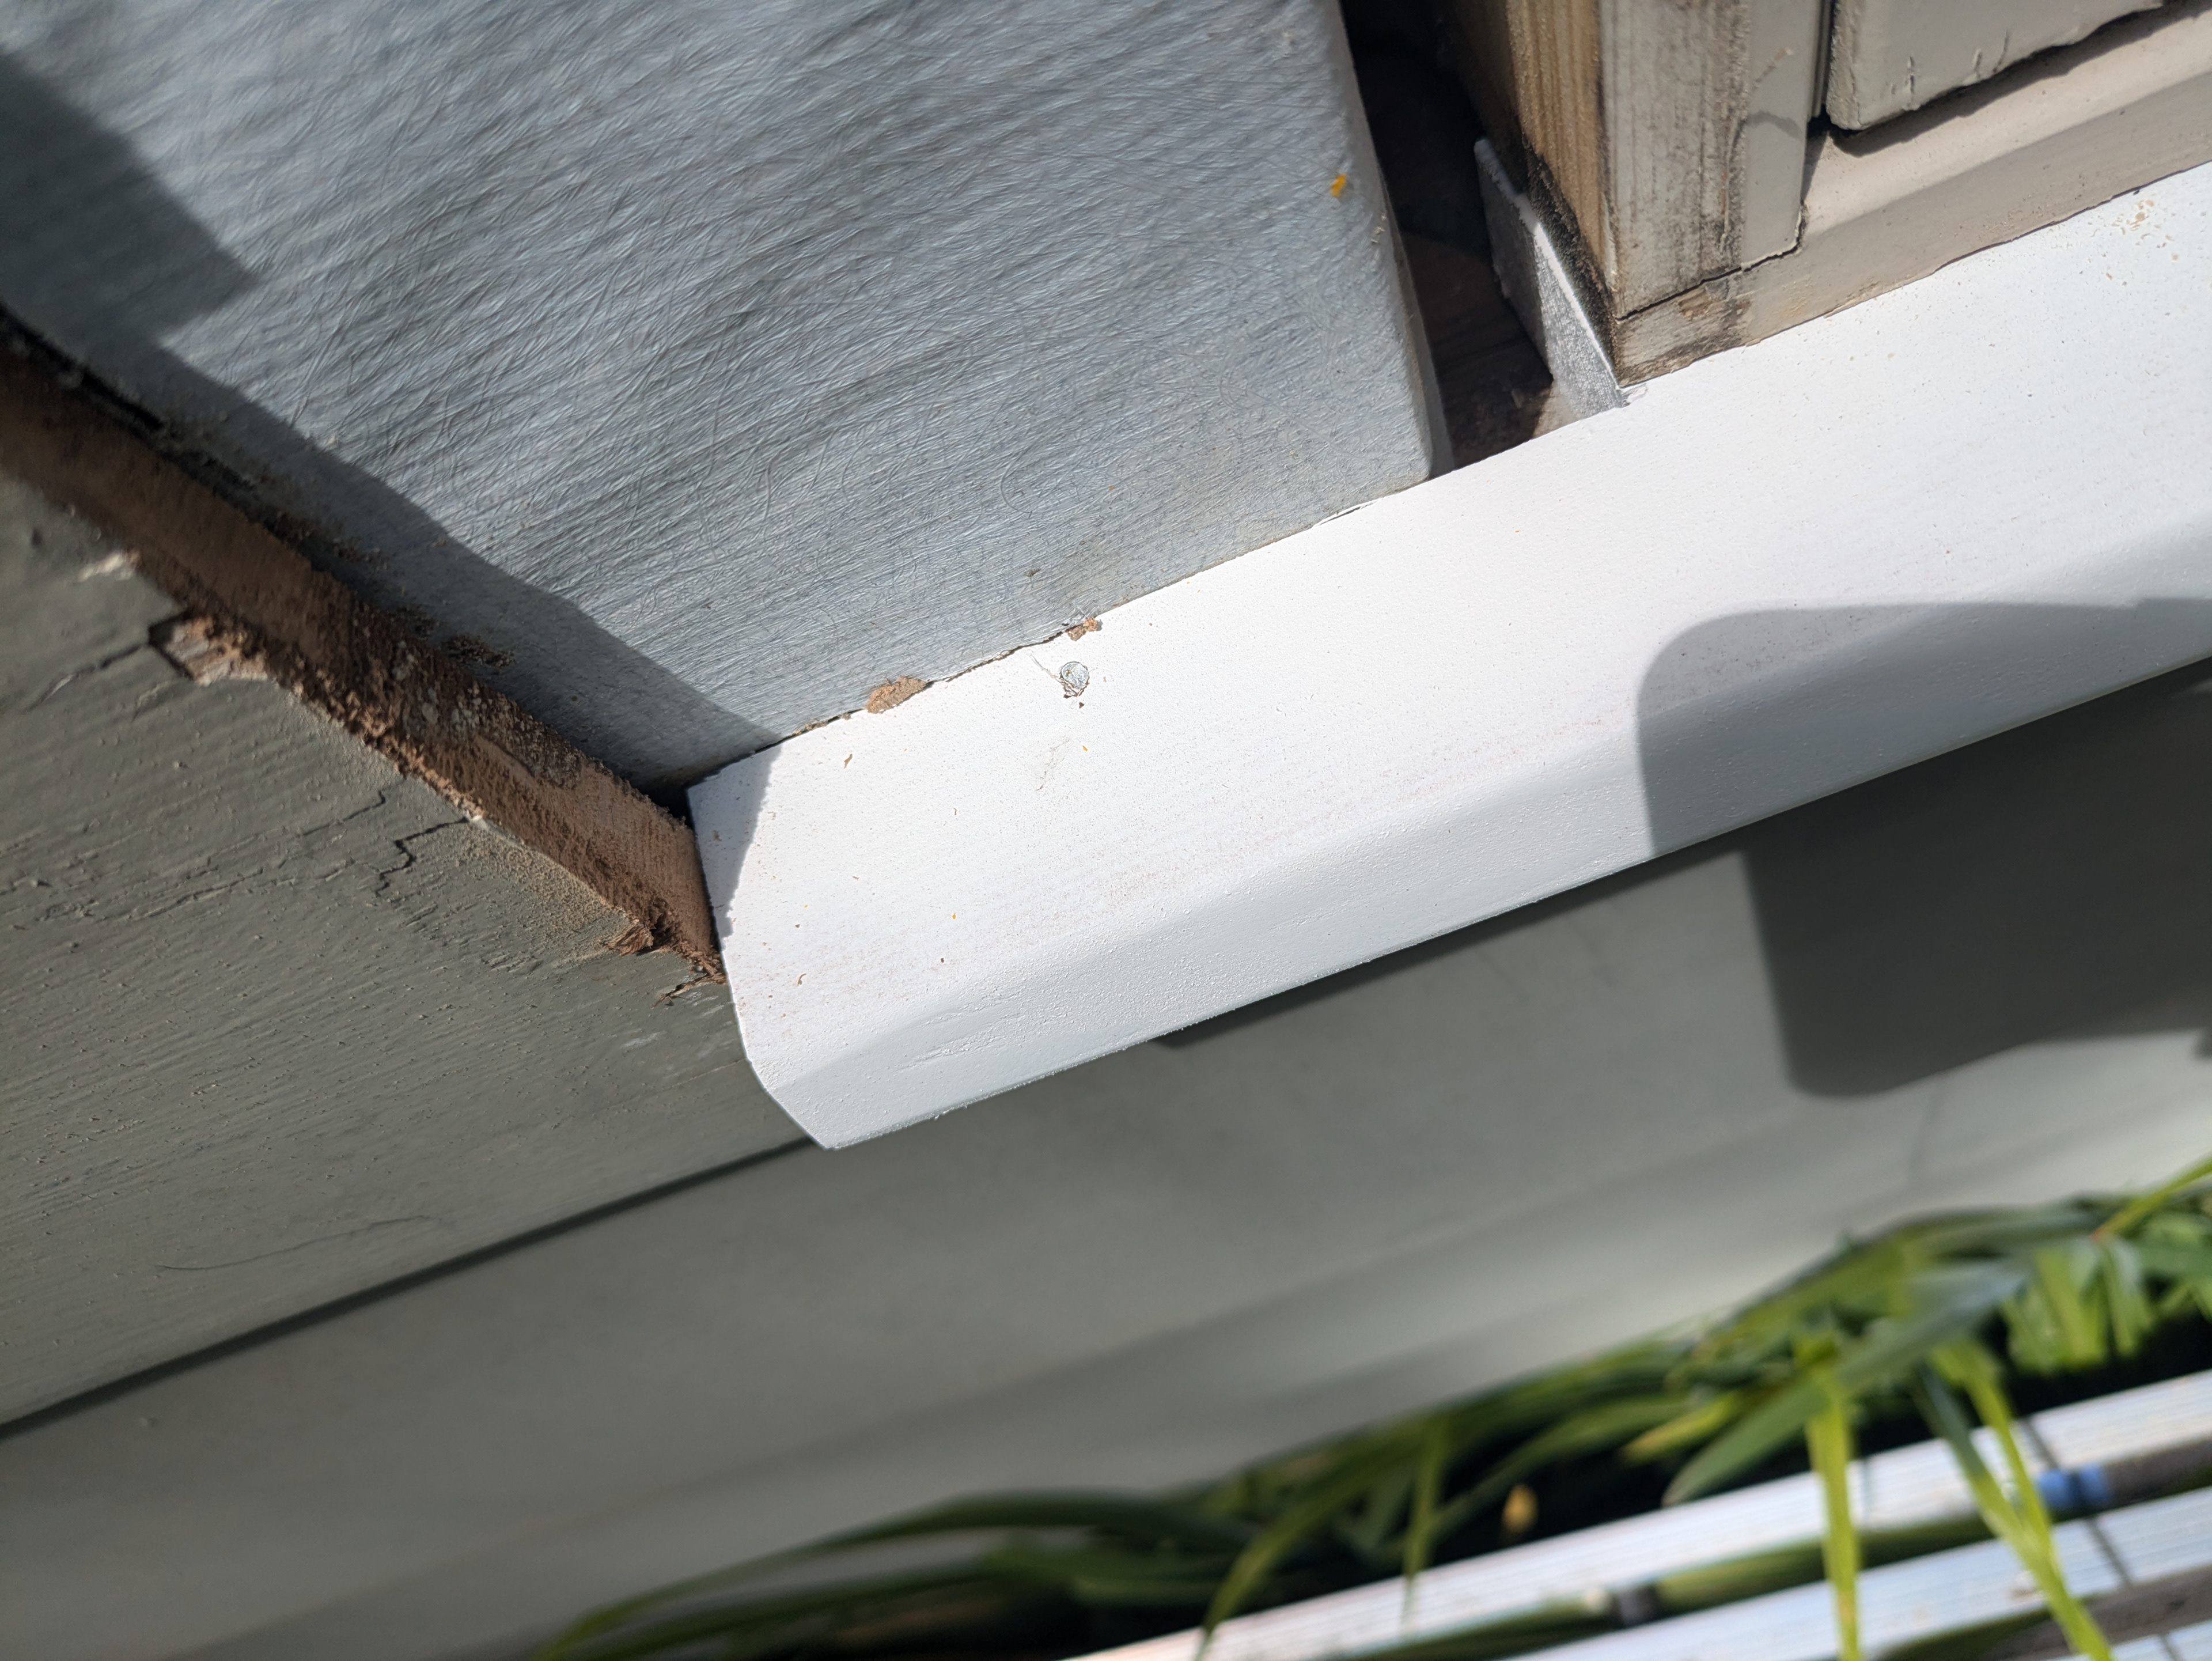
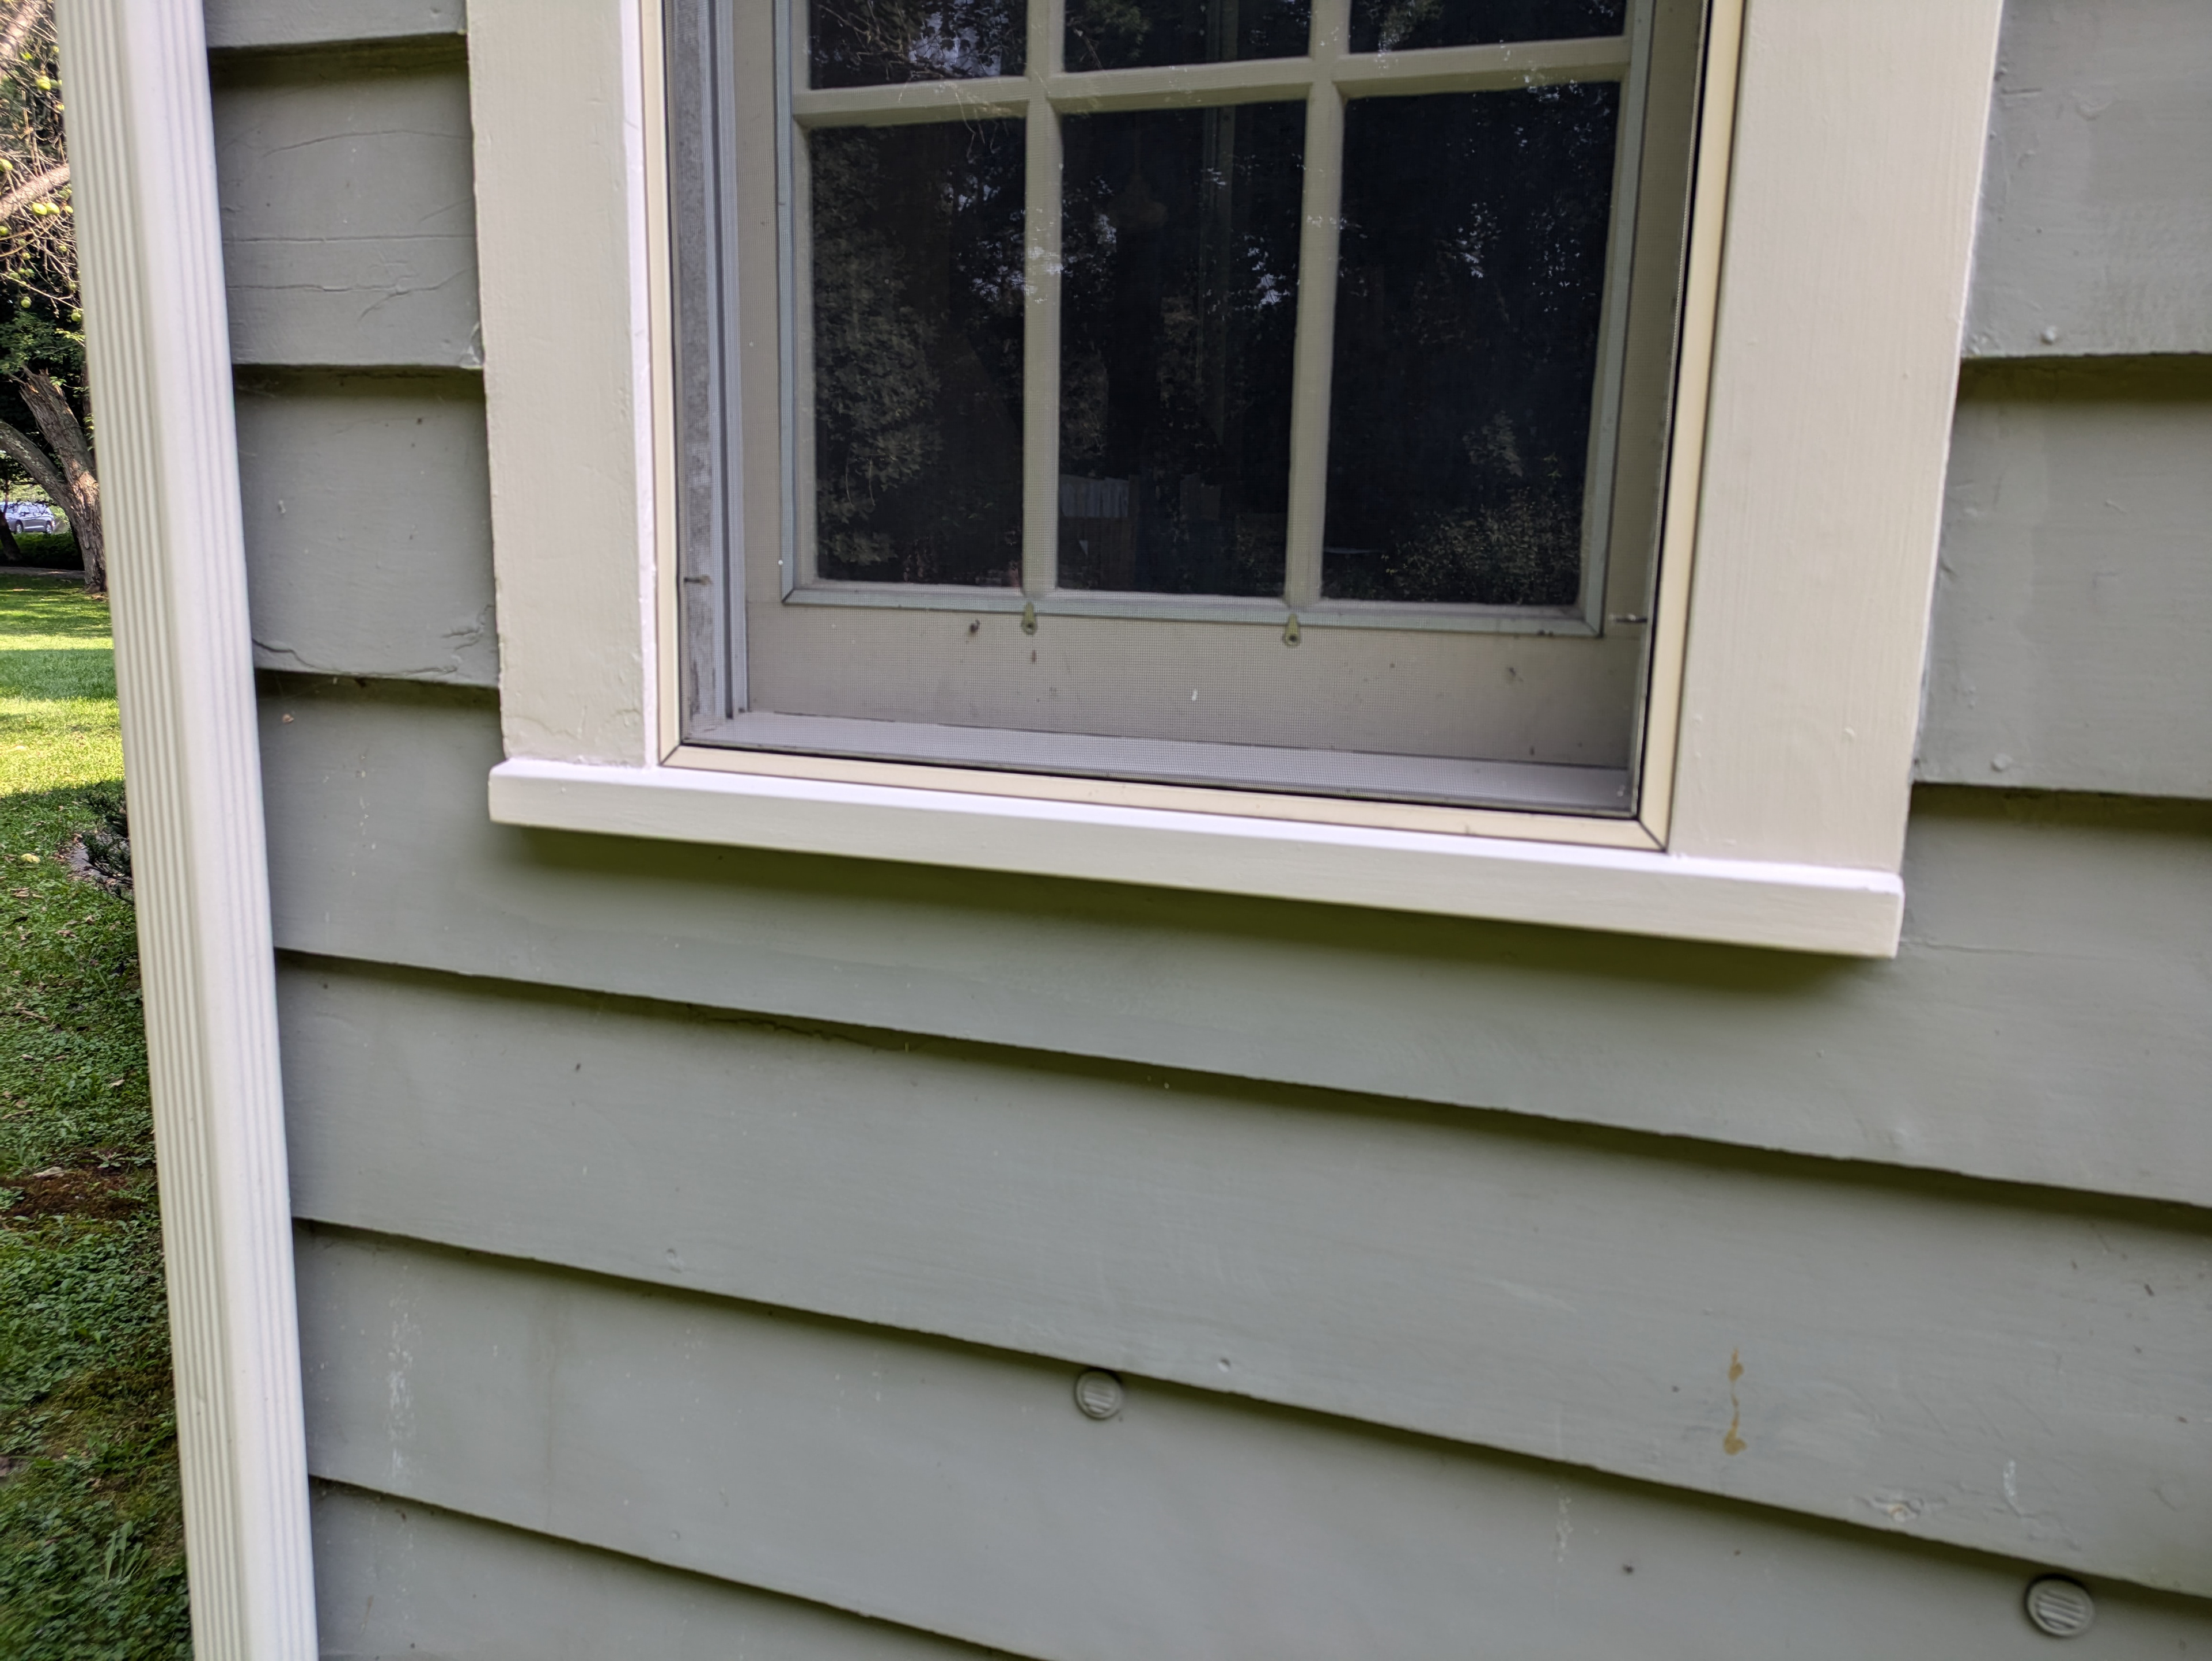
This window has a new sill and jamb base. These components look like the originals because I was careful to recreate them faithfully.
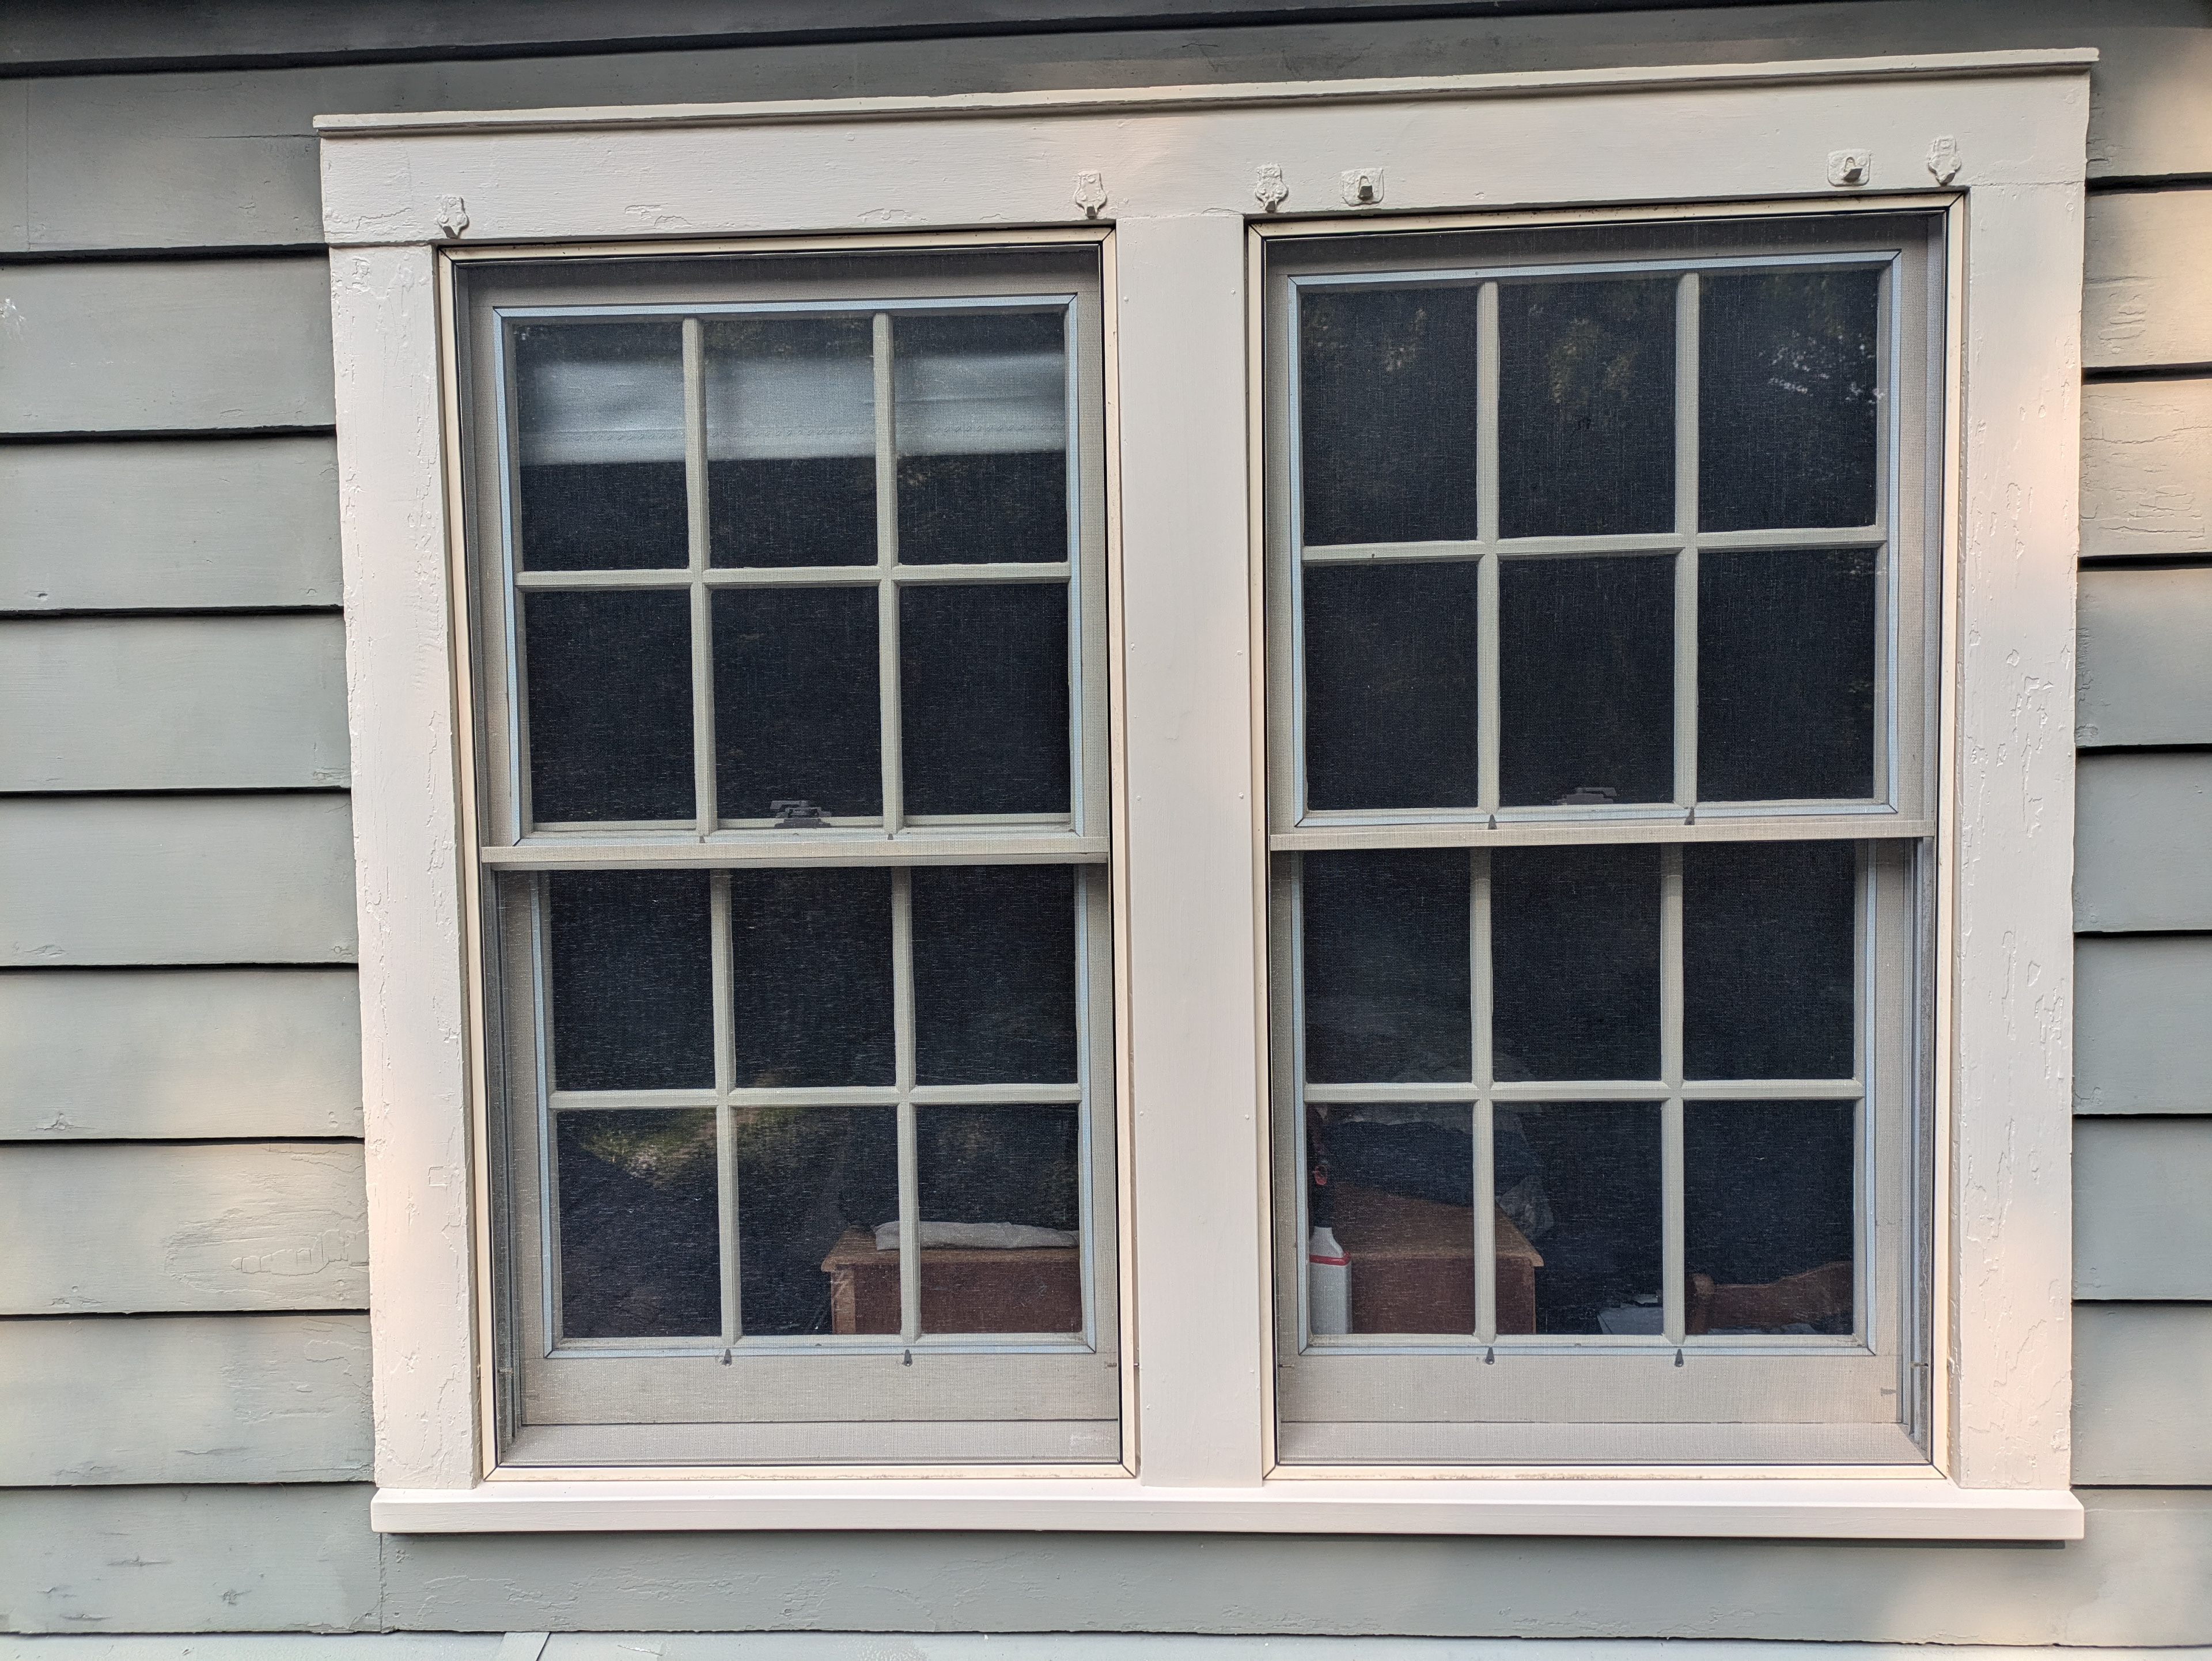
This window has two new jamb bases, one new casing leg (in the center) and a new sill.
This job was a fun one!