
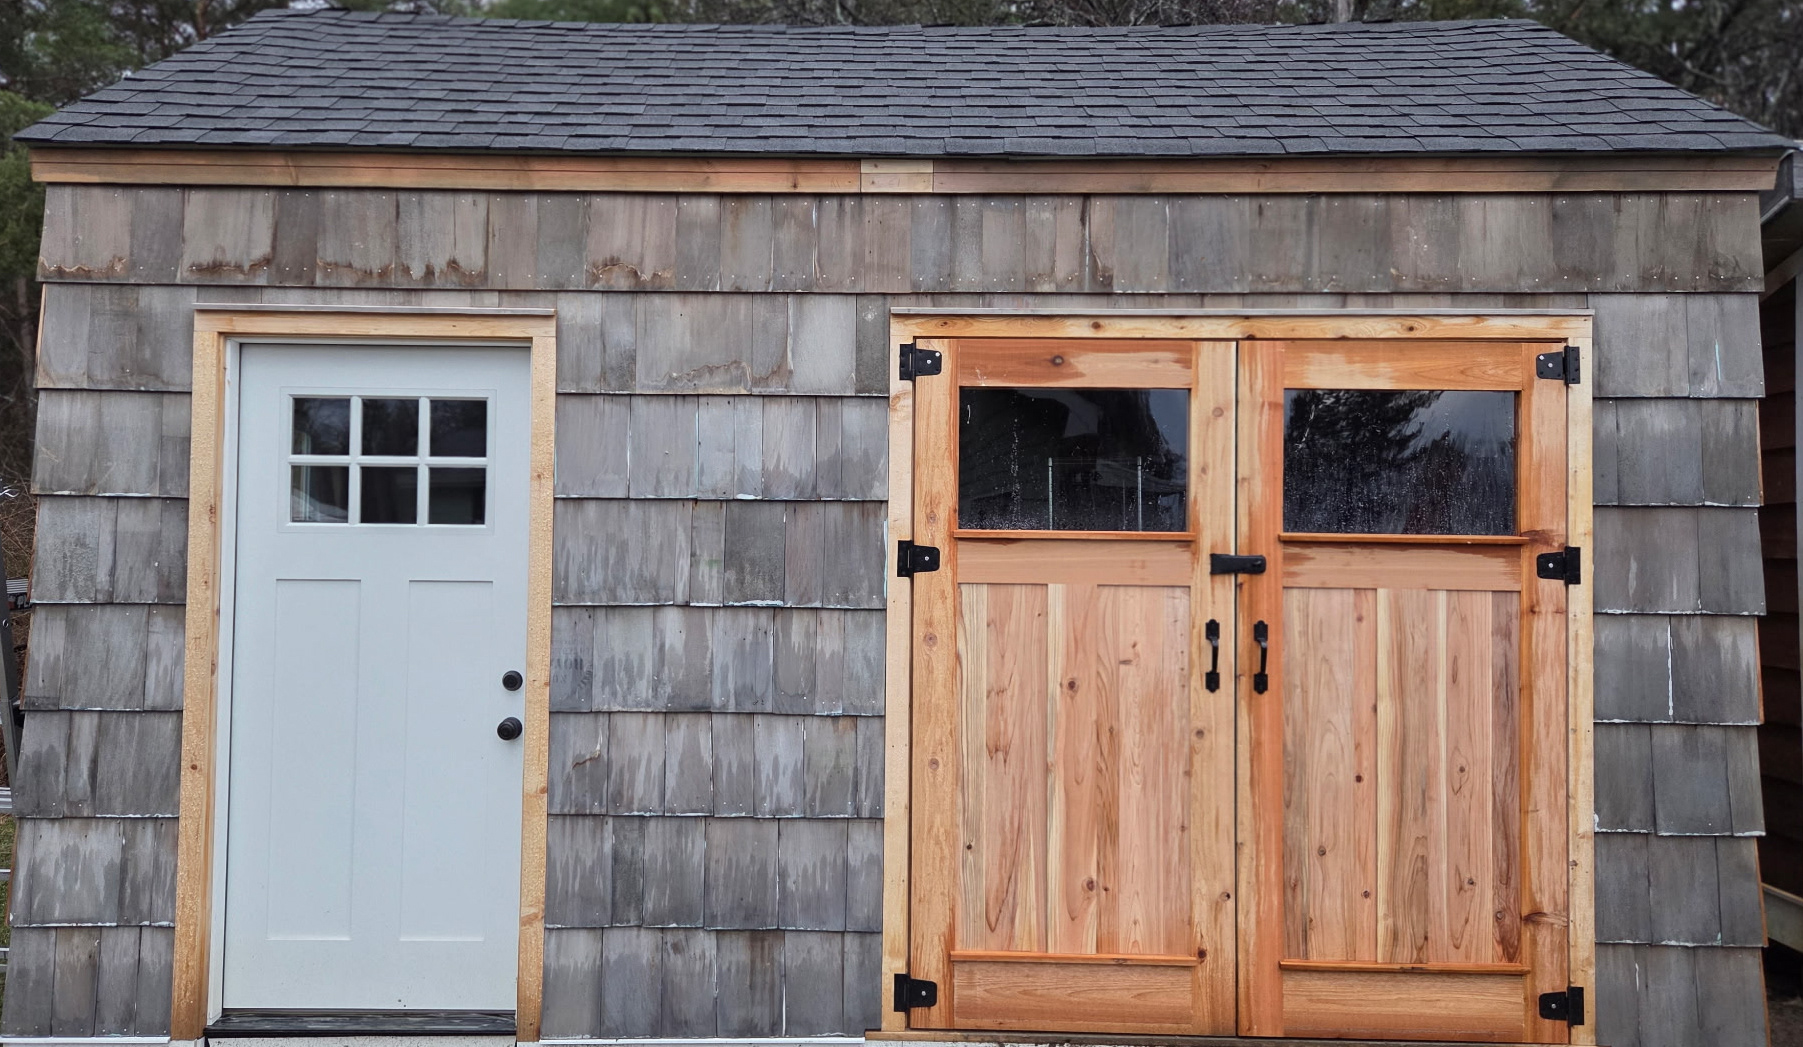
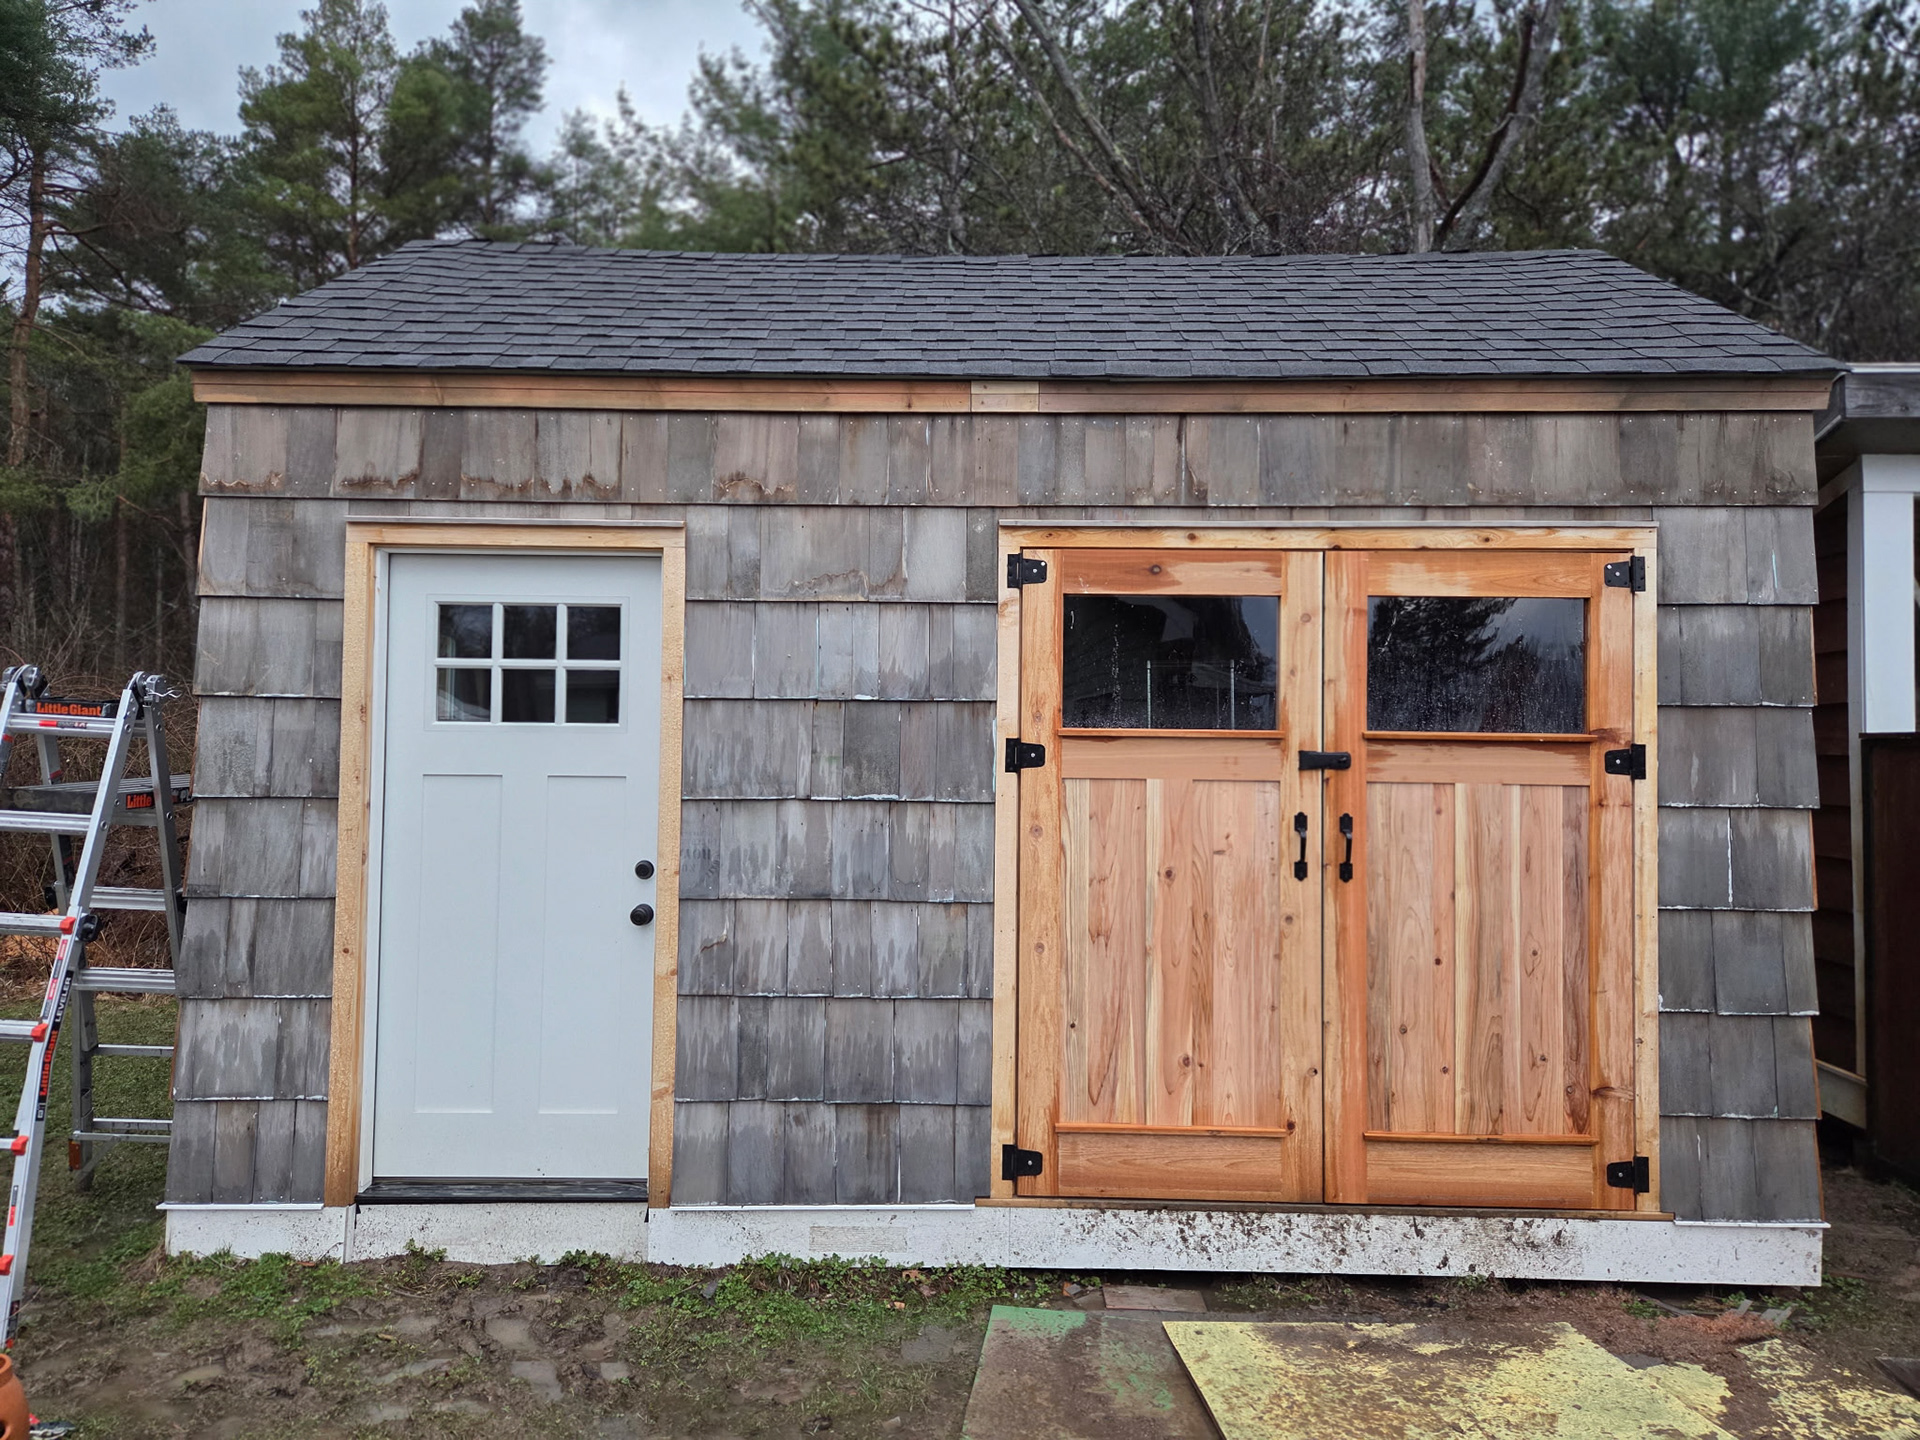
We recently built these carriage house style French doors from cedar.
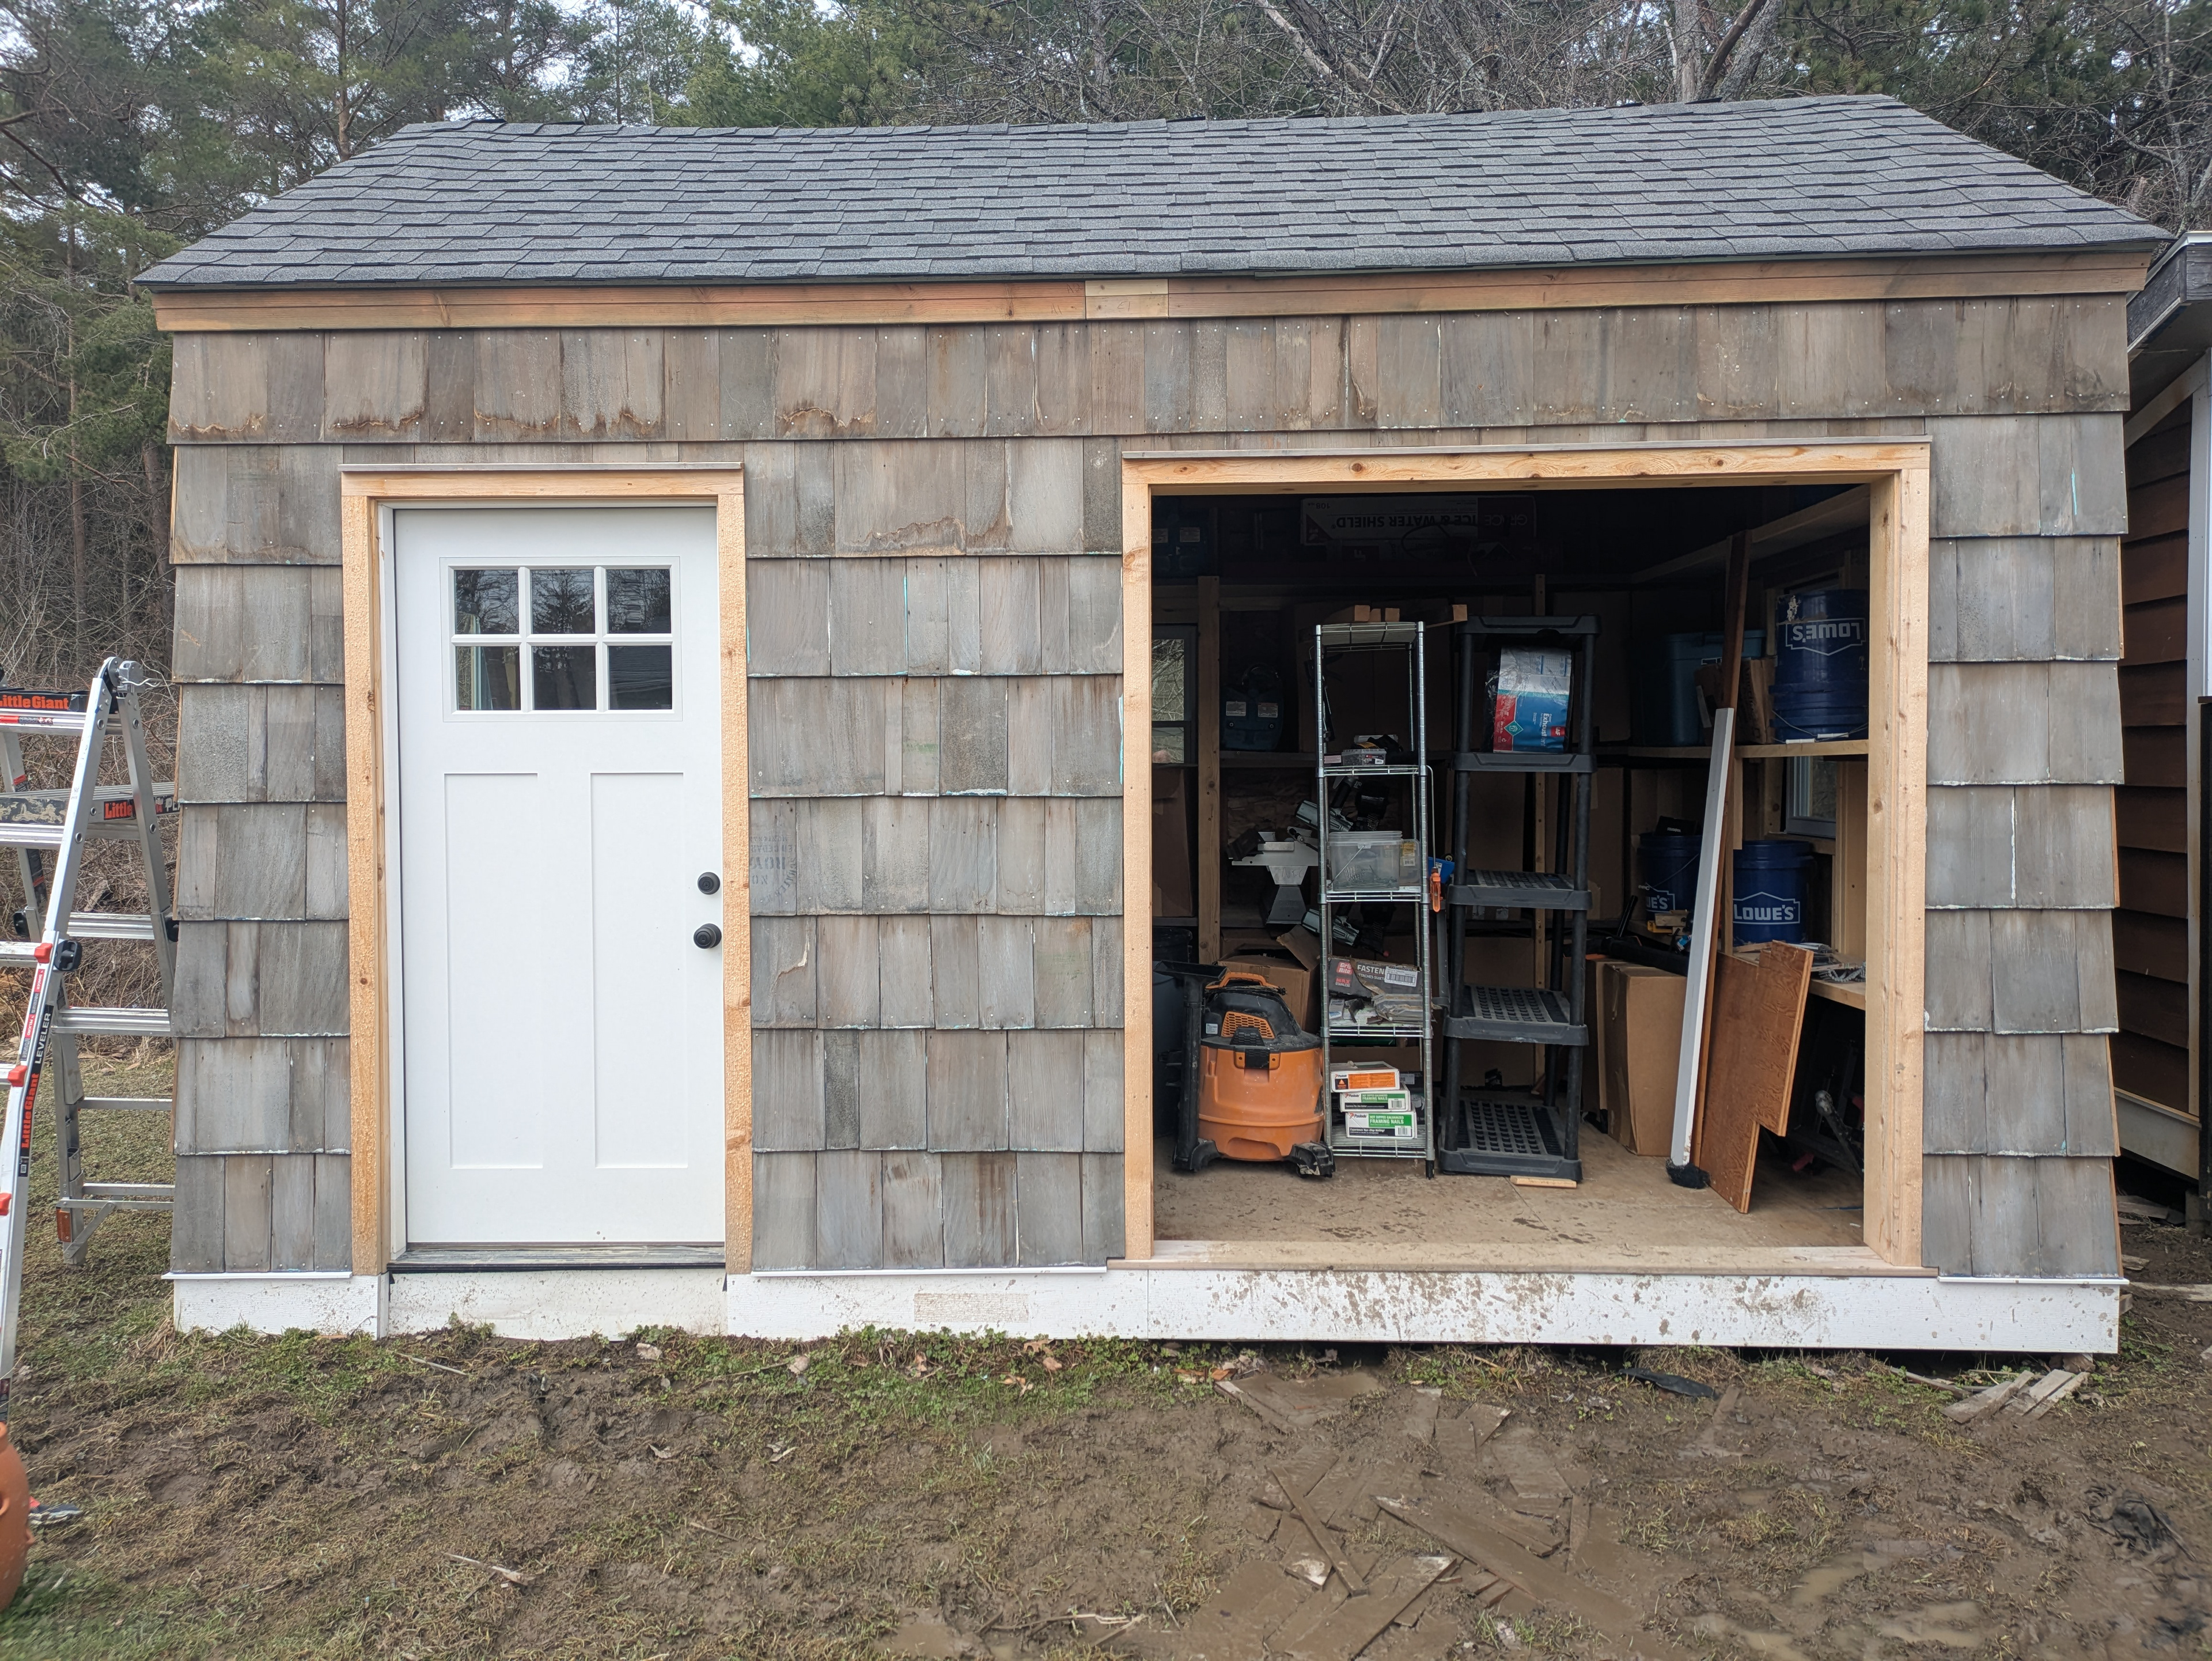
This shed has a new prehung door with craftsman style details. We used this pre hung door as inspiration for the new doors.
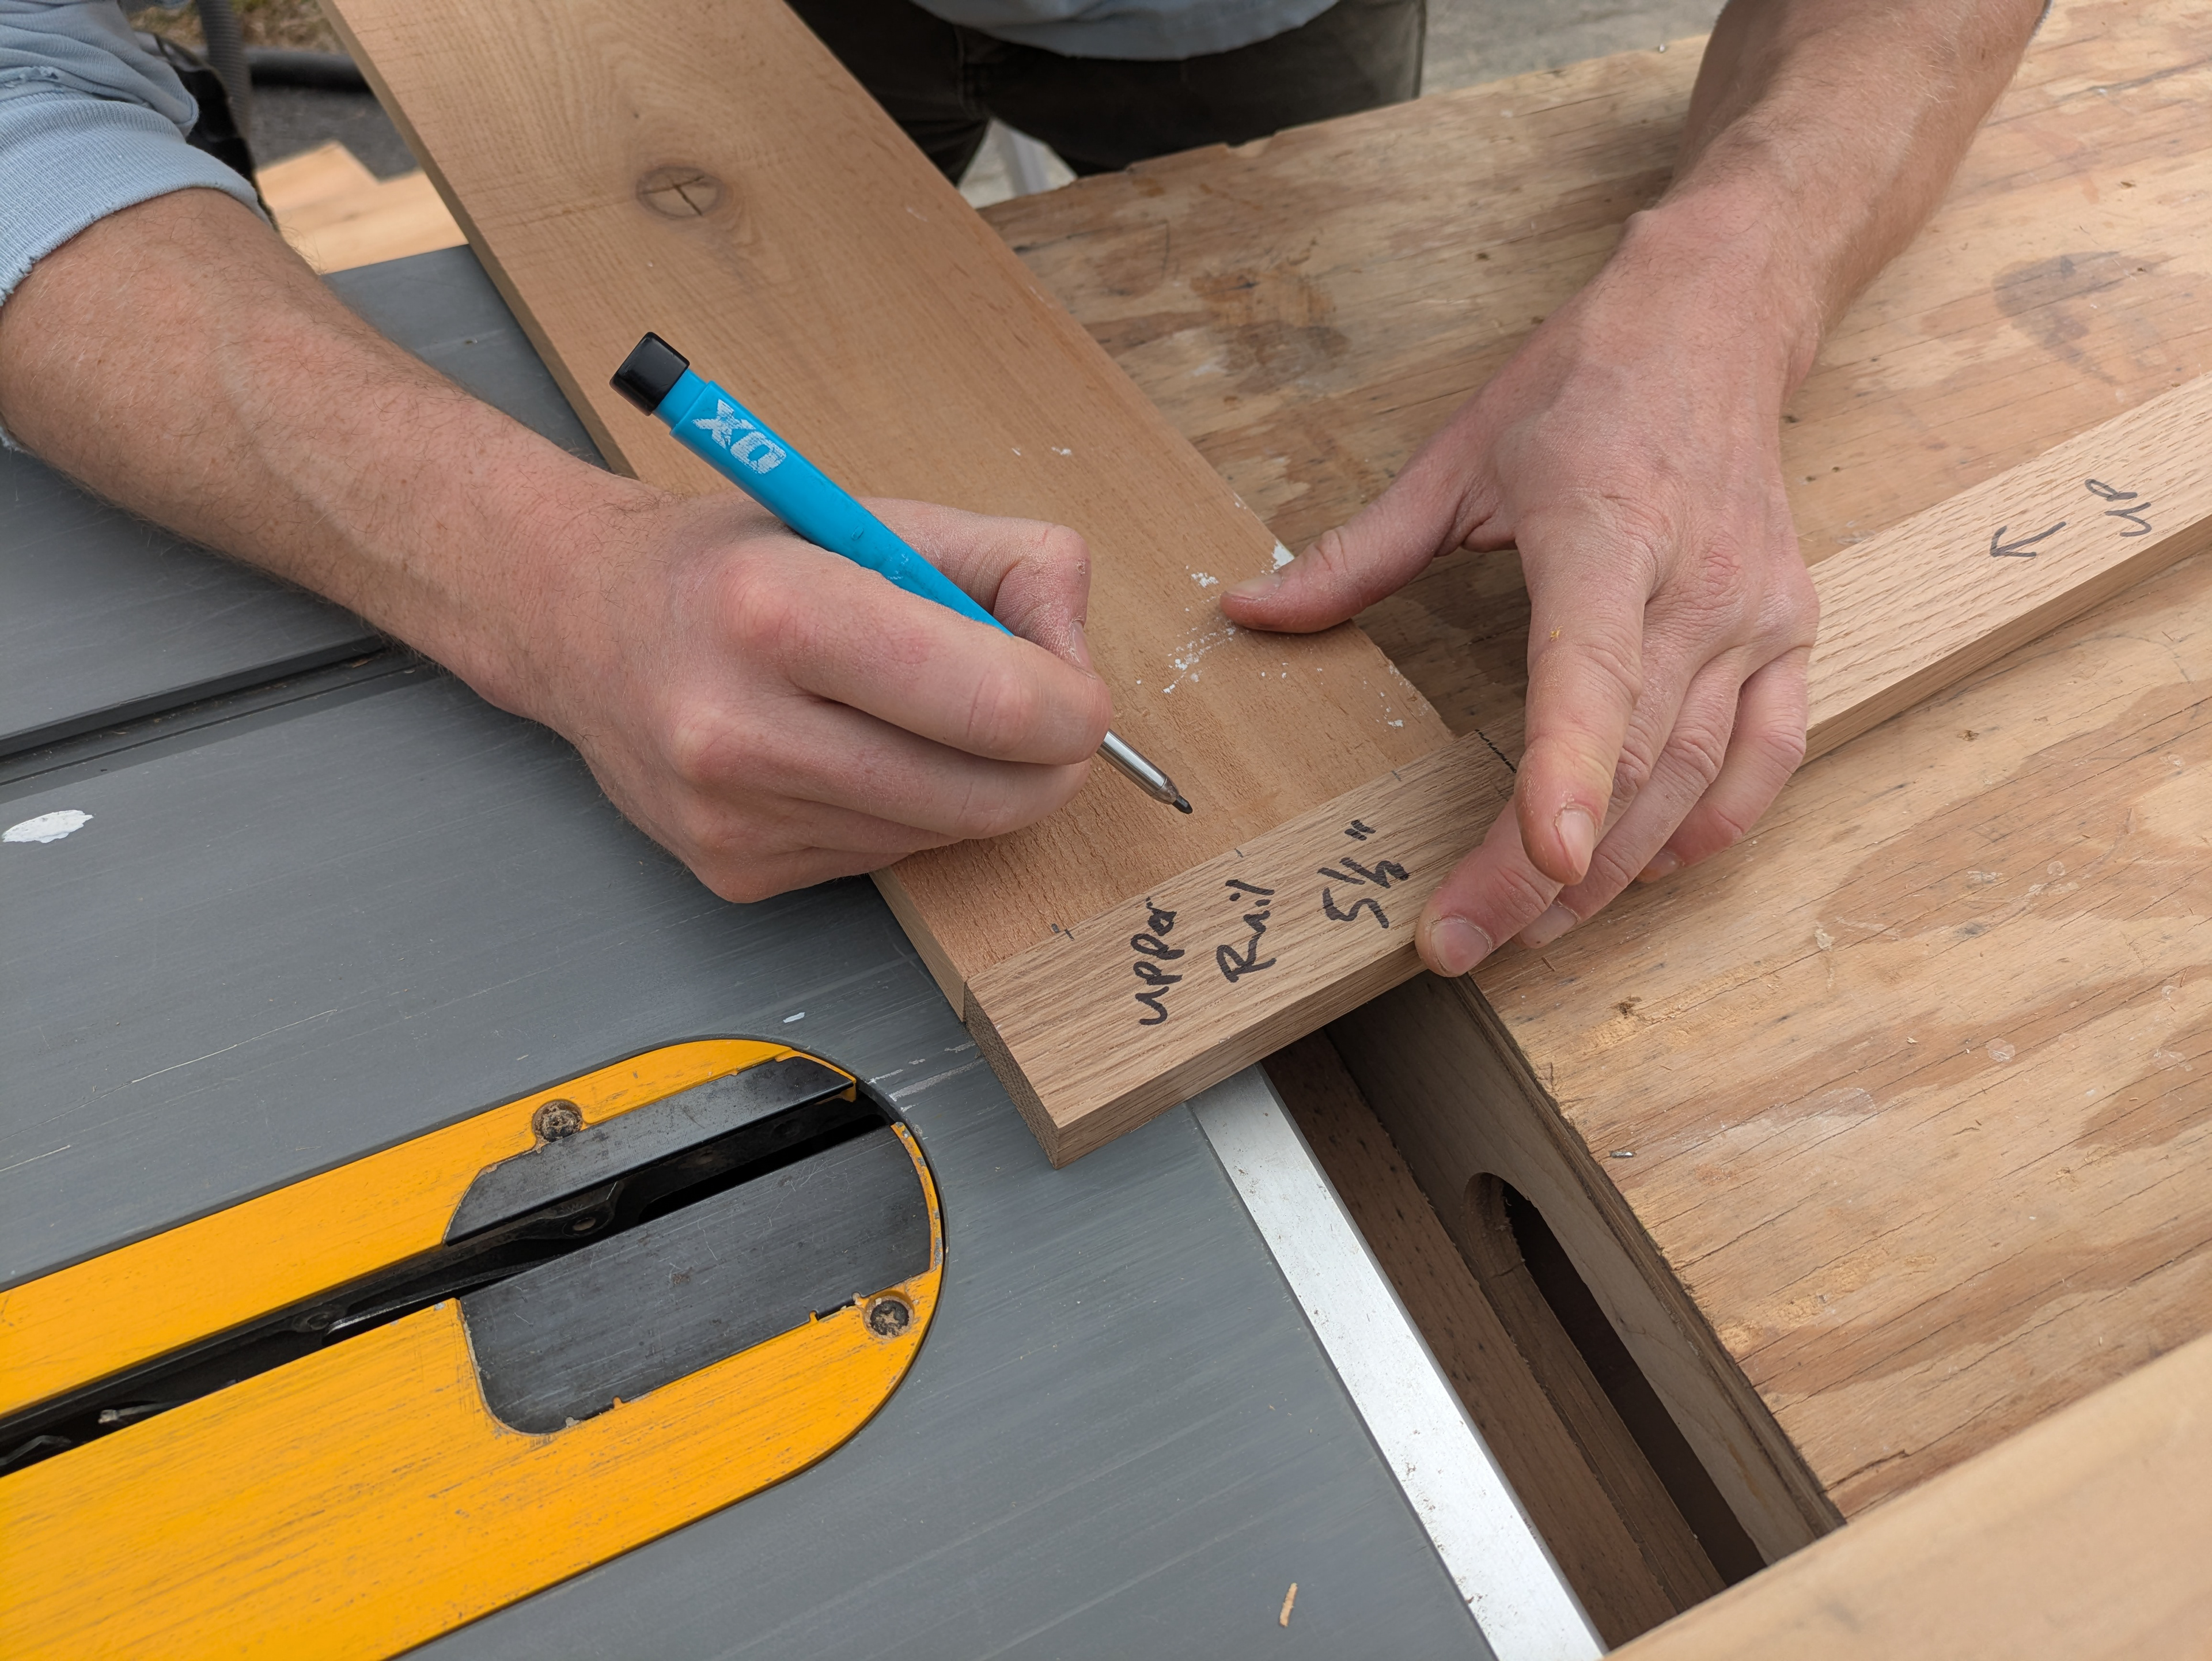
I create a story pole by marking the elevations of the rails on a board that’s the same length as the door. This layout tool allows us to transfer these elevations to the stiles of the new doors.
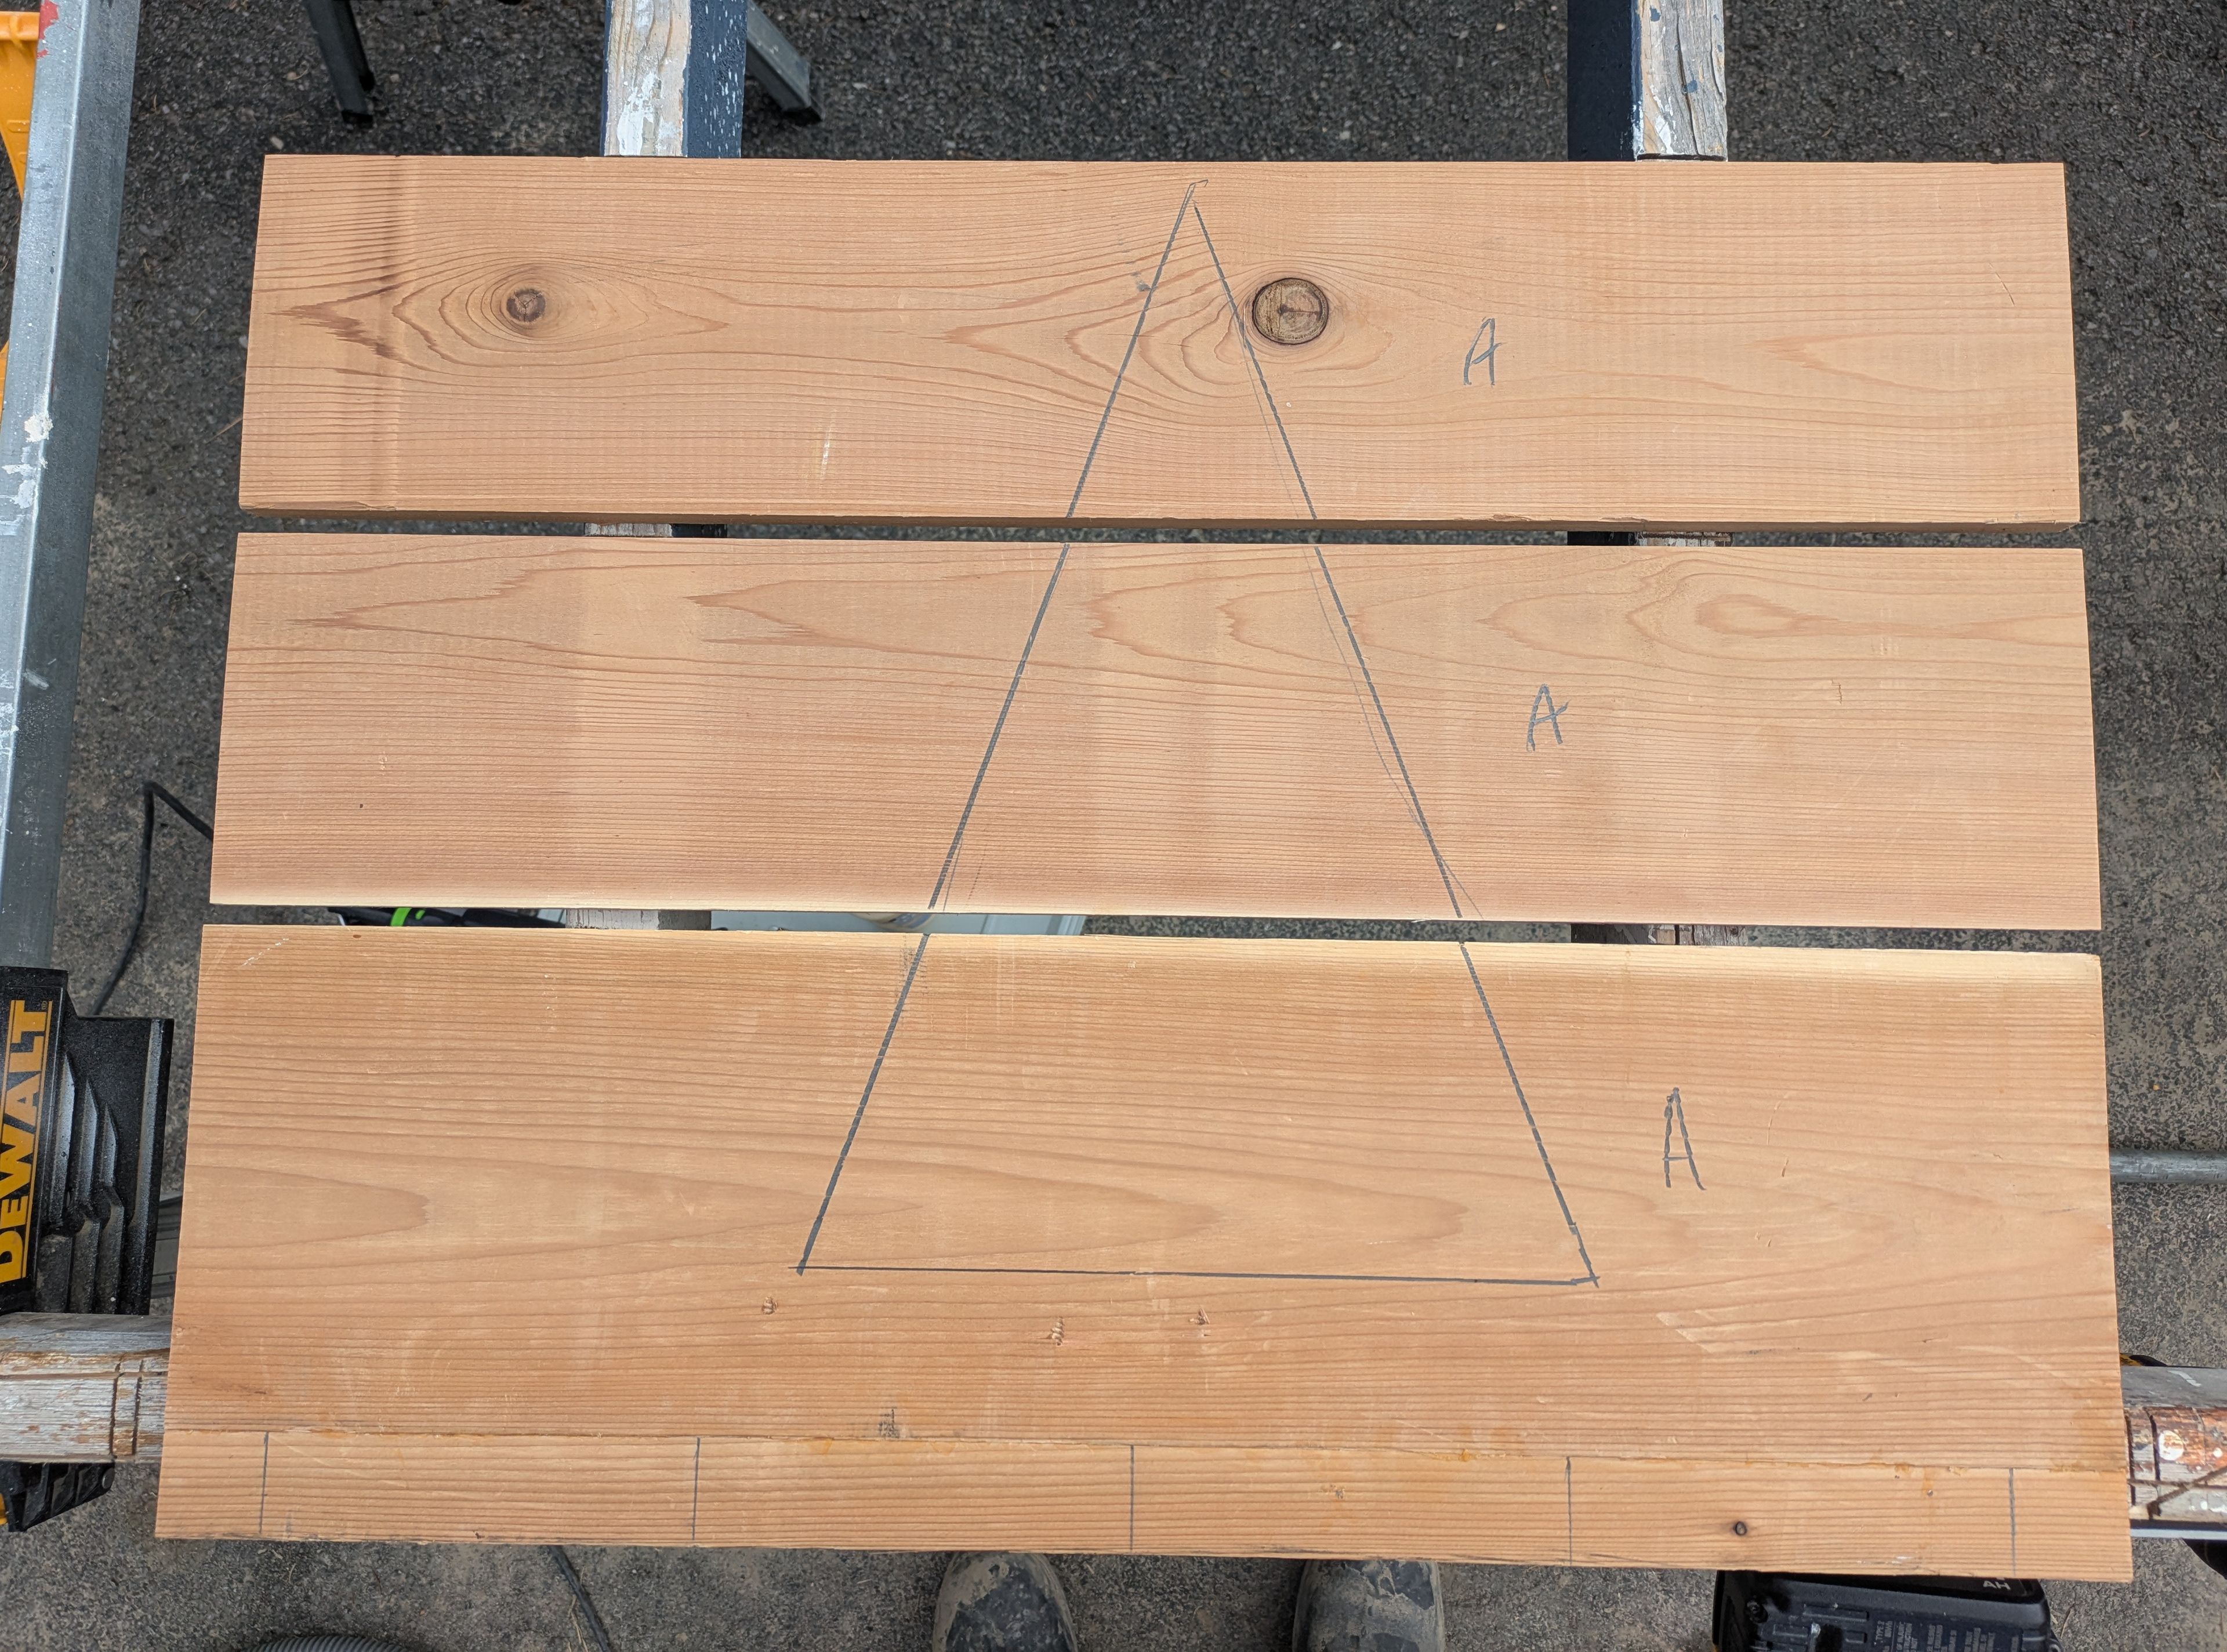
Rails are the horizontal boards of the door frame. The rails are cut to length and marked with a triangle on the backside to help us keep track of the rails’ orientation during the build. The rails are also marked for either door A or door B.
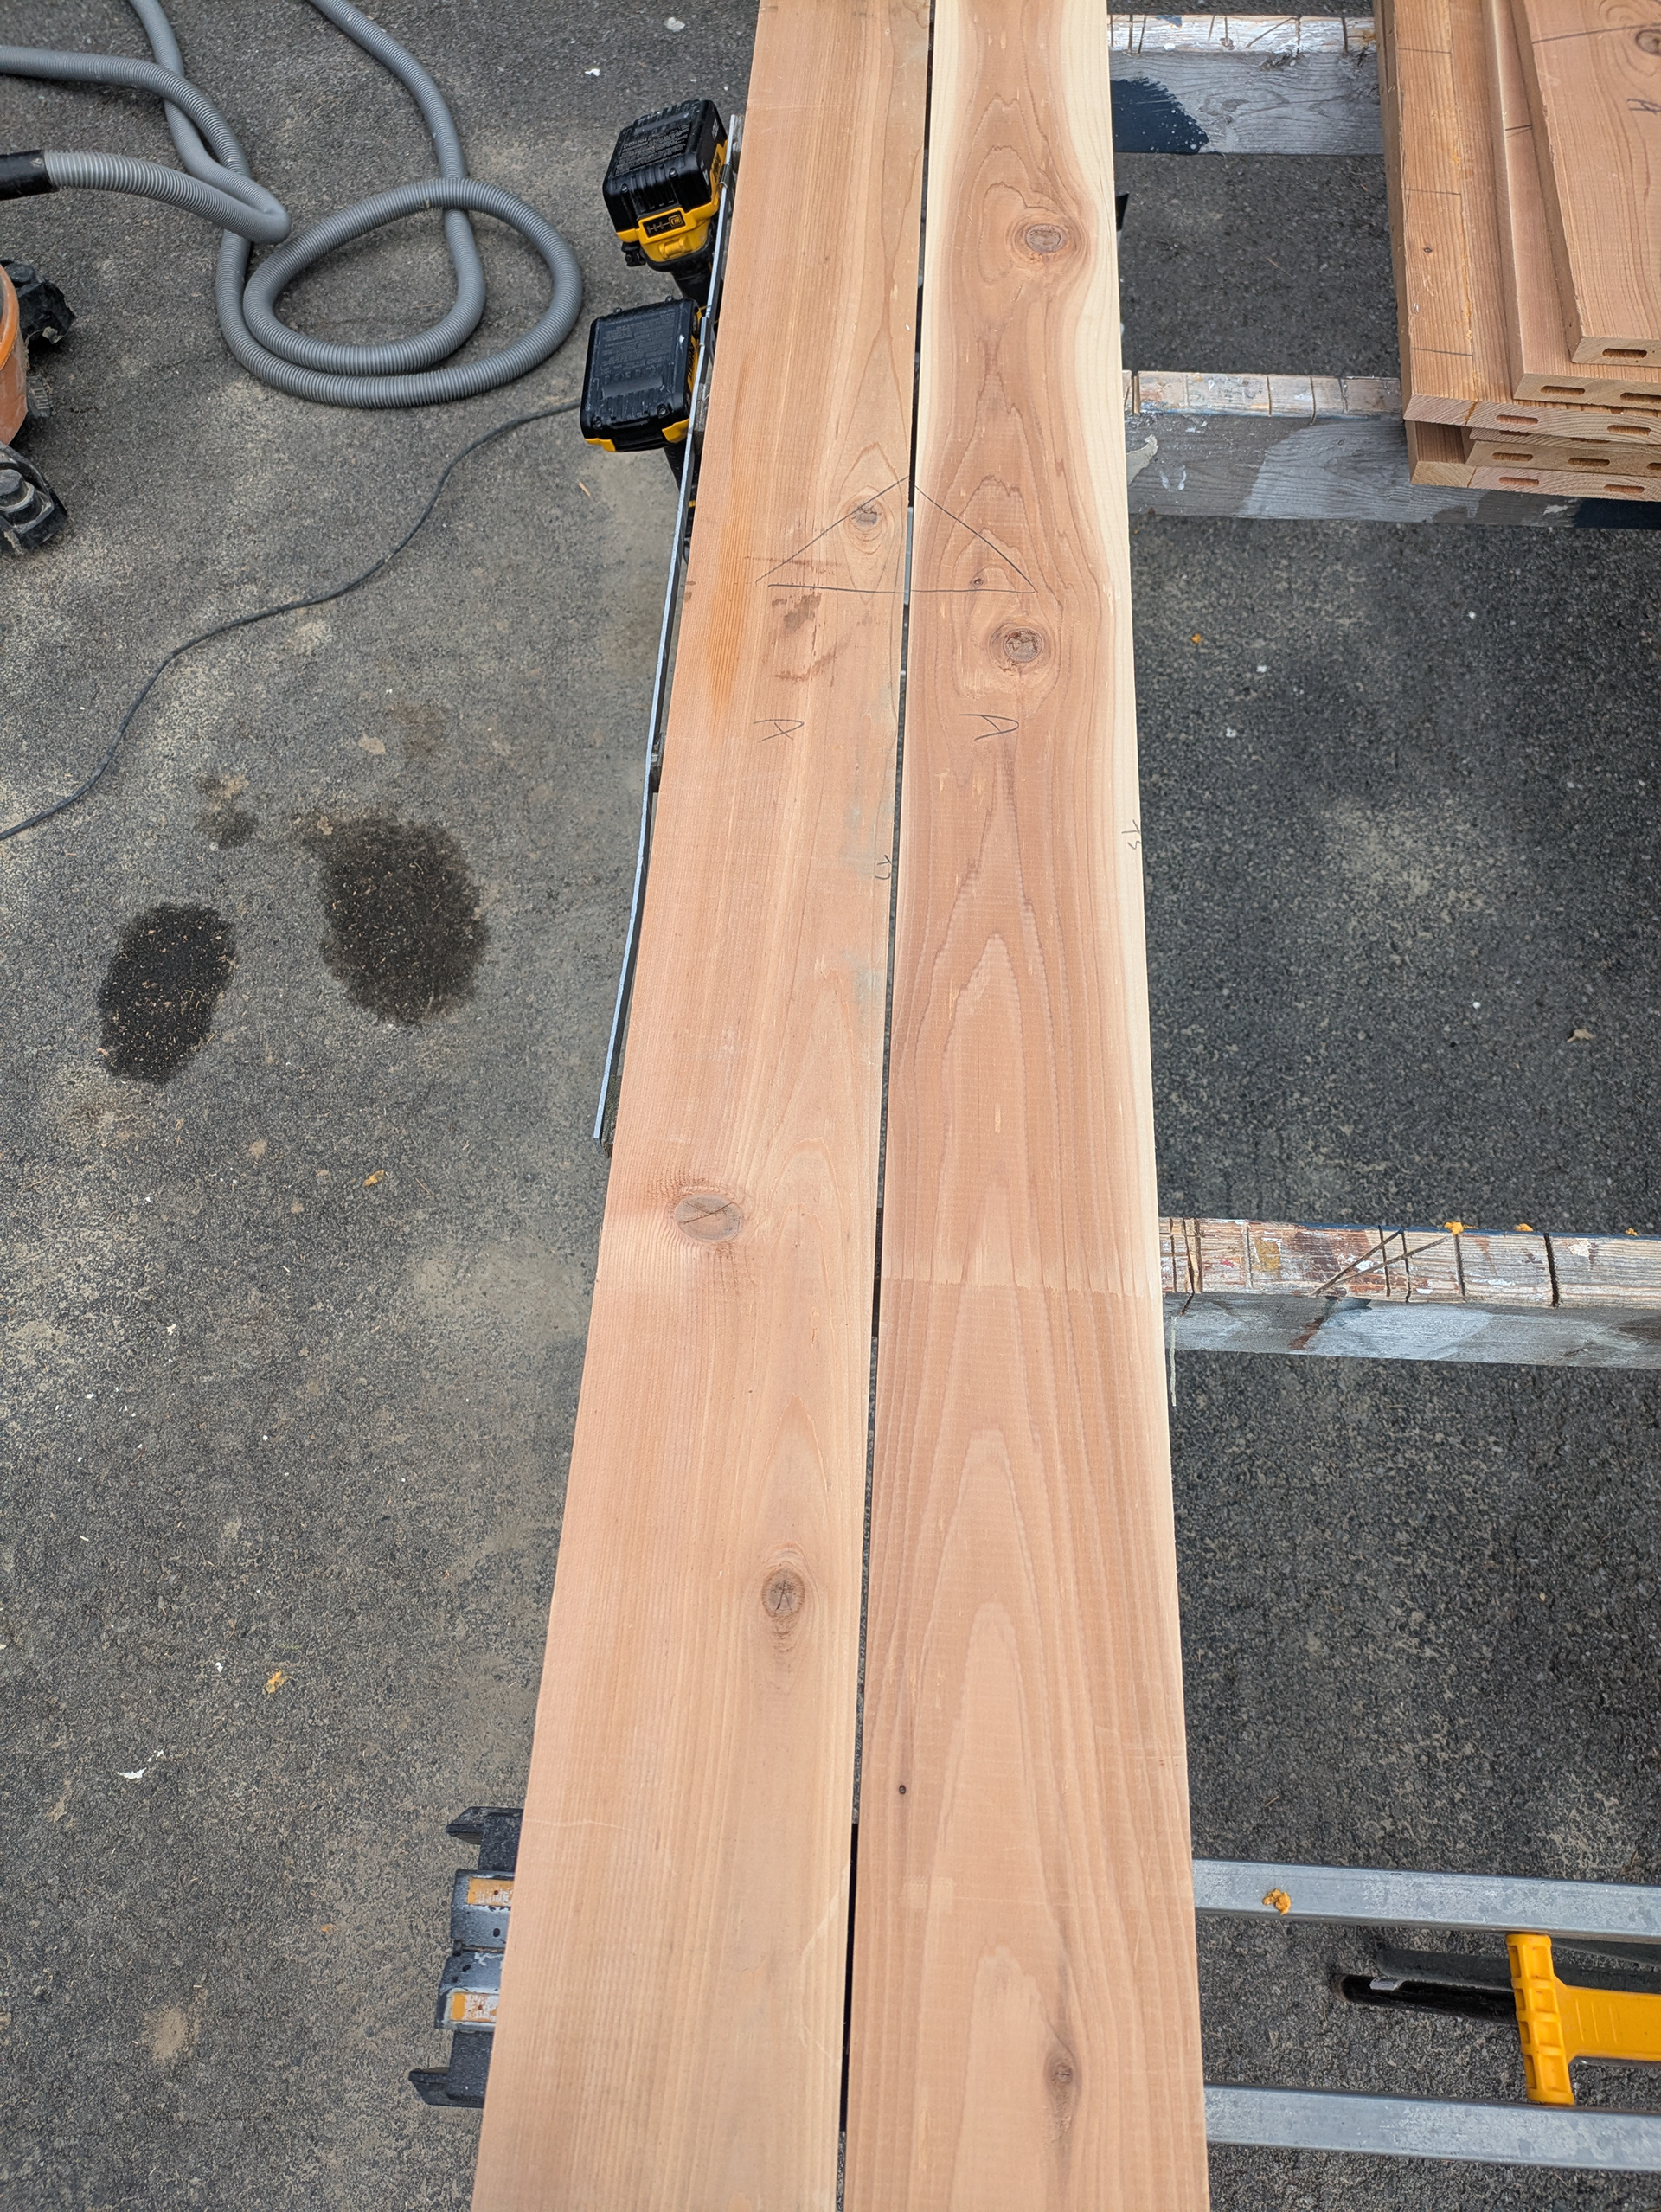
Stiles are the vertical boards of the door frame. They are marked in a similar fashion as the rails.
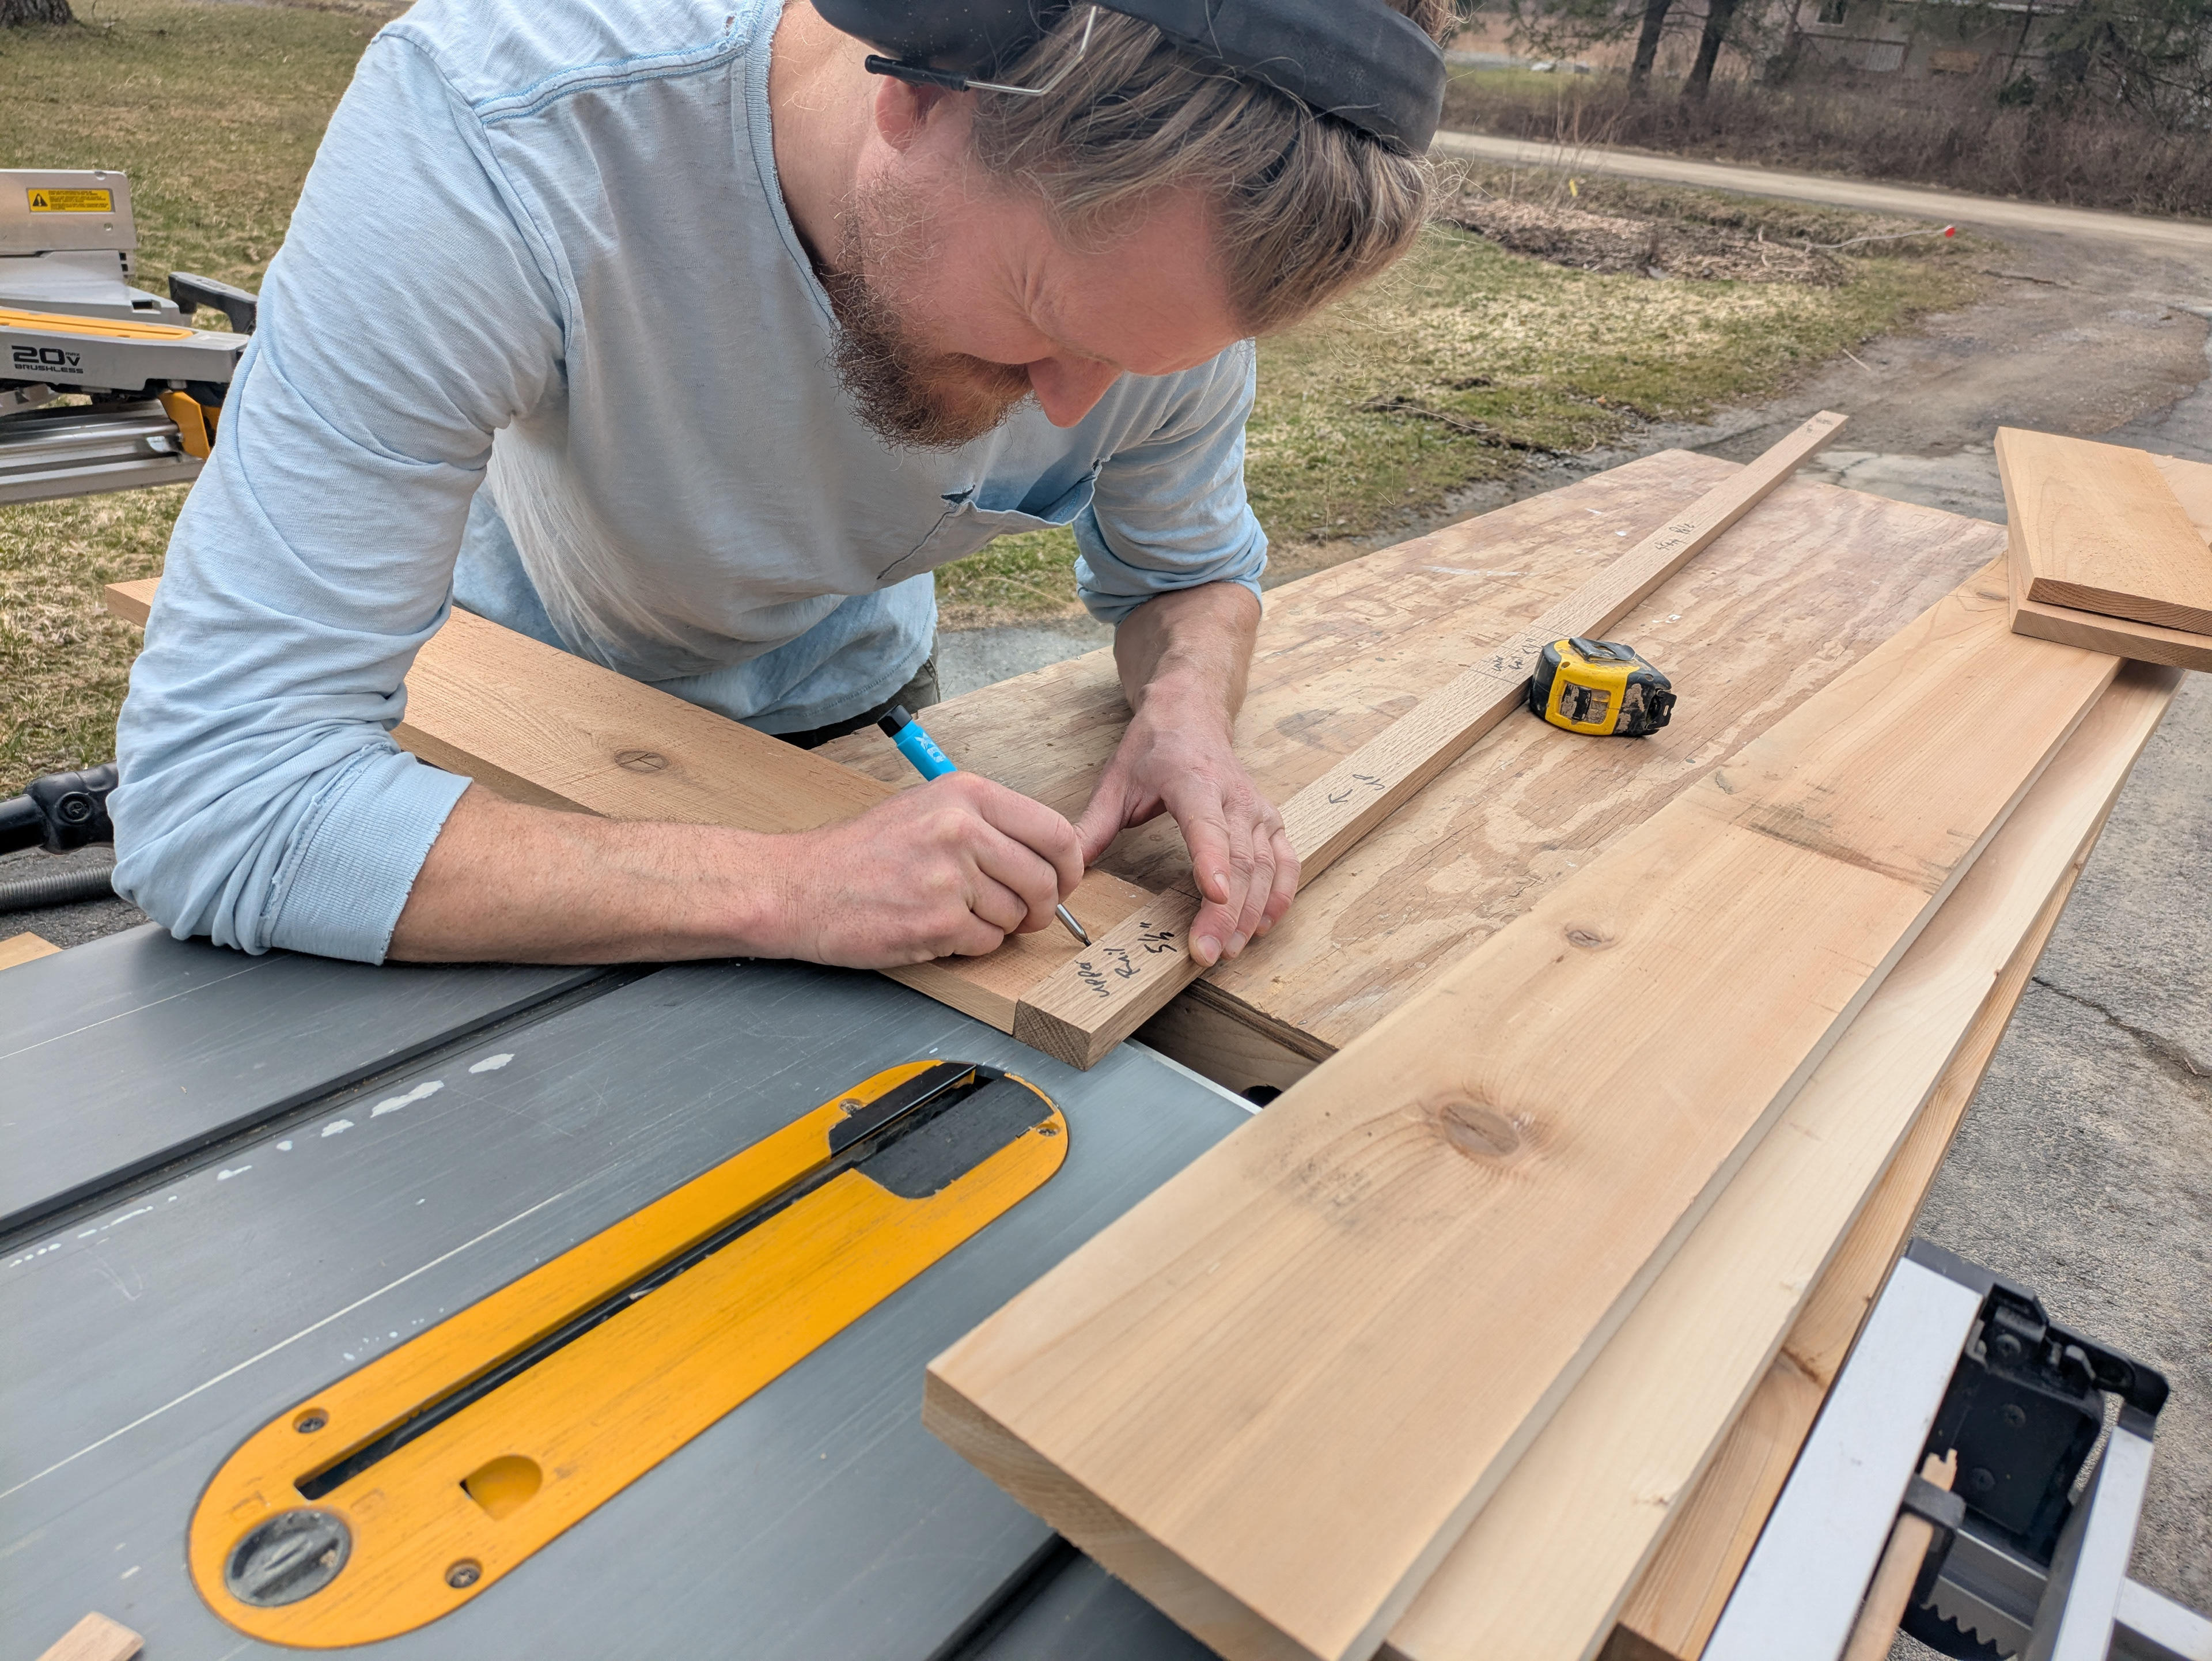
The elevations of the rails are transferred to the stiles. The rails are also marked for joinery.
We put additional marks on the story pole for laying out the loose tenon mortises.
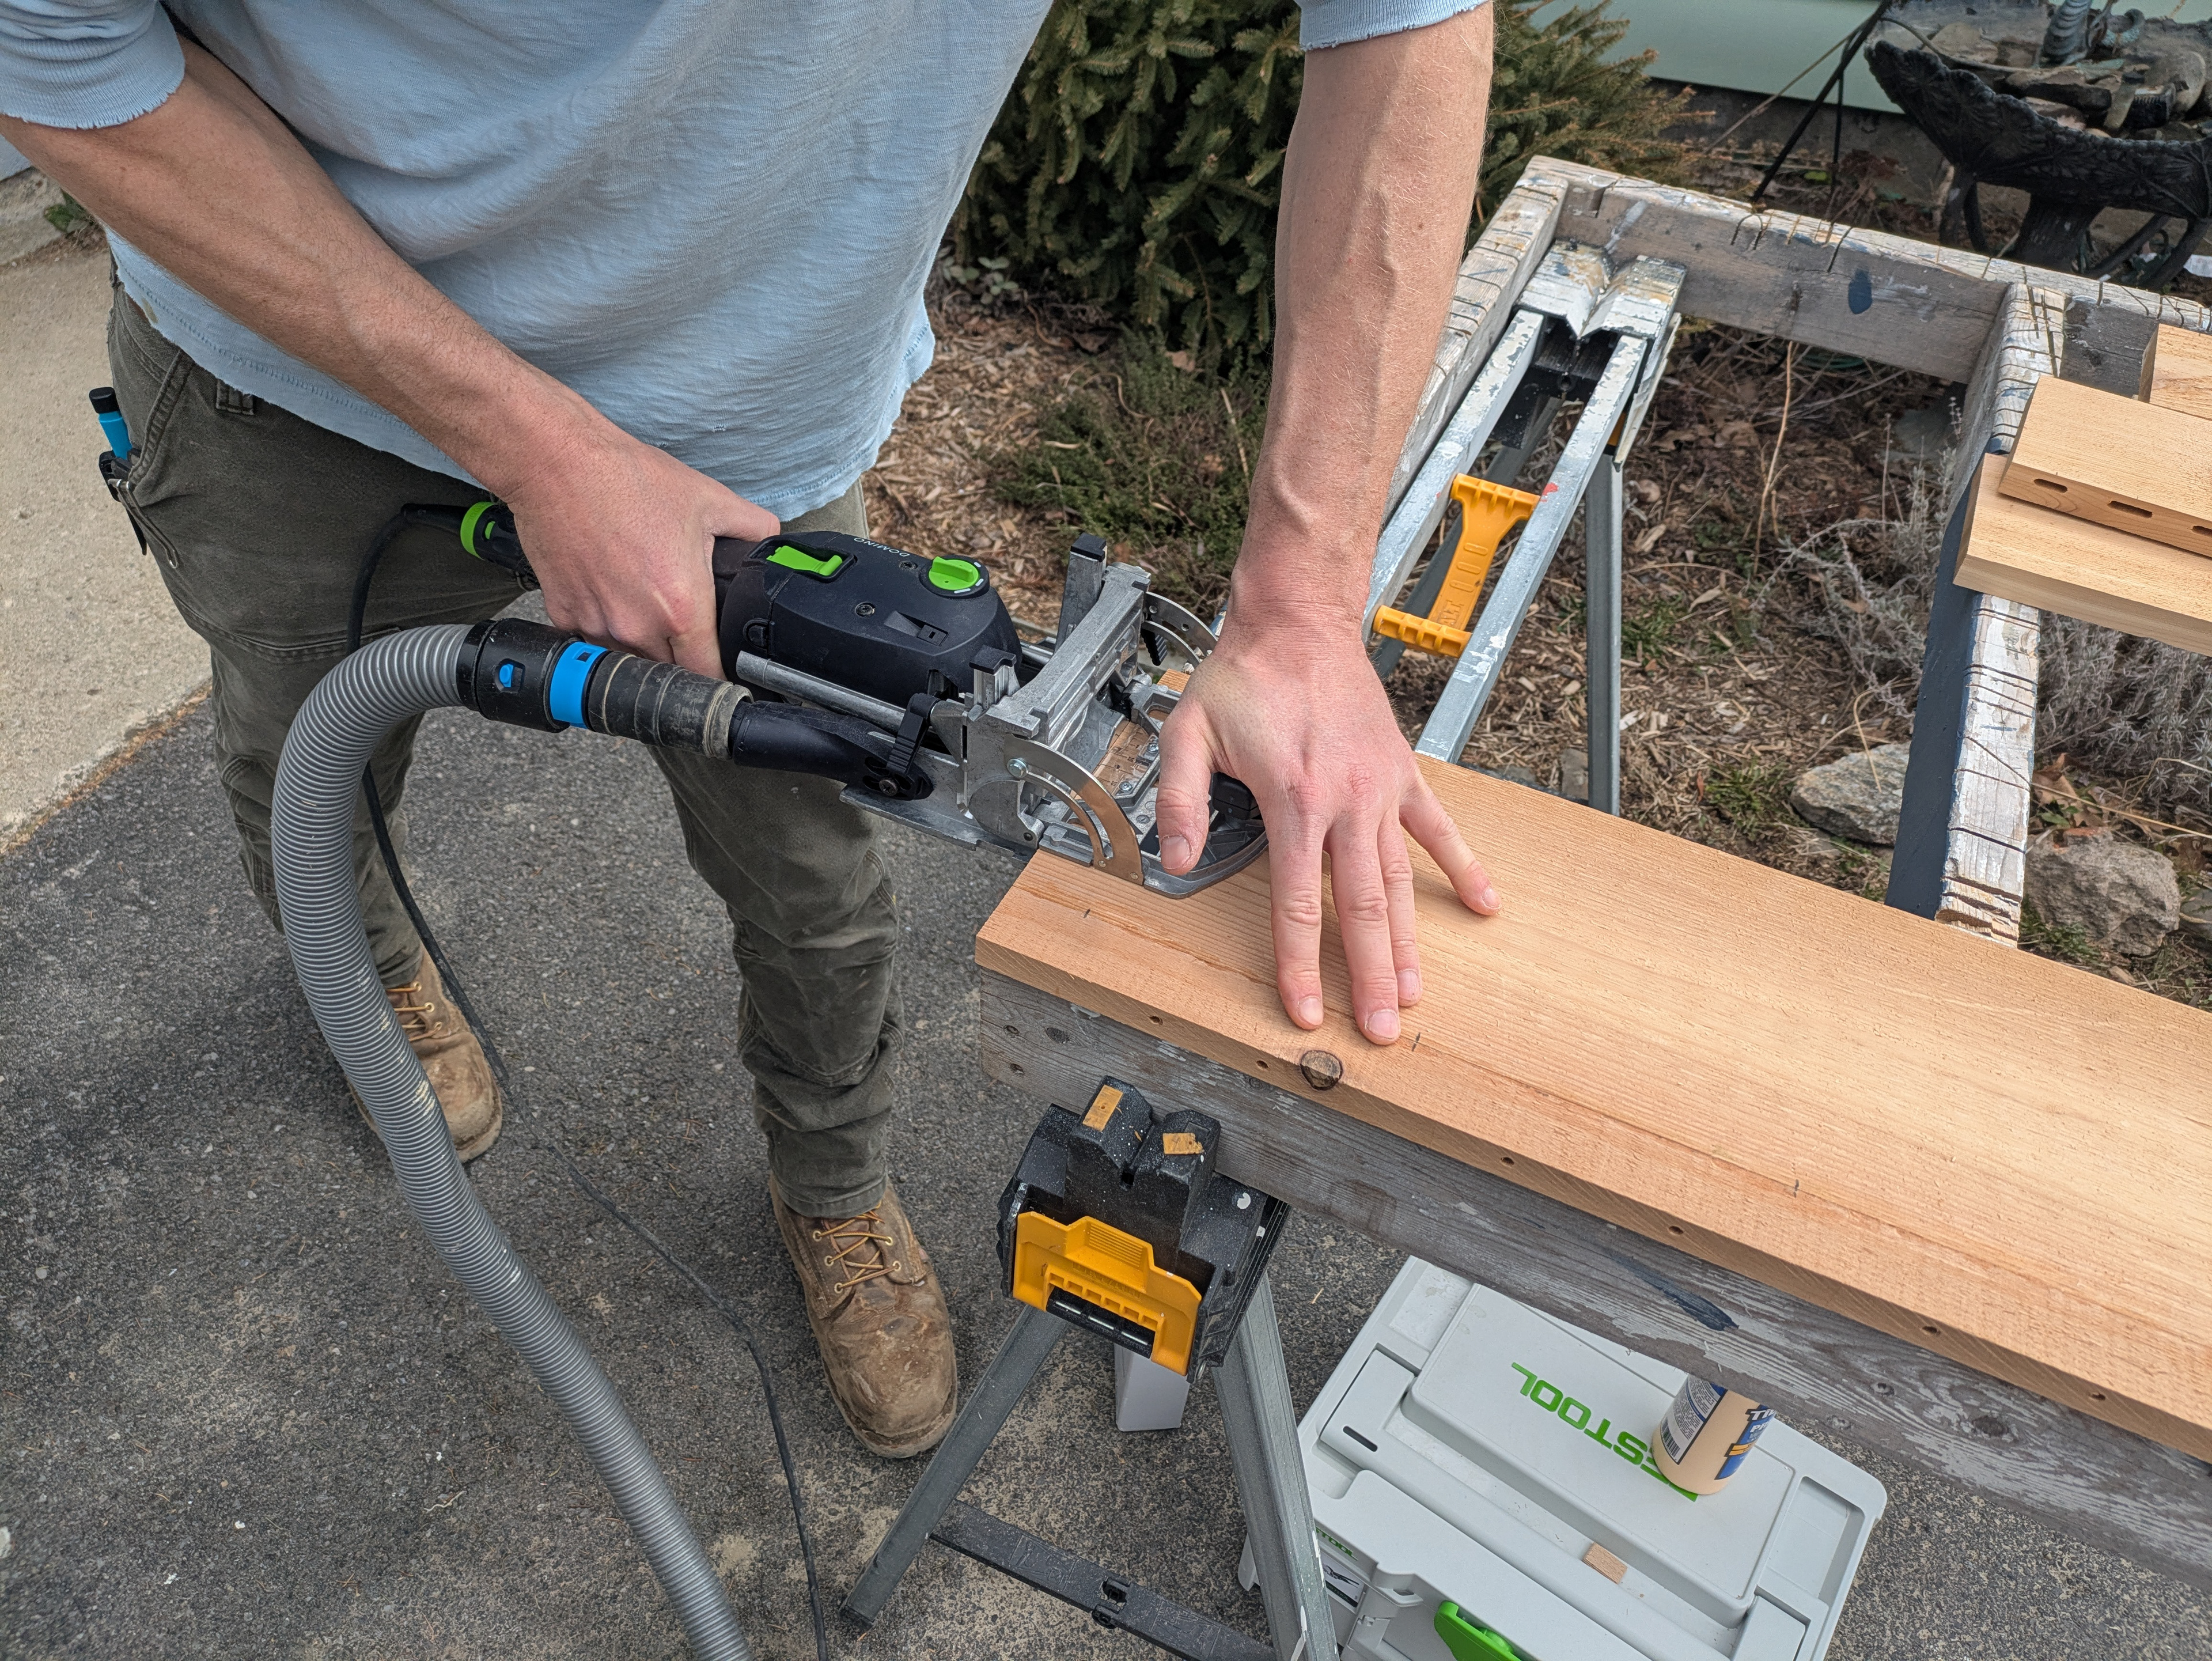
The domino joiner cuts mortises into the rails and stiles.
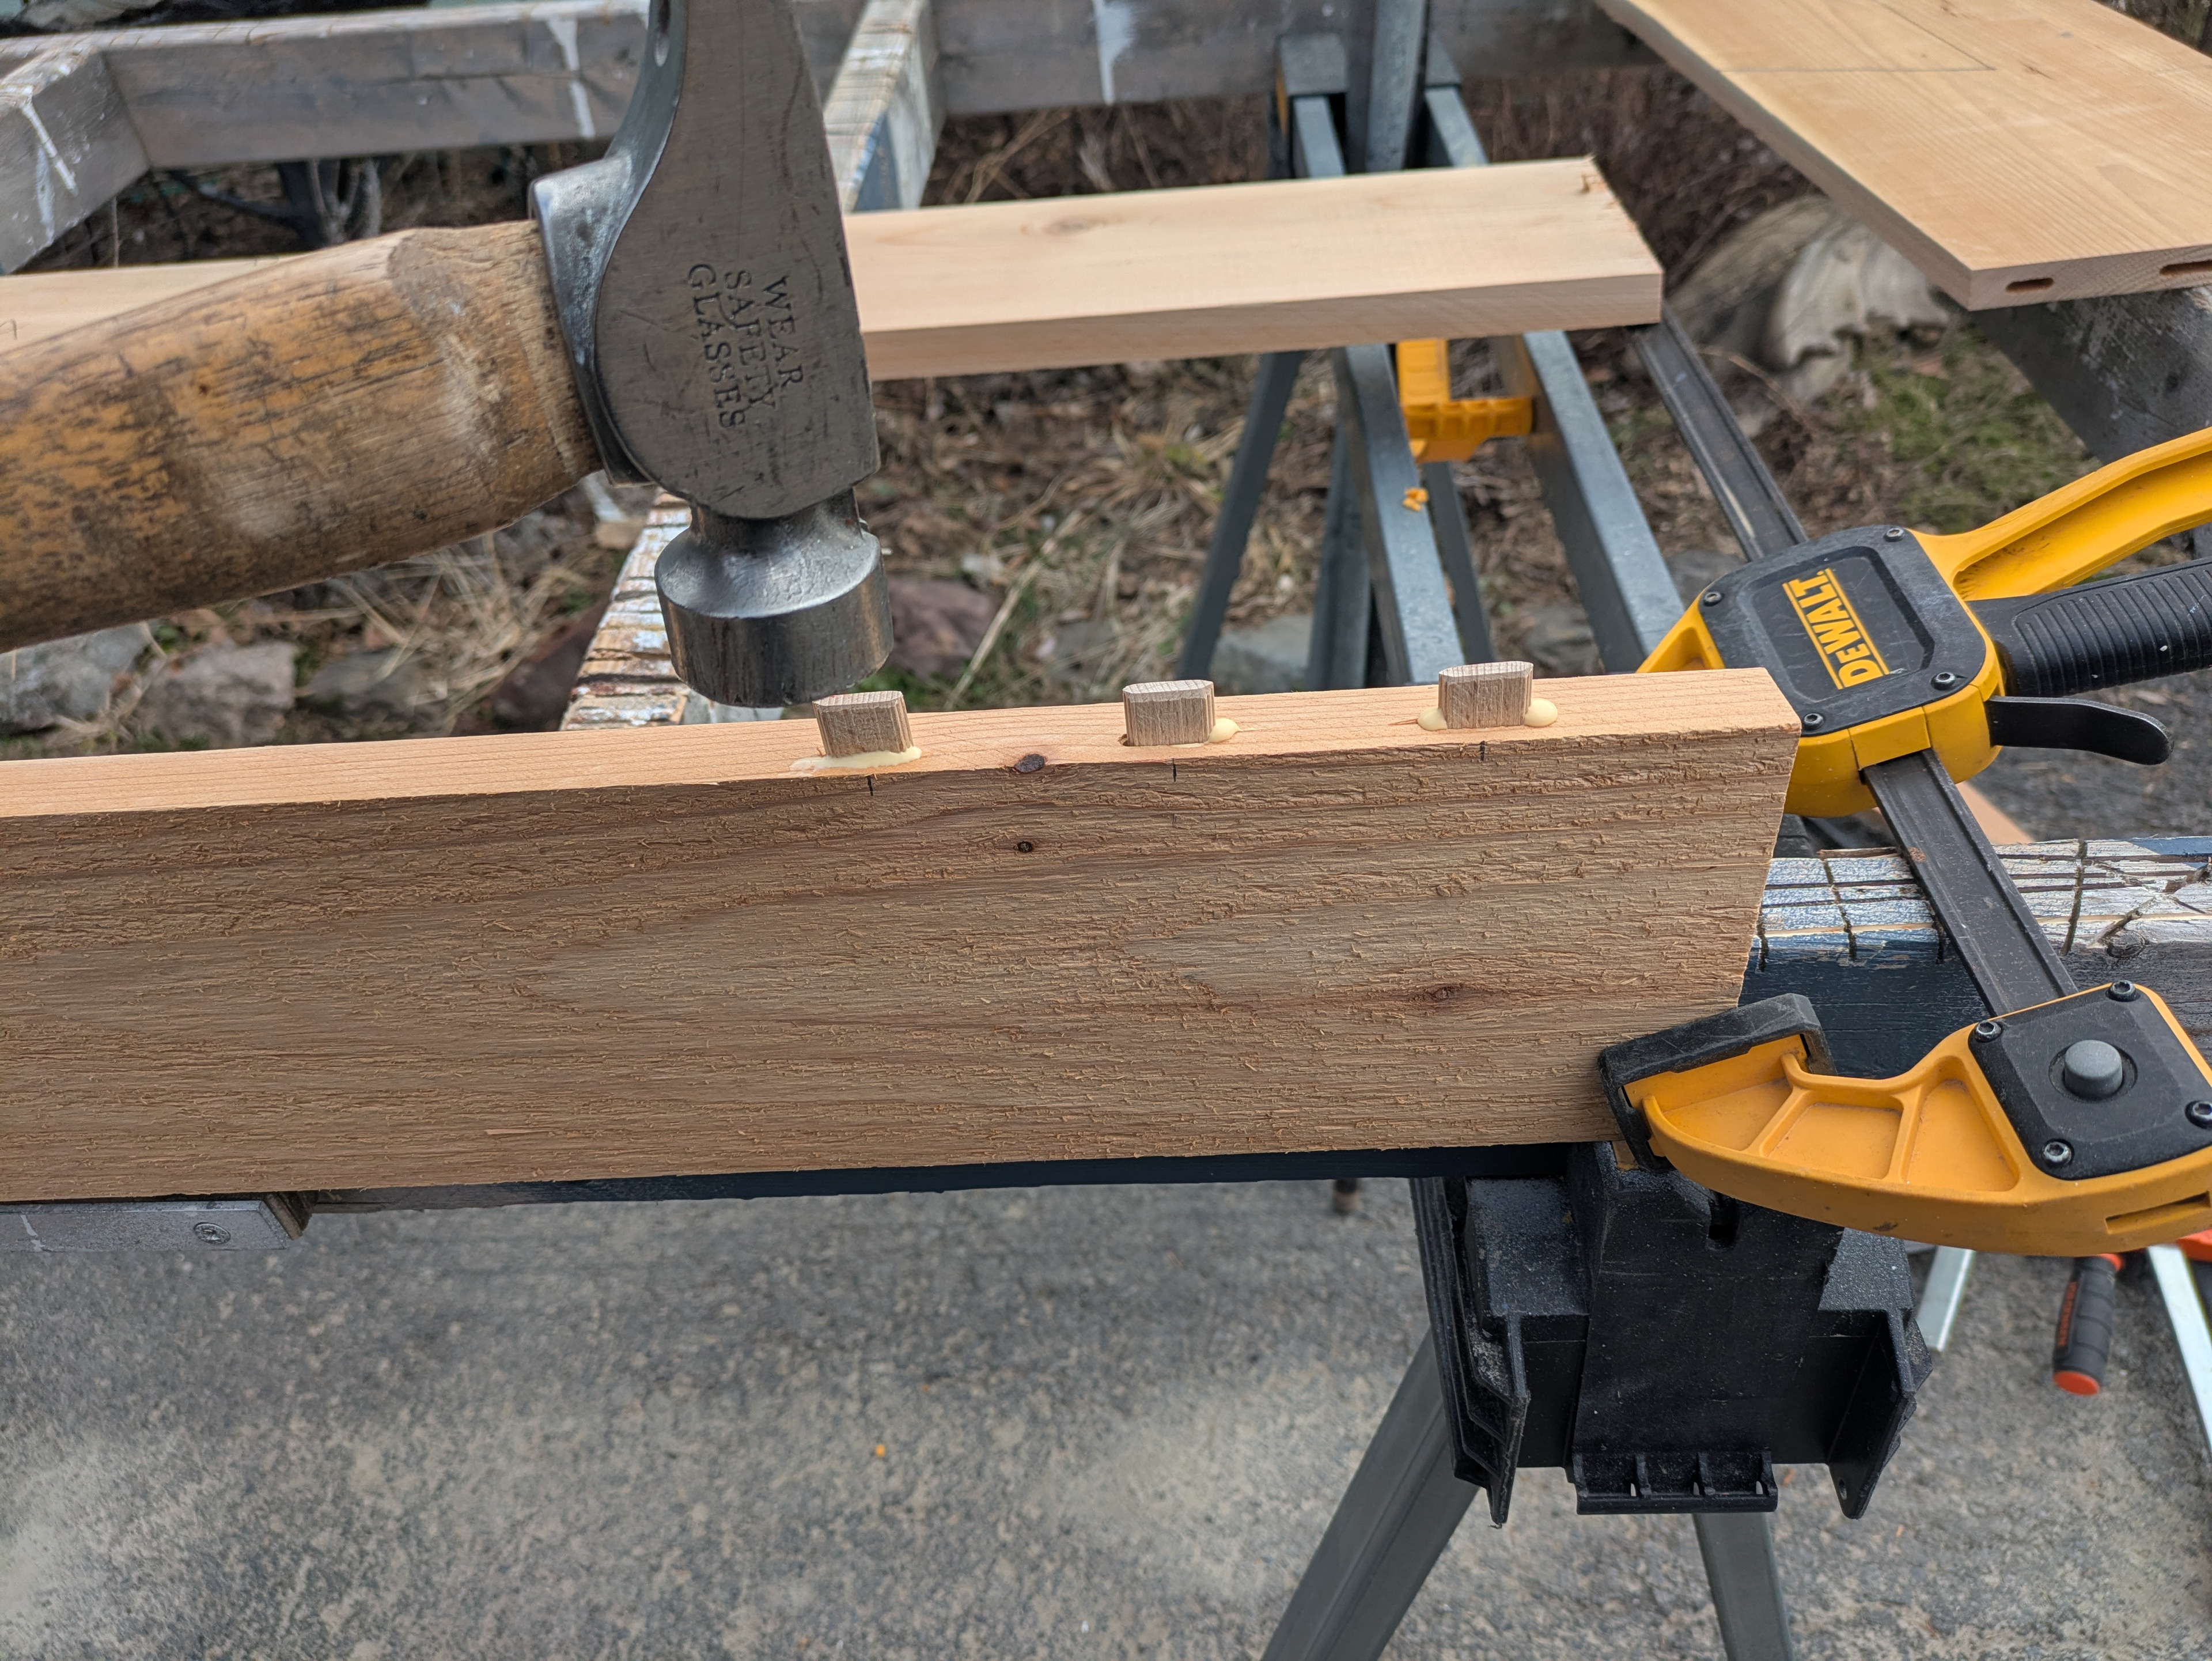
Dominos are glued into the mortises of the stiles.
The rails are glued and clamped to the stiles.
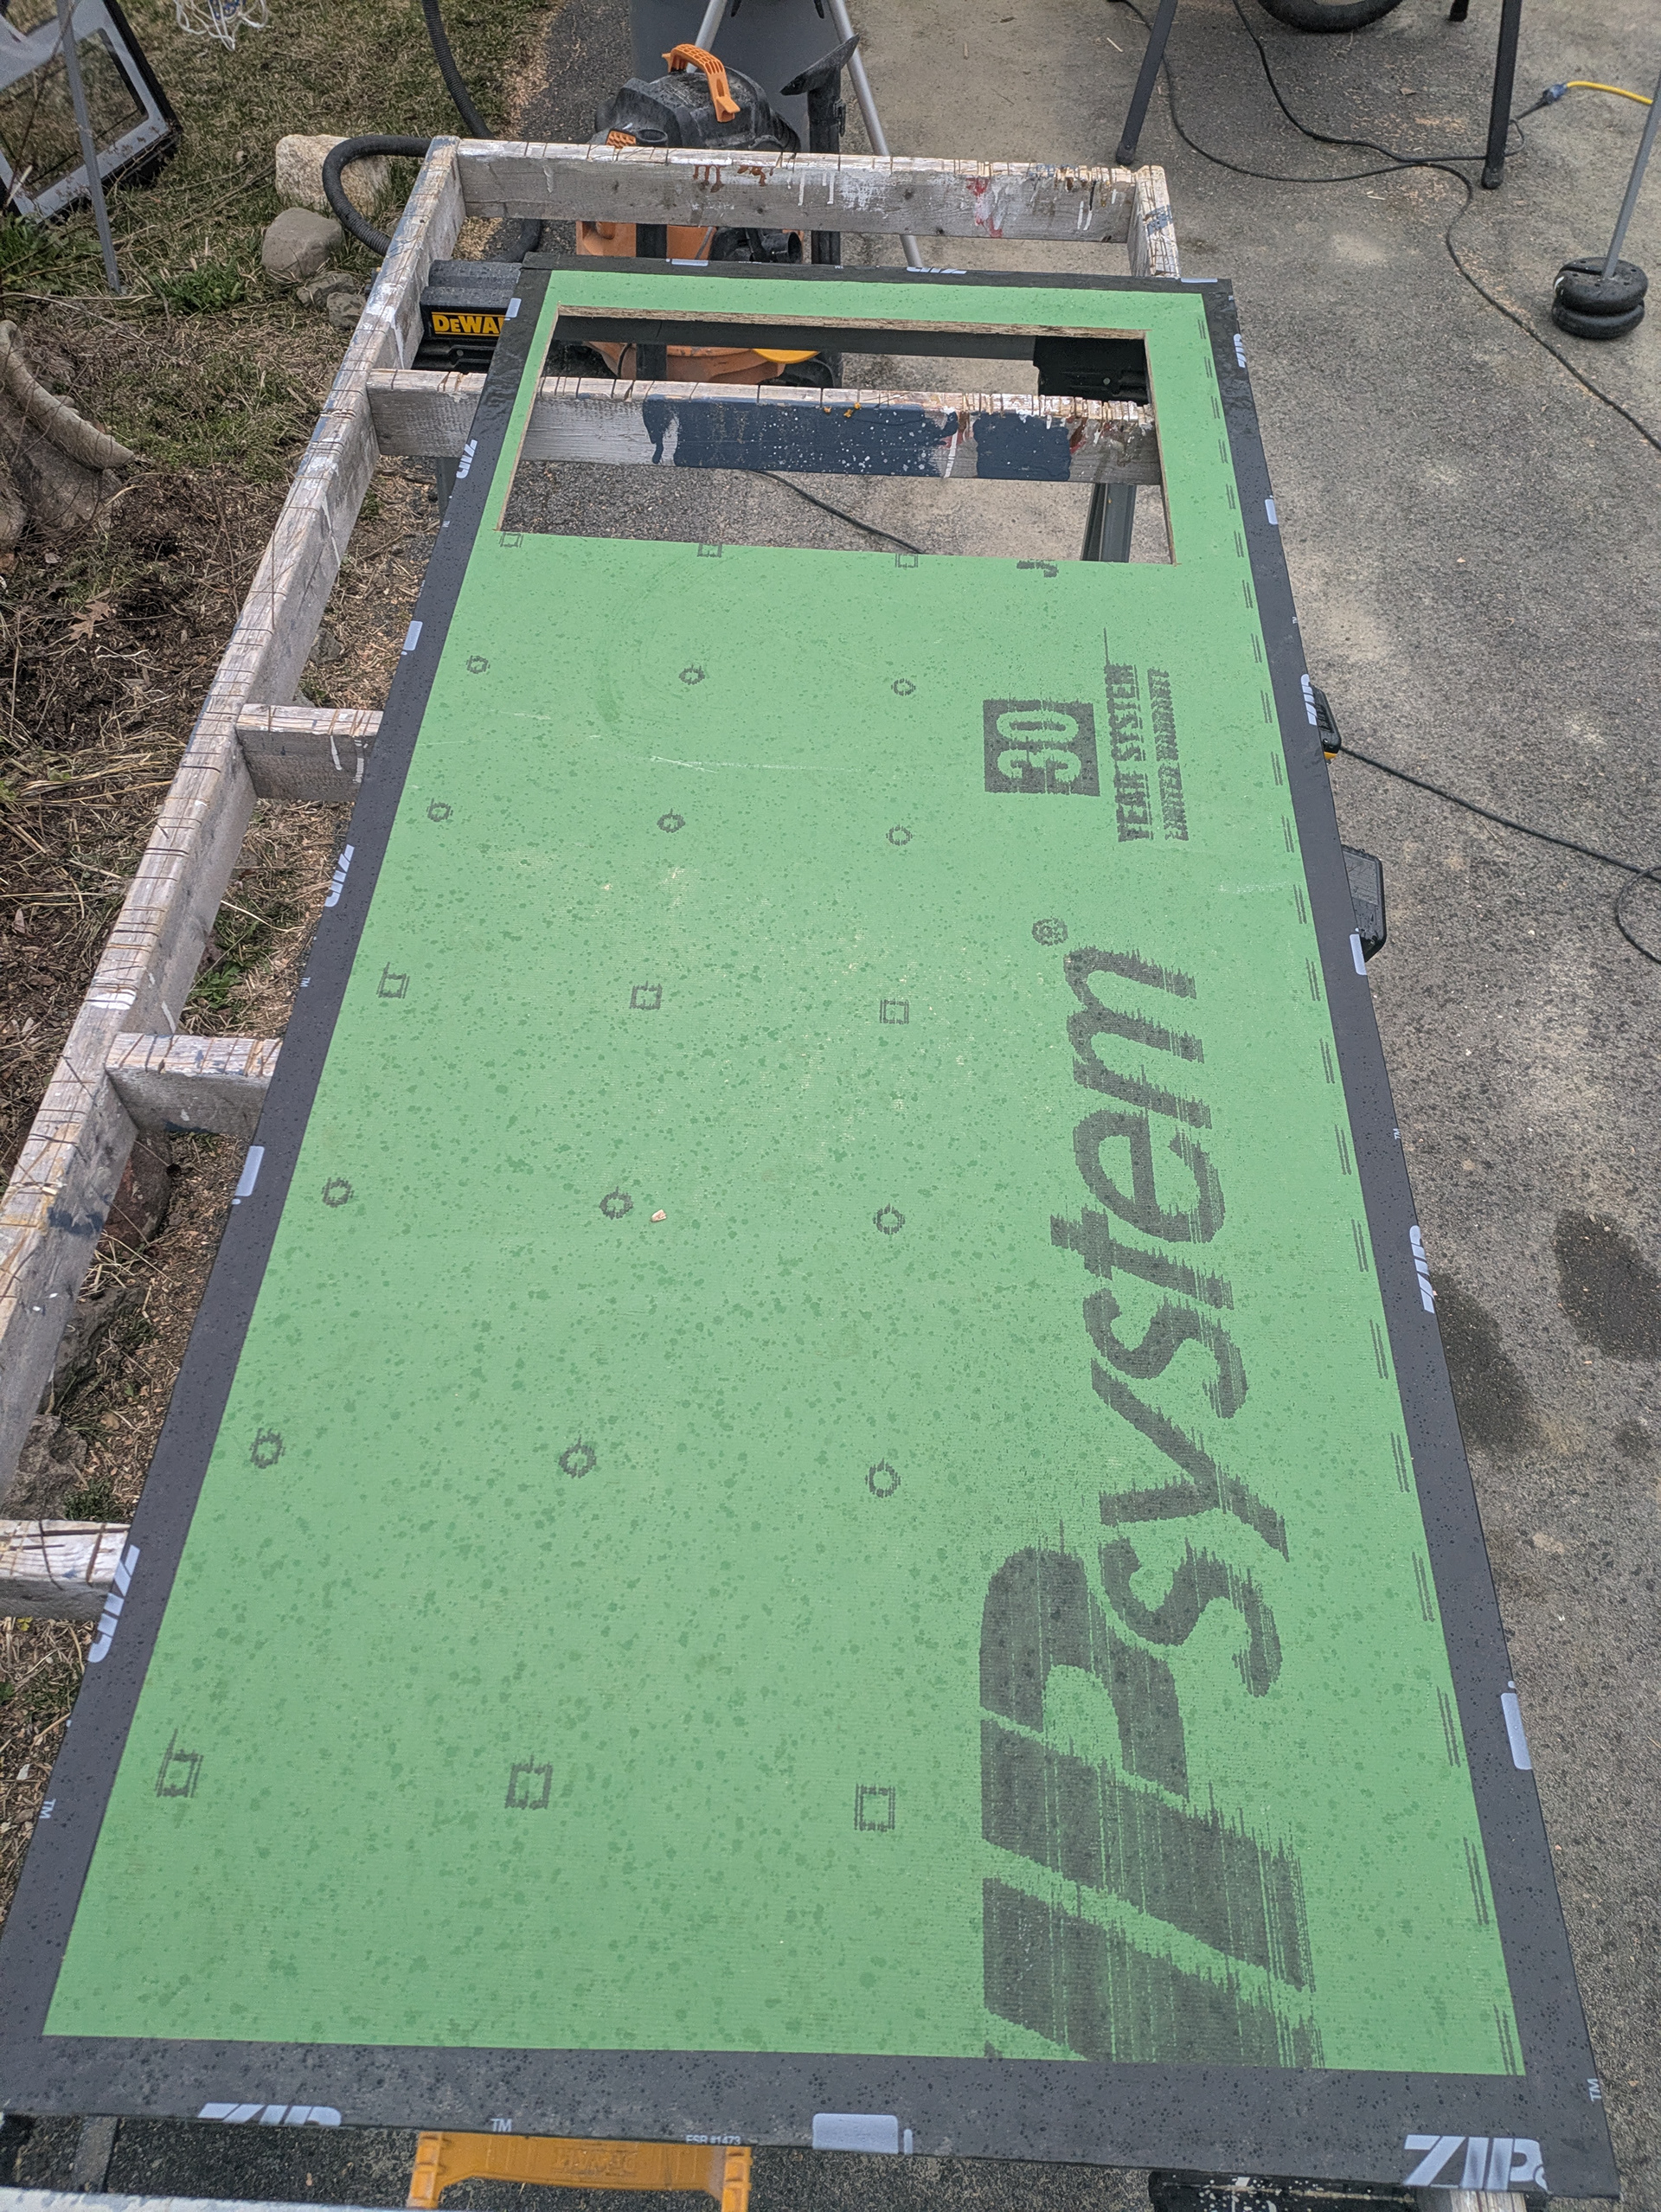
The outline of the frame is transferred to sheathing which is then cut to size. The exposed outer edges of the sheathing are protected with flashing tape. The sheathing panel of one door is a couple of inches wider than the door. The sheathing panel of the other door is about 2 ½” narrower than the door. This will allow one door to remain operational while the other door is locked in place with a cane bolt.
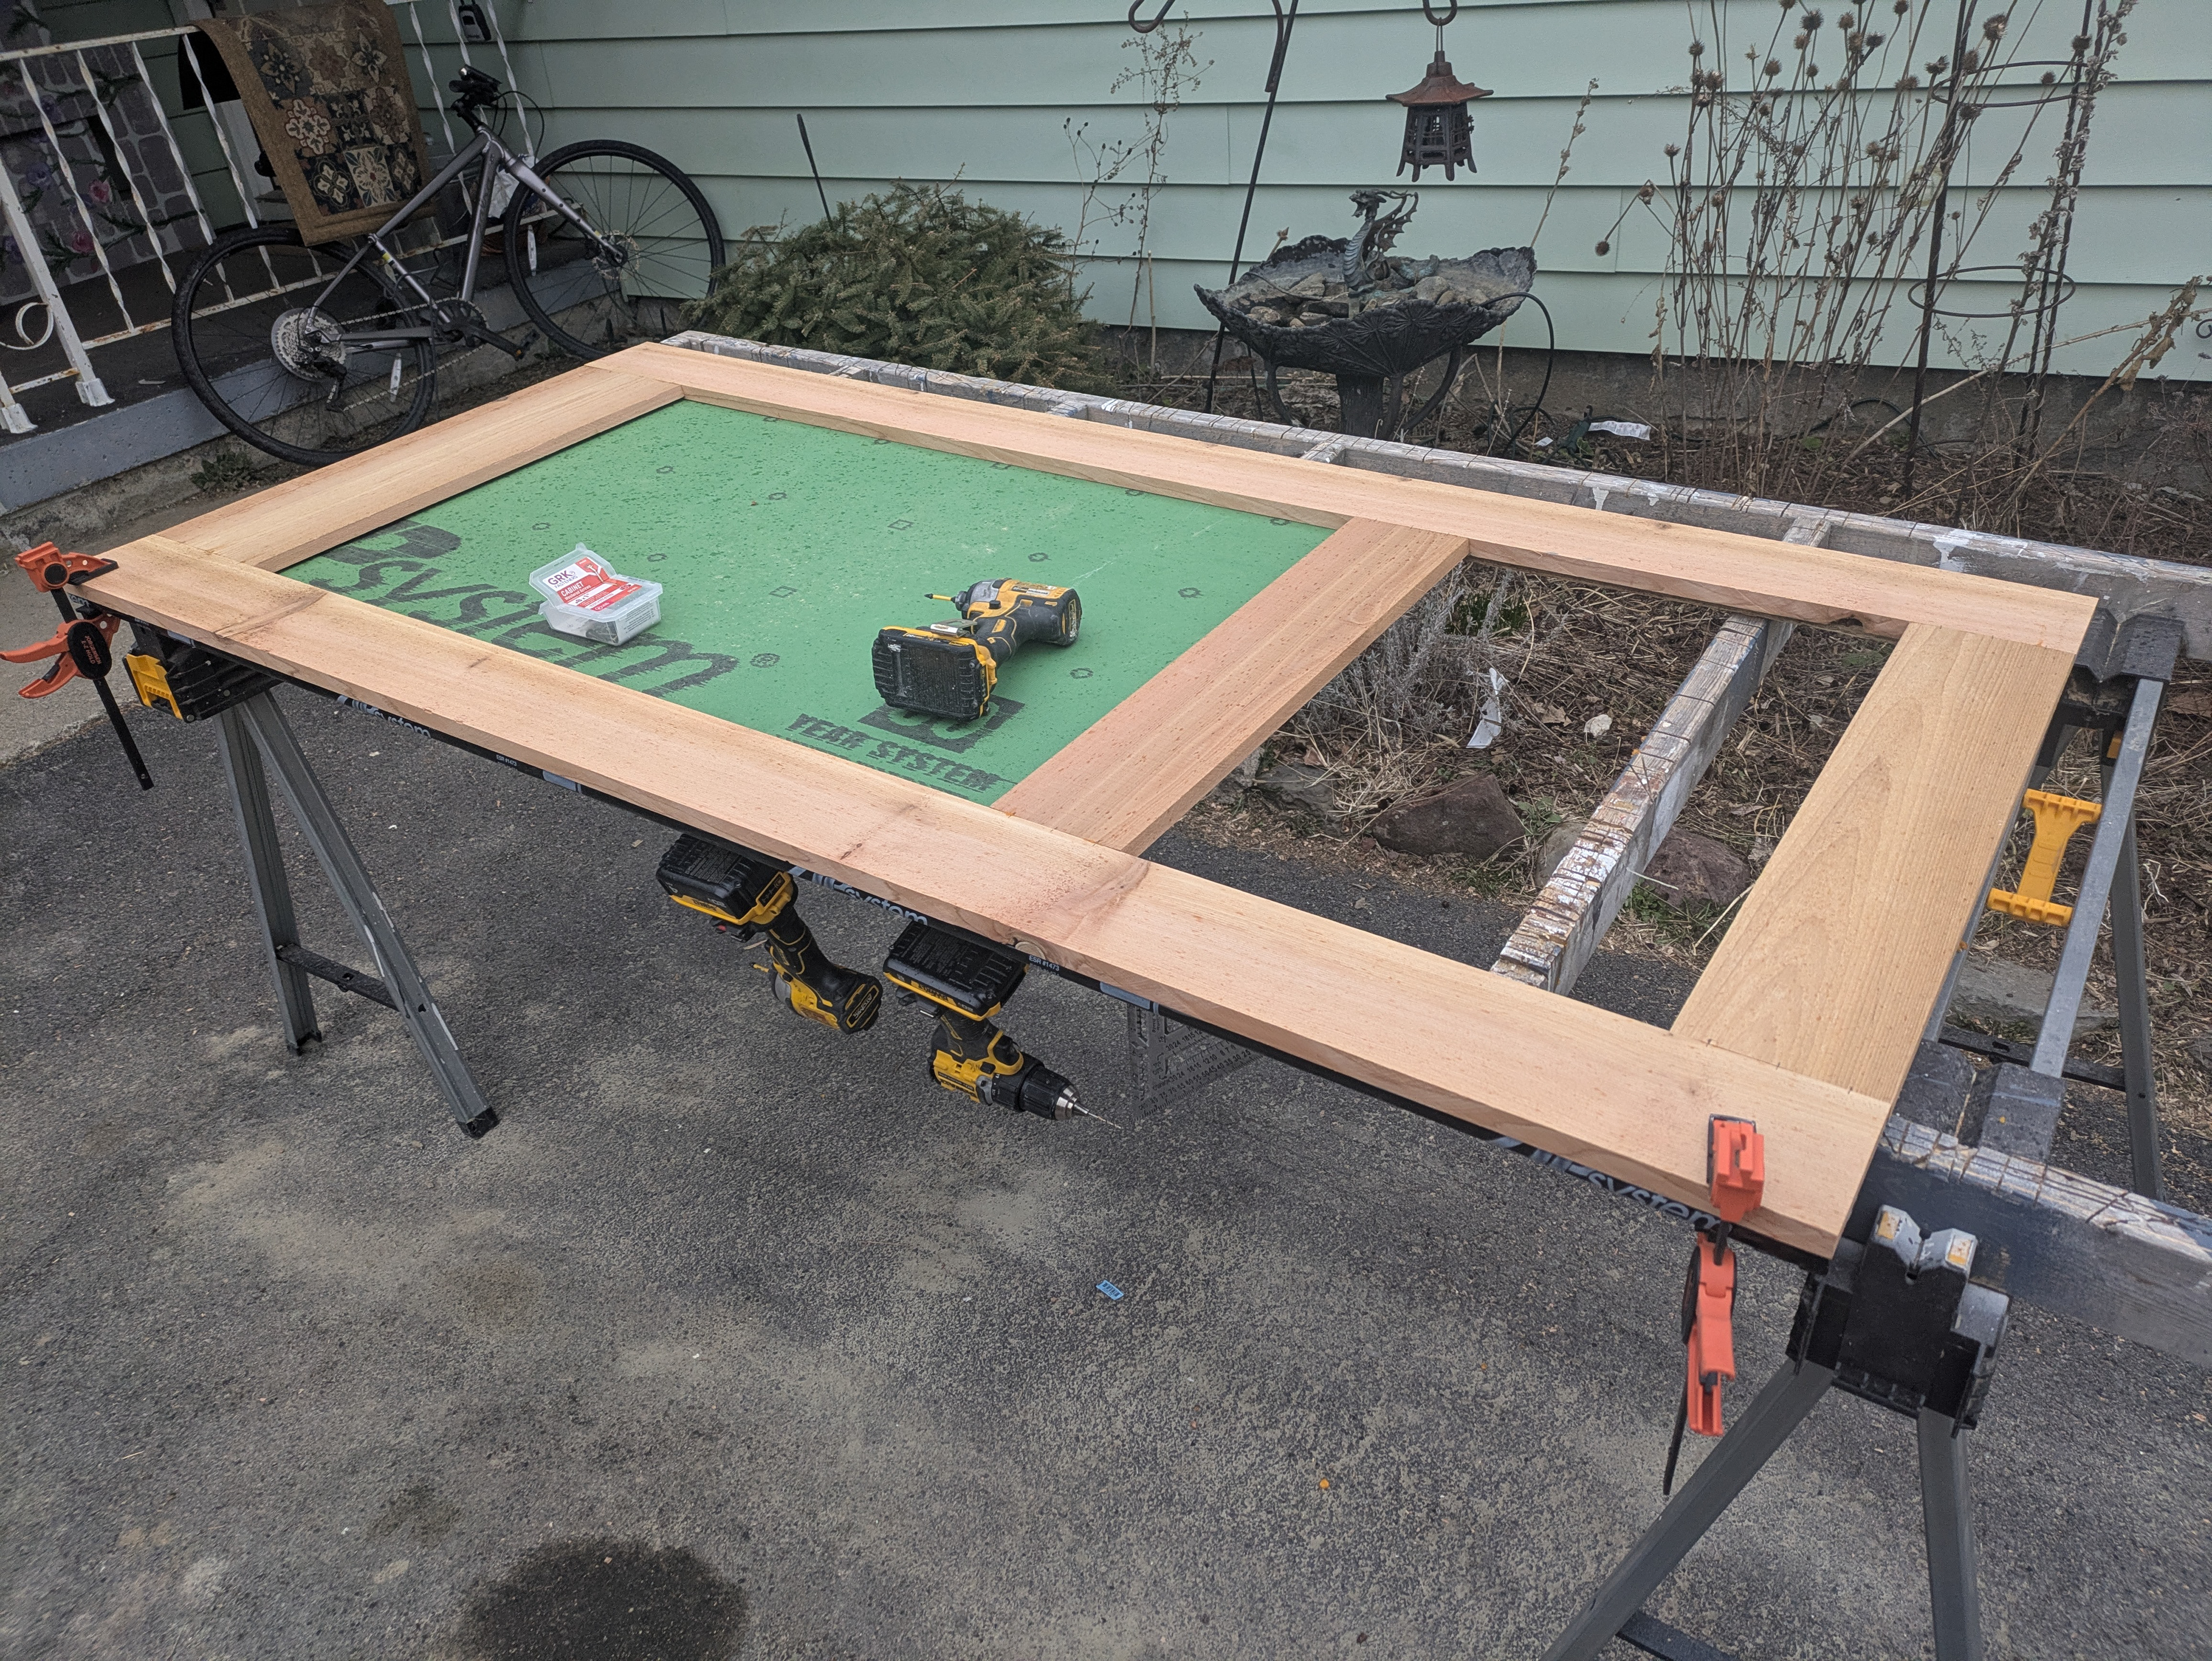
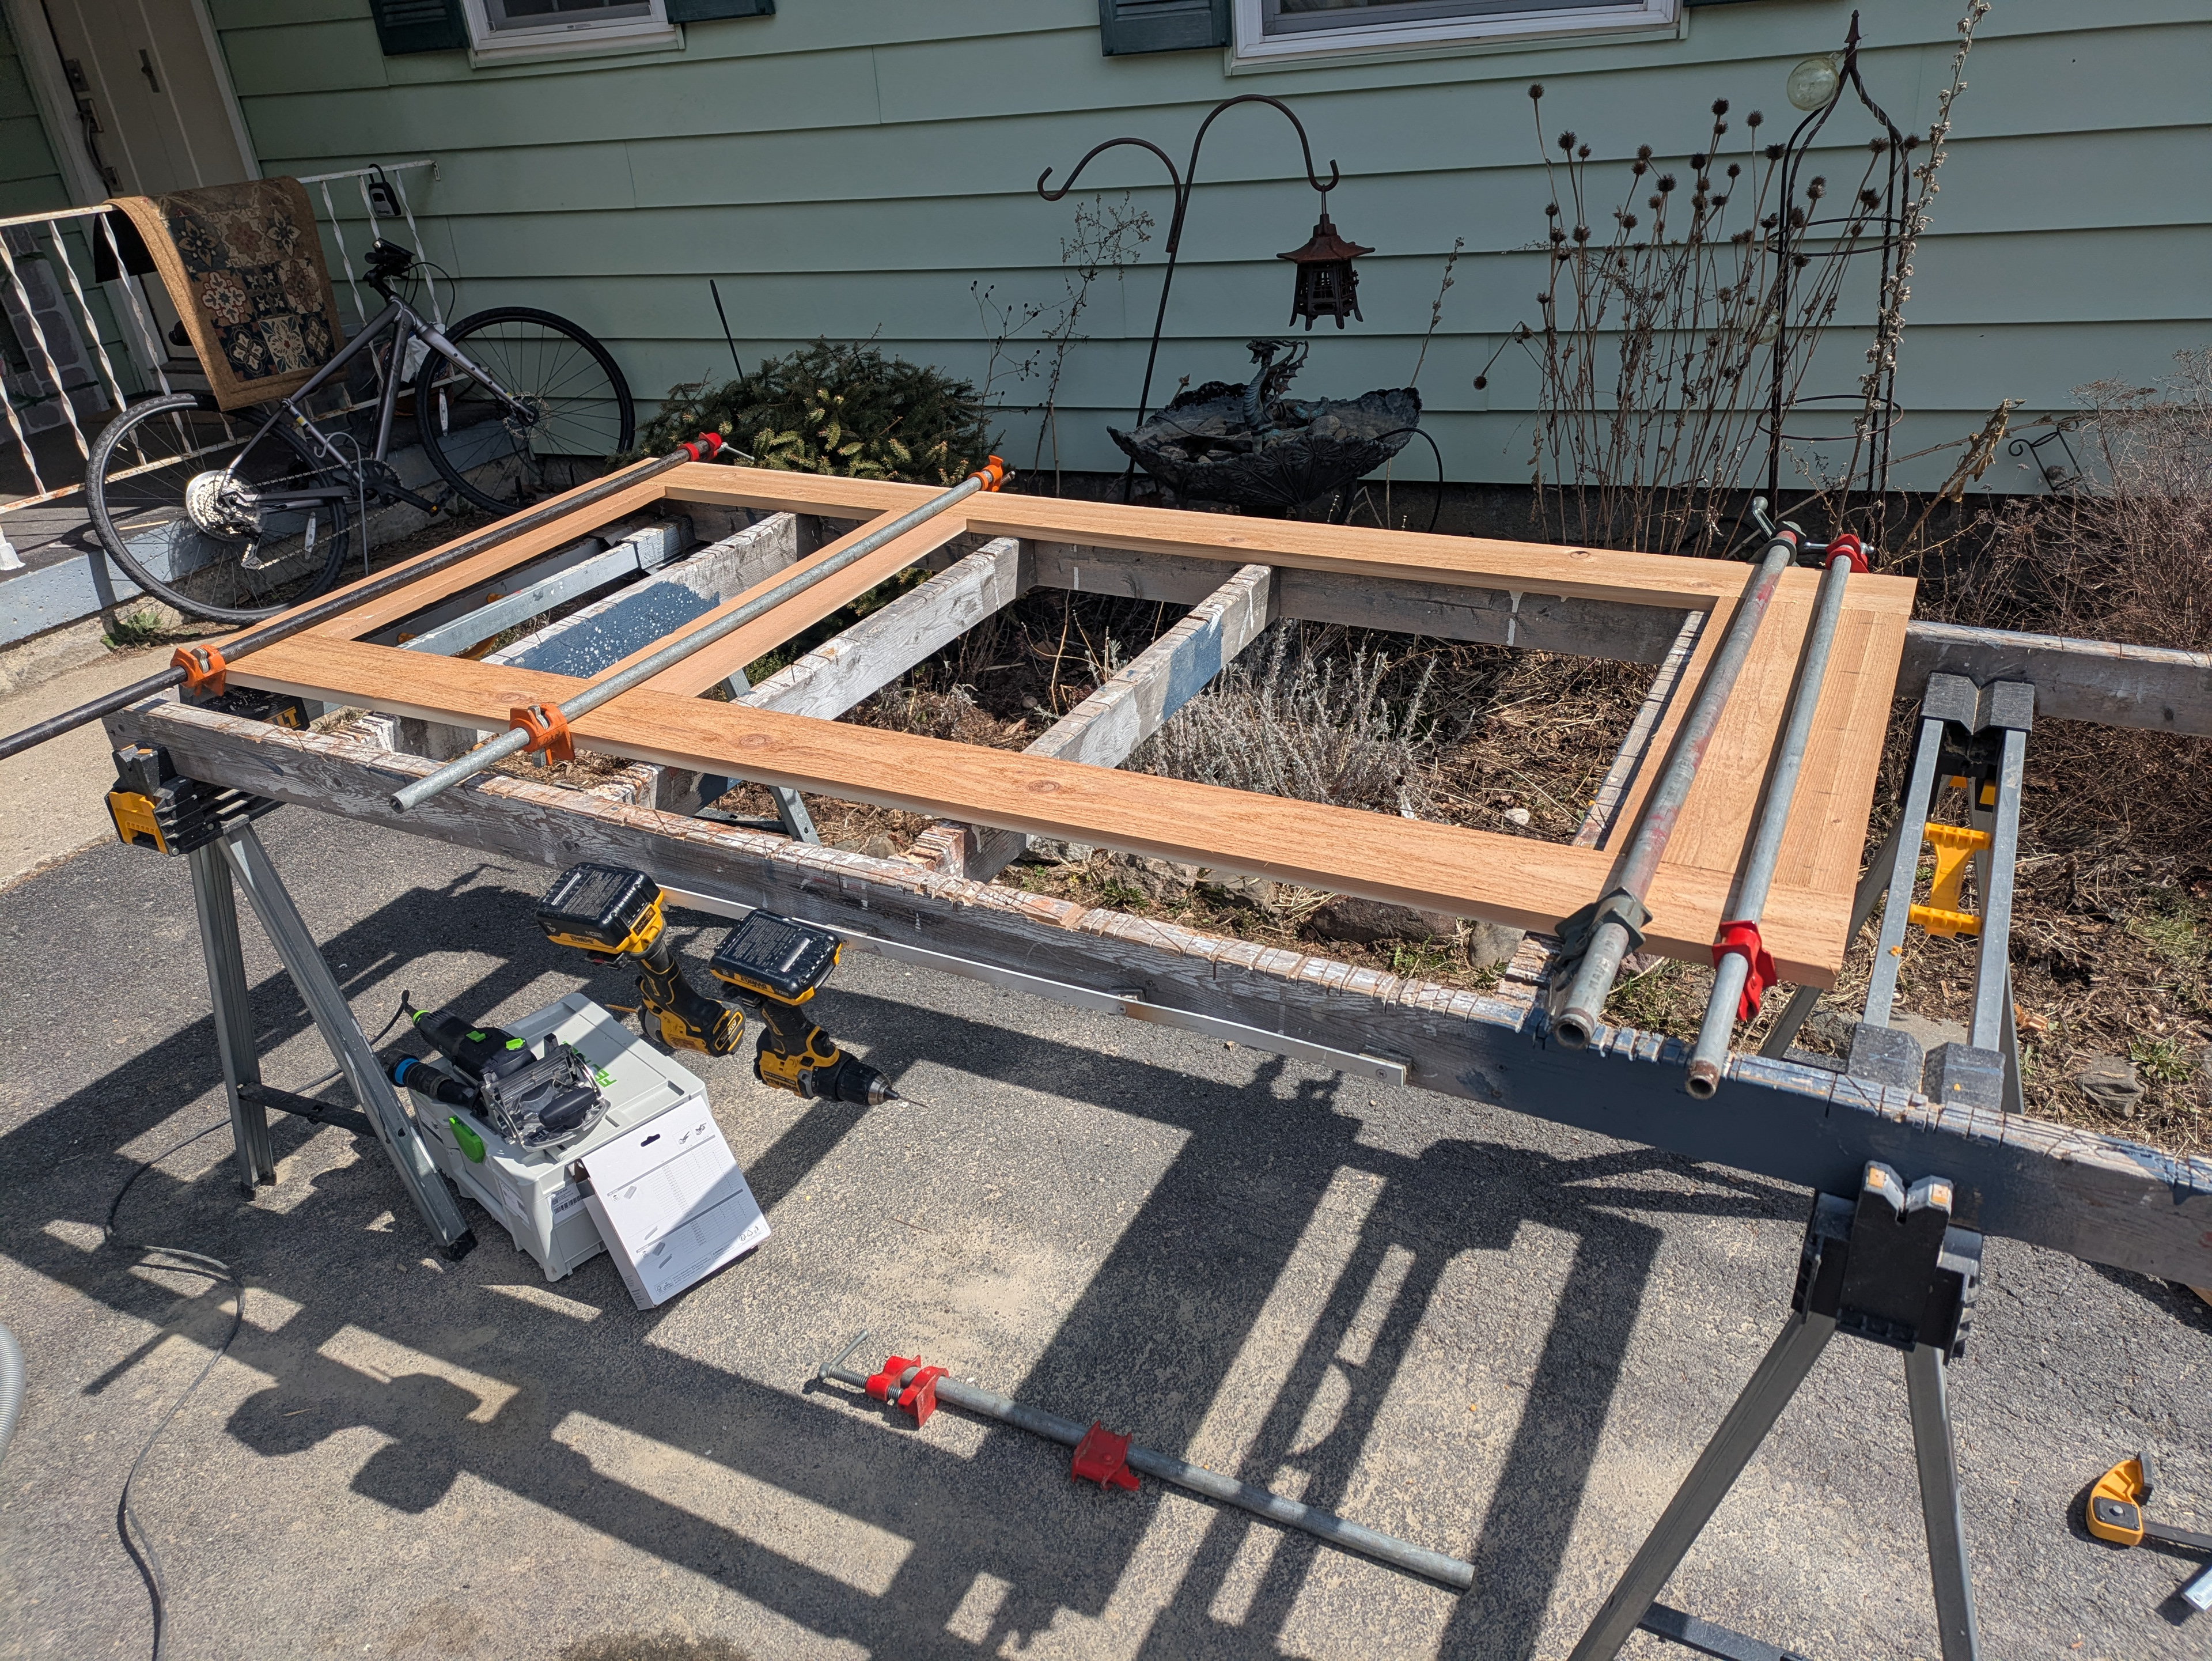
The door frame is clamped to the sheathing then flipped over for fastening.
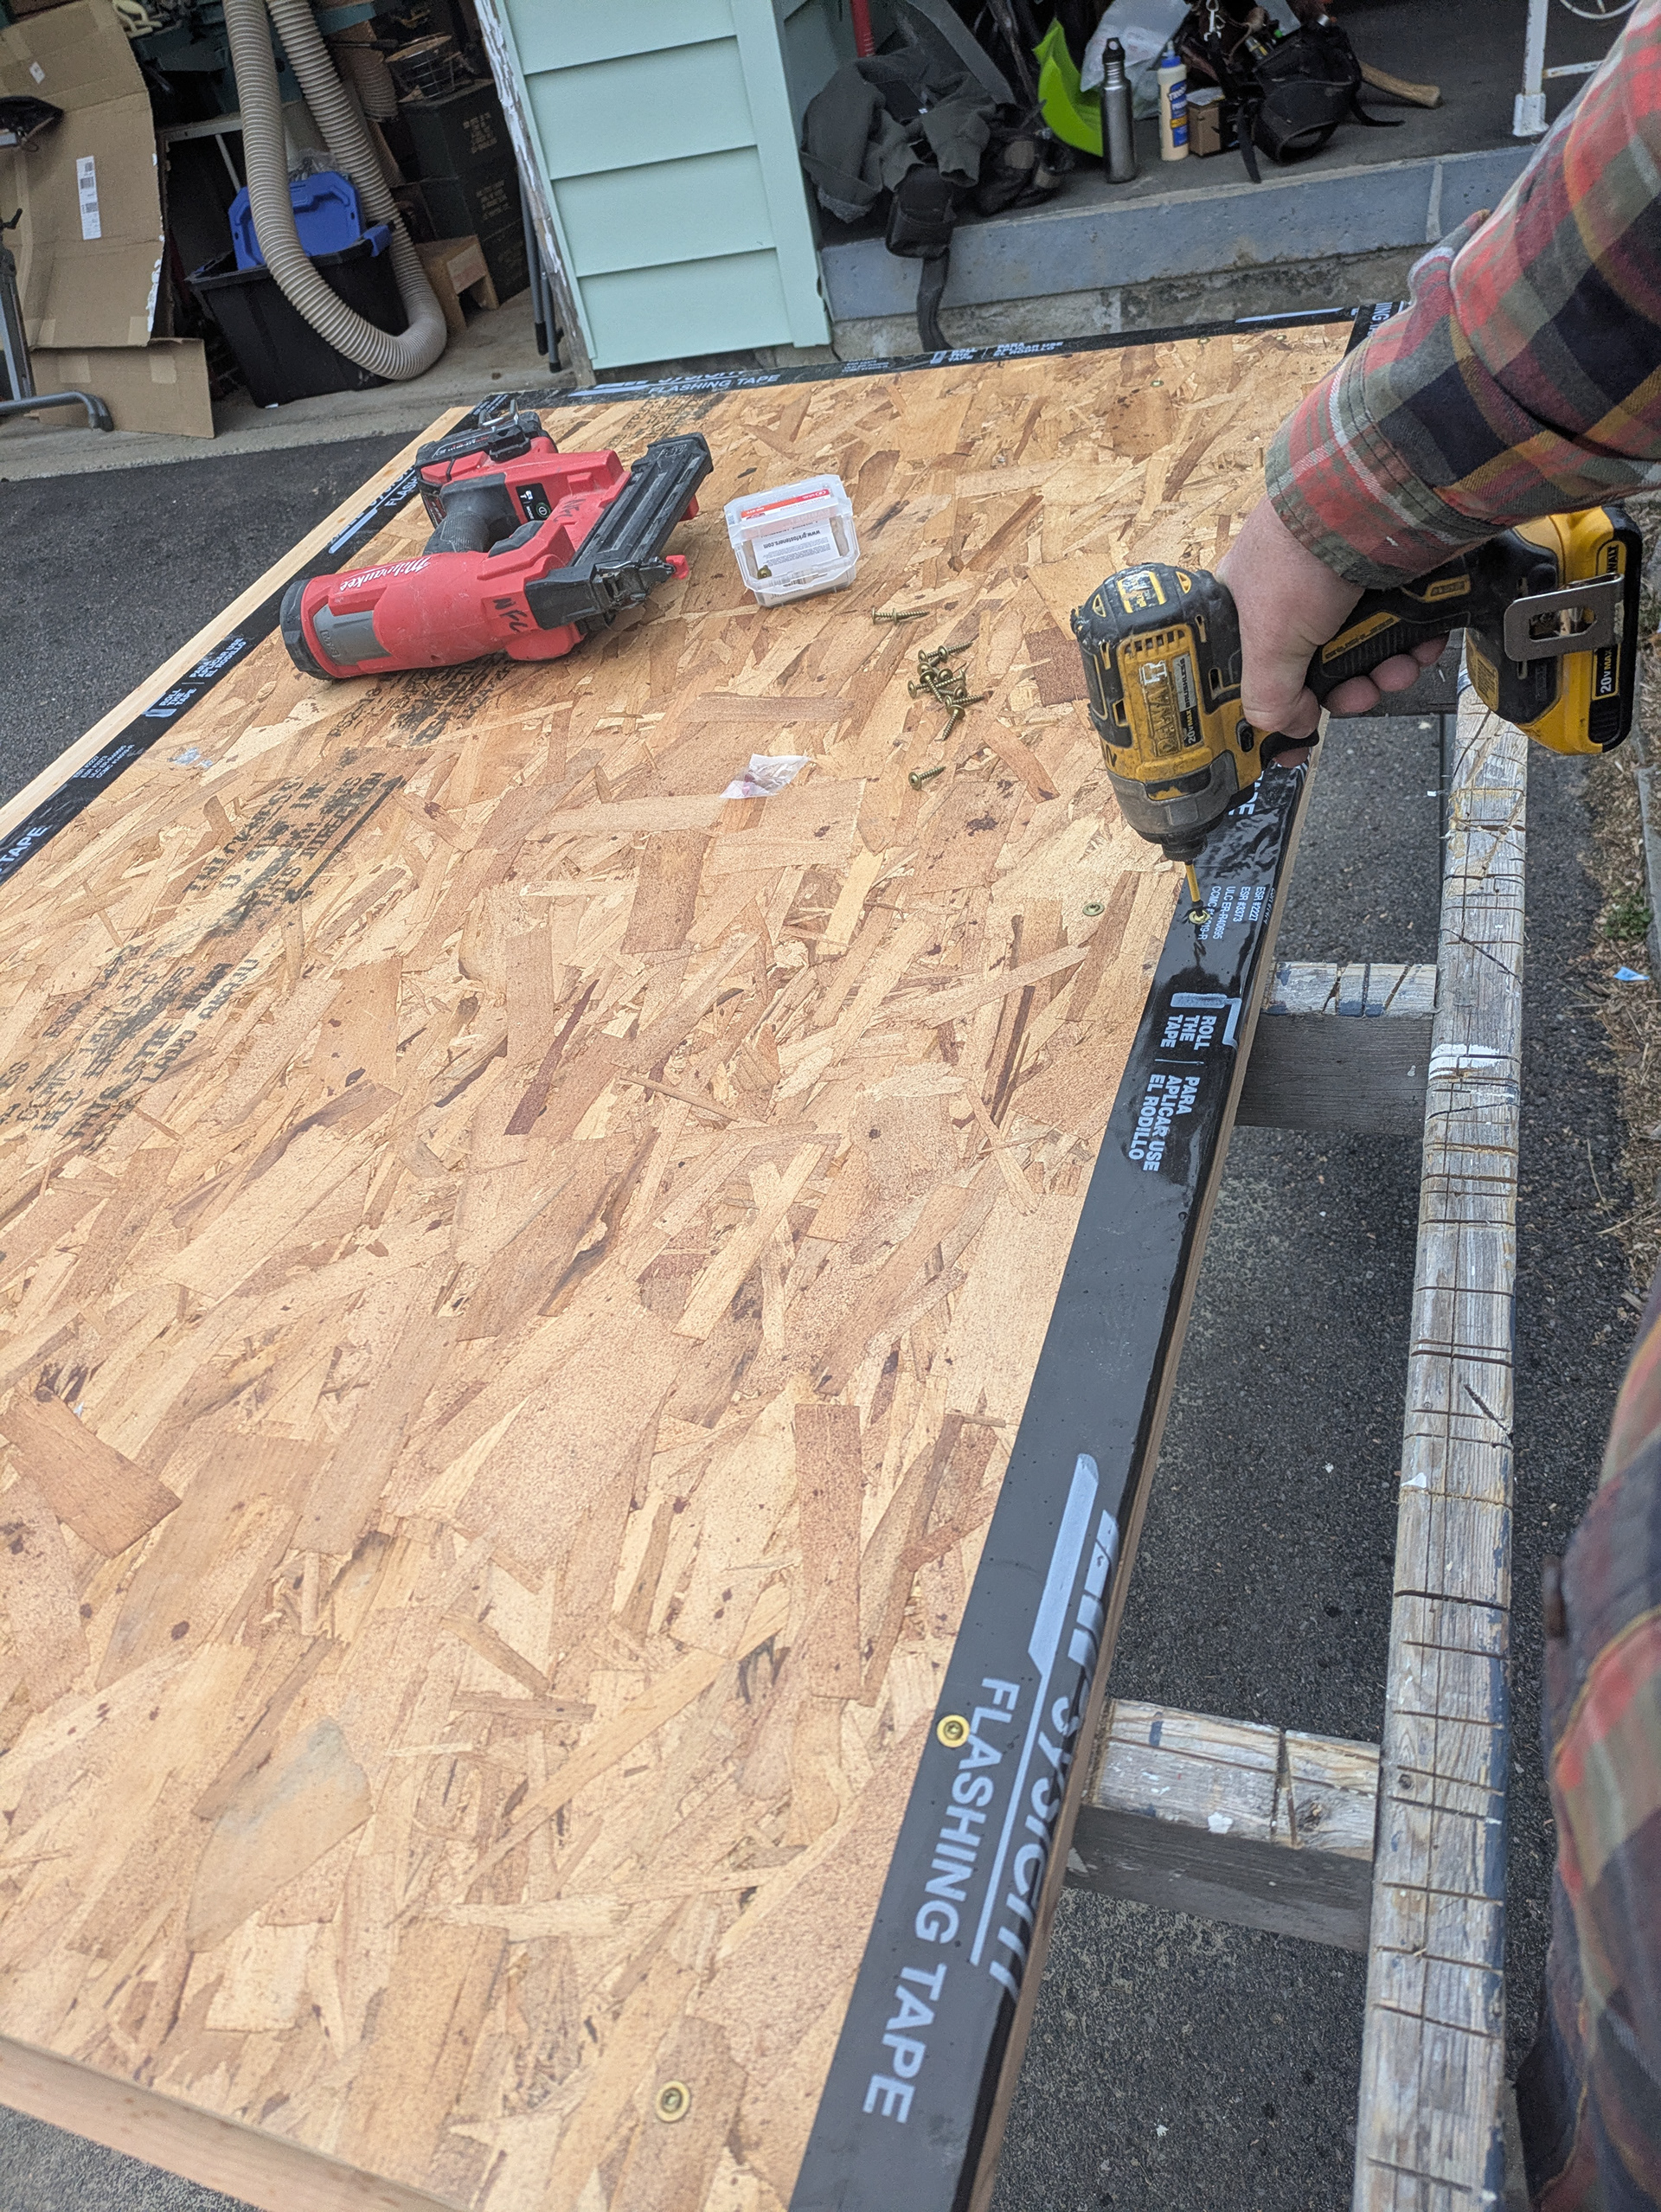
The door frame is fastened to the sheathing from the back side with cabinet screws.
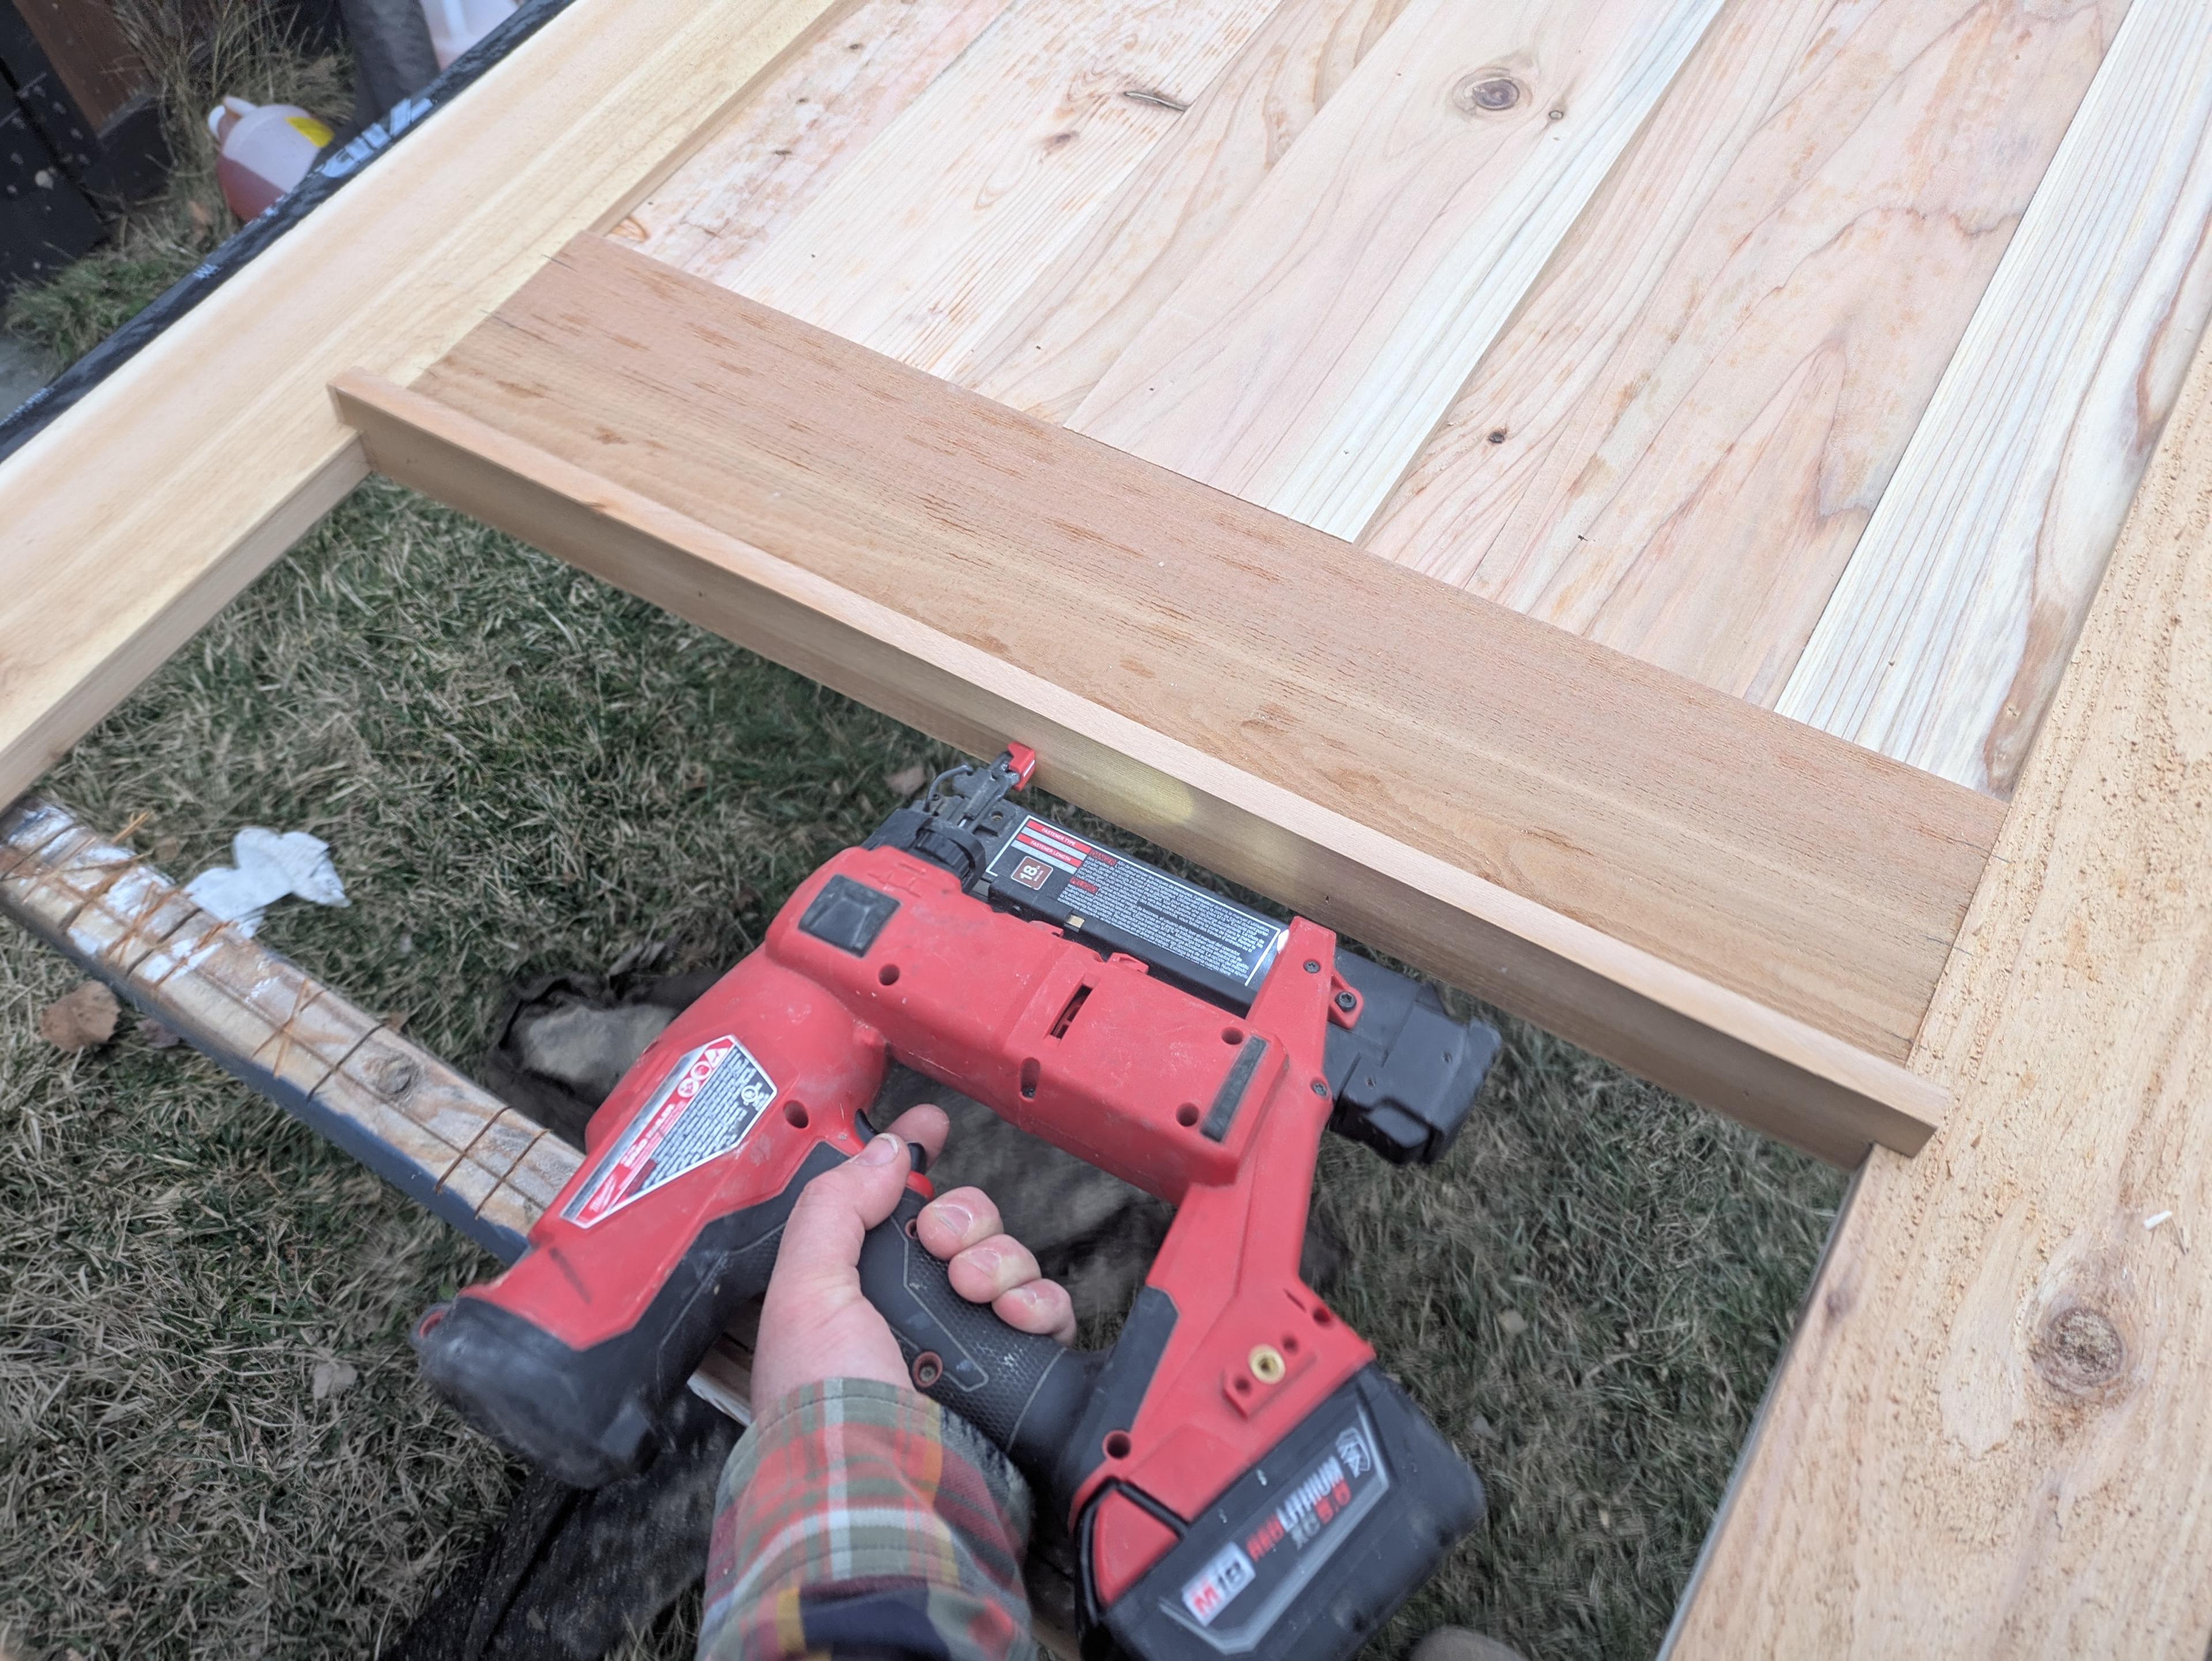
A drip cap is added to both the bottom of the window opening as well as the top of the lower stile. The drip caps will help the door shed water and prevent rot in these vulnerable areas.
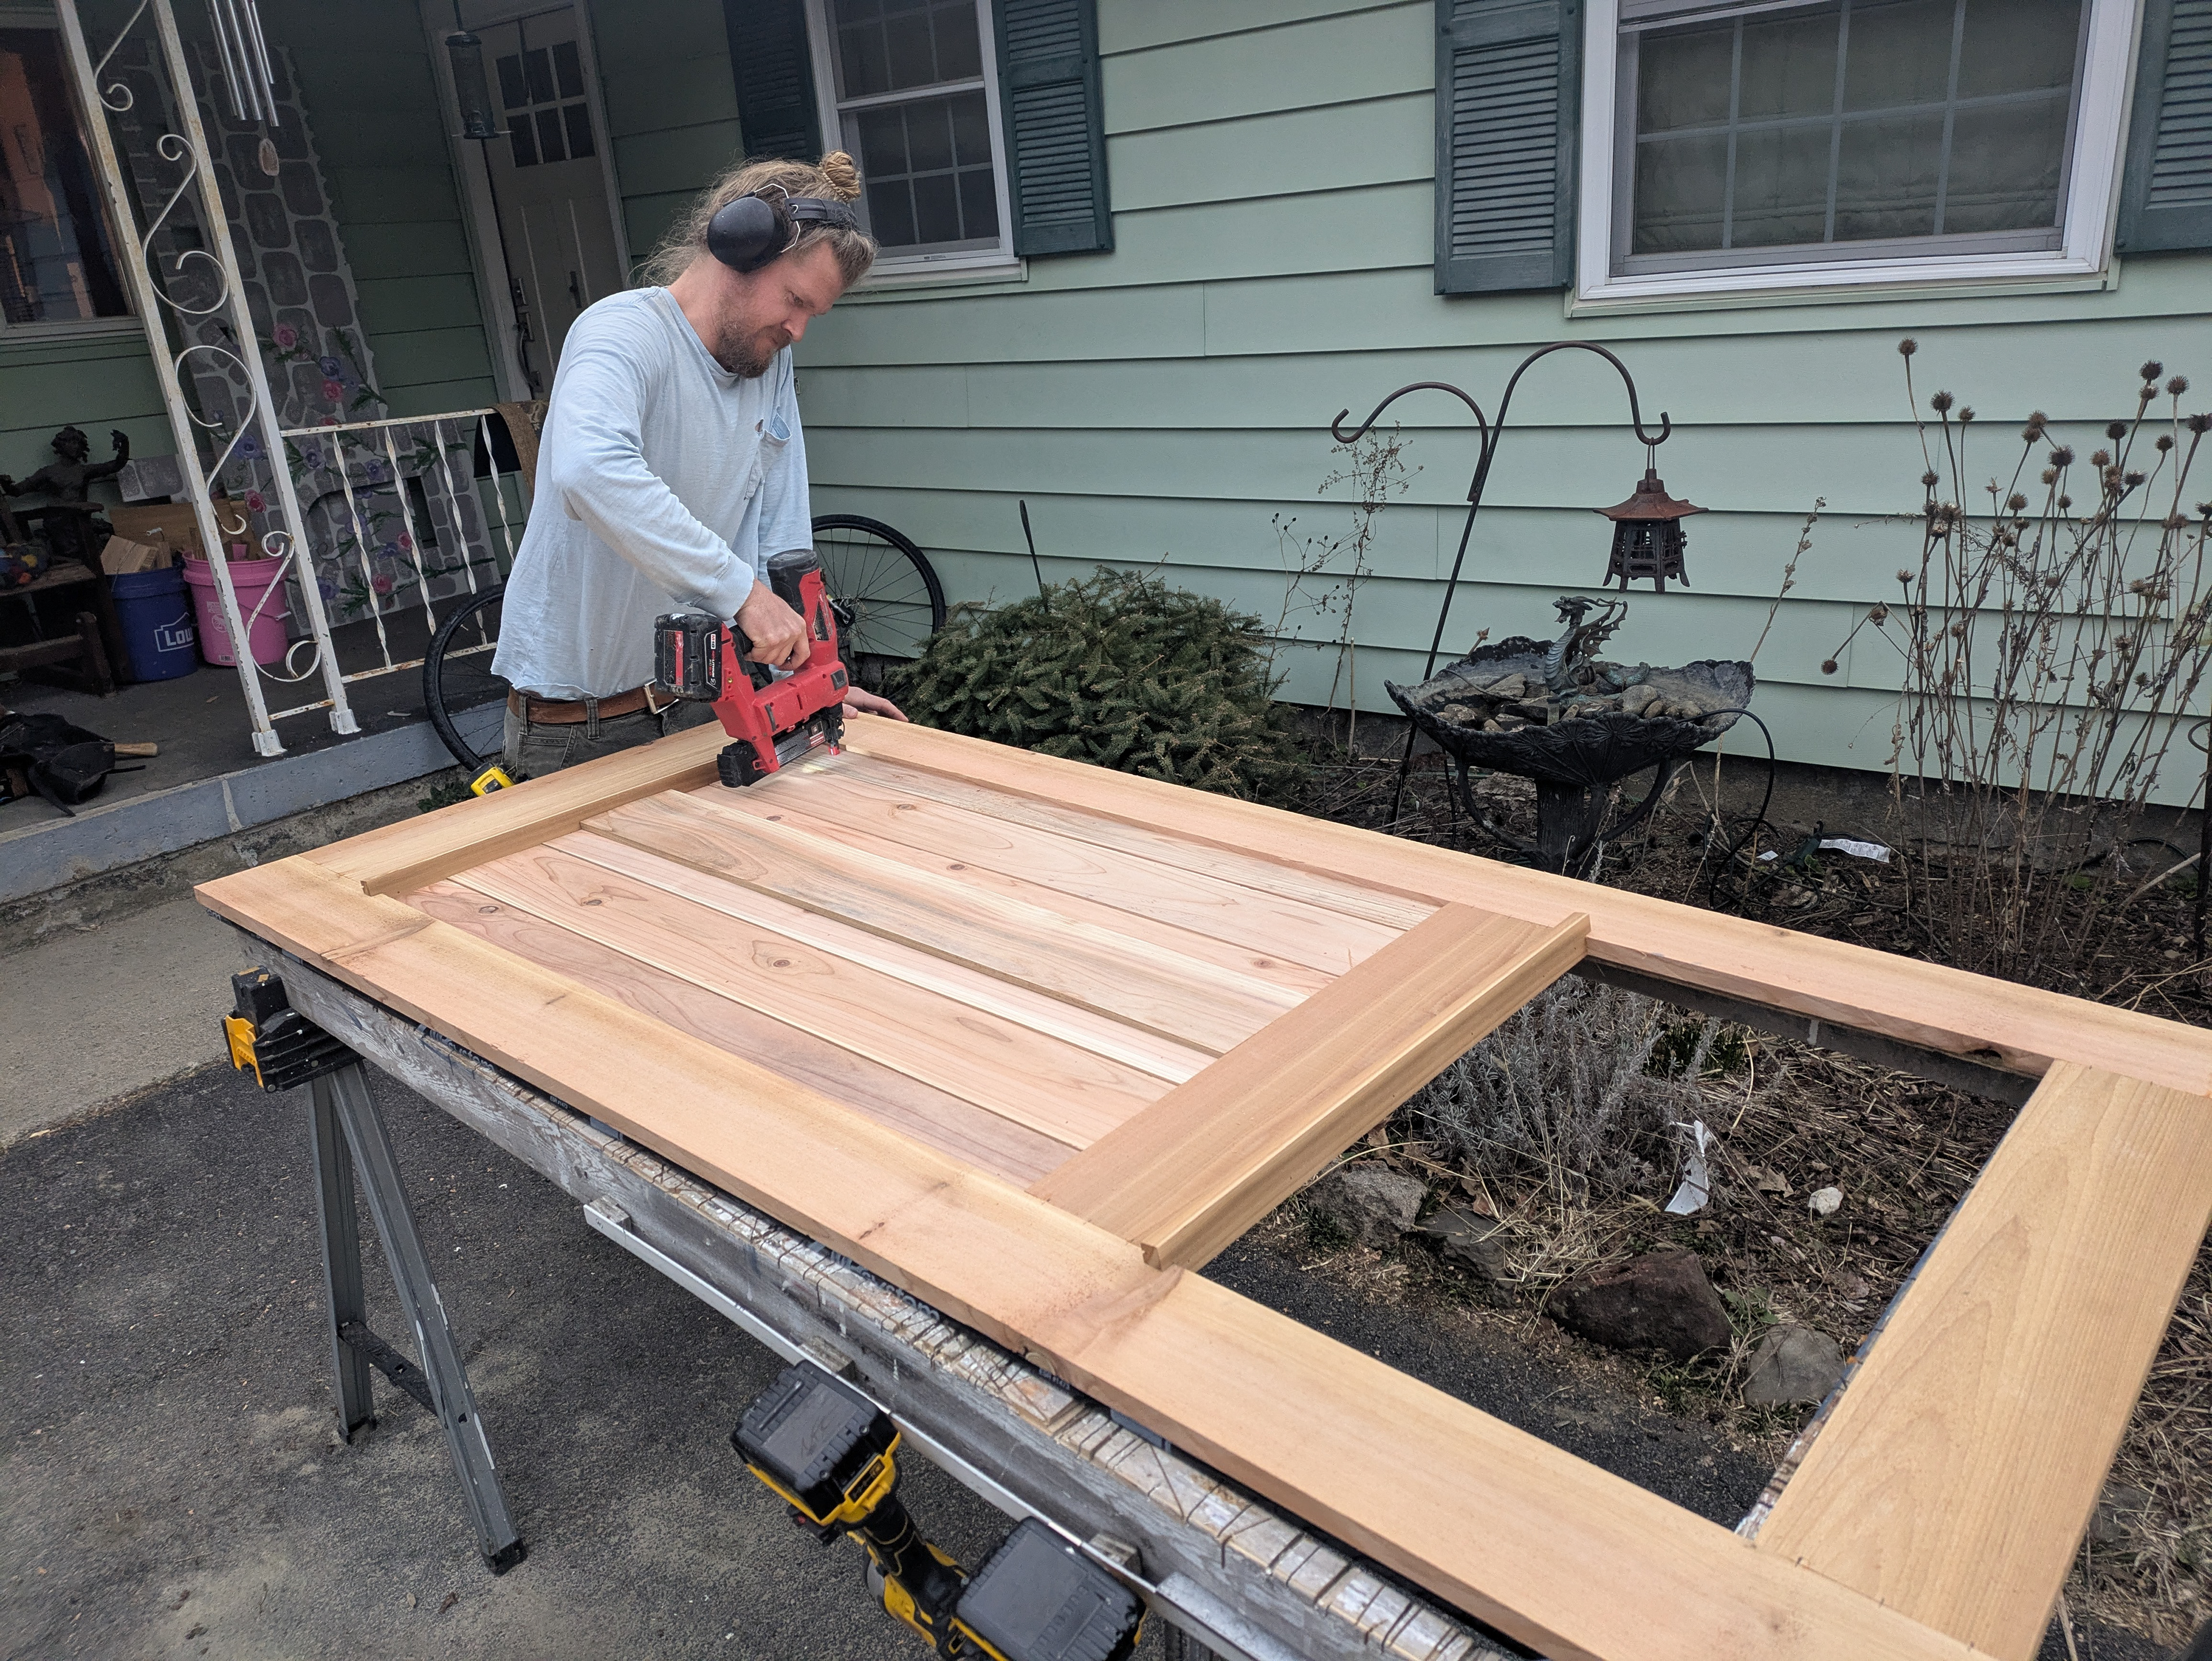
Cedar boards are planed to 7/16” thick, ship lapped with a dado blade and end-cut to match the 10 degree angle of the drip cap. These boards are then nailed to the sheathing to create the panel. A 7/16” thick decorative center stile is face nailed to the panel.
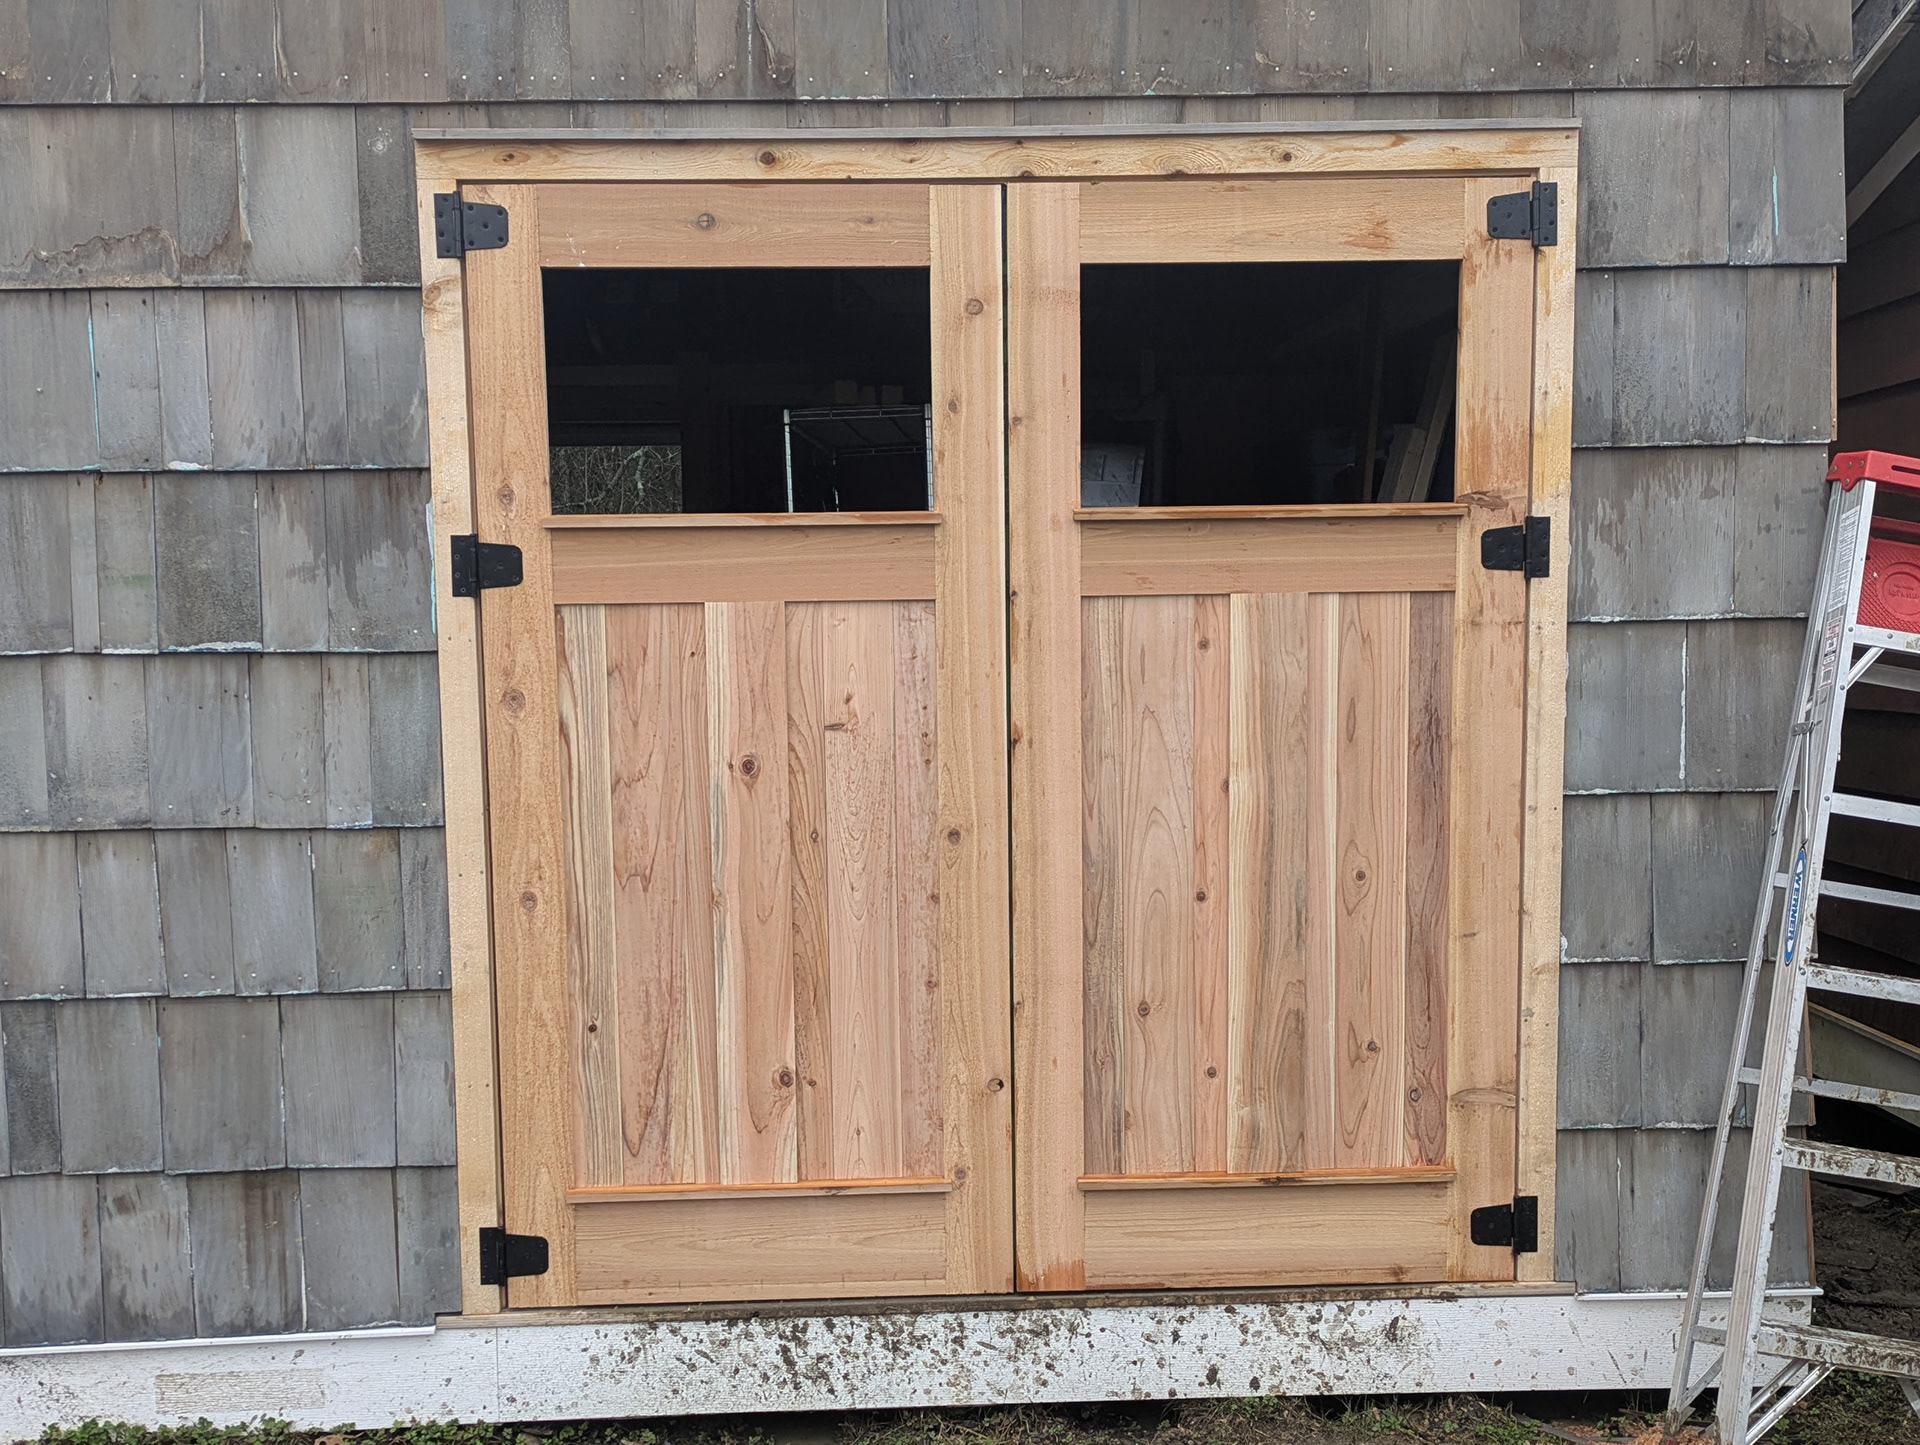
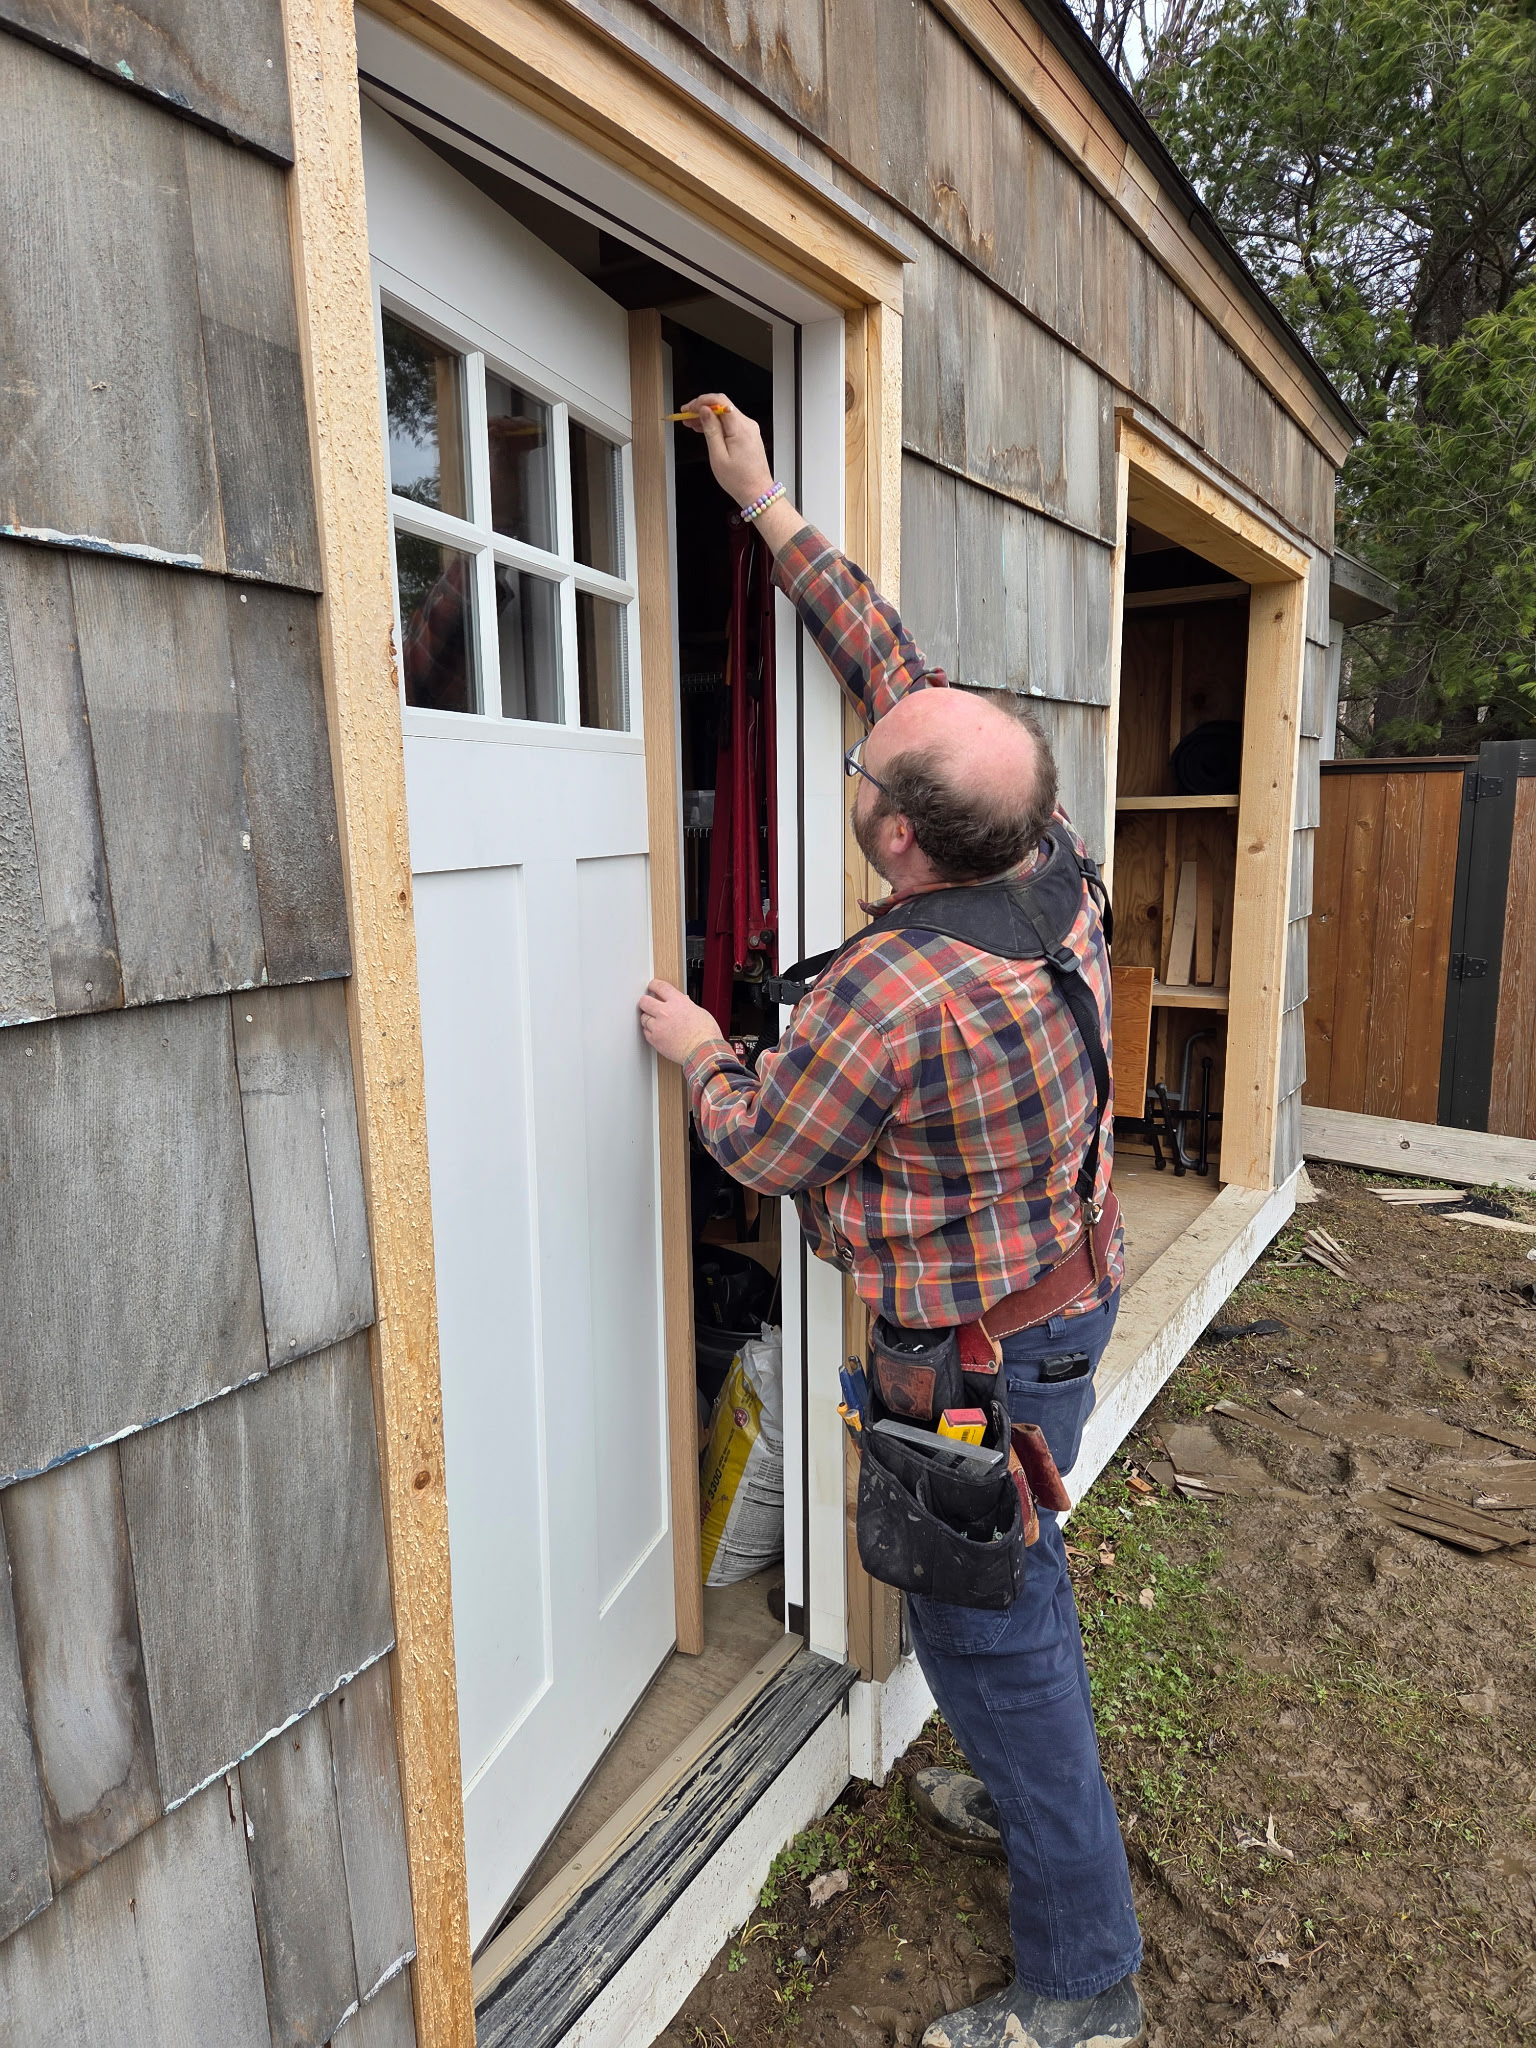
Hanging the doors is fairly straightforward. The first door is shimmed from below so that it sits plumb. Gate style hinges are face screwed to the casing and the stiles. The second door is then set in the same fashion. A shop-made door stop is installed on the jamb legs and the head jamb.
Handles, a hasp and a cane bolt are installed. We’ve installed plexiglass temporarily while we wait for the glass shop to source two panes of safety glass.