
Nate Clark Builder recently replaced the siding on this historic home in downtown Ithaca.
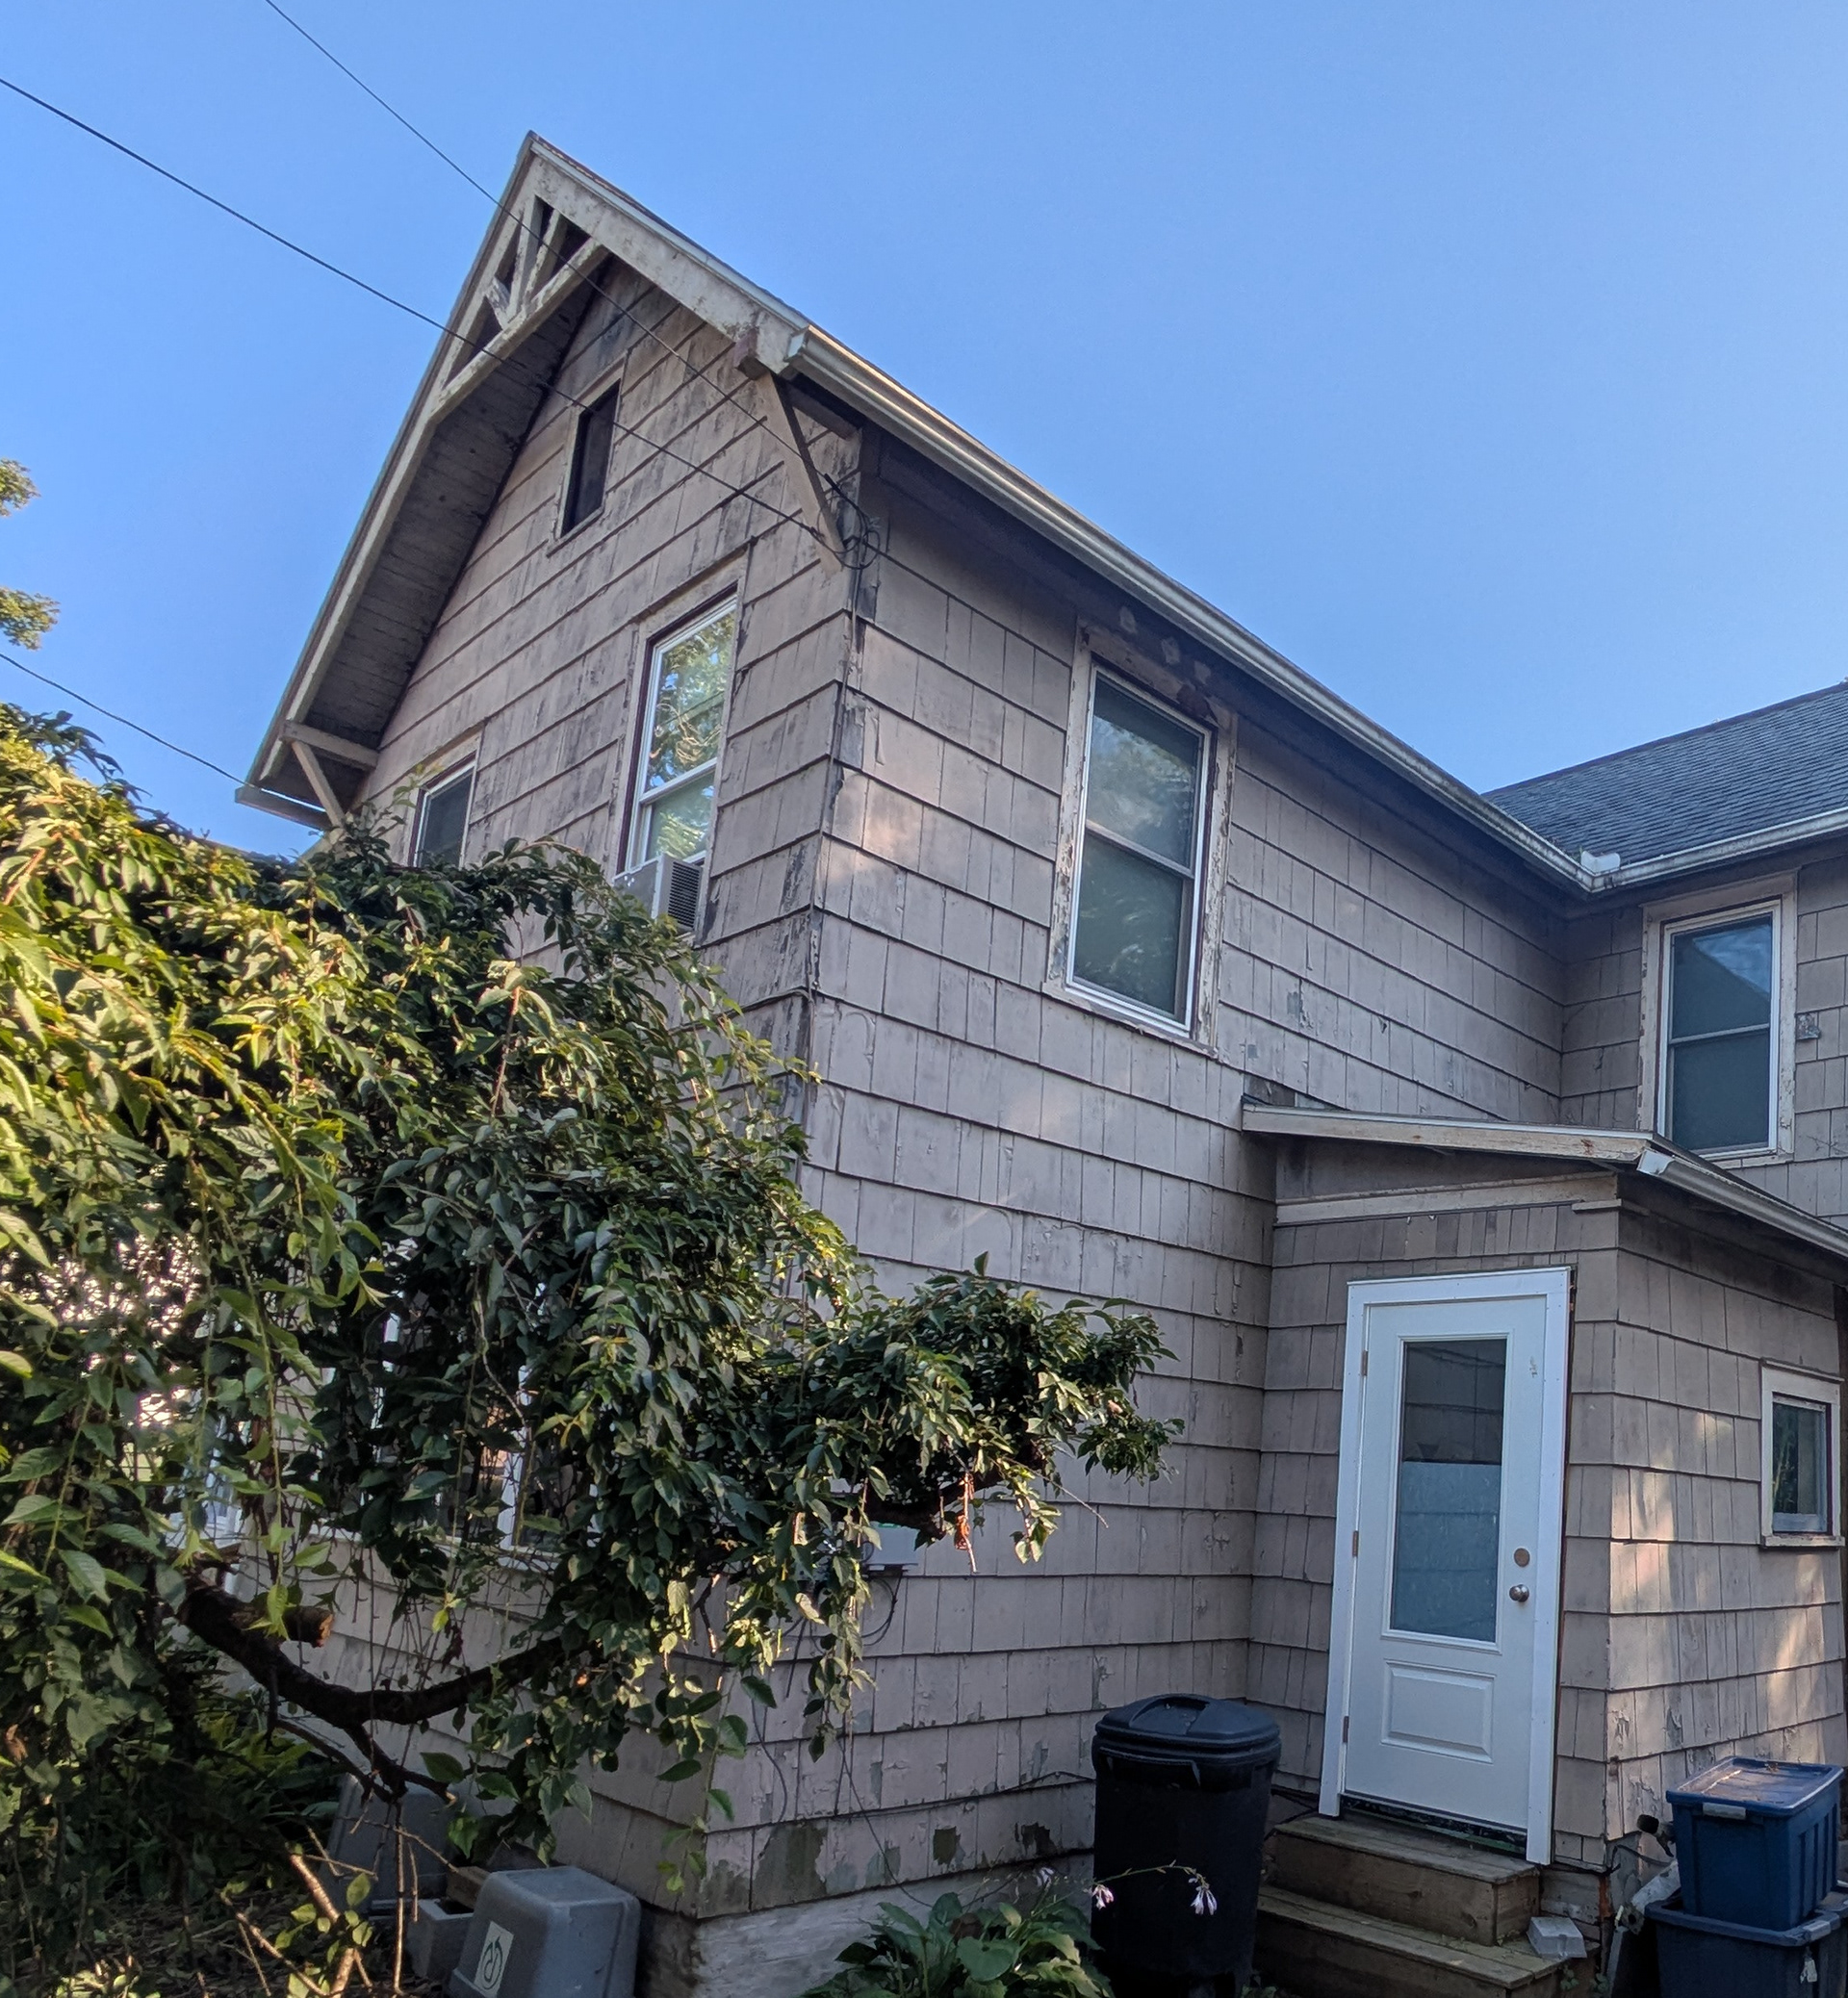
The siding and exterior trim have seen better days.
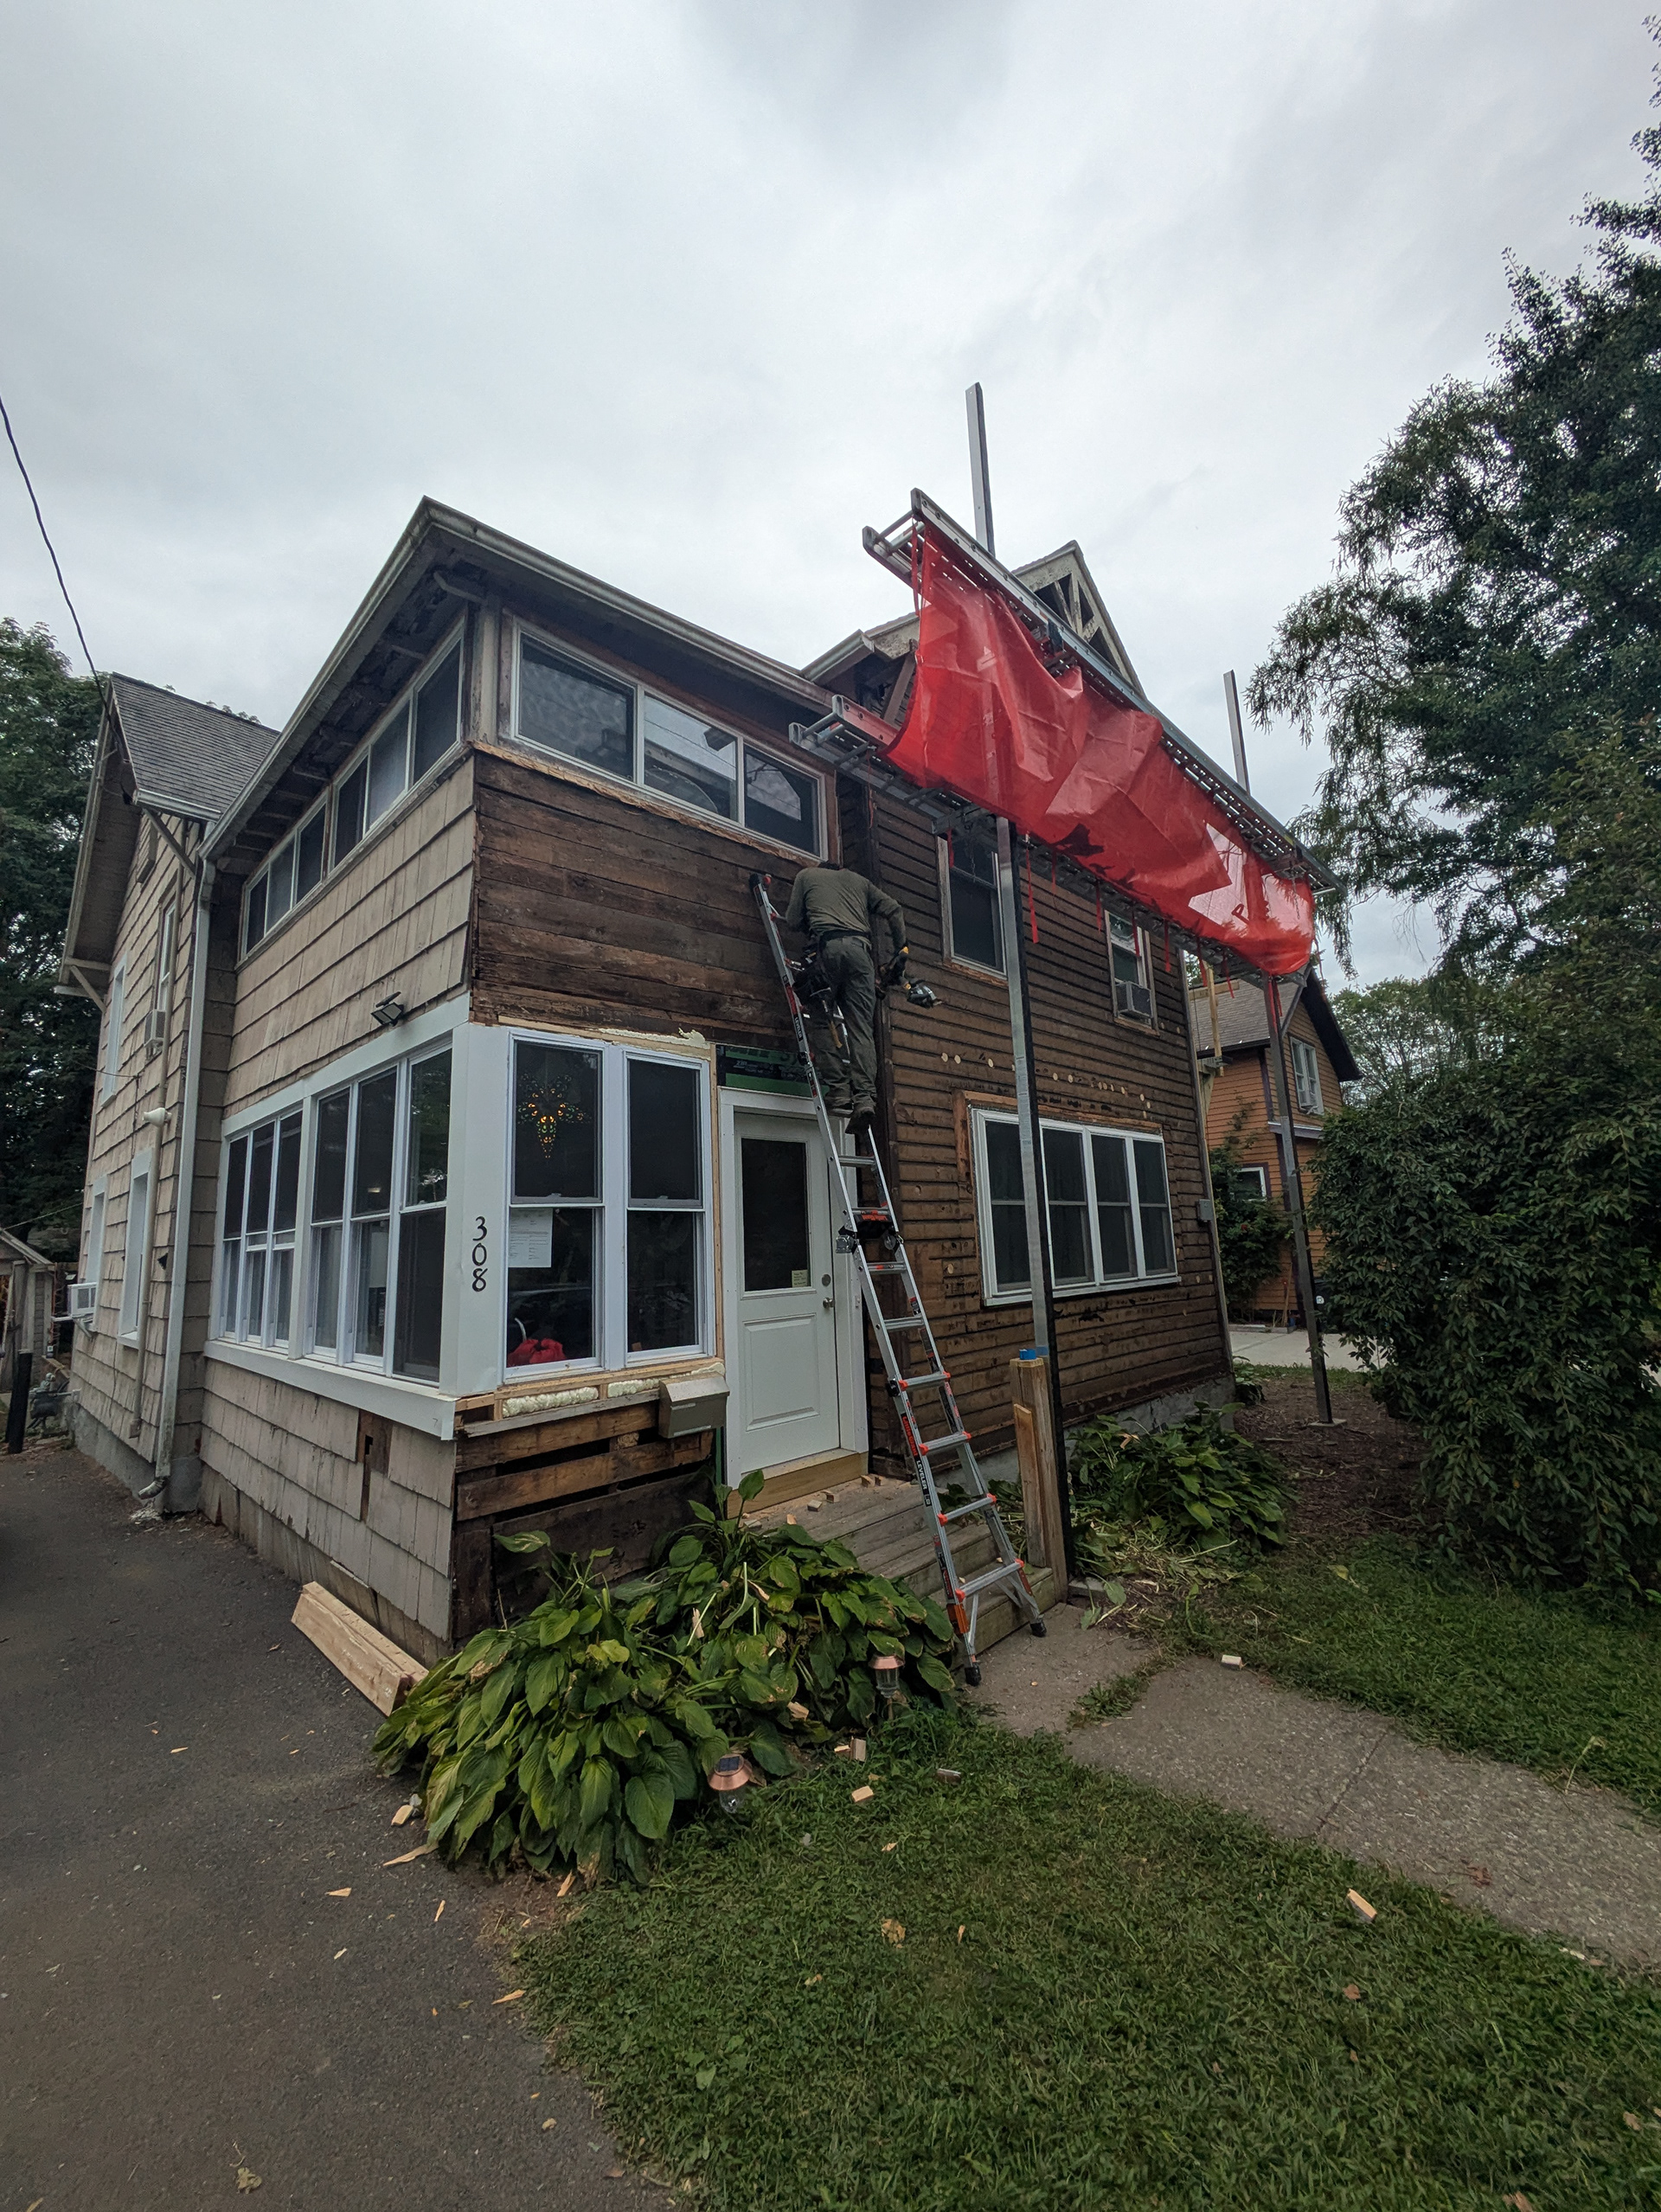
We start by removing the existing siding and trim. Adjustable scaffolding called pump-jacks allow us to safely work all the way up to the peak of the gables.
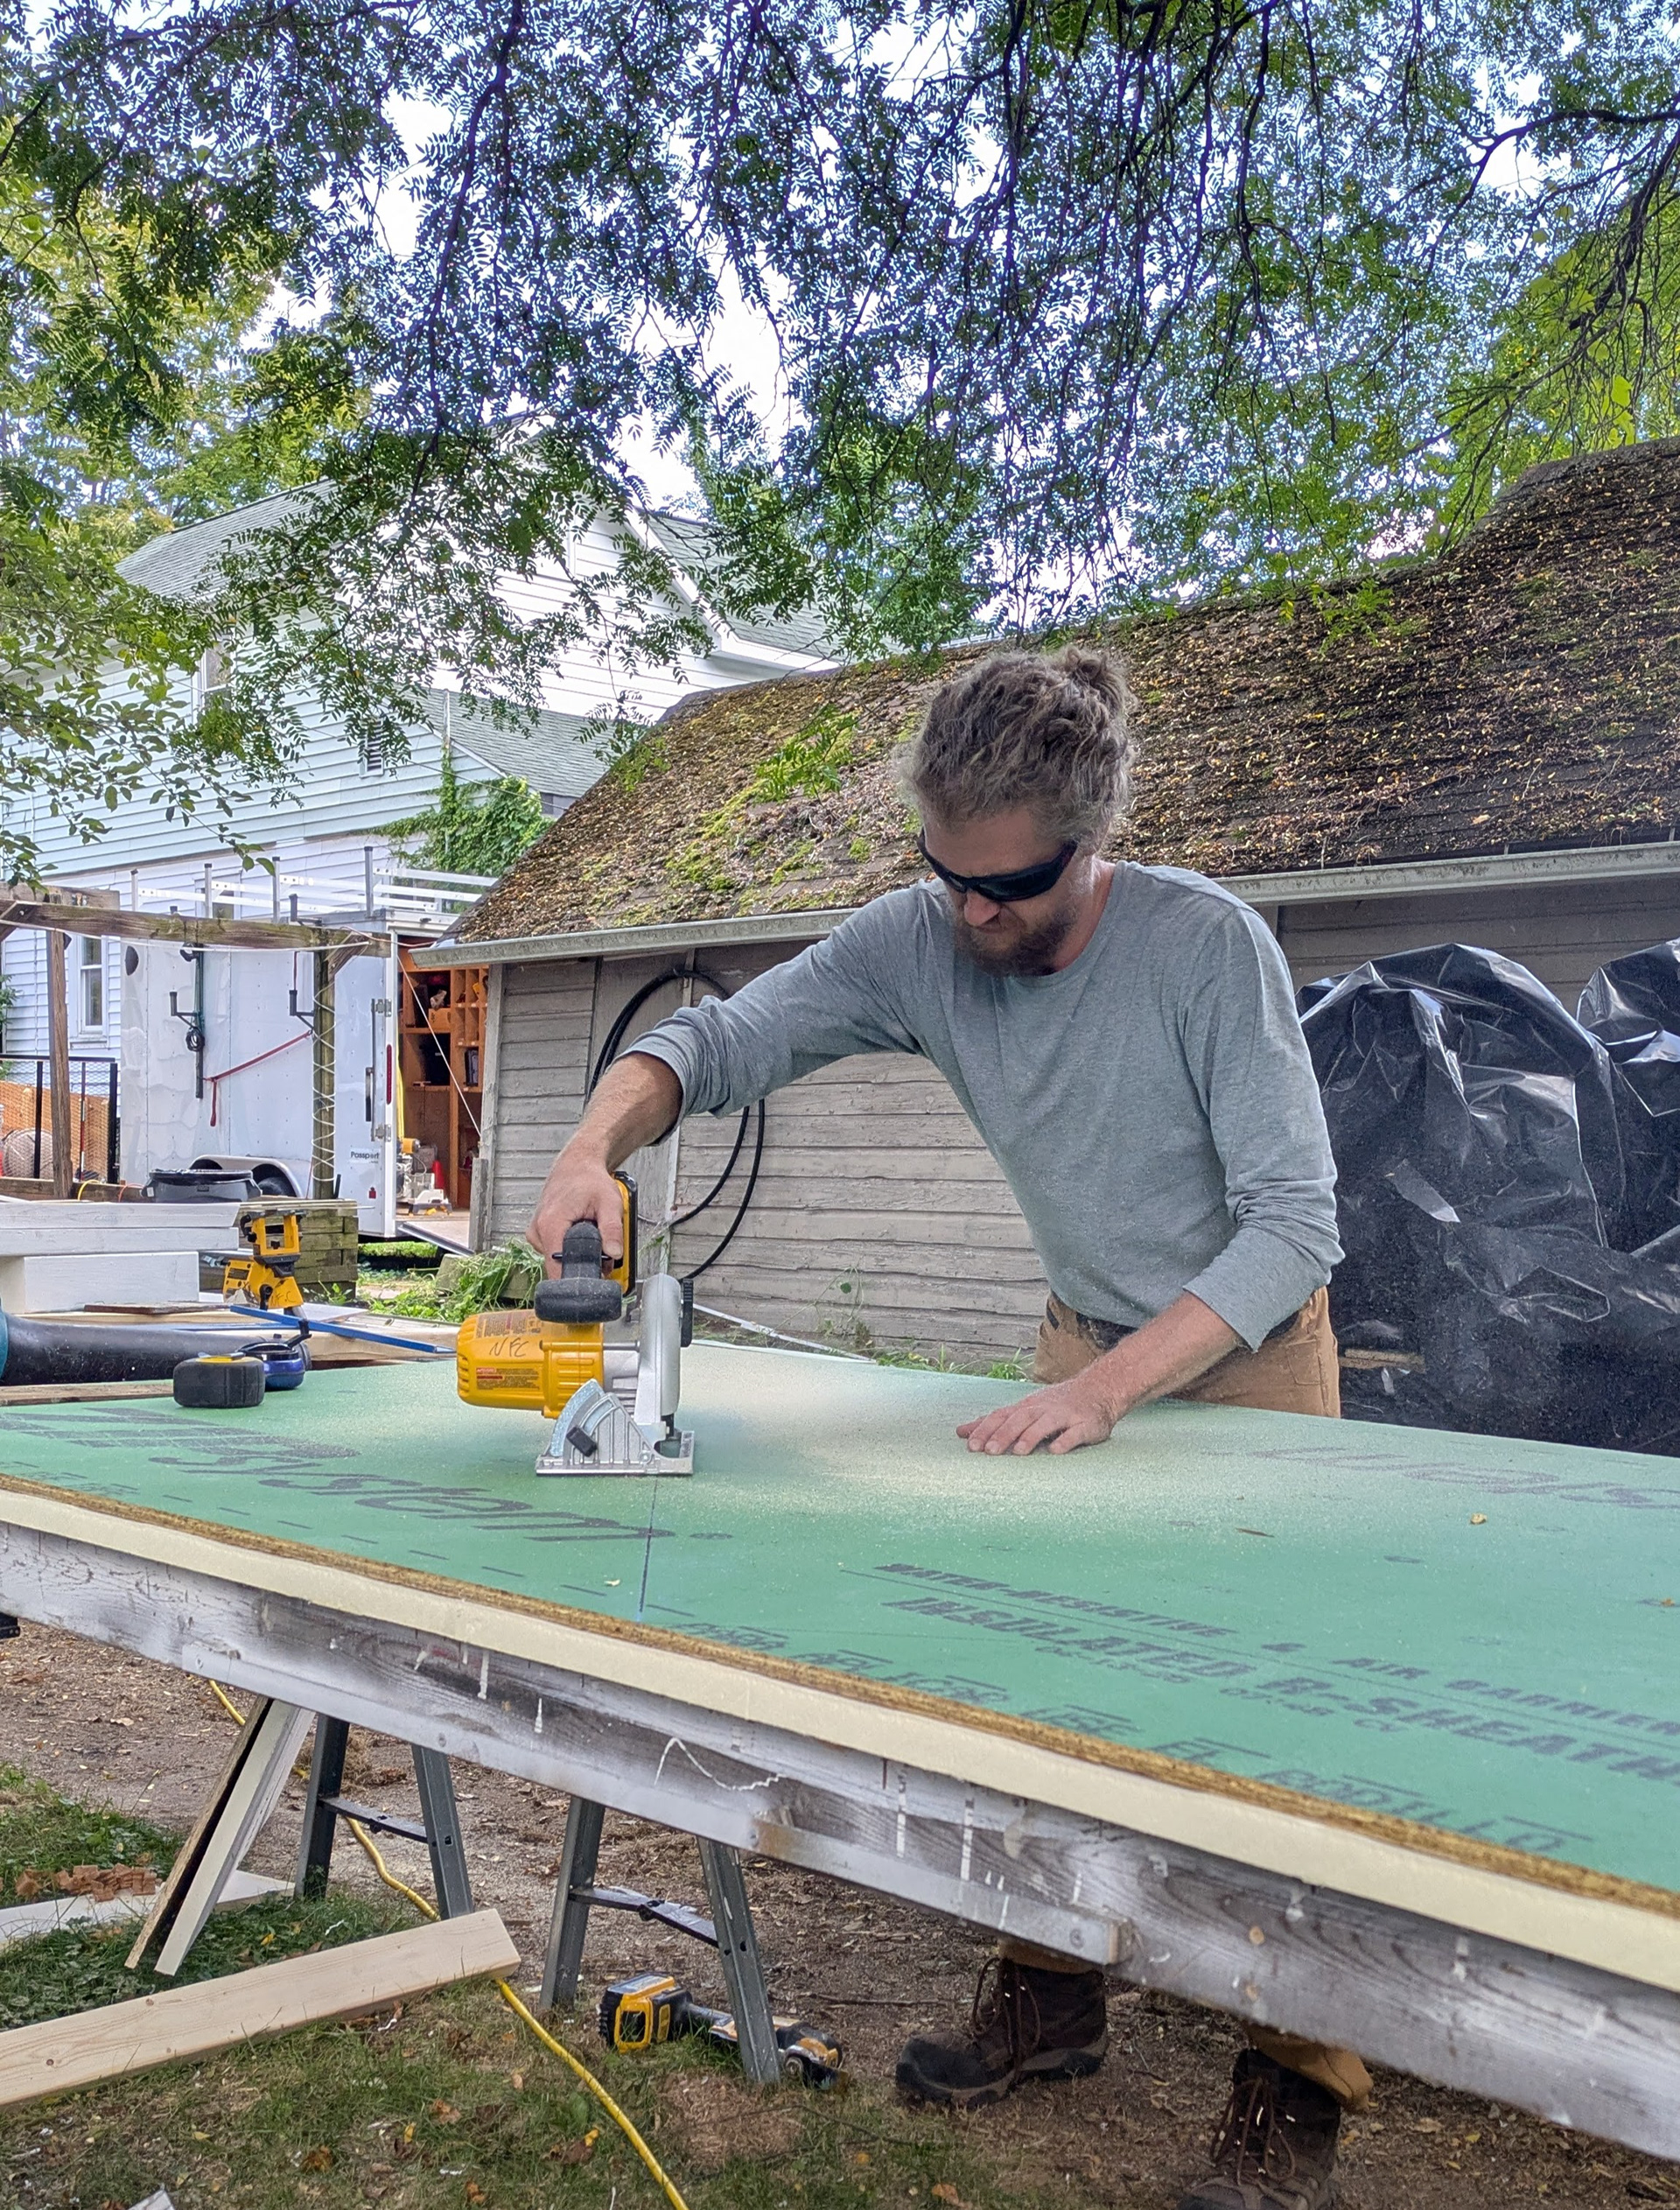
New sheathing with an integrated vapor barrier and 1” of rigid insulation is cut.
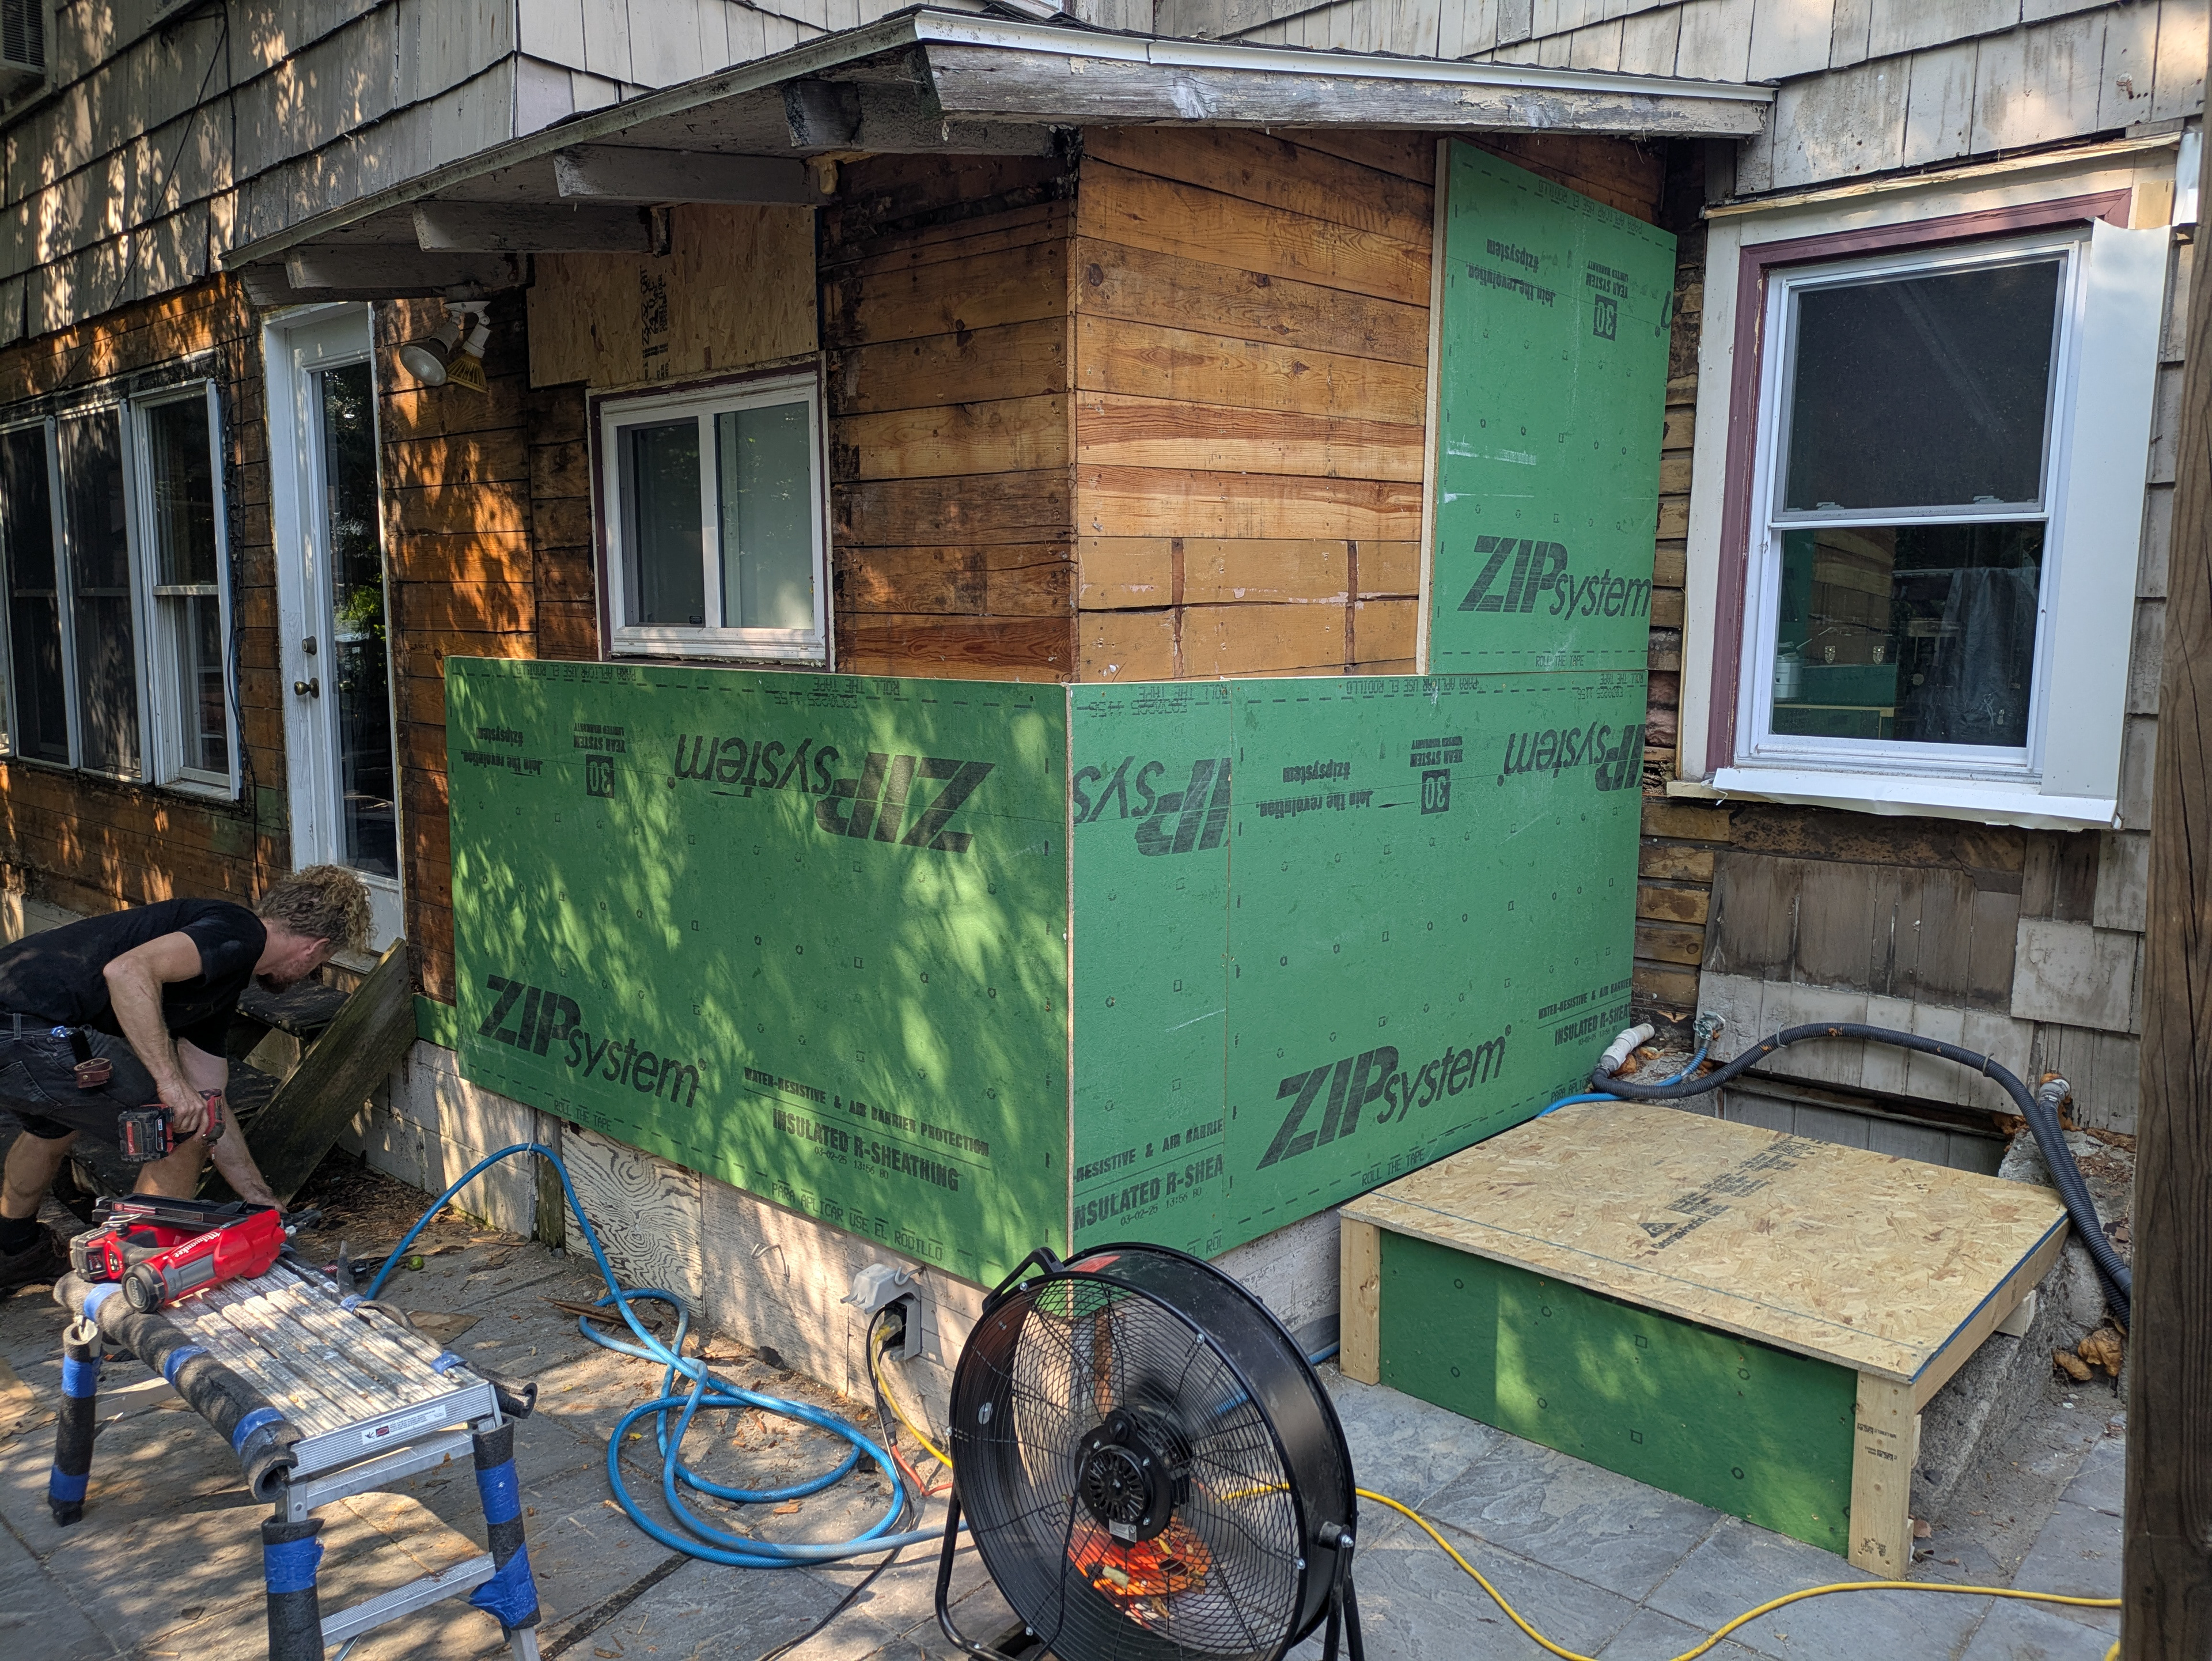
The sheathing panels are nailed to the studs through the old plank sheathing. The insulation on the back-side of the sheathing is cut away at the outside corners so that both the insulation and the OSB is un-interrupted. The new sheathing is air sealed with flashing tape at all seams.
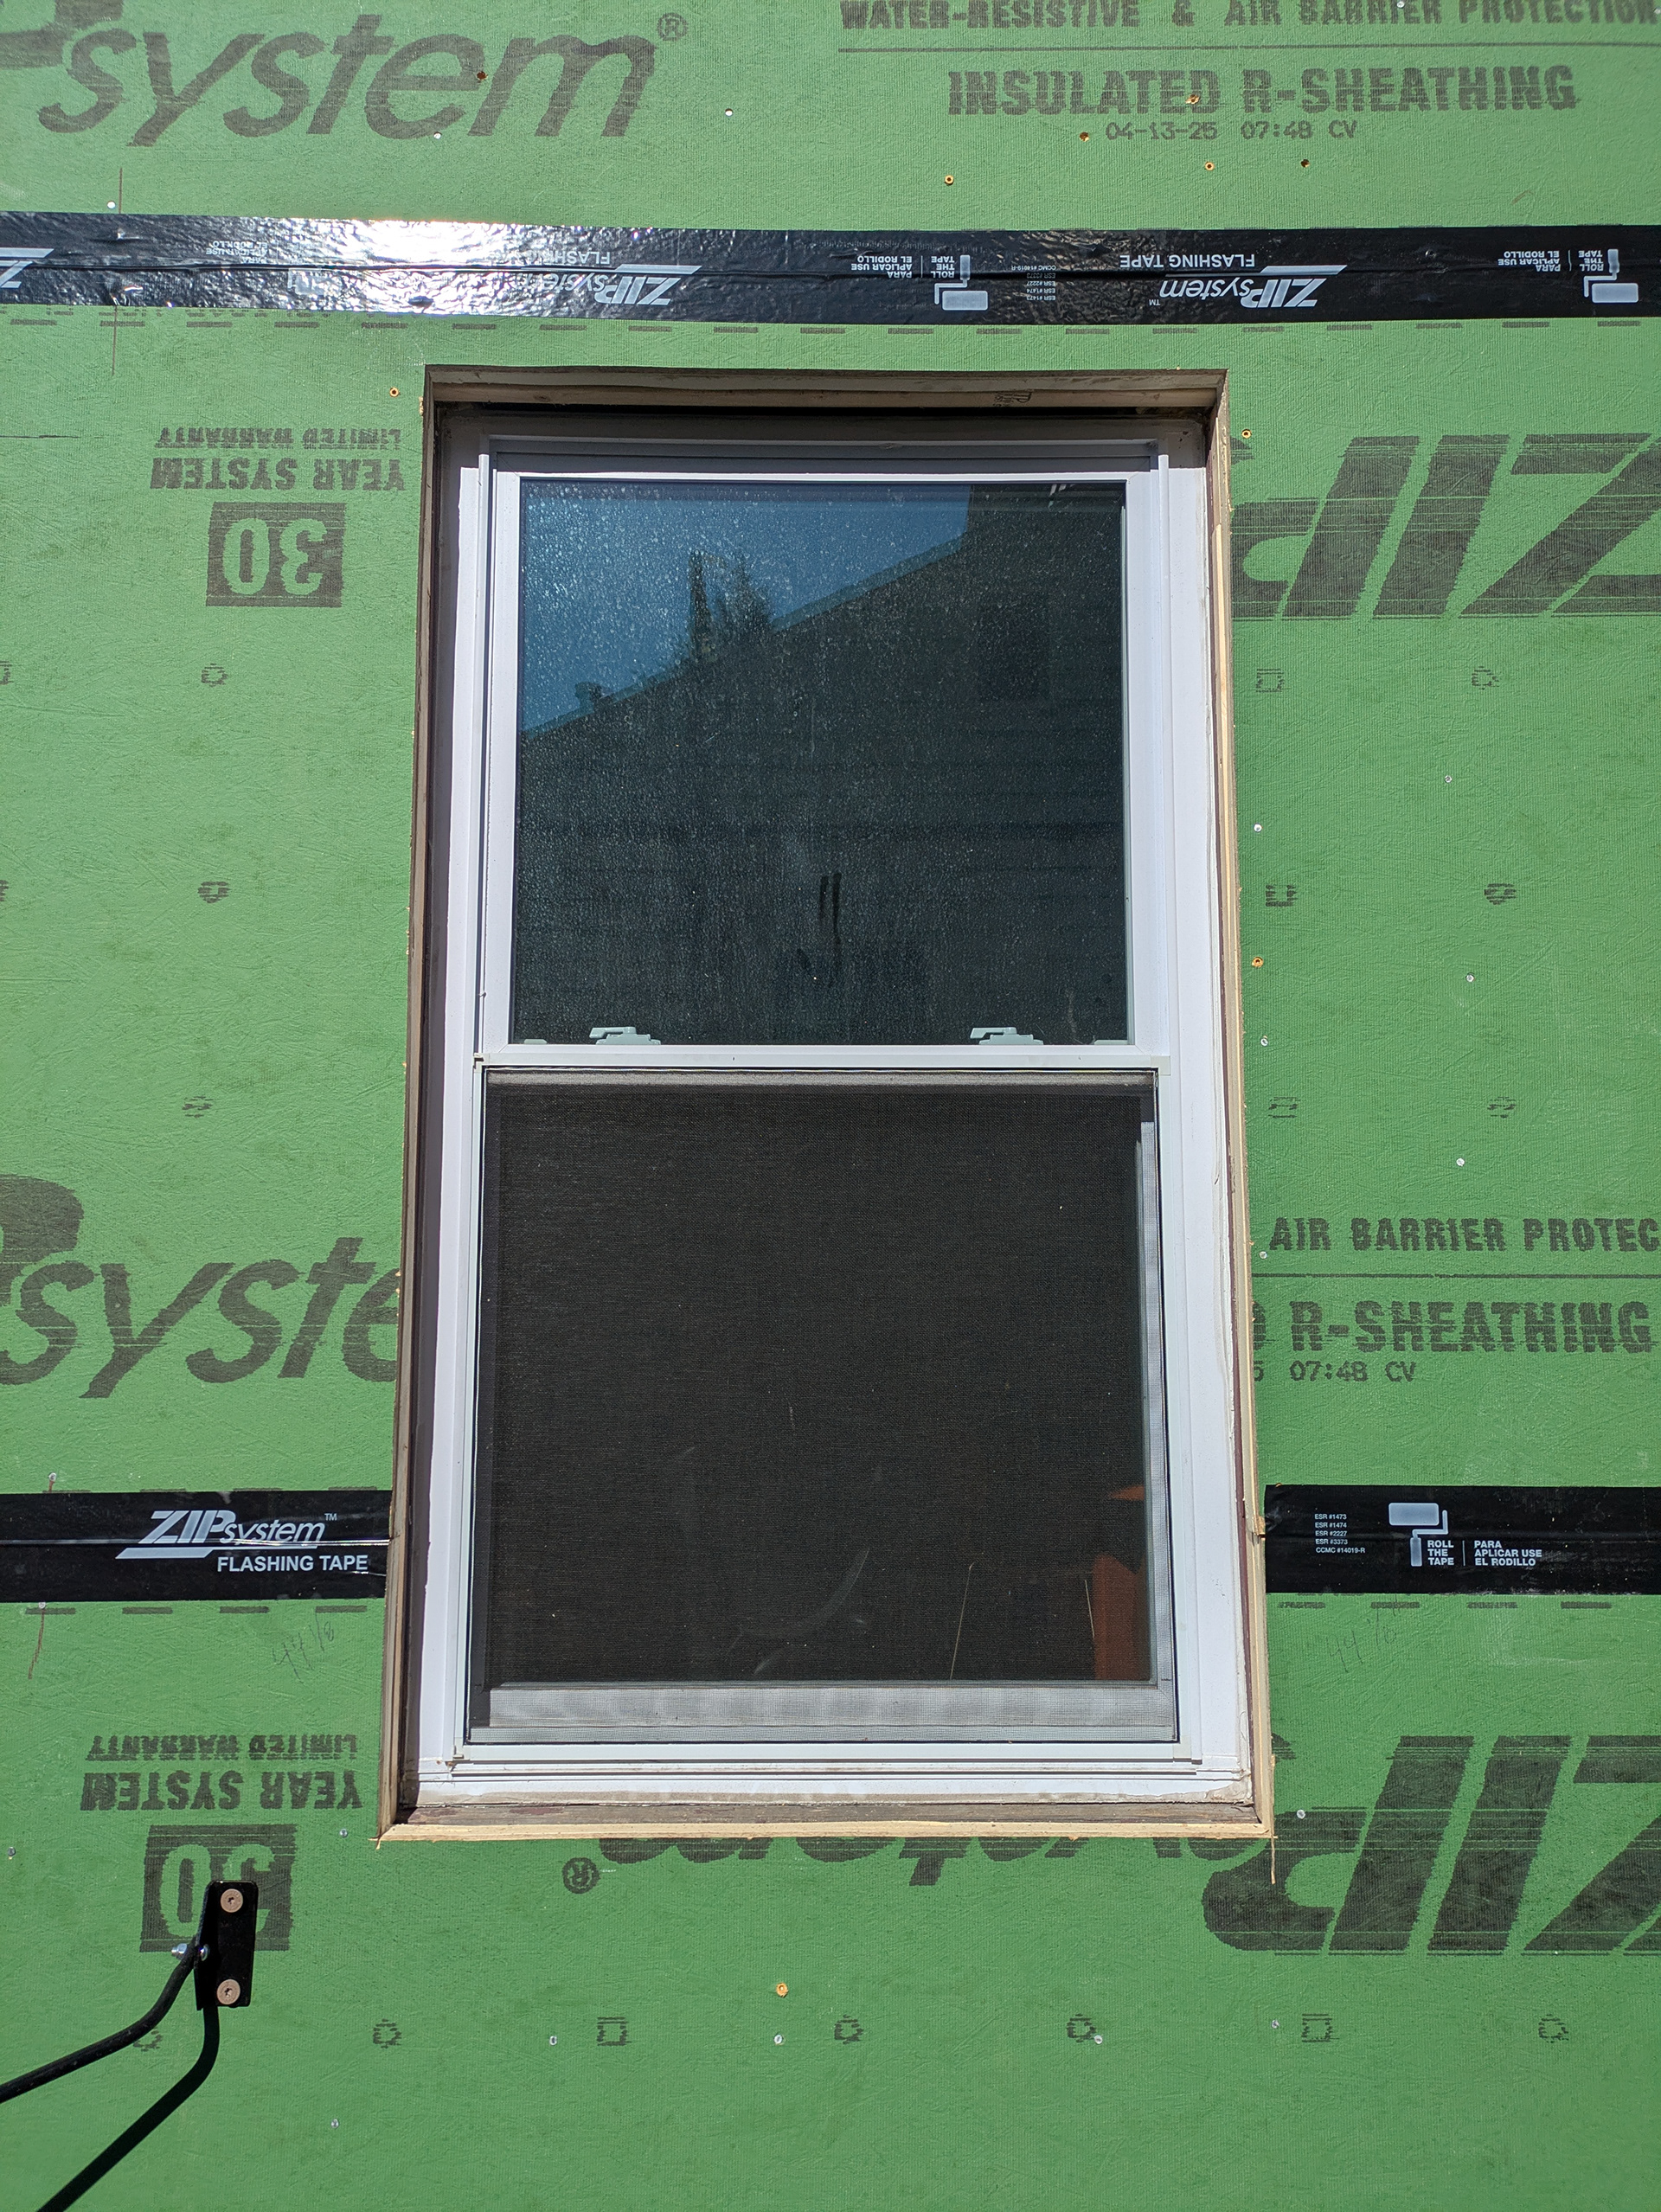
The existing windows will remain. The budget doesn’t allow for replacing all of the windows with new-construction windows with flanges.
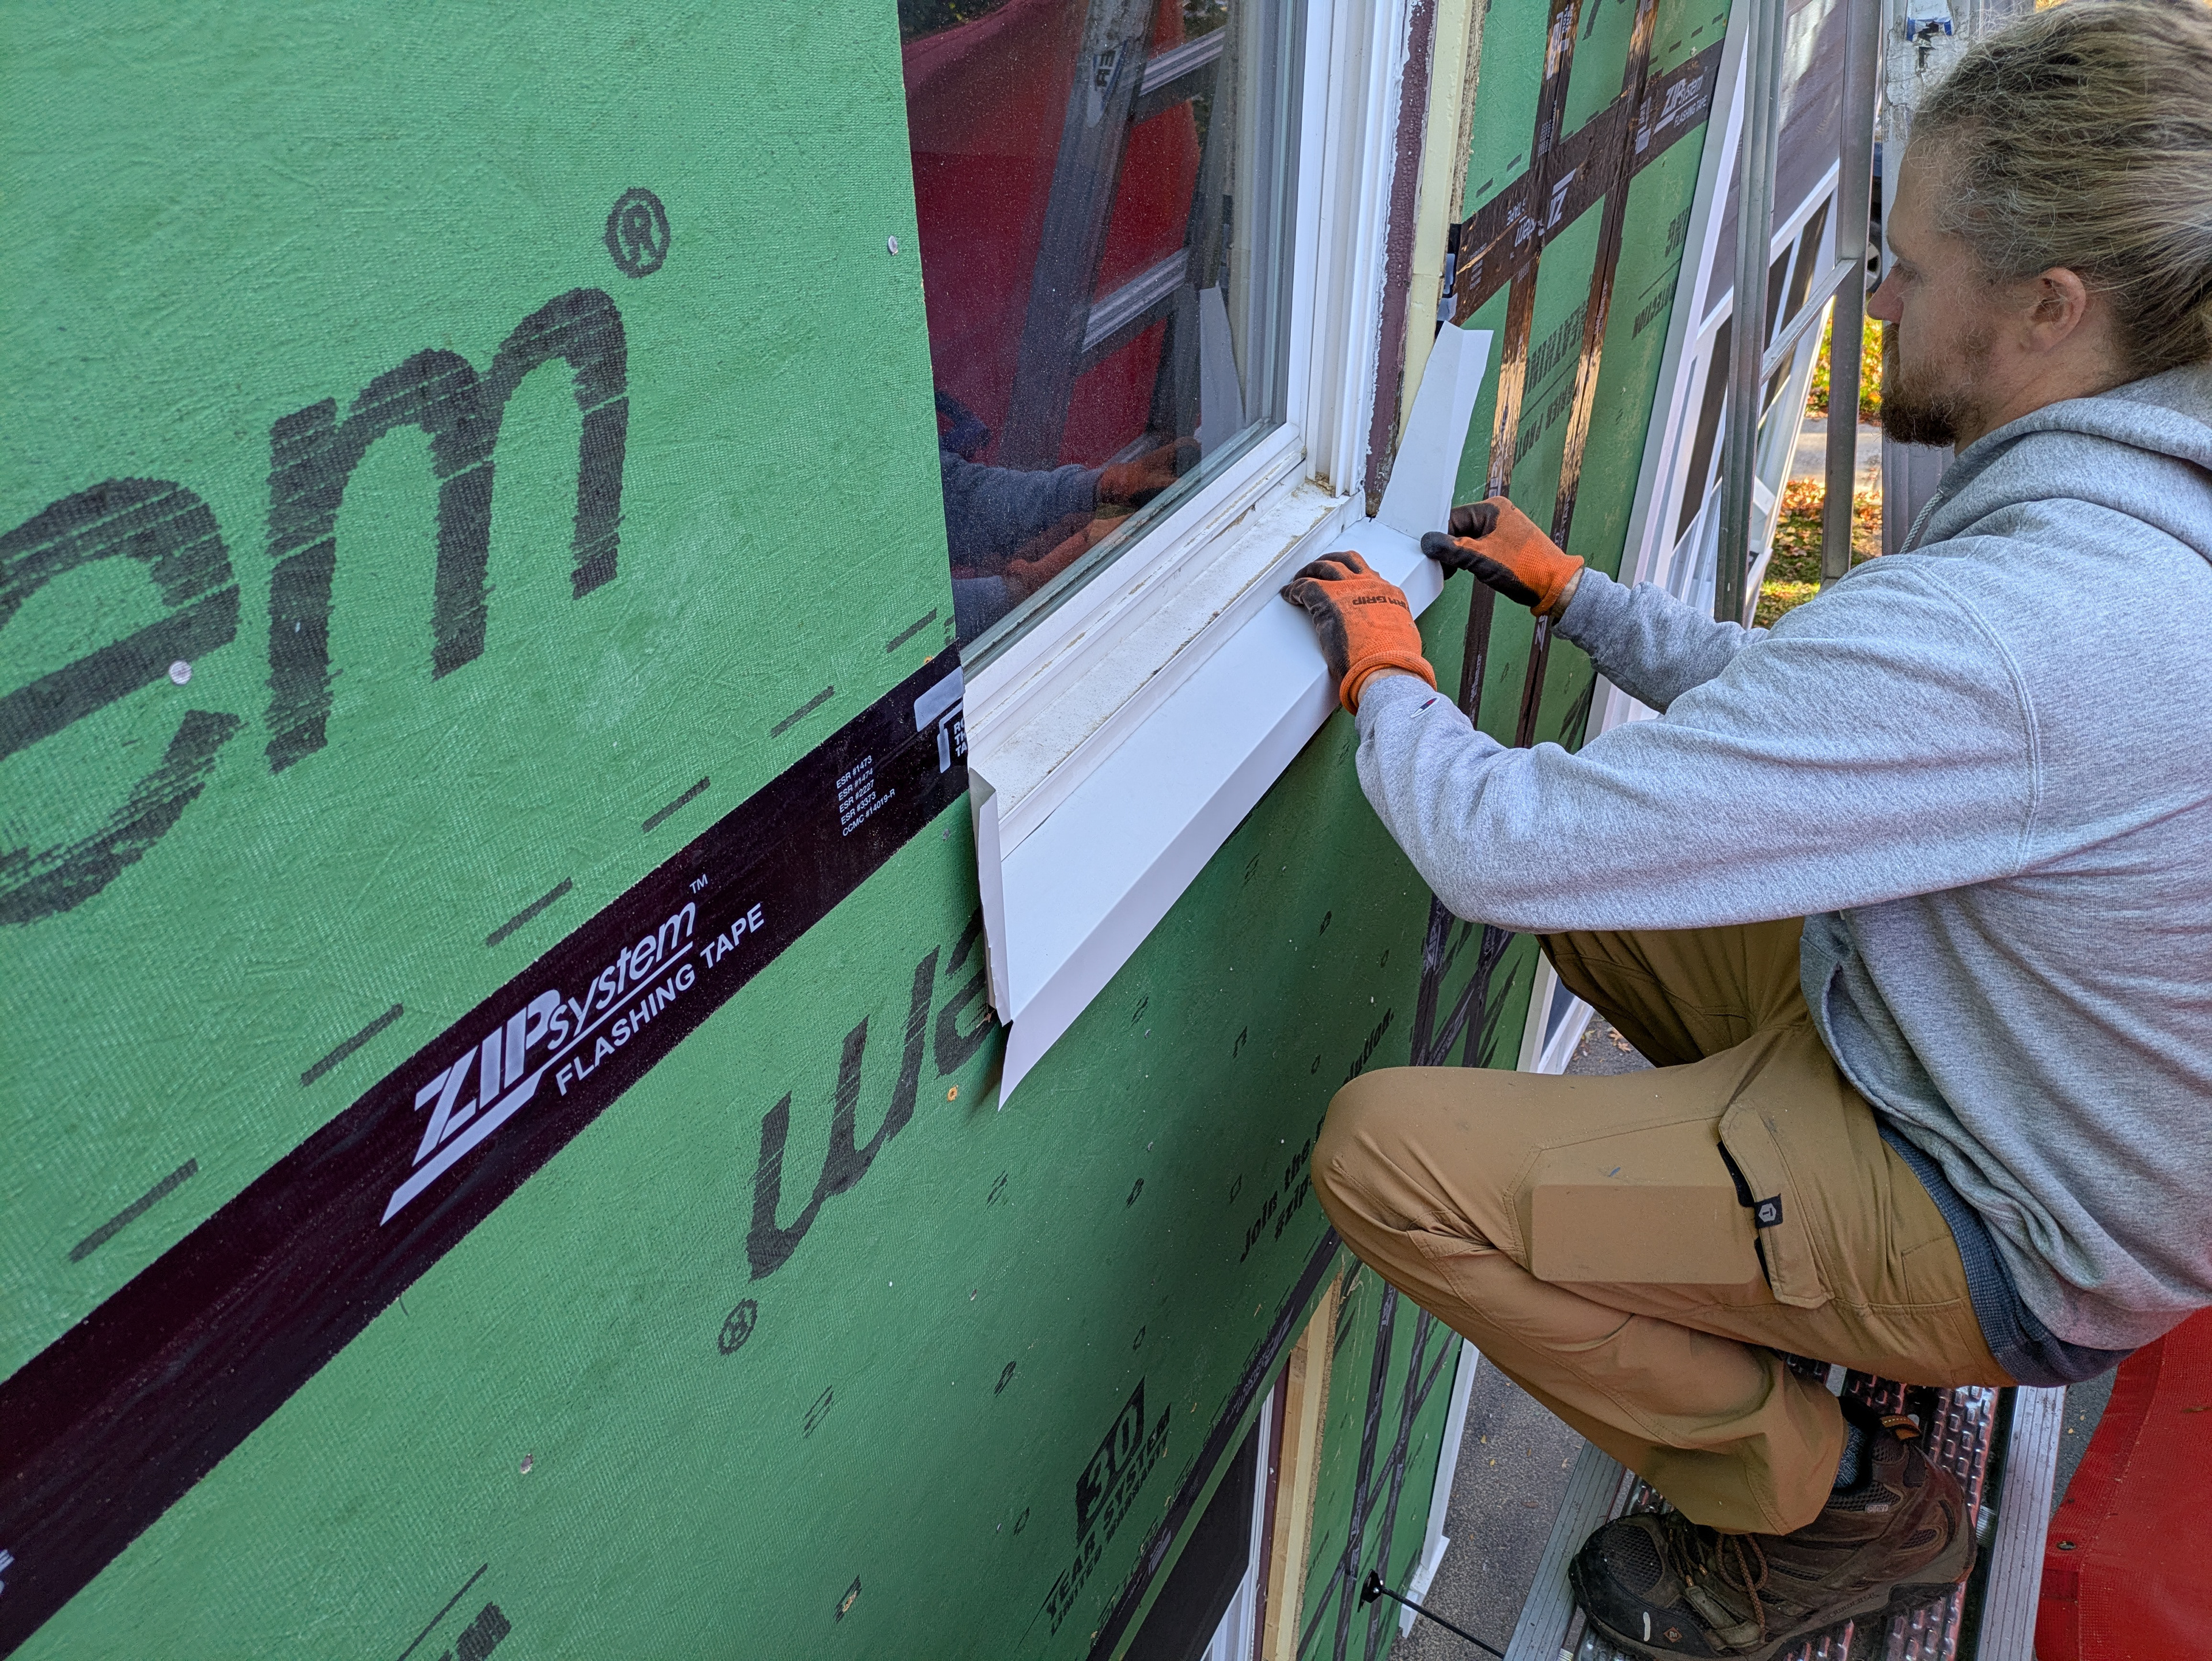
Great care is taken to ensure that all windows and doors are properly flashed to seal them against water intrusion. We bend aluminum coil stock flashing to act as window flanges. The sill-flashing is bent at an angle to ensure proper drainage and is tucked about 1” under the window.
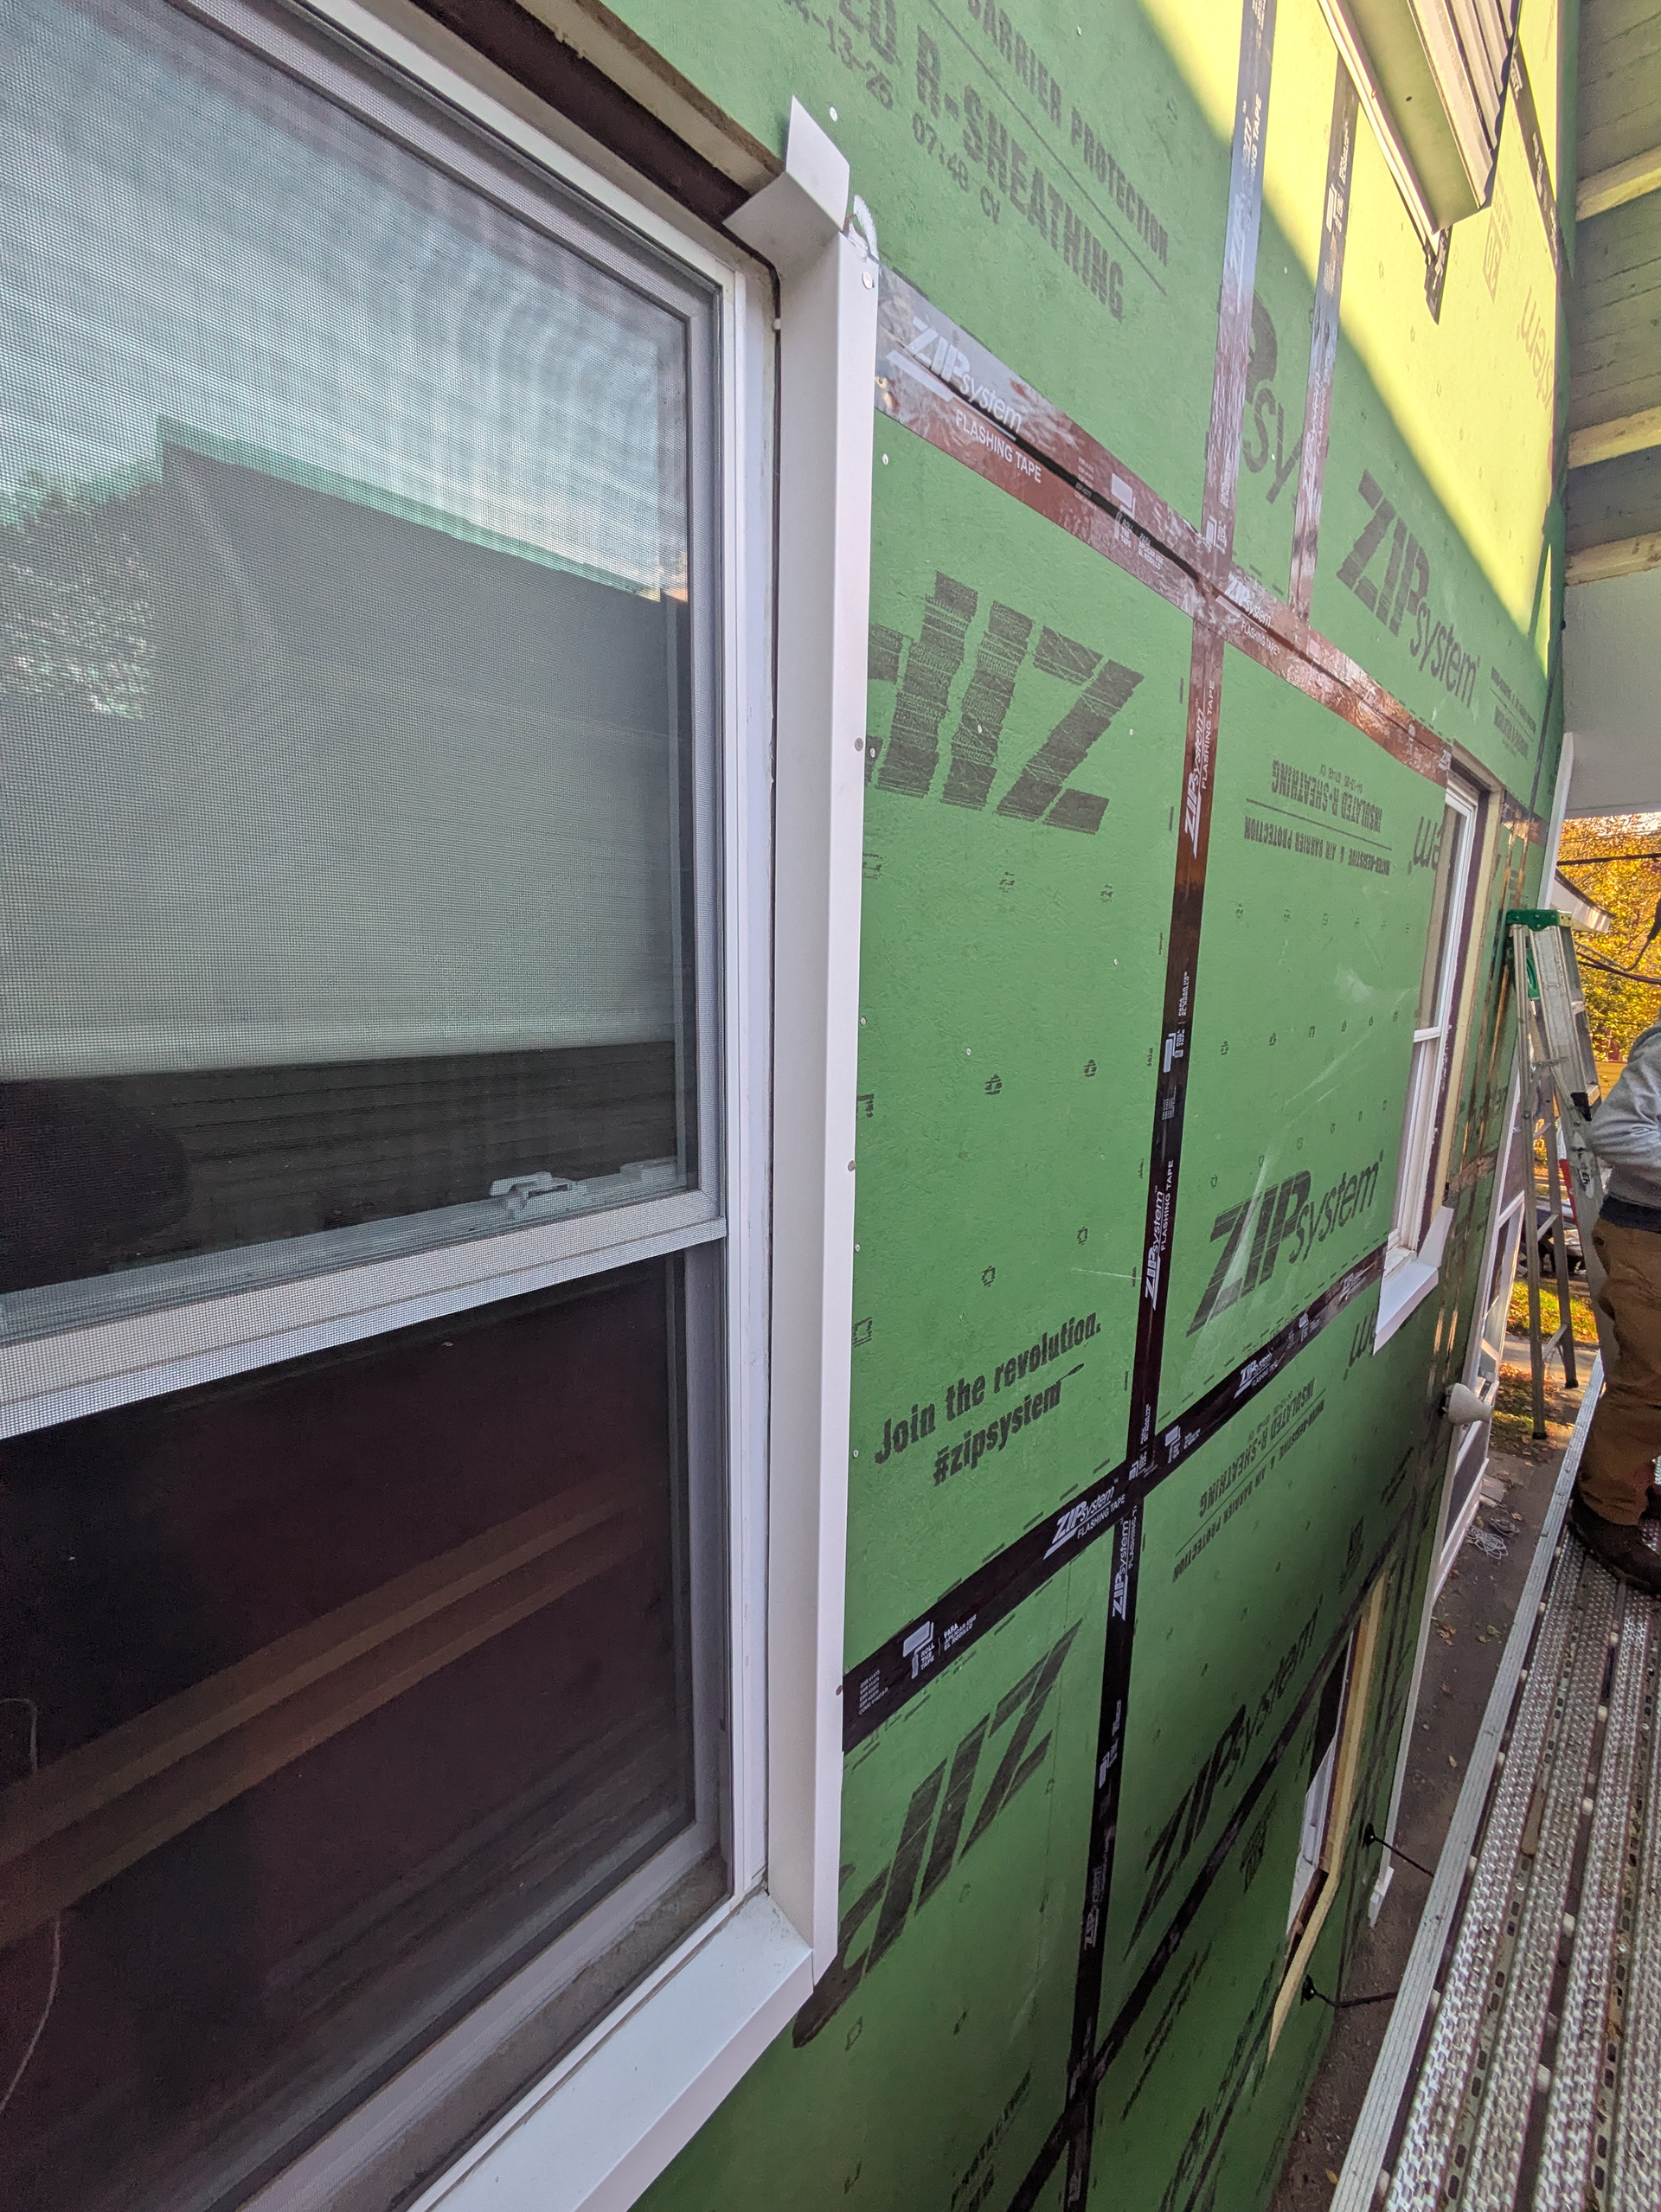
The sides and top of the windows are flashed in a similar fashion. The flashing seams are caulked and taped to the sheathing. The sill flashing is left un-taped so that it can drain if needed.
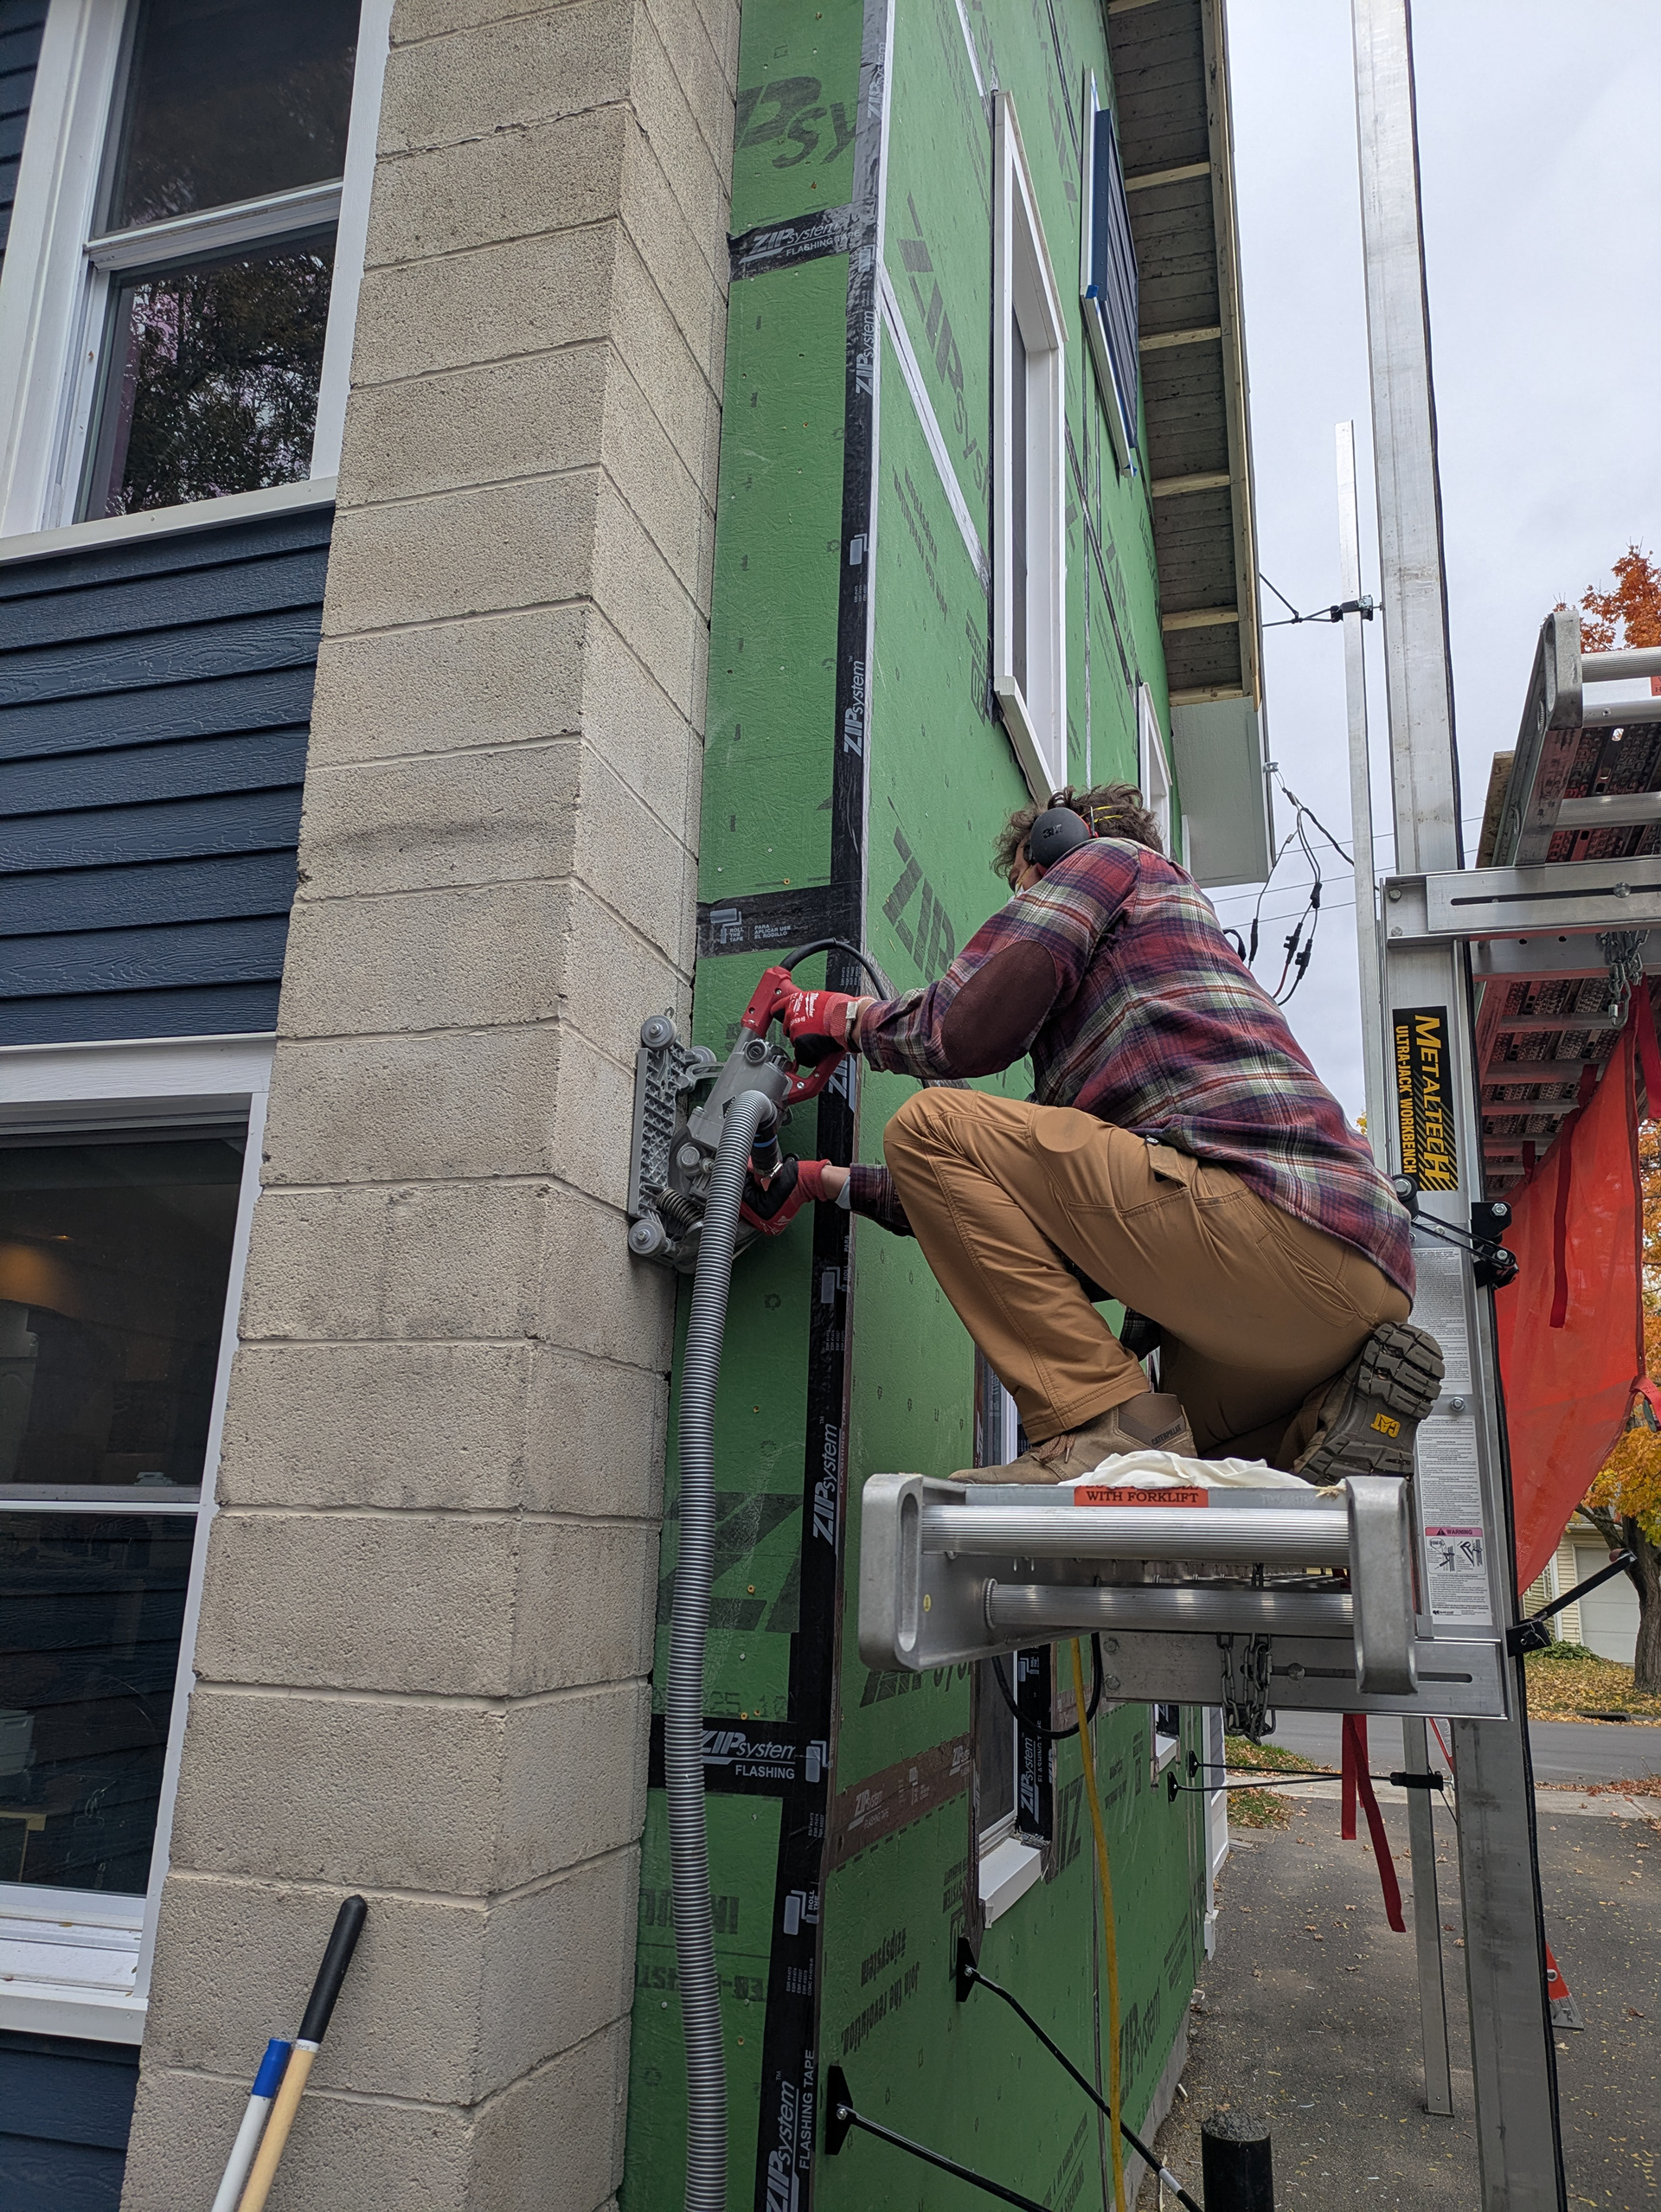
Reglet flashing keeps water from getting behind the sheathing at the chimney-sheathing junction. A ½” deep groove is cut vertically into the cmu chimney with a masonry saw about 1 ½” away from the sheathing.
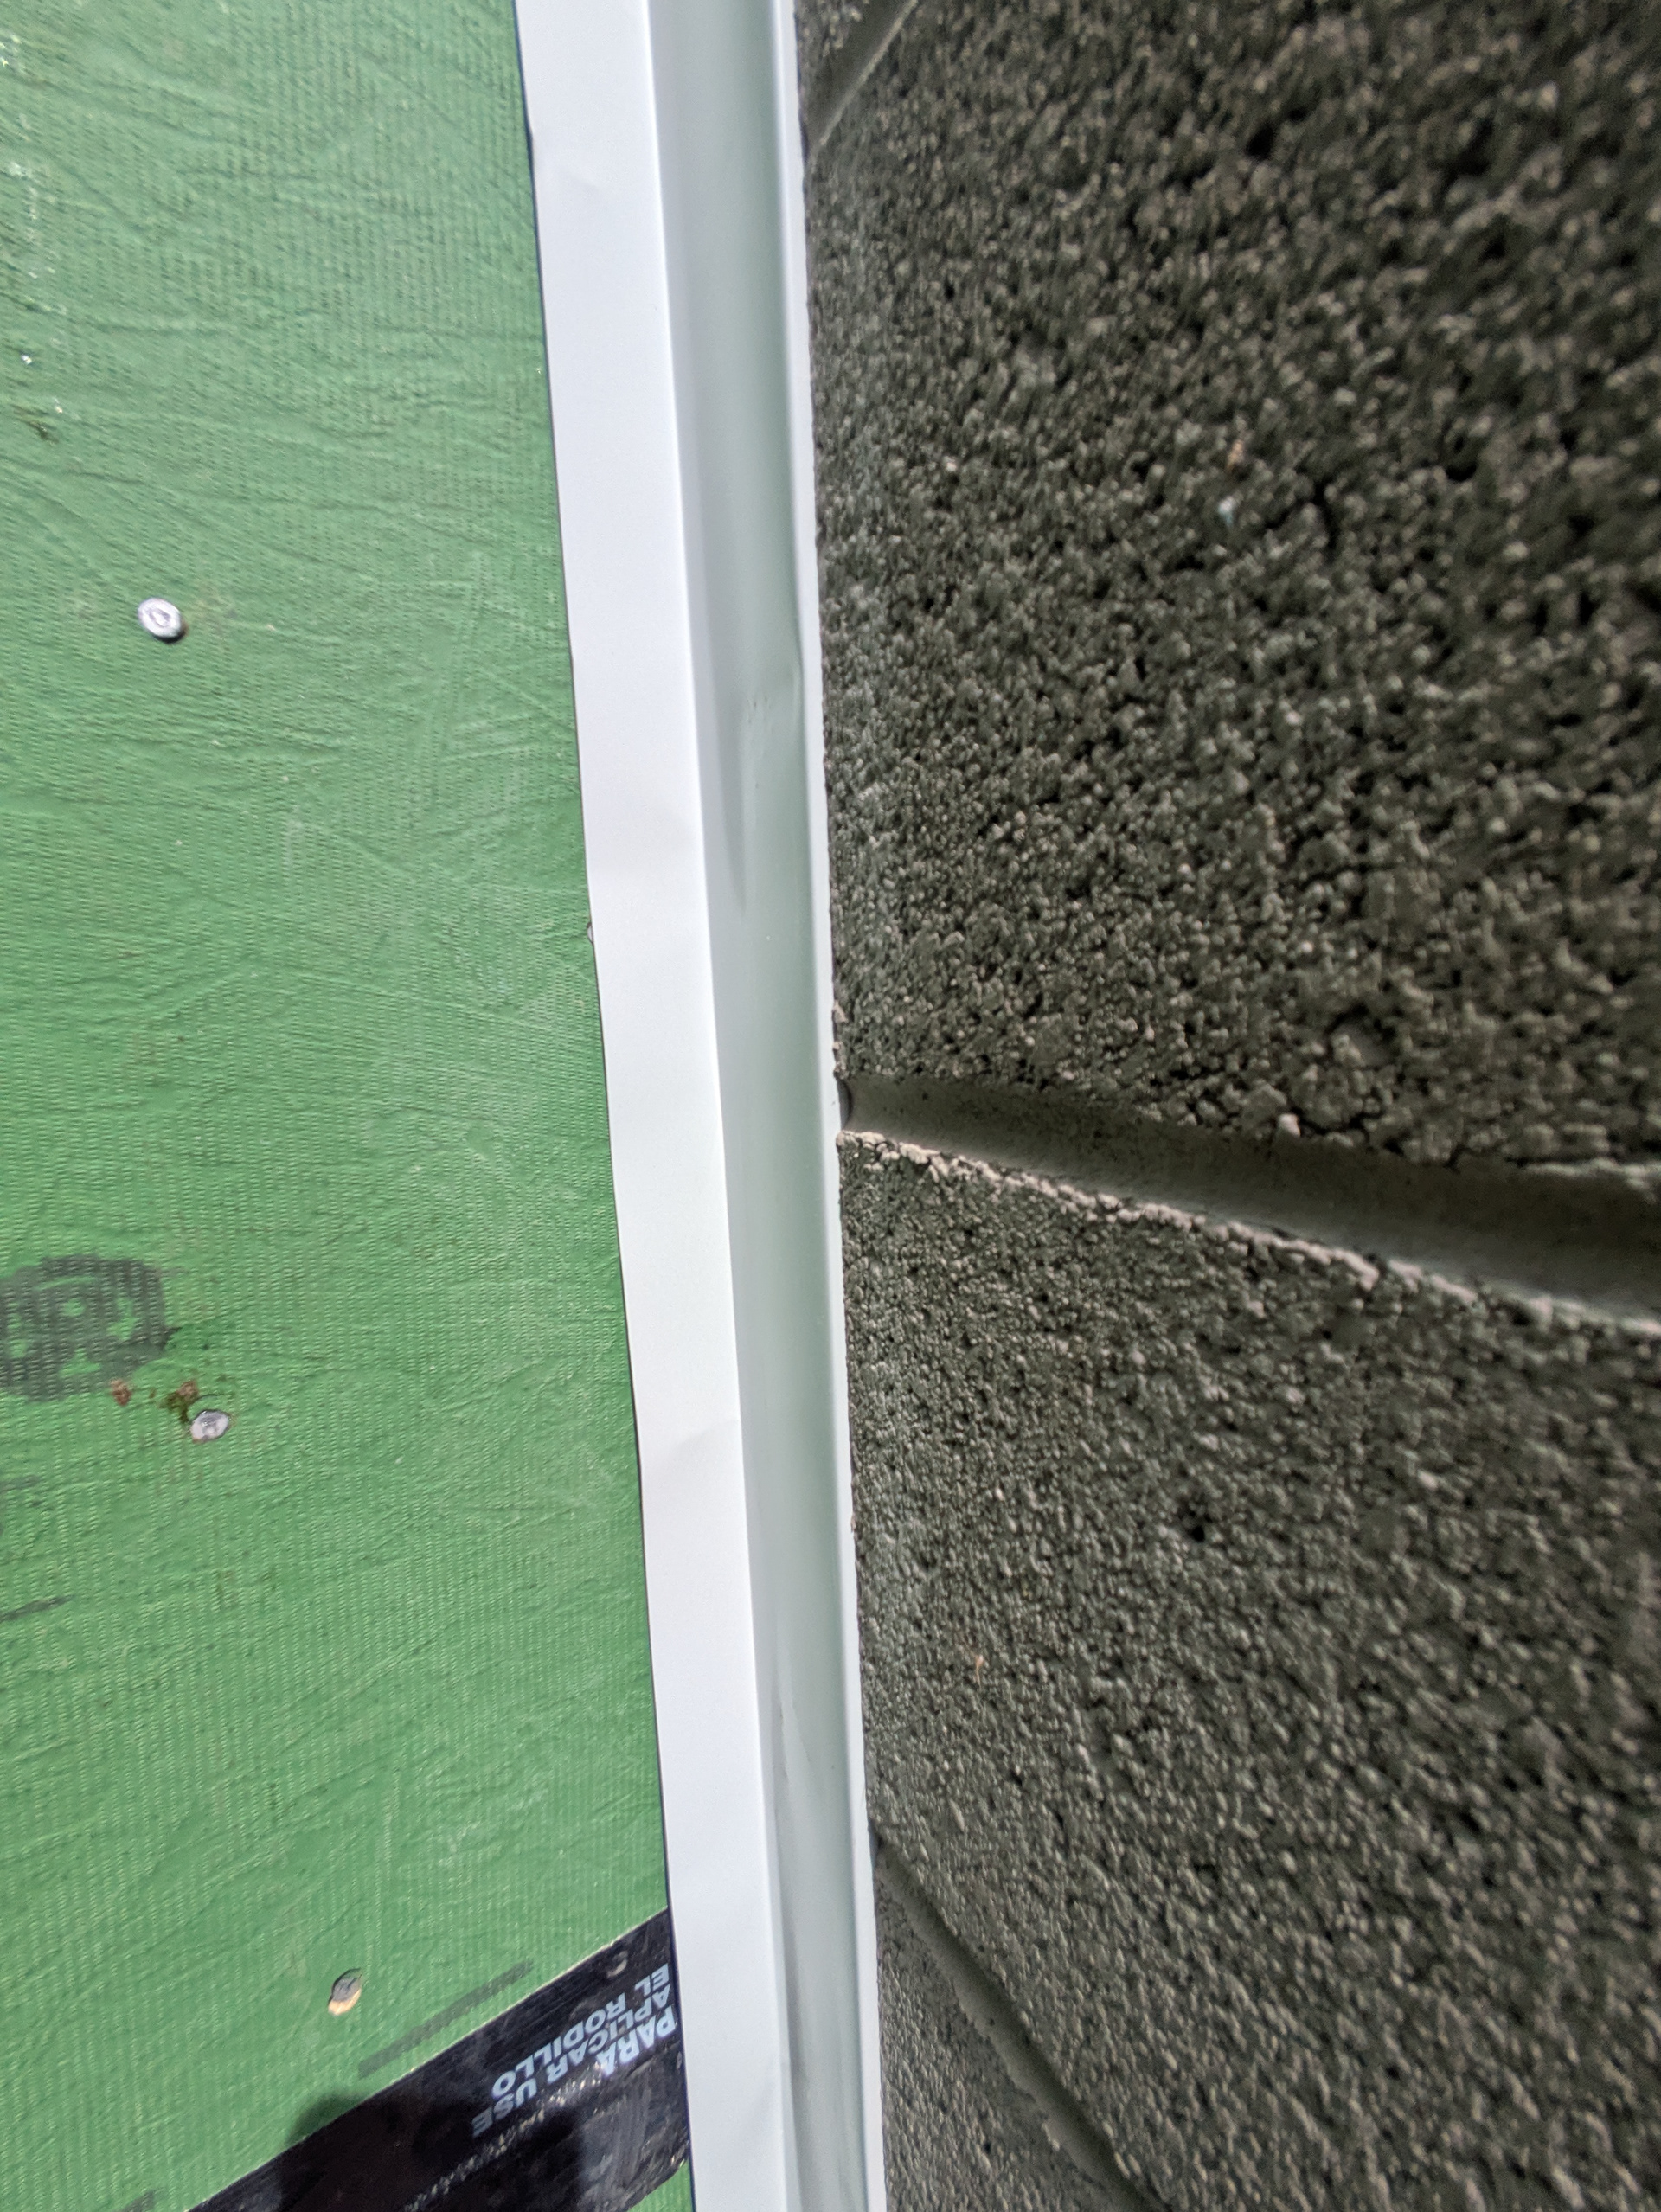
The flashing is custom bent with two 1 ½” legs that form an L and a 3rd leg about ½” long which forms a Z. The short leg is inlaid into the masonry with a bead of sealant. The flashing is then sealed to the sheathing with caulk and flashing tape.
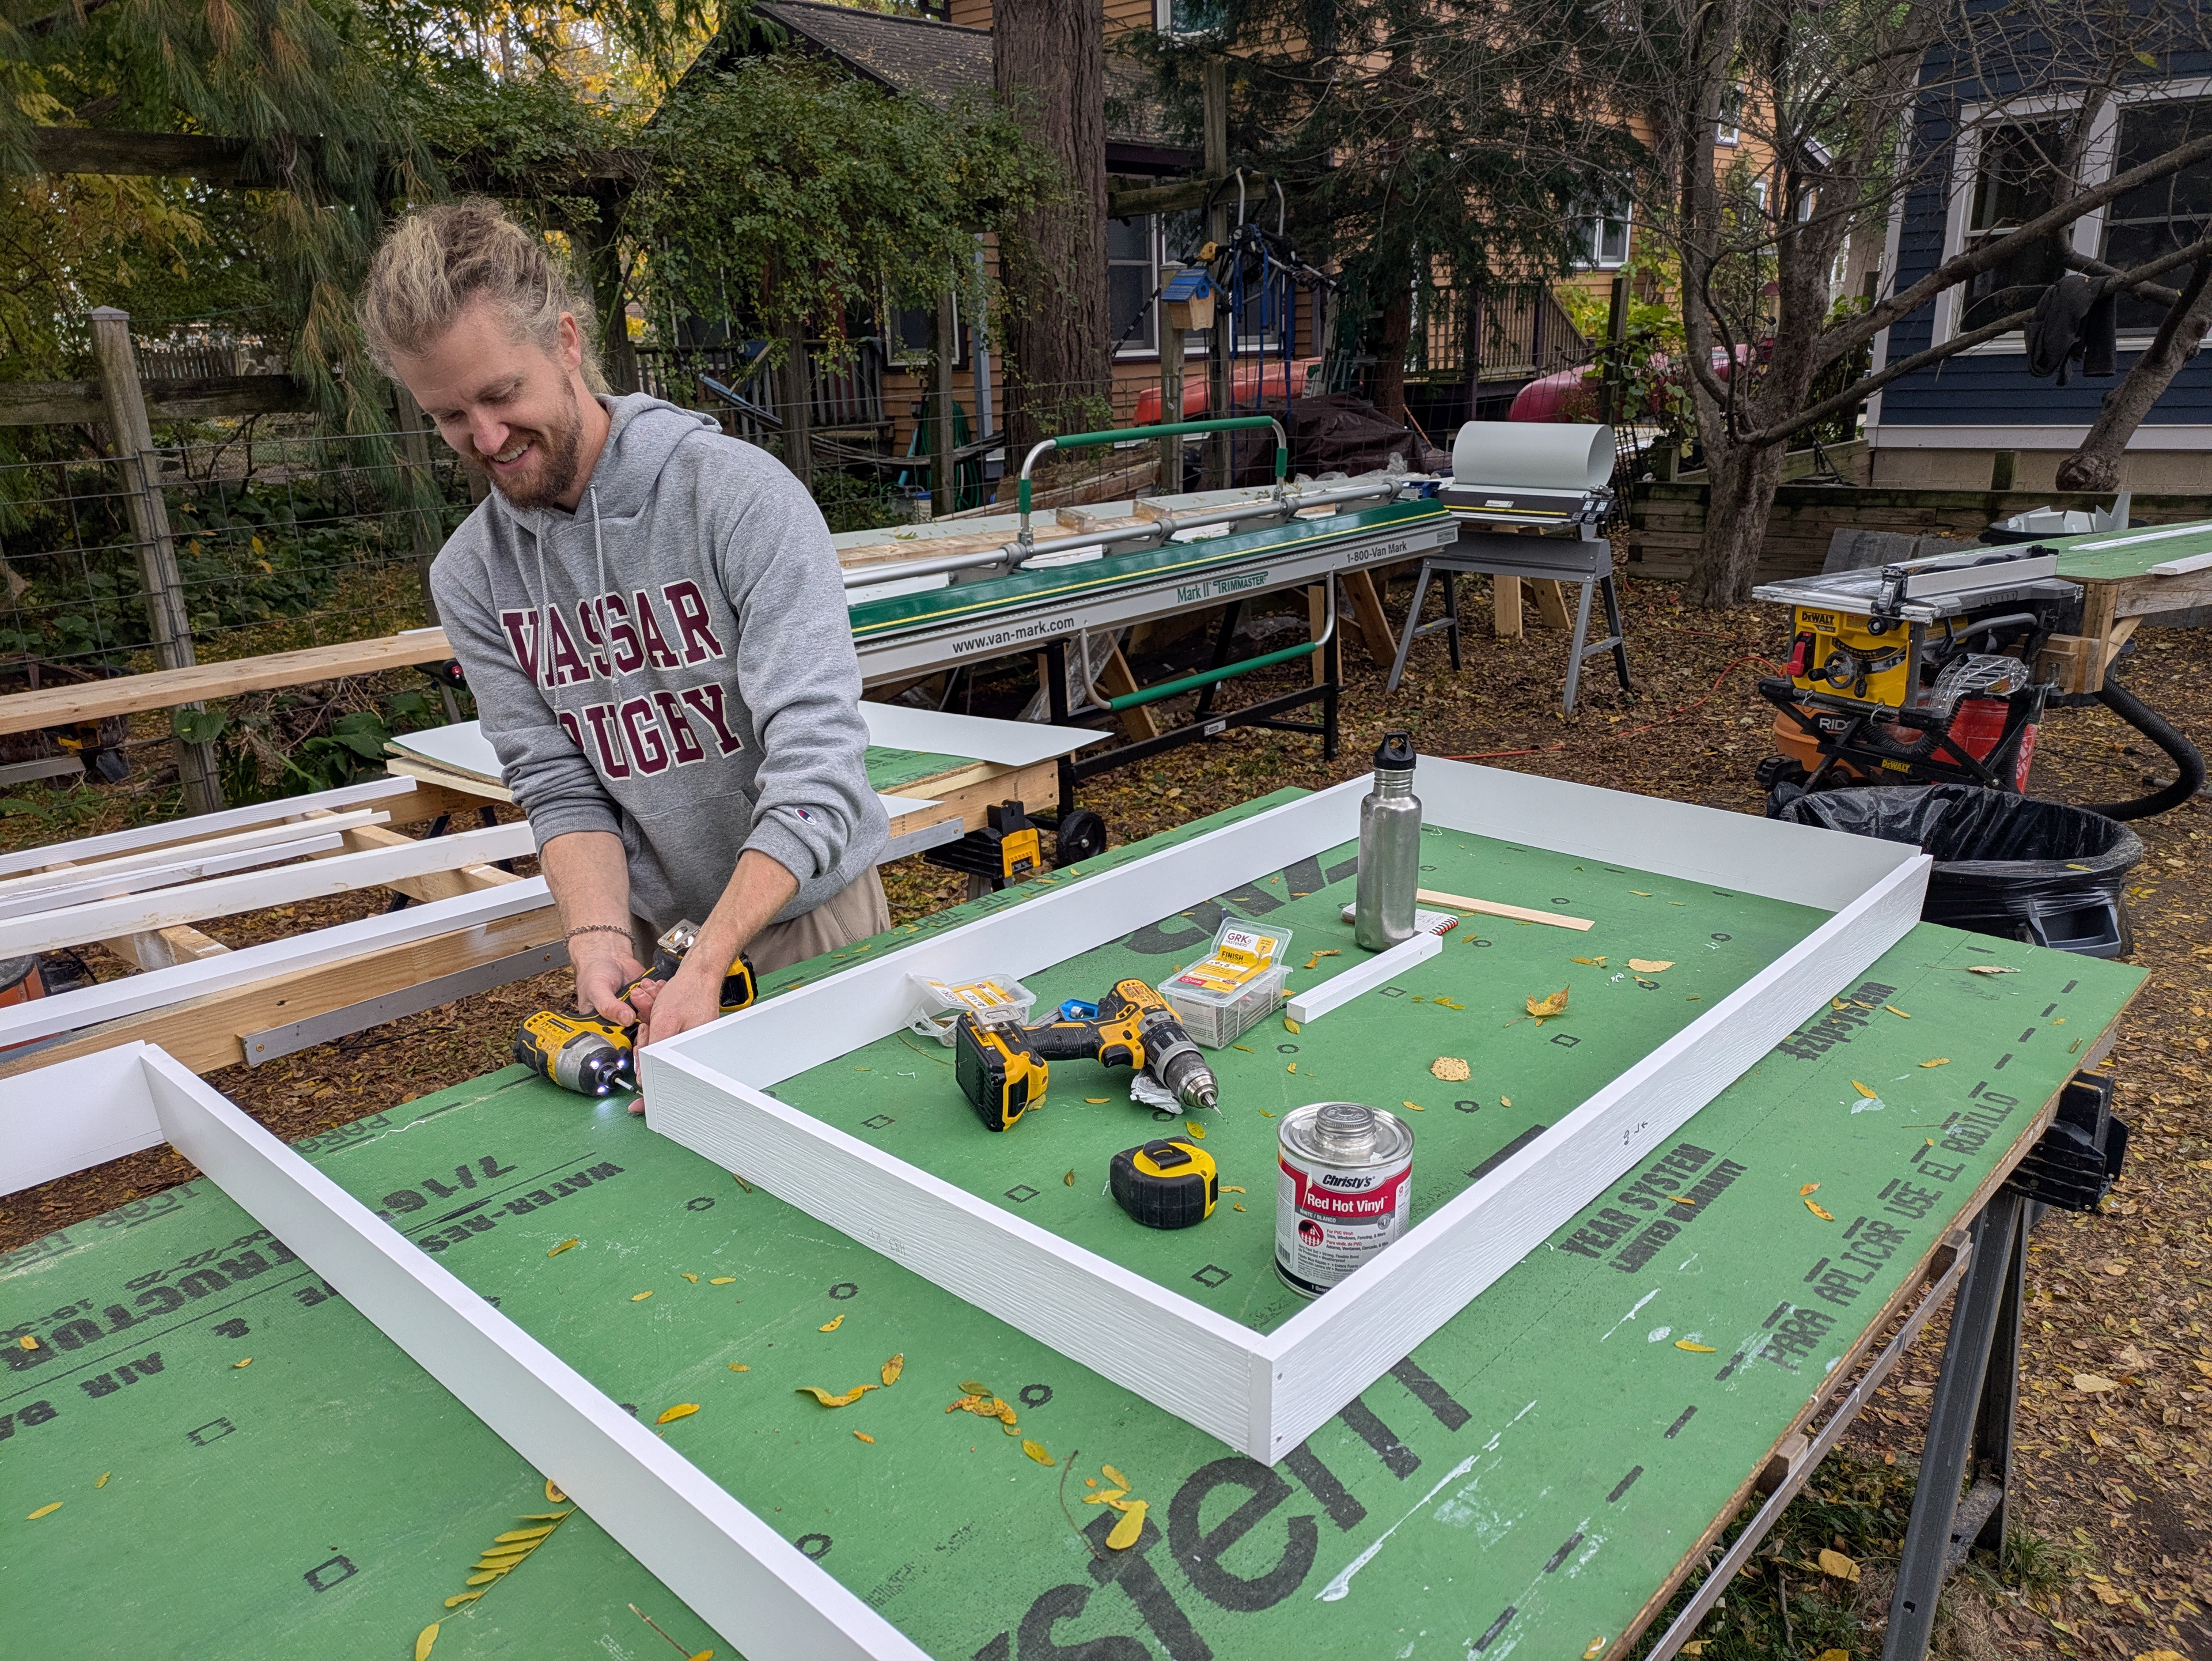
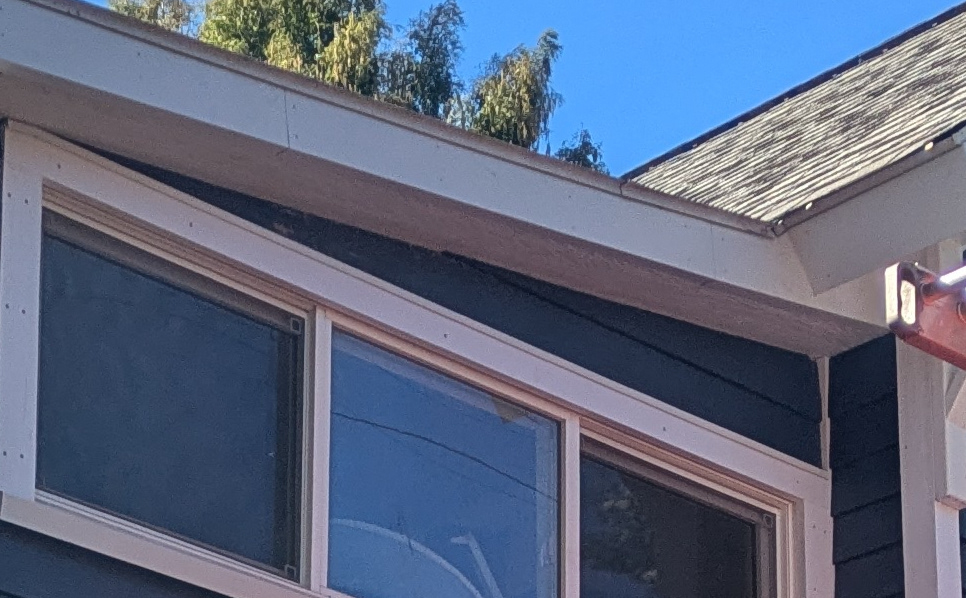
New composite trim is installed throughout. Window extension jambs and casing are pre-assembled as a complete unit on the workbench. Mahogany domino tenons, PVC adhesive and 5" trim screws are used to assemble the casing and sills. Sub fascia is installed, LP smartside soffit panels are installed under the rafter tails and the sub fascia is wrapped with custom bent aluminum coil stock.
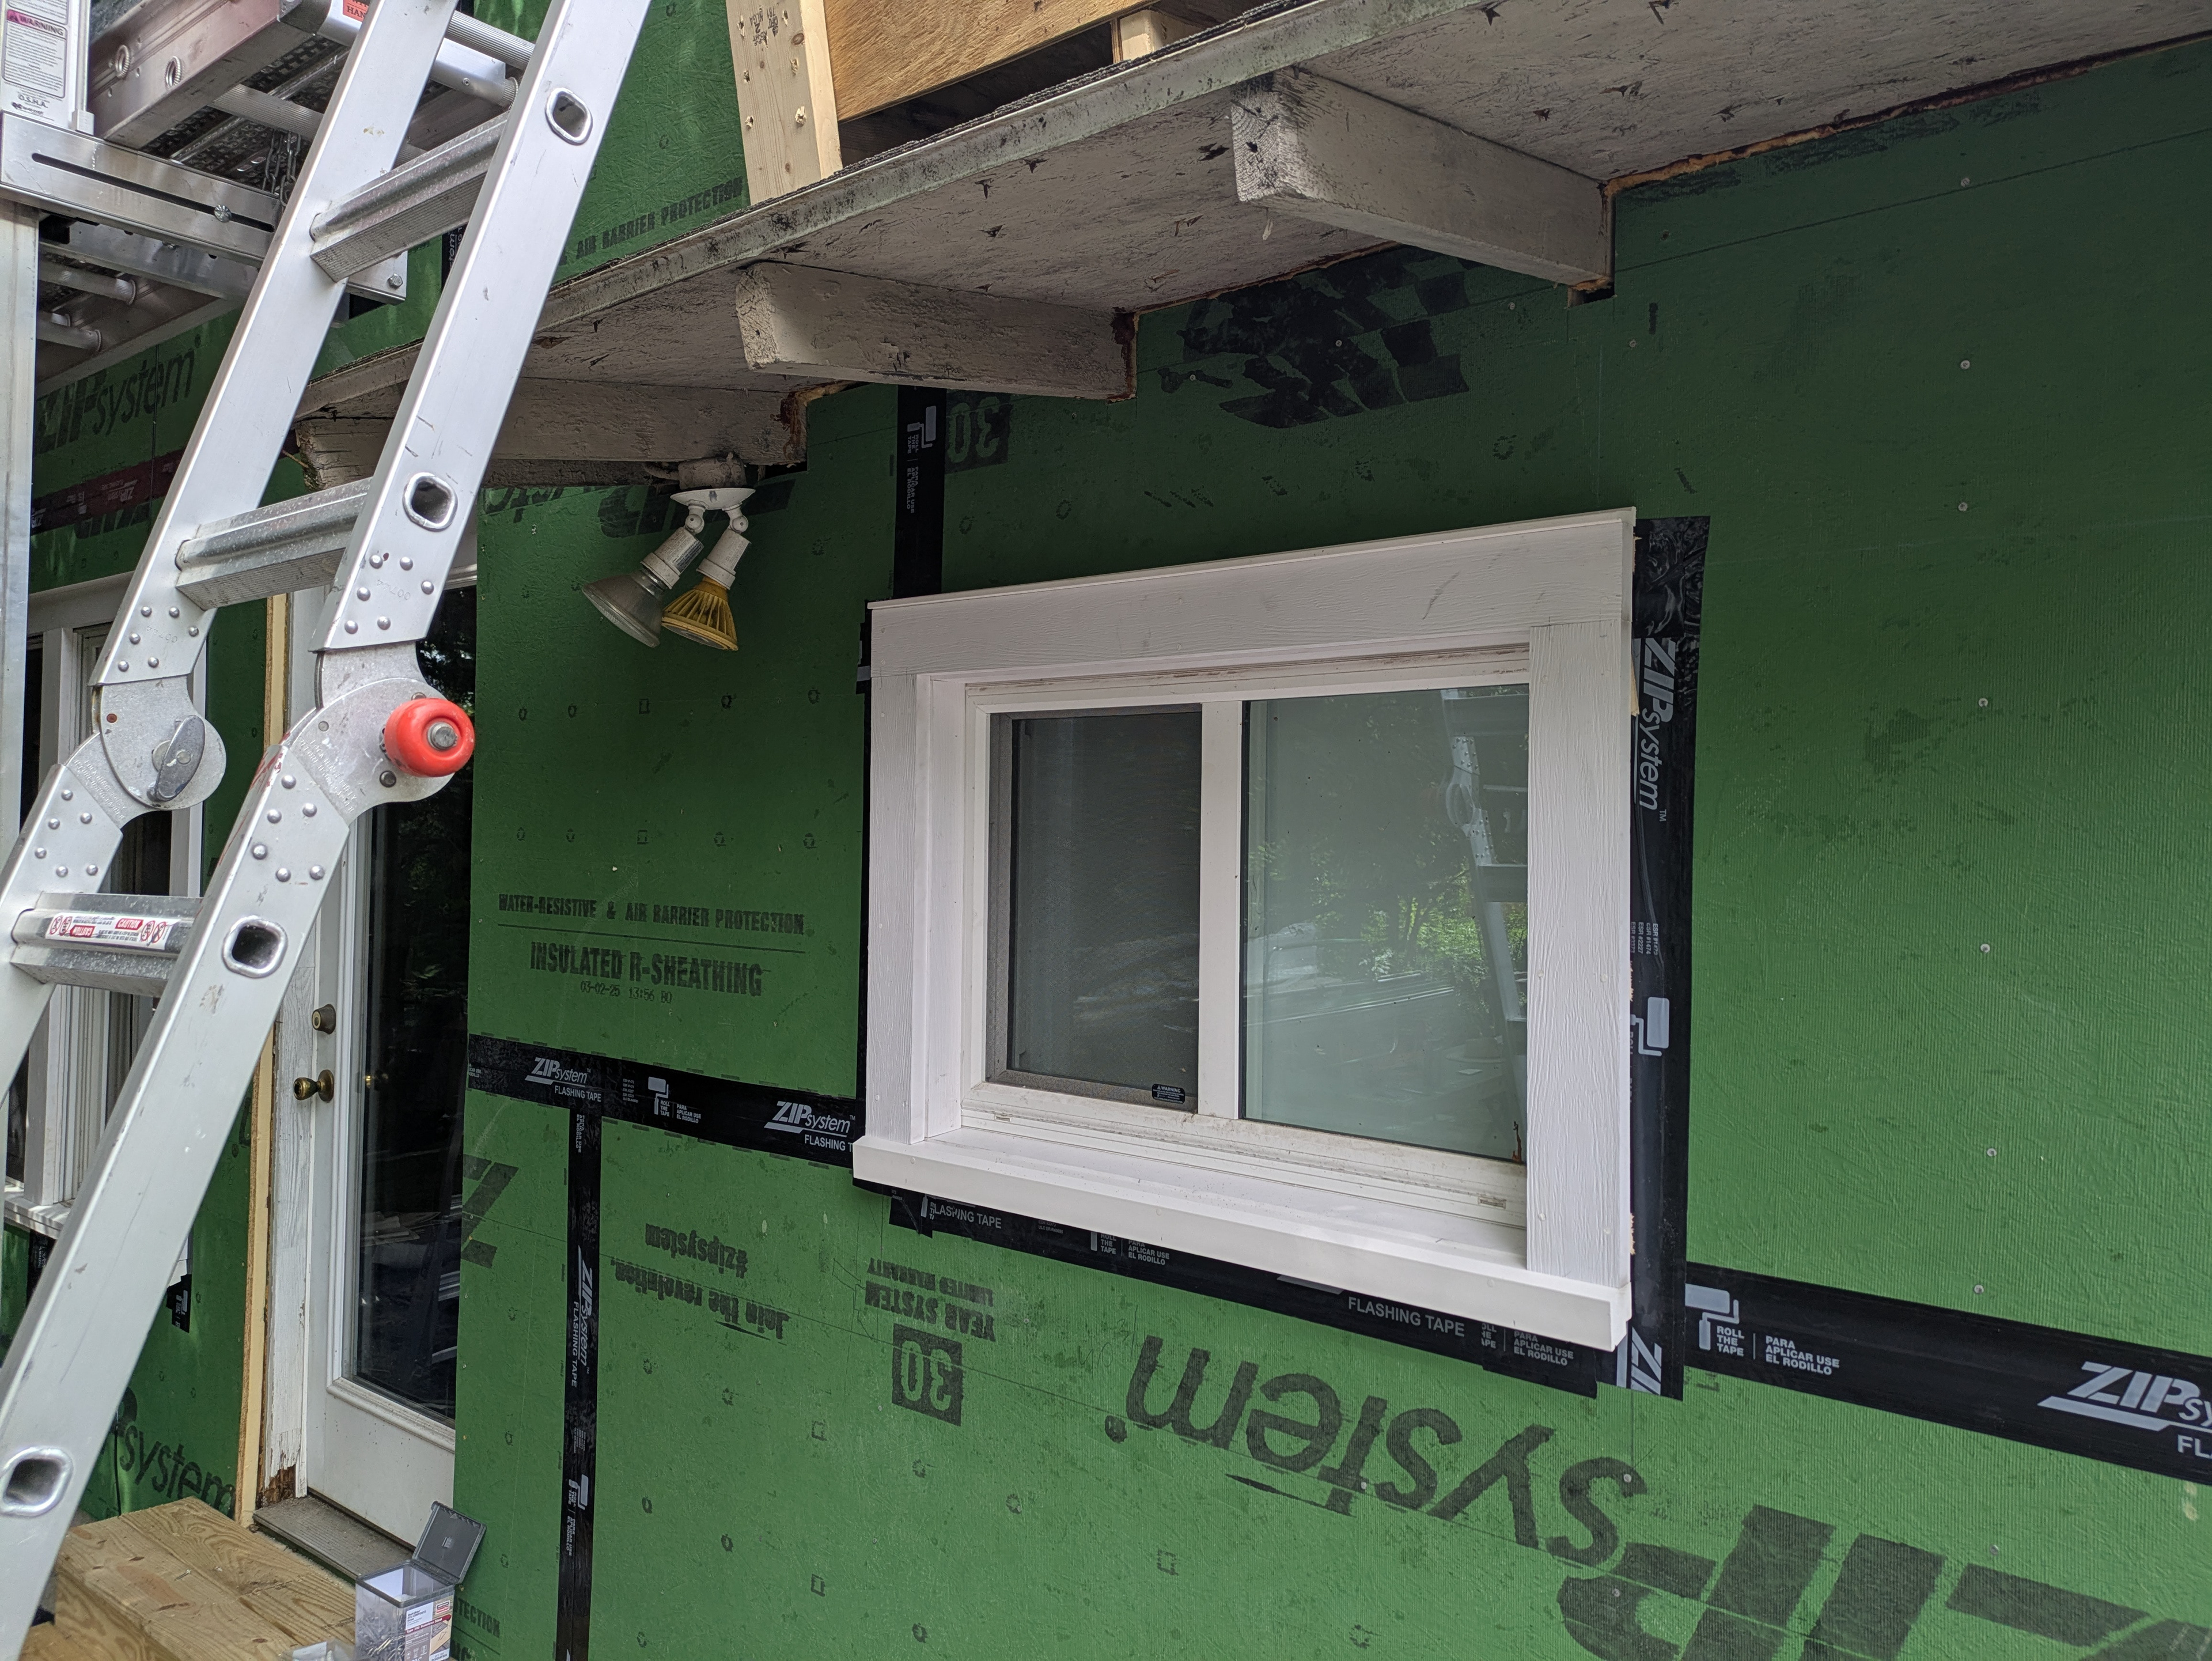
Window trim assemblies are installed with plugged screws for a seamless appearance. New water table trim with composite drip caps are installed as are new outside corner boards (preassembled on the workbench) as well as new frieze trim at the roof line.
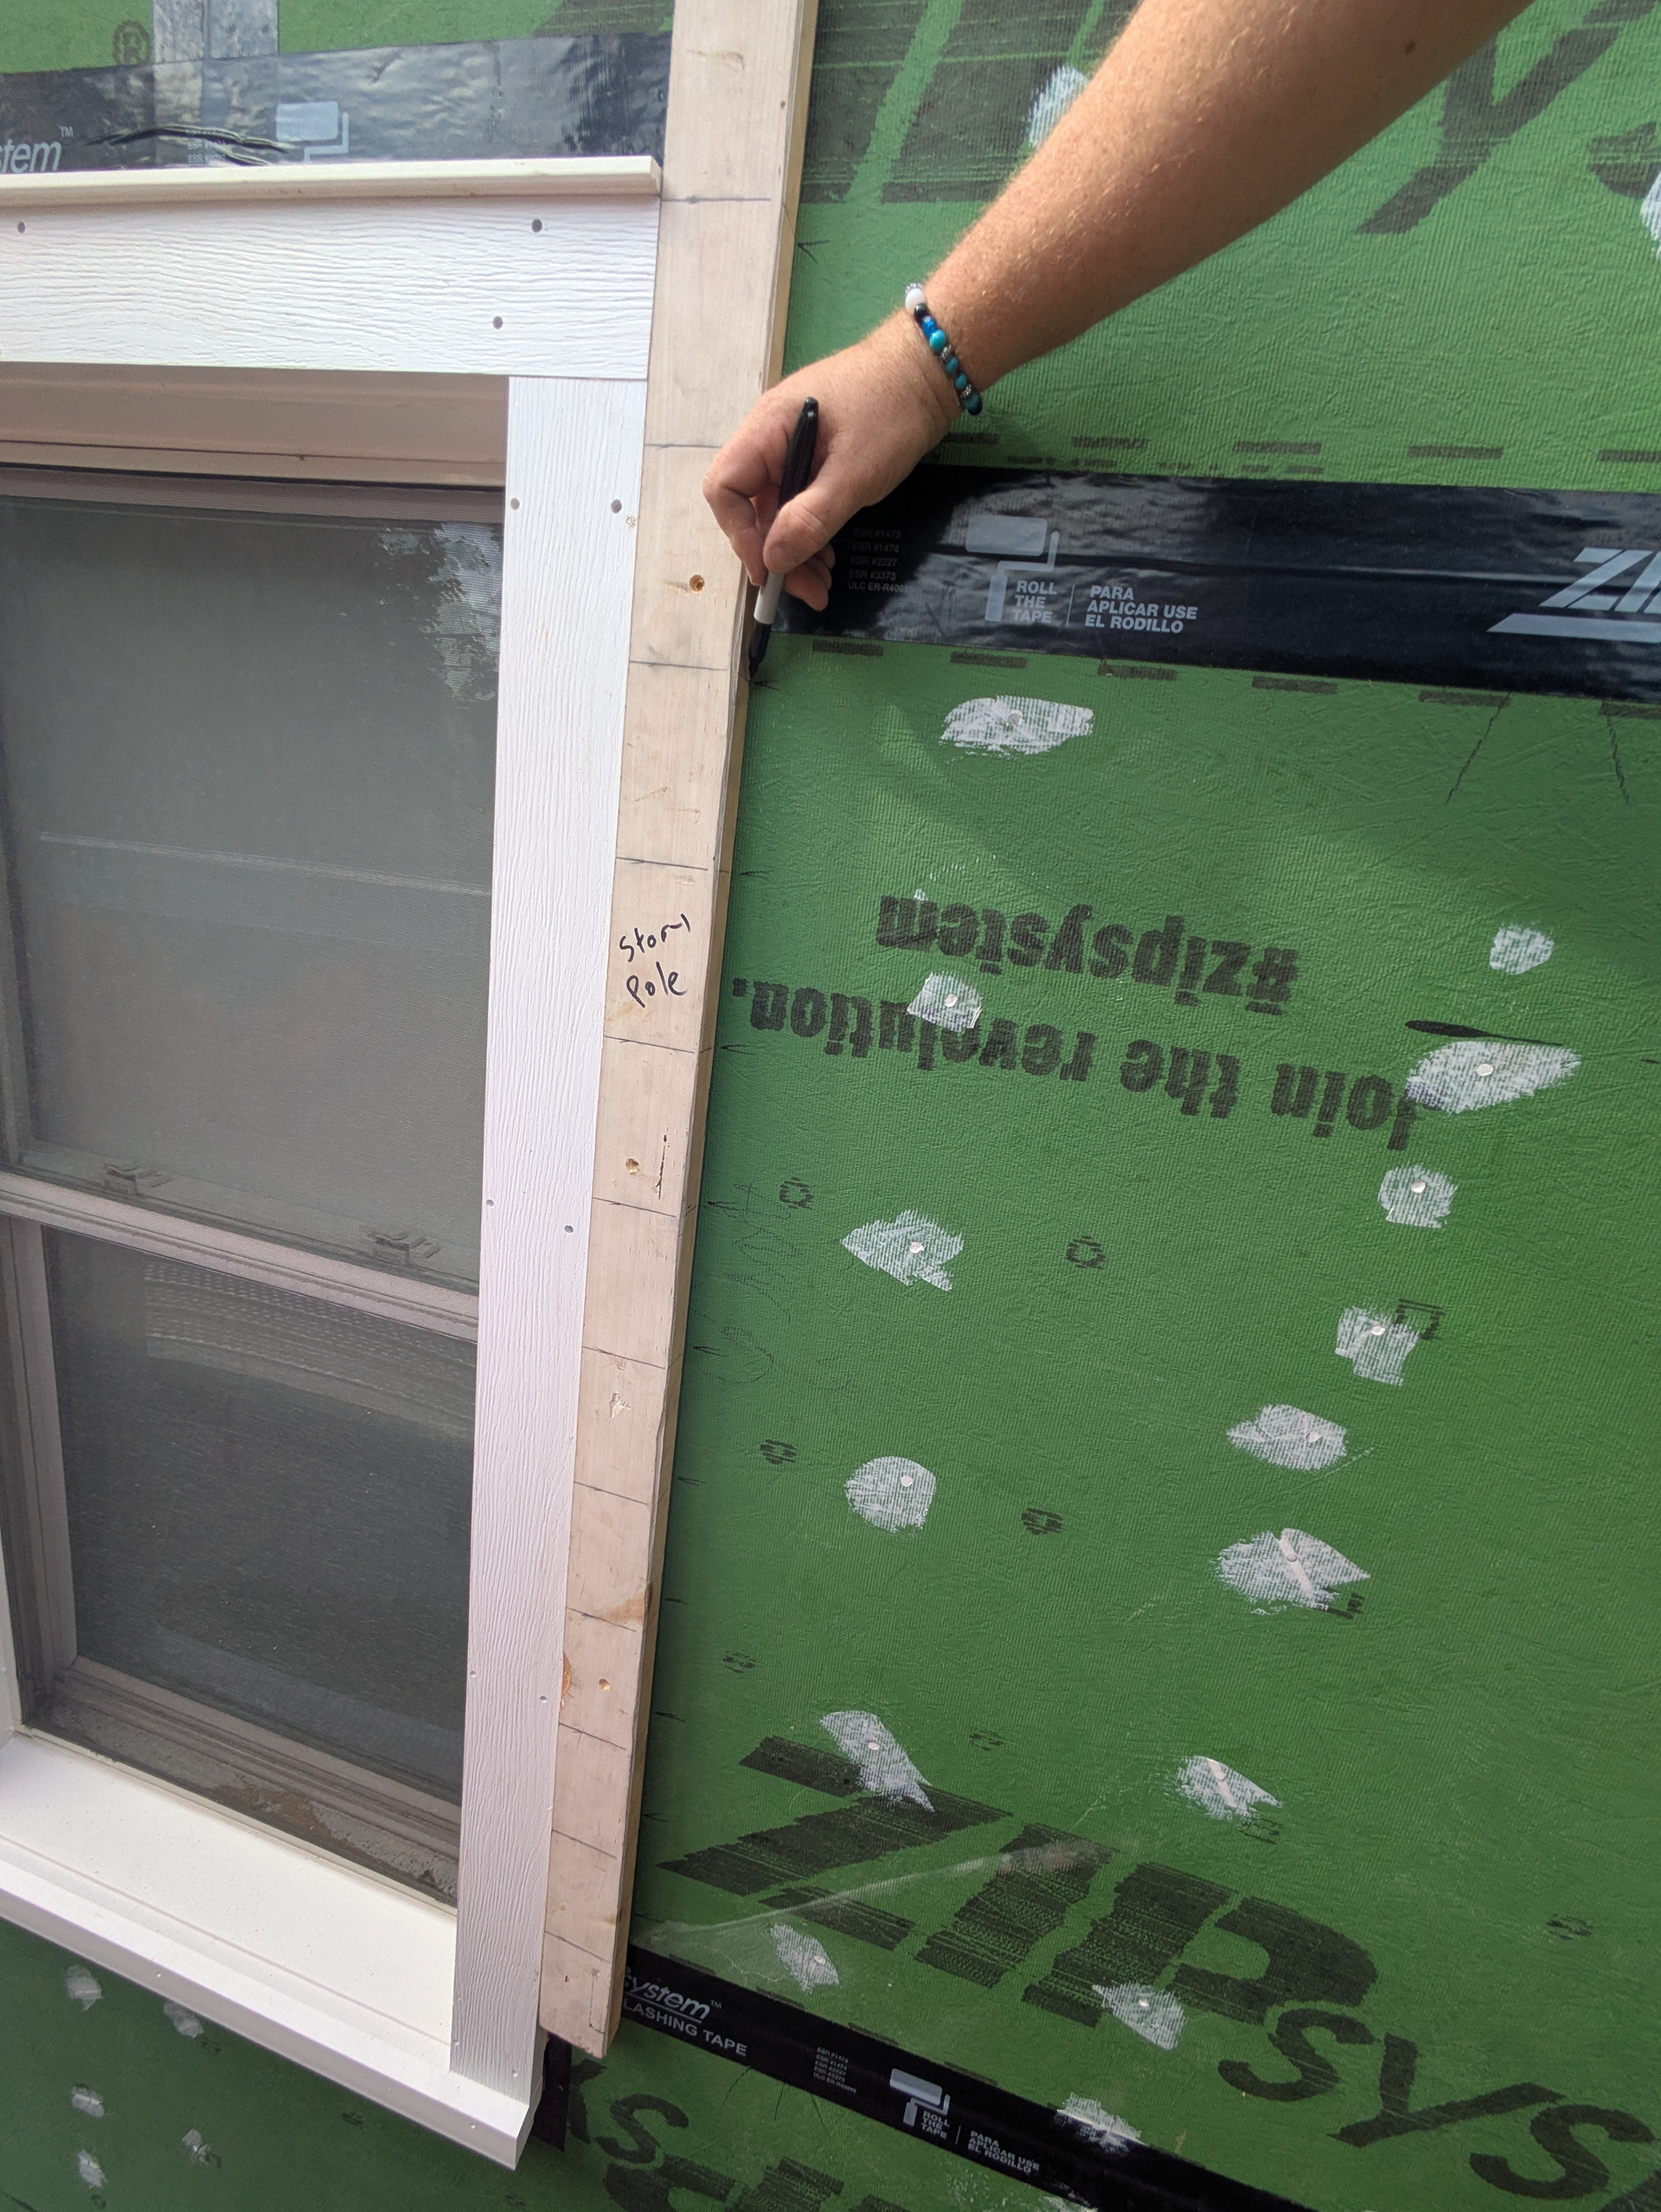
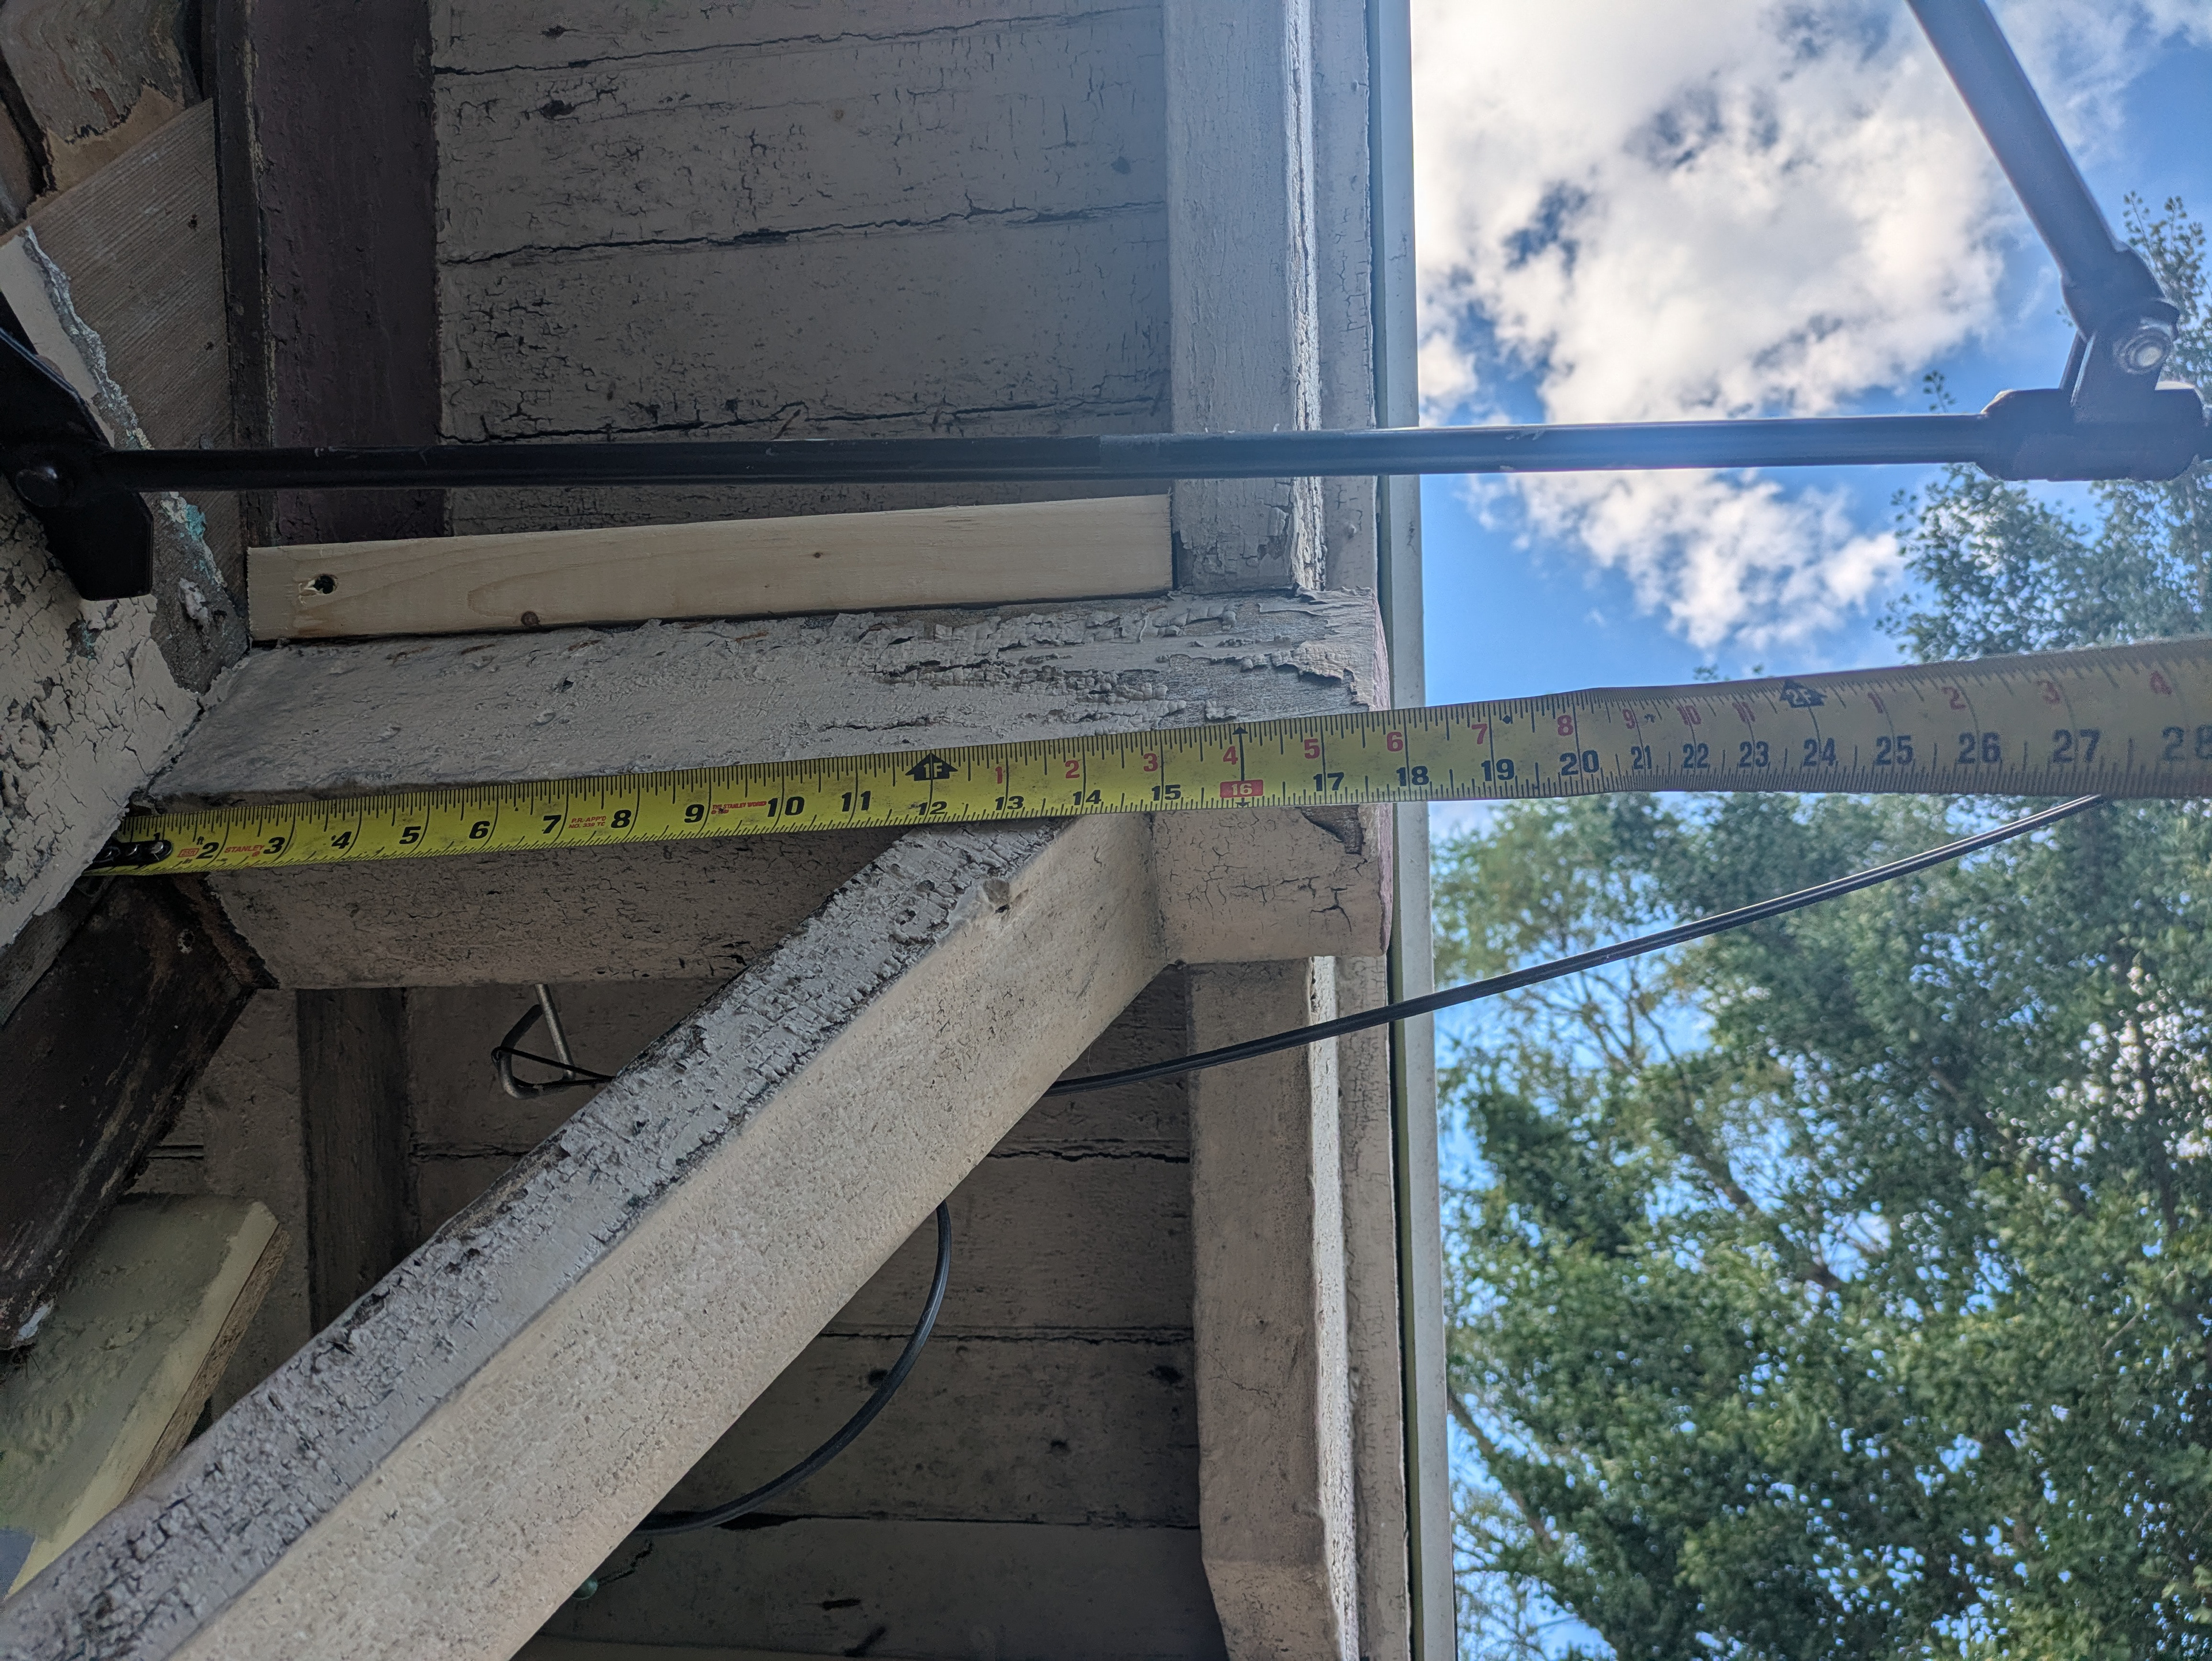
A story pole is used to layout the siding elevations on the entirety of the house. A laser level is used to create a continuous level line around the house. A 16’ story pole is set to the level line at each corner of the house. A shorter story pole is used to layout the siding elevations between the windows.

Each course of siding is measured with either a steel measuring tape or laser distance measurer. The lengths of each course of siding are then written in permanent marker on the sheathing at their respective locations.
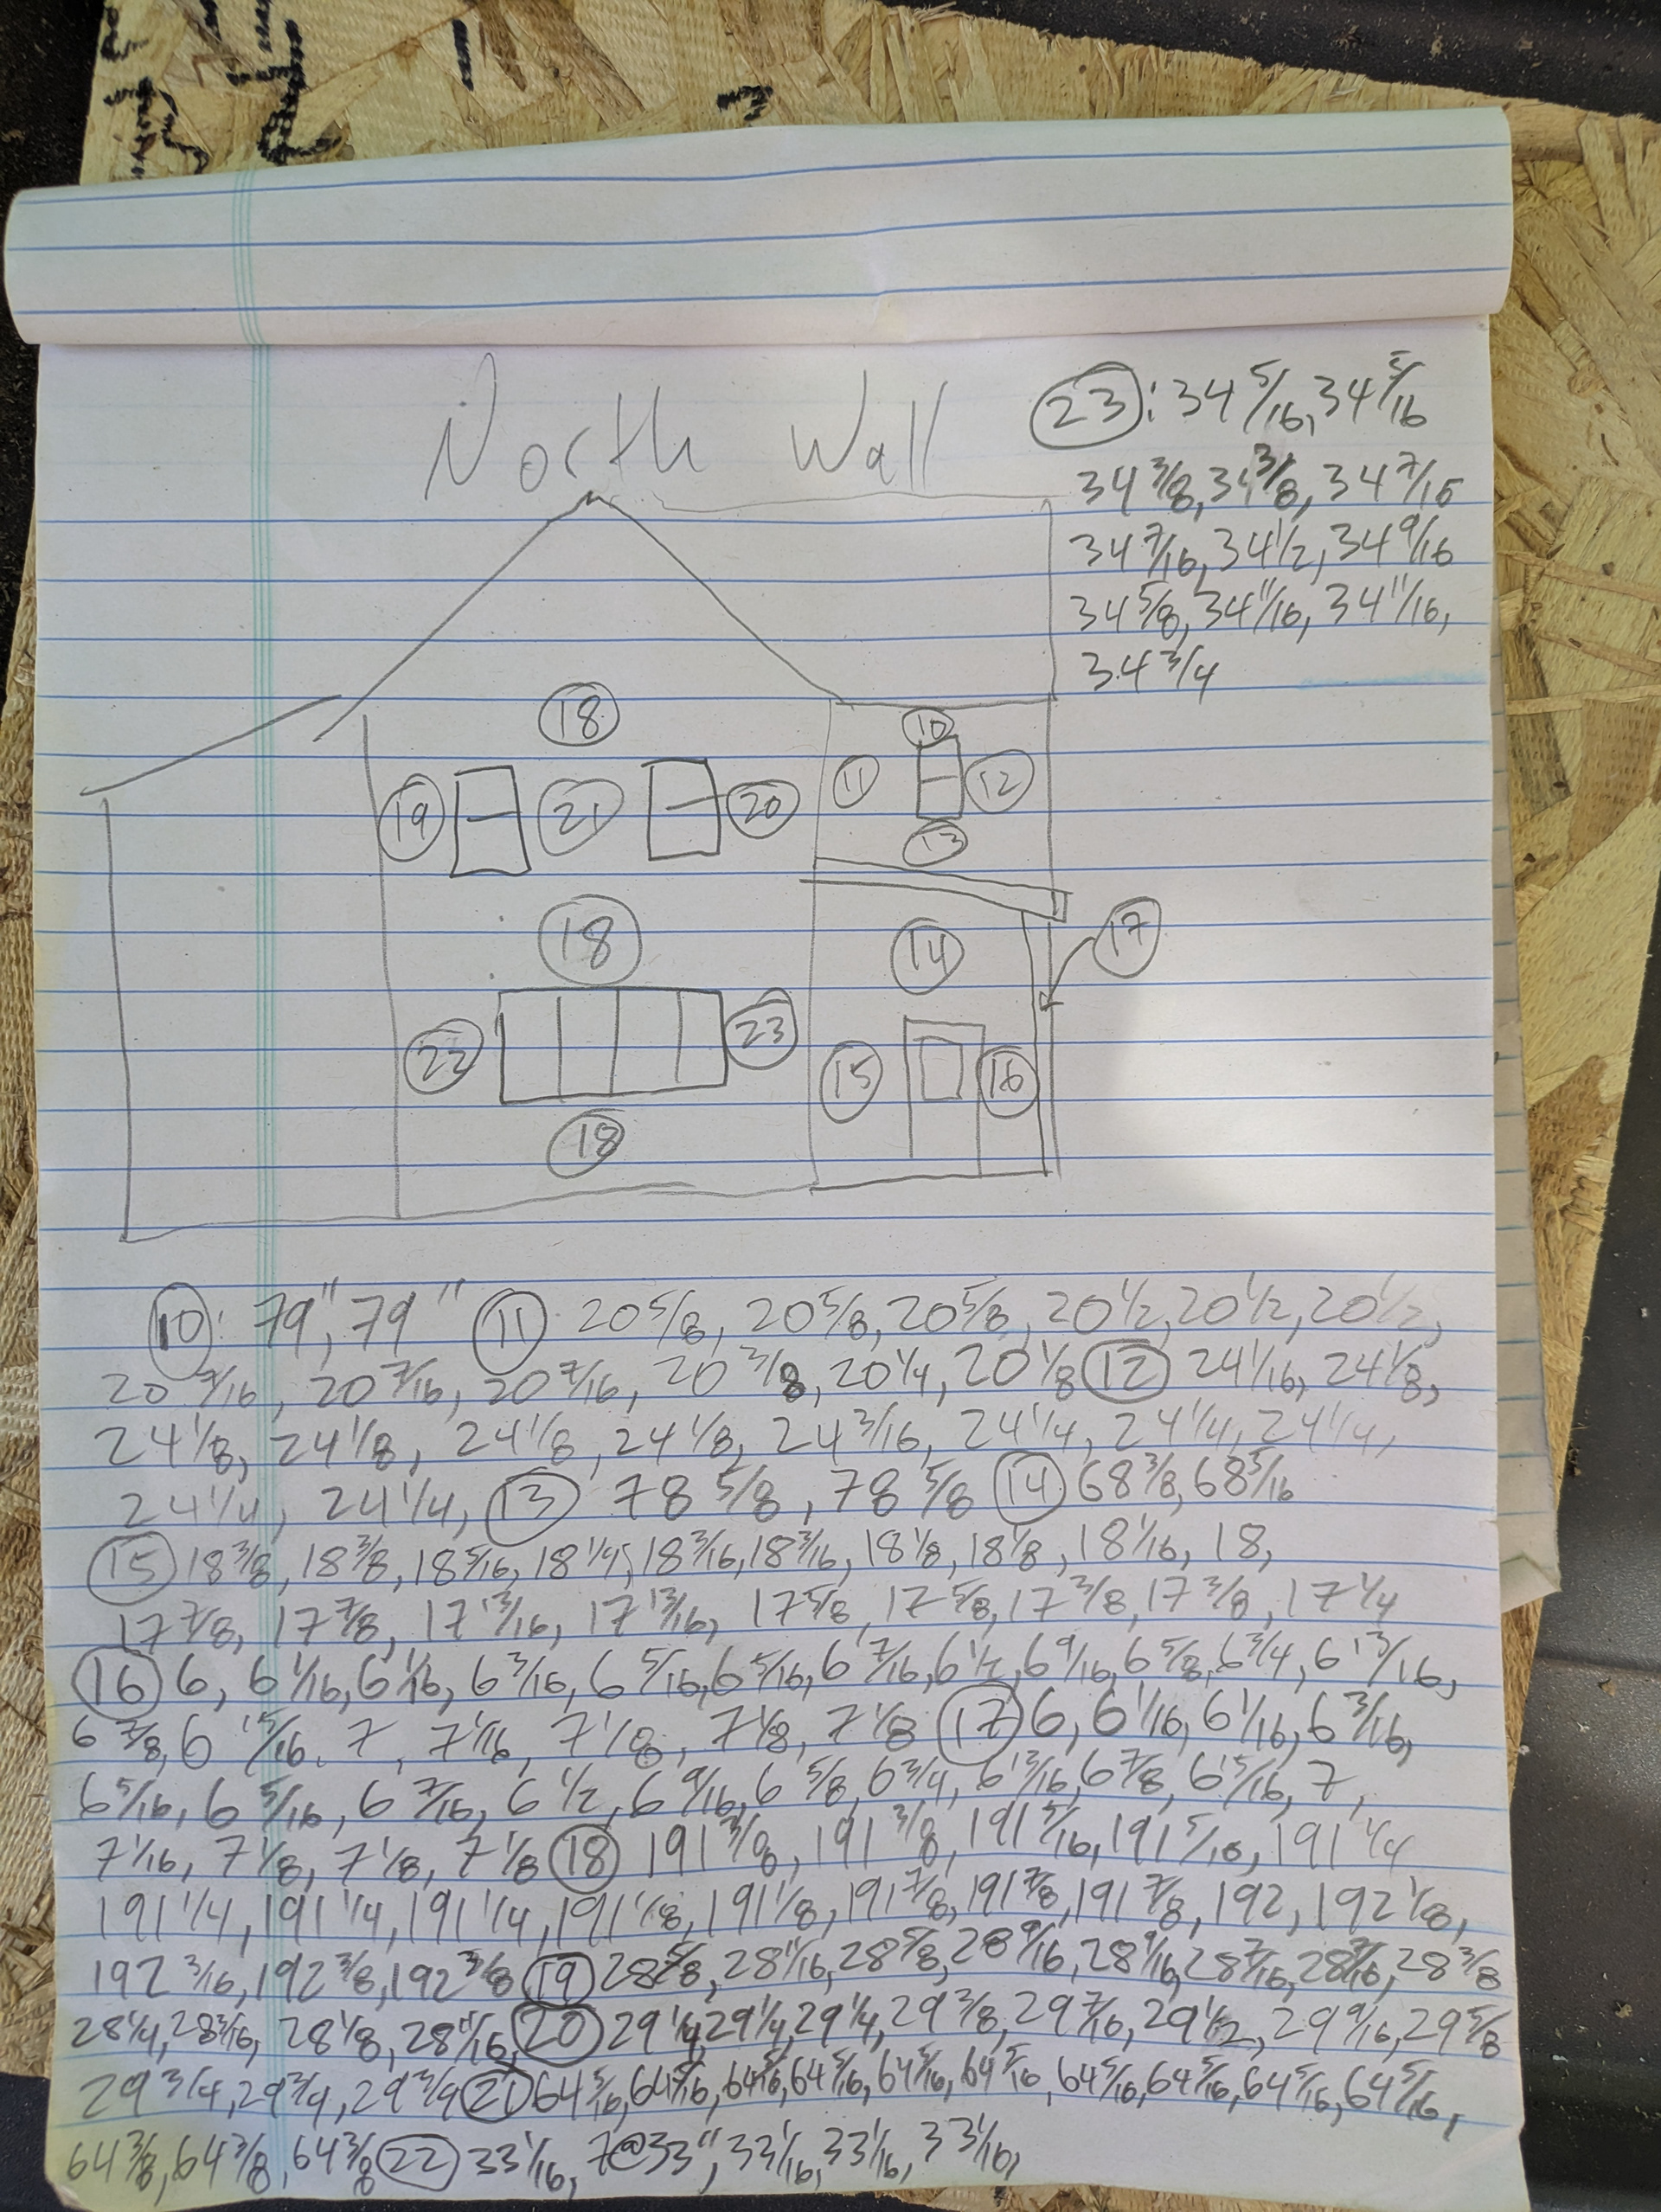
A cut list is created. A basic drawing of the side of the house is made with numbered zones. A list of each piece’s length for each zone is made starting from the top.
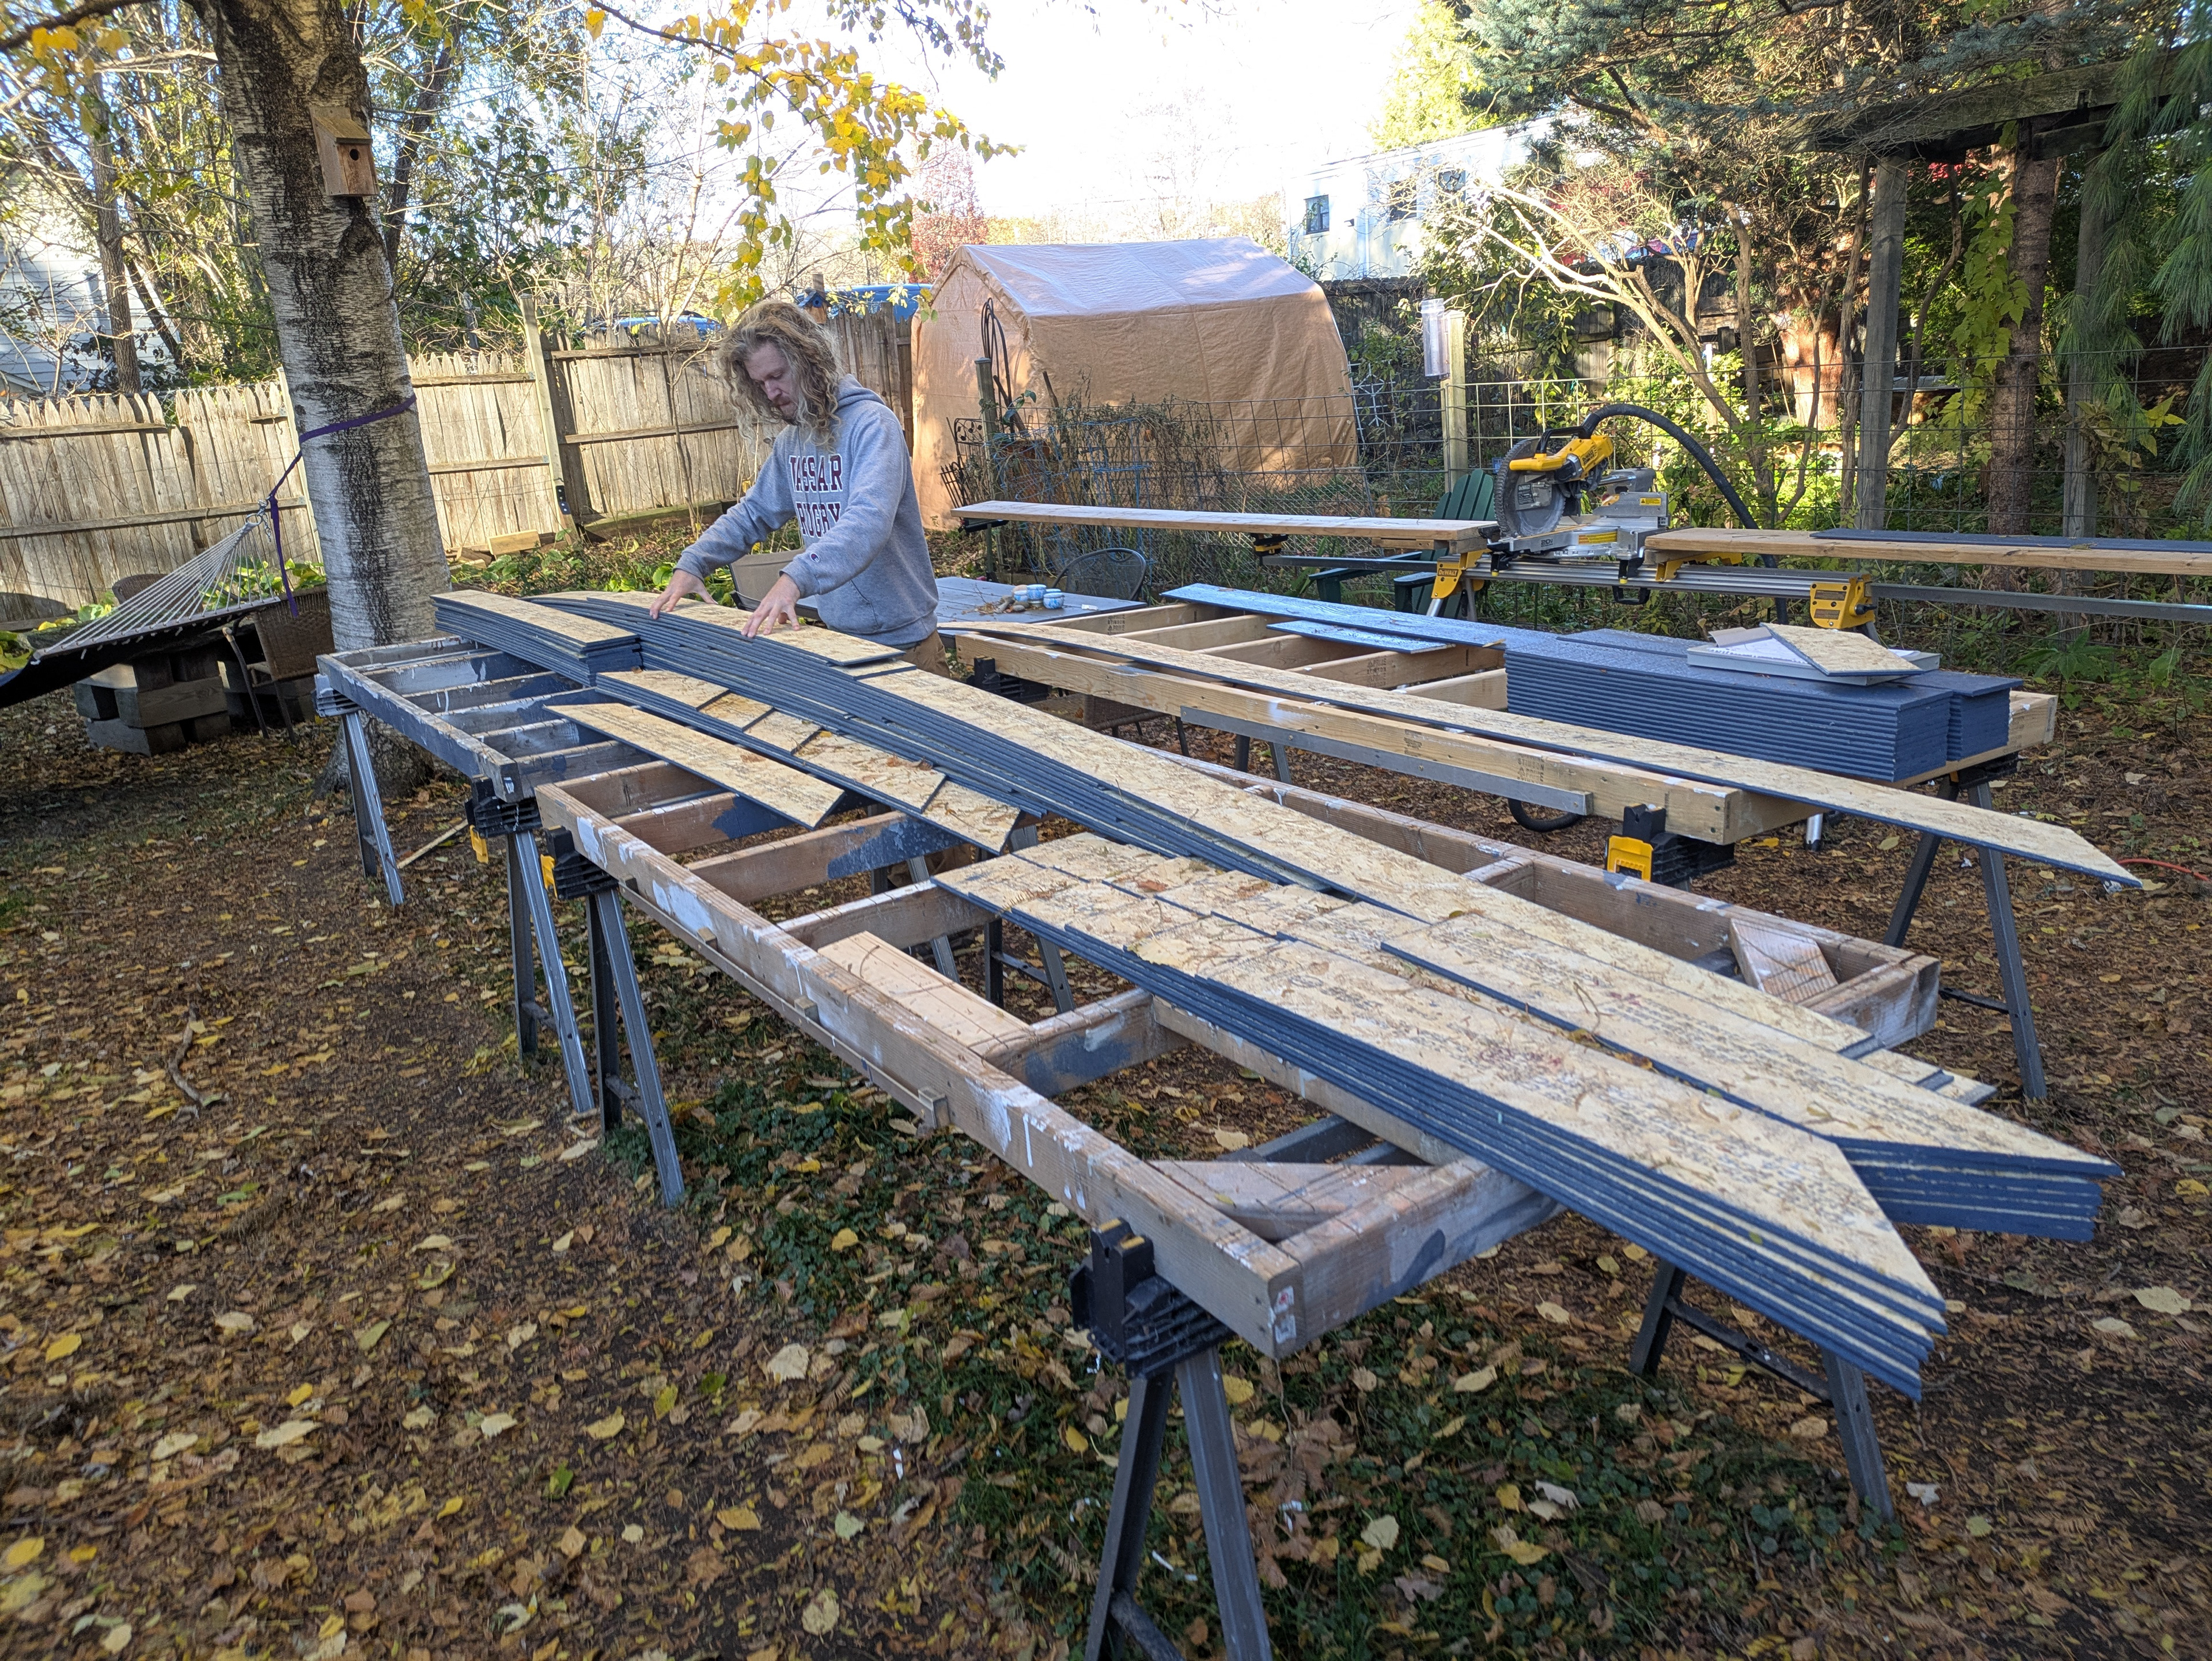
All of the siding for a given area is then cut, labeled on the backside and the cross cuts are primed and painted. Because the cut list starts at the top course and works its way down, each pile of siding for a given zone is naturally stacked with the lowest course on top for ease of installation.
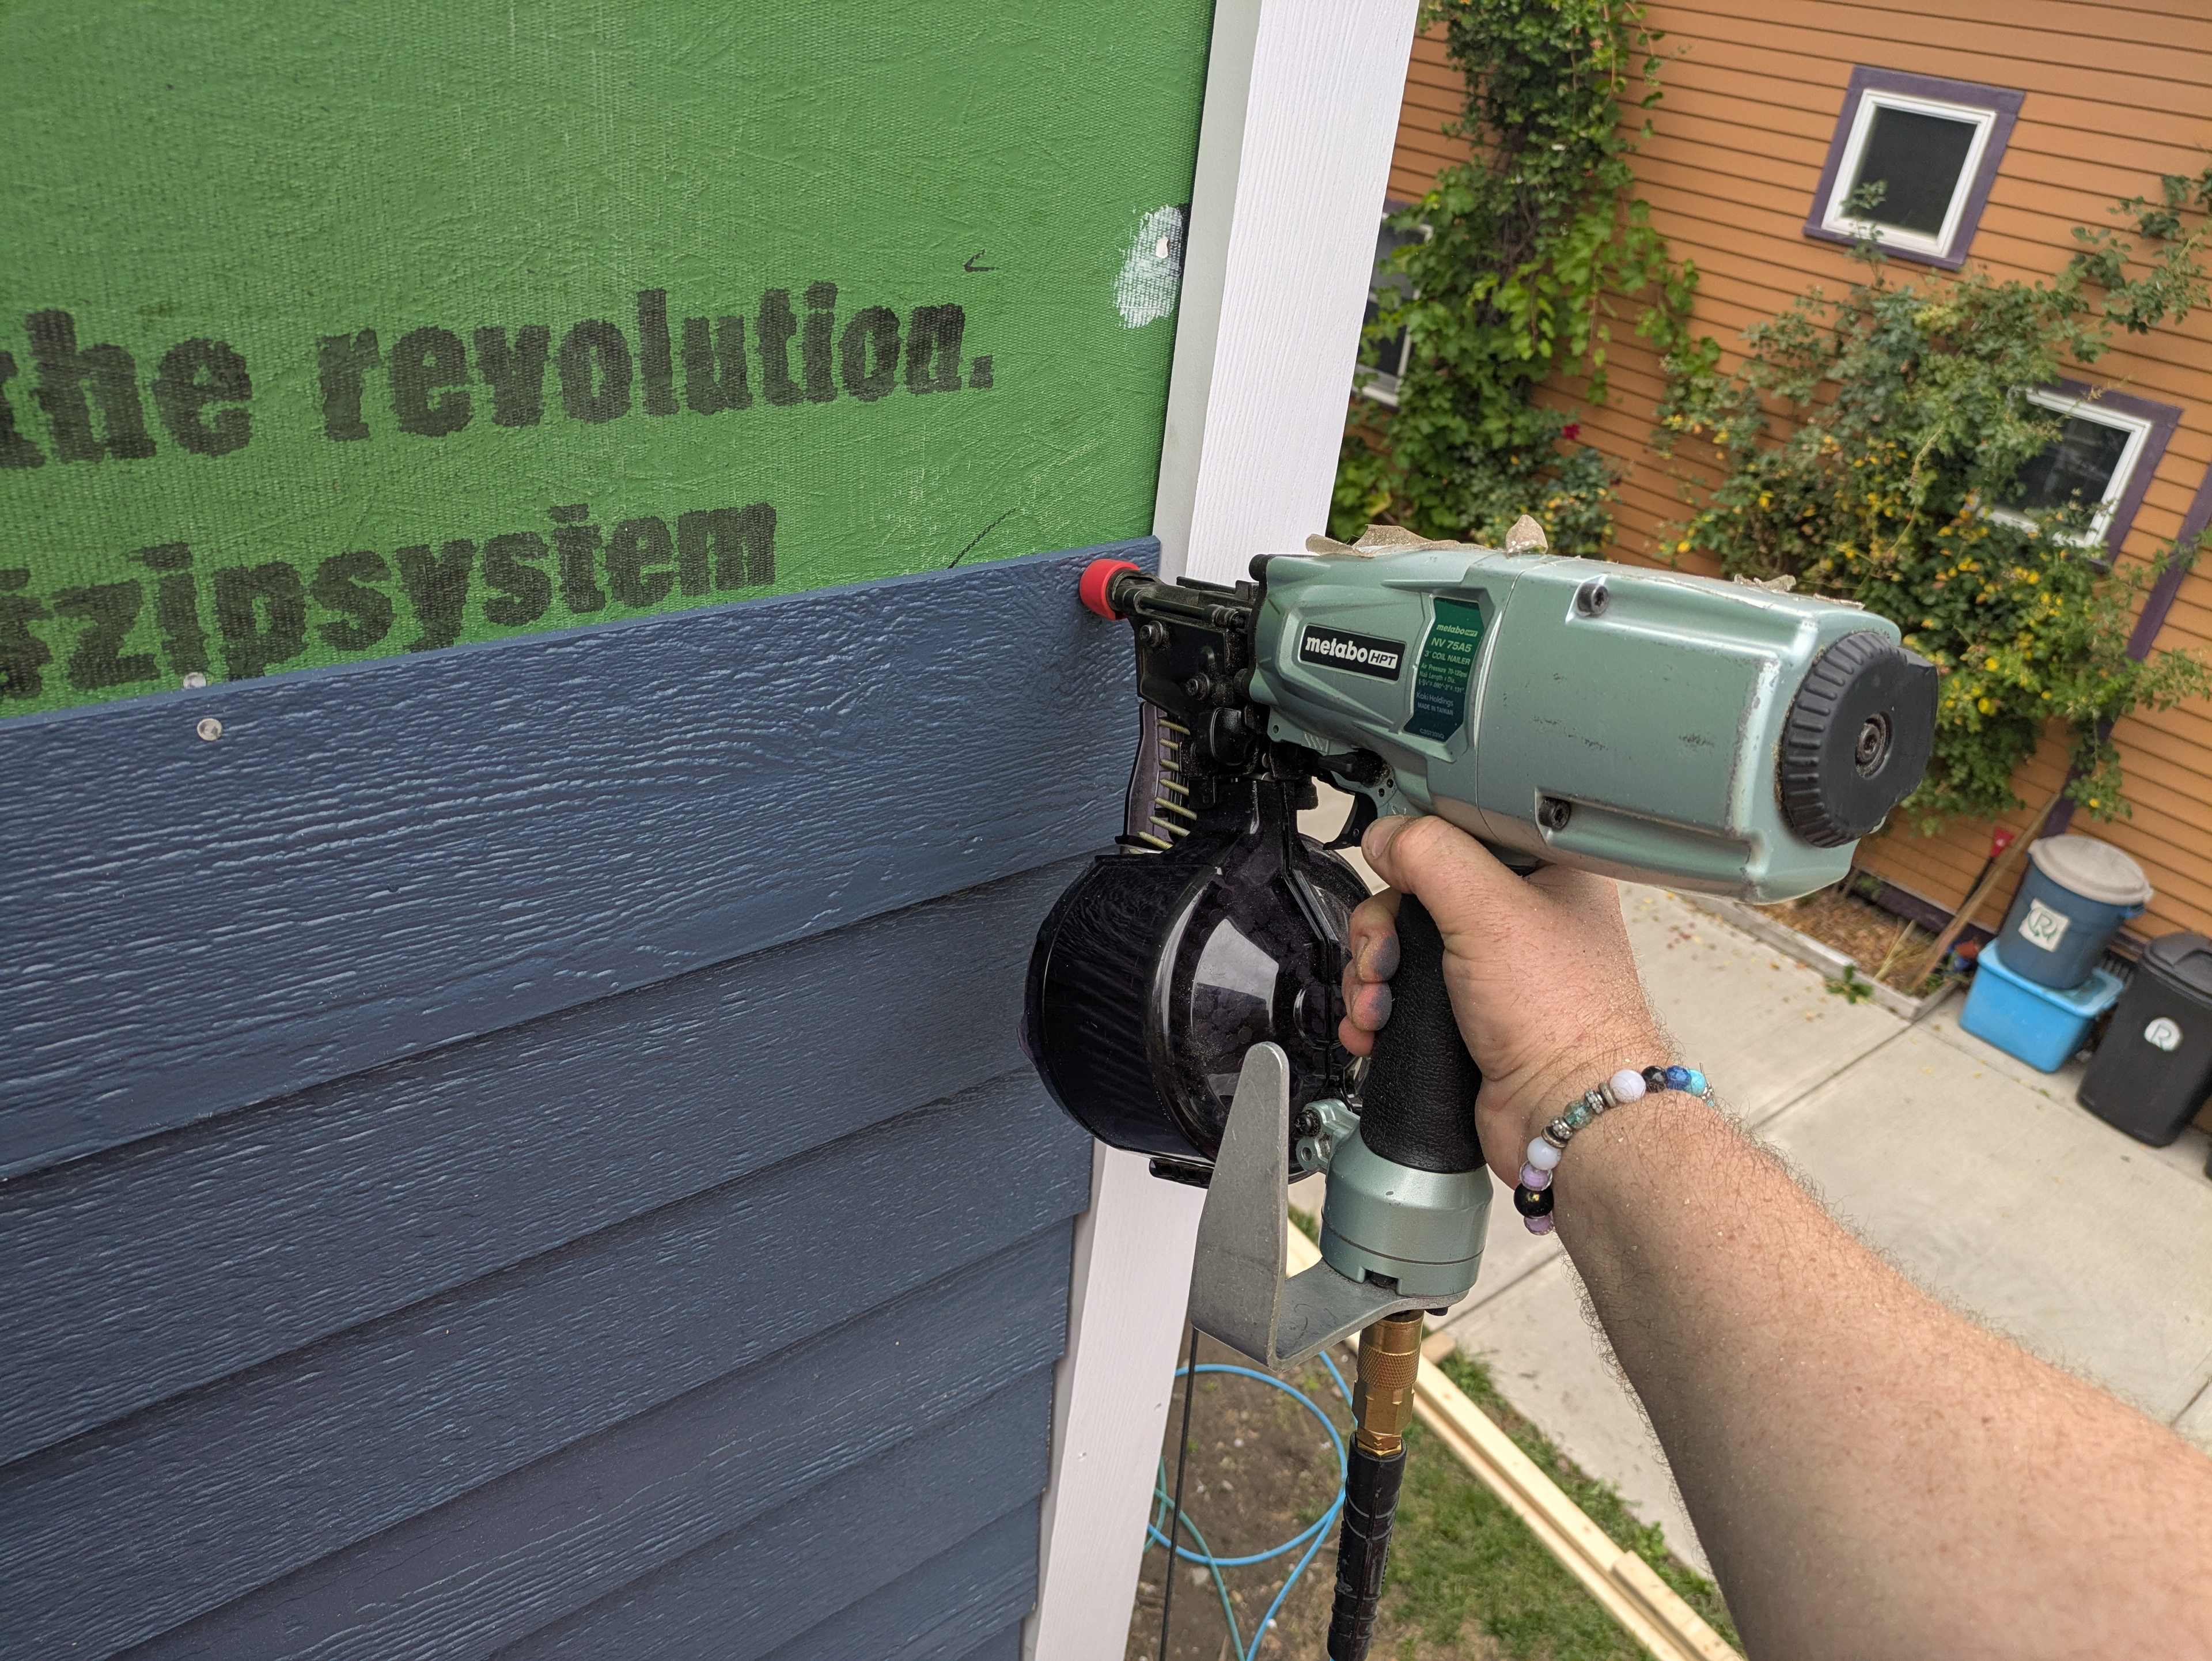
The siding is brought to the installers who nail it off with pneumatic siding nailers. The siding is nailed into the studs with long siding nails. LP smartside can be blind nailed which virtually eliminates visible fasteners that will require painting.
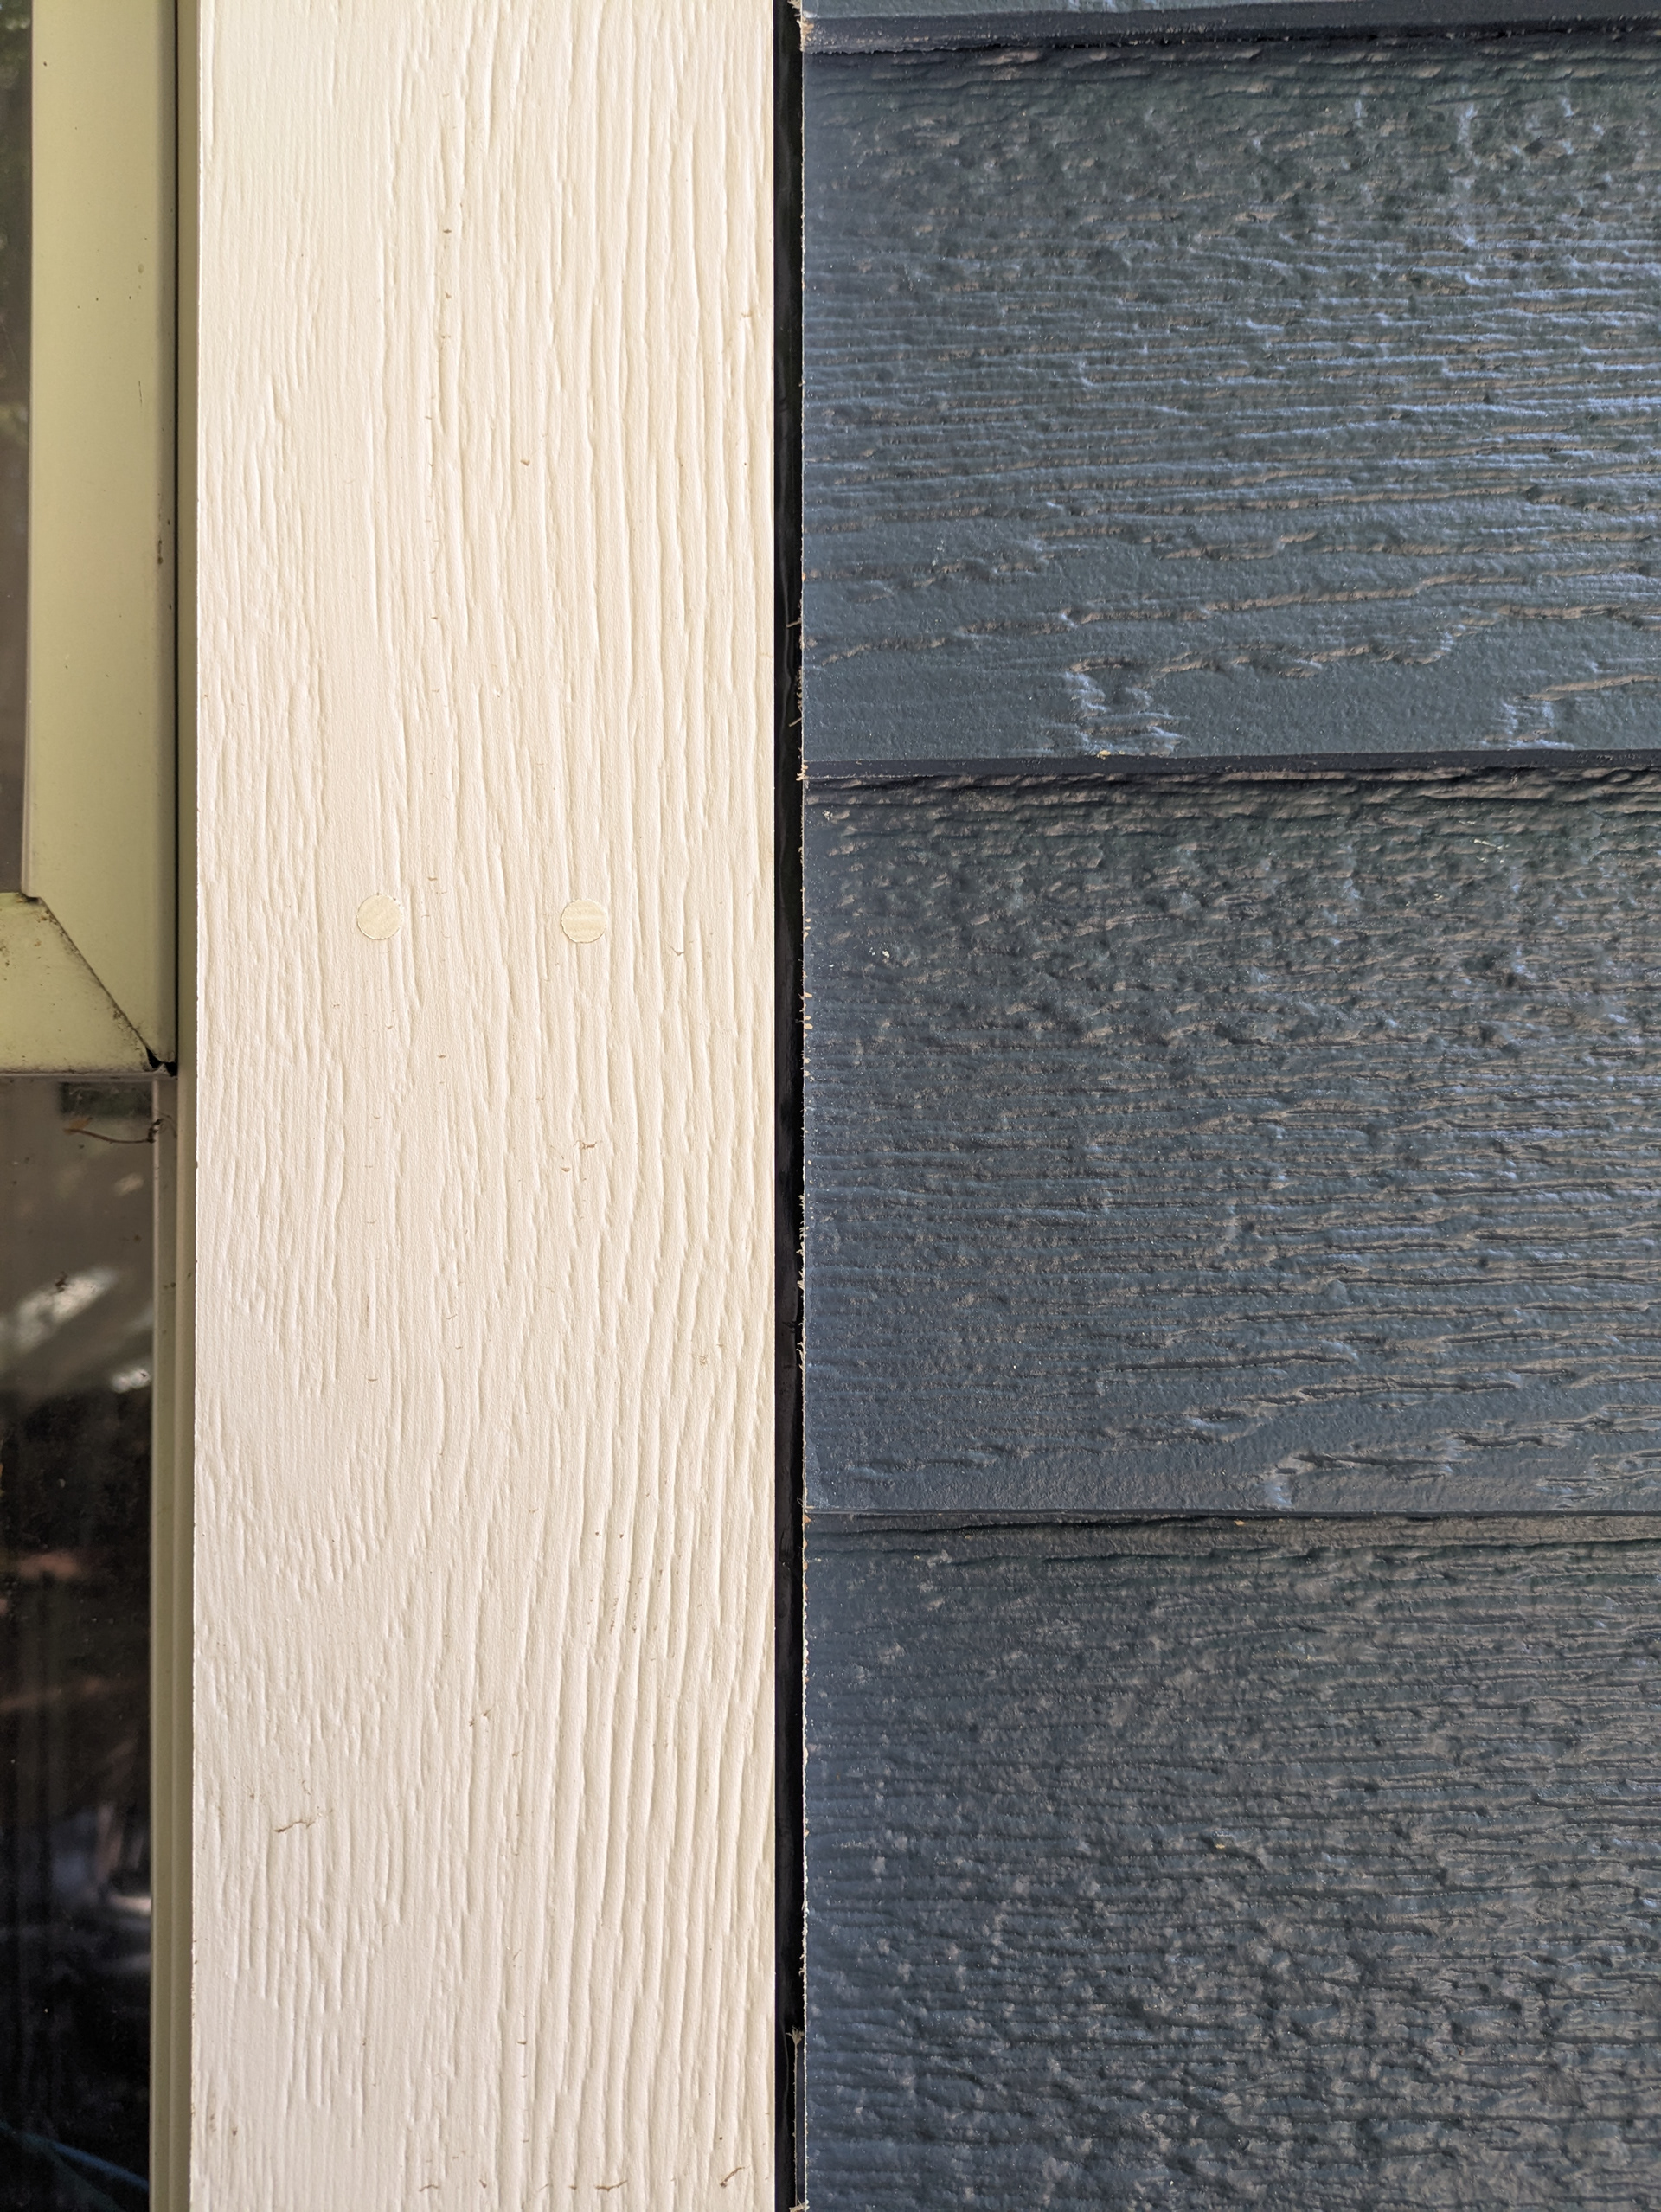
An expansion gap is left between the trim and siding as per the manufacturer’s installation instructions. This gap allows for the siding and trim to expand and contract seasonally without buckling.
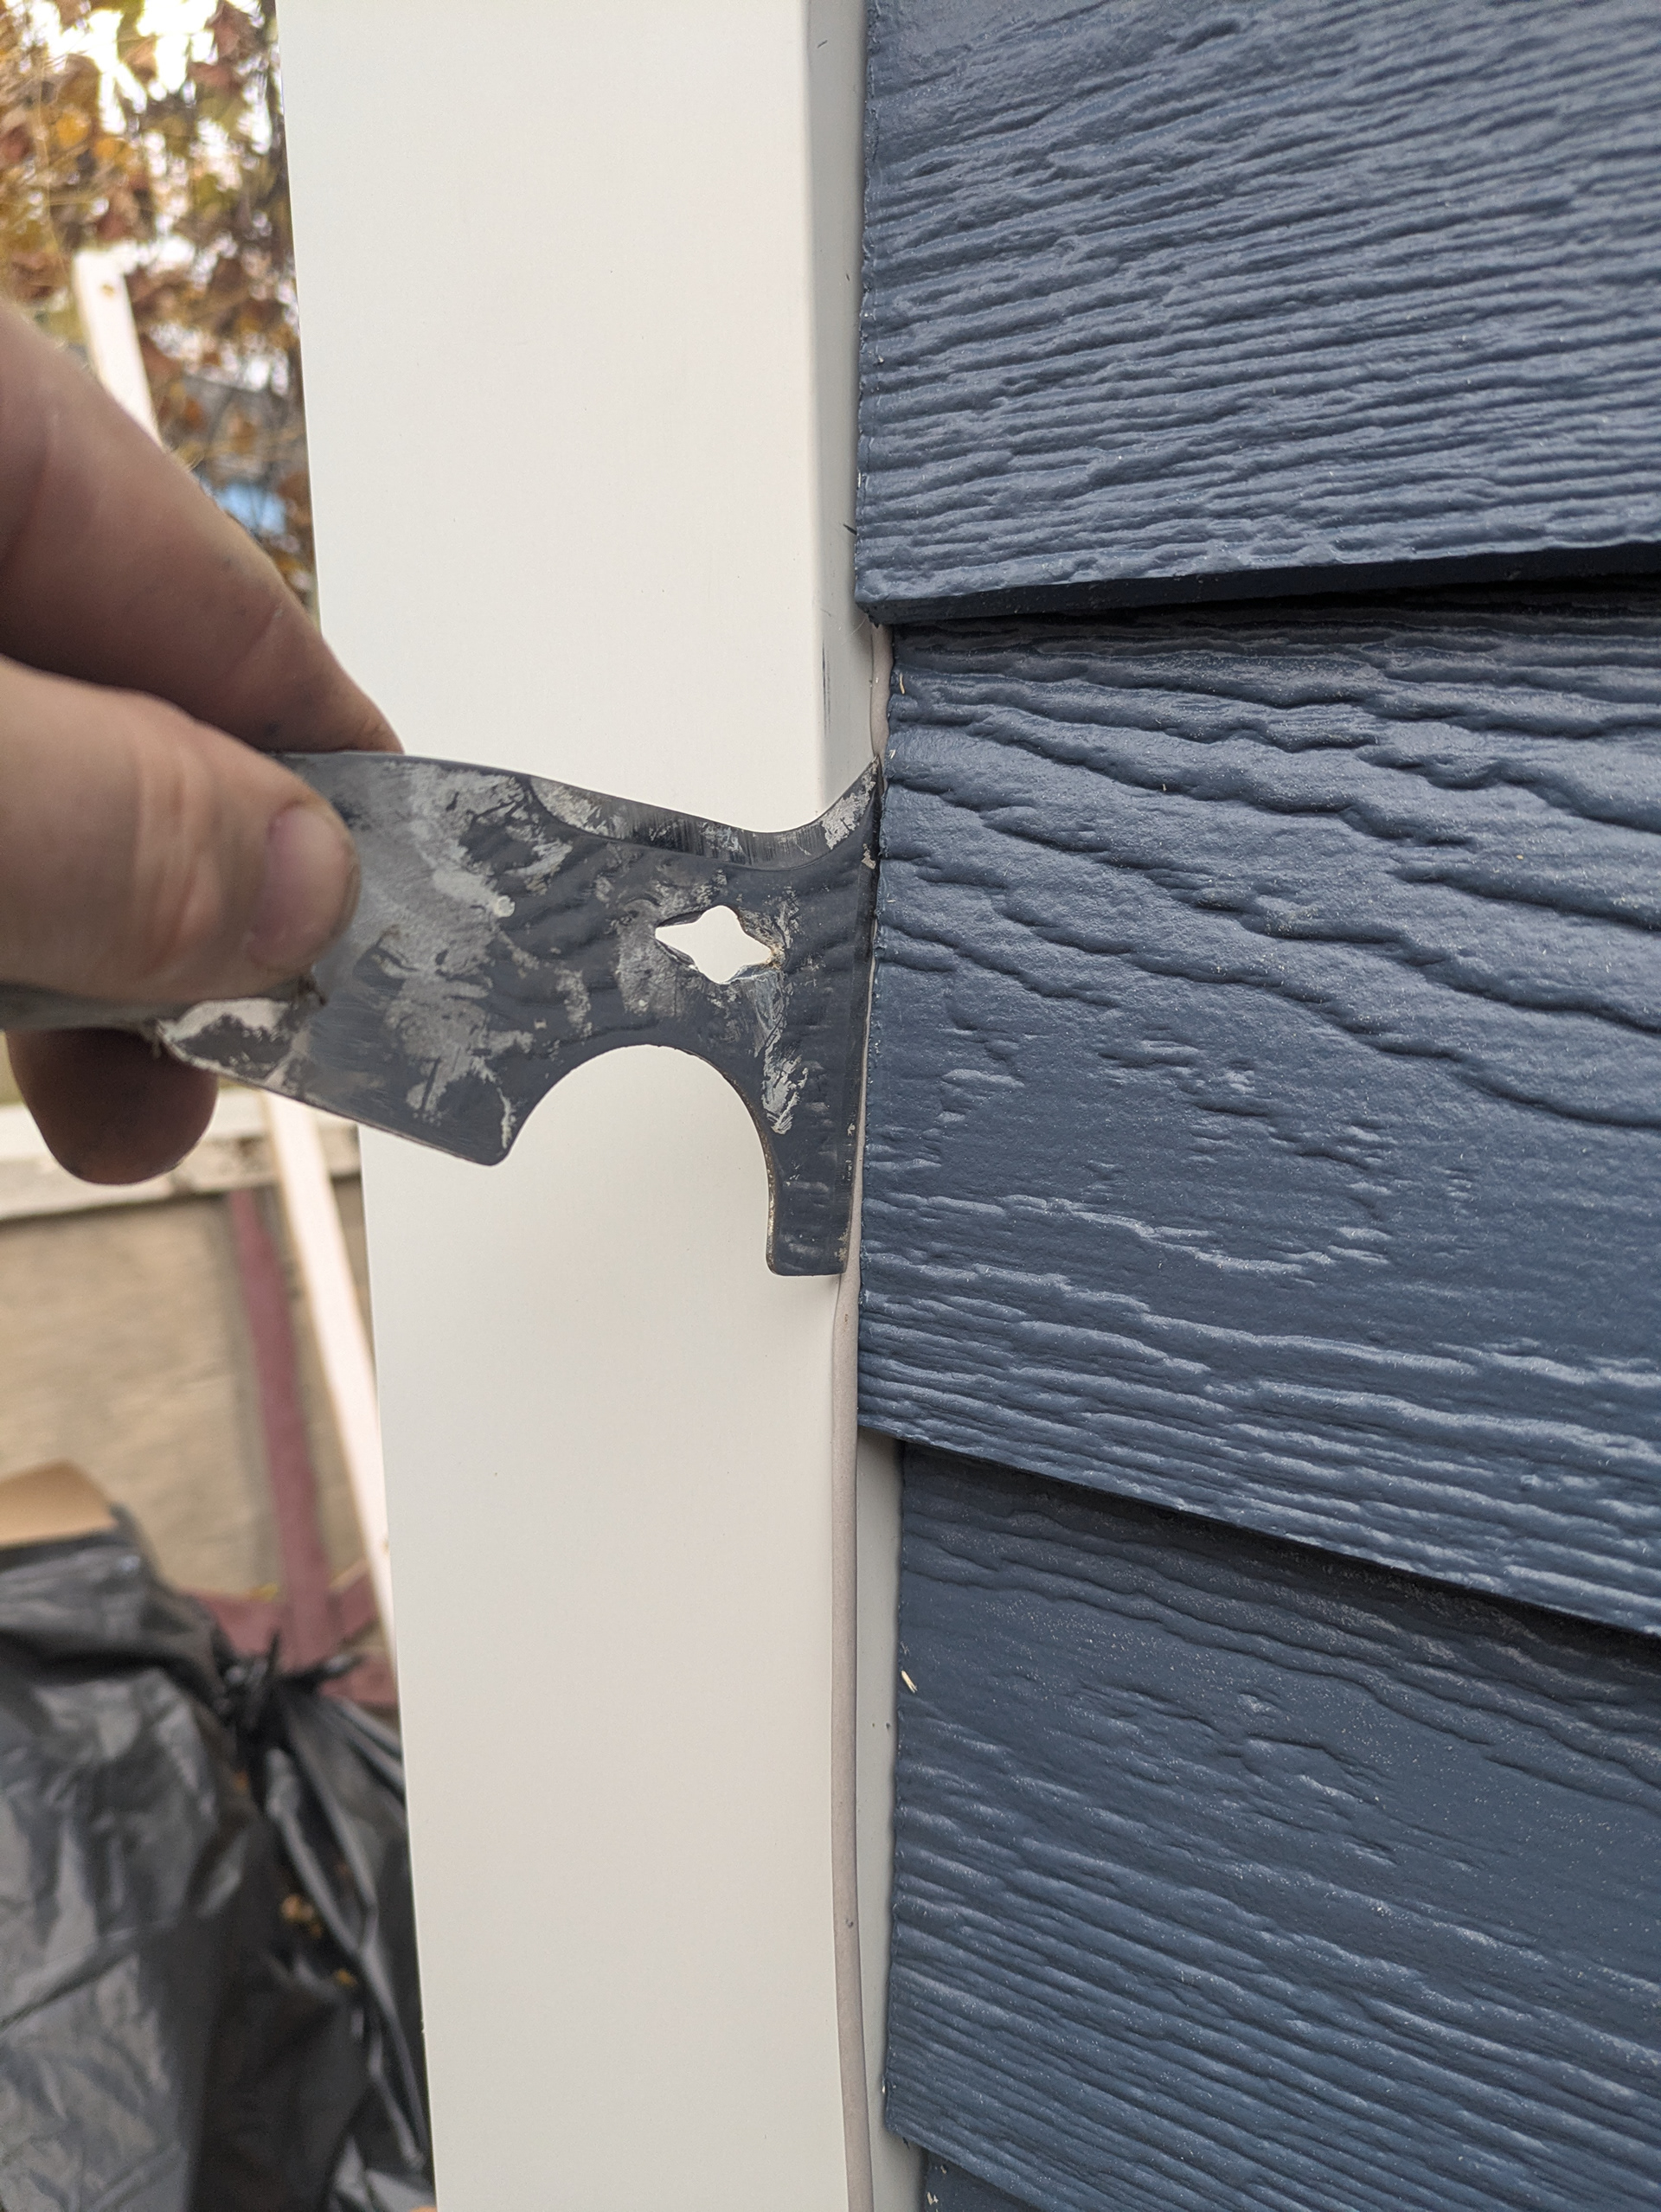
The expansion joint is filled with backer-rod. The gaps are then caulked with sealant that is tinted to match the siding’s factory applied coating.
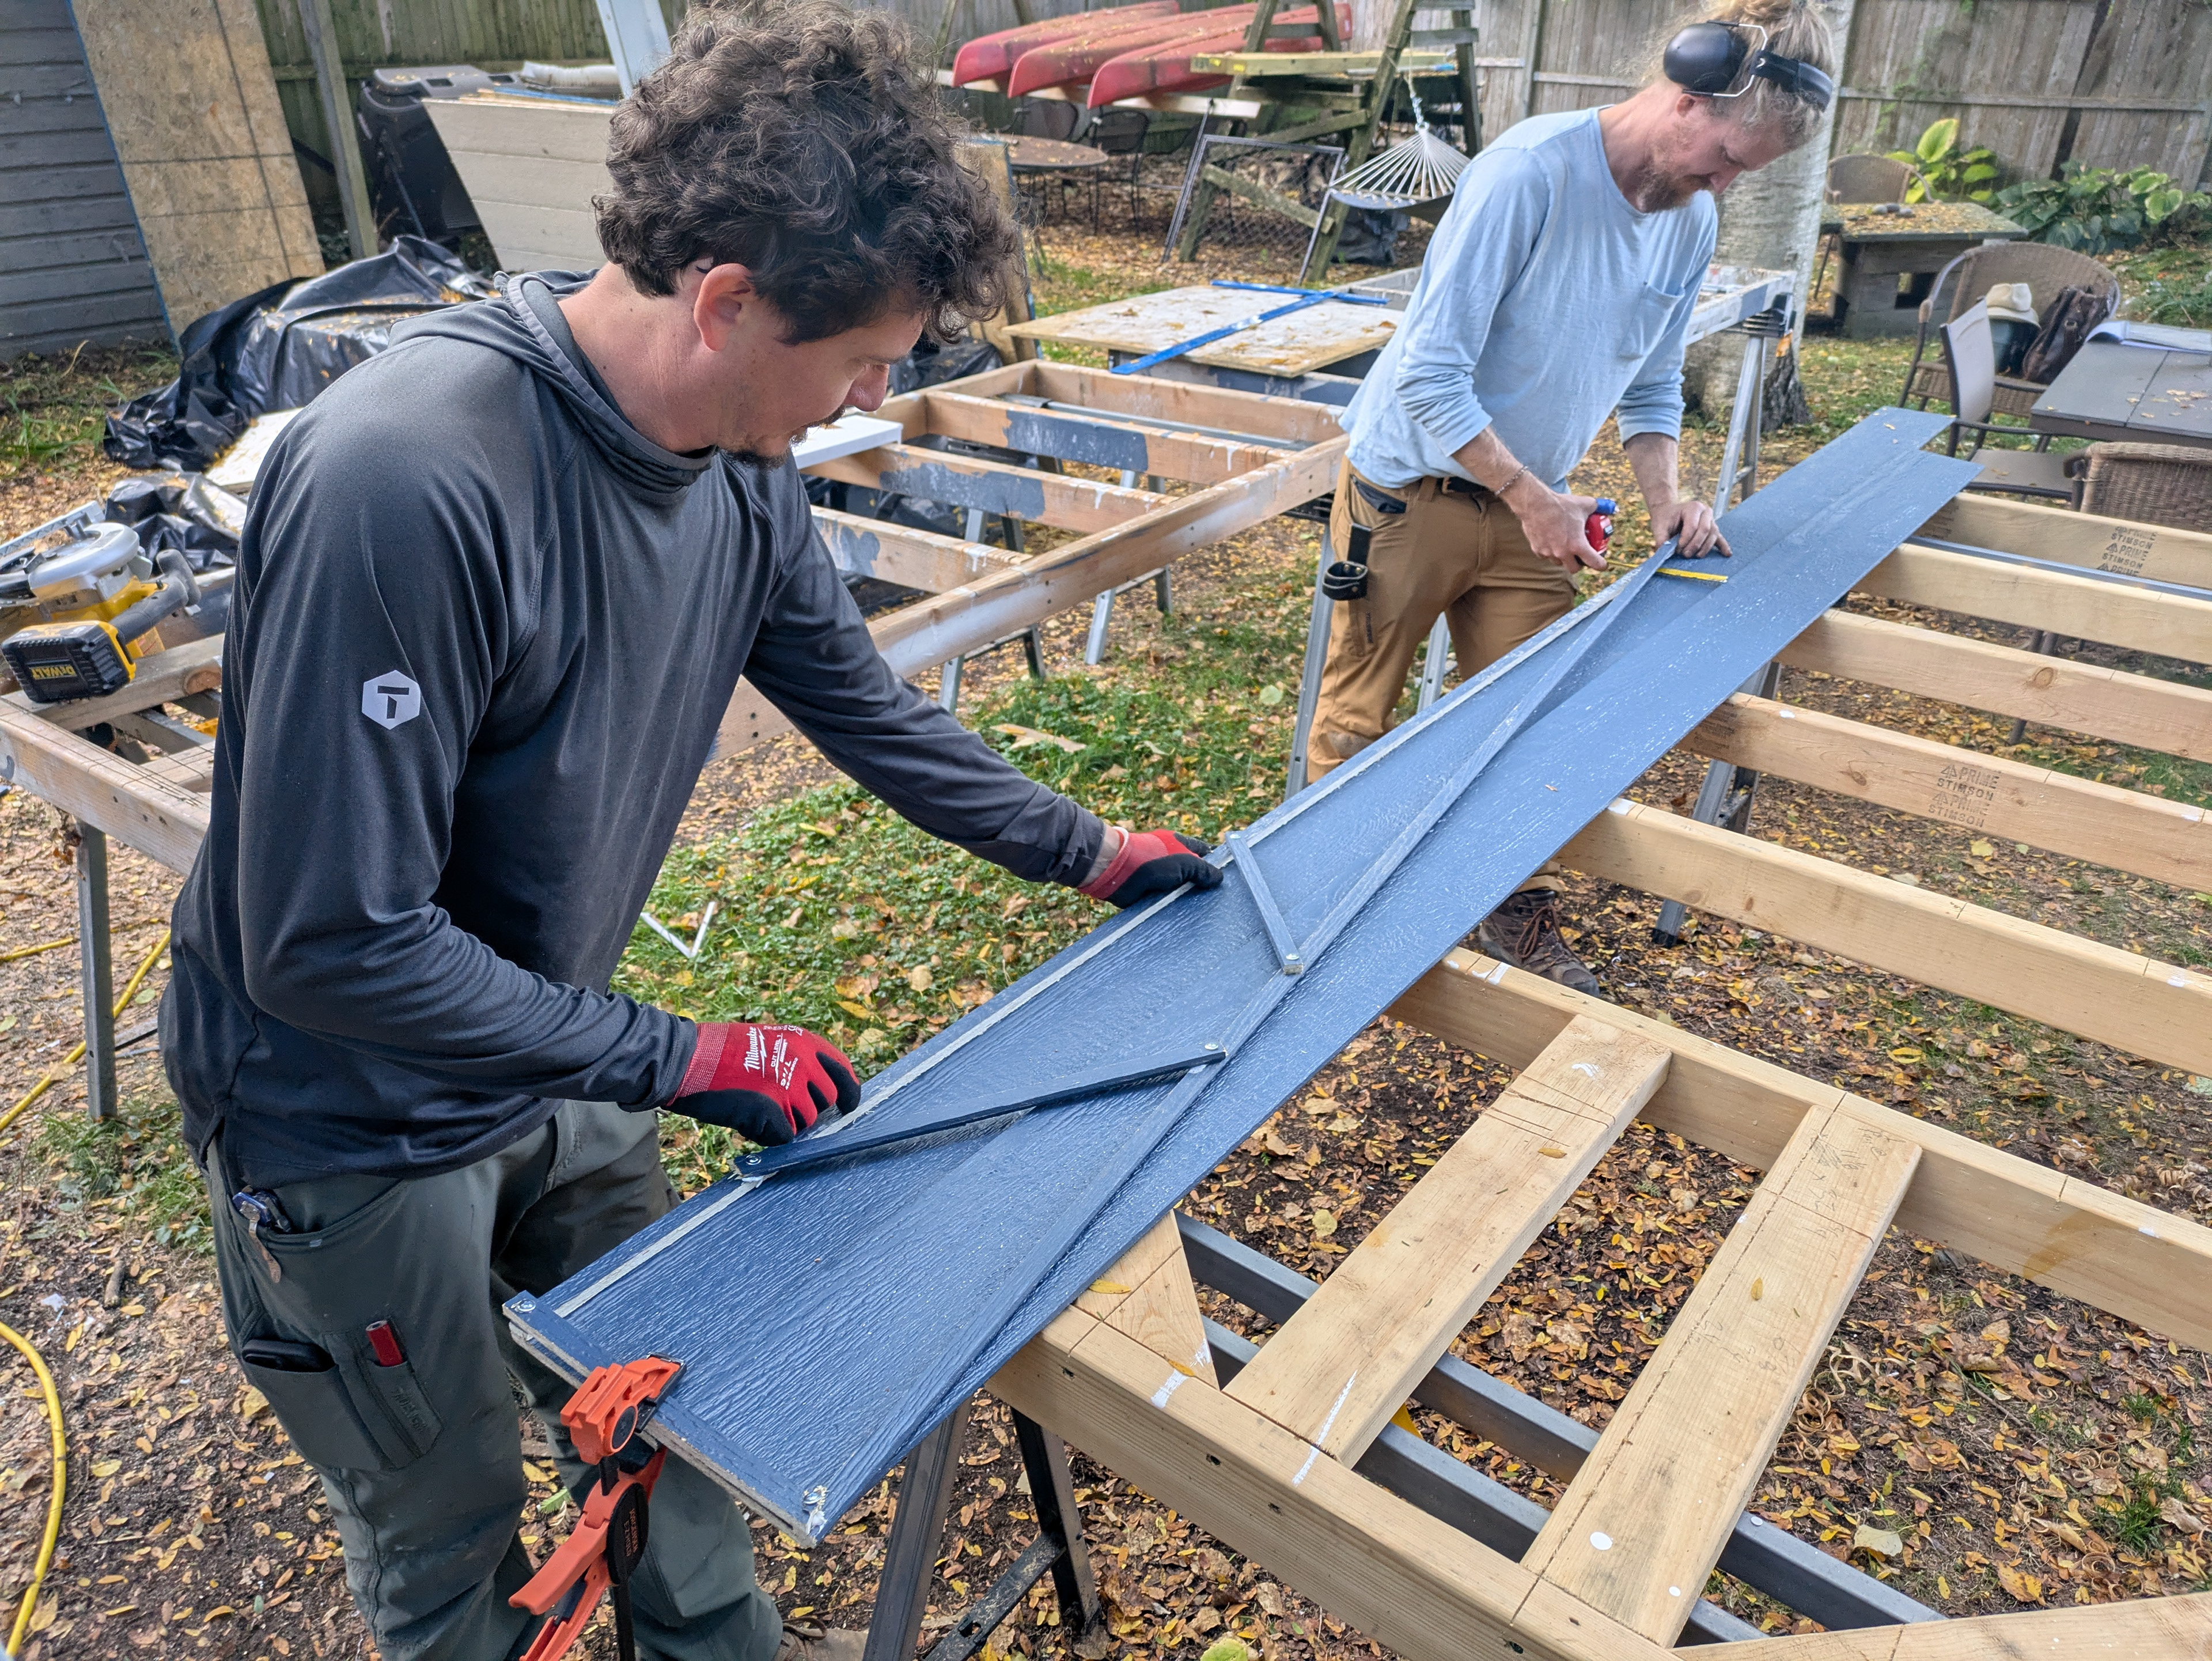
Difficult to measure areas are templated with scraps of siding glued and screwed together. The template is then placed on an evenly spaced set of siding boards and traced for accurate cutting.
These oddly shaped pieces of siding are then nailed in place for a perfect fit.
Architectural millwork that requires replacement such as this rotting corbel are accurately measured and removed.
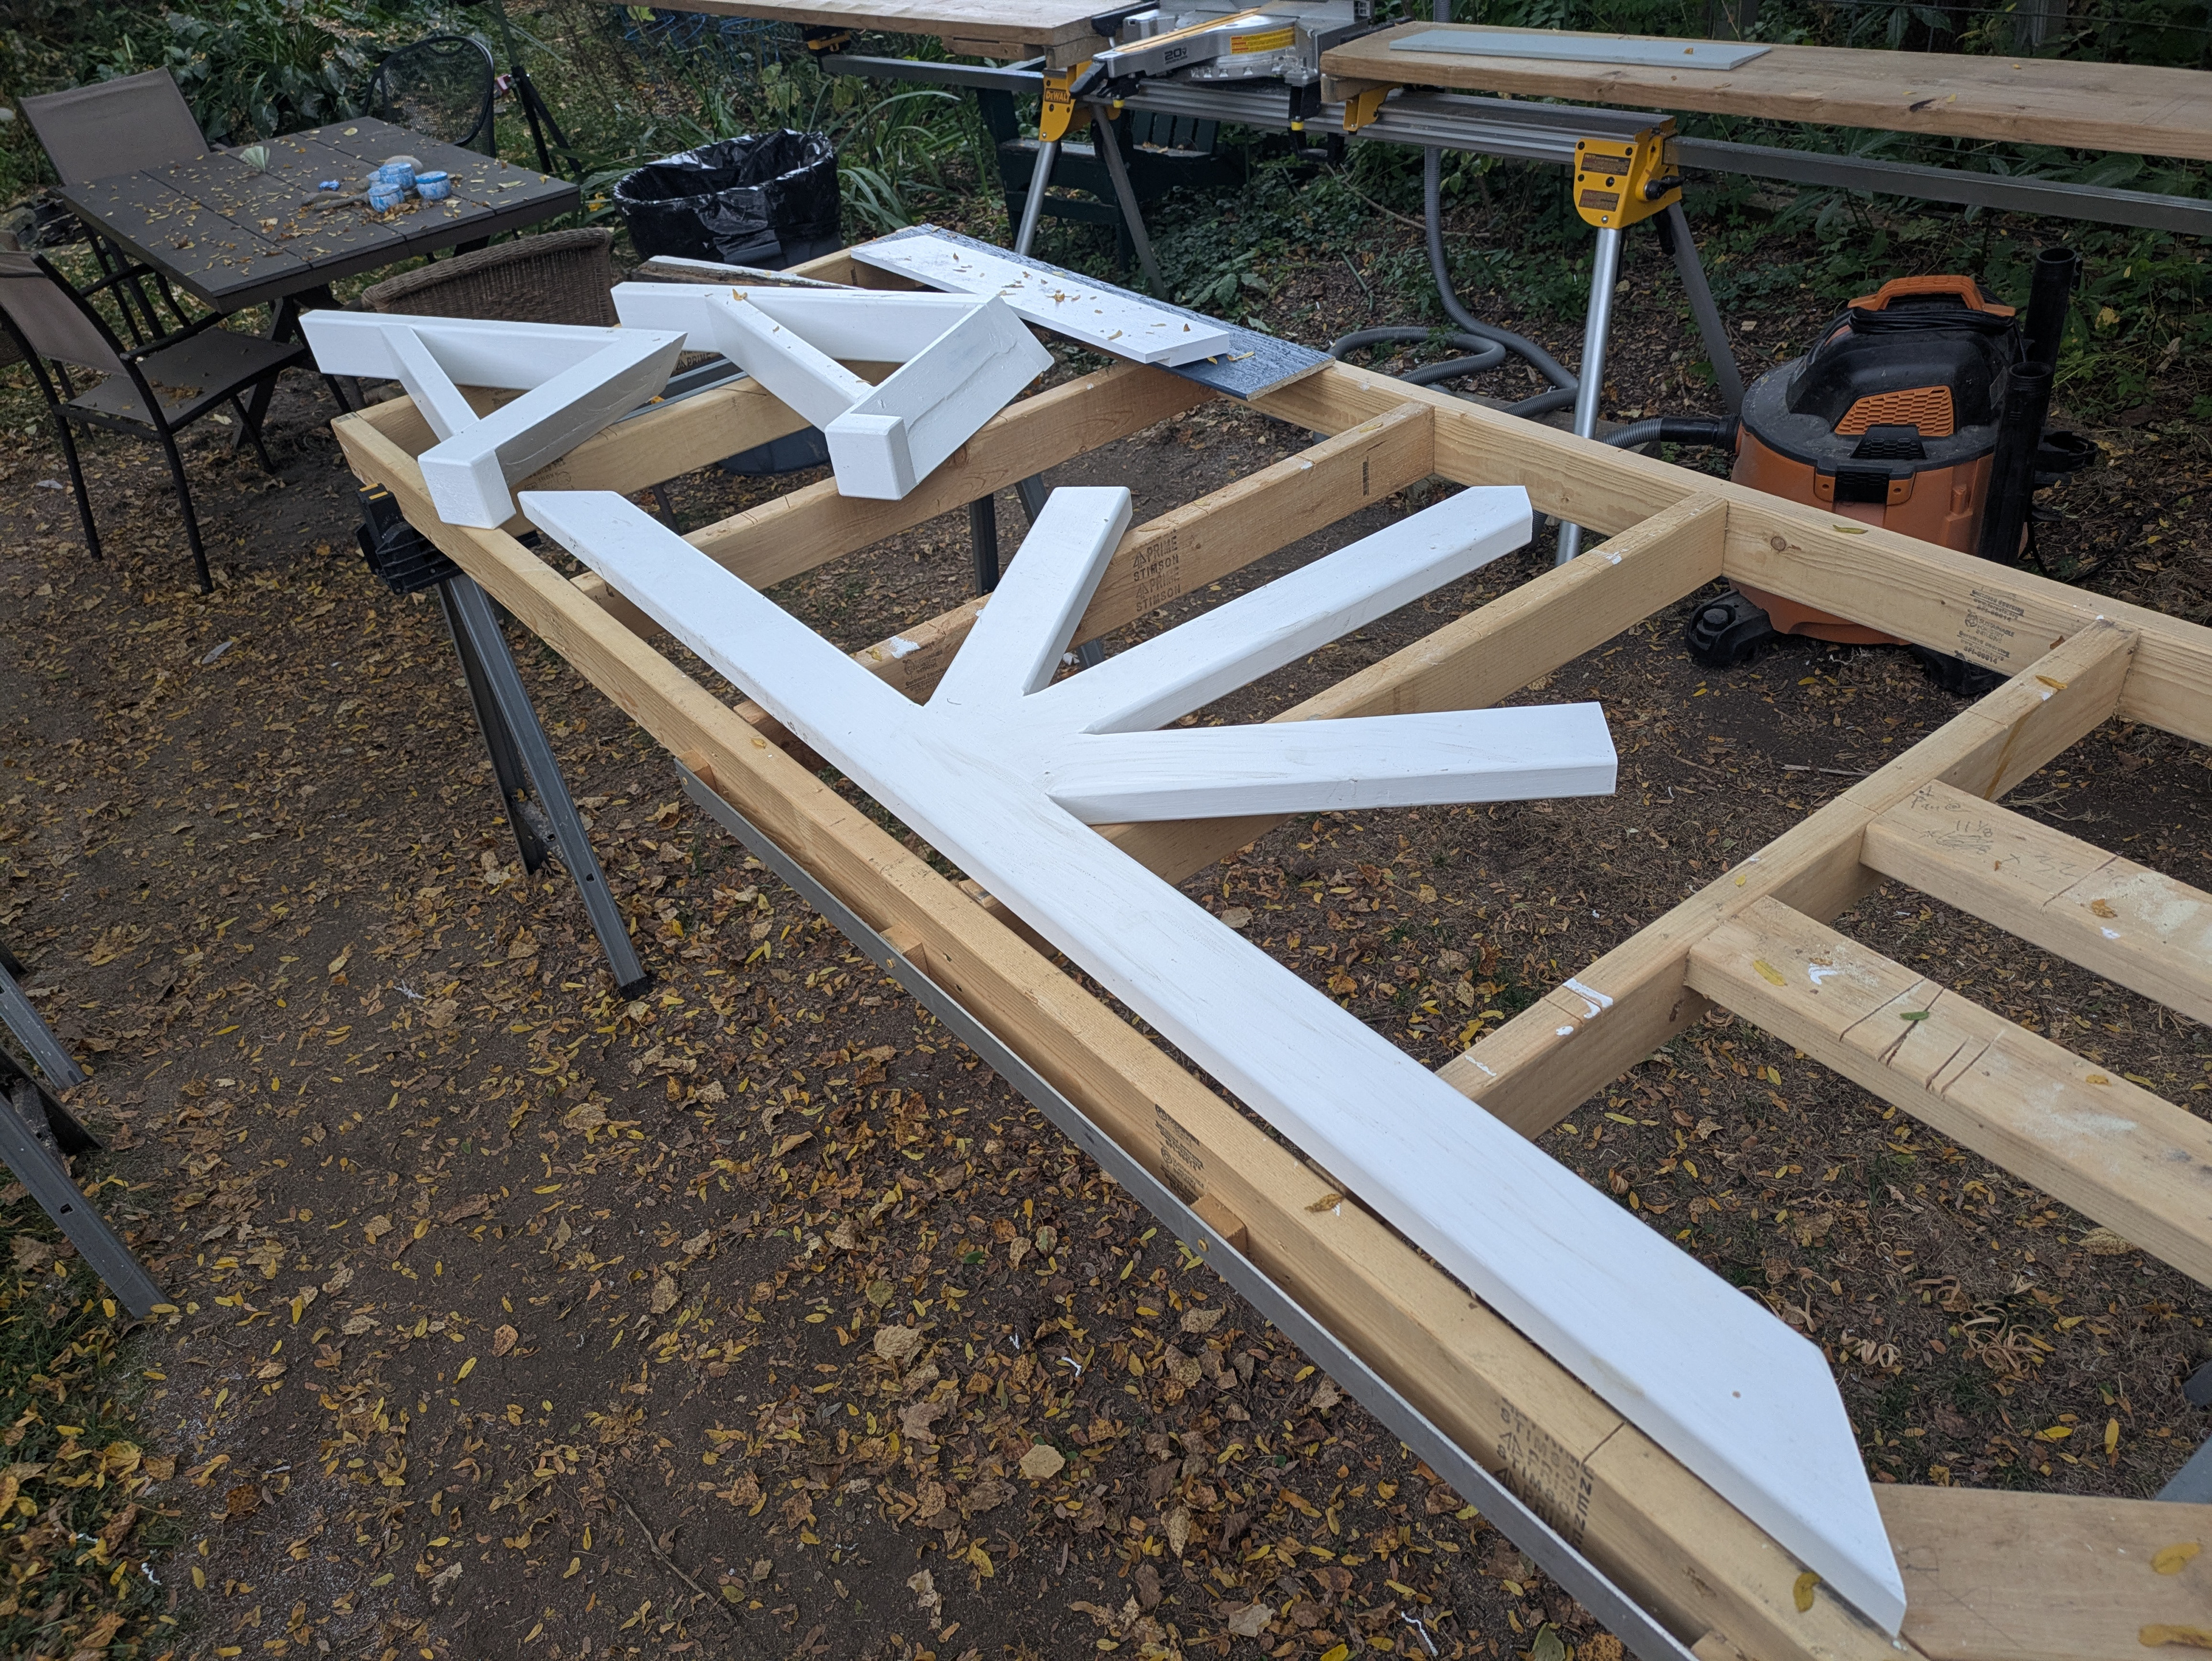
Custom millwork is fabricated onsite from old growth Western red cedar using domino tenons, pocket screws and exterior rated adhesive. The components are then sealed with shellac primer, coated with an oil based alkyd primer then top coated with two coats of latex paint. Each primer and paint is given a minimum of 24 hours to cure before a new product is applied over top.
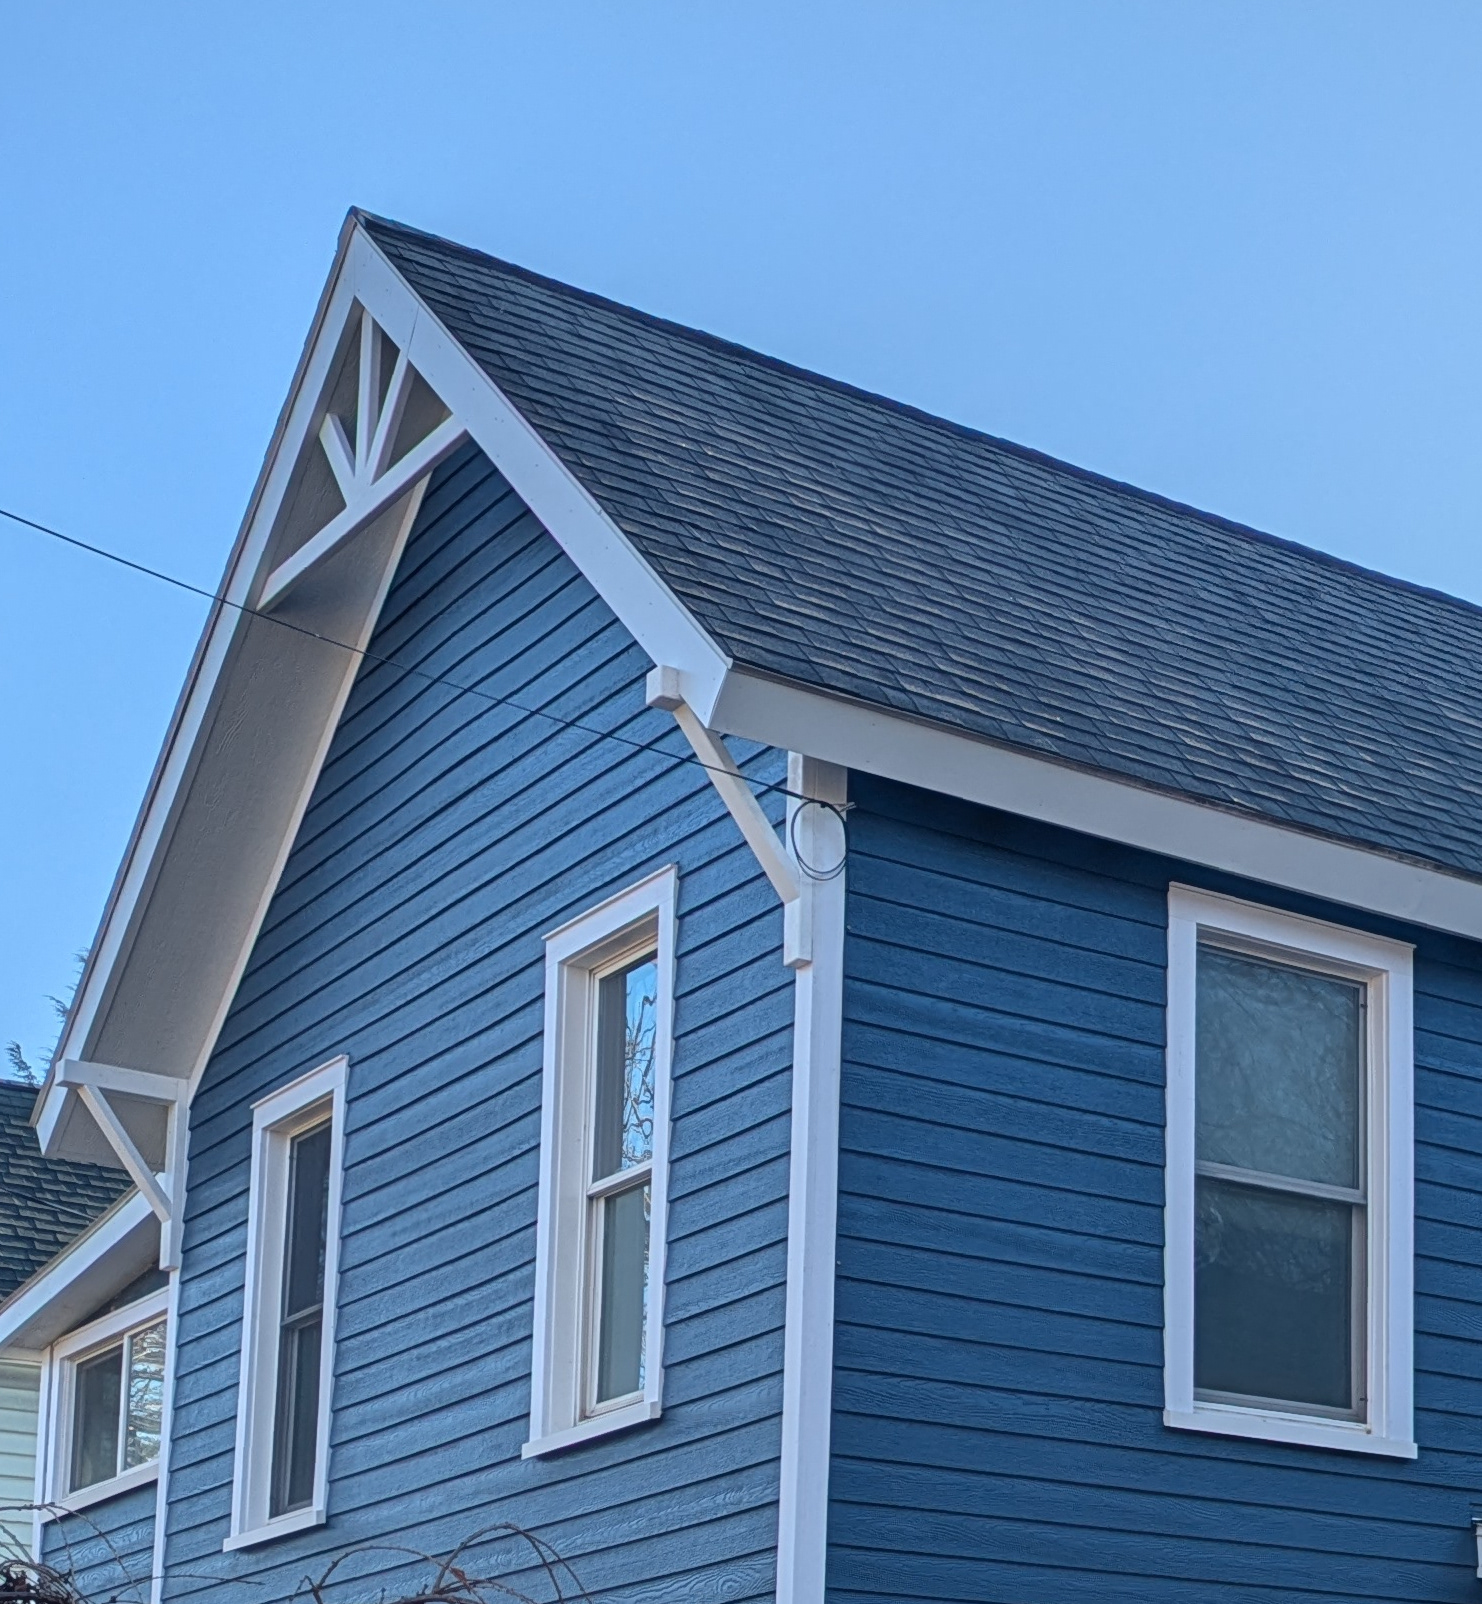
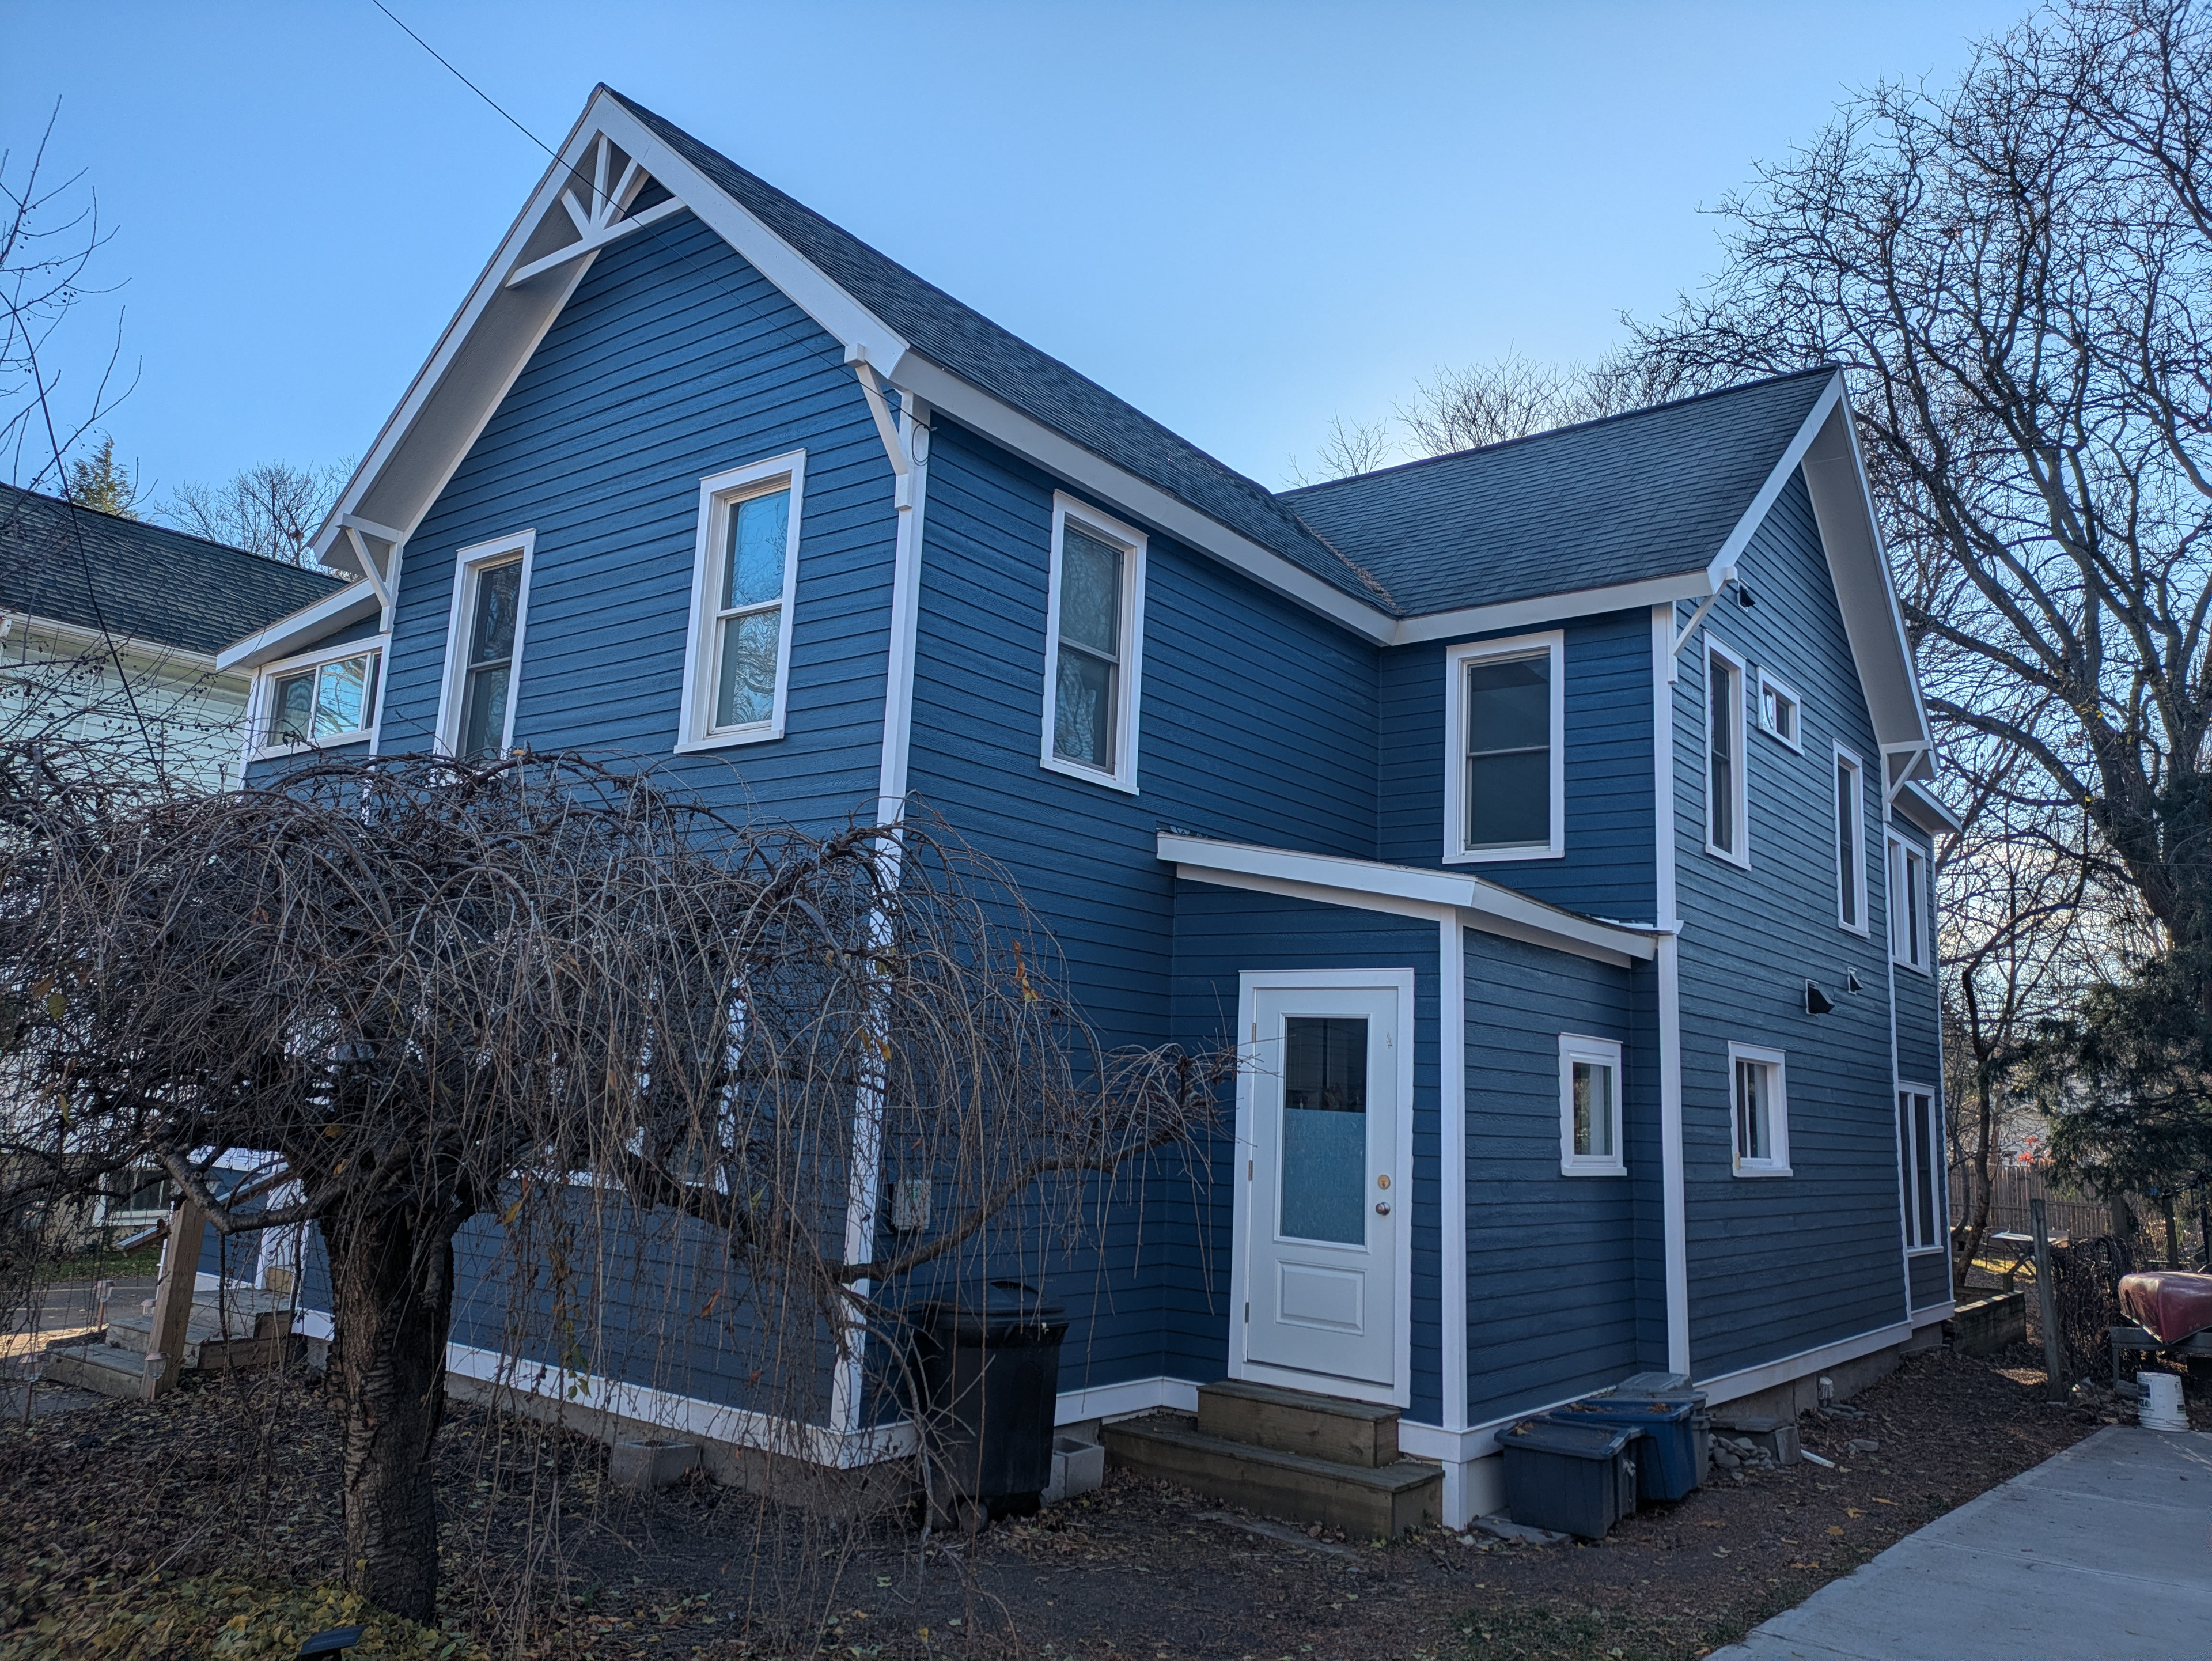
Corbels and decorative trusses are installed to complete the job.
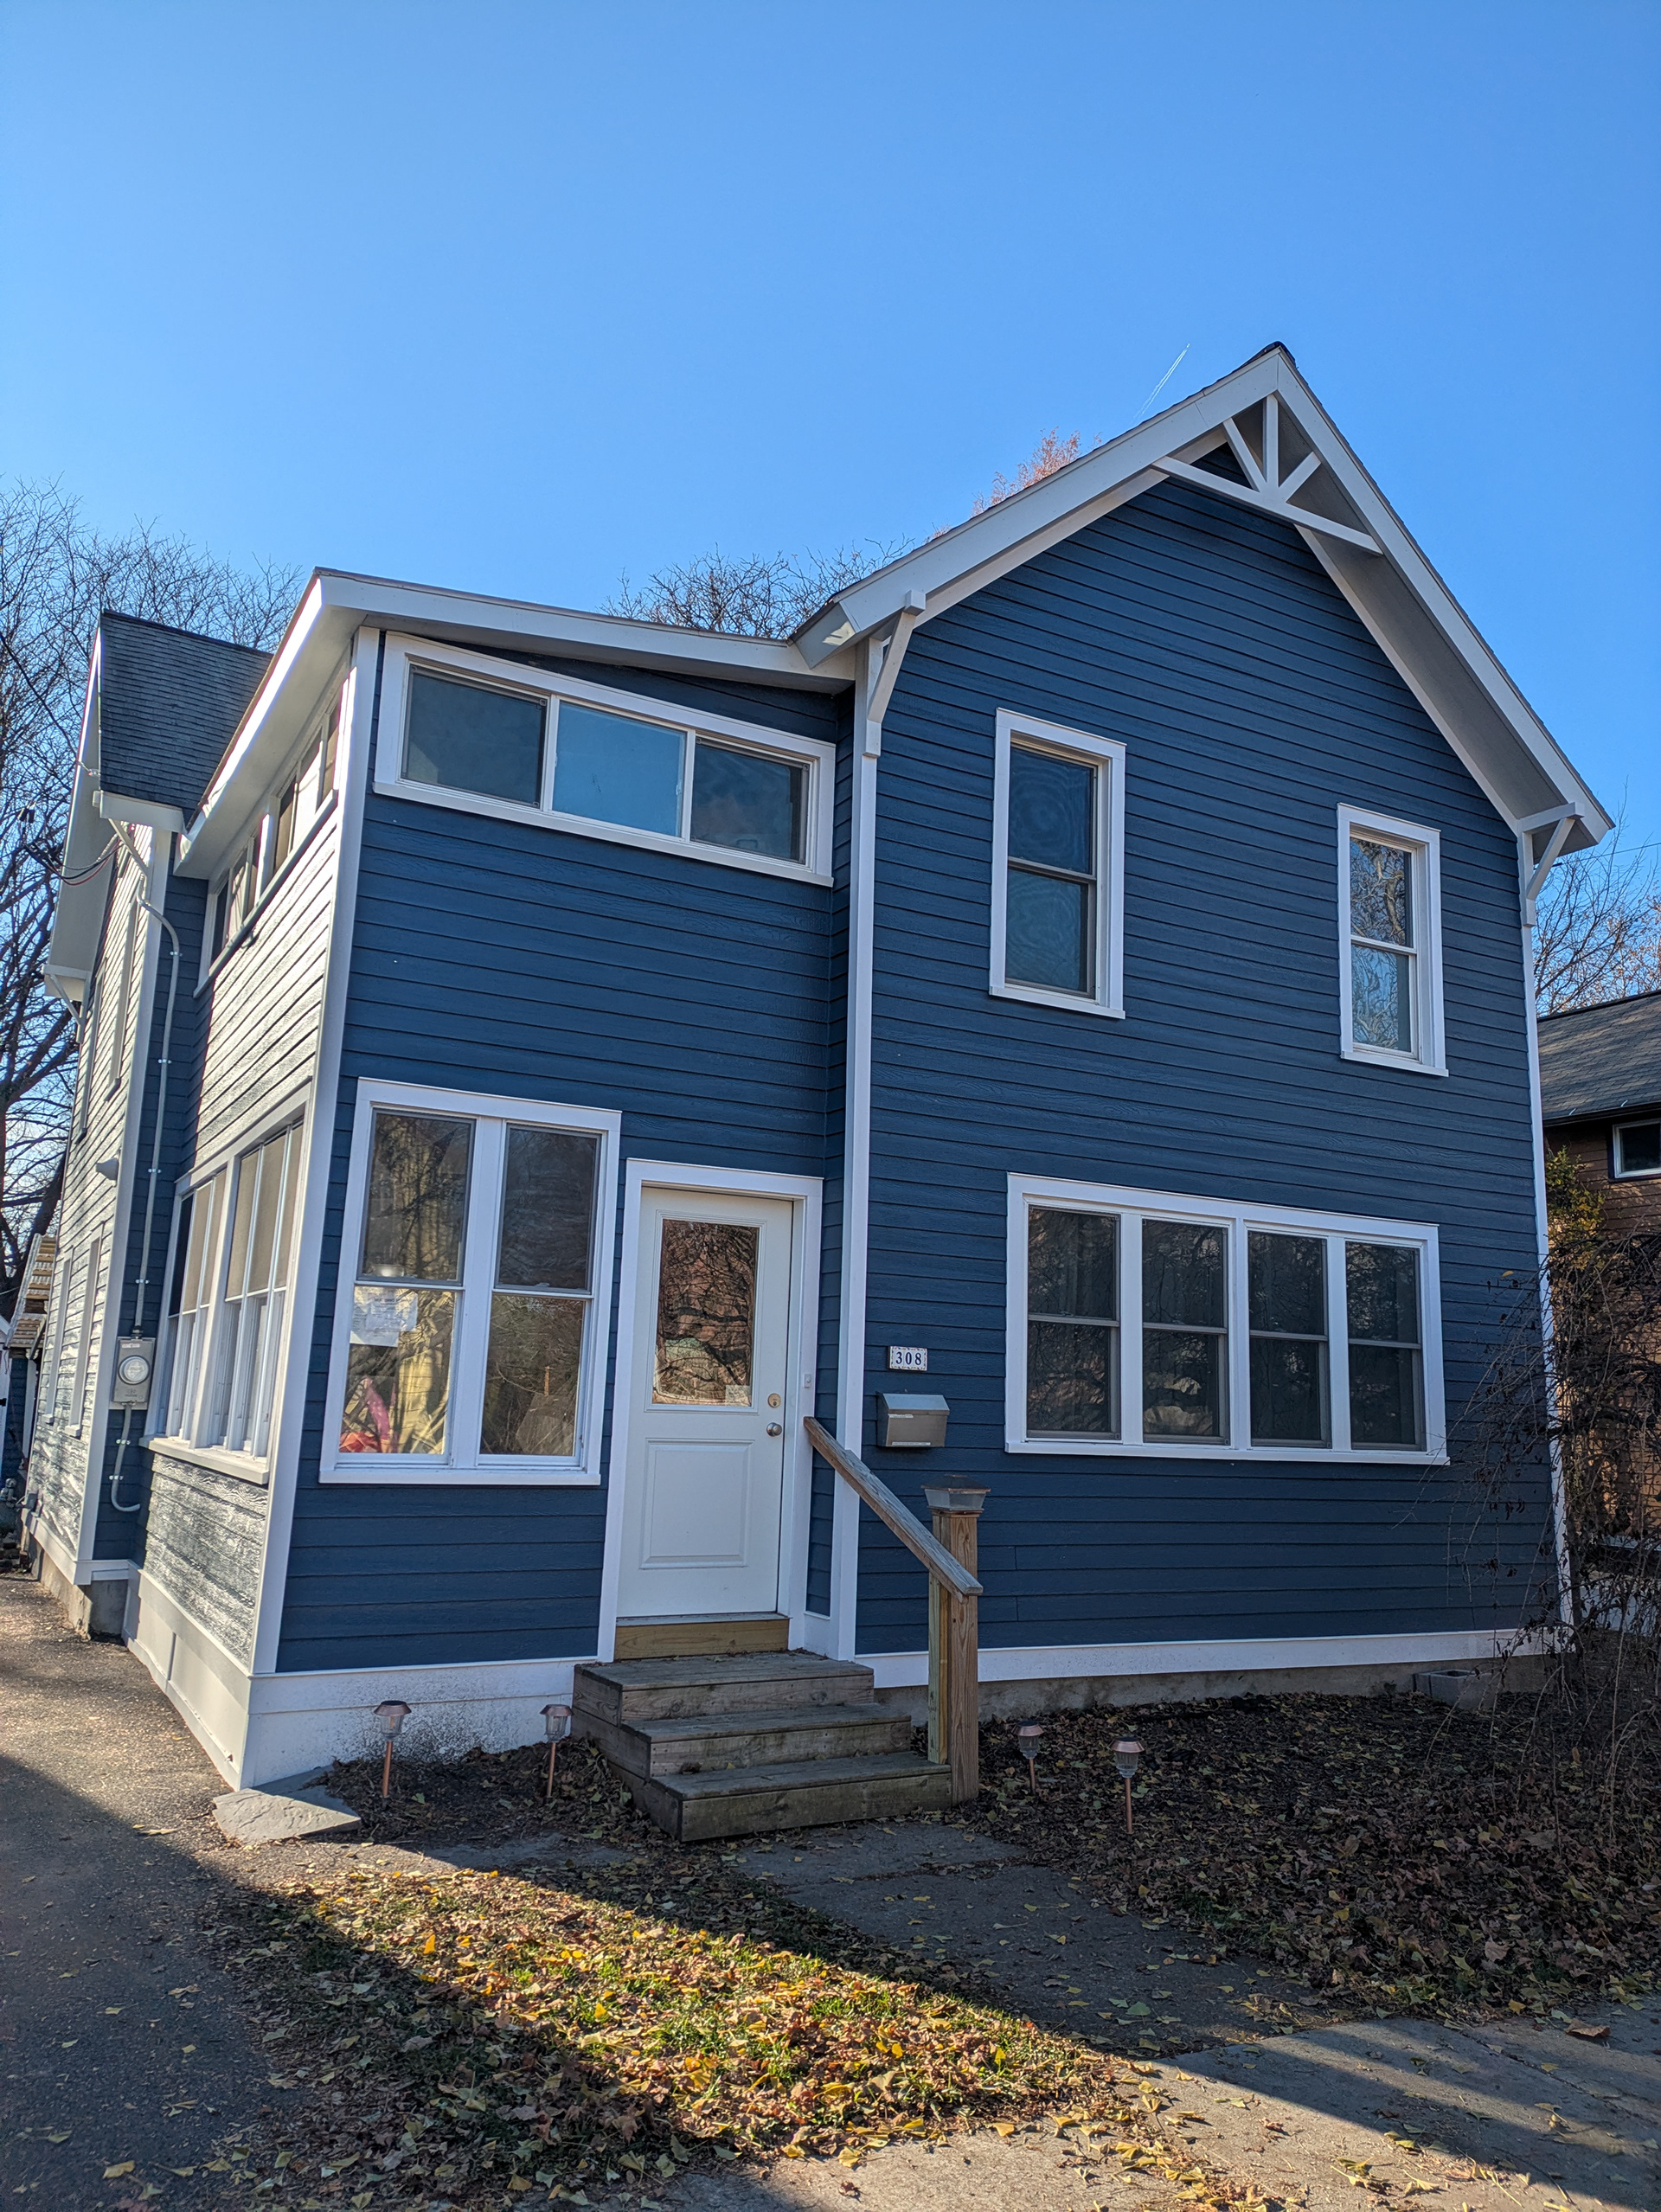
This project is done!