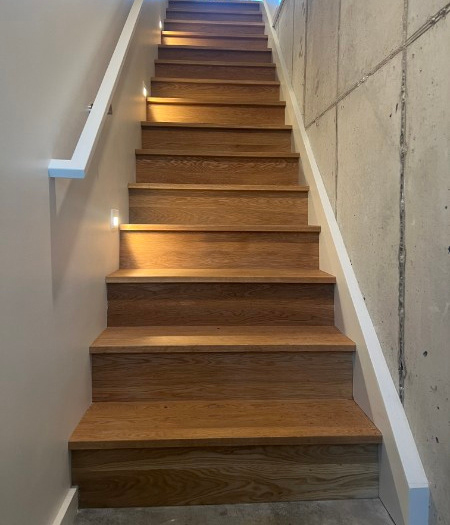
I built these white oak stairs for a new addition. The stair framing was built by the framing crew Piha Construction. They did a good job.
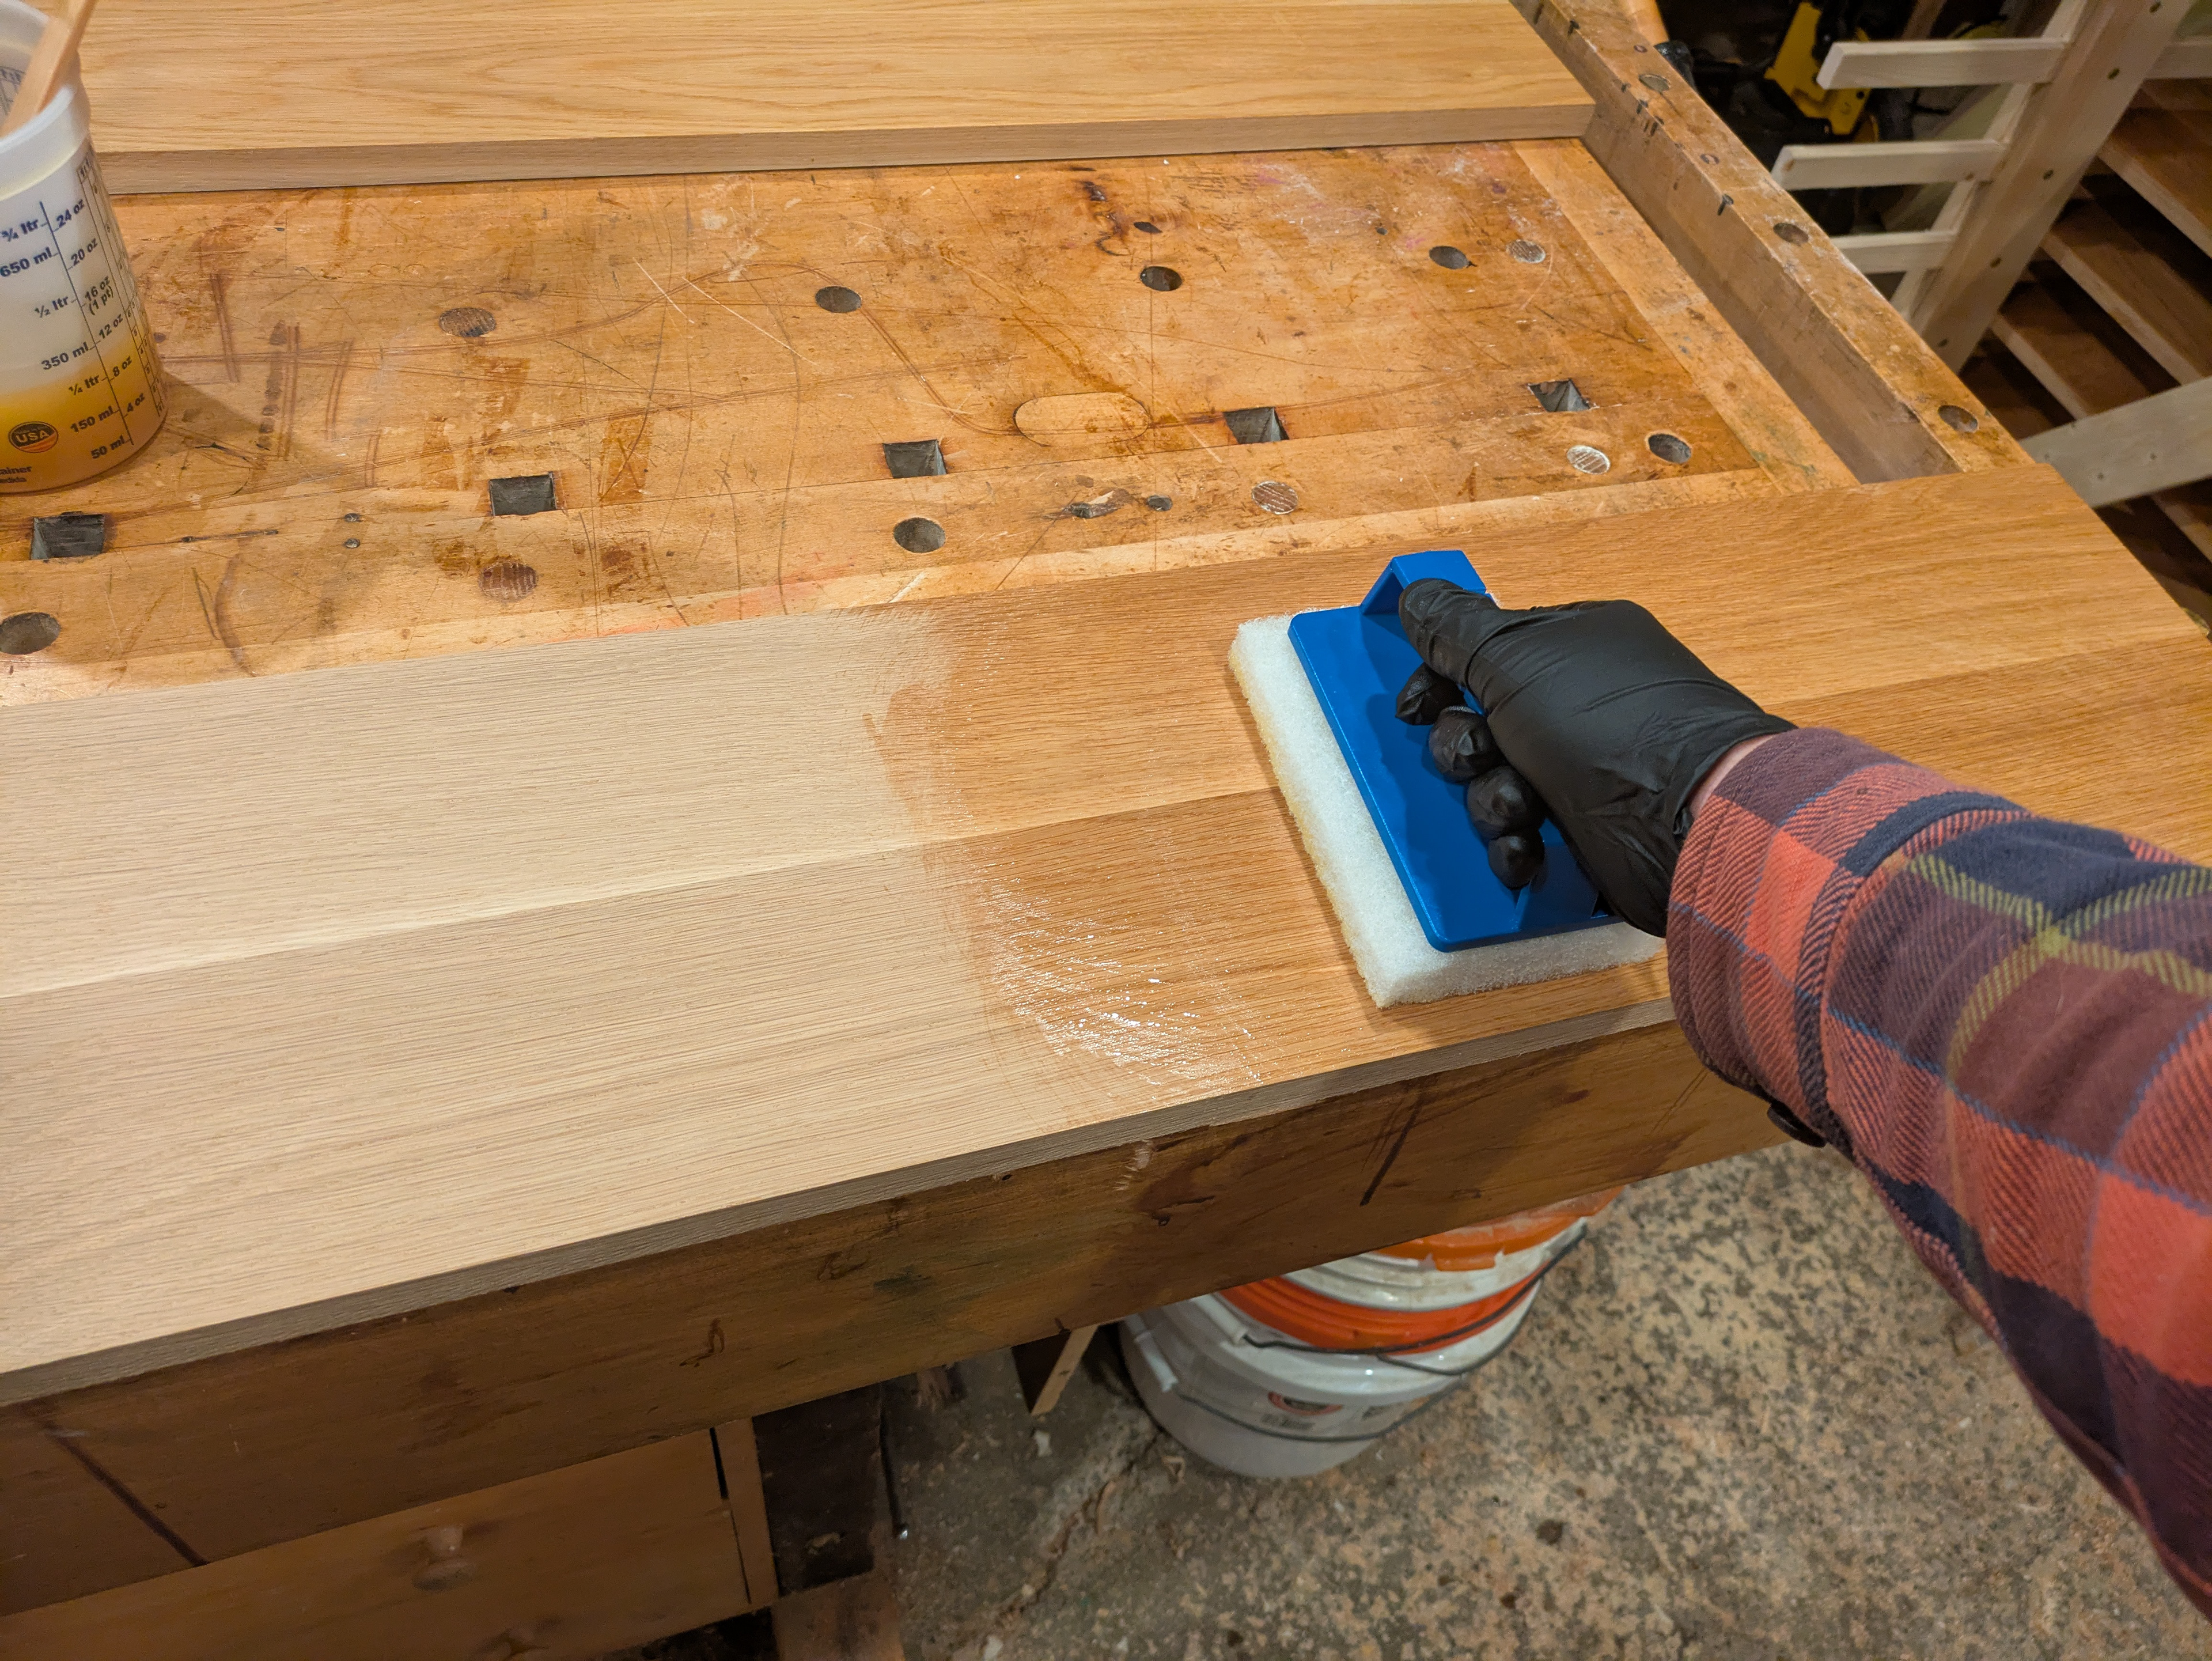
The project started in my shop where I sanded and pre-finished the treads, risers and landing treads. Rubio monocoat was called out in the design so I obliged.
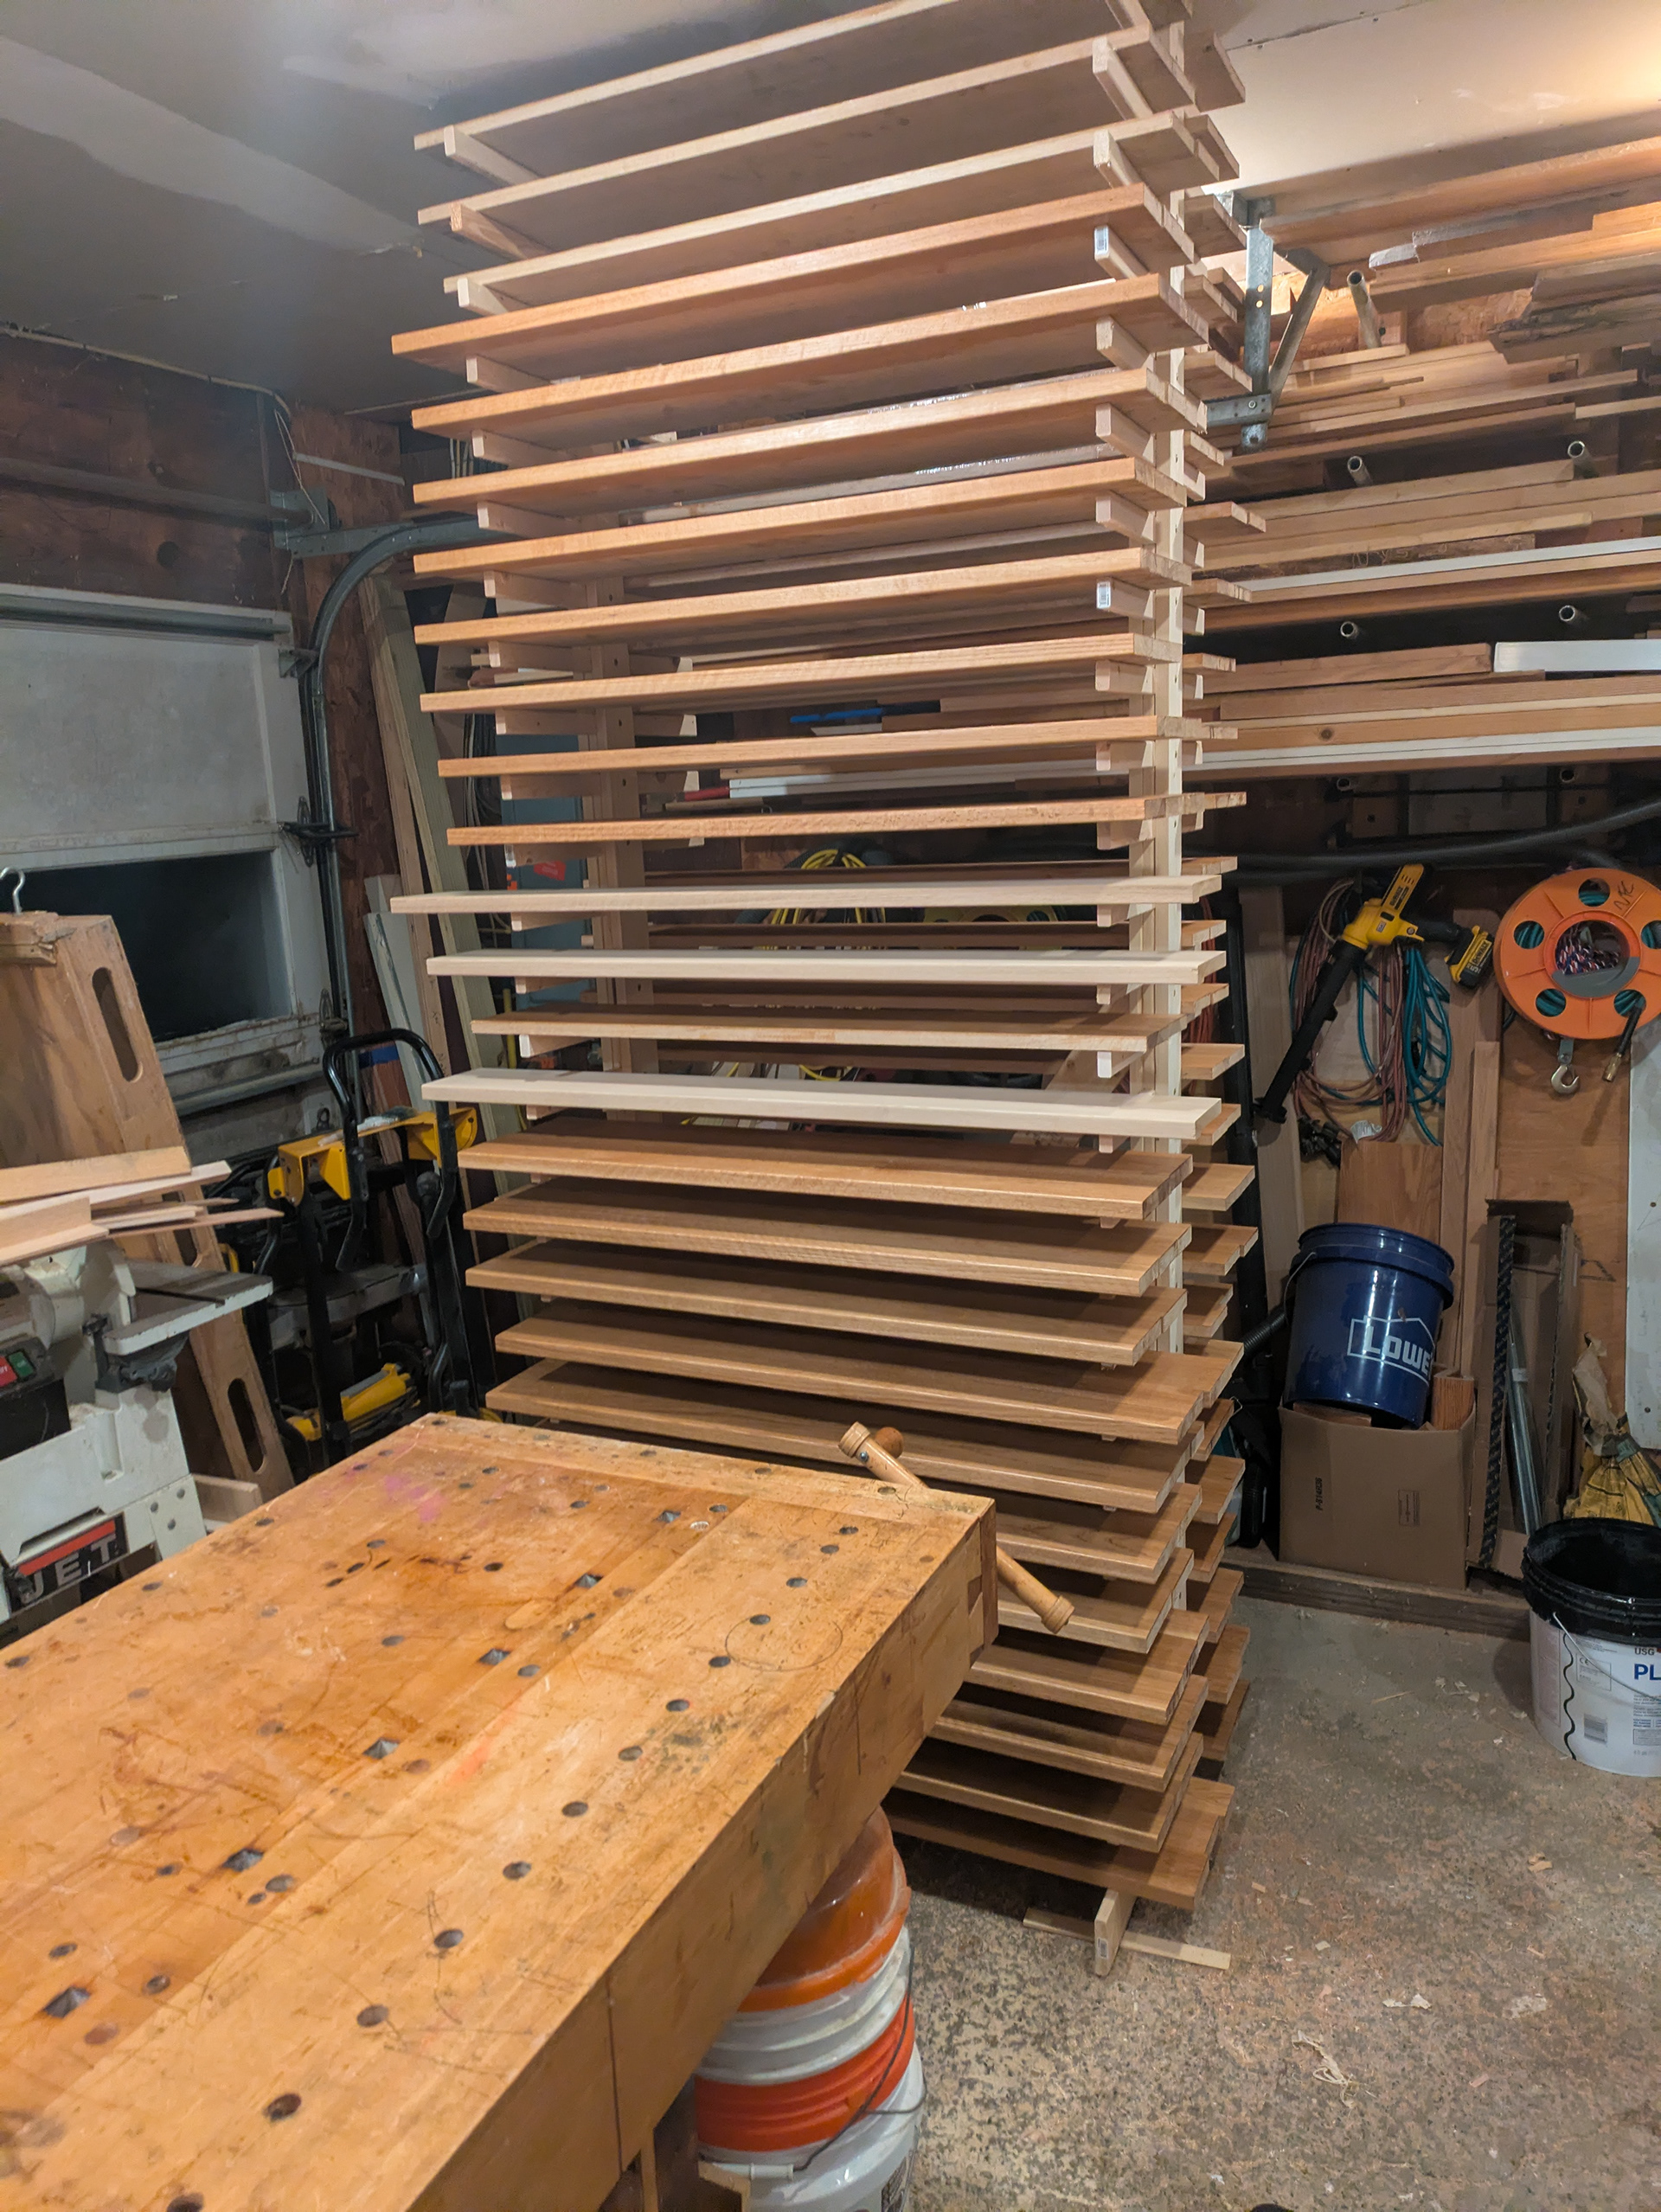
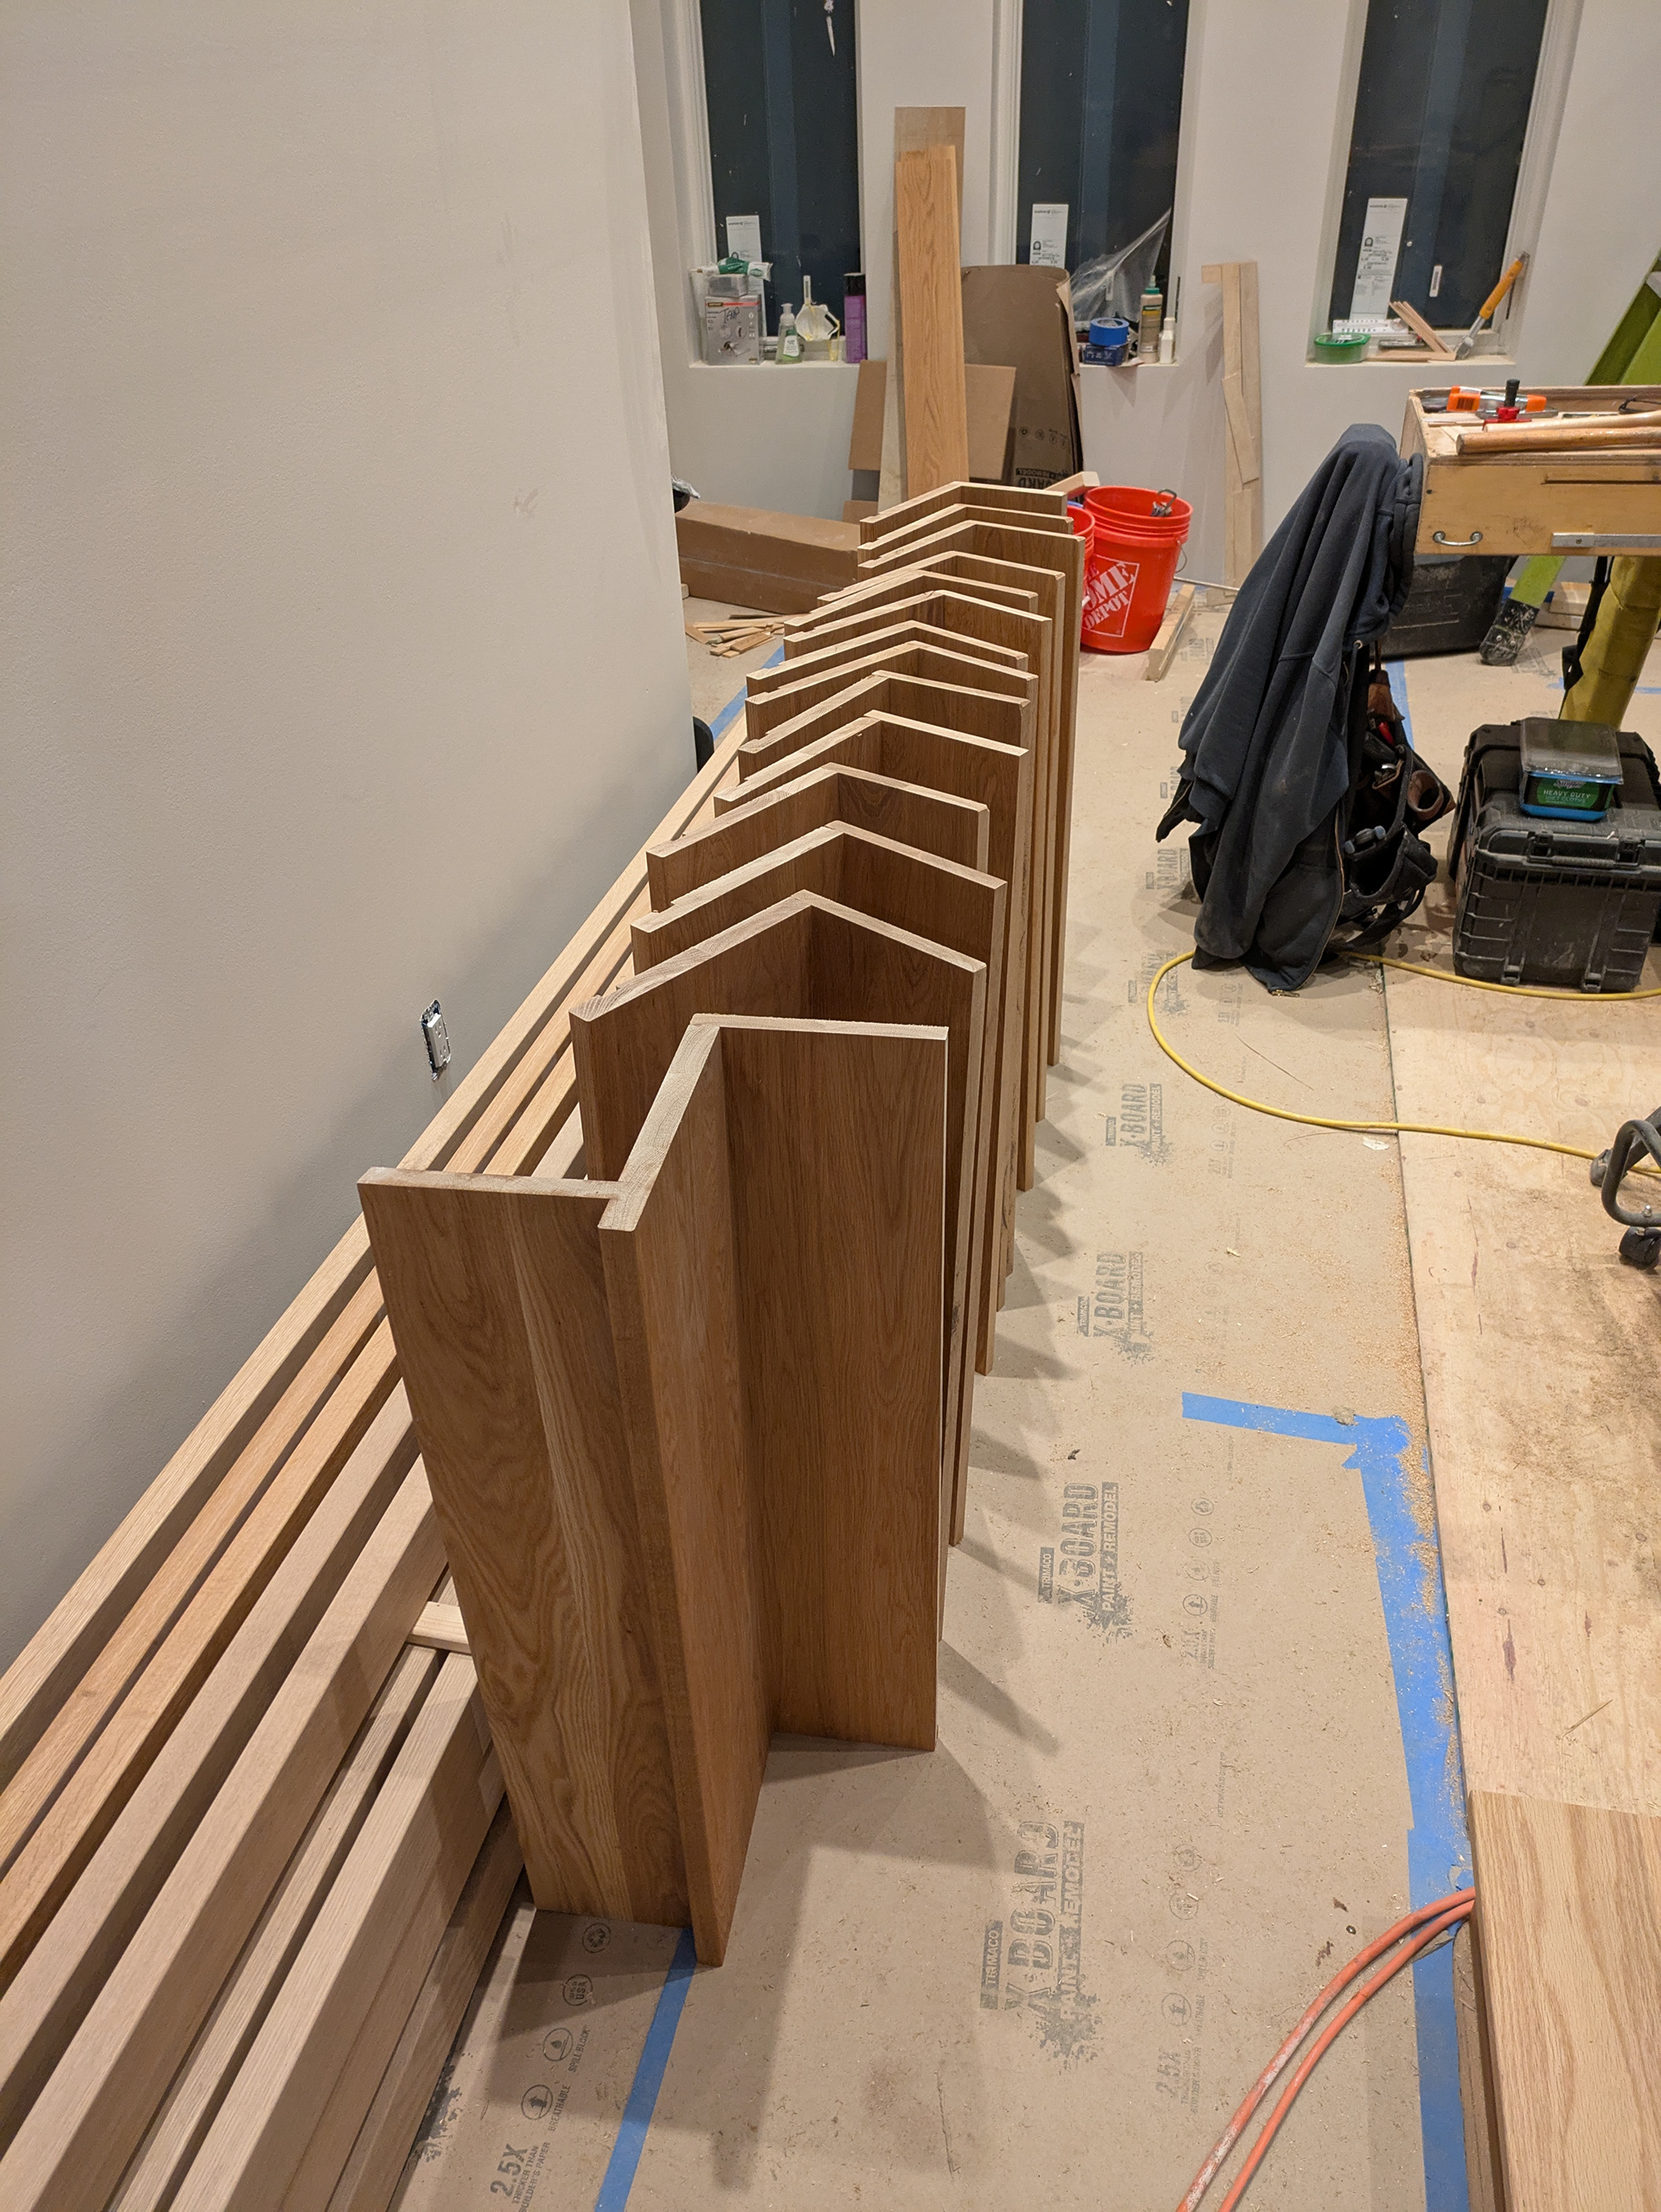
The stair parts dried on the drying rack for a couple of days. I finished enough treads and risers for two sets of stairs (only one flight of stairs is pictured in this article).
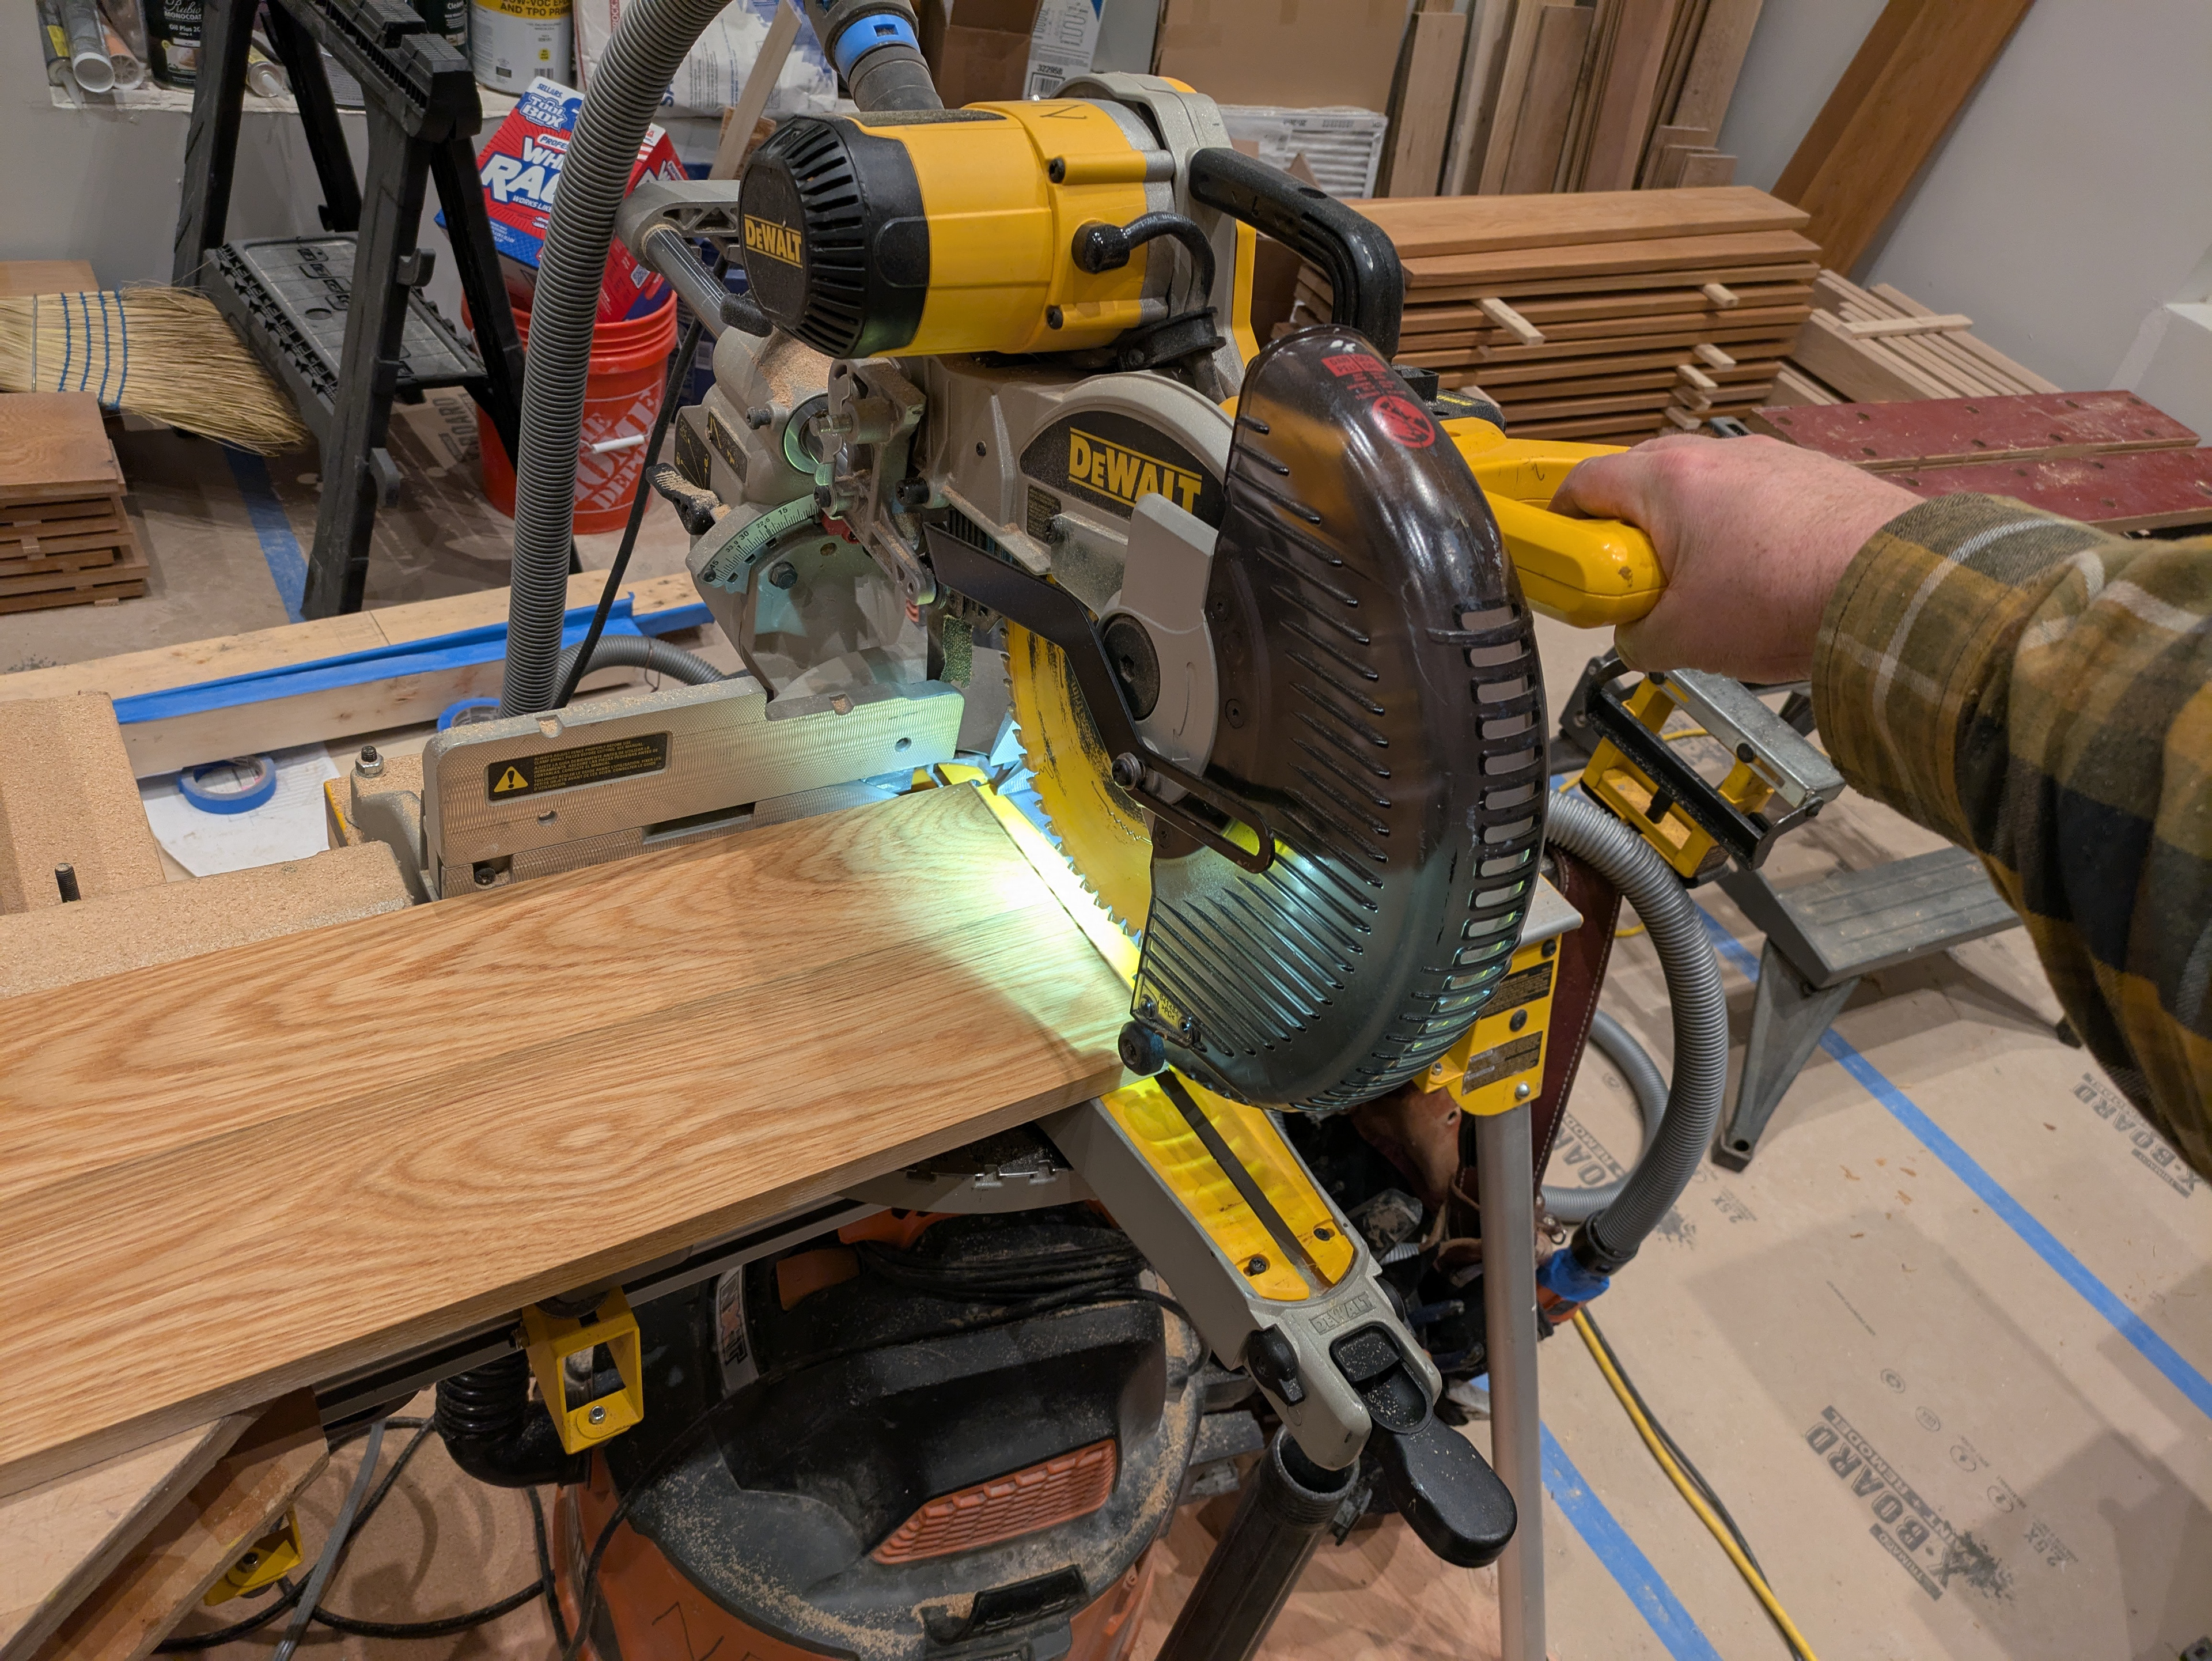
I scribed the treads and risers to the wall on the left side of the stairs (left side as you ascend the stairs). Then cut them to length with the miter saw. I cut each tread and riser a little short for ease of assembly. A scribed skirtboard will cover the gap on the right side of the stairs.
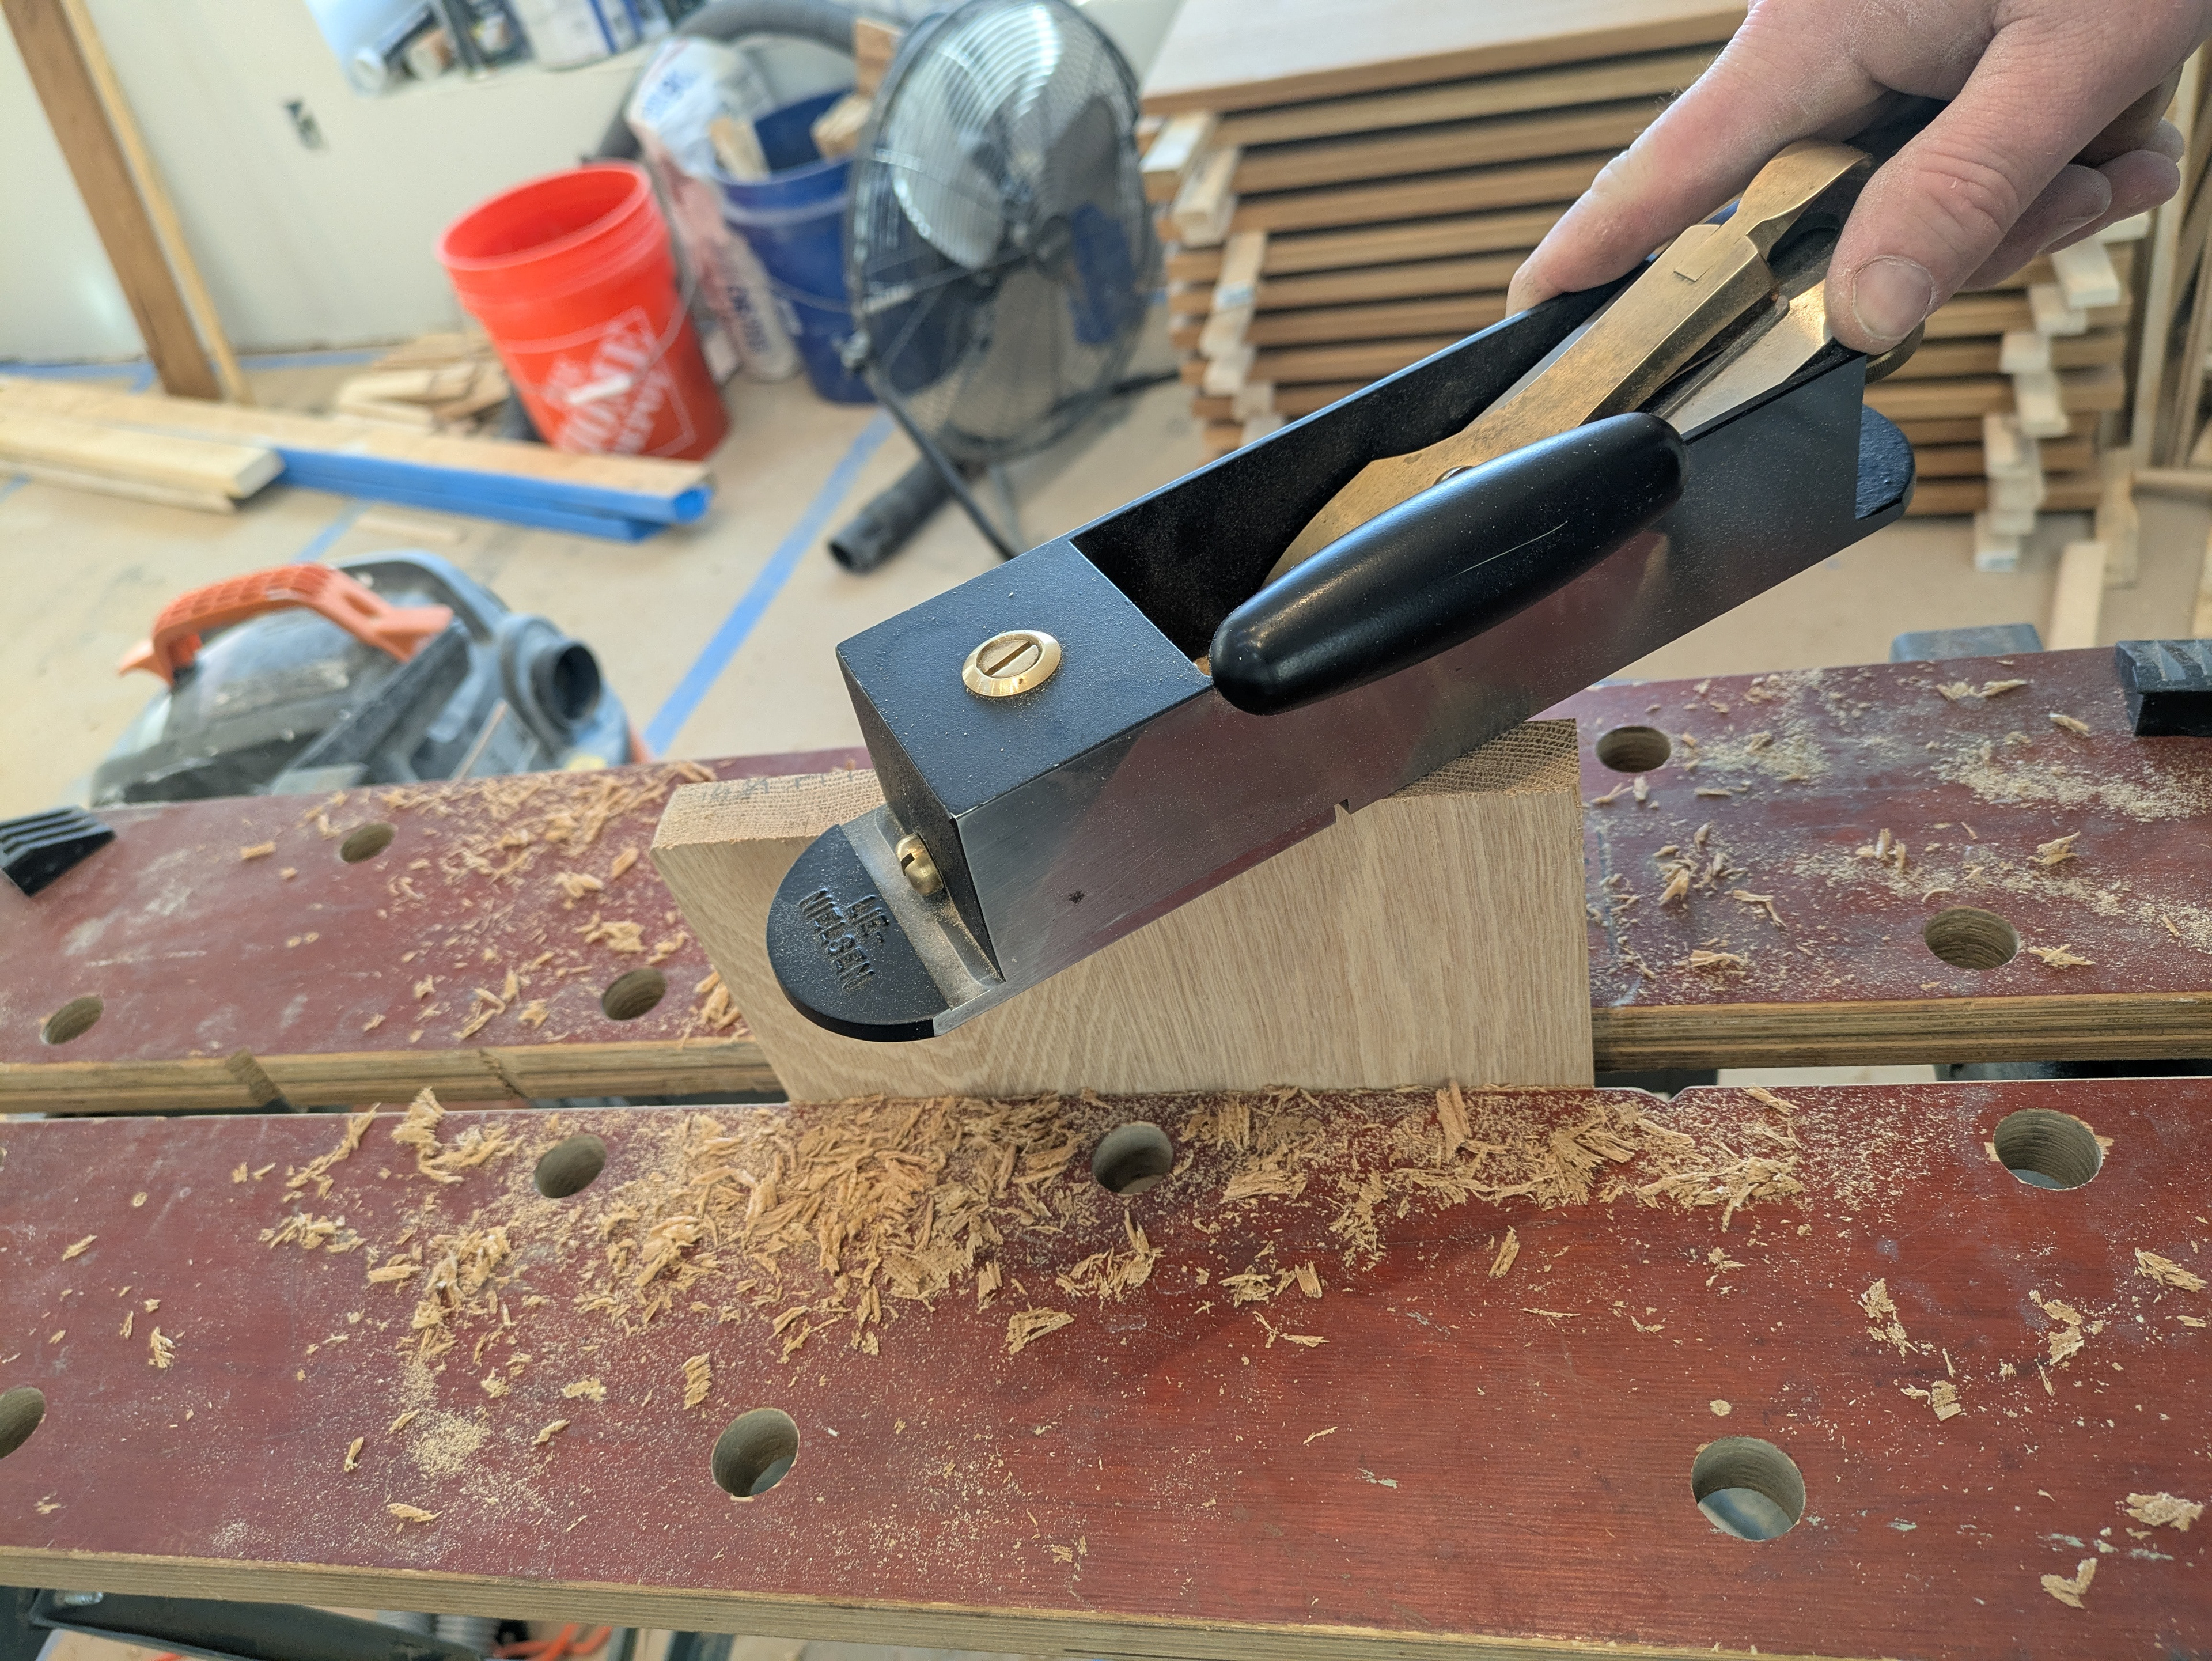
A miter plane with a sharp iron dials in the scribed cross cuts.
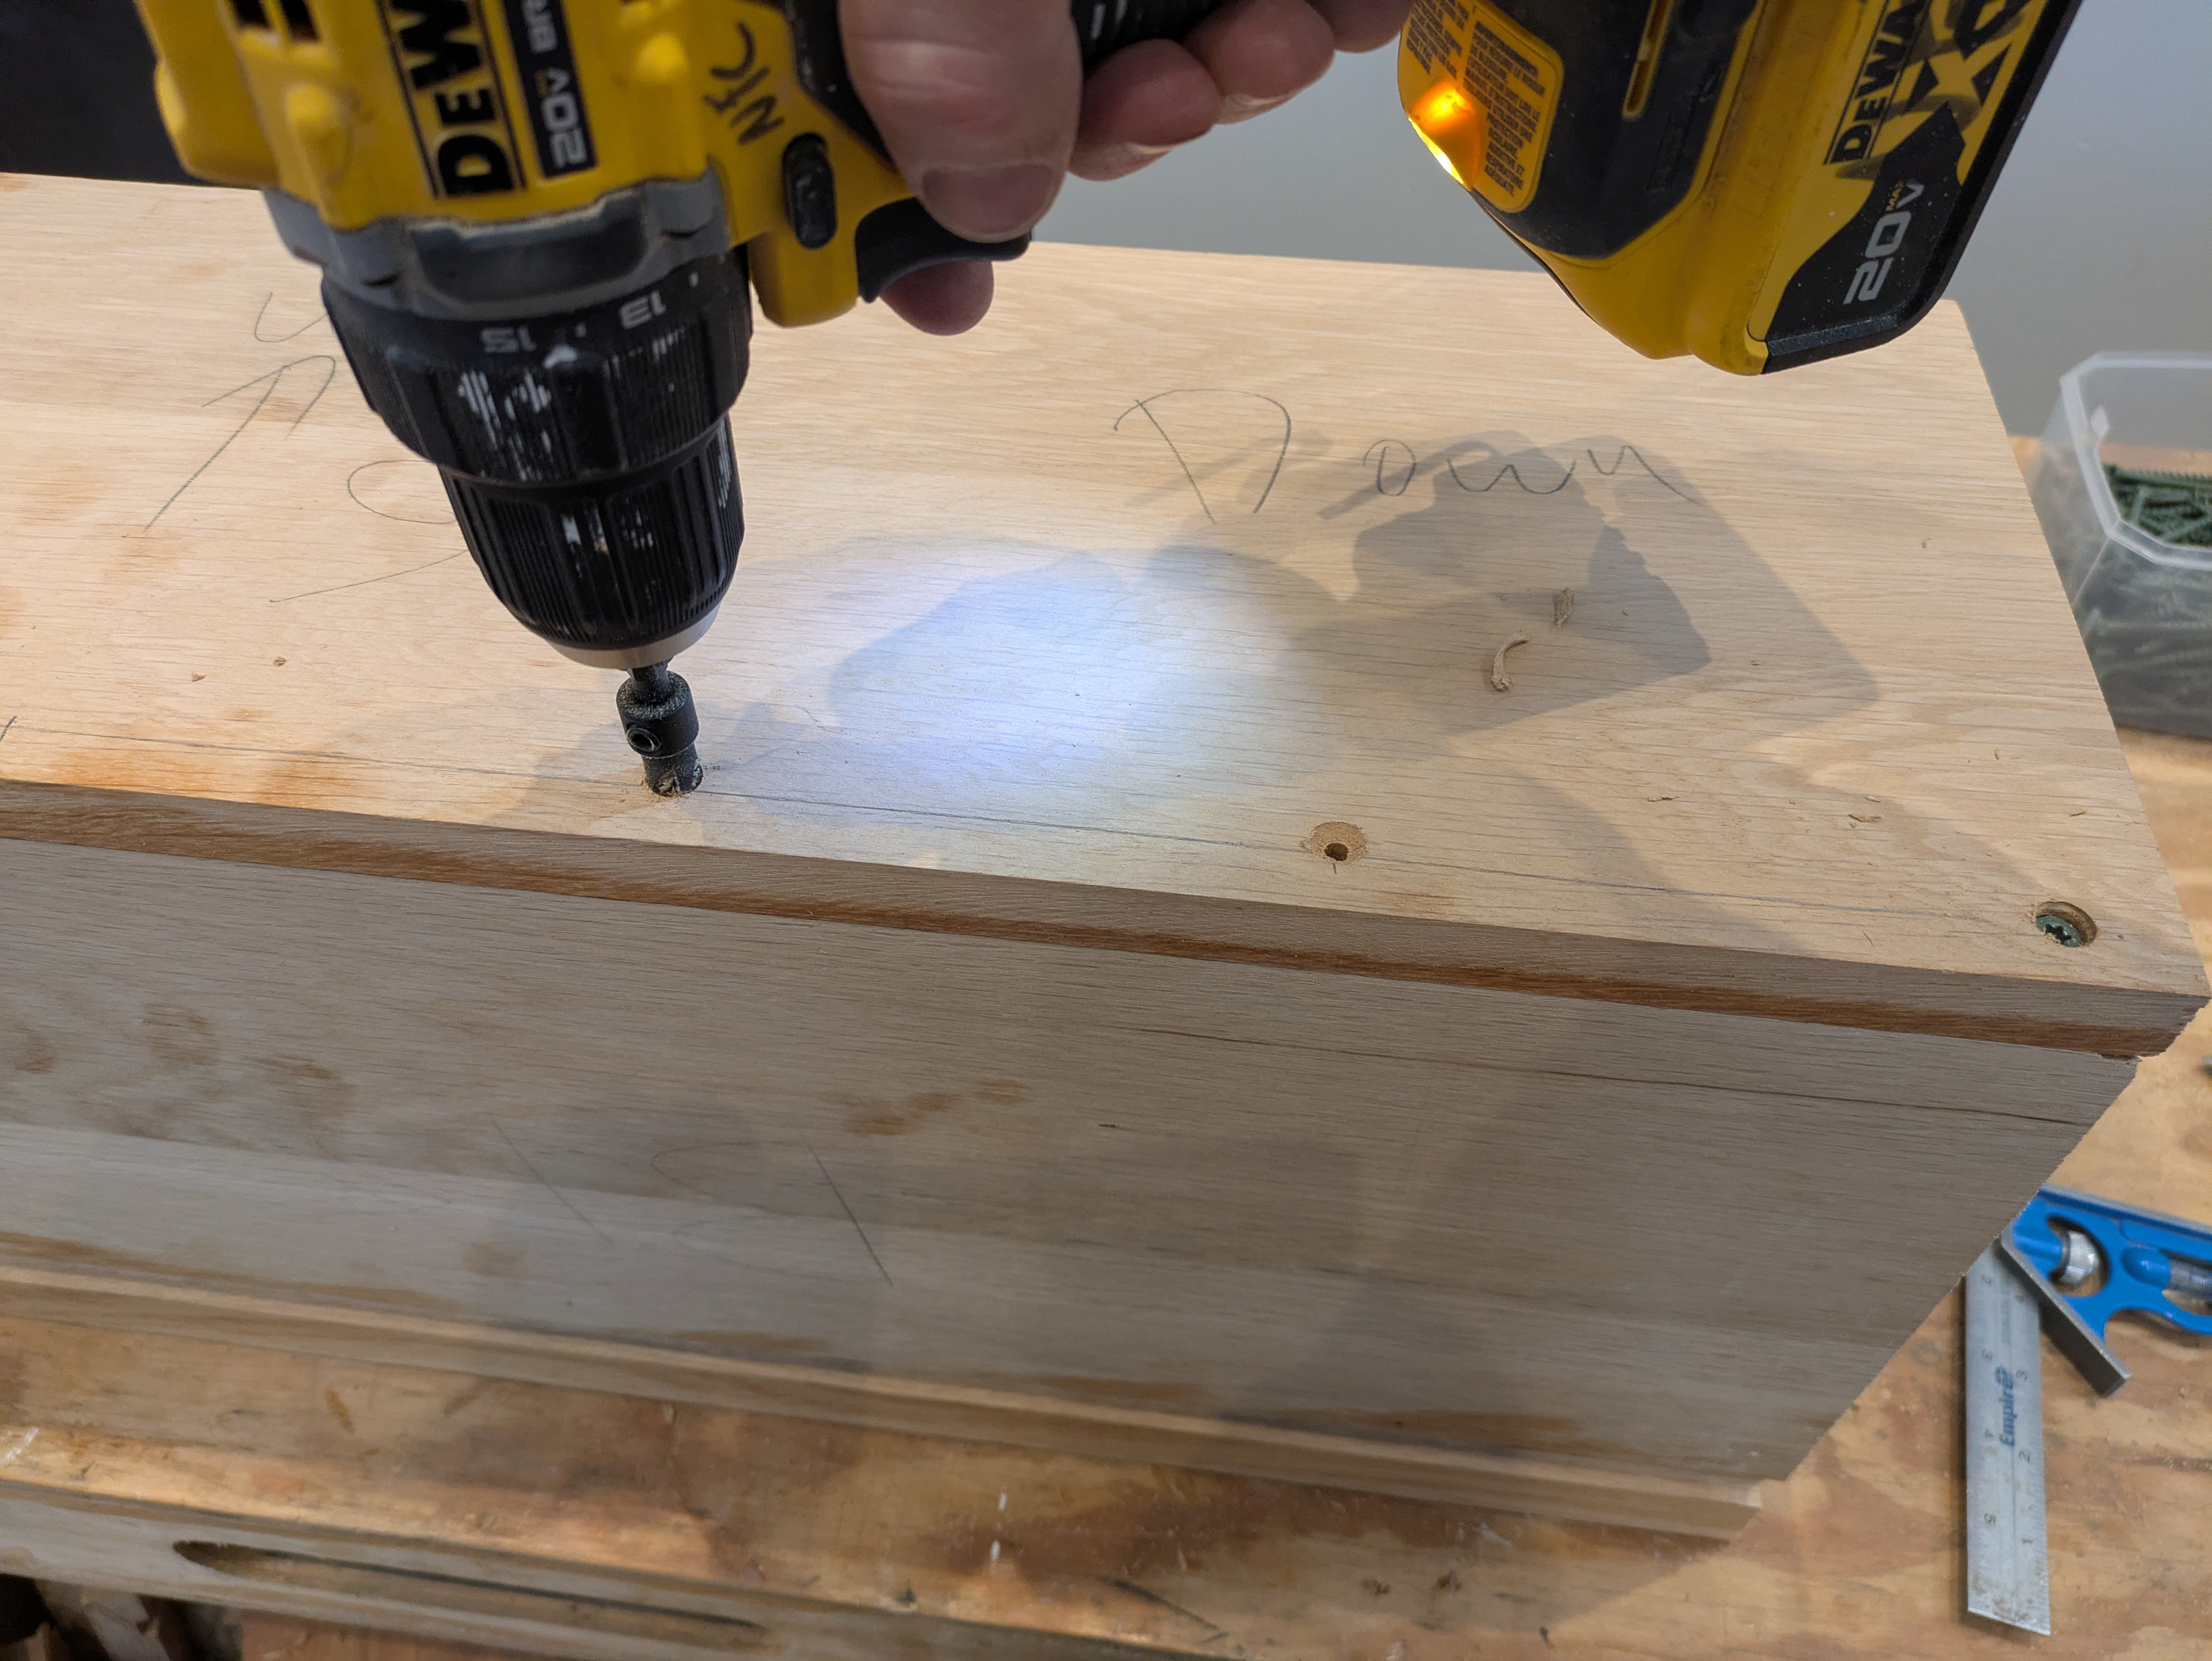
I preassembled the treads and risers in pairs. Each riser is face screwed from behind to the tread below. I preassembled them in this fashion because there was a sub-riser in the way of assembling them in place. PL premium construction adhesive is used at this joint to eliminate squeaks.
The bottom-most two treads and single riser were pre-assembled as a three piece assembly using pocket screws and blind face-screws. Each tread was plowed with a groove that accepts the tread below. This ensured that there will be no visible gap during seasonal expansion and contraction of the risers.

The treads and risers were installed with PL premium.
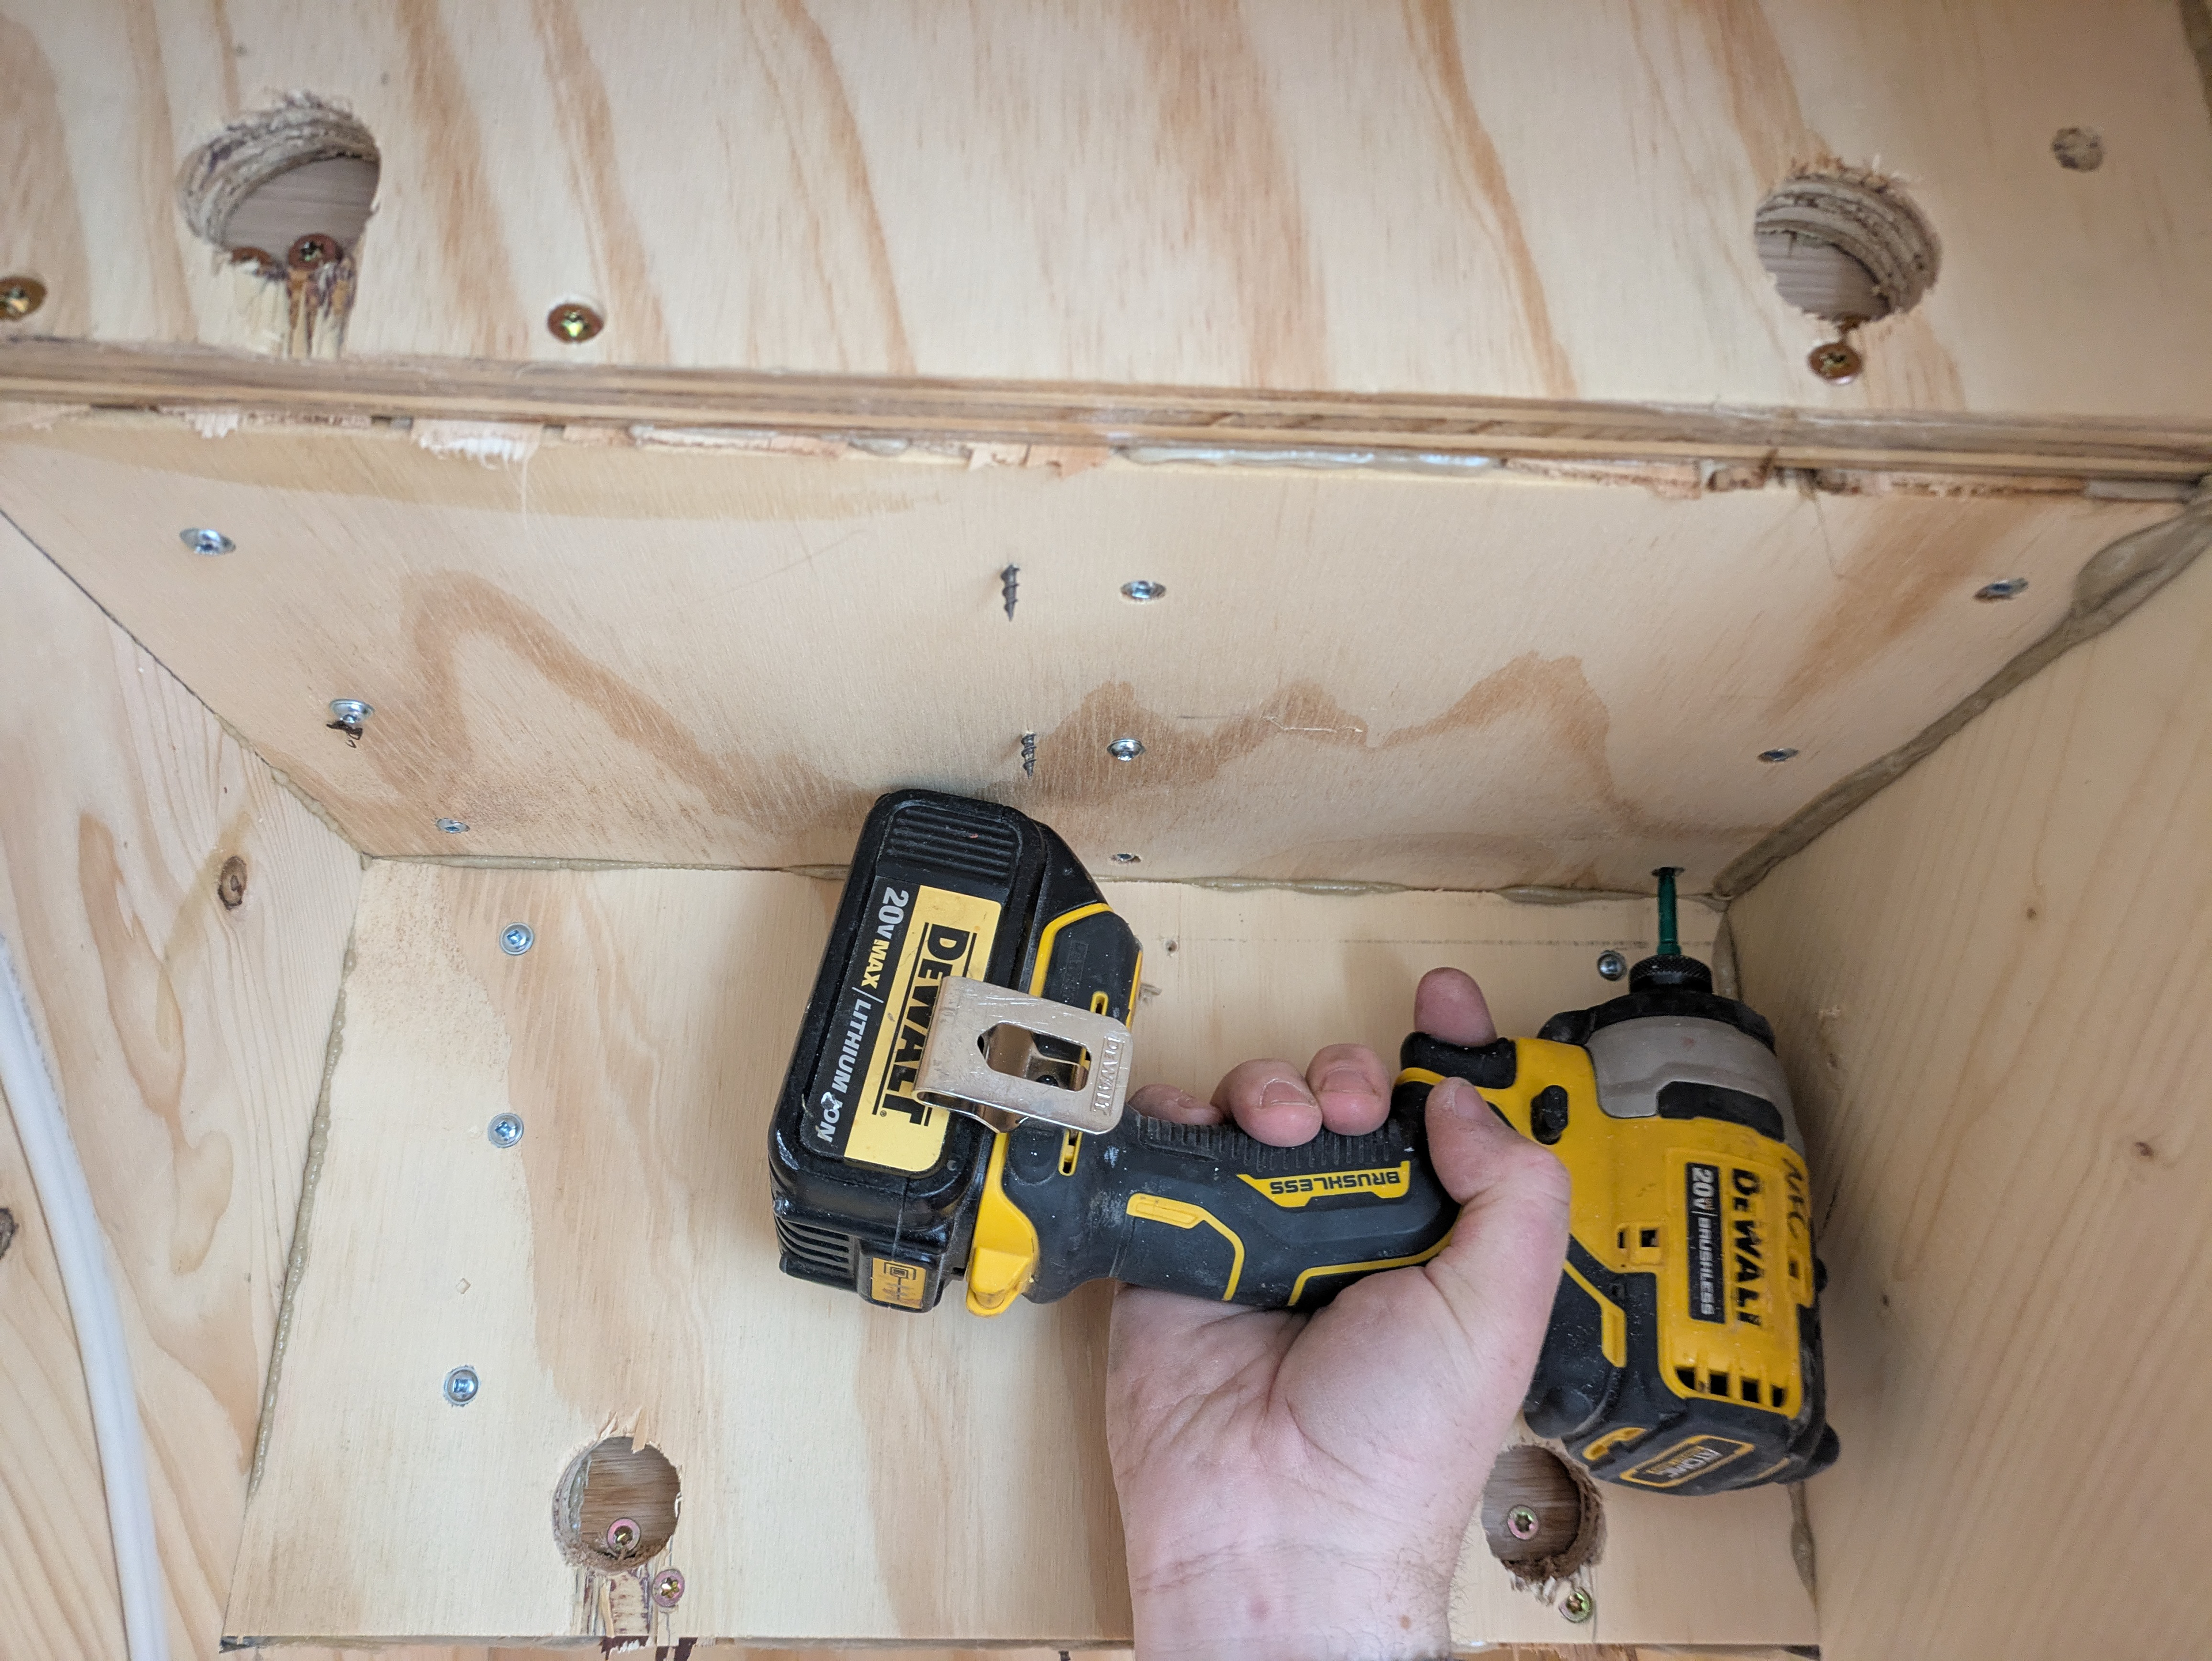
The treads and risers were fastened to the sub treads and sub risers from below with screws.

A home-made scribing tool was made for scribing the skirtboard. The tool is simply a sharpened nail protruding through a stick of scrap wood.
The nail left scribed lines in the skirtboard that indicate where it will need to be cut.
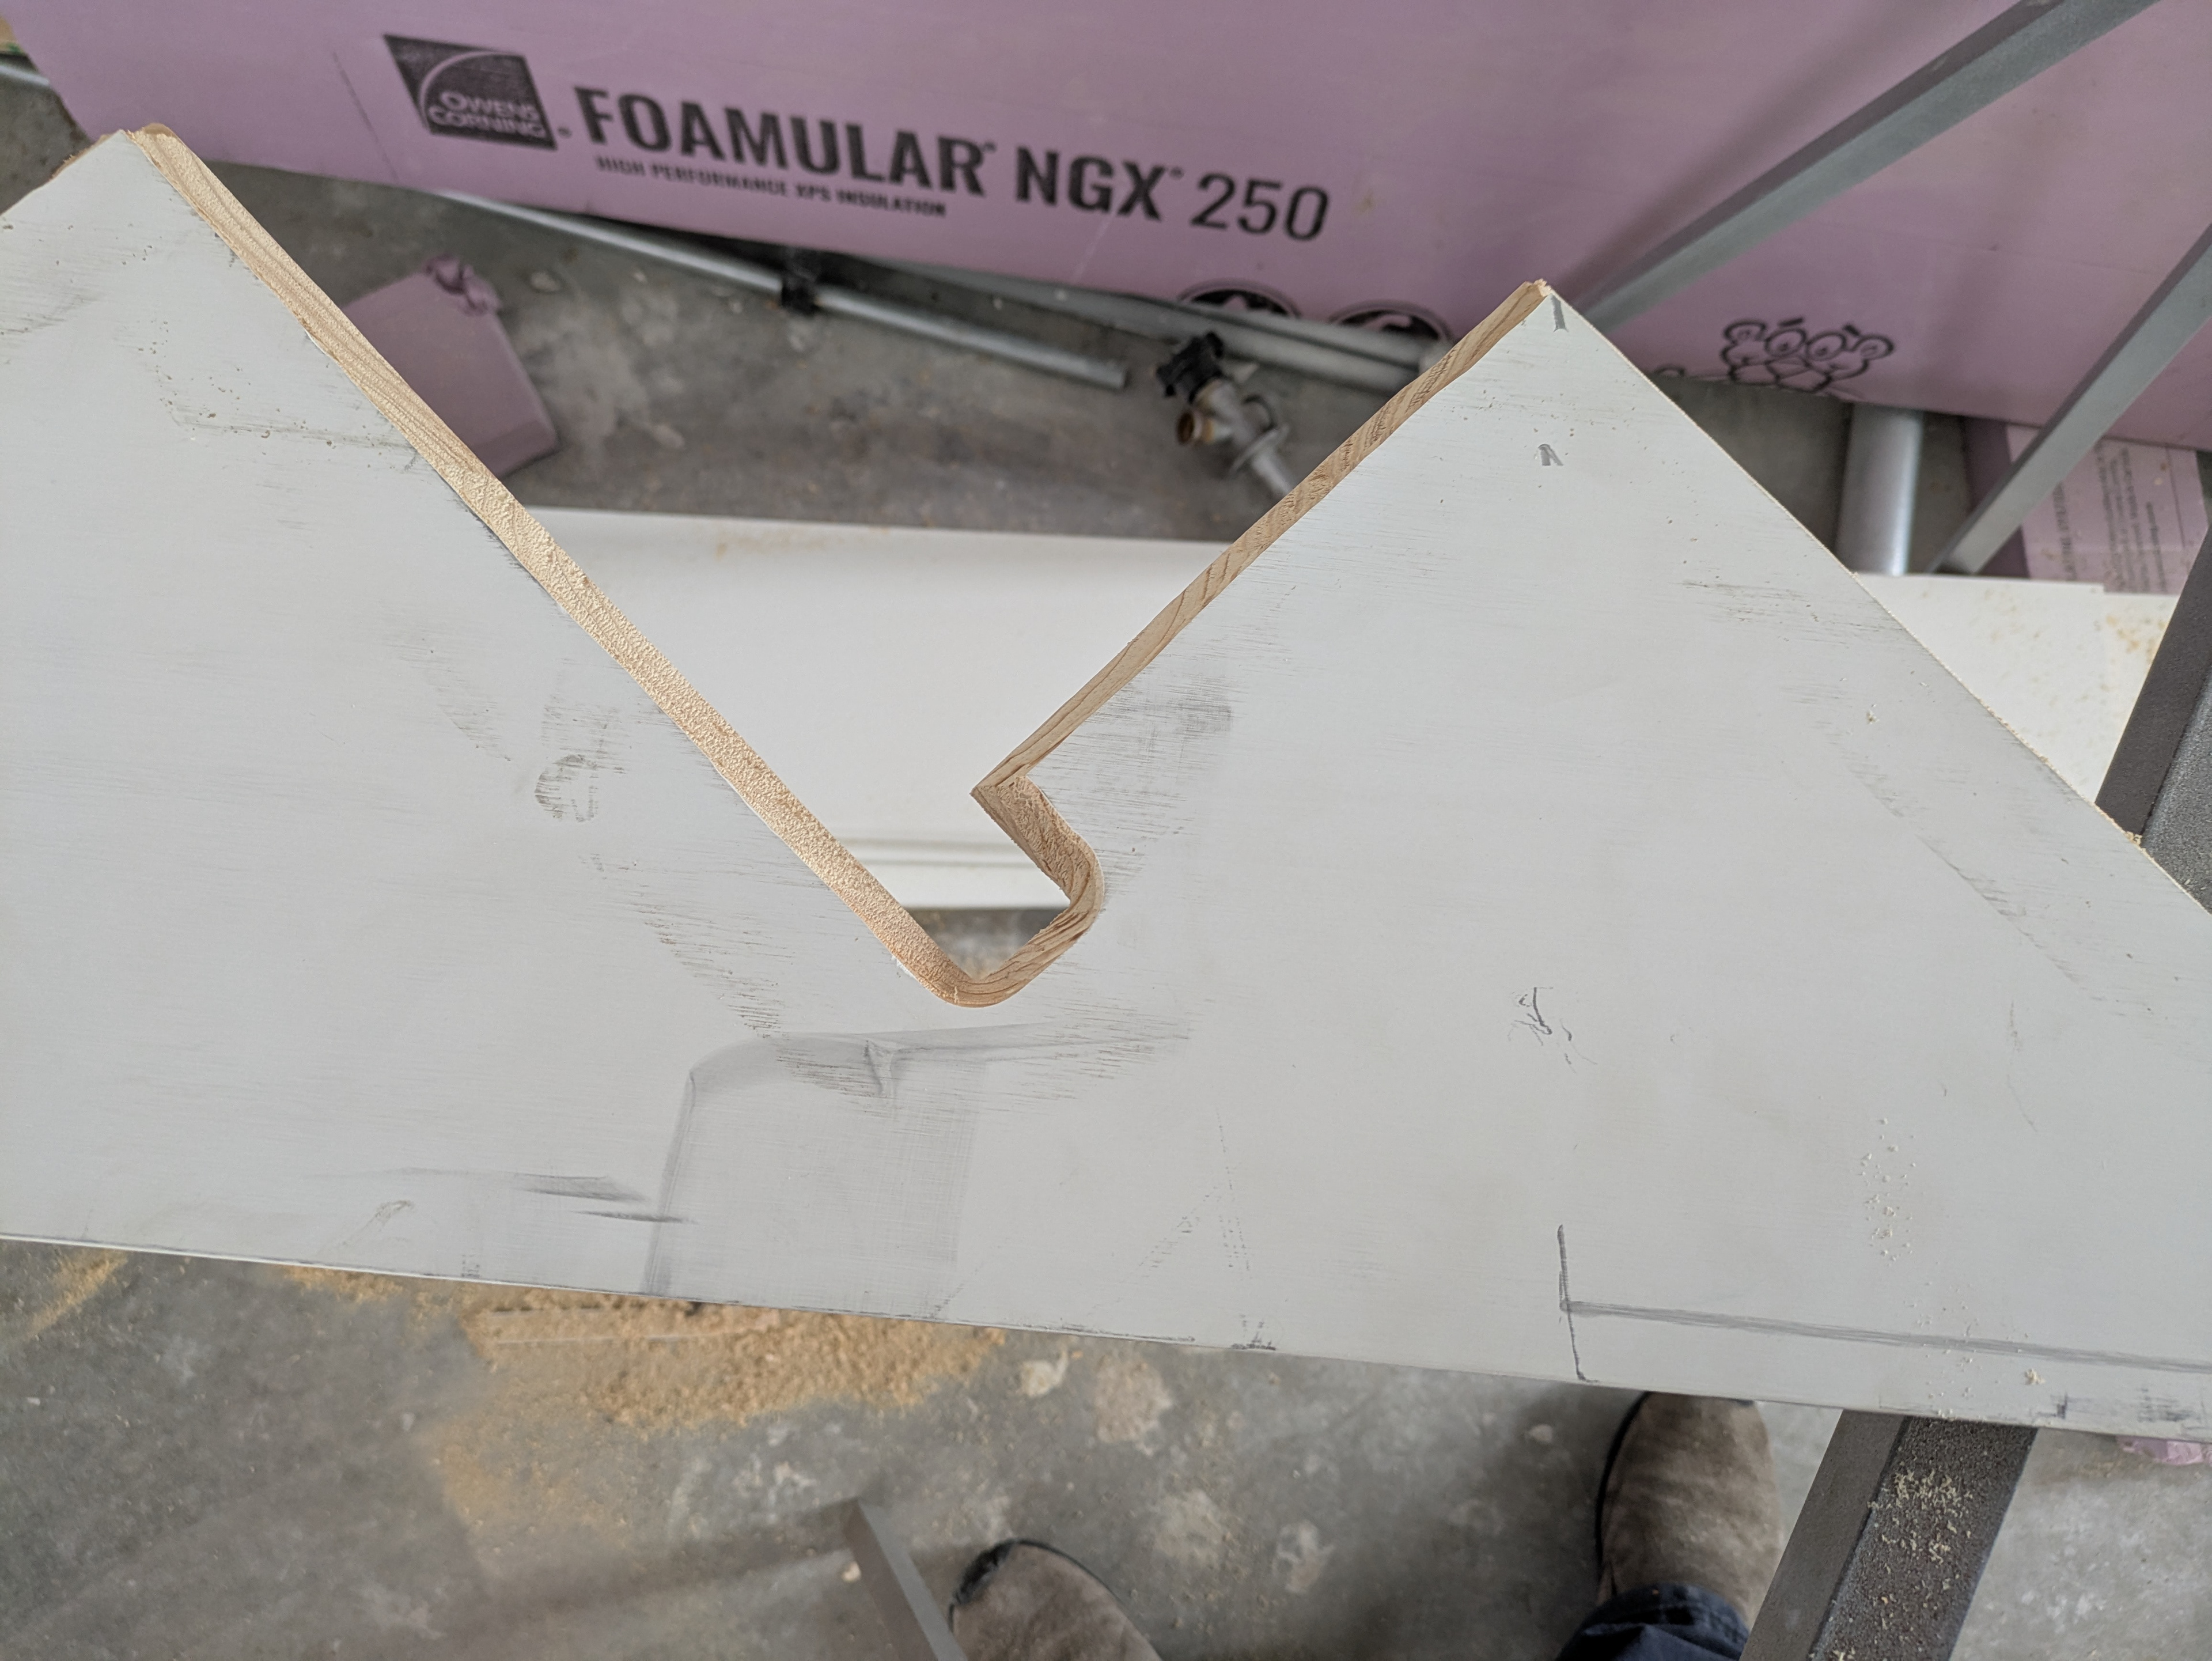
The skirtboard was cut with a circular saw and jigsaw. I routed the backside of the skirtboard with a round-over bit for ease of installation.
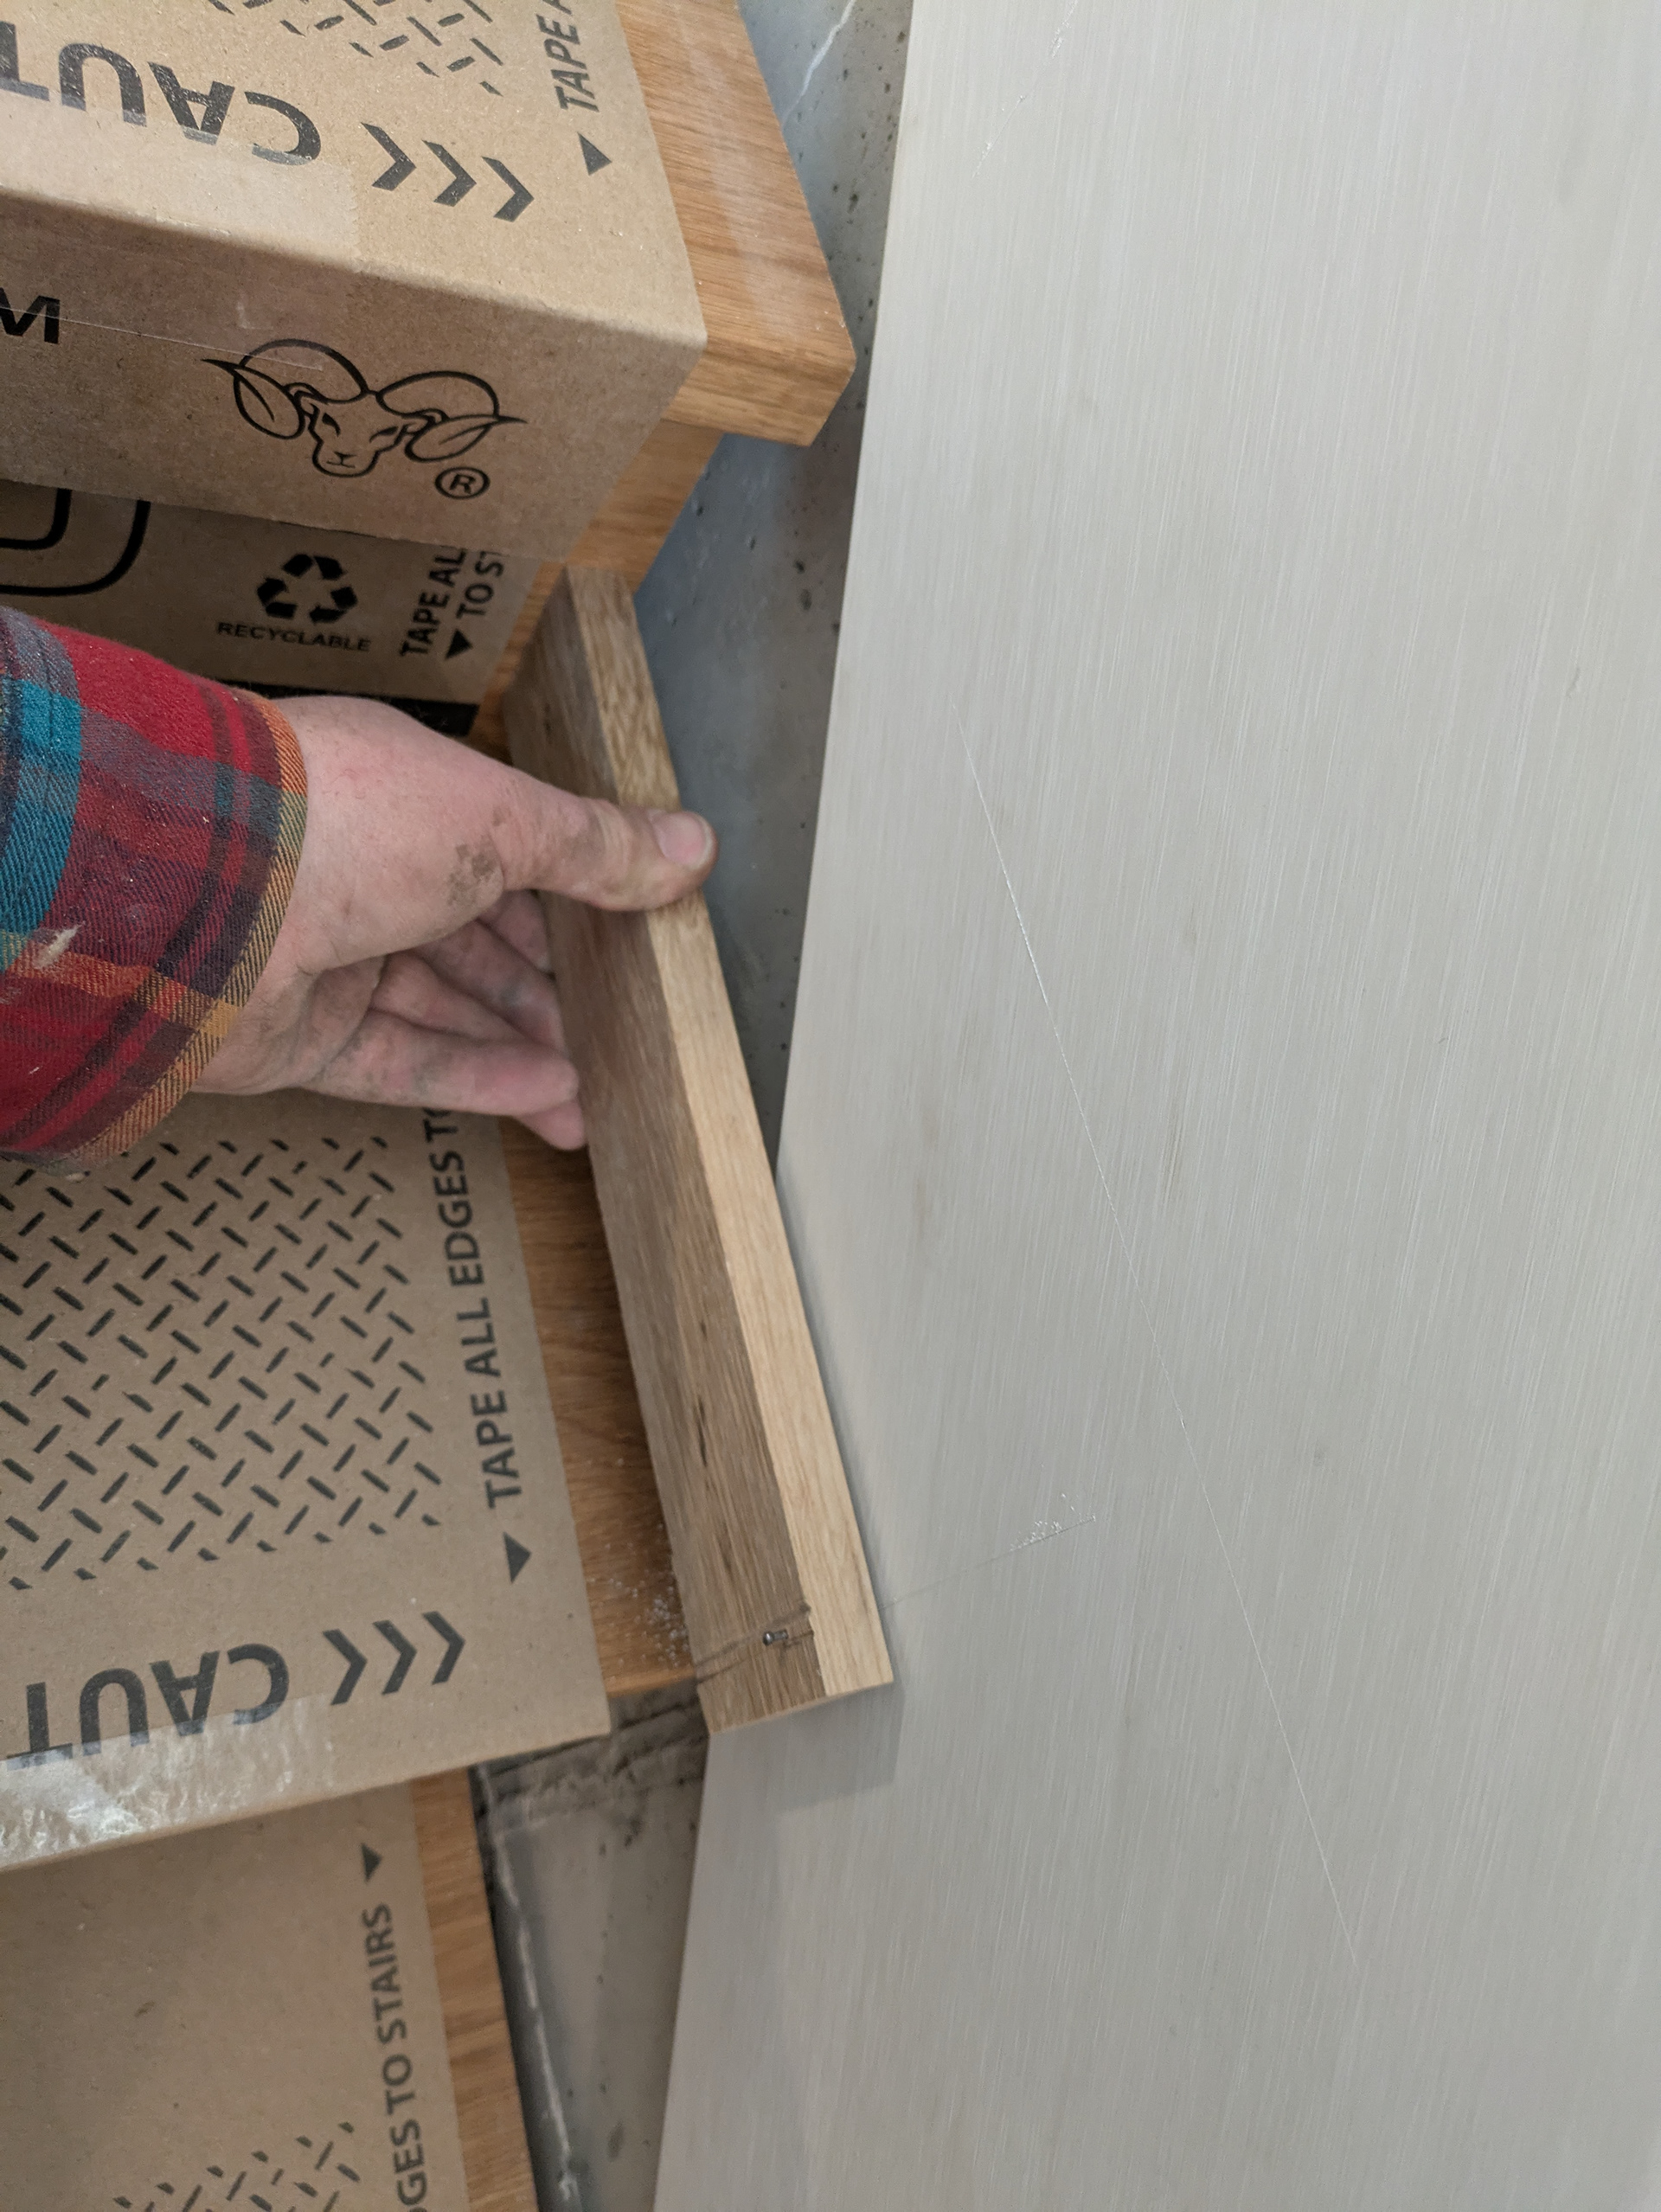
There is some waviness in the foundation wall and the sheetrock wall. My solution was to scribe a skirtboard cap to the wall, then trim it flush to the face of the skirtboard.

The skirboard is fastened to the foundation with concrete screws. The skirtboard cap is glued and fastened to the top of the skirtboard. The scribed skirtboard came out pretty well.
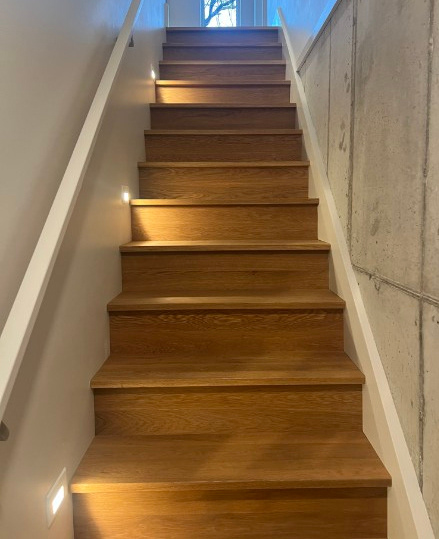
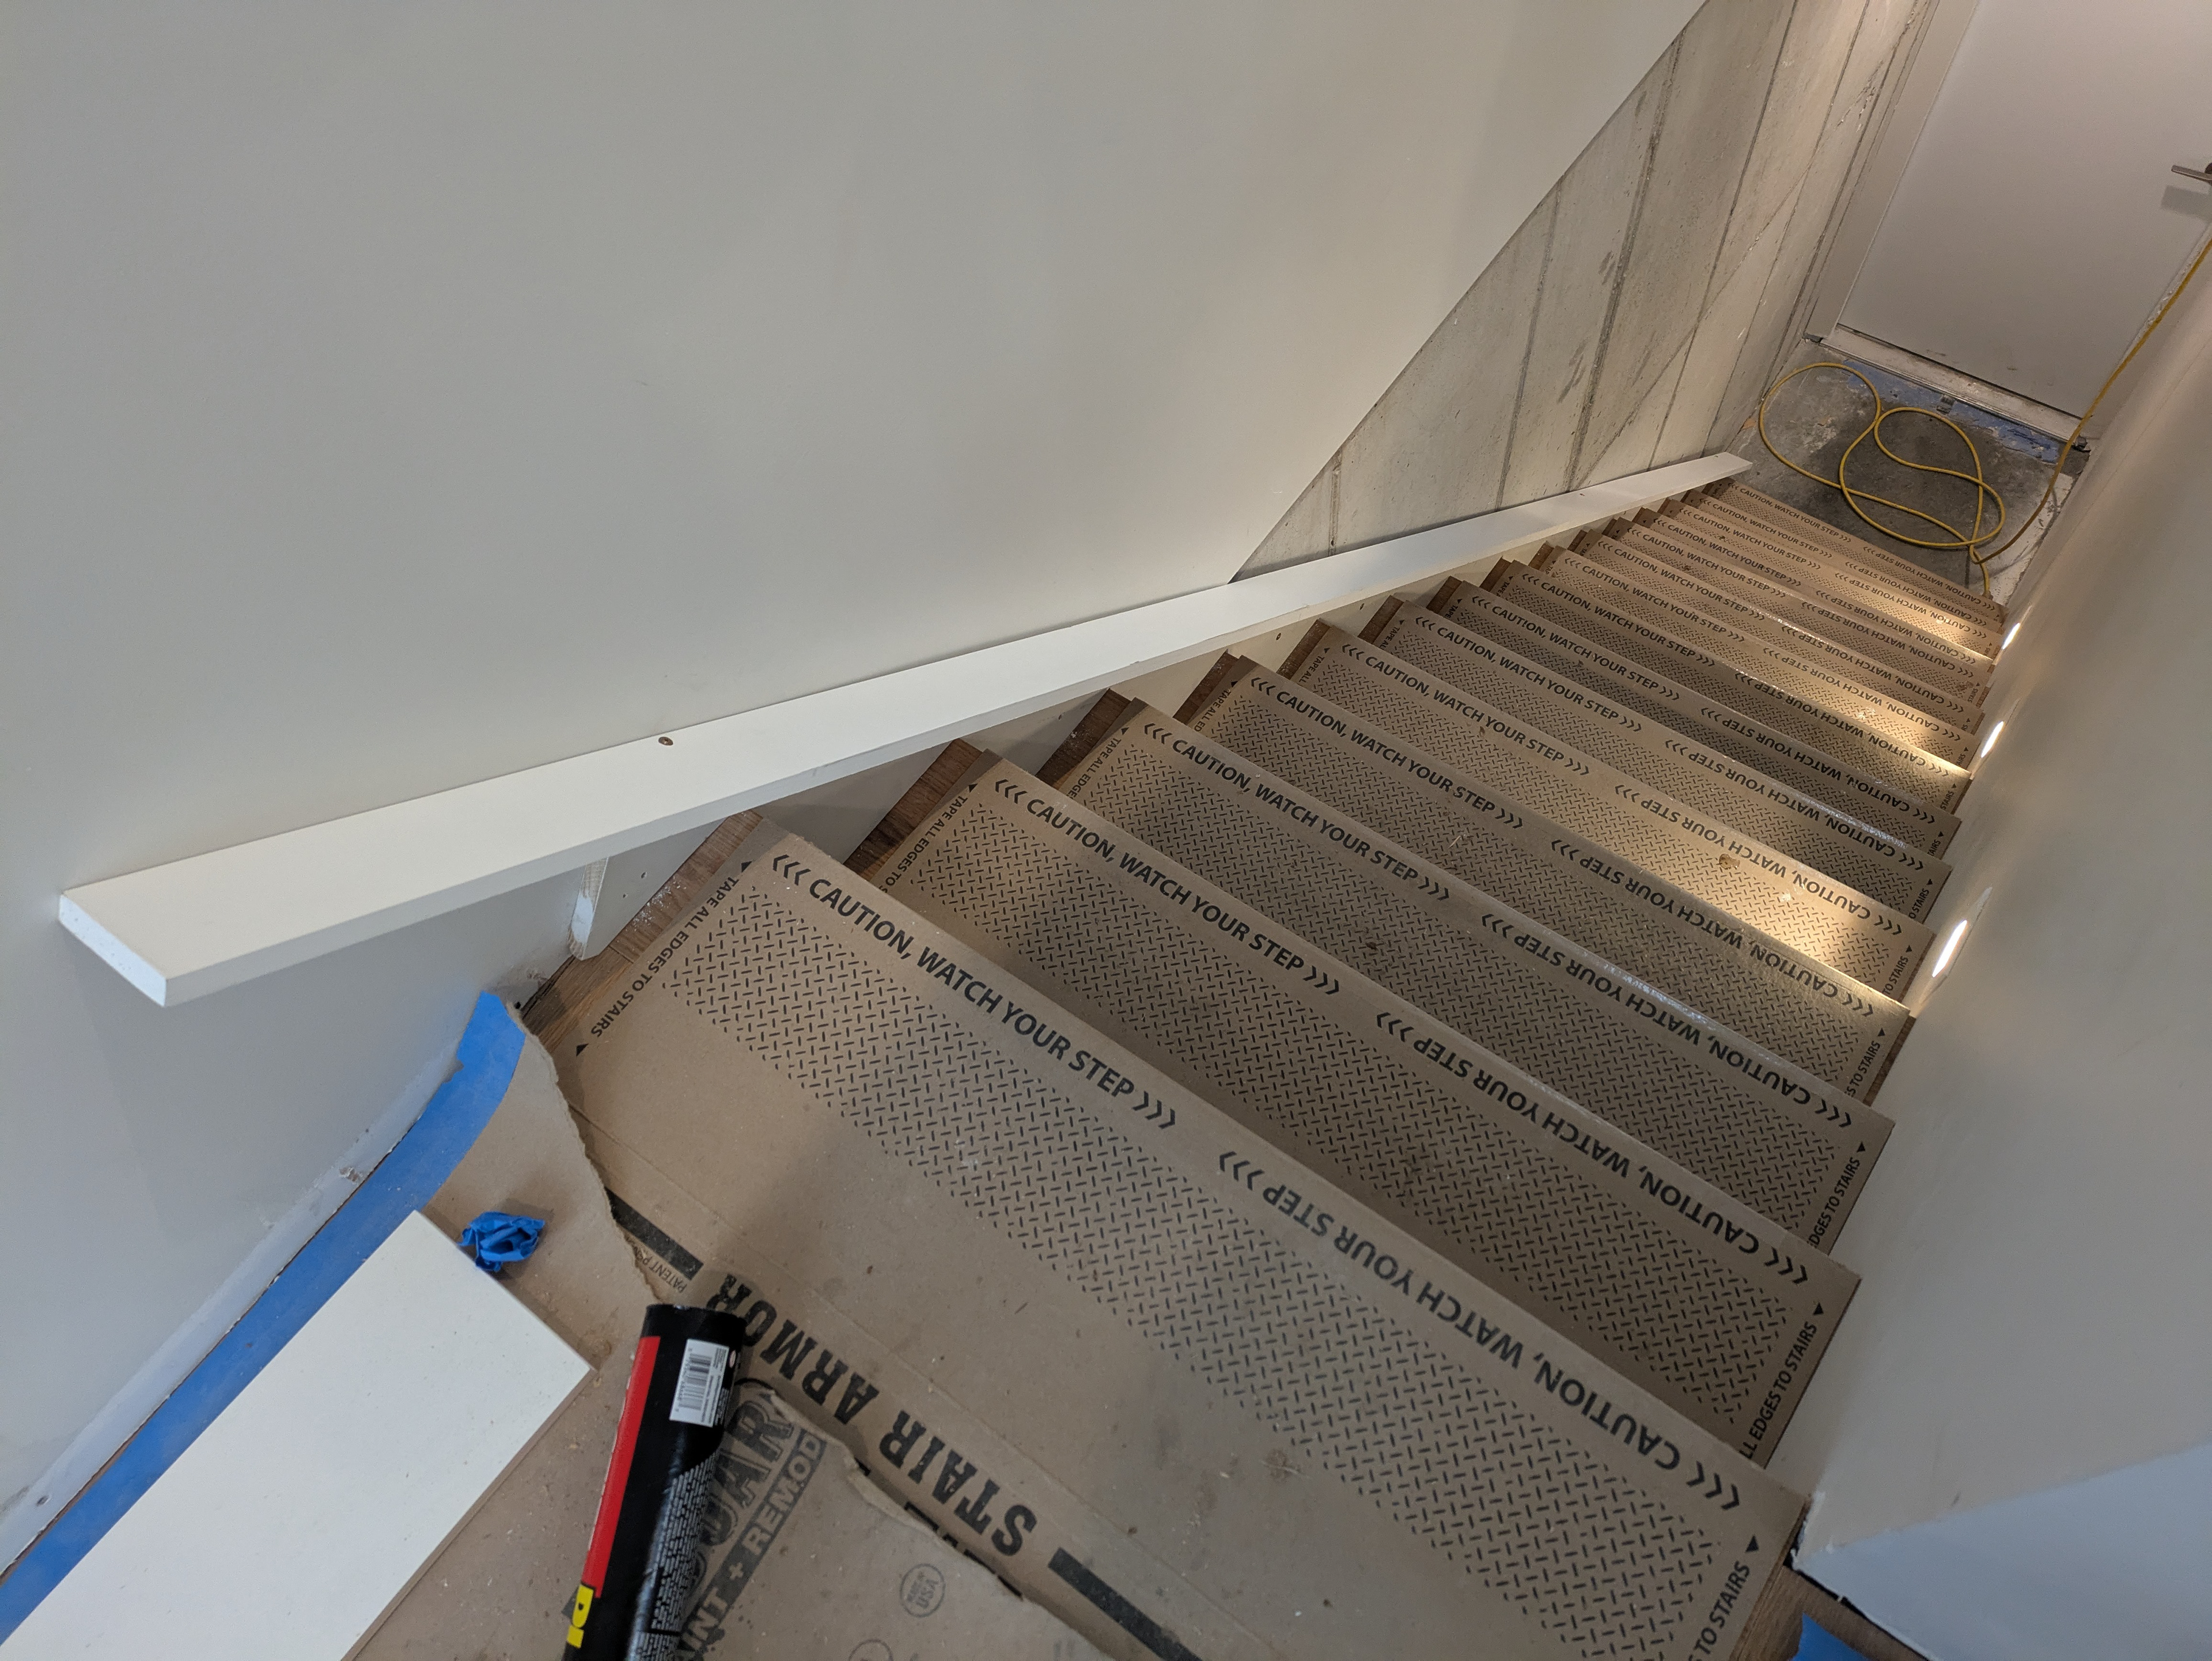
I was able to get a couple of photos of the stairs after the painter painted the skirtboard and skirtboard cap.
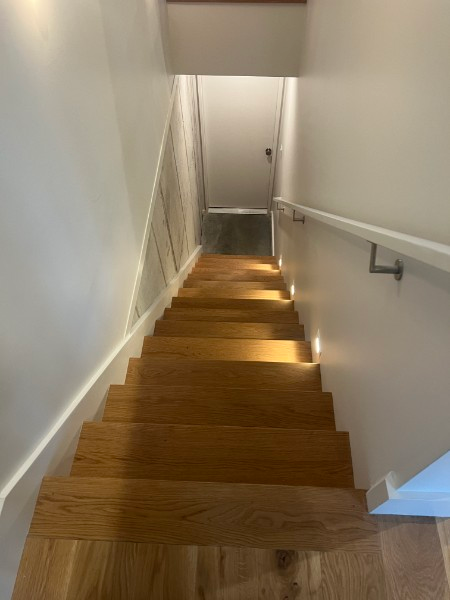
All done!