
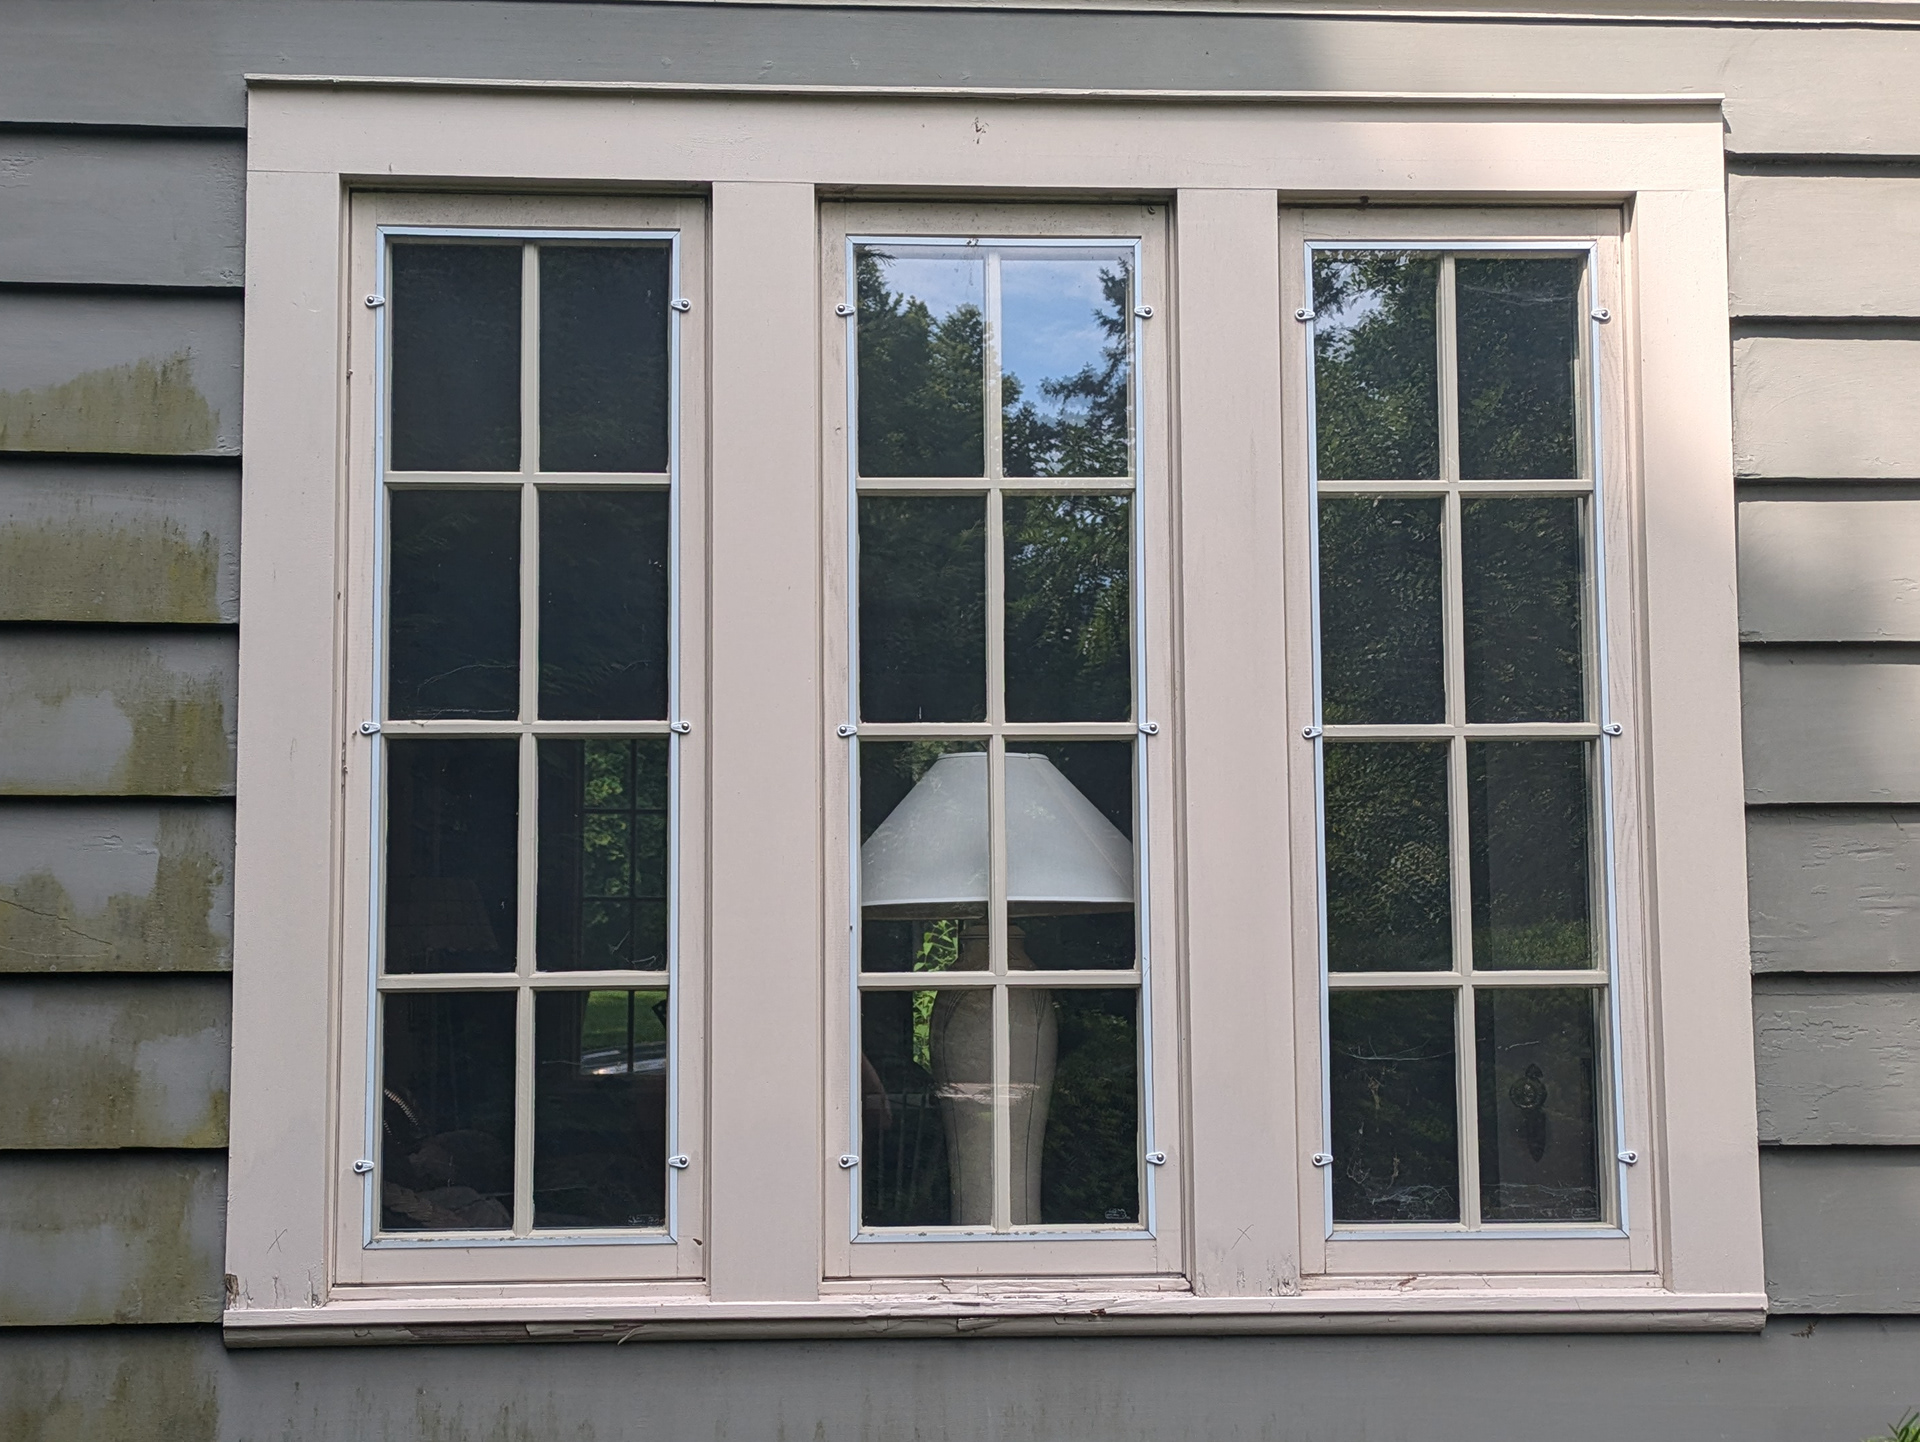
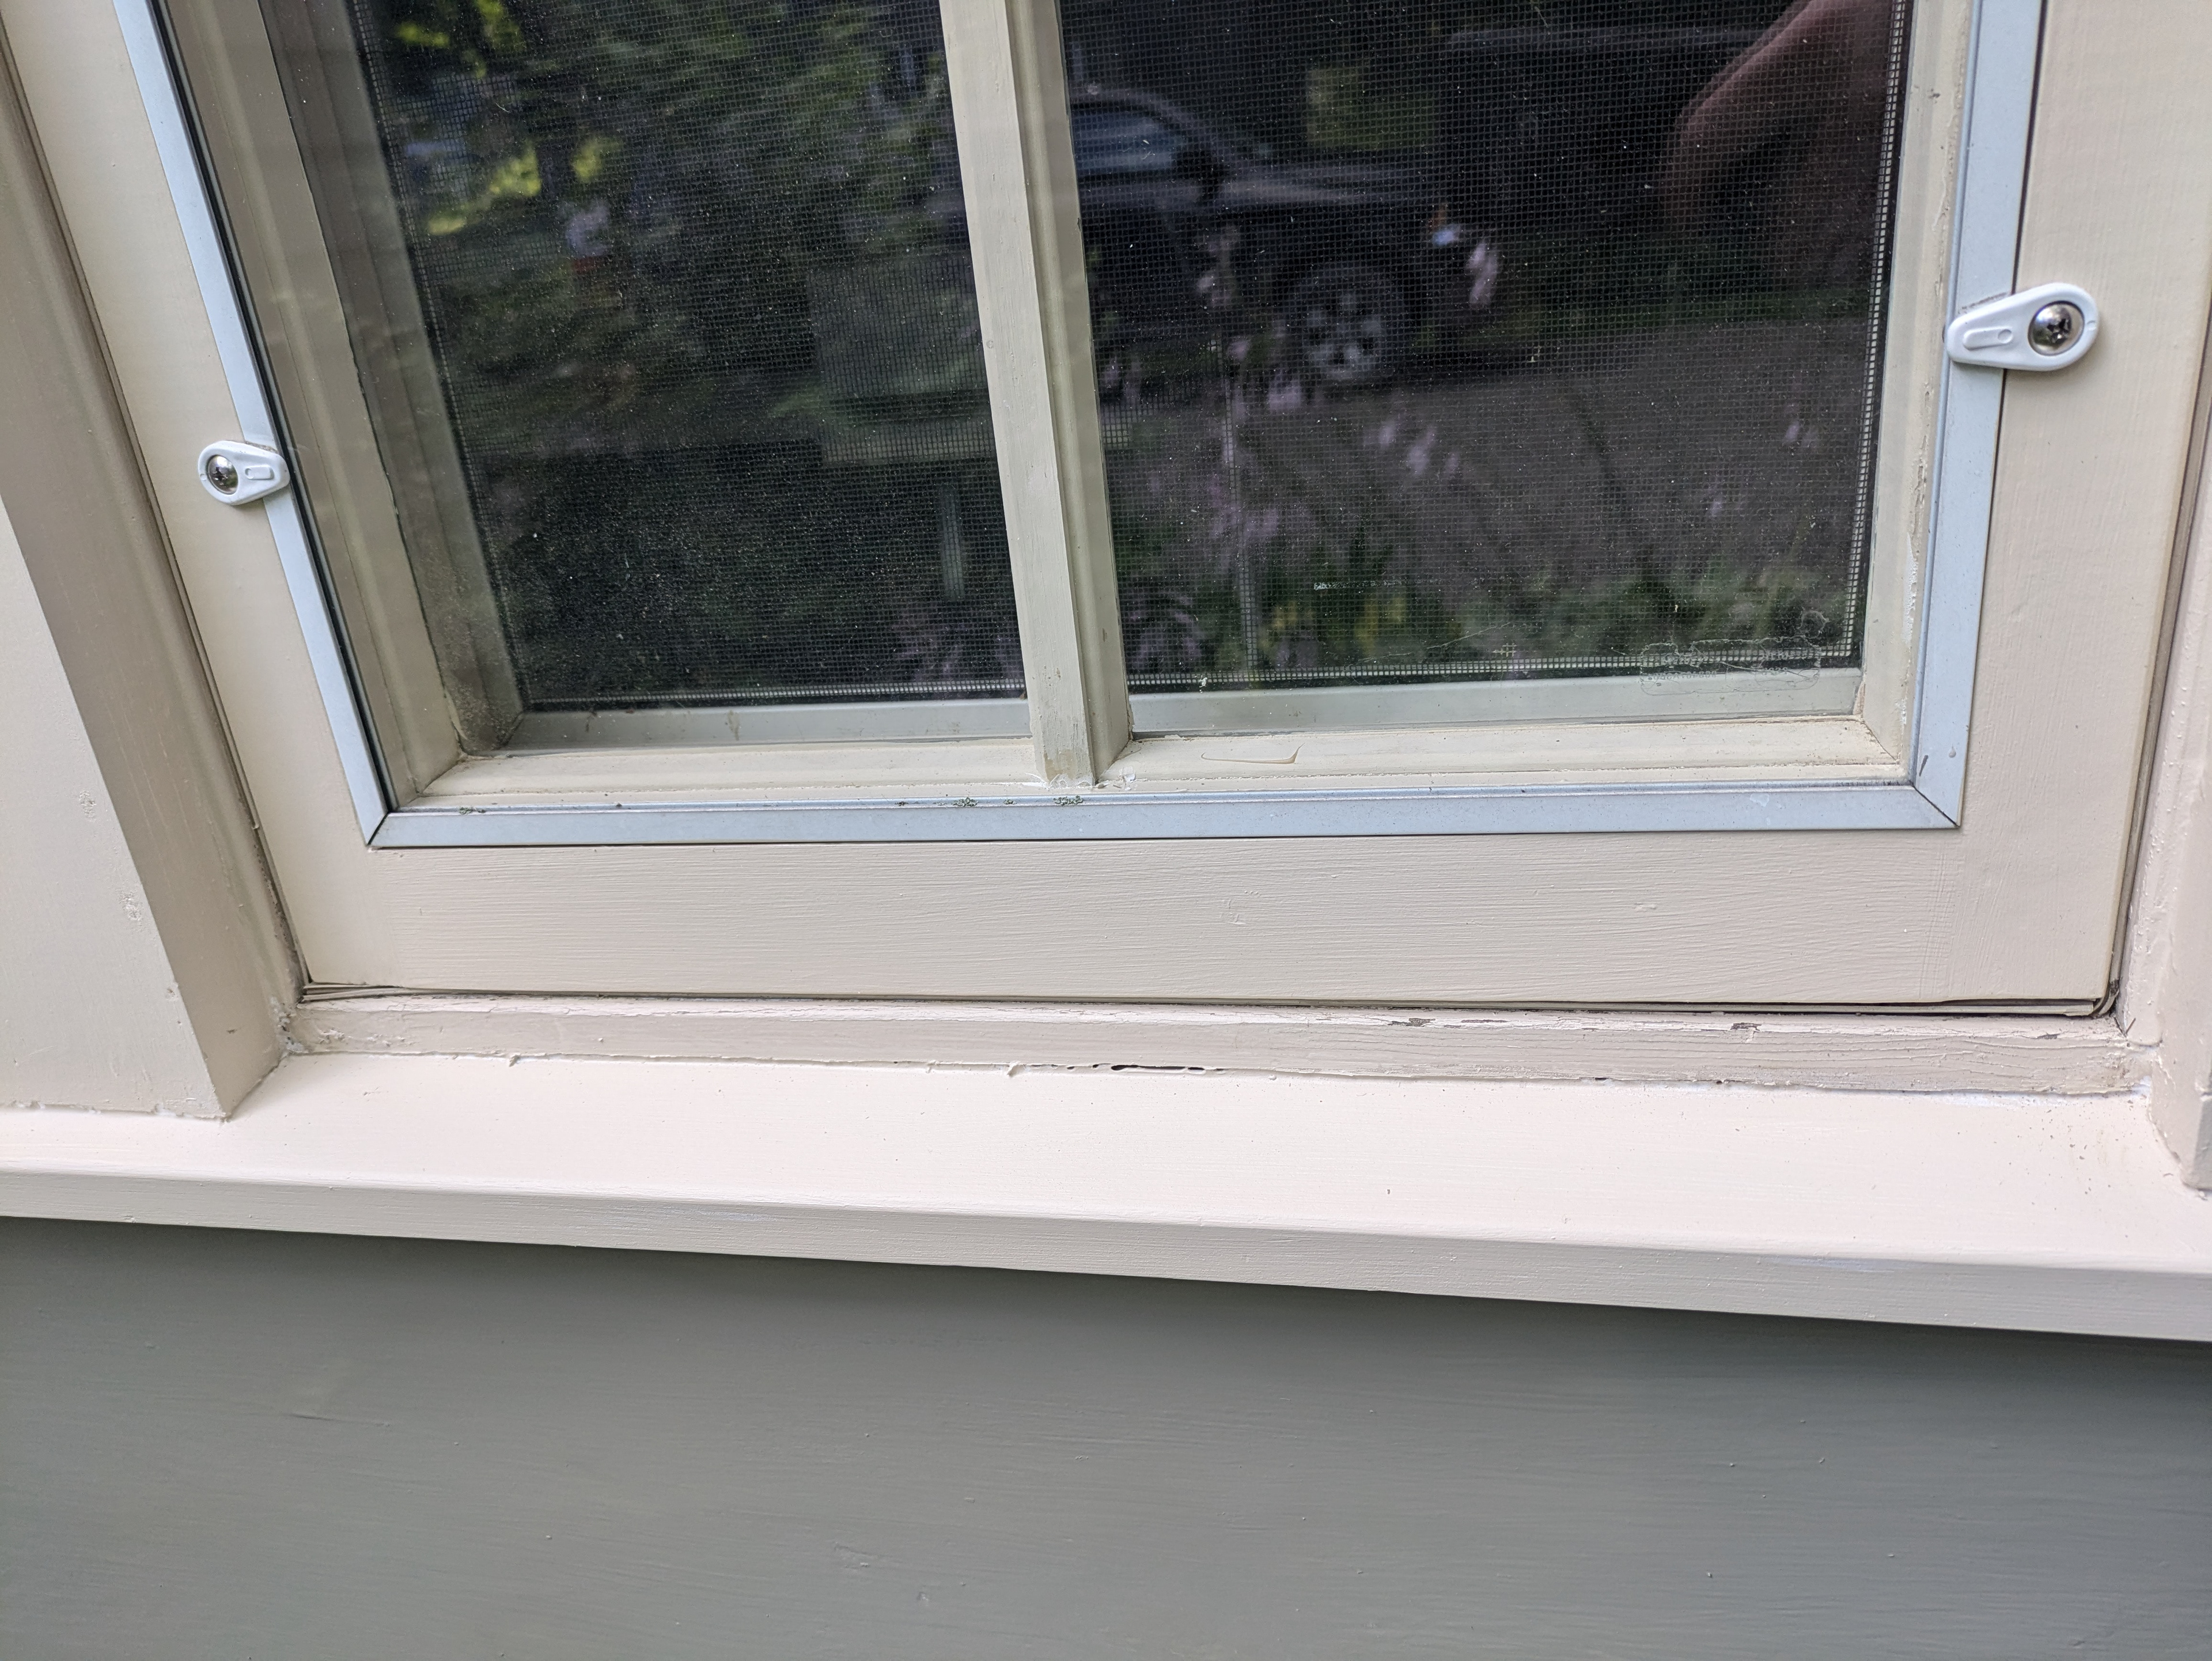
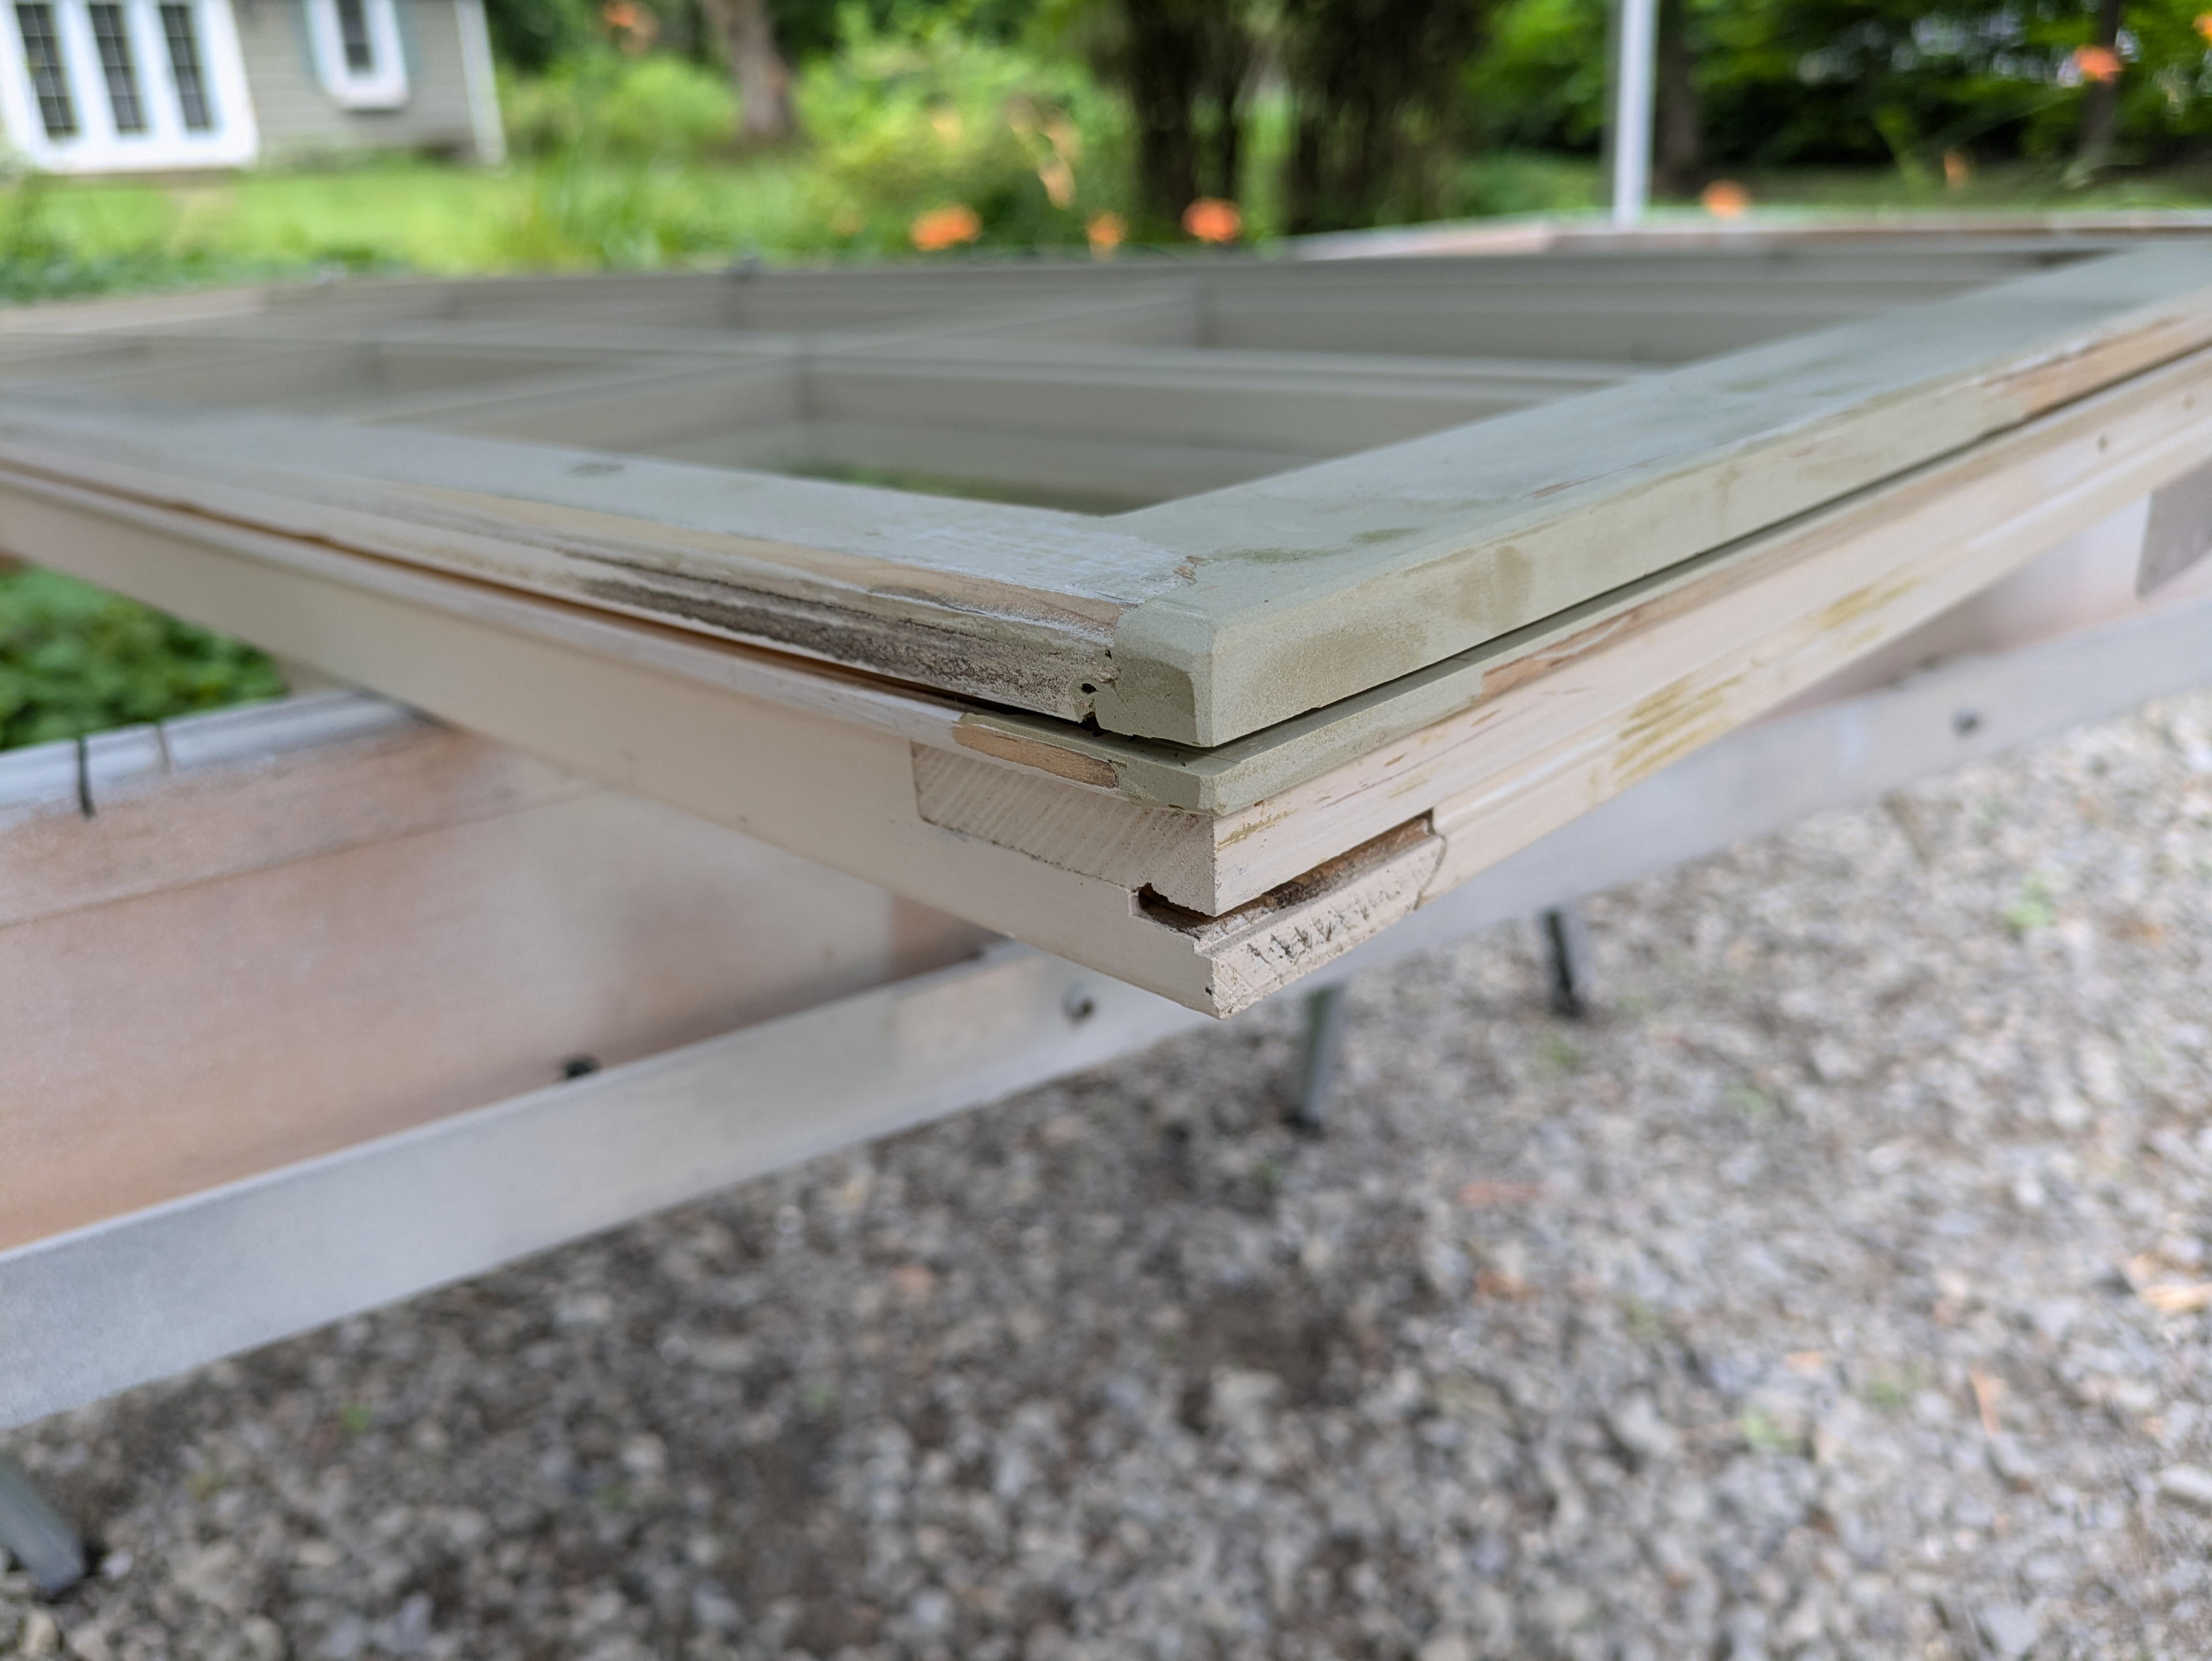
Two of this home’s casement window sashes are rotting and require repair.
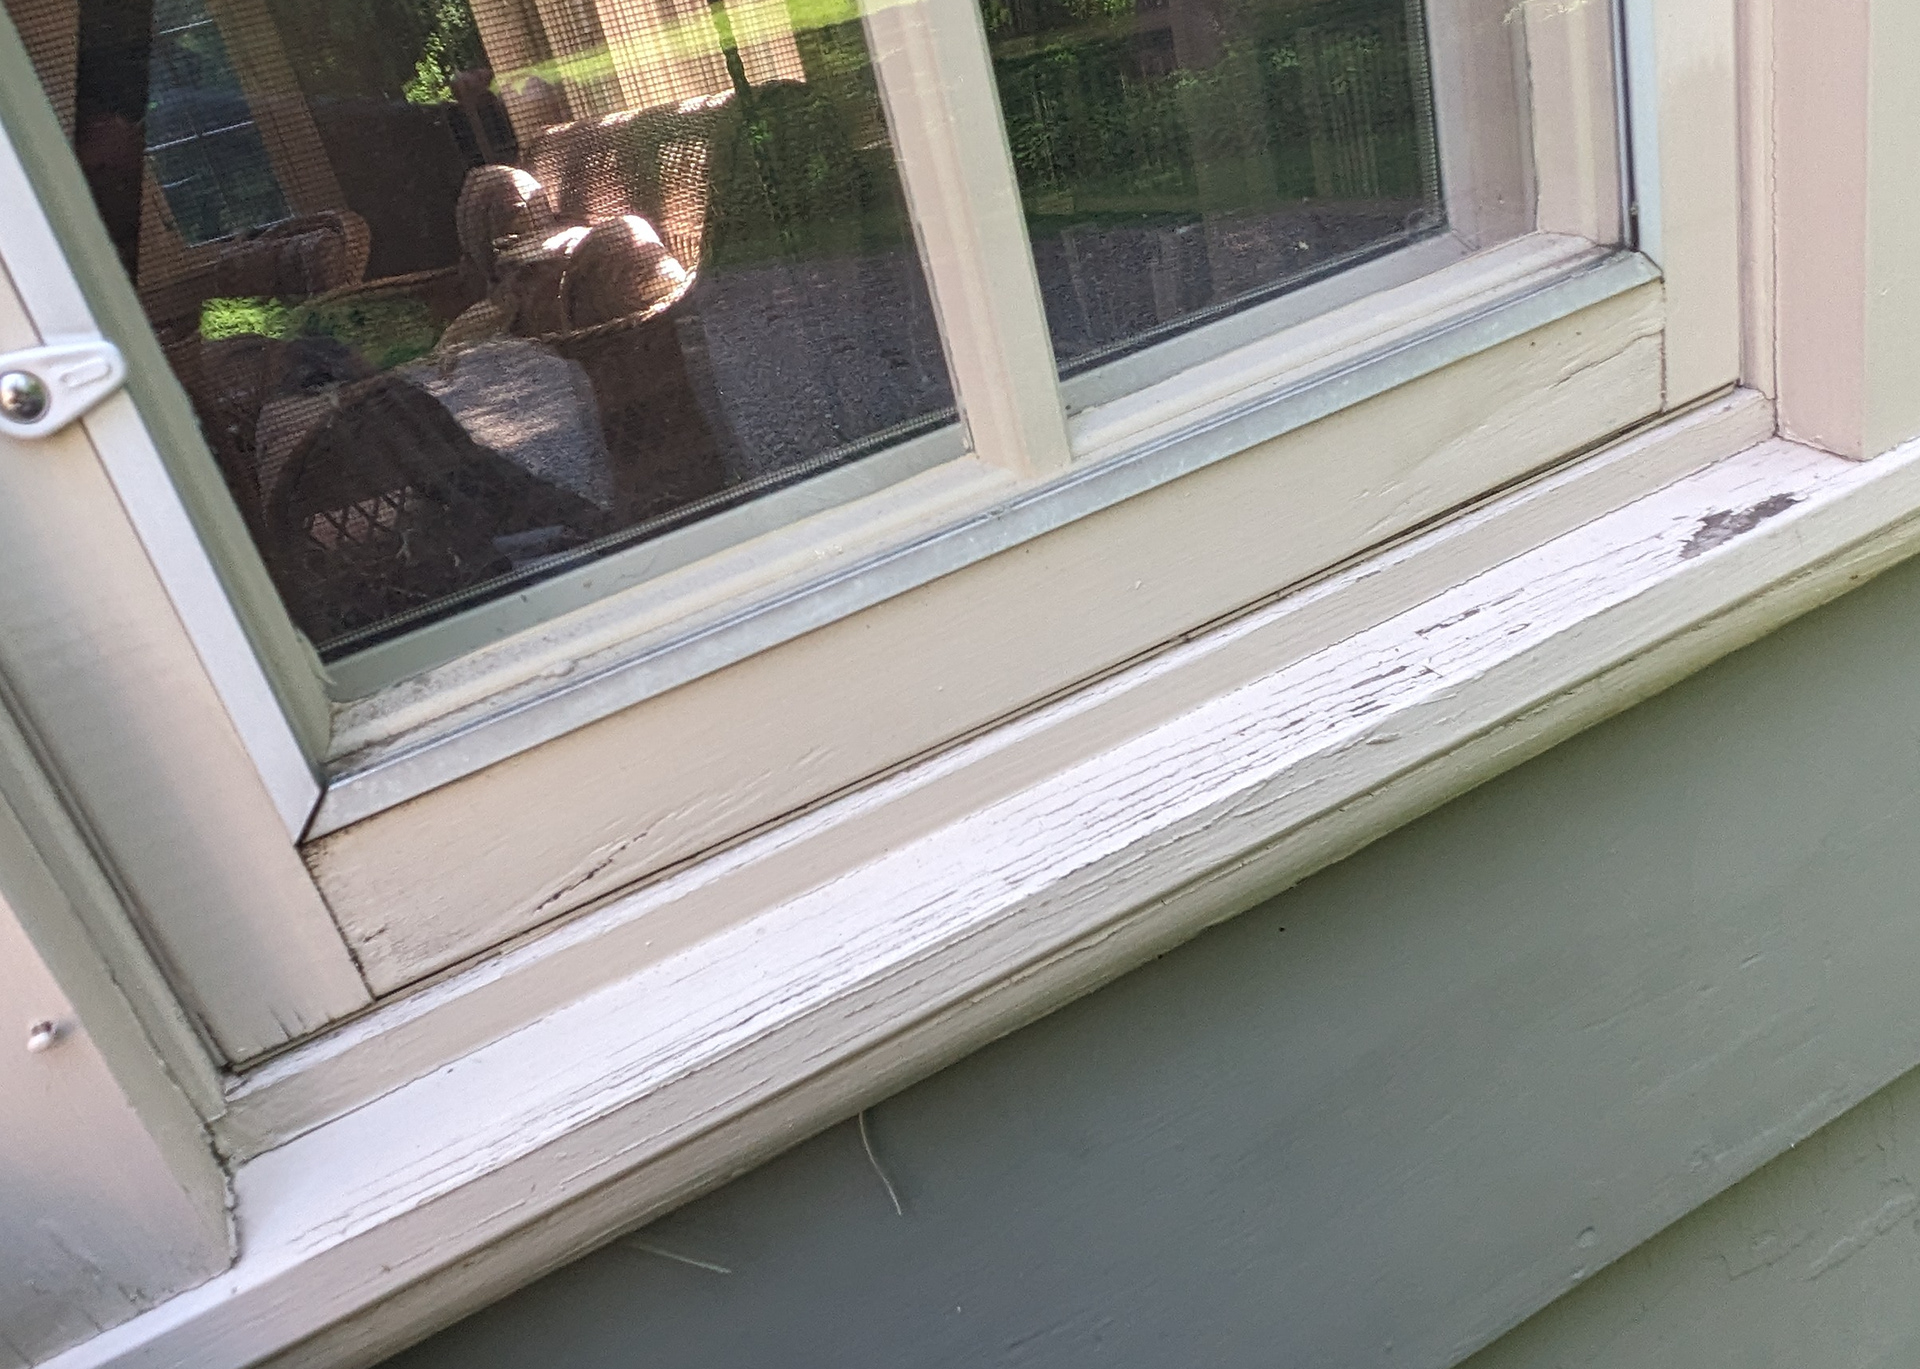
The wavy surface of this sash’s lower rail is ominous. I’ll remove the sash from the window jamb and get to work.
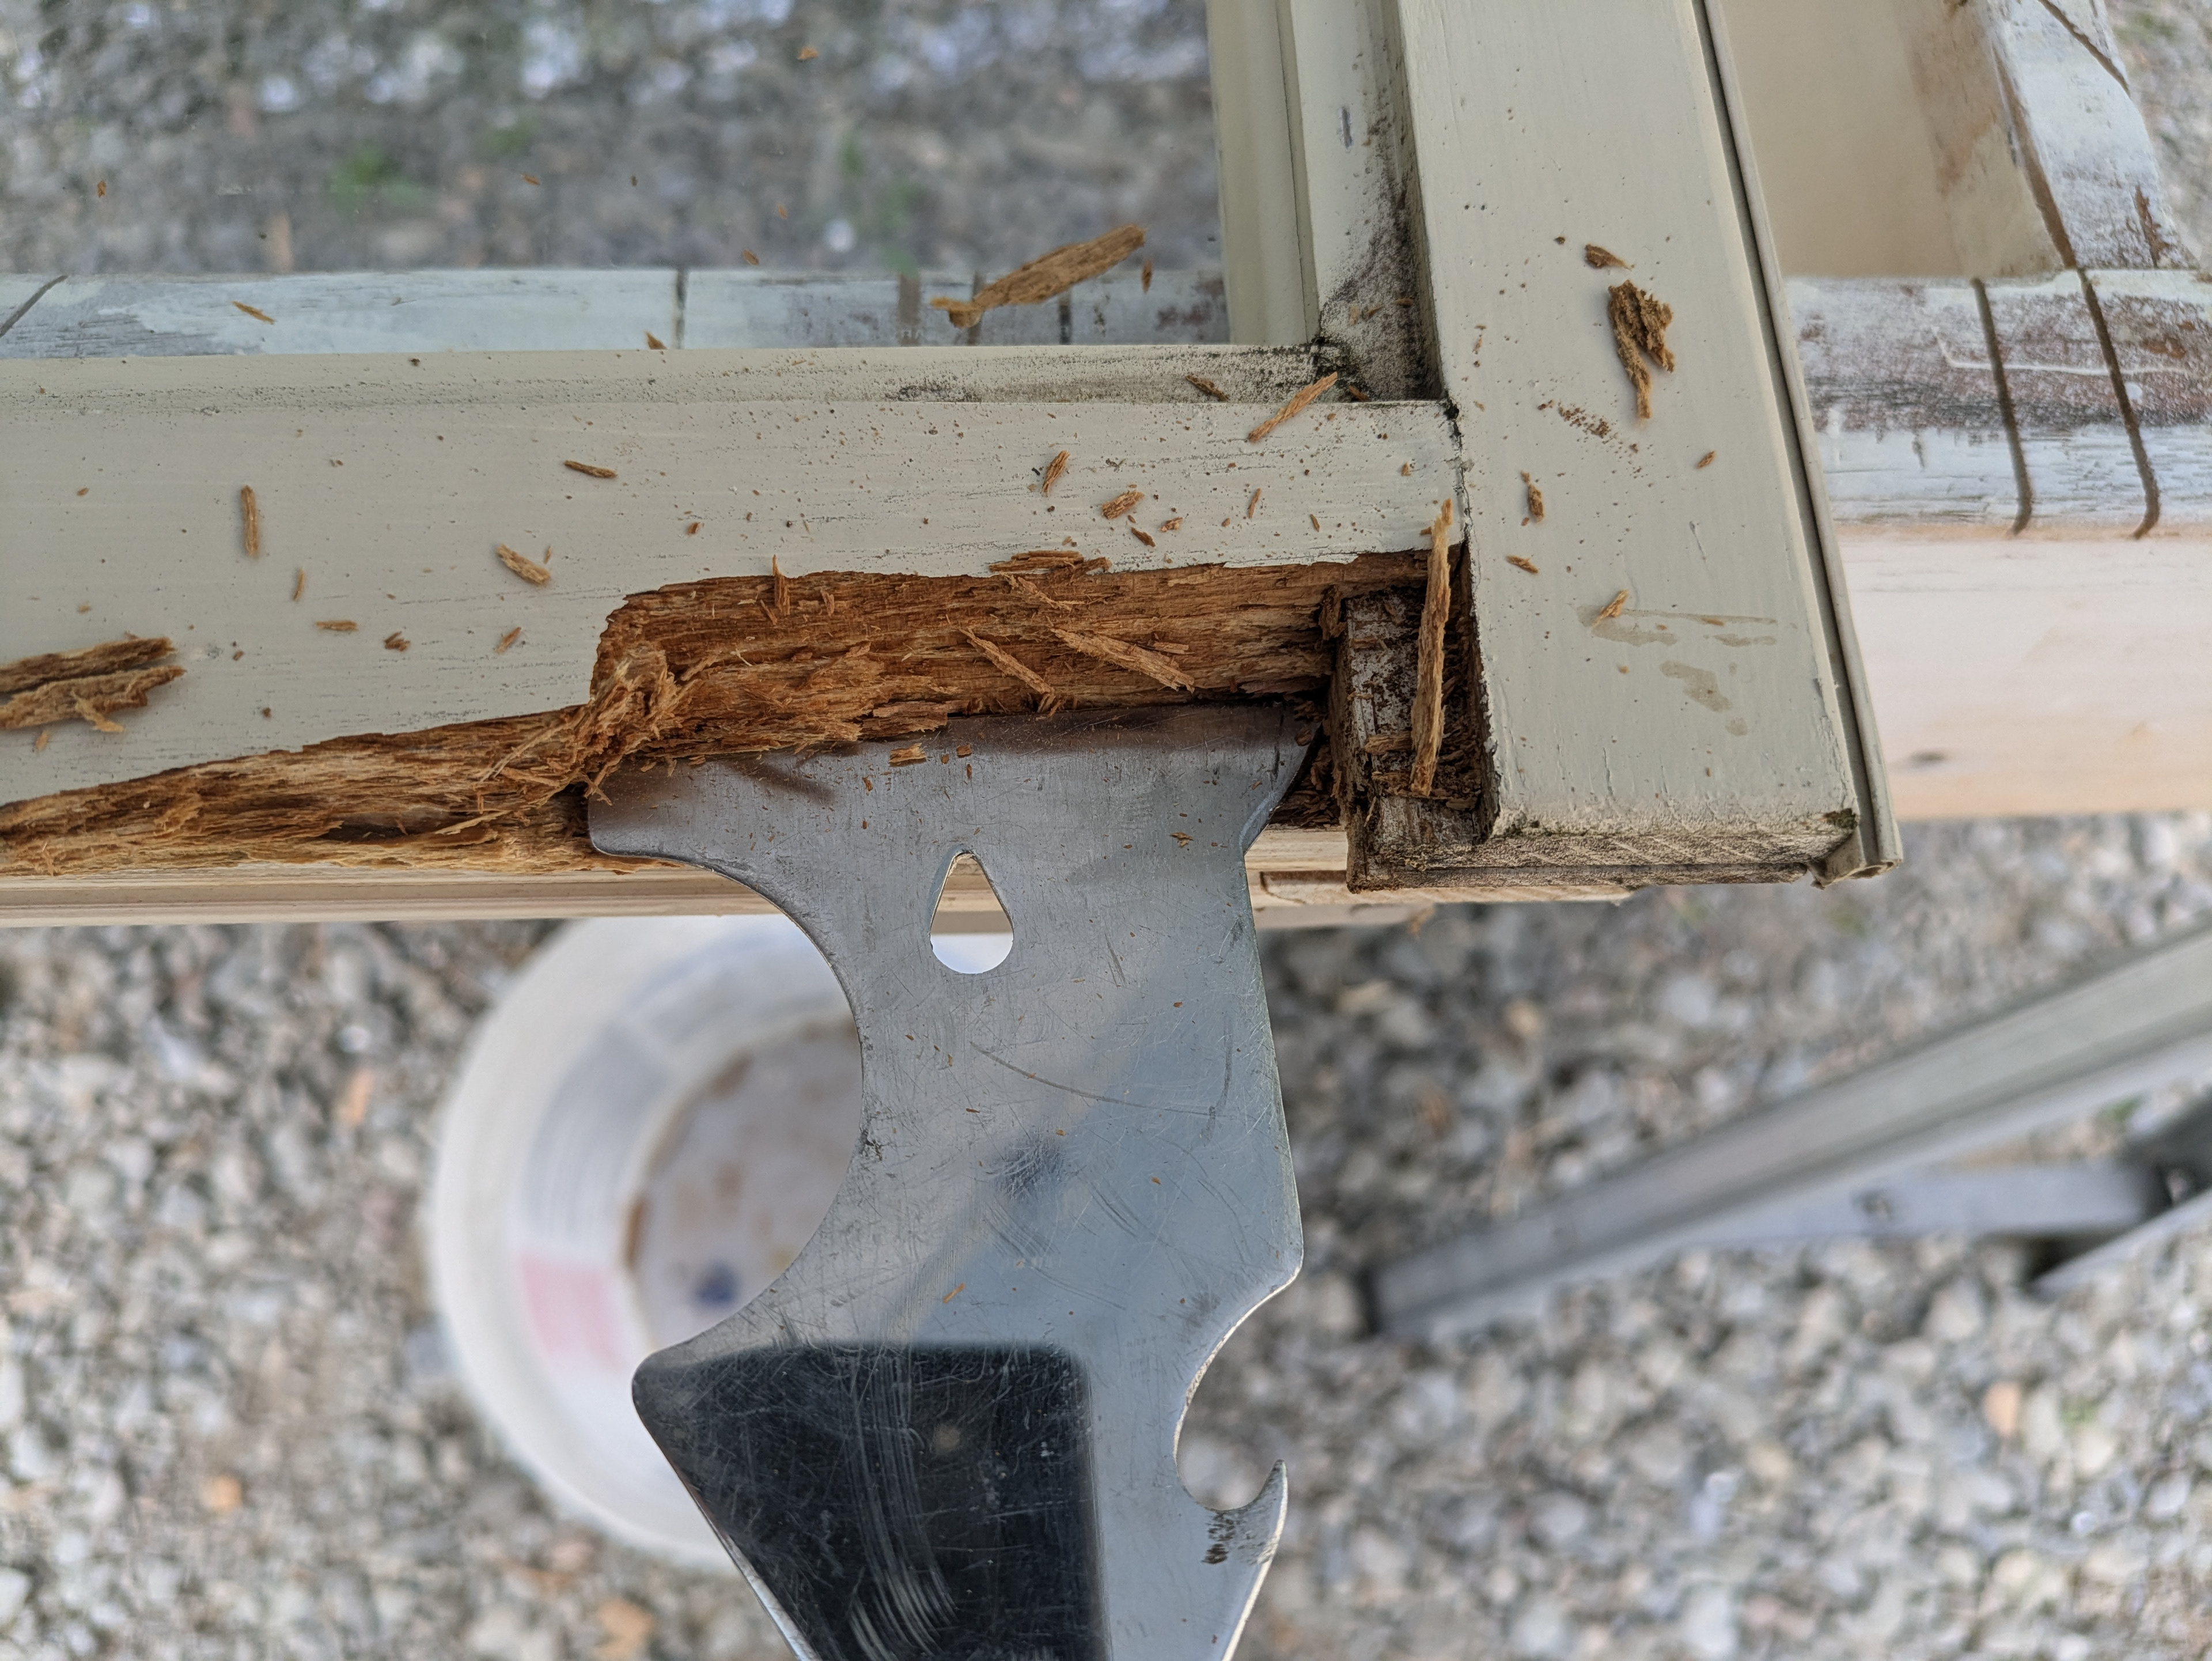
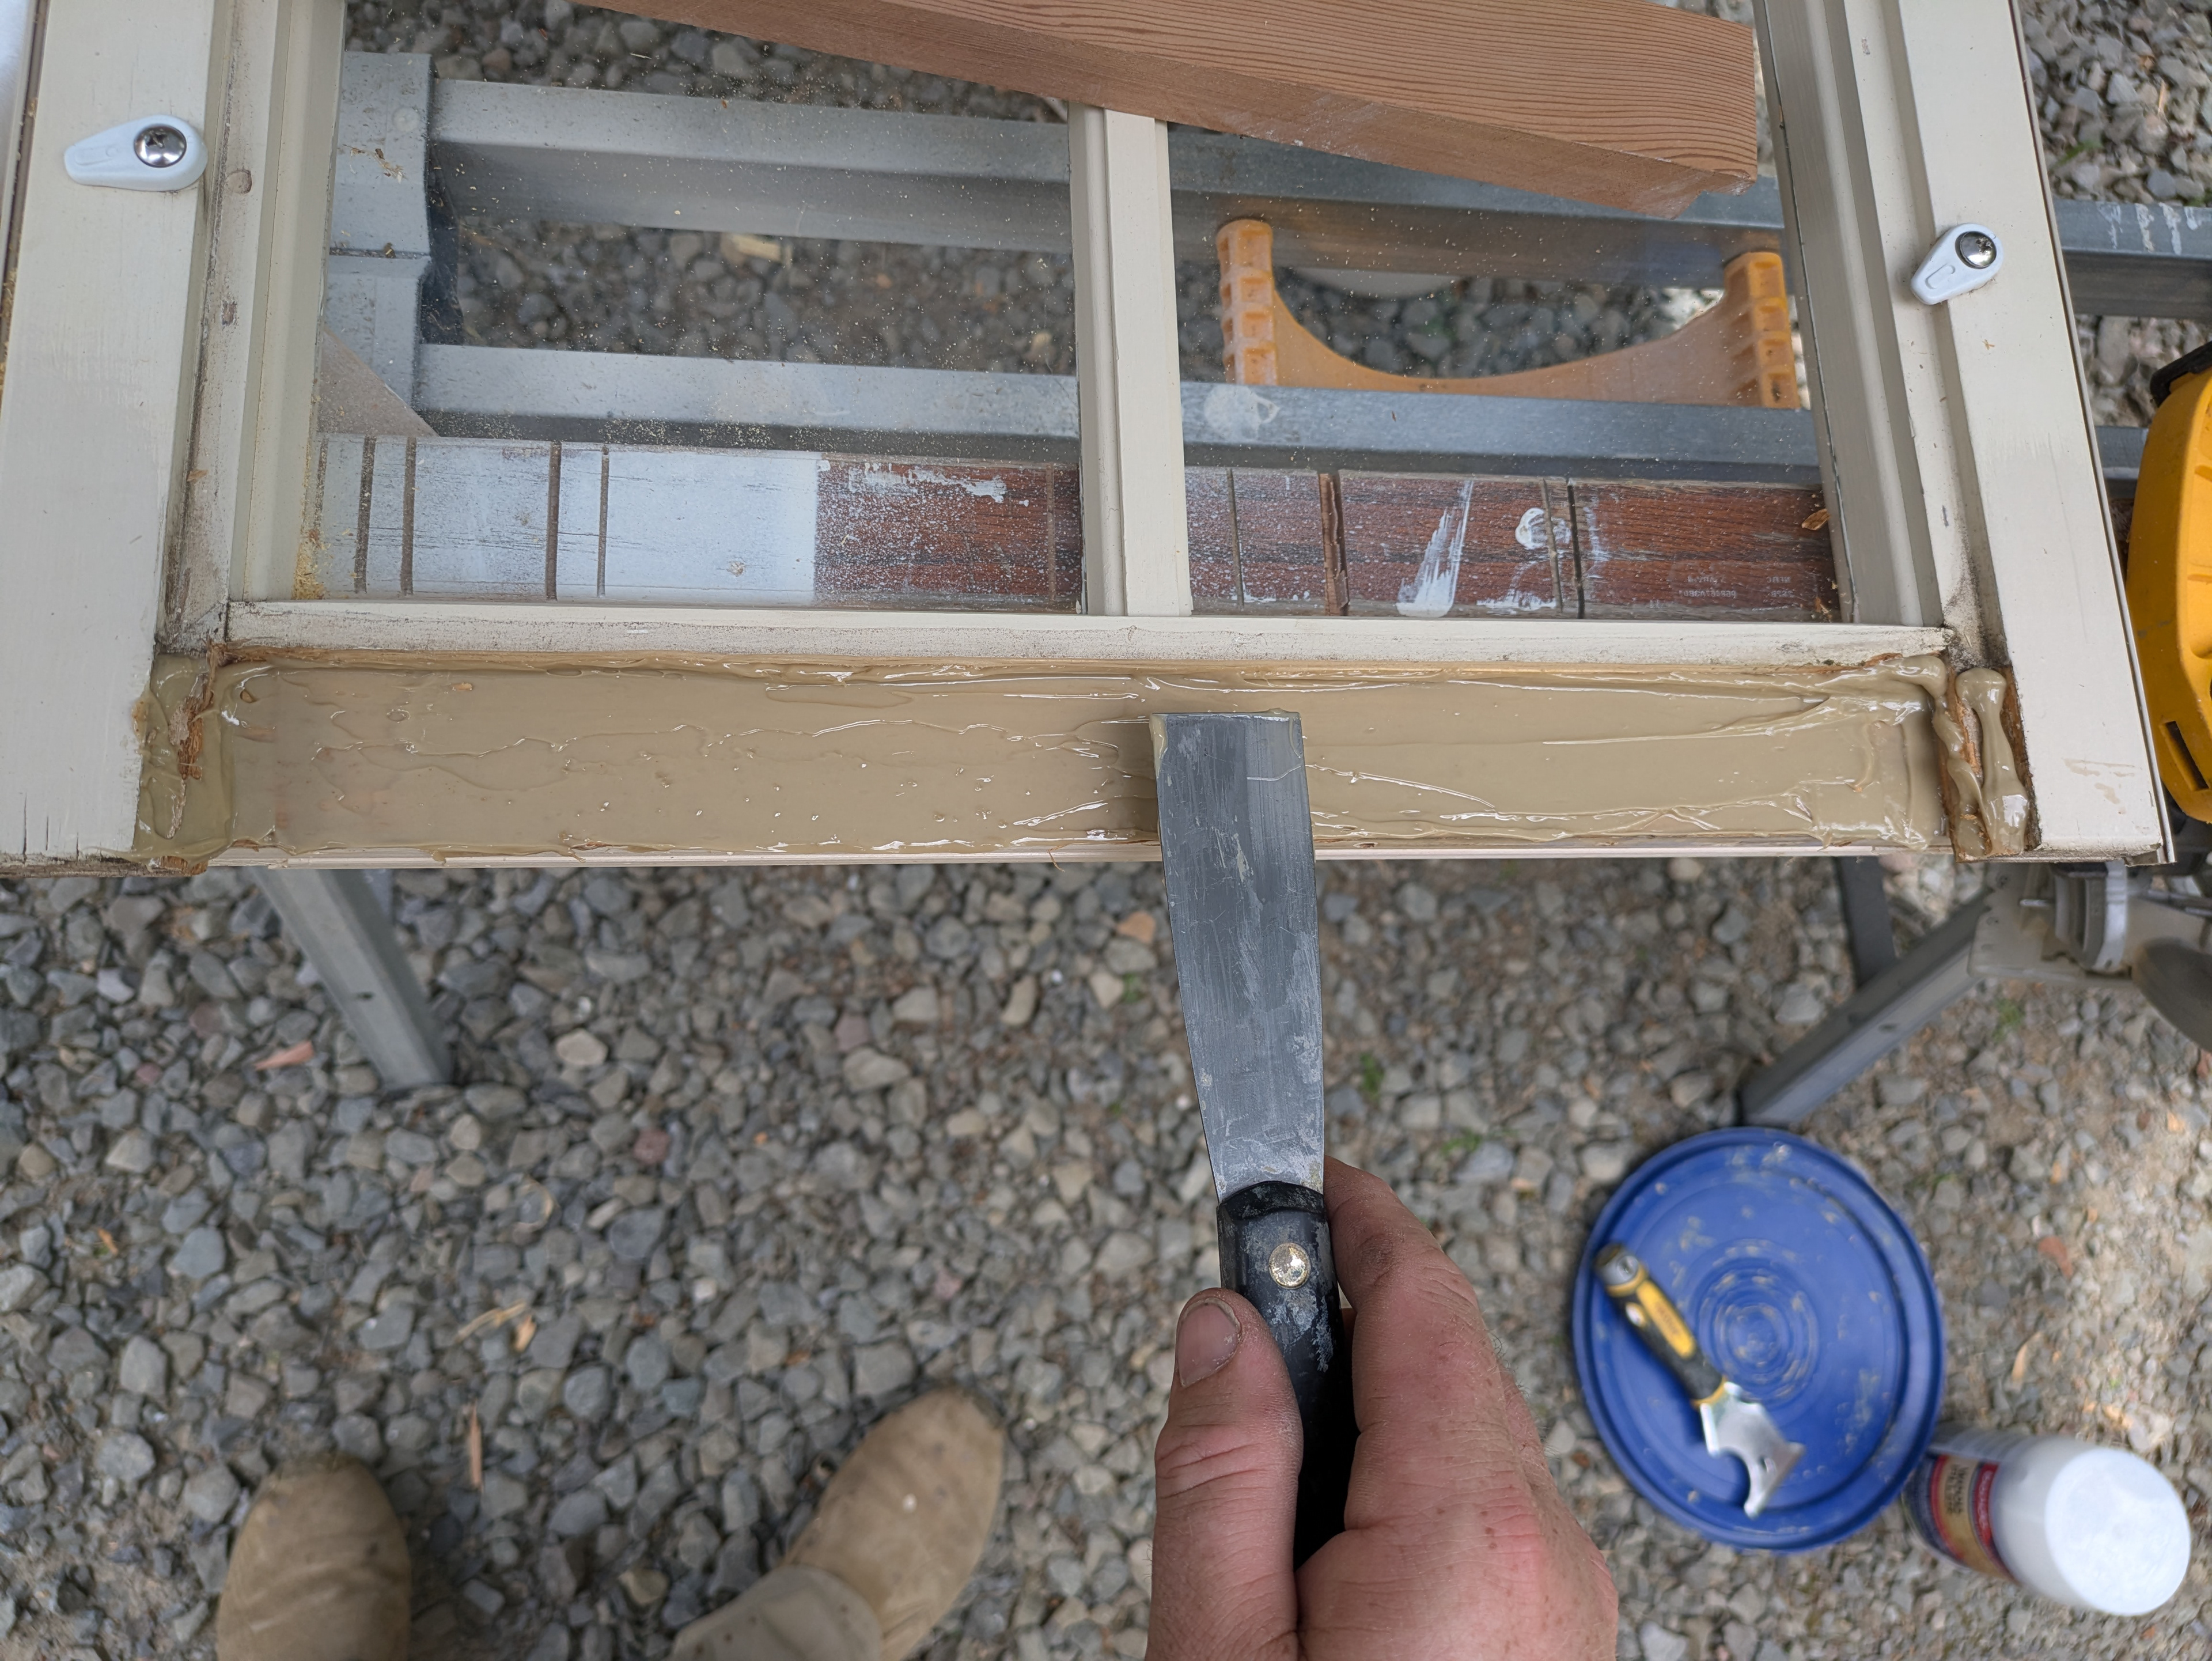
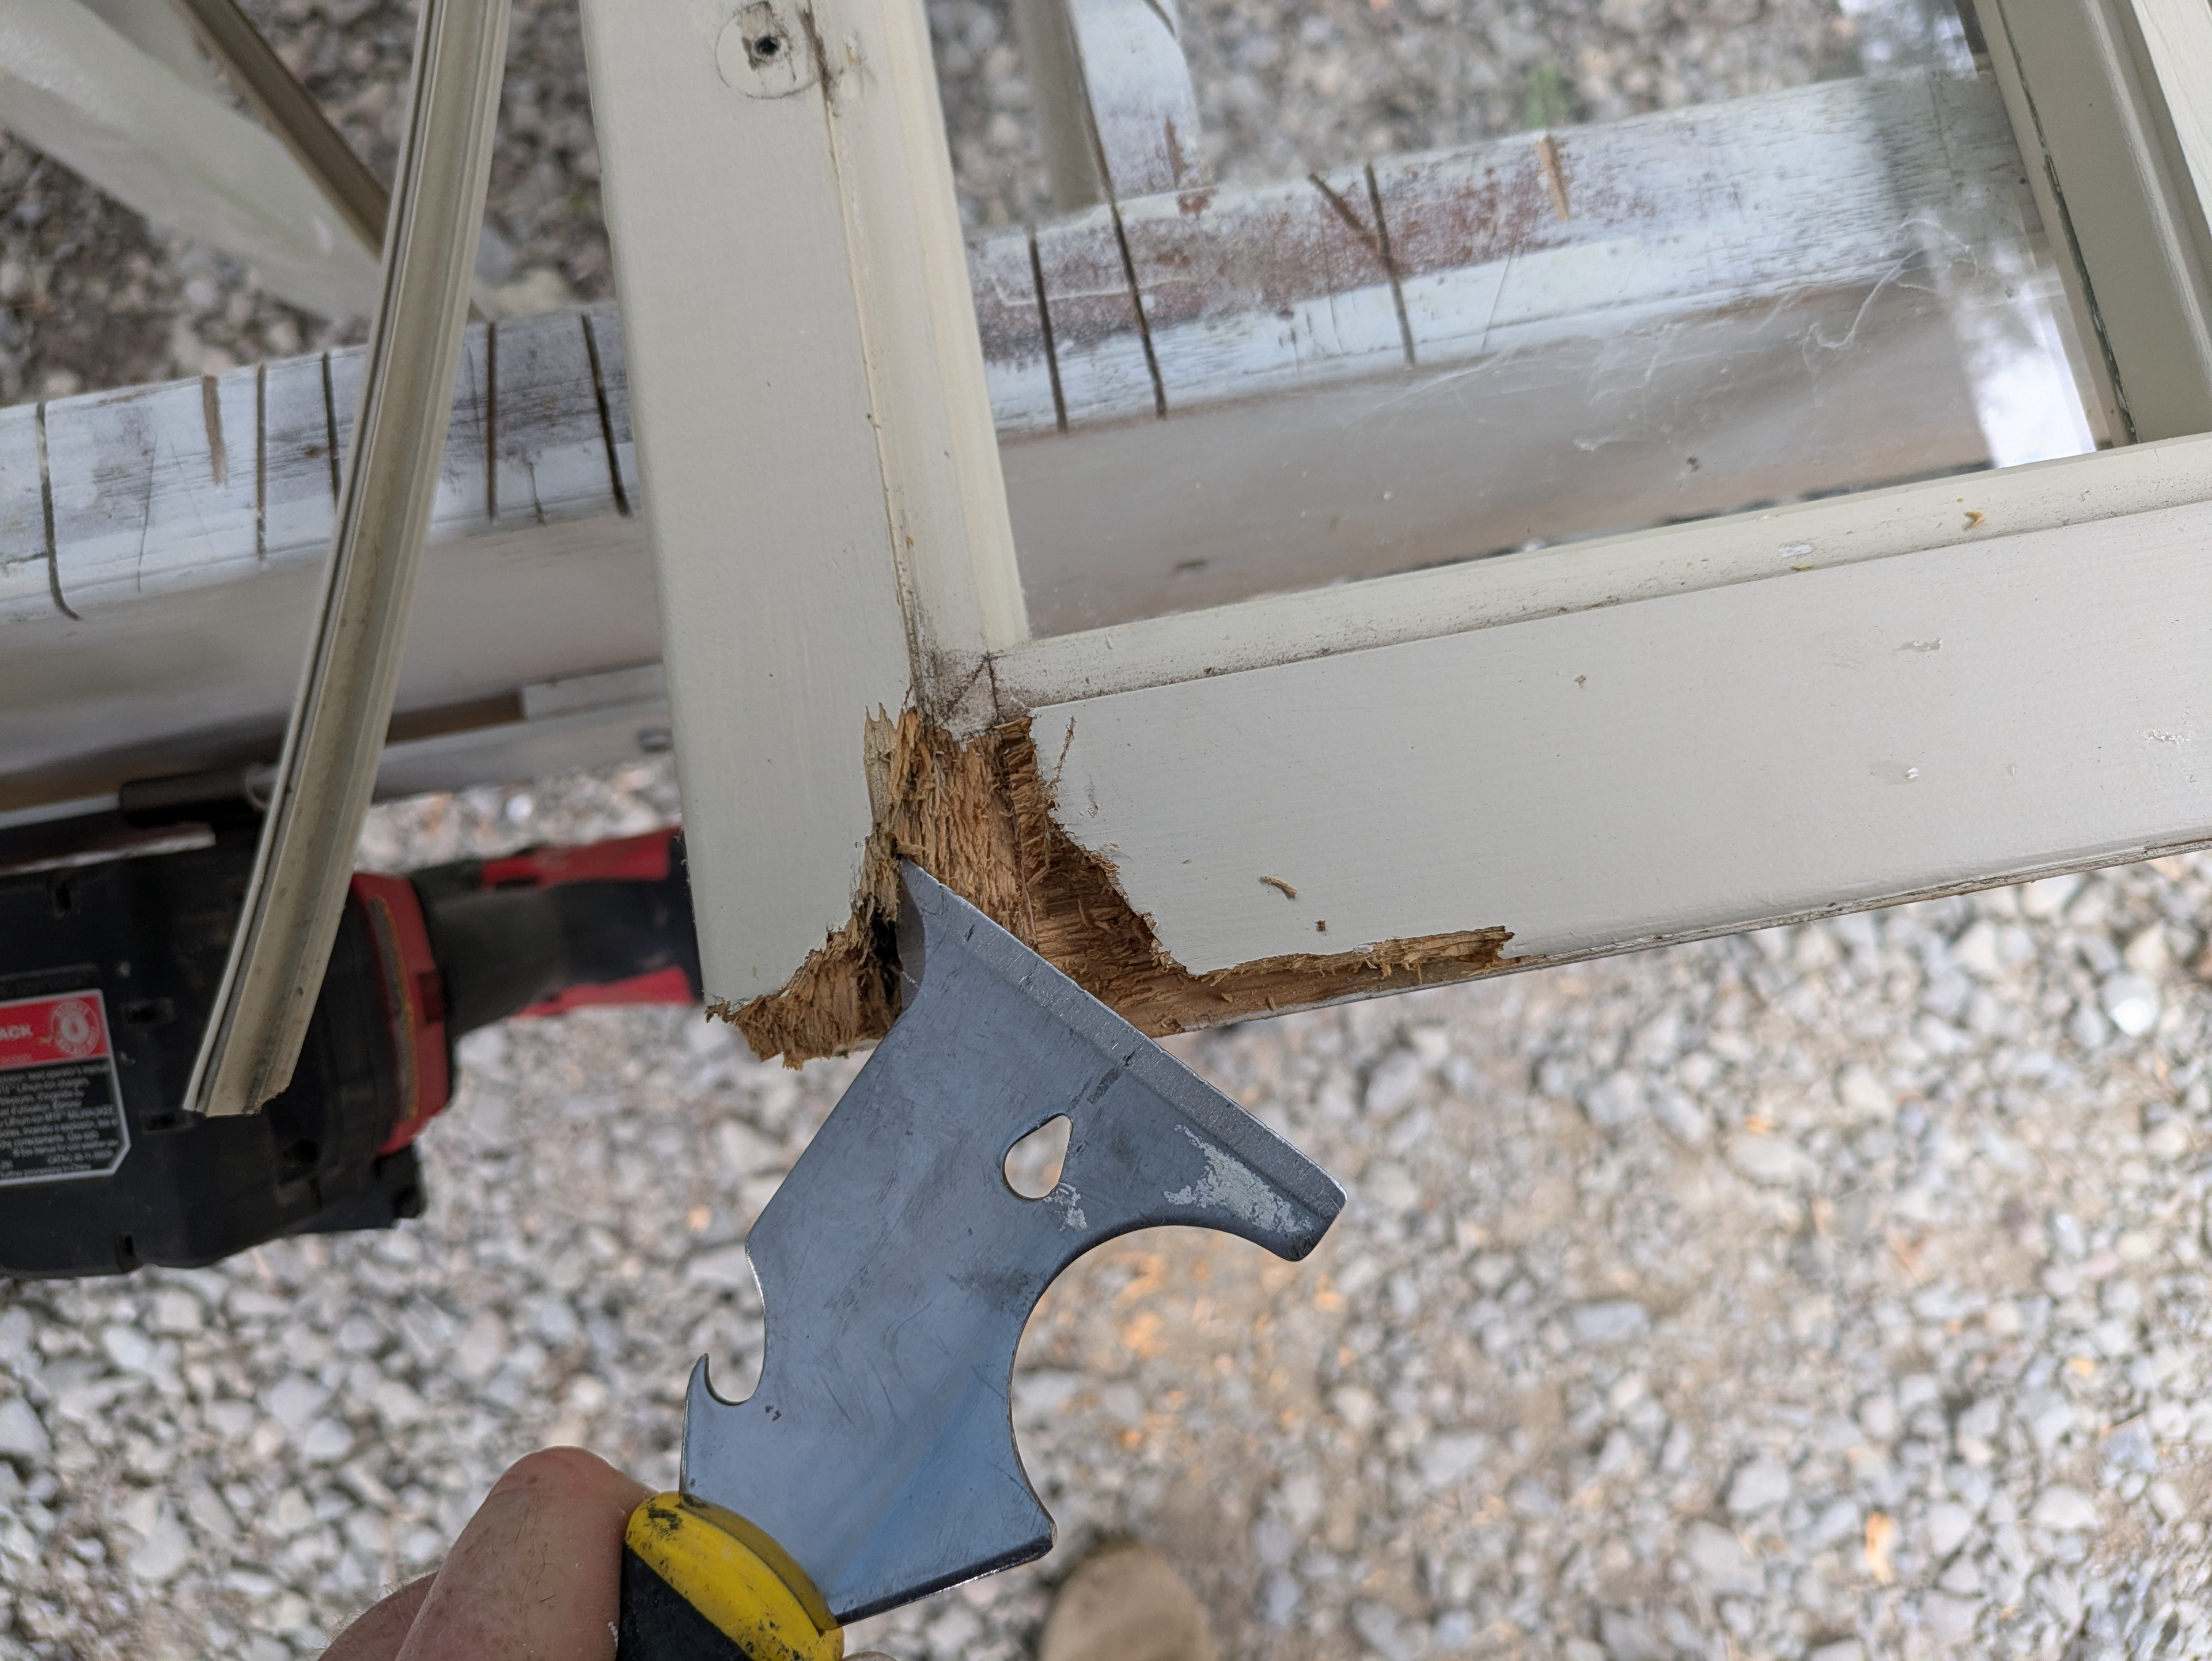
I’m using a putty knife to scrape away the rotten wood. It comes off easily in big chunks. I’ll stop when the wood feels solid.
The rot is deep into the wood. The mortise and tenon joint that attaches the rail to the stile is structurally compromised. In order to maintain the structural integrity of this sash I’ll make a wooden patch which will restore the strength of the joint.
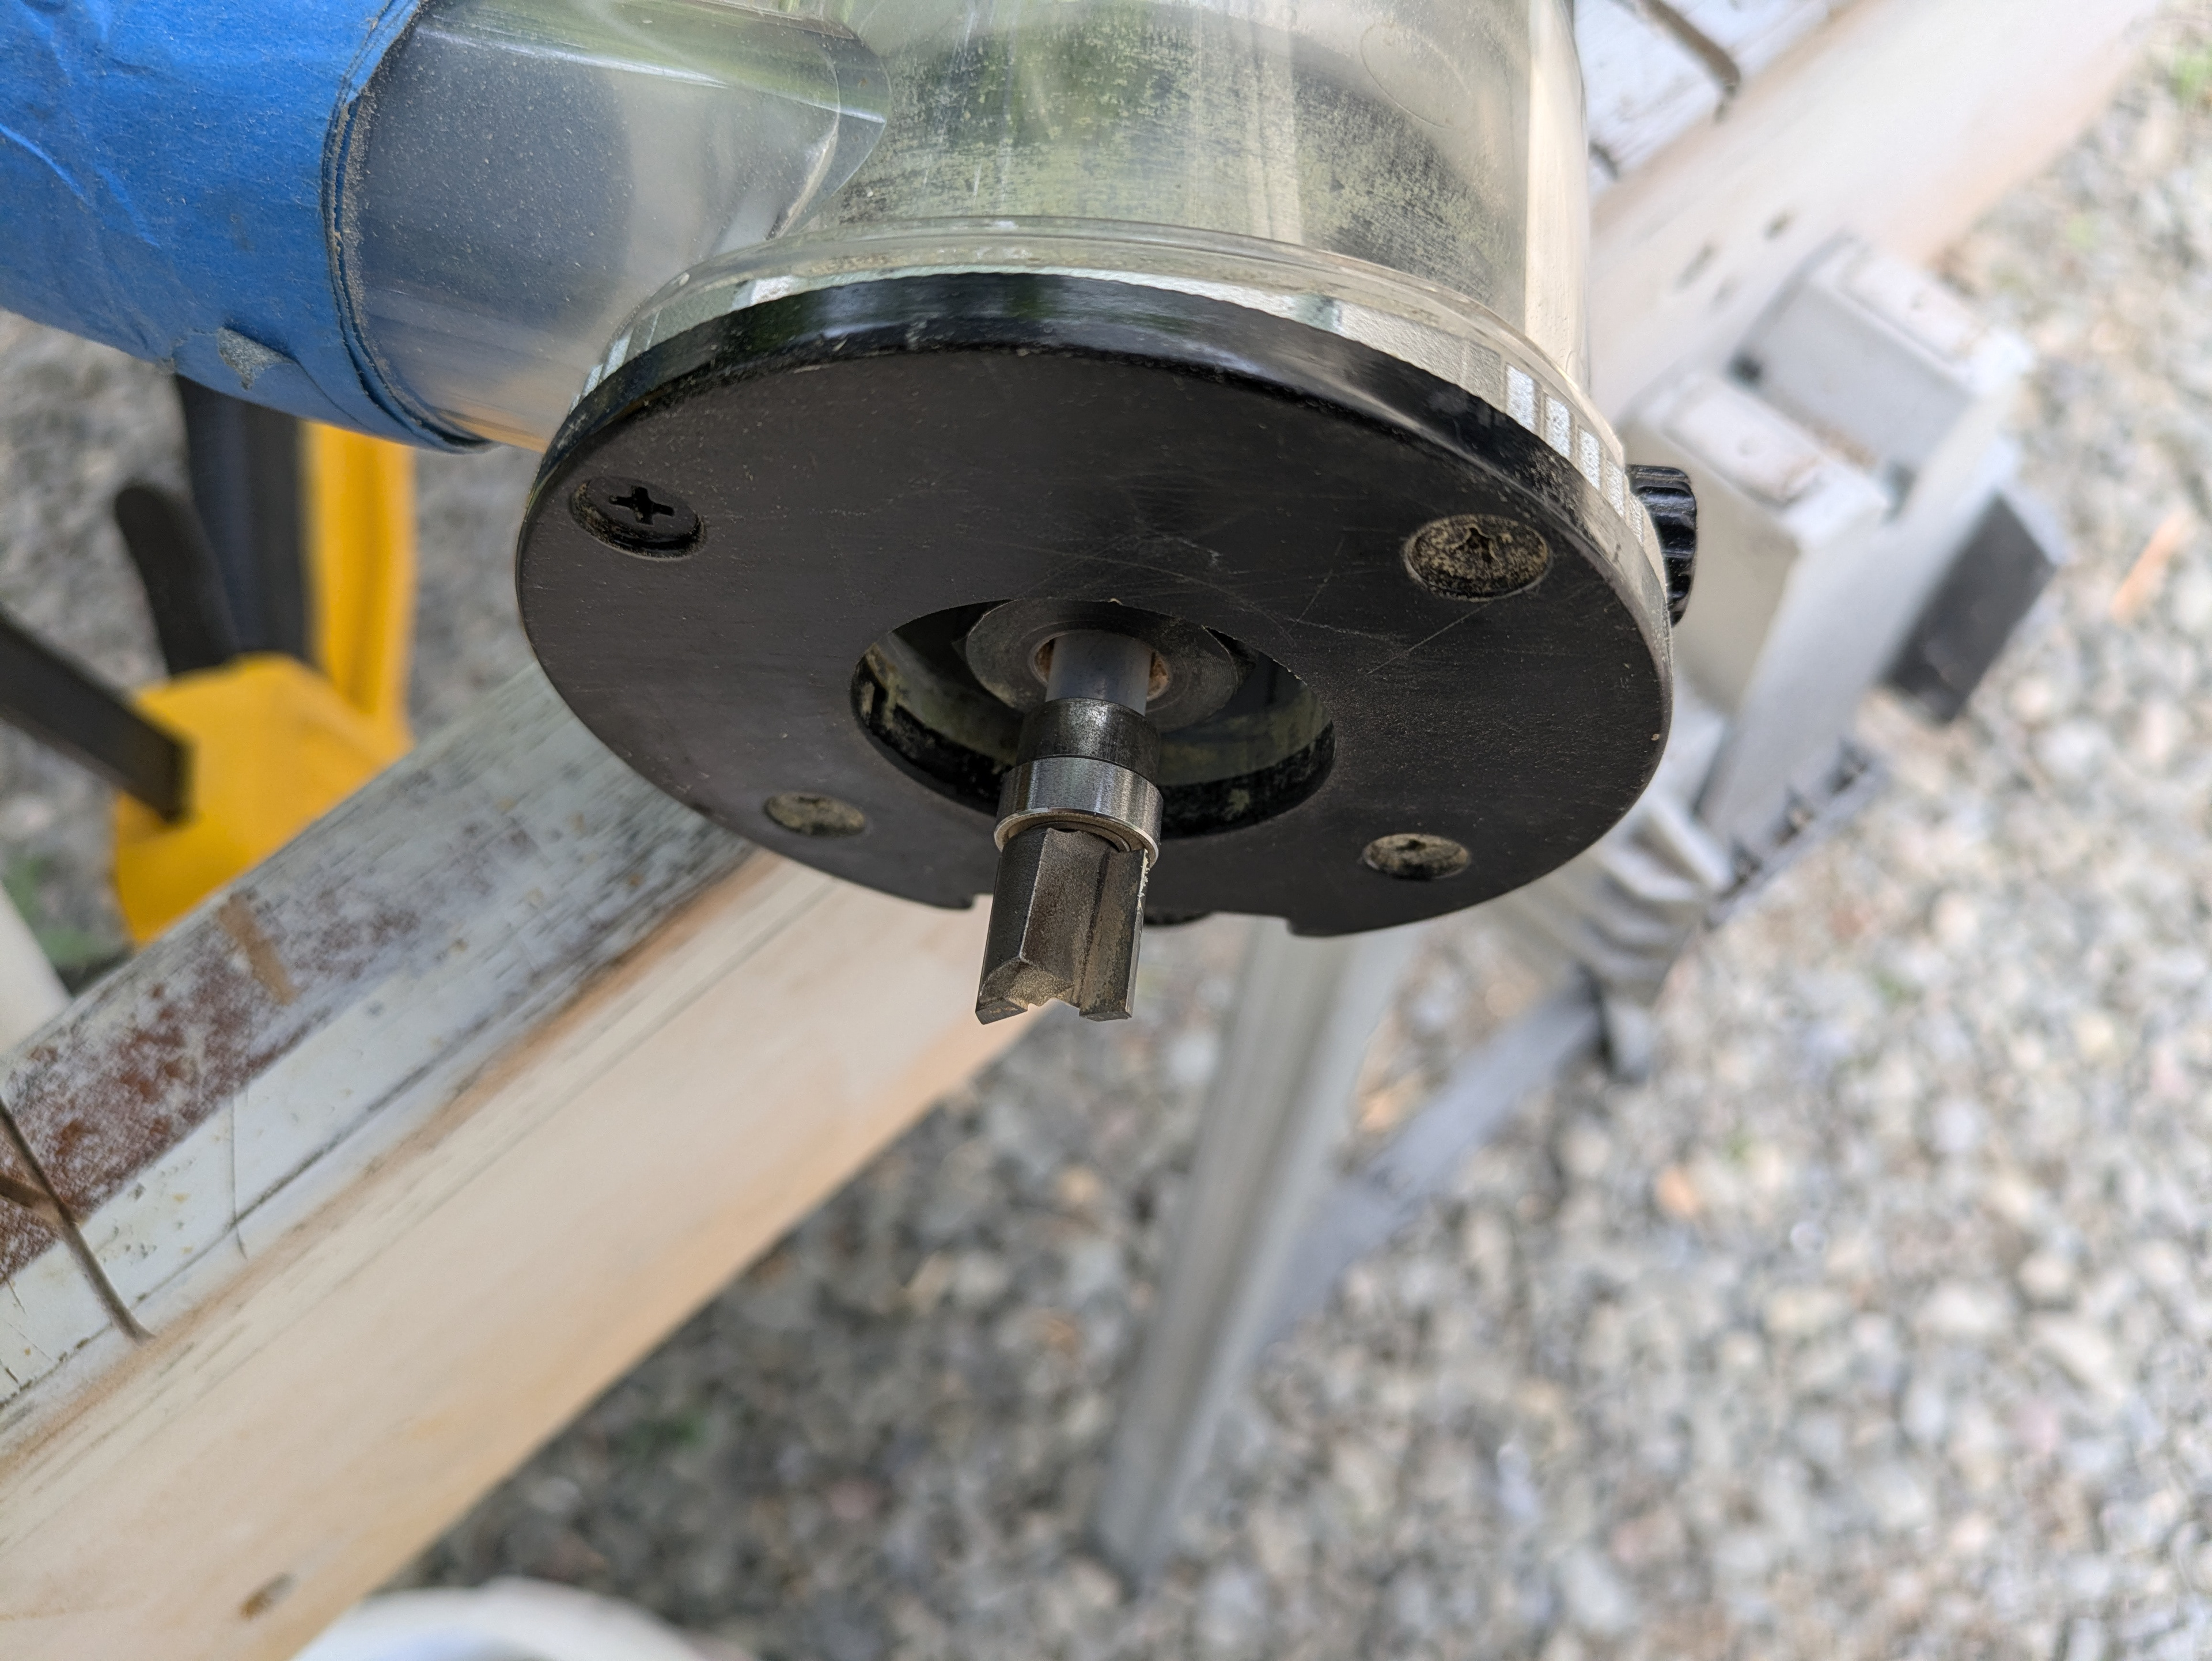
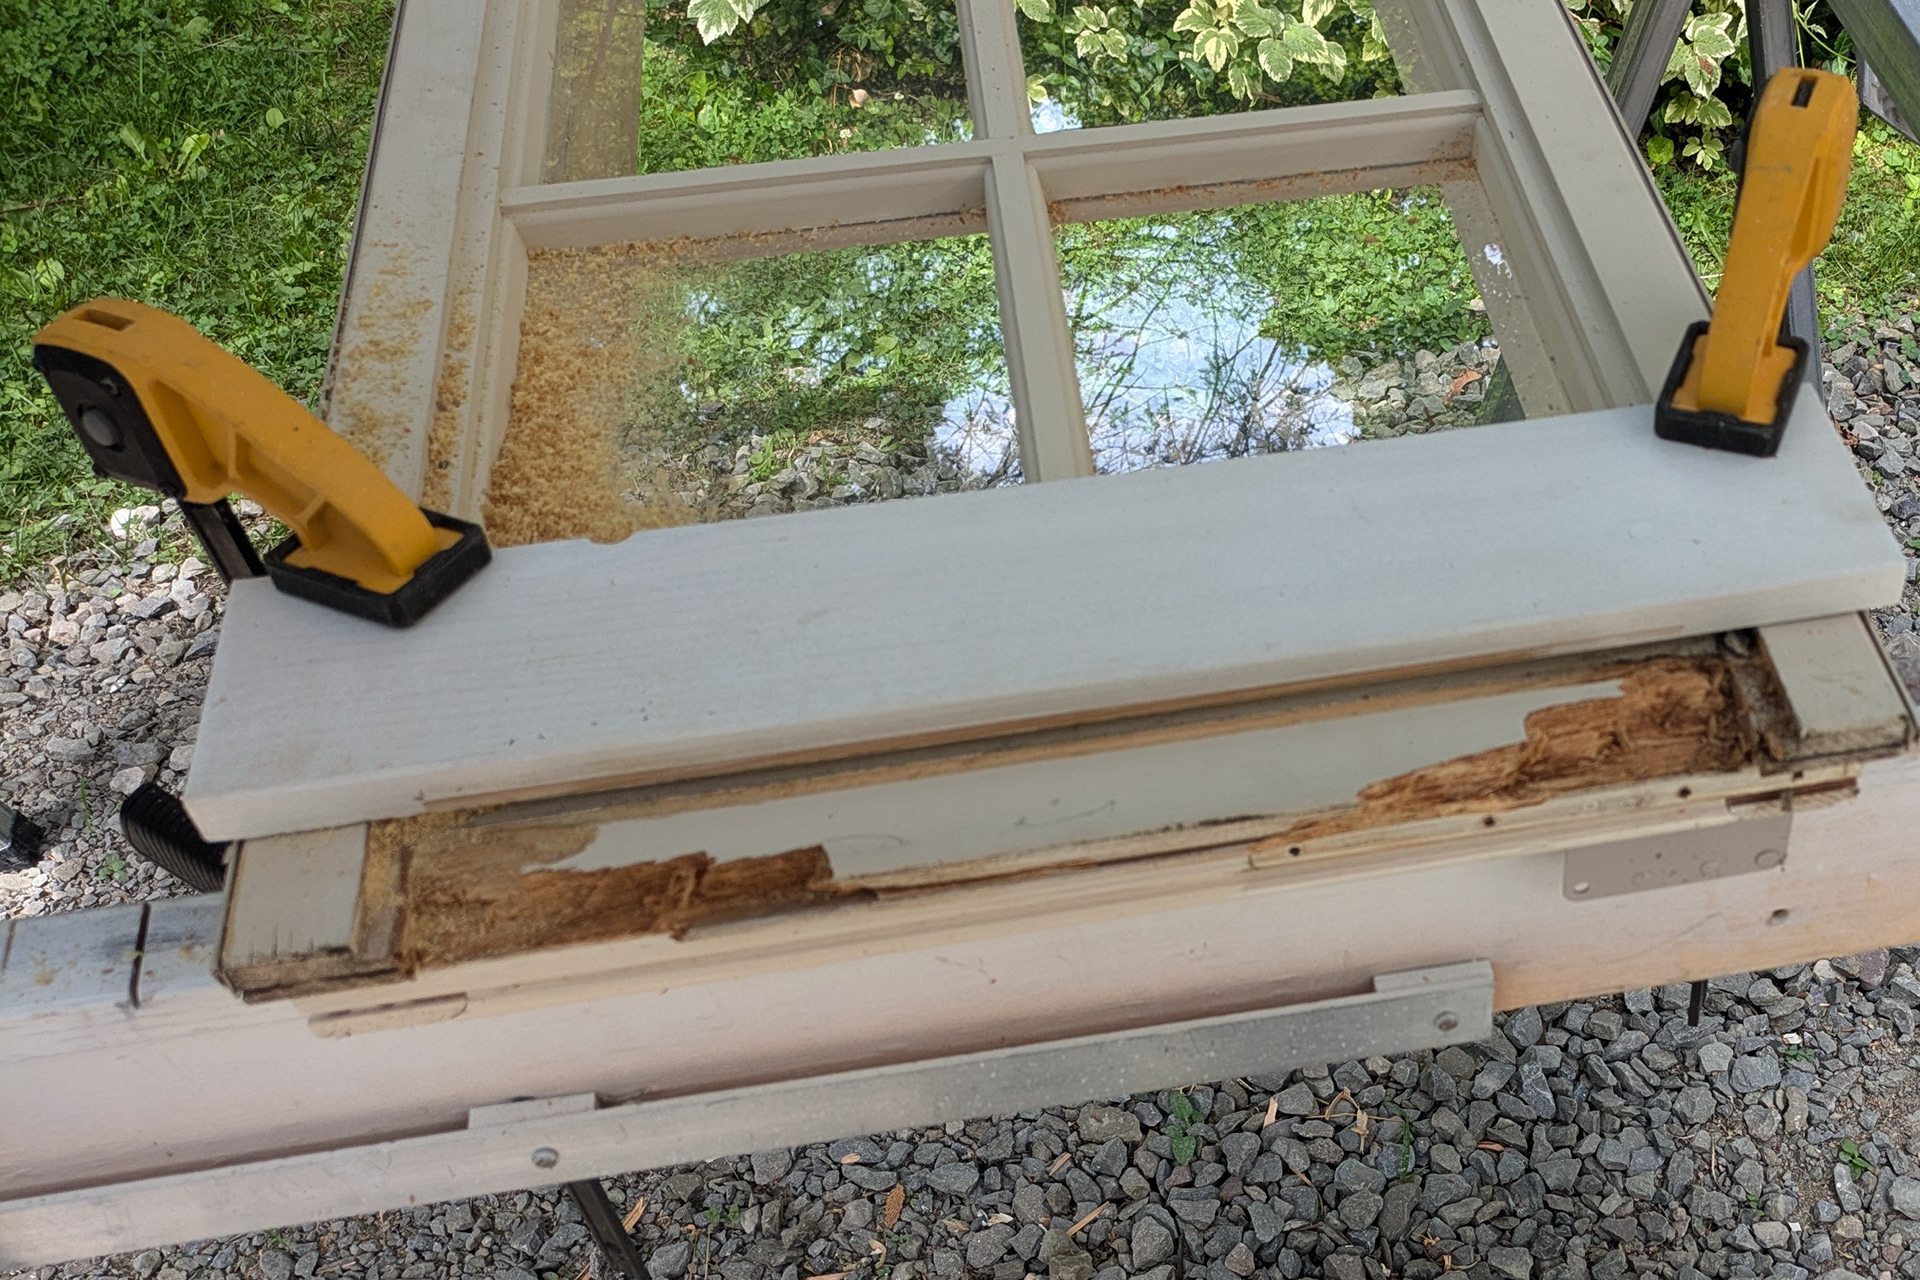
A router with a flush cutting bit will remove the upper layer of the rail. I’ve clamped a board to the stiles of the window as a guide for the router.
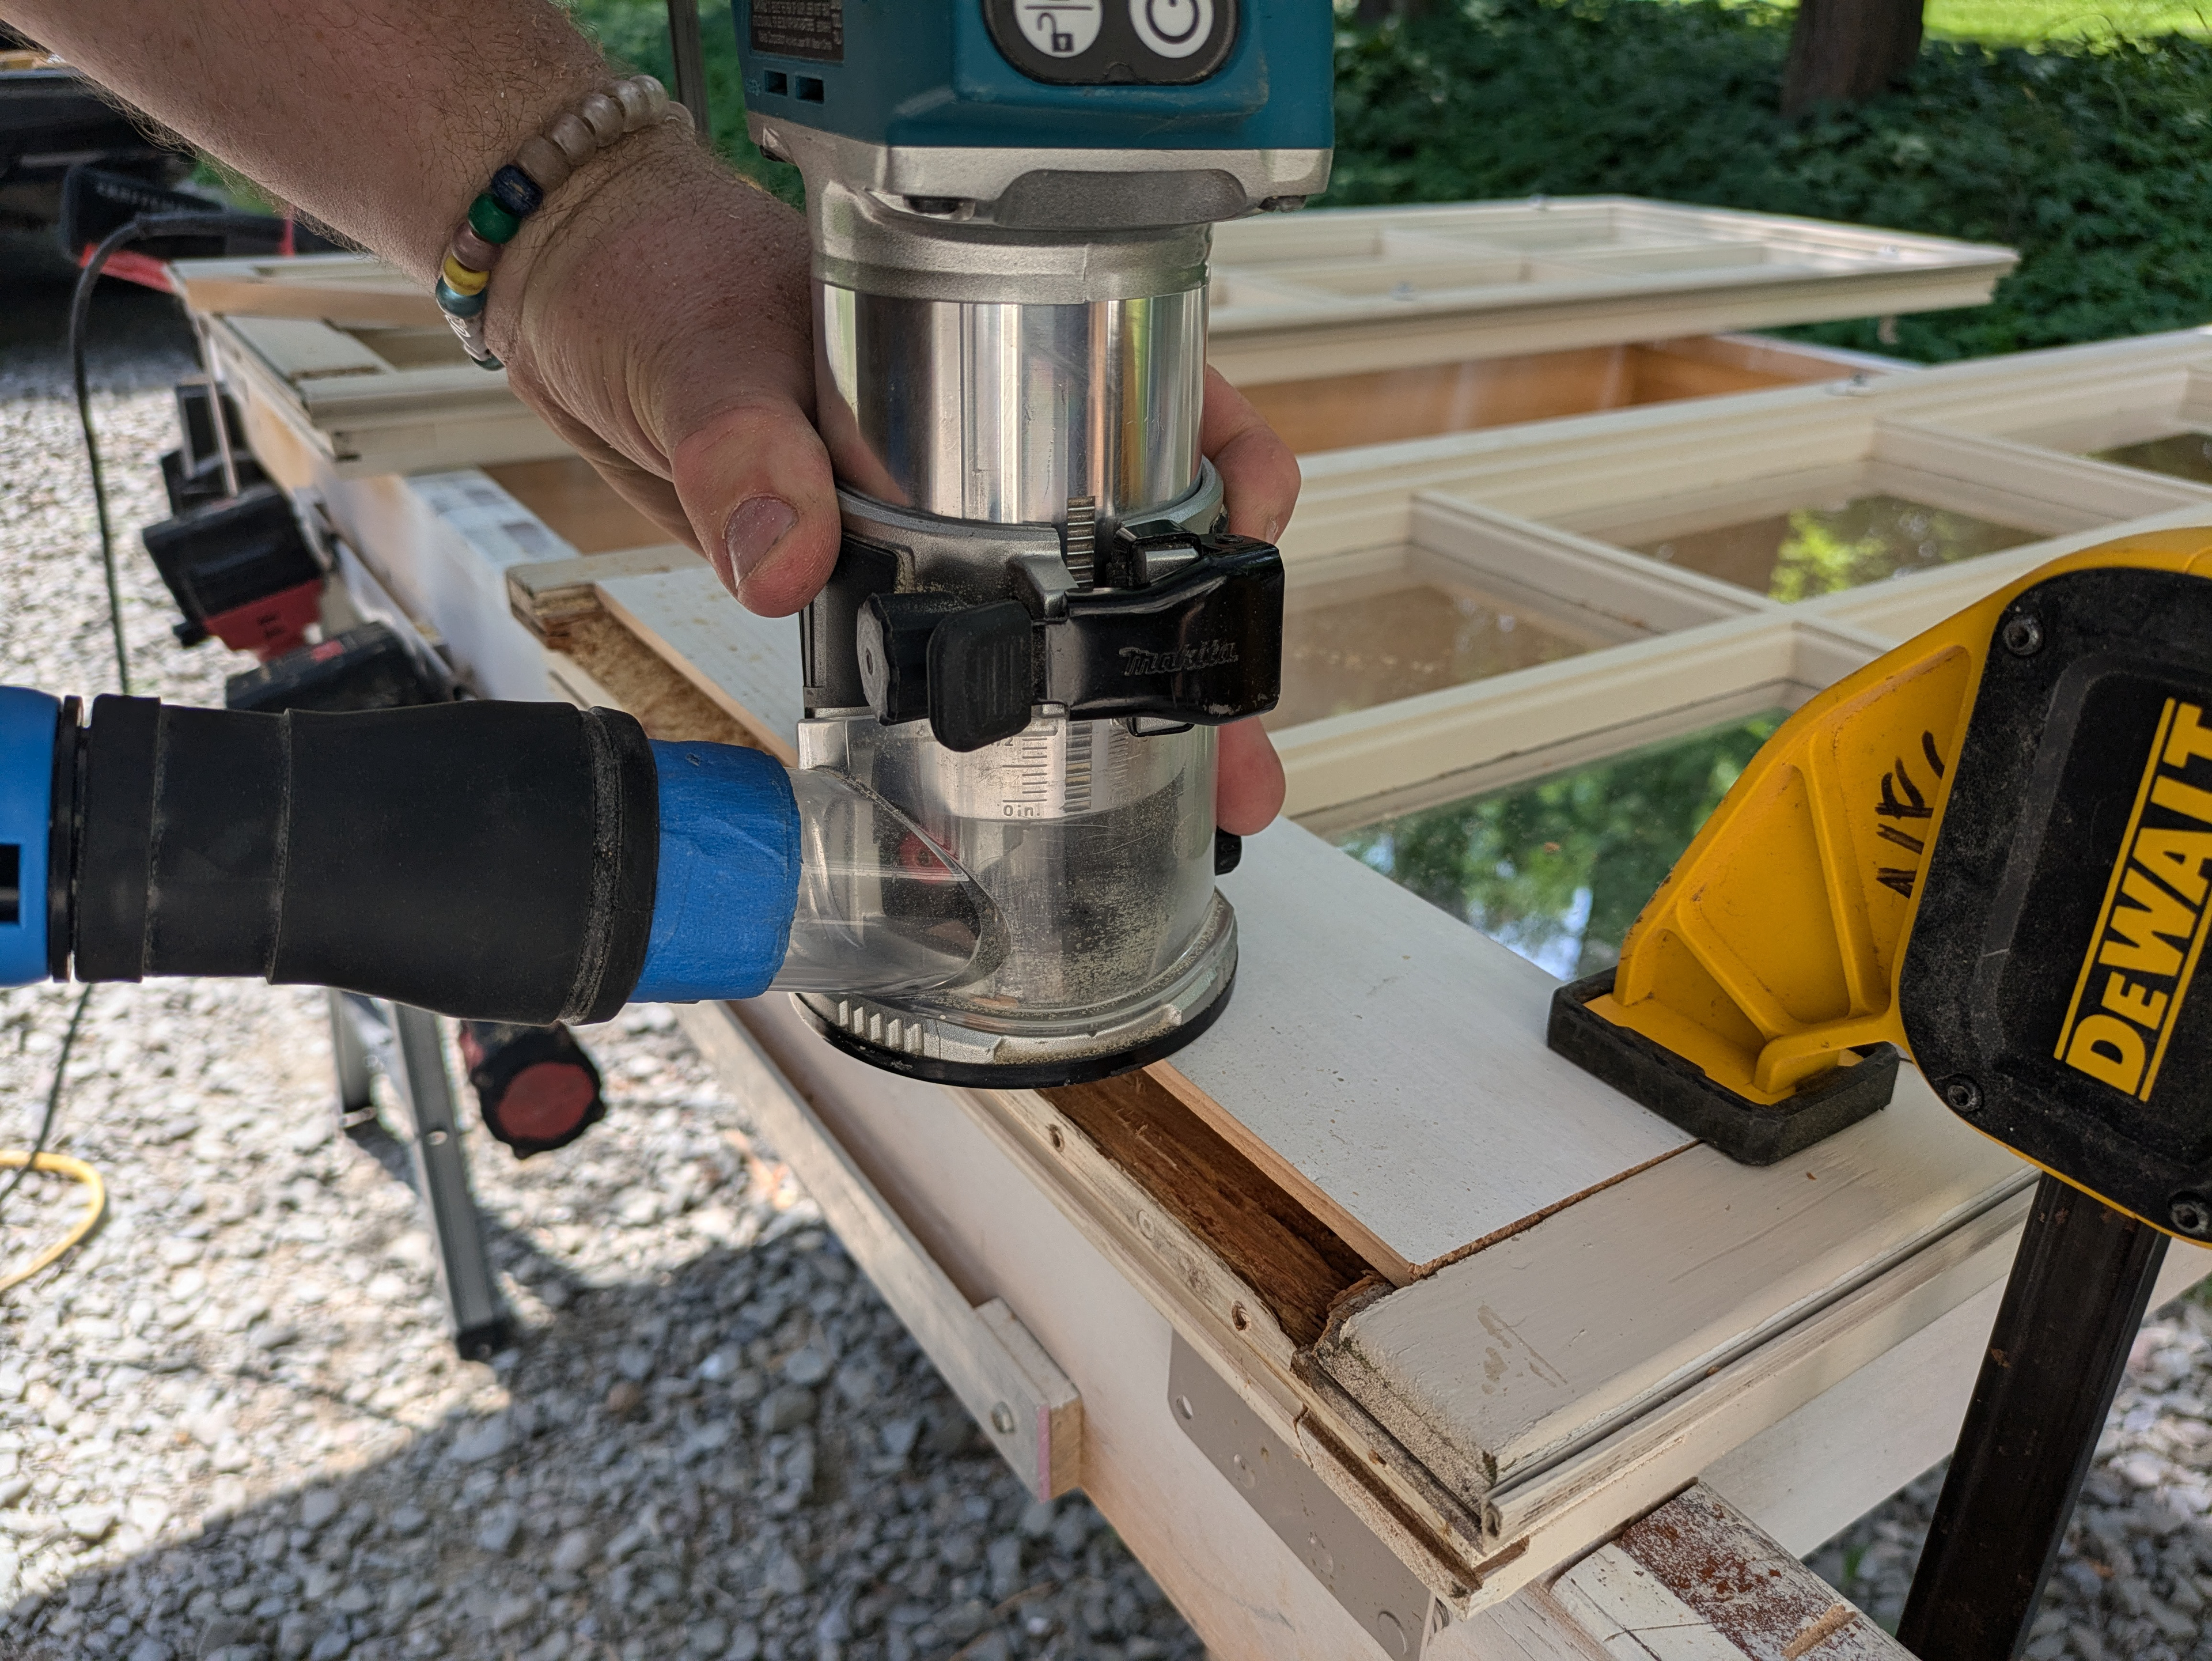
The bearing rides along the edge of the board. This keeps the router cutting straight and to a predetermined depth of cut. I’ll use a sharp chisel to clean up the inside corners that the router bit can’t get all the way into.
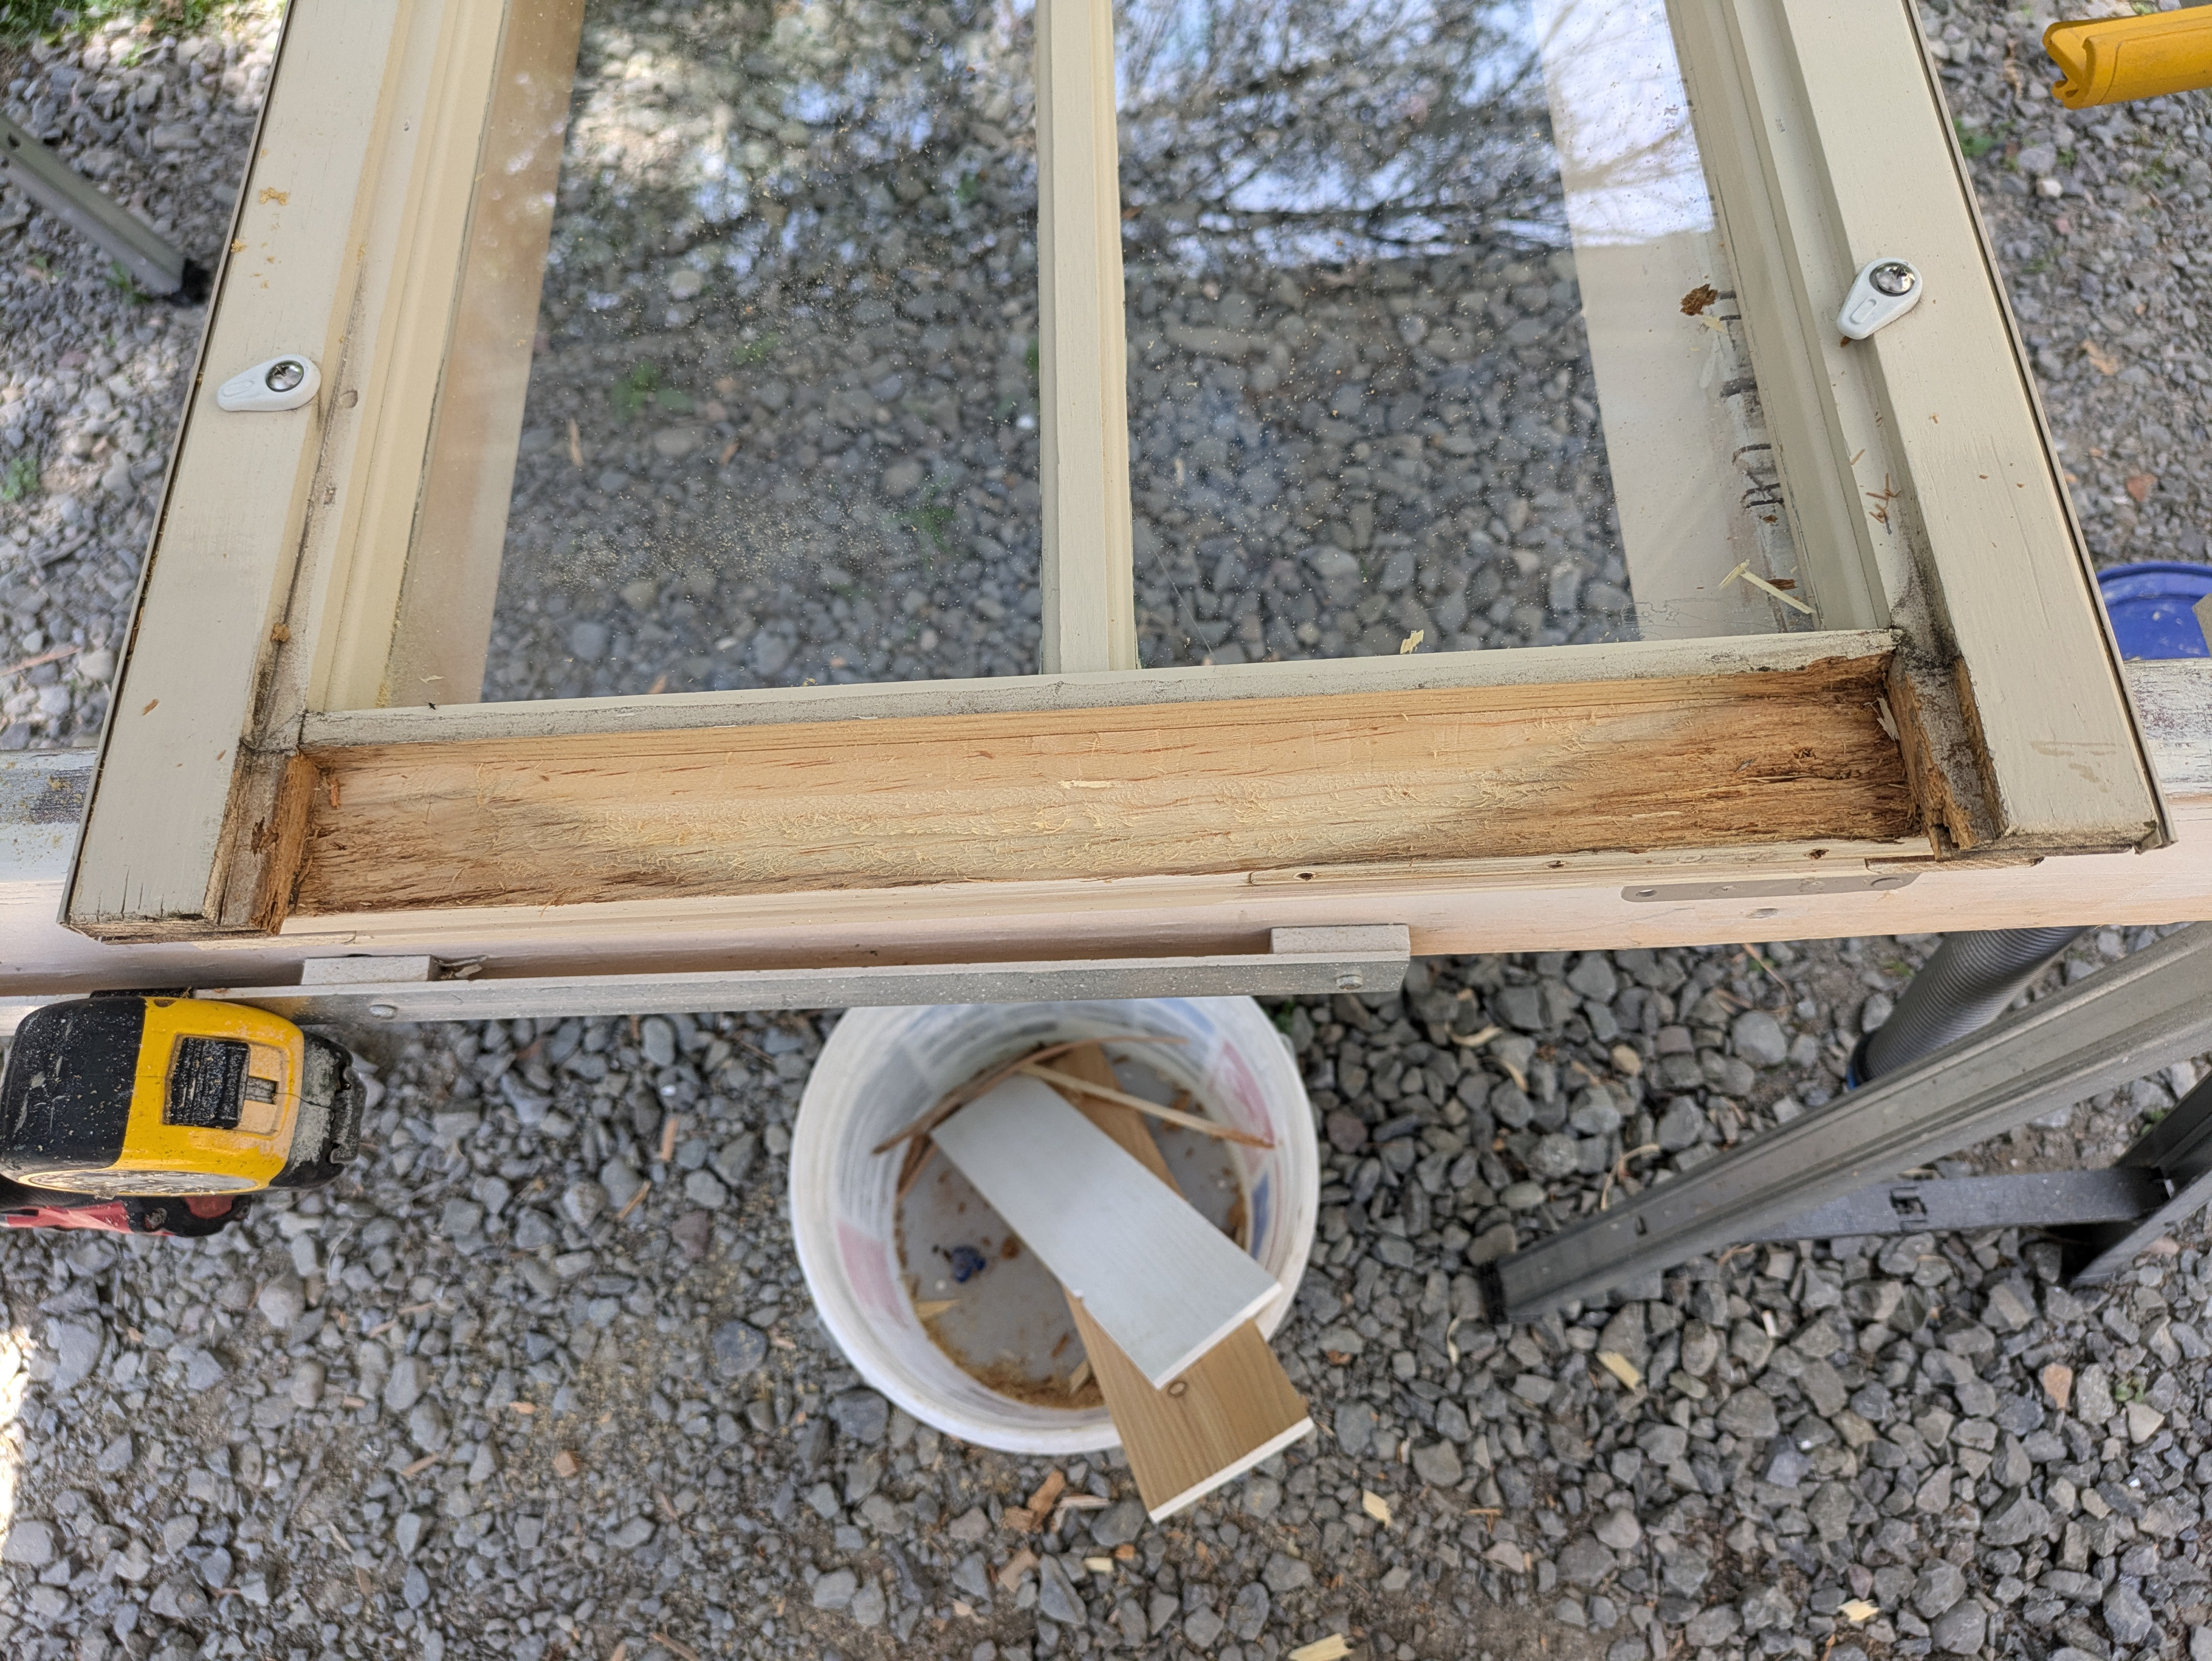
The remaining wood of the stile is stained from getting wet but it is sound.
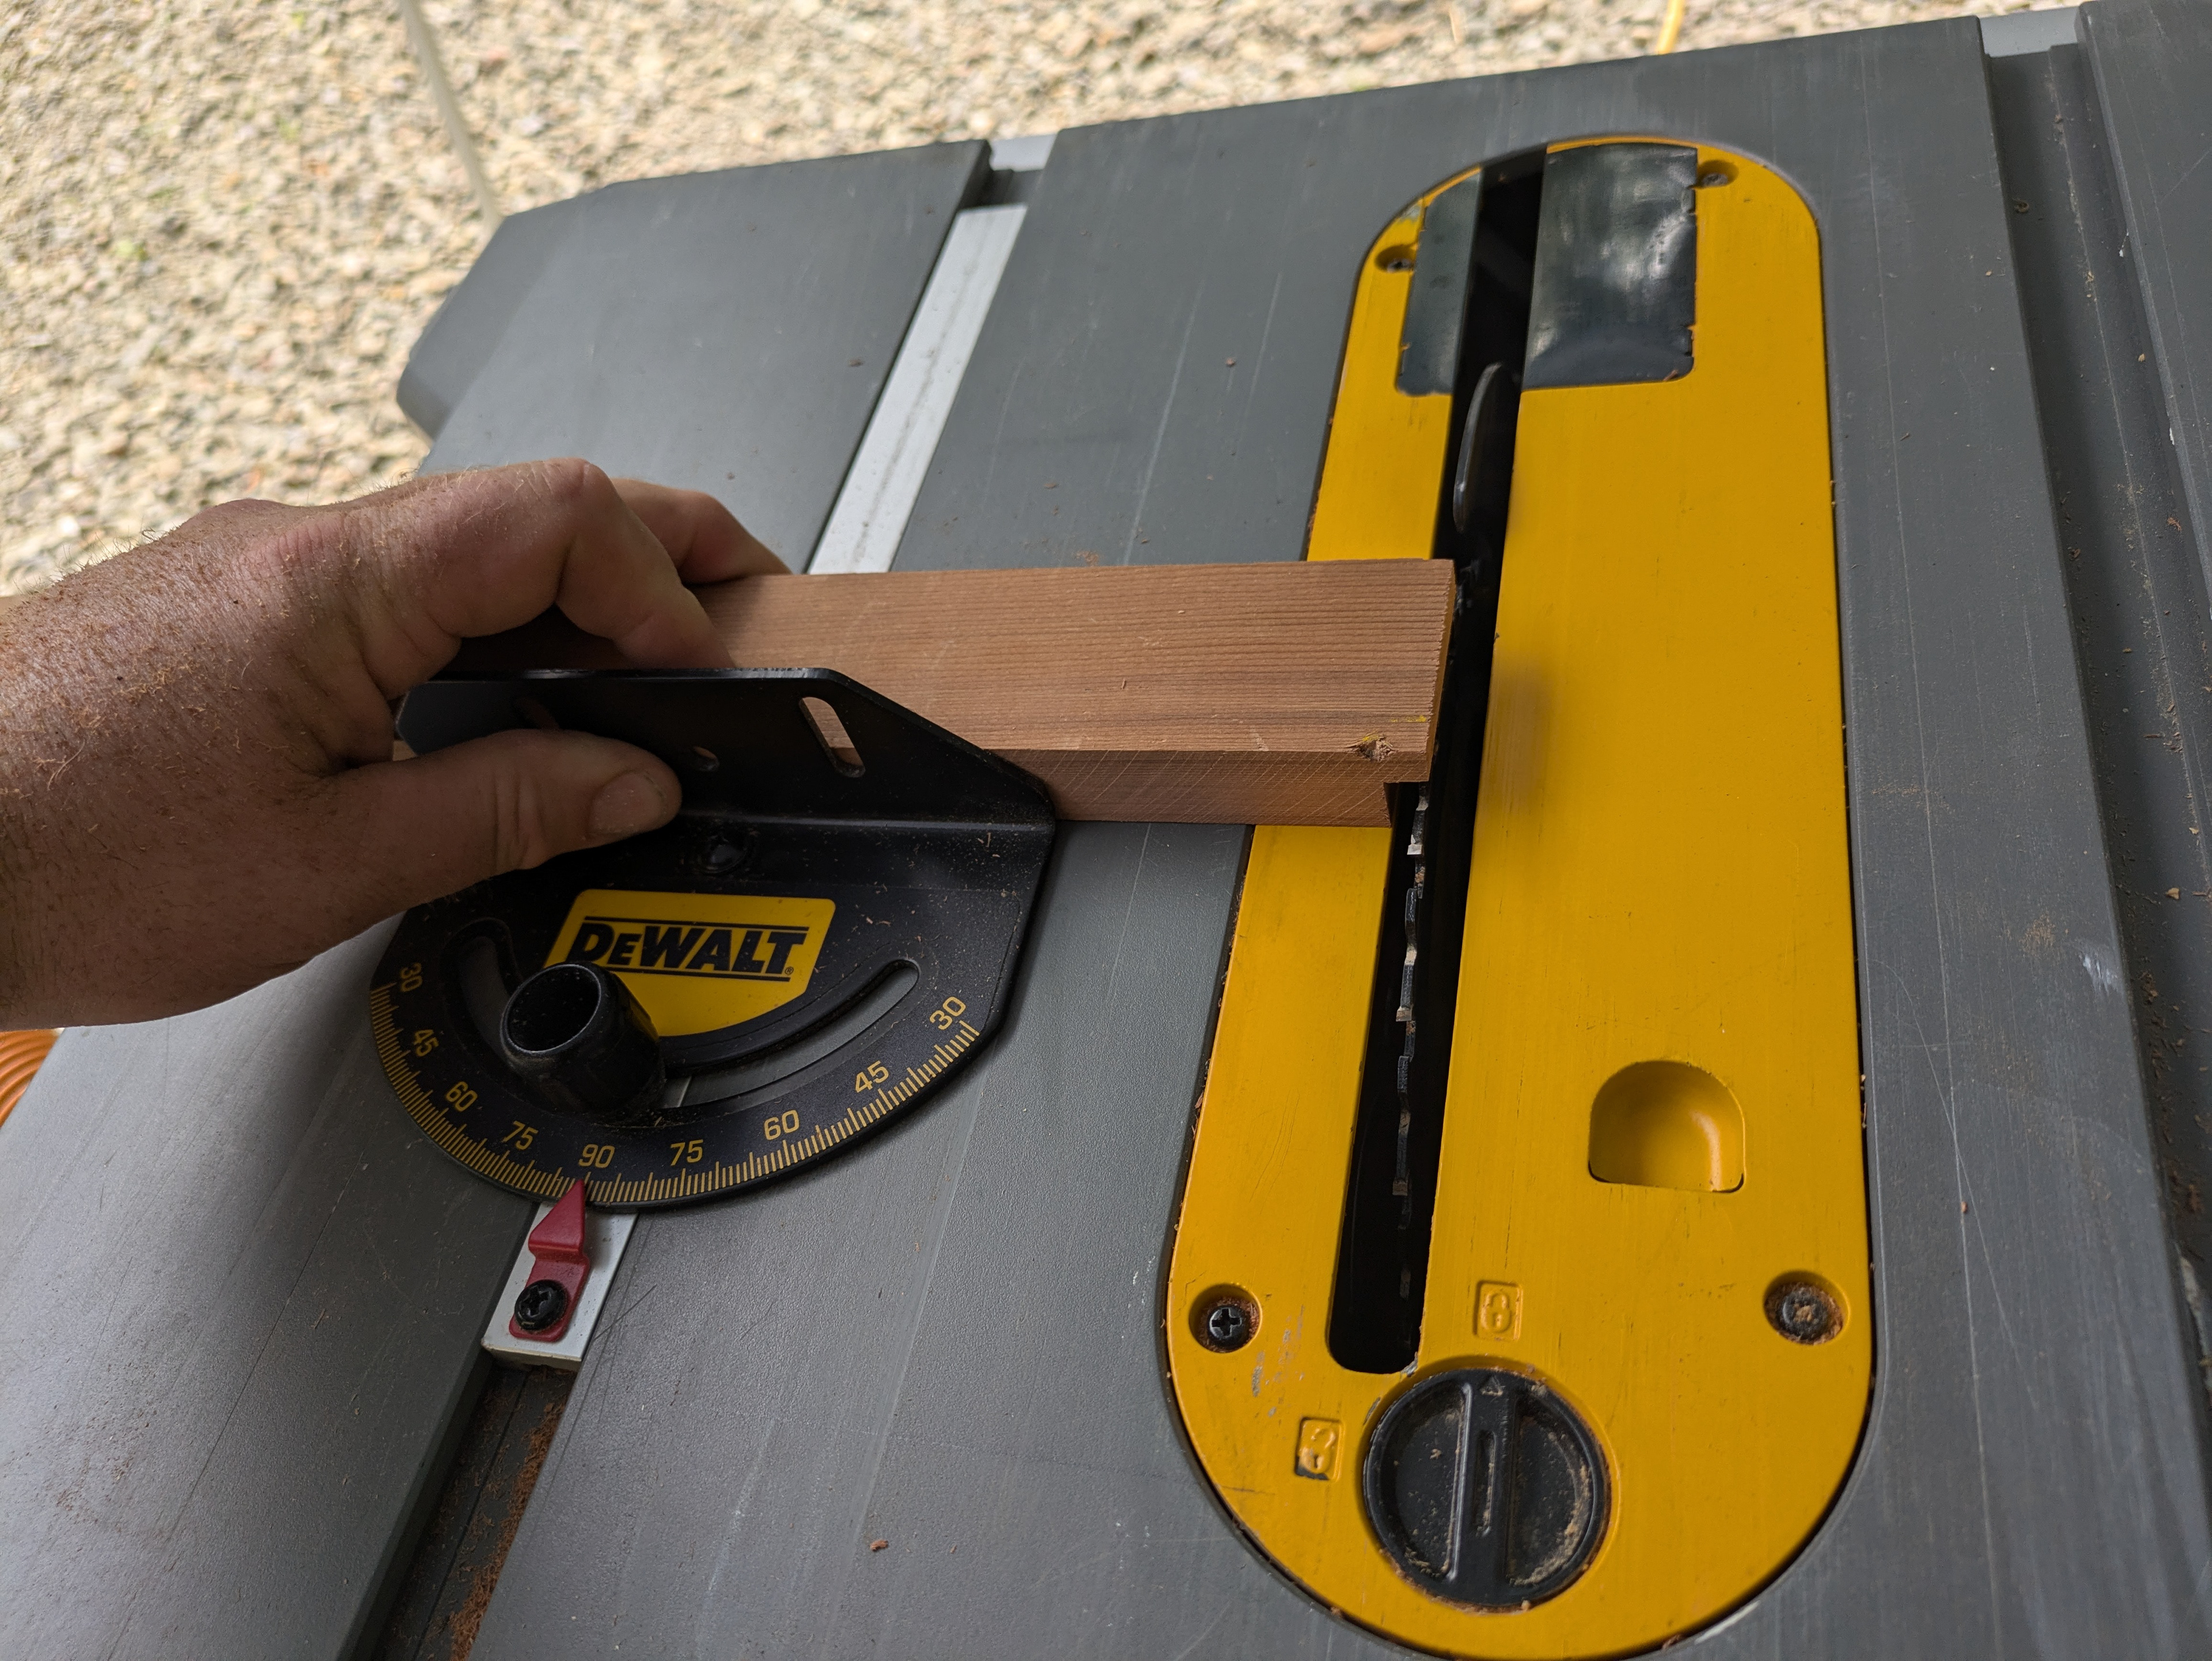
I’m using the table saw to make a patch from Western red cedar which resists rot. The rabbets at the ends of the rail will lap onto the stiles. This will reinforce the corners of the sash.
I’m spreading PL premium oil based construction adhesive onto the area being patched. Exterior rated wood glue such as titebond 2 would also work fine for this application.
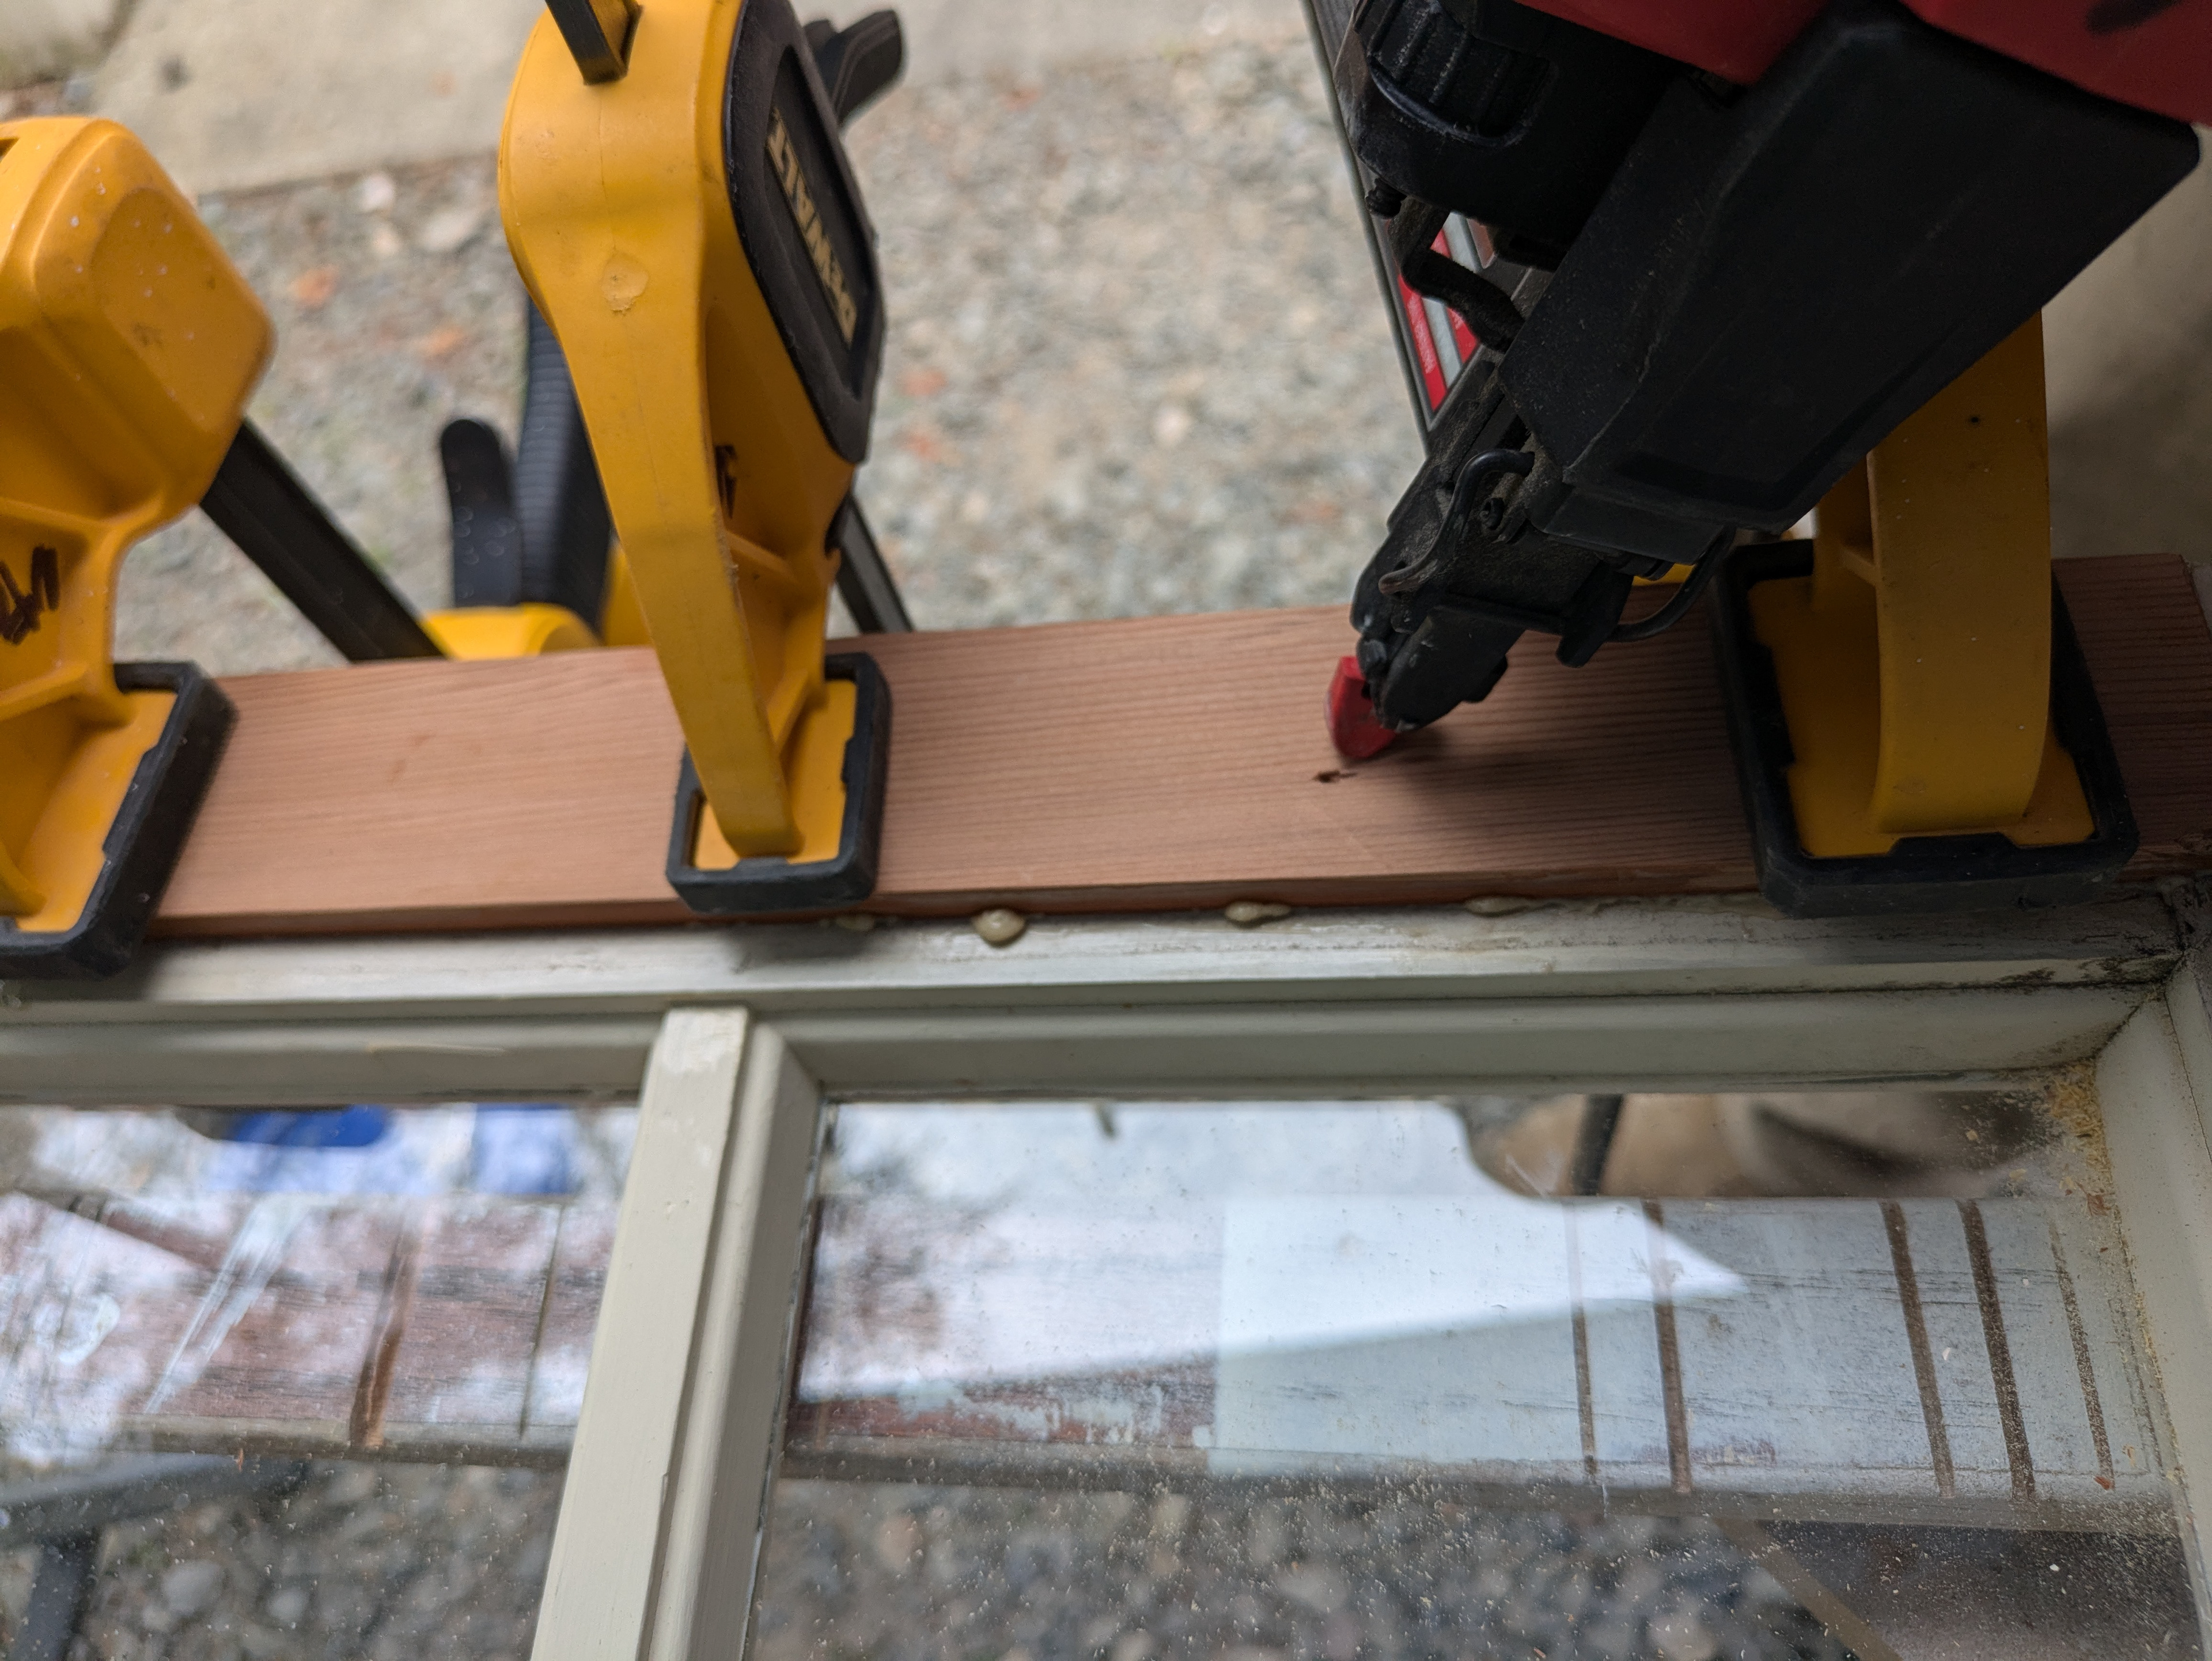
Clamps and a few short 18 gauge brads will hold the patch in place while the glue cures overnight.
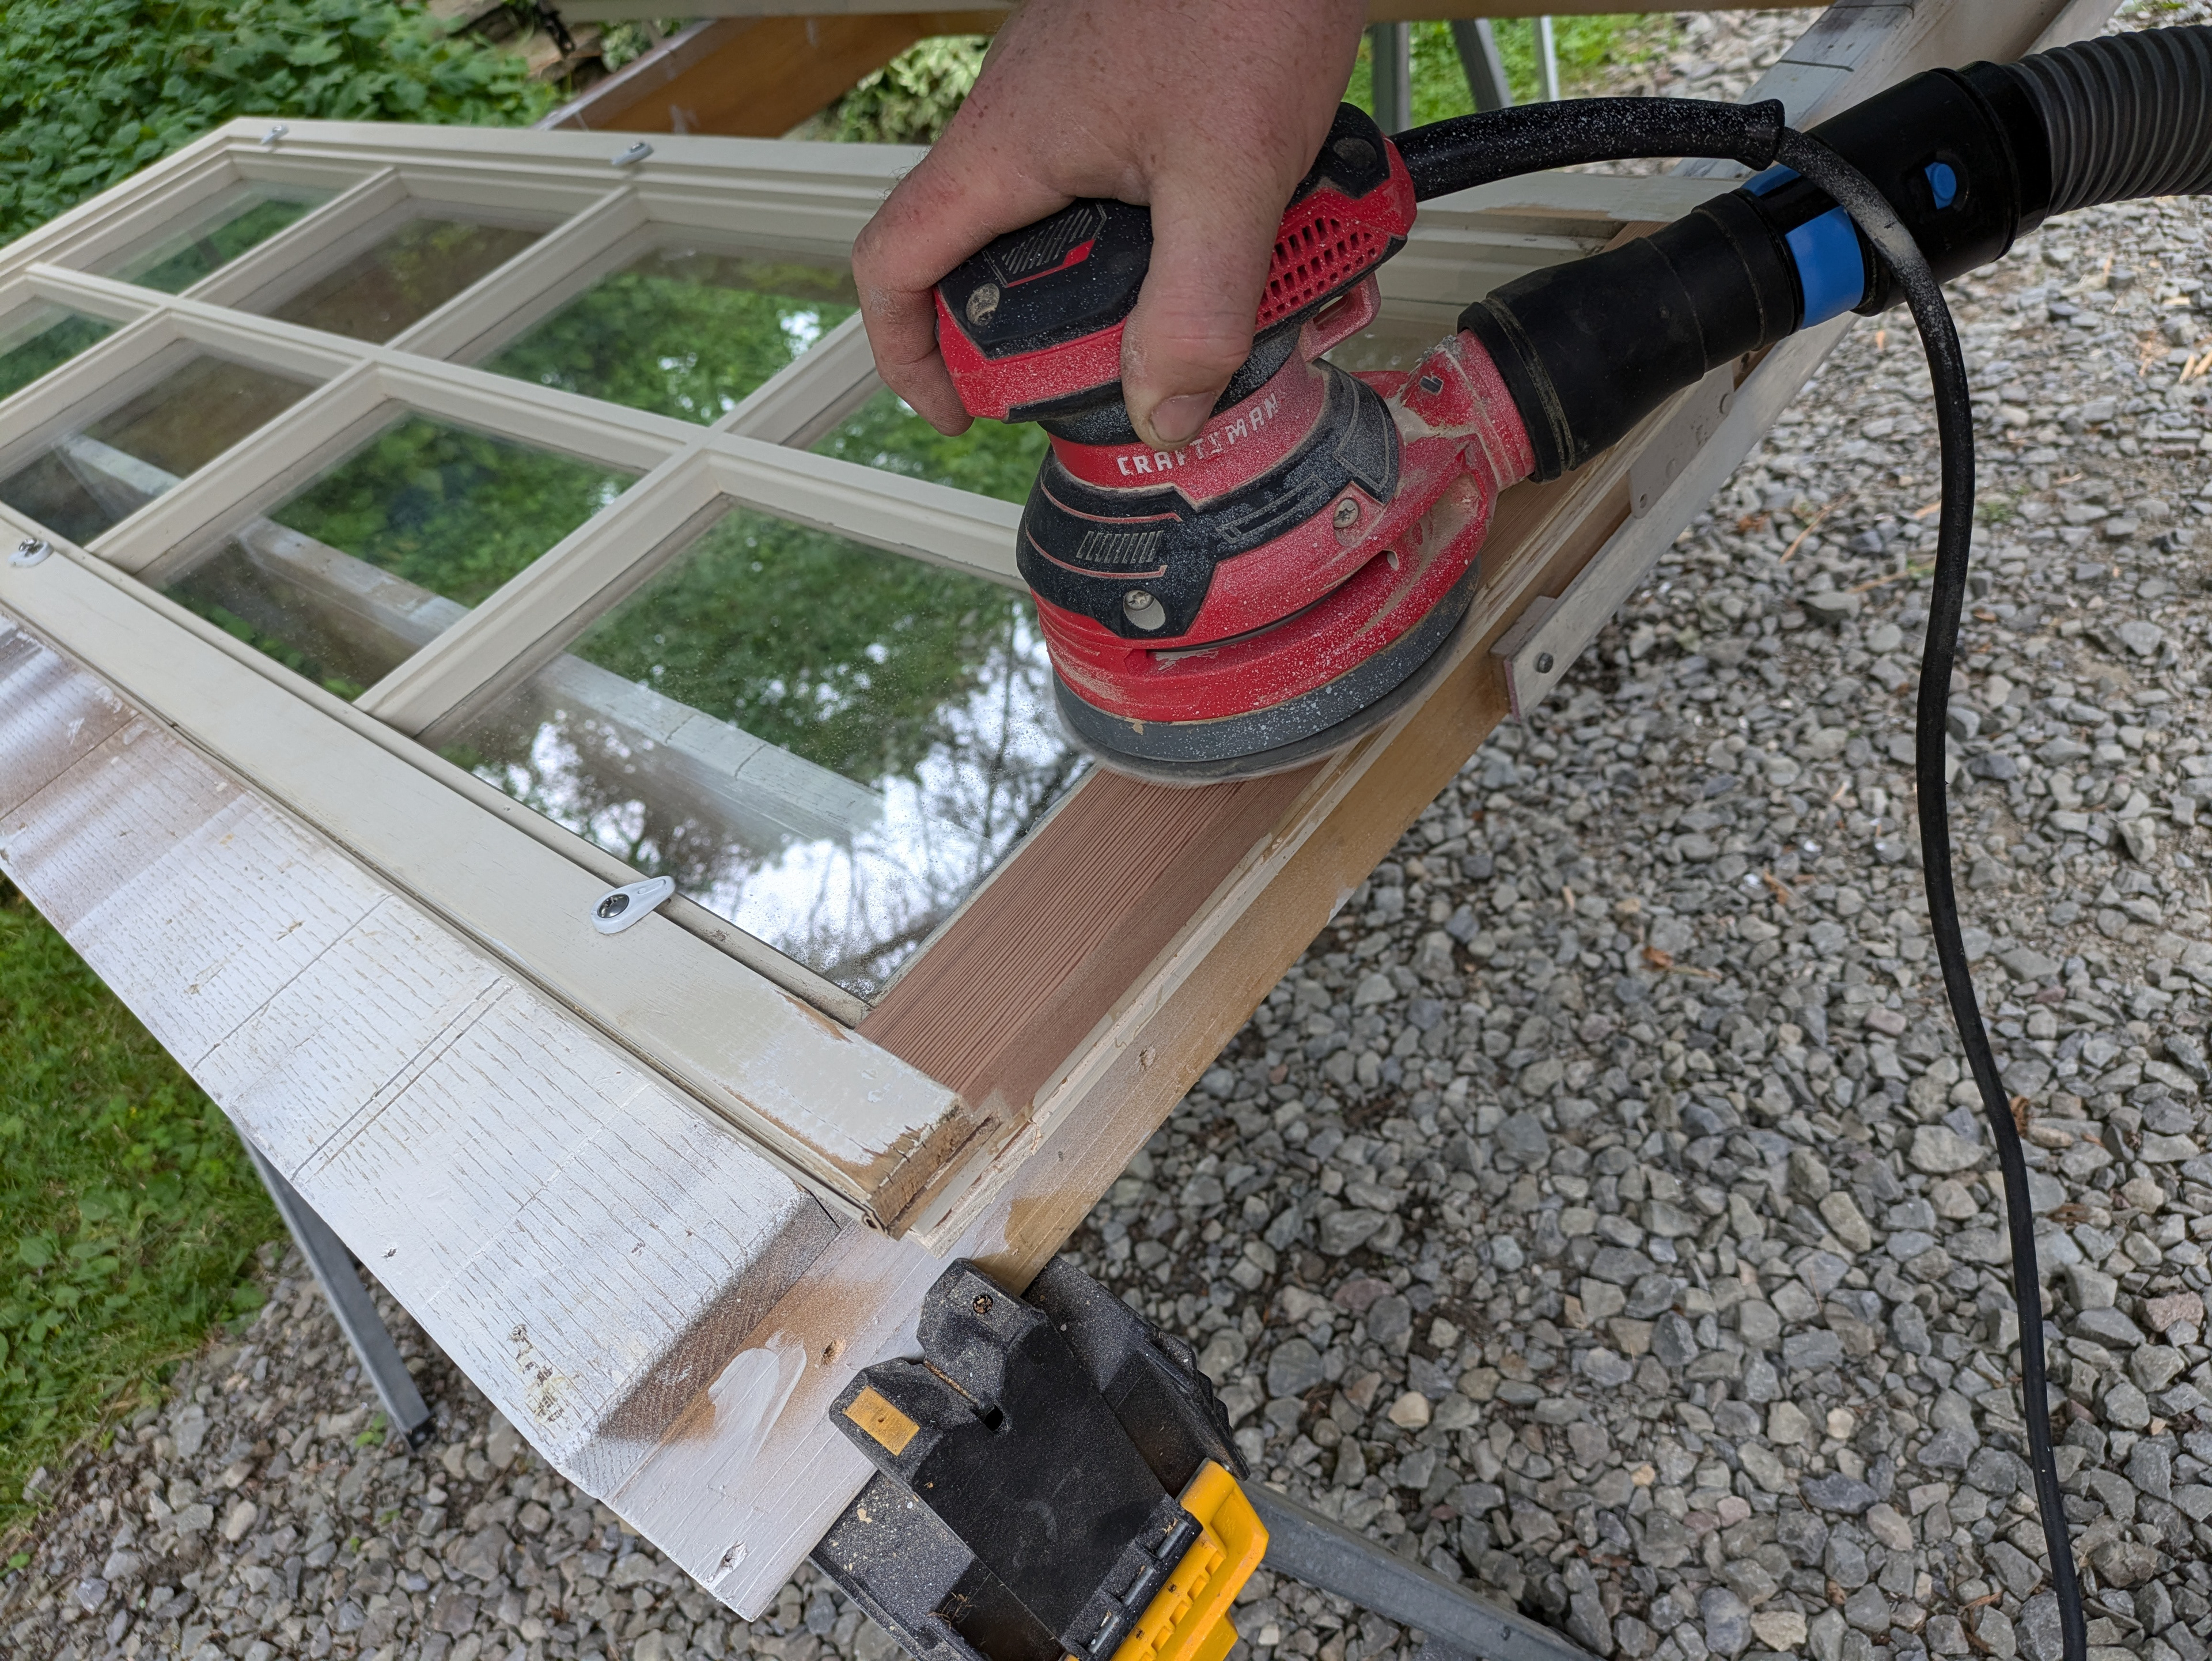
Machine sanding the stile patch flush to the rails is quick work with 150 grit sandpaper. Next I’ll fill the nail holes, prime and re-slot the rail to accept the weather stripping with the router.
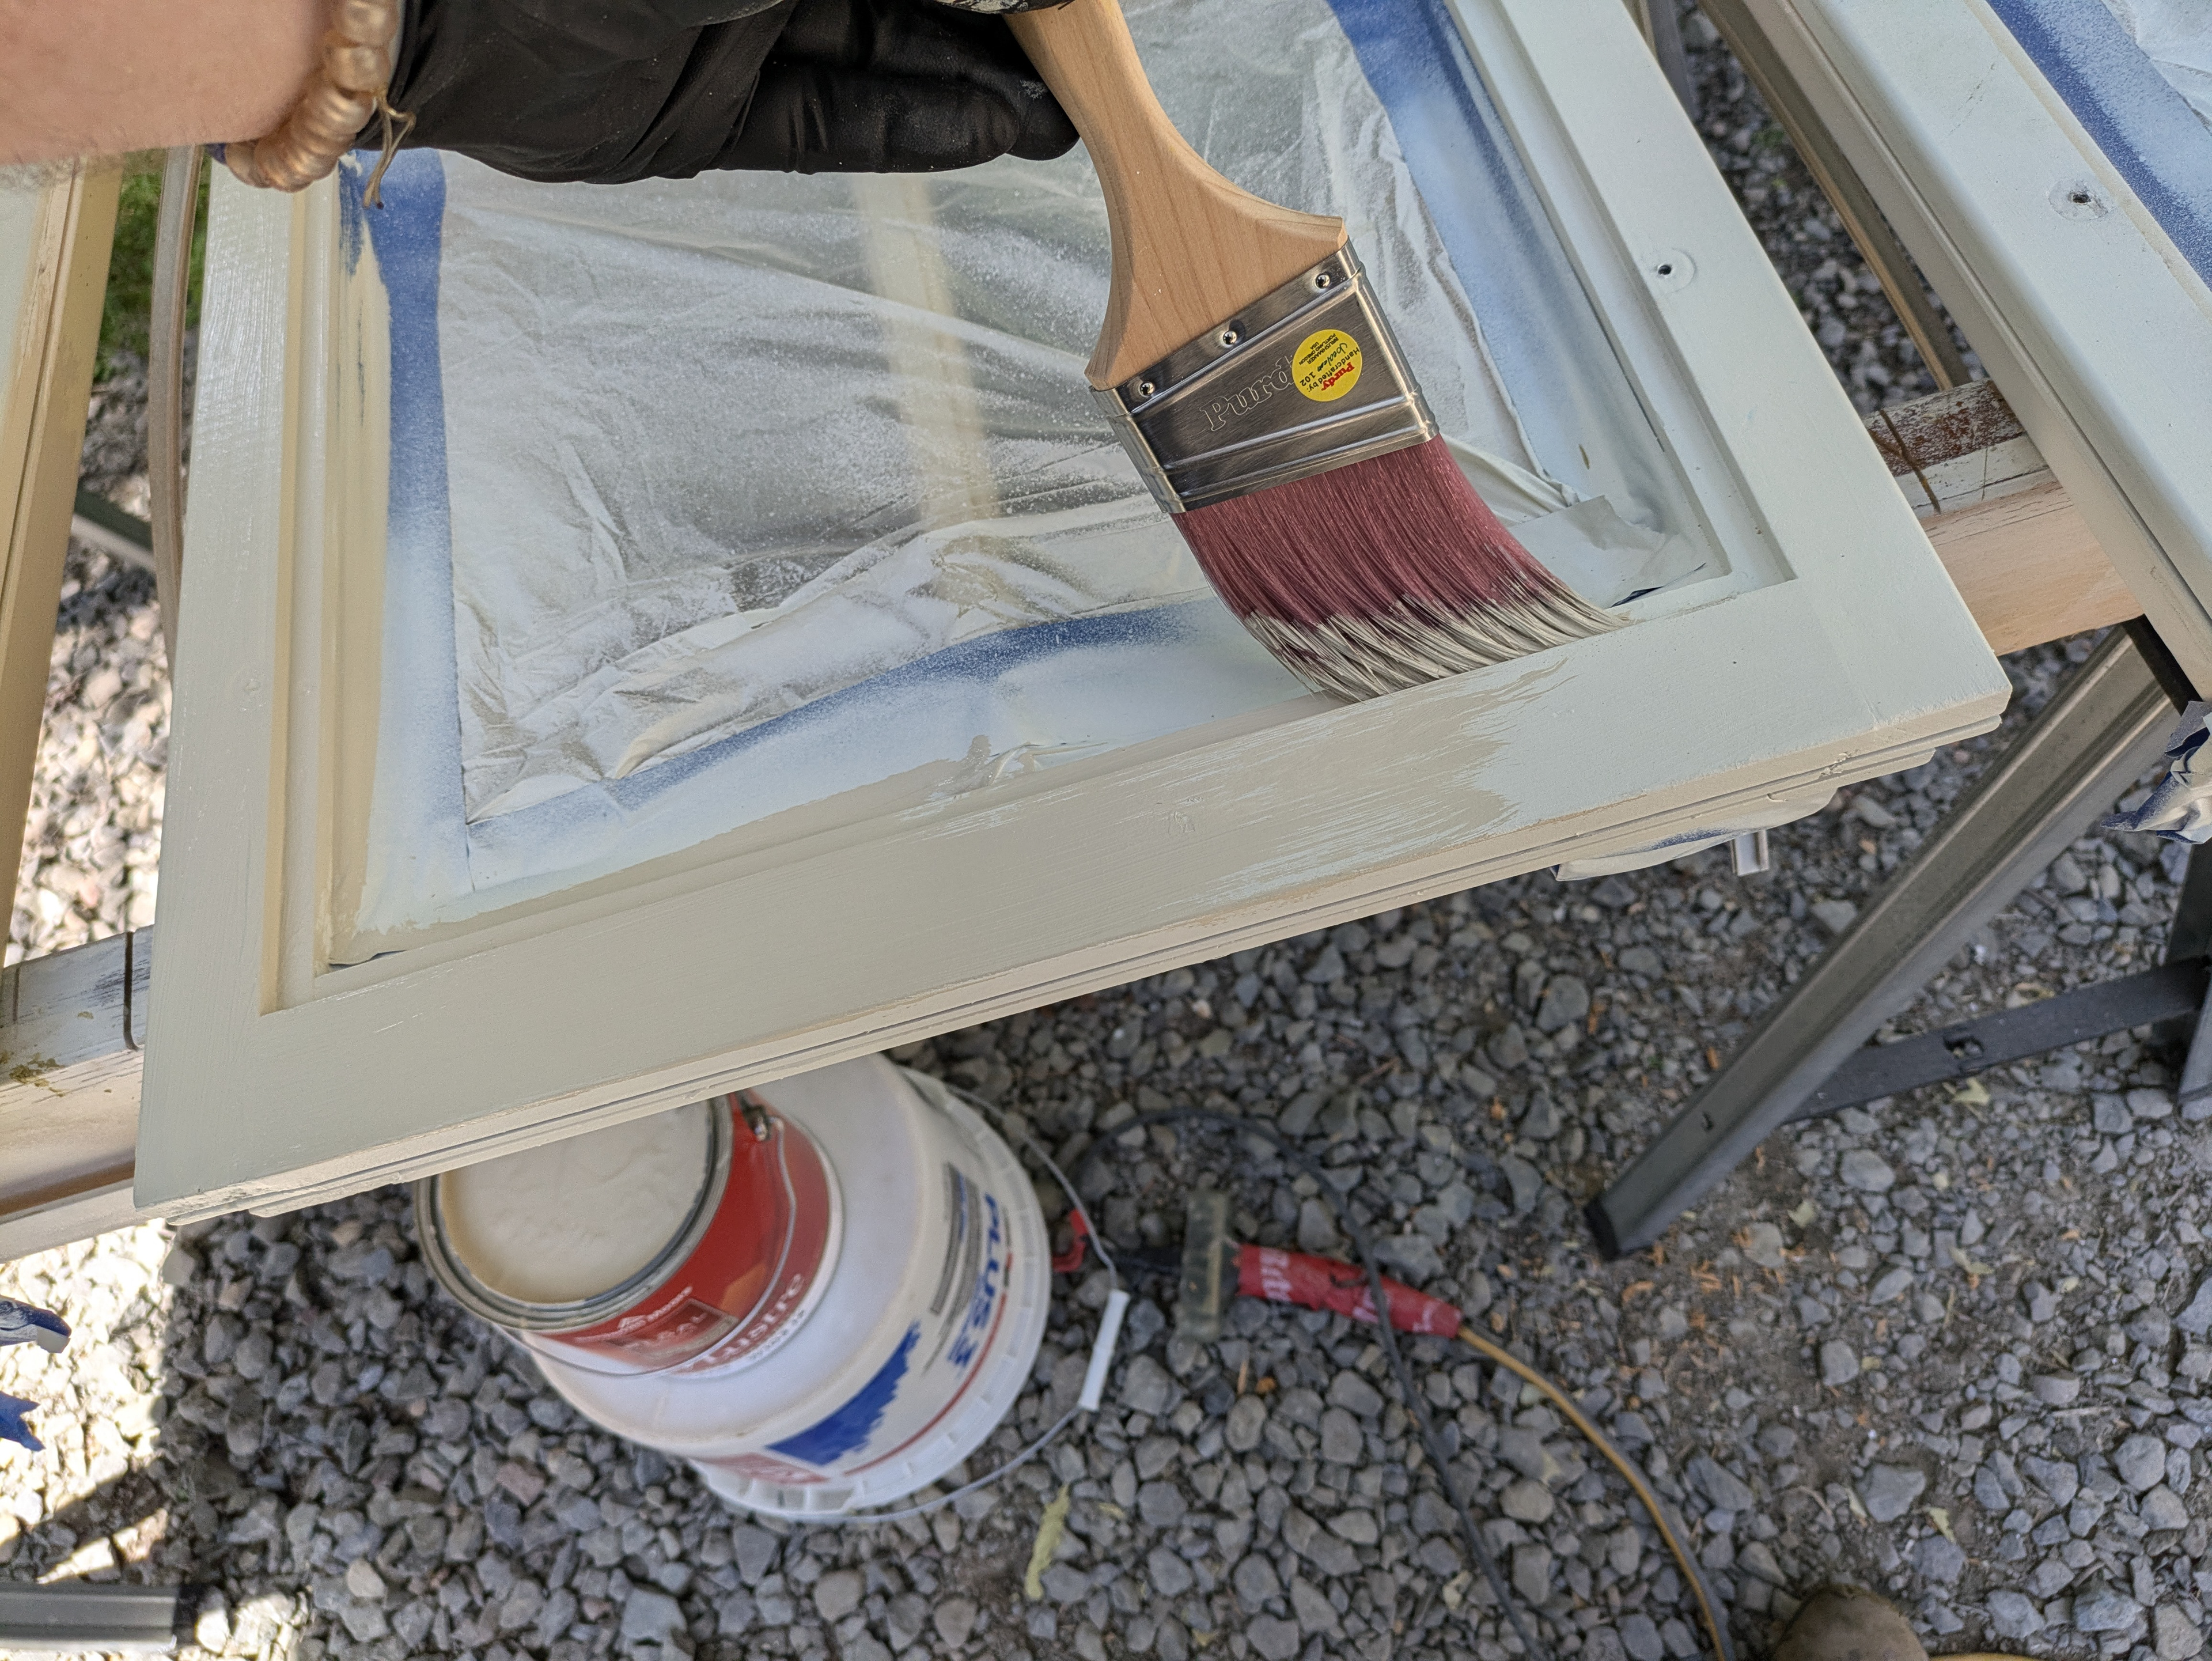
Painting the sash.
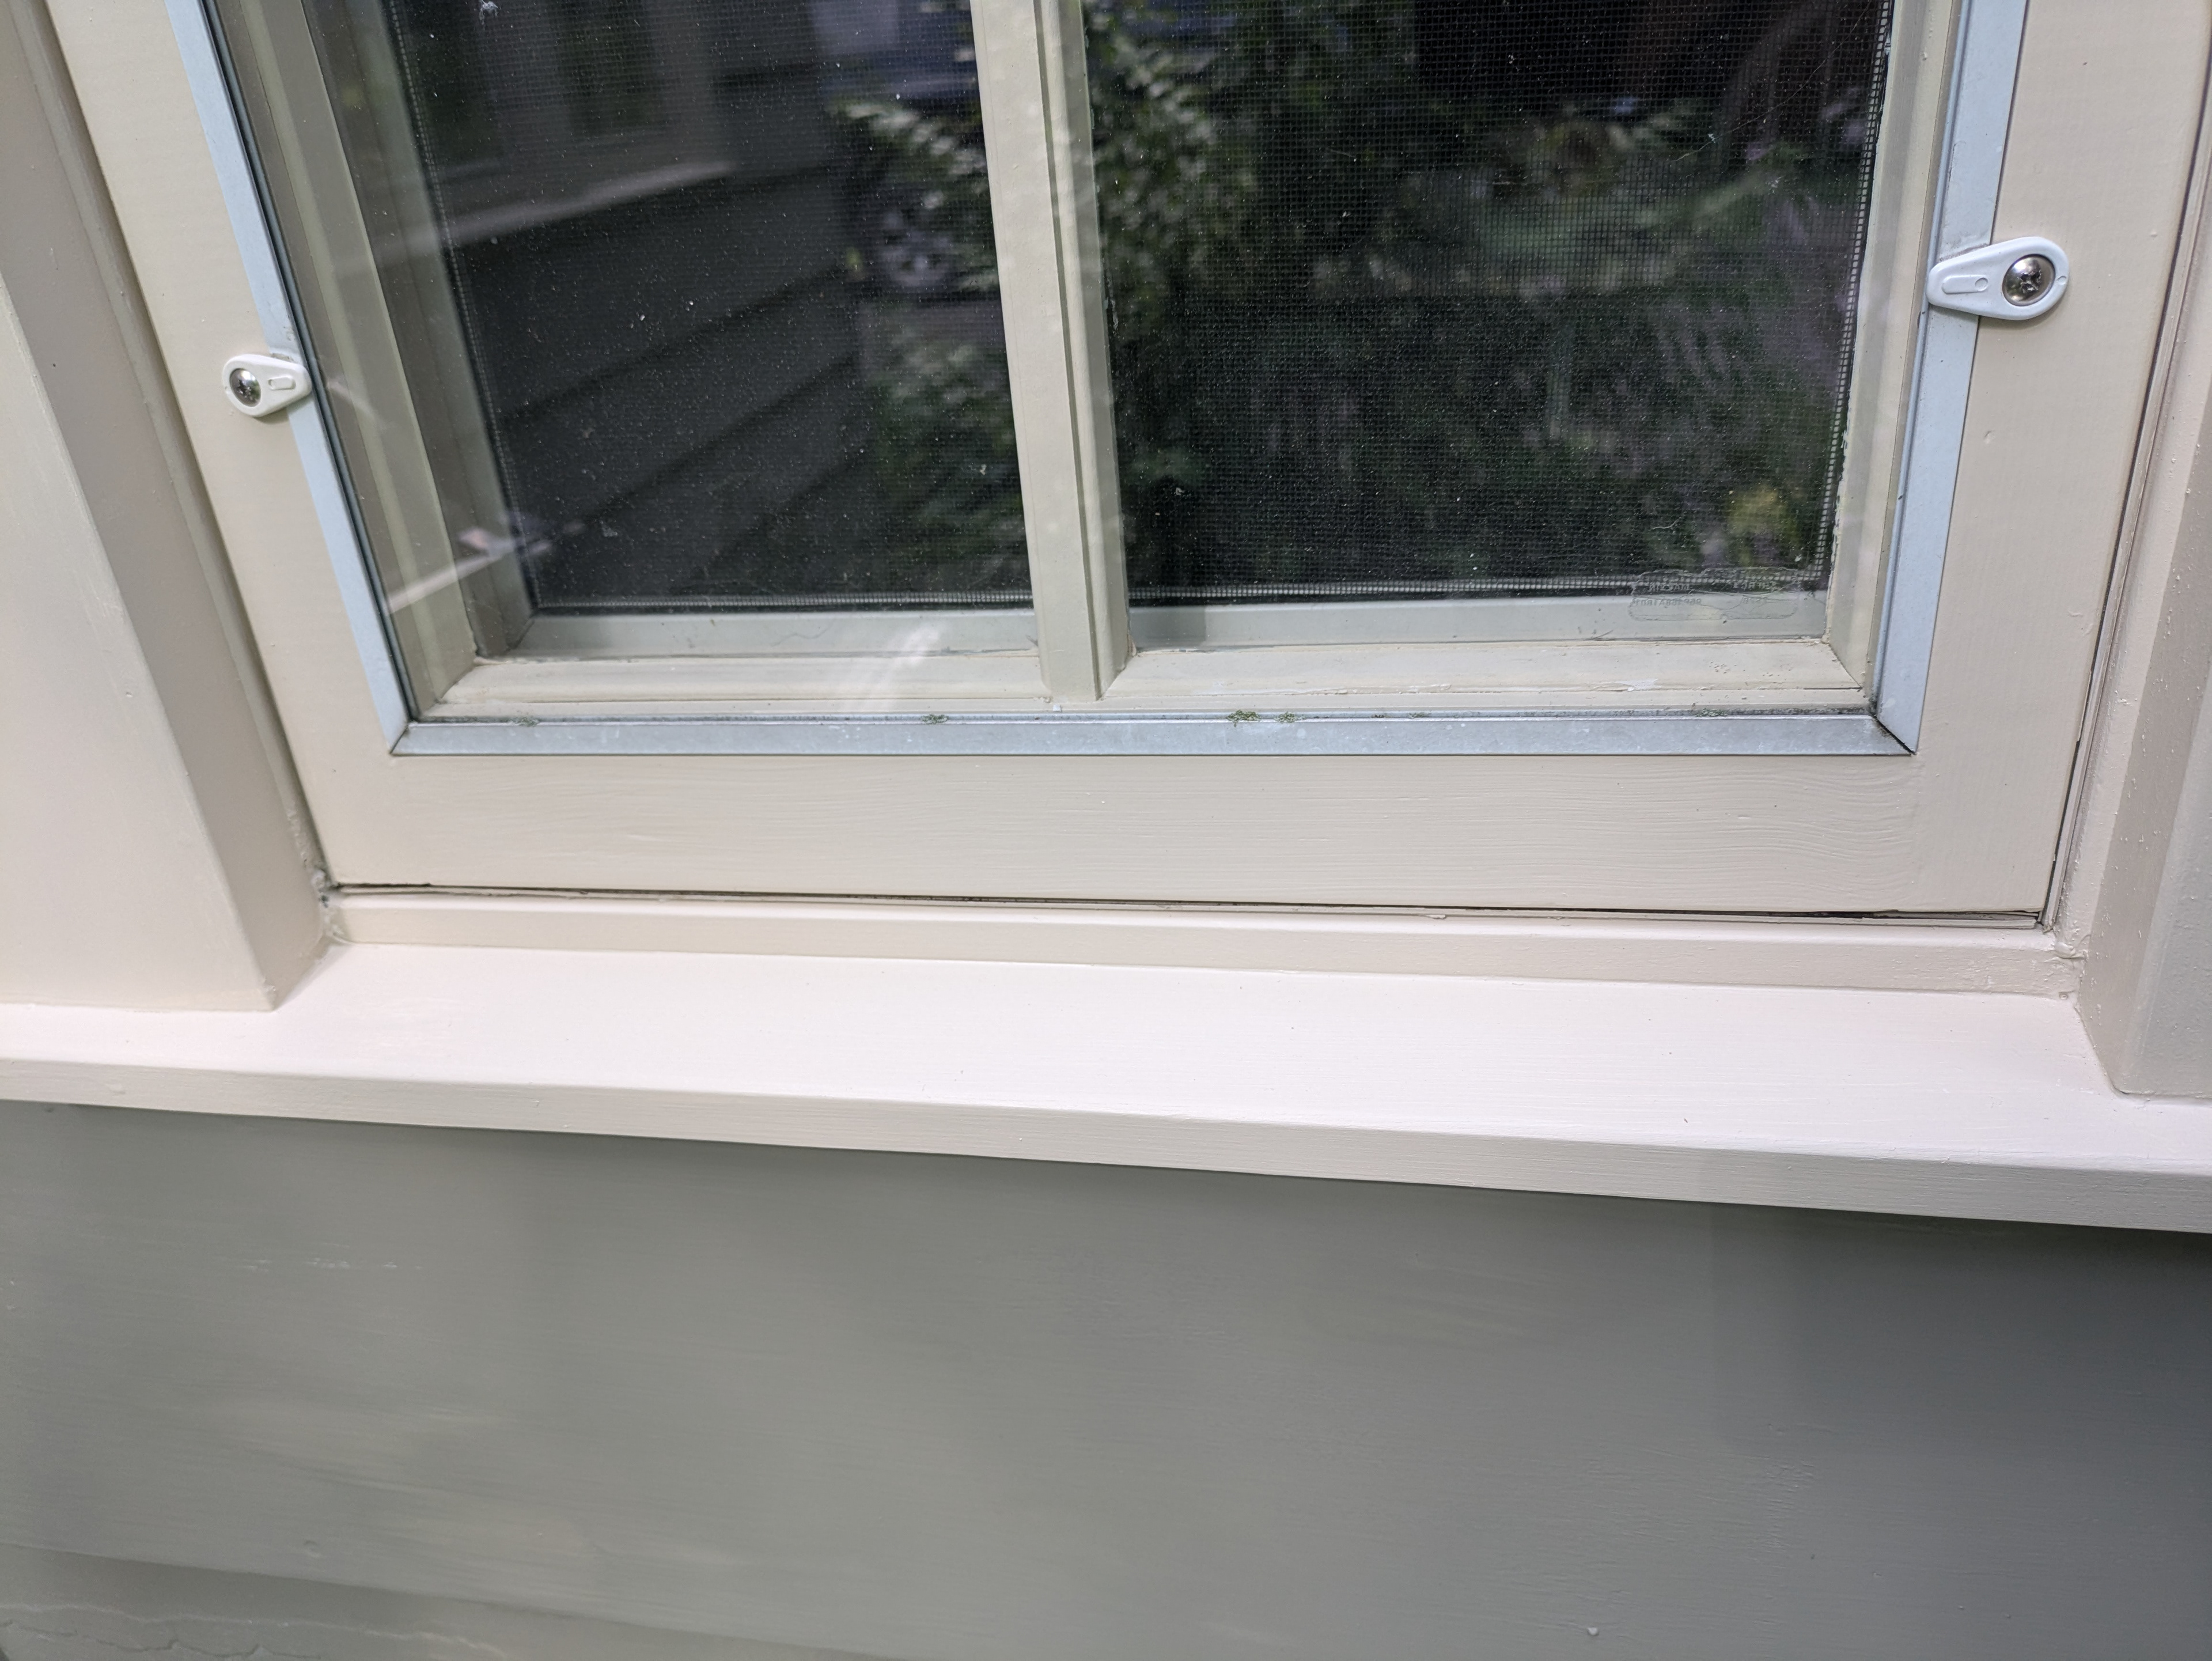
This is a close up photo of the sash that I repaired with a cedar patch.
The second sash is in better shape. The mortise and tenon joint is still intact. Water rotted the very corners of the rail and a little bit of the left stile. I’ll repair this sash with bondo wood filler which will be faster than a woodworking repair. The interior of the sill has quite a bit of intact gluing surface between the rails and stiles so I’m not worried about the structural integrity of the sash.
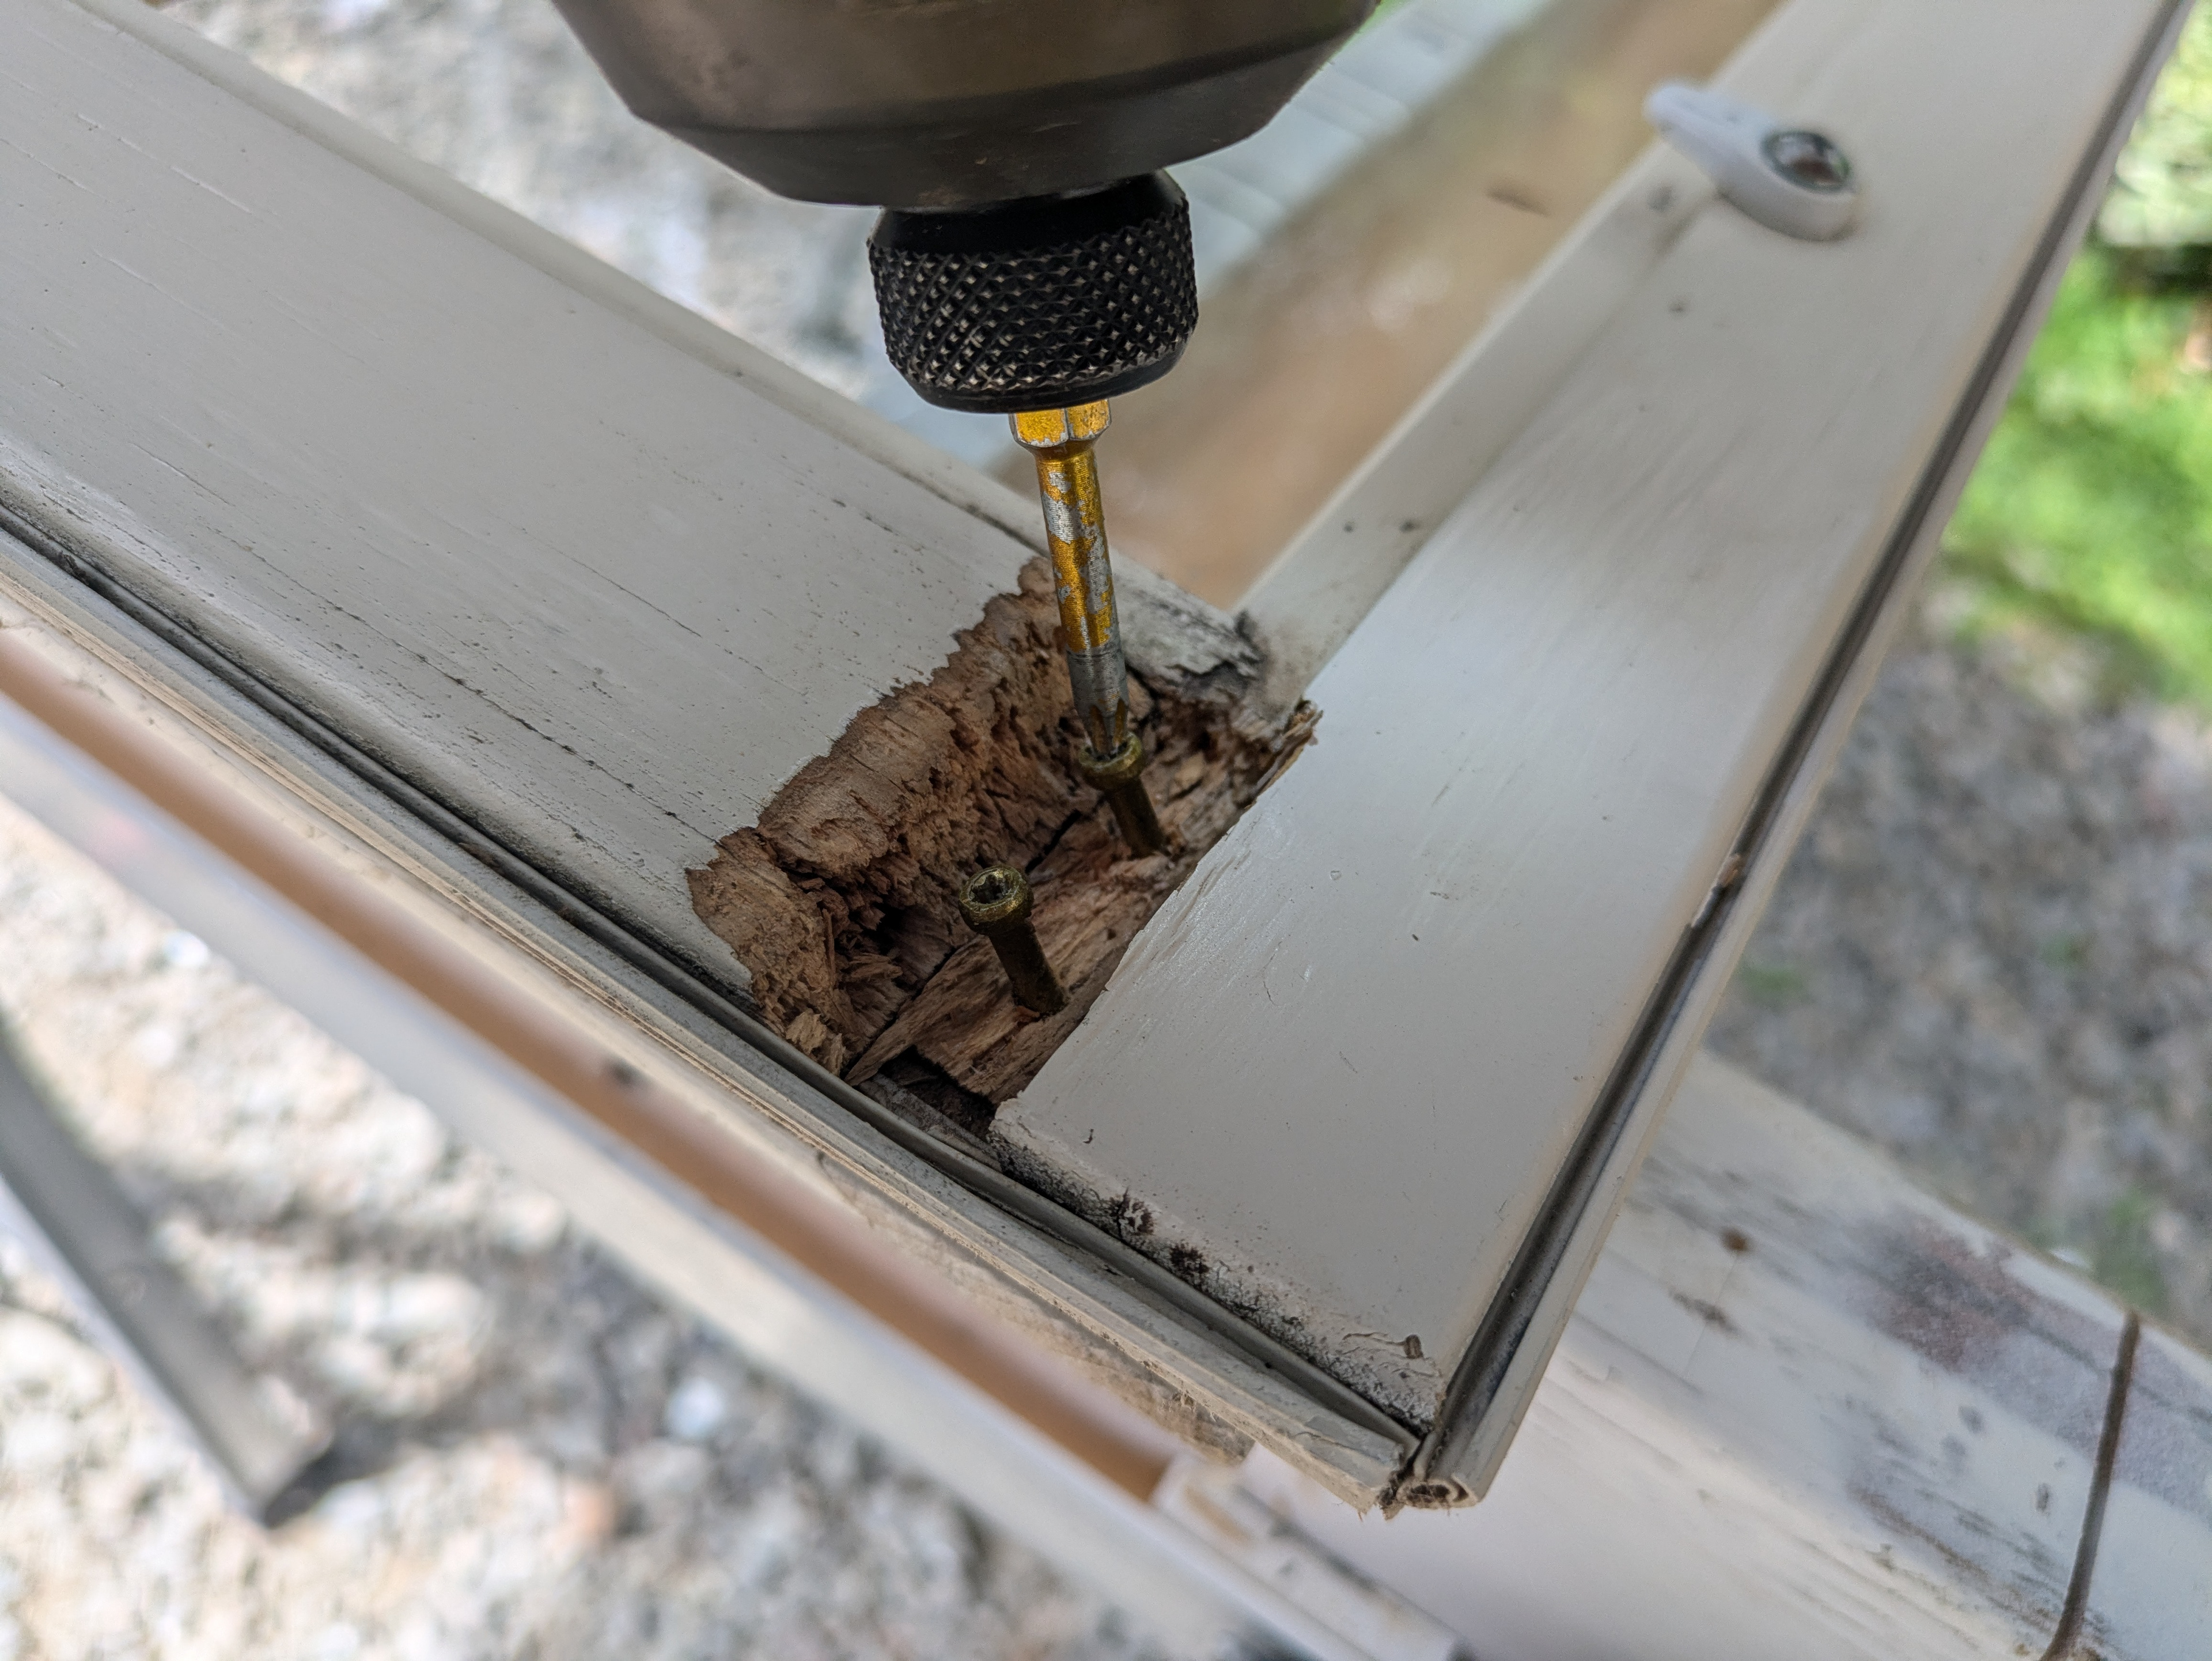
I’m driving trim-head screws into the damaged area. The bondo wood filler will harden around these screws which will prevent the patches from failing over time and breaking free of the sash.
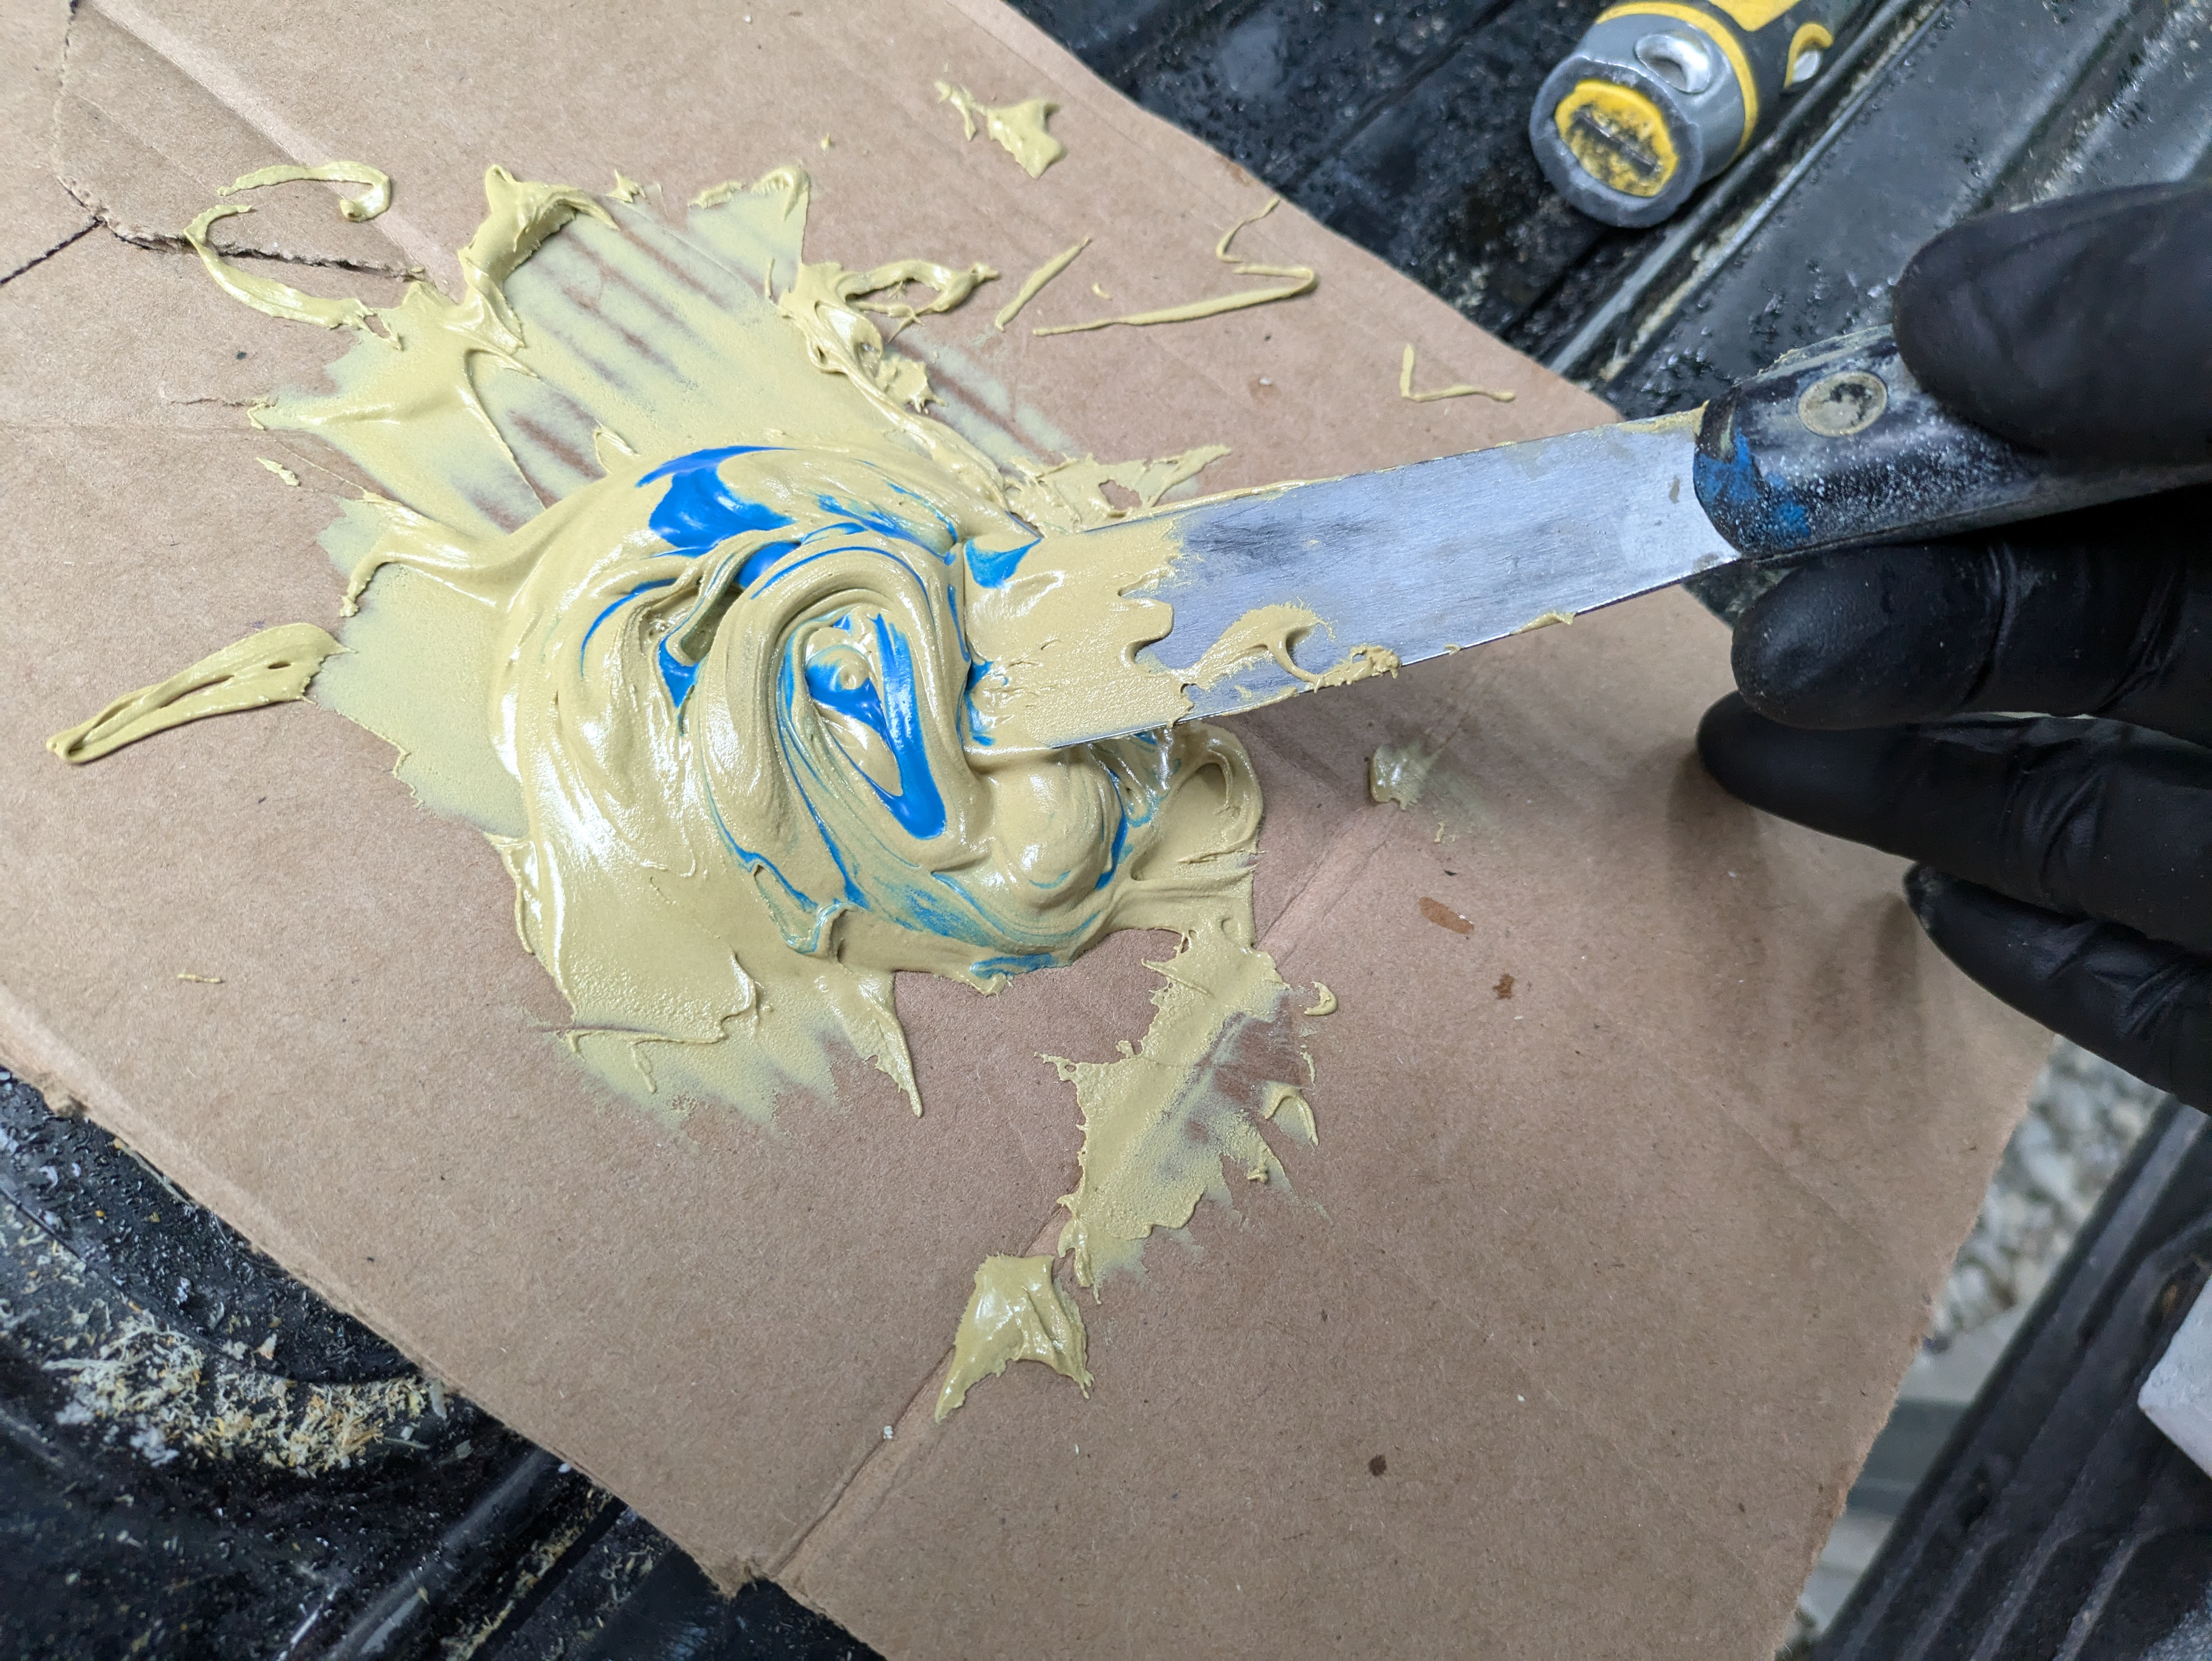
Bondo wood filler is a two component product. I’ll mix a pea size ball of hardener into a golf ball size ball of filler.
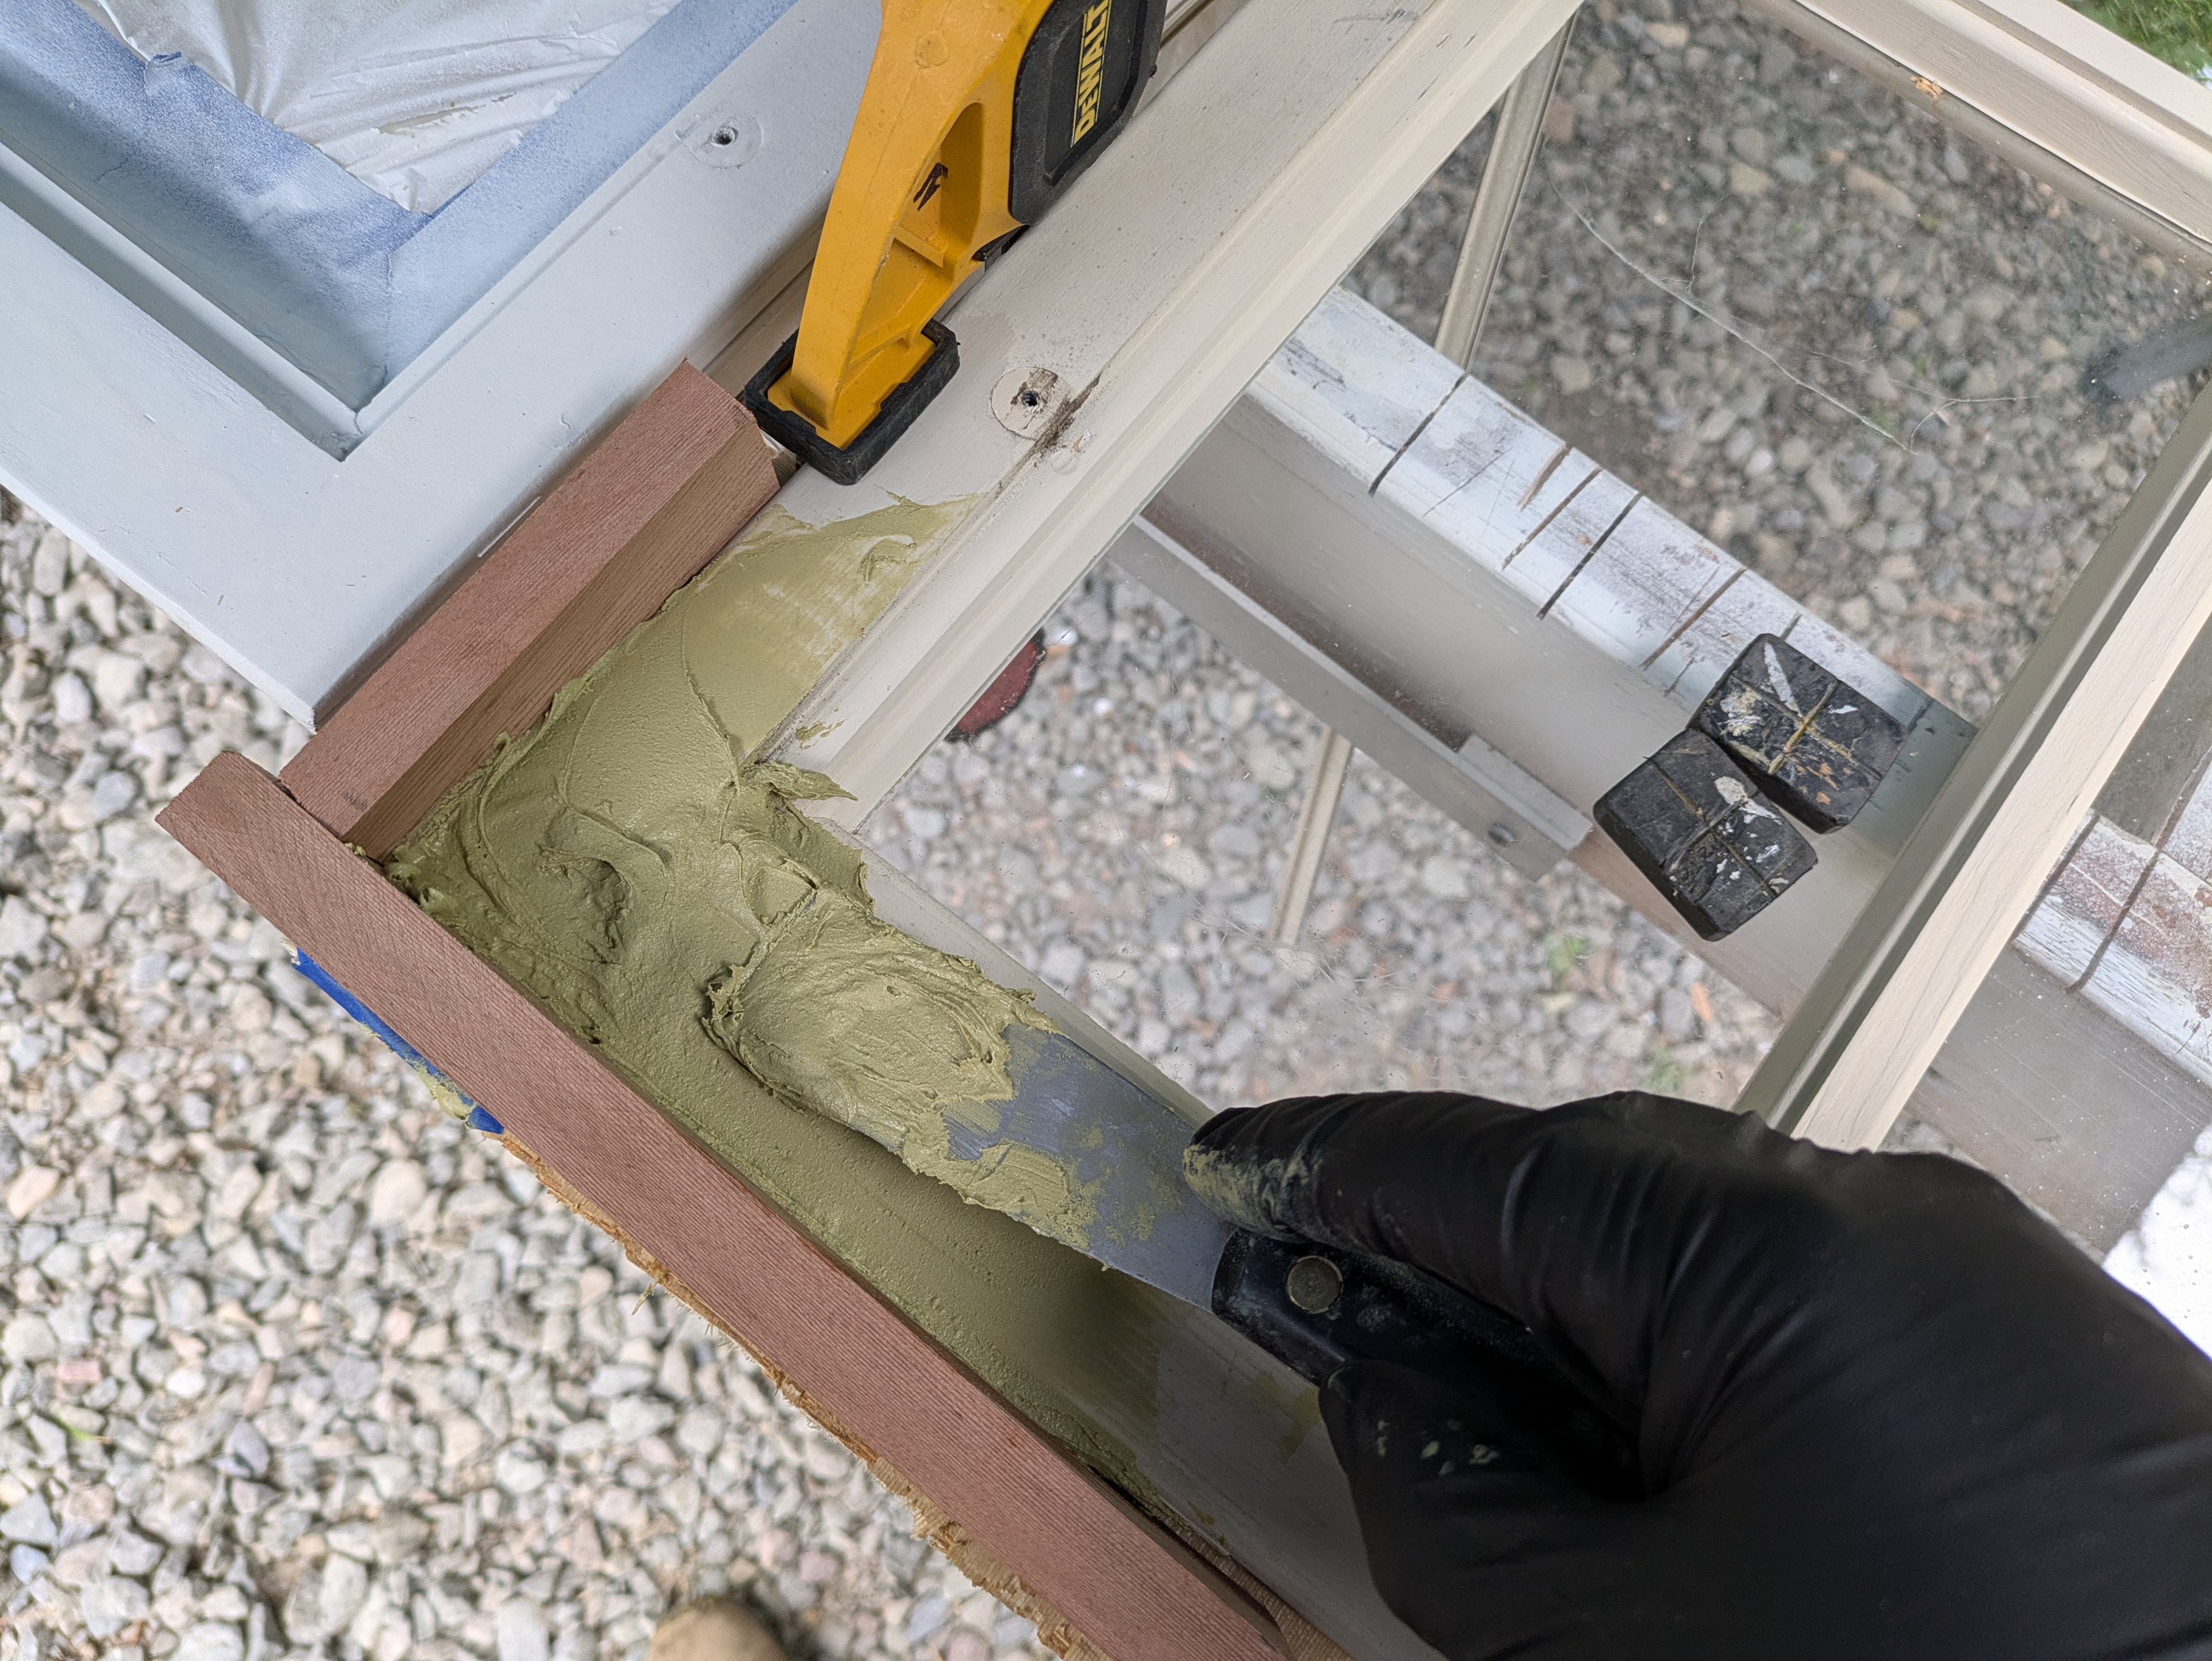
I’m pressing the bondo into the recesses with a putty knife. I’ve clamped three blocks of wood to the sides and back of the sash. This will hold the bondo in place so that it sets up in the shape of the sash.
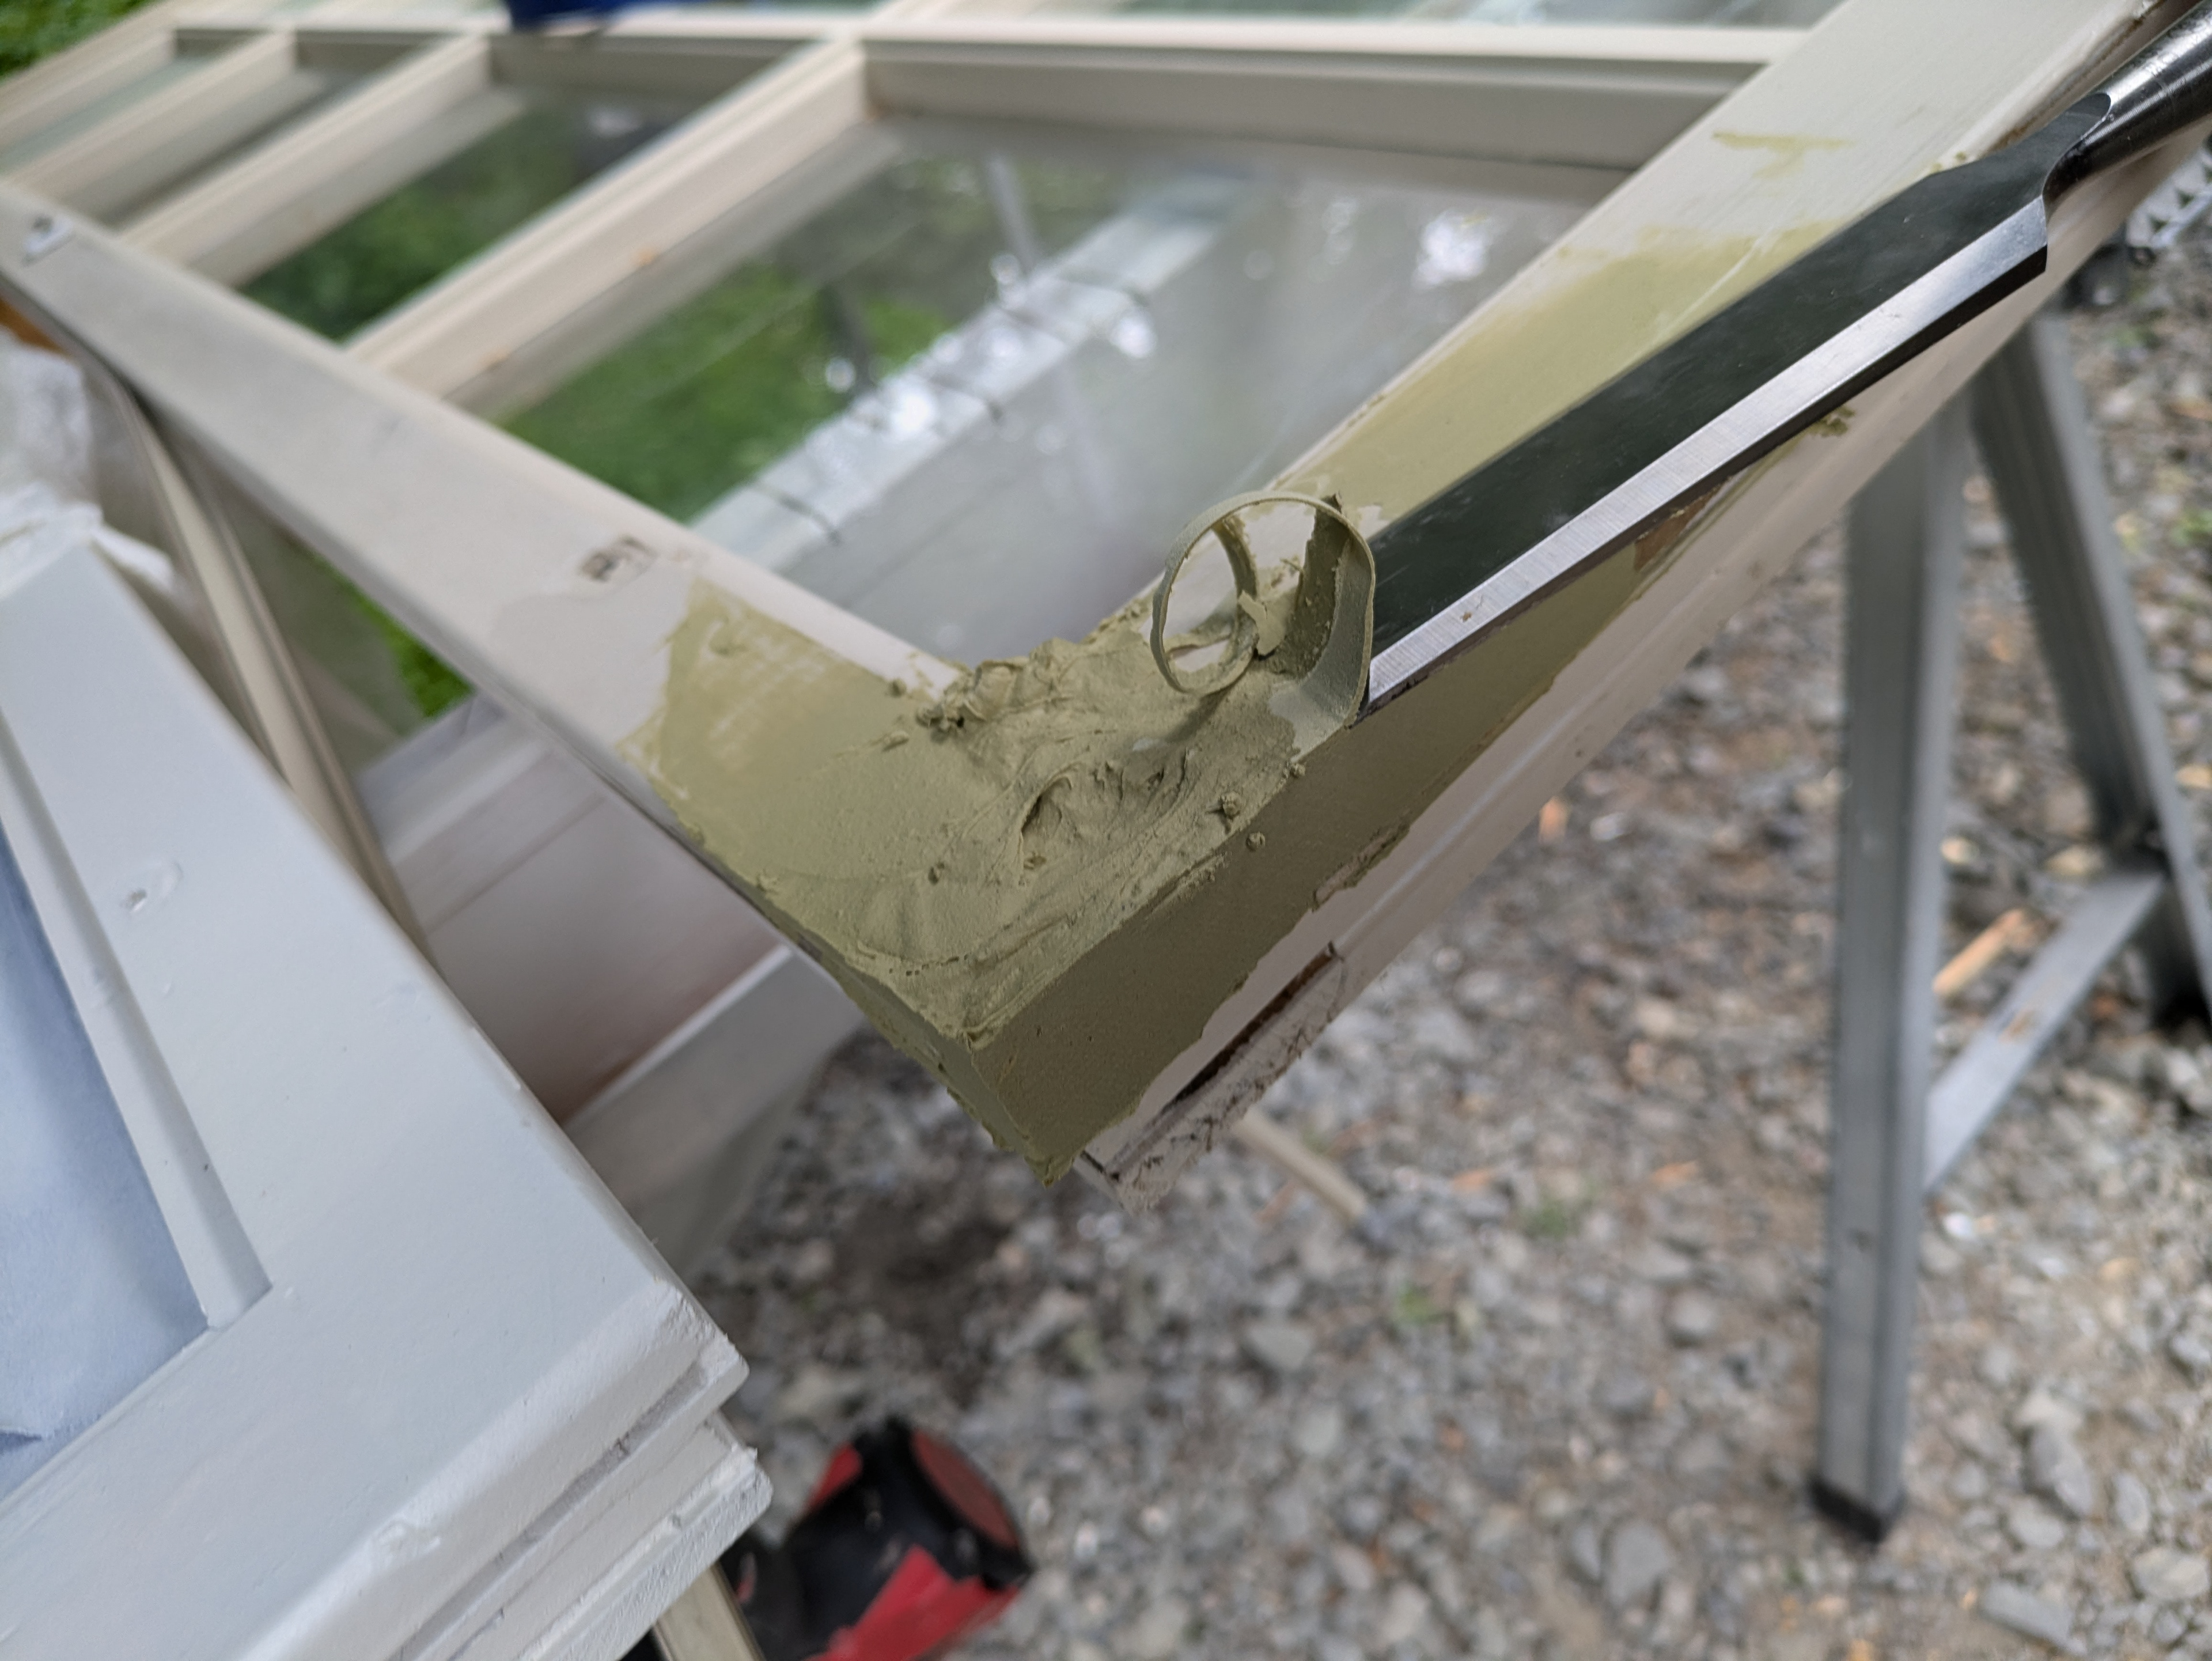
After the bondo has set up but before it’s cured I removed the backing blocks and now I’m carving away much of the waste with a sharp chisel.
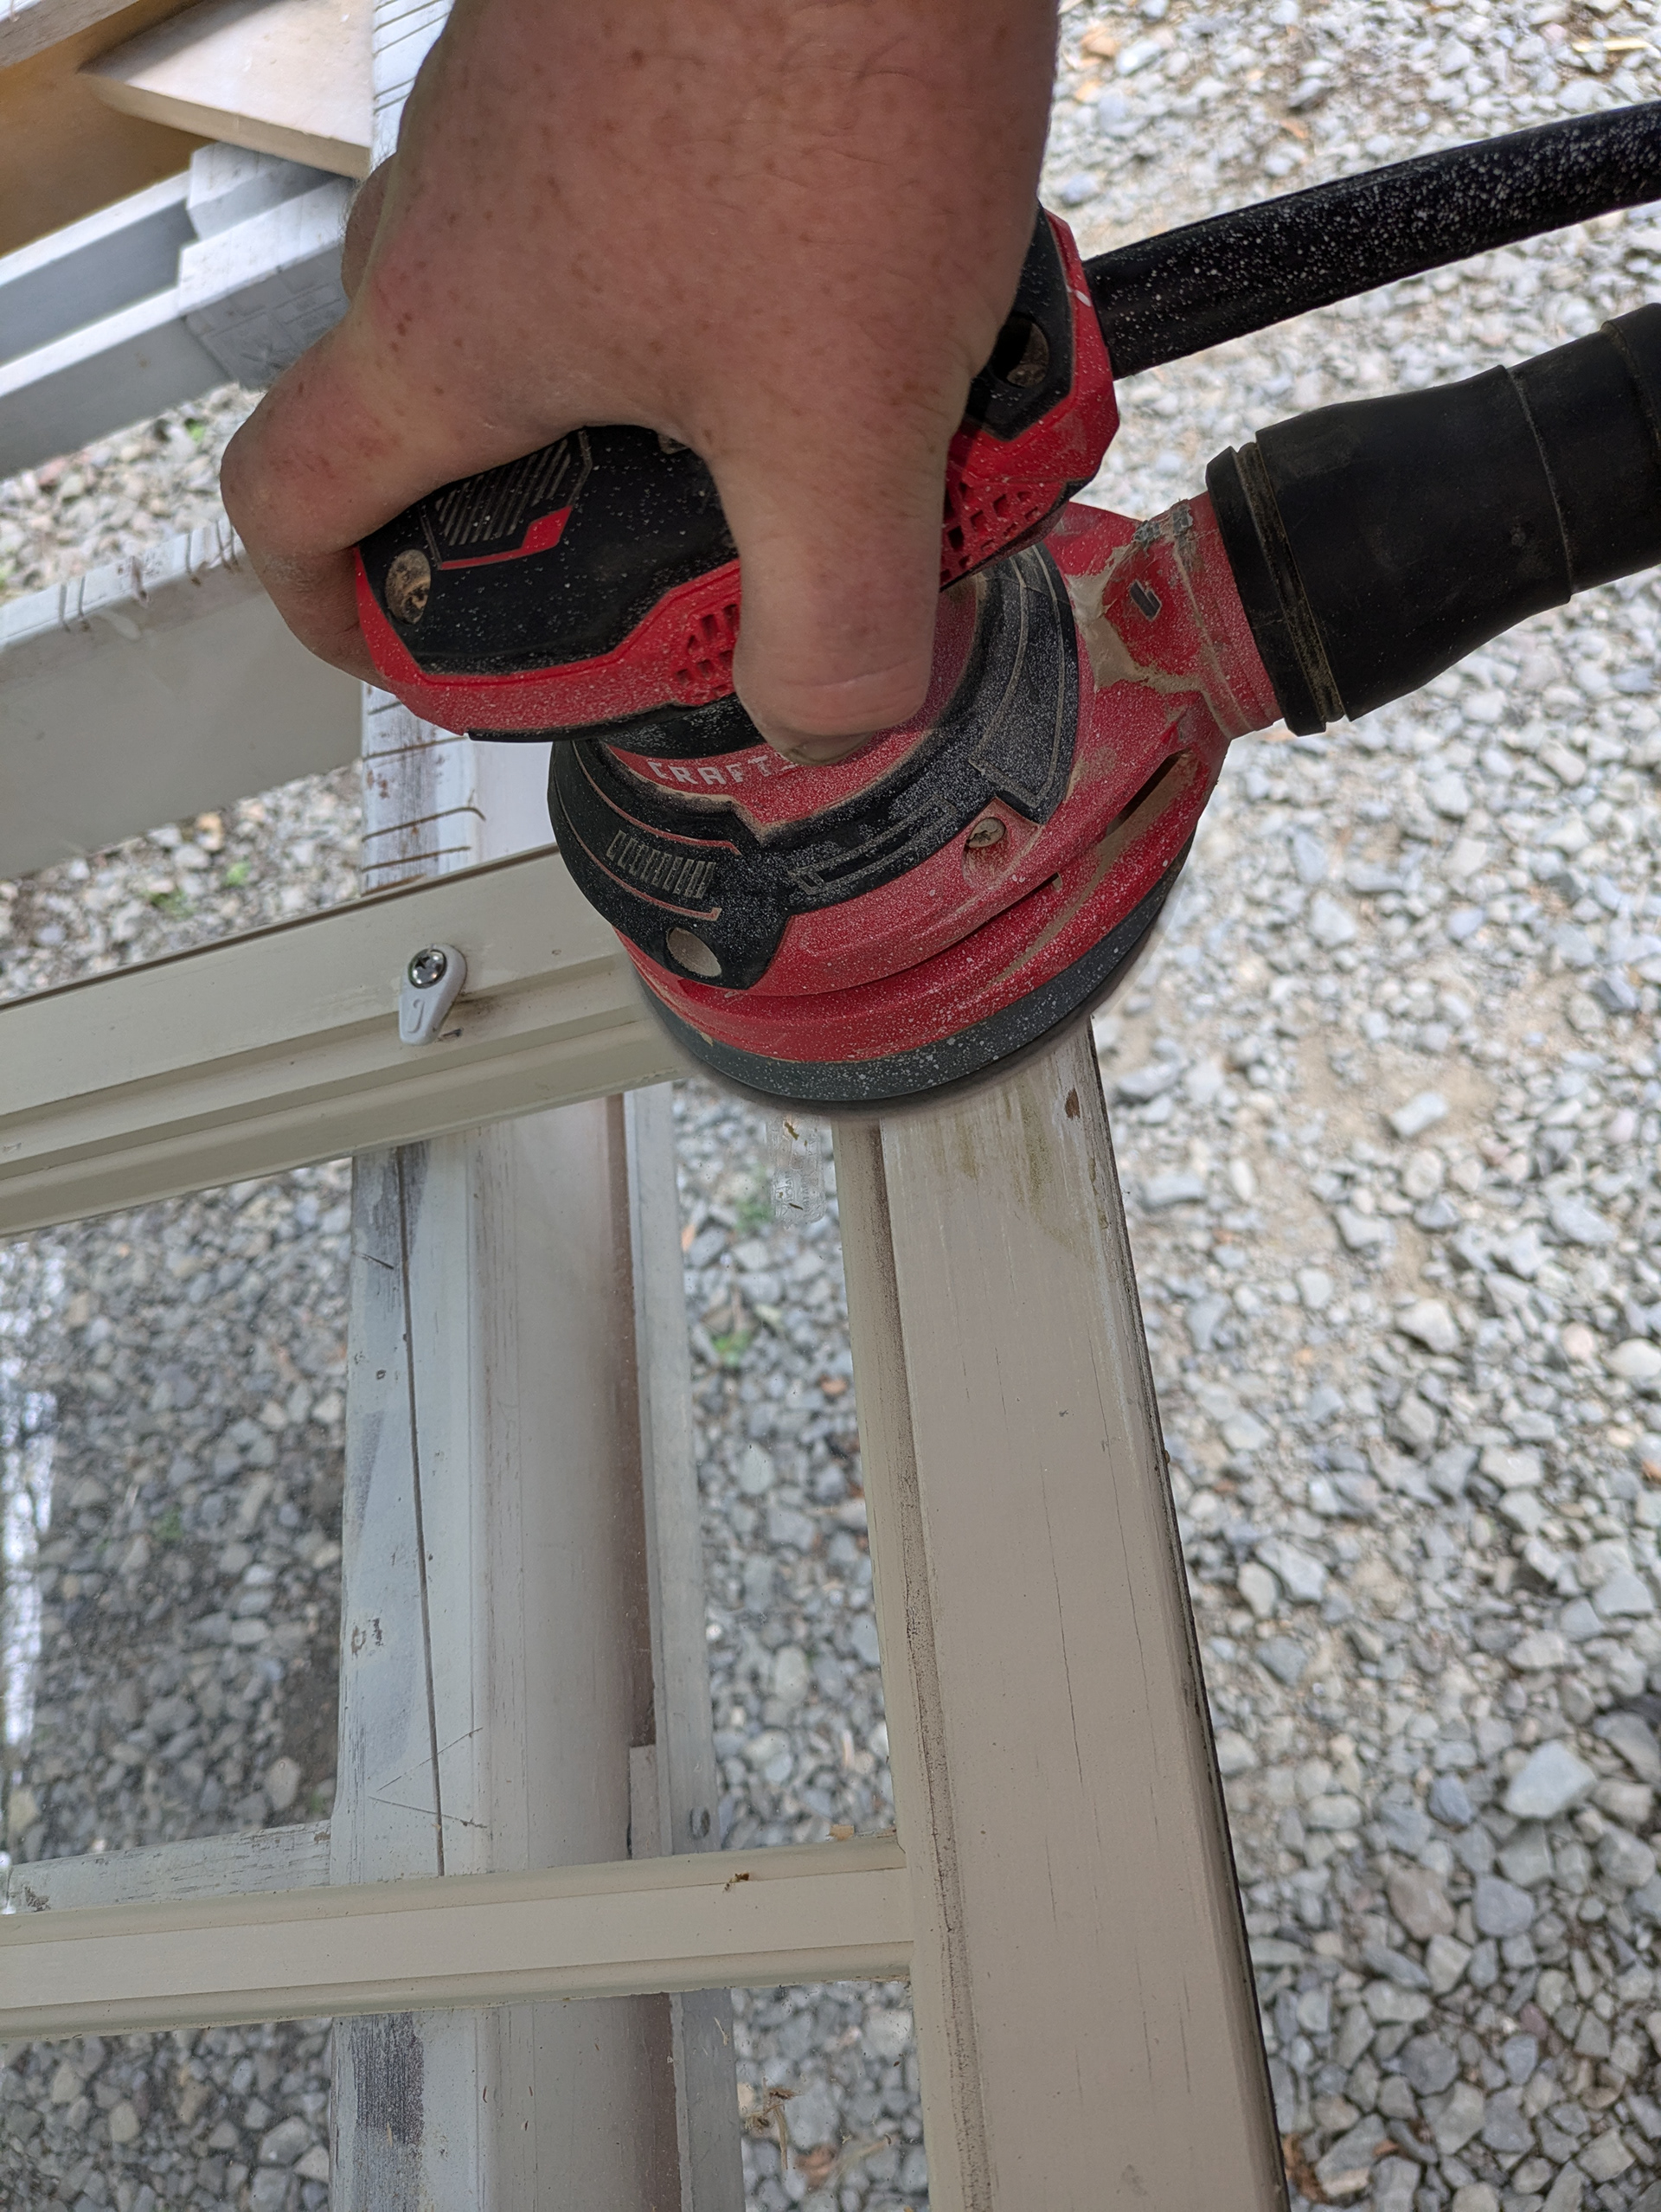
Sanding the bondo flush to the sash is quick with the random orbital sander.
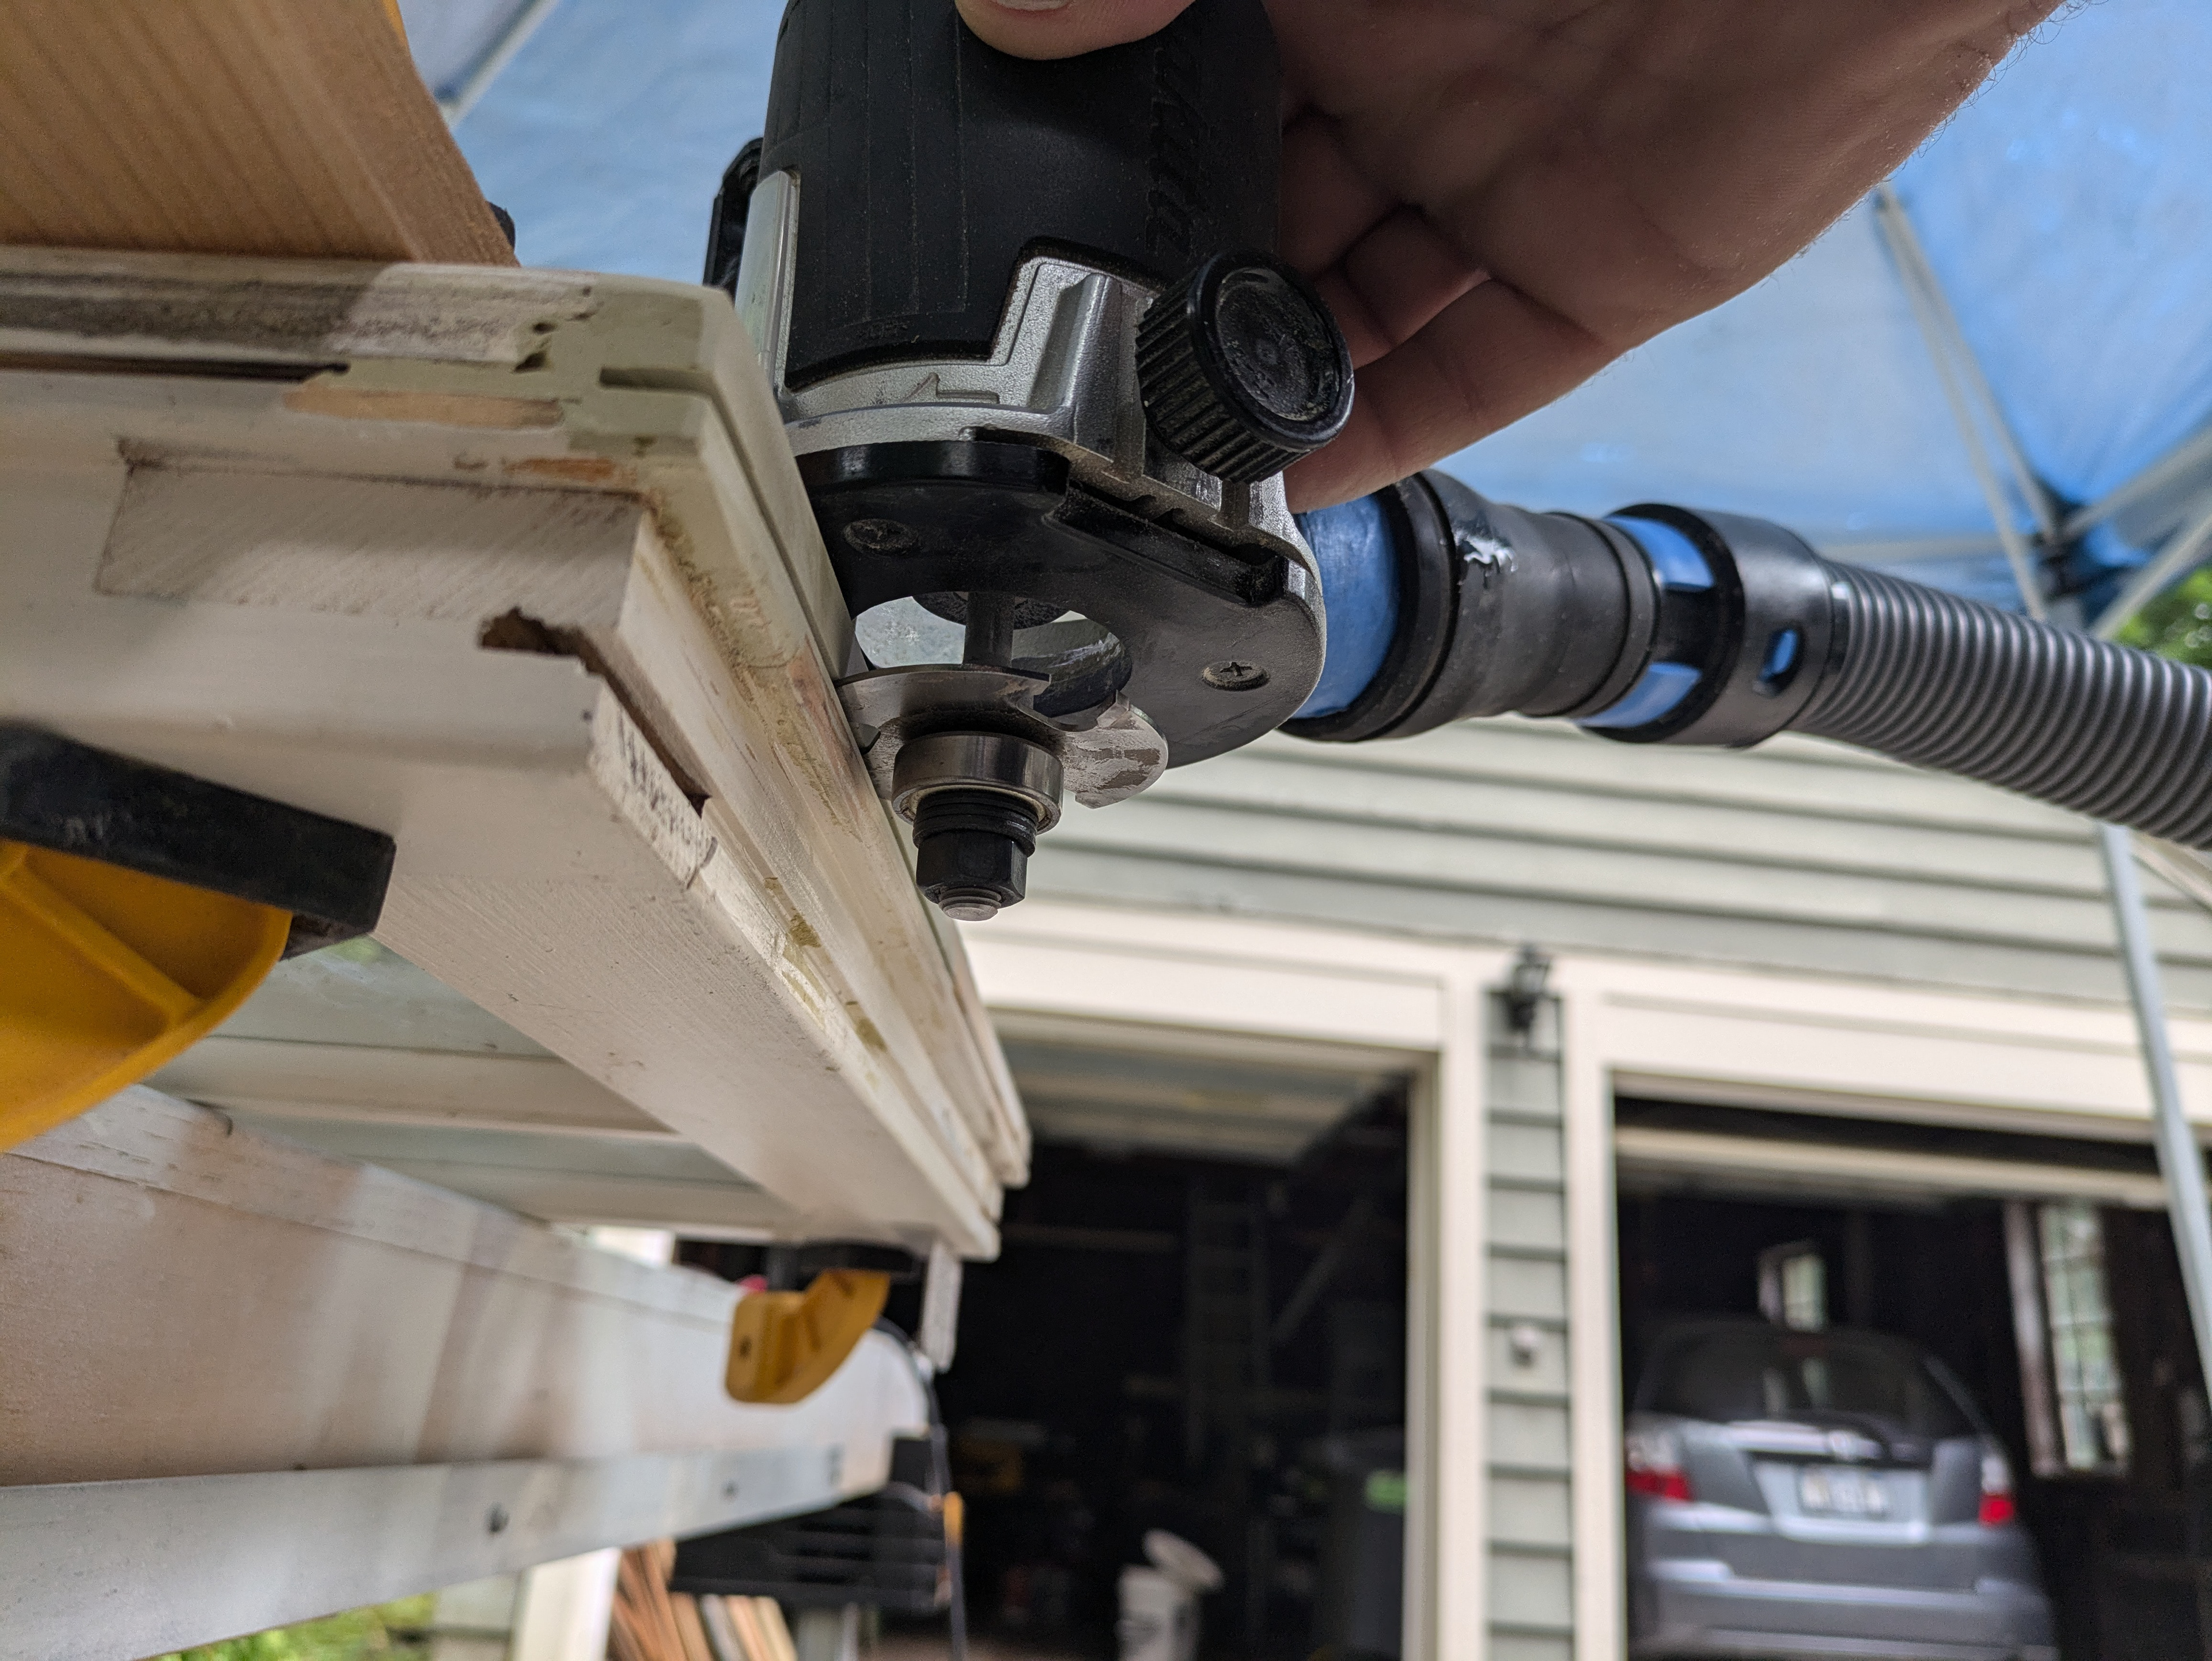
Re-slotting for the weather stripping is quick with the router. I’ll clamp a board to the sash to act as a depth stop so I don’t router the slot too deep.
This sash is ready for priming and painting.
This is a close up photo of the bondo patched sash. It looks good.

The repairs are all done!